Hood design-Week 2
AIM:
To design the car hood and understand the mechanism behind the design of hood, then development& its safety features as per the design consideration.
Task Performed:
- Outer pannel design with hem.
- Provide masstick data.
- Develop the Inner Panel.
- Develop all the Necessary Reinforcements.
- Mirror and position the Hinge & Striker.
- Provide the required Emboss definition.
- Develop a detailed Report for the Mastic position and Embosses you have placed.
Hood:
A hood is also referred as “bonnet” in some countries, Which is a hinged cover that rests over the engine front of a vehicle. The car hood protects the engine and connected parts from cutting the contacs from the environtment while providing easy access for repairs and maintenance
In BIW it comes under a closure.
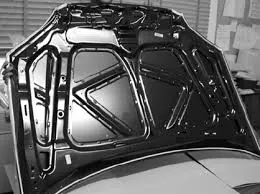
Design consideration for Hood:
- Outer Panel Thickness = 0.75mm
- Inner Panel Thickness = 0.75mm
- Reinforcement Thickness = 1.5mm
- Minimum fillet radius = 3mm+thickness
- No sharp edges
- Provide proper corner relief
- Emboss maximum depth =6-7mm
Hood and it’s Components:
Hood : Vehicle hood/ Bonnet is a pivoted cover that rests over the motor in a front-motor vehicle. A lock is given in the engine to forestall coincidental opening during driving. Motivation behind hood is to give admittance to the motor and battery for fix and support. It likewise safeguards these parts from direct daylight and residue.
COMPONENTS :-
The car hood consists of following components,
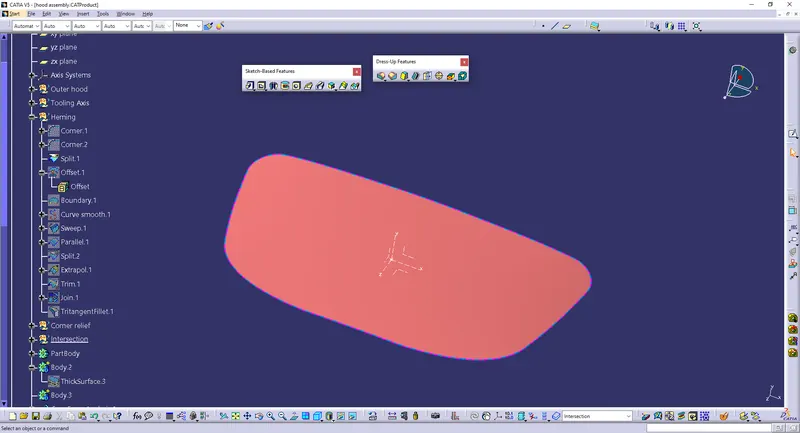
Hood Outer Panel : it is the asthetic part of the the hood which will be seen outside, and it is the first layer of protection.
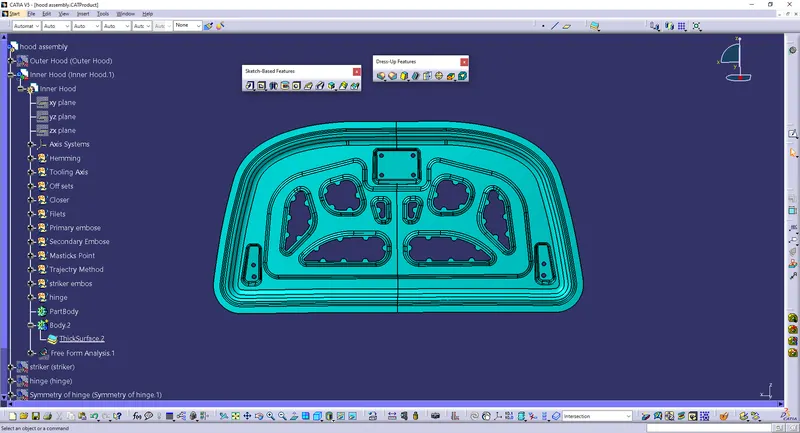
Hood Inner Panel : The innner pannle gives strength and supports the external pannel. It is where hood balancer and pivots are appended.
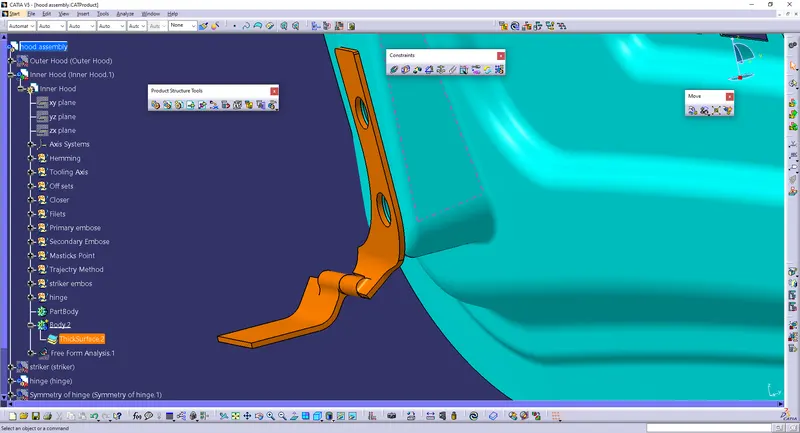
3) Hinges : Pivots permit the hood to turn around a decent hub for opening and closing of the hood. One piece of the pivot is fixed with the motor compartment, while other part is associated with hood.
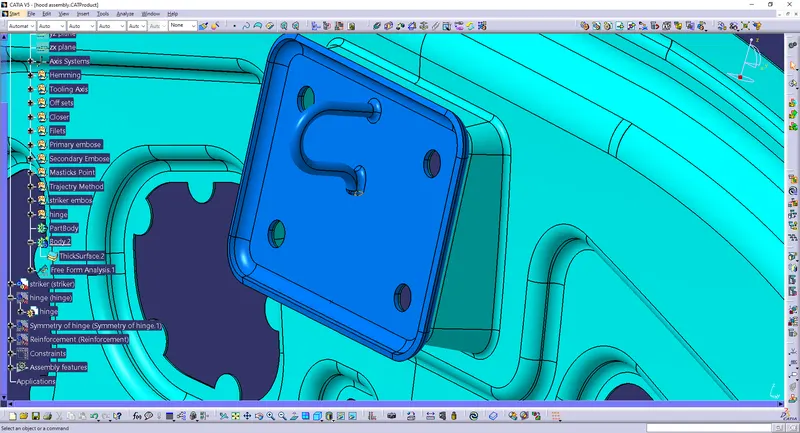
4) Striker : Striker component is given to lock the hood, to prevent the mistaken opening of the hood if in case it's opened by mistake from inside it act's as an secodary lock so that it won't open on driving. The hook is available on the engine compartment while the striker is connected to internal piece of hood.
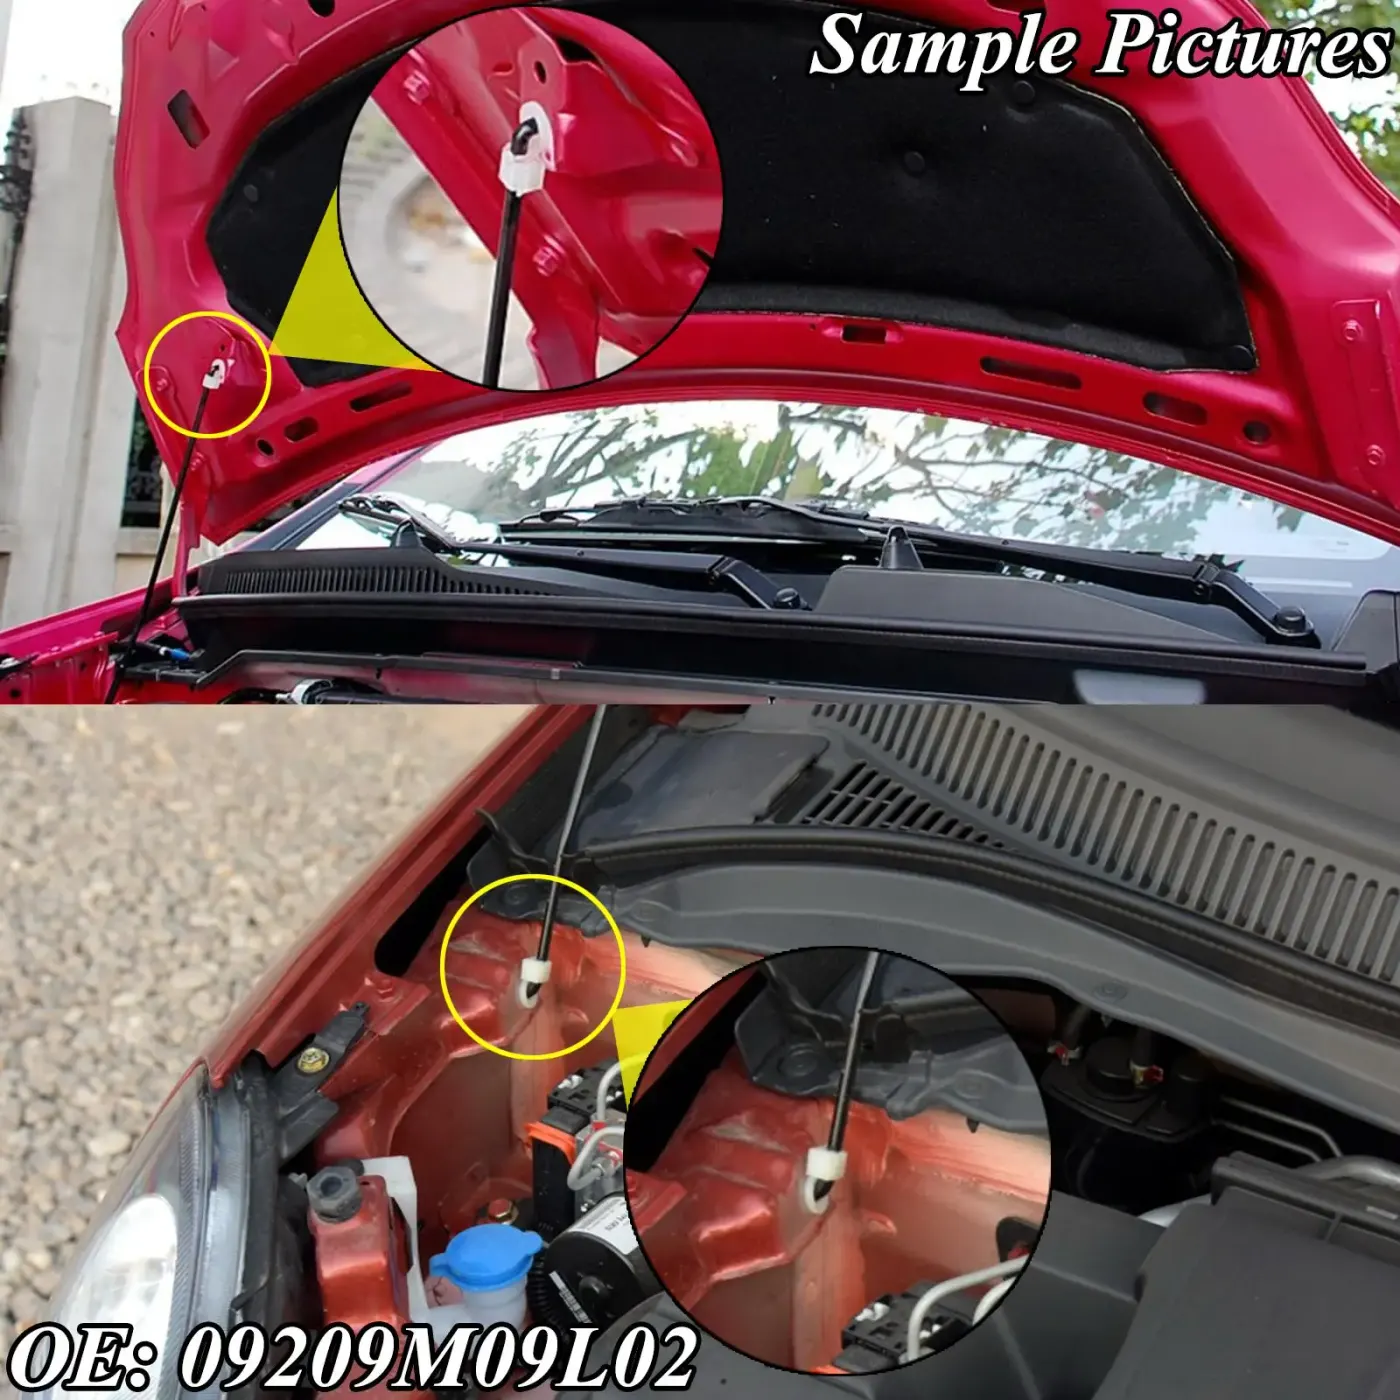
Stay Rod : It is used to supports the hood in open position in a certian angle so that it will eary to acces the engine bay if needed so that it wont cause any damage while working on it.
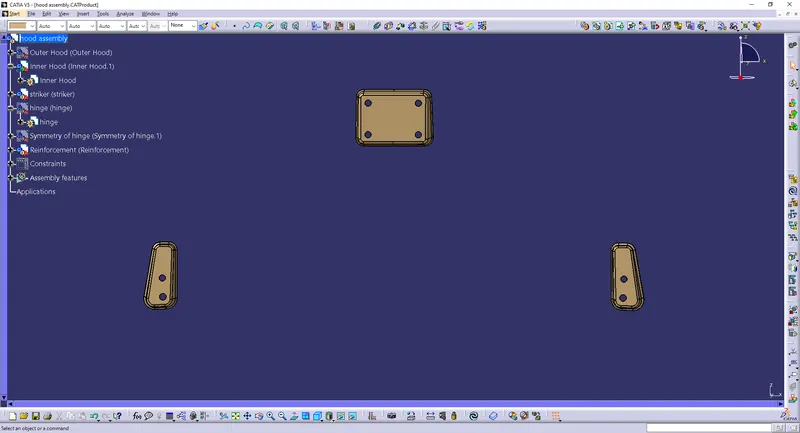
6) Reinforcements : The reinforcements are provided to add material to the inner panel to provide extra strength, Where the thickness of the materila used will be 3 to 6mm
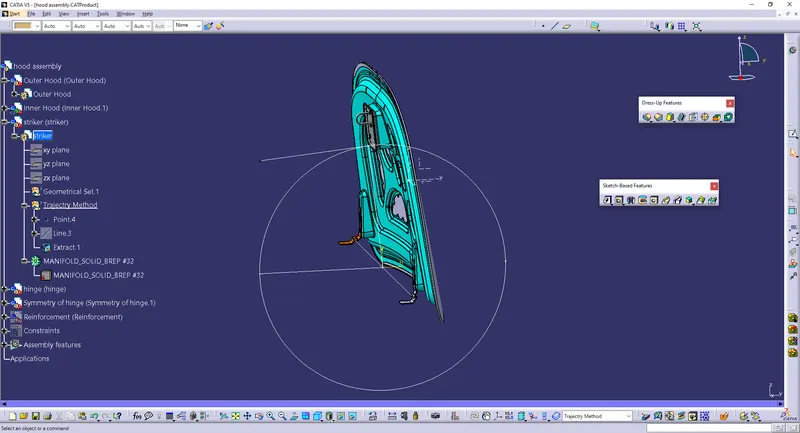
Latch Trajectory: While assembling the latch with the hood panel it is strictly recommended that the position of latch striker should be placed such that the latch striker exactly fit into the lock hole in the engine compartment. Keeping this in mind, the latch striker is placed on the inner hood panel using latch trajectory path. This path is created using the the hinge axis taken as reference to draw a big trajectory path.
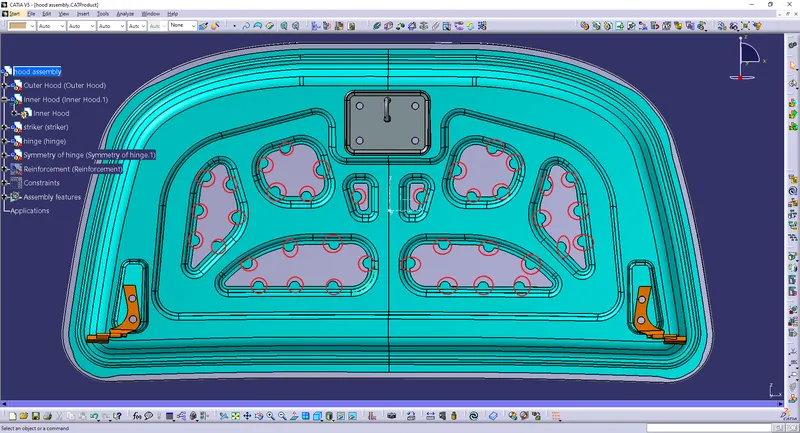
Mastic Sealant: Mastic sealant serves to further develop strength of the hood locally. It is by and large a hard elastic part, which is presented as an in the middle of among internal and external board of the hood, which will get solidified inside the heater. Each mastic sealant direct will have a propensity toward work on the nearby strength in around 80 mm width. Taking into account this, the mastic focuses are situated with the end goal that the greater part of the hood district is covered.
Design Methodology:
The procedure followed for designing the hood and its components is as follows,
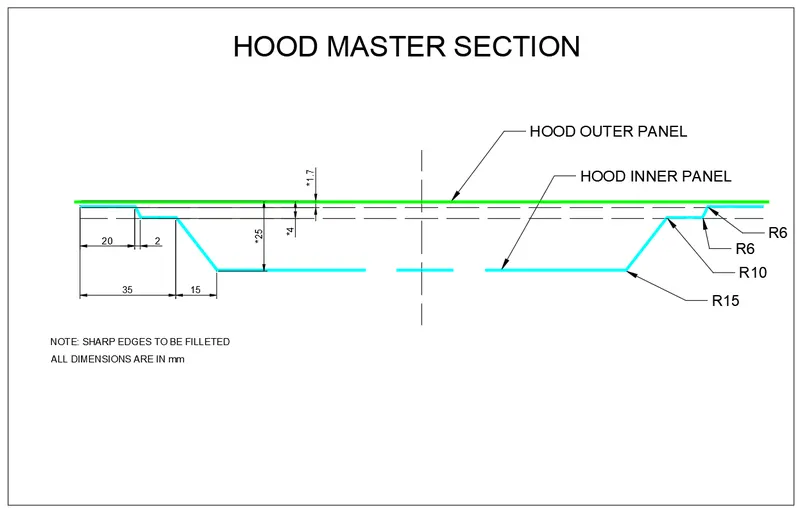
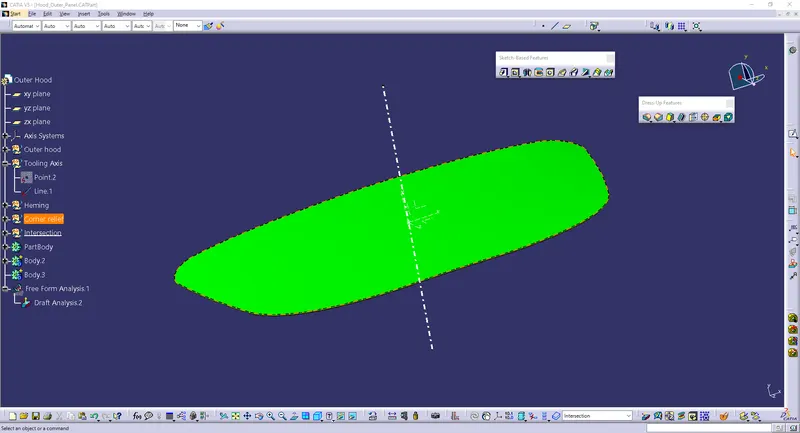
- At first the given outer pannel which is imported as stp file is converetd to part file and after craeting a Tooling Axis it is tested whether it is poosible to produce this by doing draft analysis along the tooling axis. After that the pannel is modified with the refrence of master section and then used for producing the inner pannel
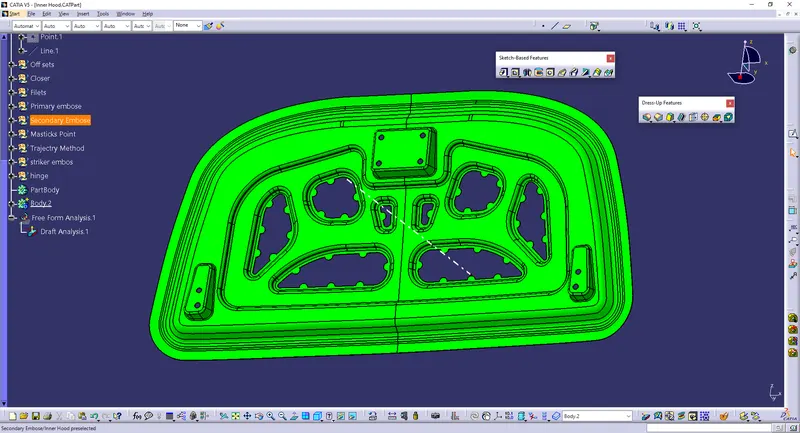
- in the production inner pannel where which is the one holds the embosing the outer pannel is used to create a primary embosing and secondary embosing is done and the matstiks piont's are kept as followed
- Now, on the inner panel, the embossing for hinge and striker are produced by considering their respective dimensions and assembly positions. First the emboss for hinge is created and then by fixing the hinge into its position, we draw an axis passing through both side hinge axes to form a common axis. And then we position the striker such that it will move along circumference of a circle whose center is at midpoint of the common axis. Thus, position of striker is decided and we can create emboss for the same.
- Using the hinge emboss we created, we can create our hinge reinforcements by creating new parts in the assembly itself.
- Data Povided –
Outer Panel Thickness – 0.75mm
Inner Panel Thickness – 0.75mm
Reinforcement Thickness – 1.5mm
Master Section:
Master sections are the guides for design requirements which is derived from the previous design and that data is used and improvised to the reqiured needs
Emboss :
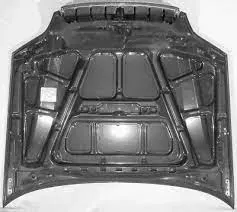
Sheet metal embossing is a stamping process for producing raised or sunken designs or relief in the sheet metal. This process can be made by means of matched male and female roller dies or by passing sheet or a strip of metal between rolls of the desired pattern. It is often combined with foil stamping to create a shiny, 3D effect. To provide strength to the inner panel and to distribute the forces produced during the impact with pedestrian or other obstacles to ensure the safety of the passengers. The forces are directed outwards through the embossing path.
Mastic sealant:
Mastic is a form of sealant or adhesive used to fill the joints or as a bond for different materials and gaps.
DARFT ANALYSIS OF INNER AND OUTER PANNEL:
Outer Pannel:
Inner Pannel:
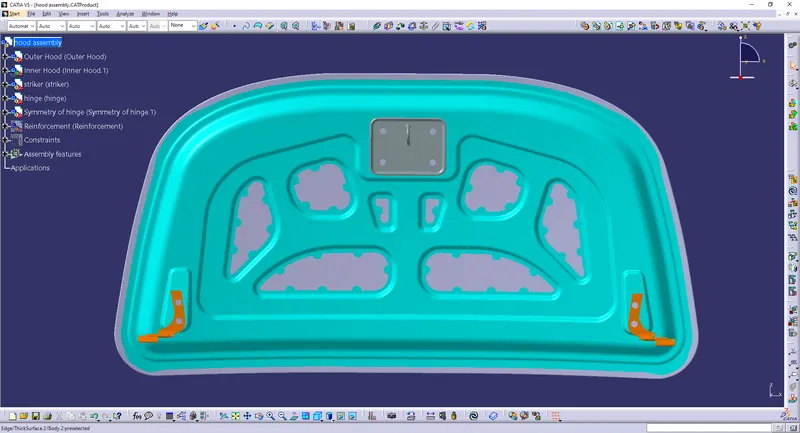
Assembly of Car Hood:
Conclusion:
We have designed a hood that falls under the rules & regulations of the manufacturer's standards.