Hood design-Week 2
Aim:
The aim is to create the Hood model (both inner and outer Panels) with the embossments and assemble it with the Latch and Hinge.
Information:
- Parts to create and Assemble:
- Hood Outer Panel
- Hood Inner Panel
- Hinge
- Latch
- Reinforcements
- Thickness Information:
- Outer Panel Thickness: 0.75mm.
- Inner Panel Thickness: 0.75mm.
- Reinforcement Thickness: 1.5mm.
Theory:
Hood:
The hood or bonnet is the hinged cover over the engine of motor vehicles that allows access to the engine compartment, or trunk for maintenance and repair. It generally covers the engine and other essential accessories like battery, Radiator, electrical components, etc. of the car which are exposed outside. The hood release system is common on most vehicles and usually consists of an interior hood latch handle, hood release cable, and hood latch assembly. The hood latch handle is usually located below the steering wheel, beside the driver's seat, or set into the door frame.
Manufacturing Process:
The manufacturing process involves turning raw materials into finished products which are used for some purpose. The economics of the manufacturing operation is a very important consideration. To be viable in the modern environment, a product has to be competitively priced besides having functional and aesthetic appeal. There are different processes available for manufacture. These are classified as Casting Process, Forming Process, Fabrication Process, Material Removal Process.
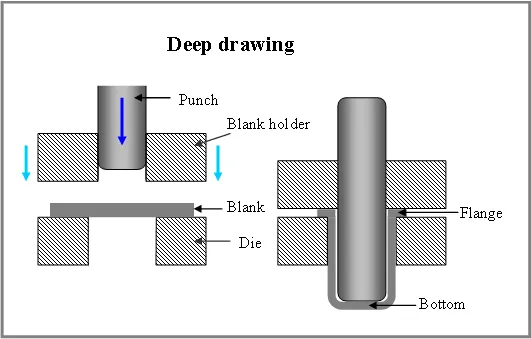
- Deep Drawing:
Drawing is the process of making cu[s, shells, and similar articles from metal blanks. Drawing when cup height is more than half the diameter is termed deep drawing. Ductile materials are easier to be drawn into deeper cups. In deep drawing, because of the radial flow of material, the sidewalls increase in thickness as the height is increased. There would be a slight thinning of metal at the bottom corners.
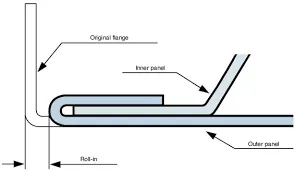
- Hemming:
Hemming is a sheet metal forming process in which sheets are joined by bending it usually to 180 degrees. Automotive body panels and automotive parts such as deck lids, trunk lids, doors, hoods, and tailgates are forming by the hemming process.
- Latch Trajectory:
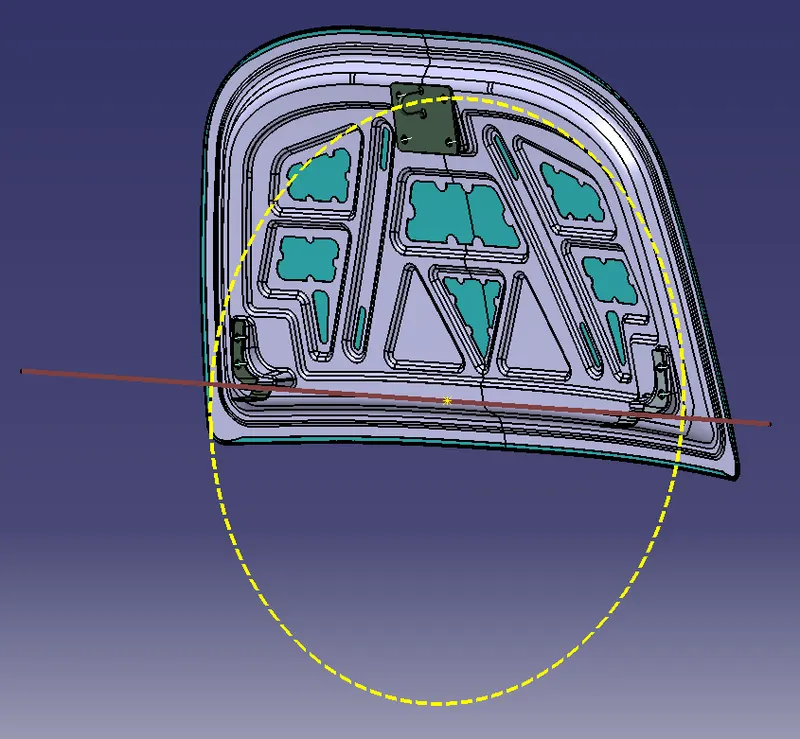
Latch Trajectory is the orbital path in which the latch should be positioned to the lock hole. The trajectory is drawn based on the reference of the Hinge joint central axis.
Procedure:
- Creating the InnerPanel:
- Initially, the model is opened. A new Geometrical Set is created.
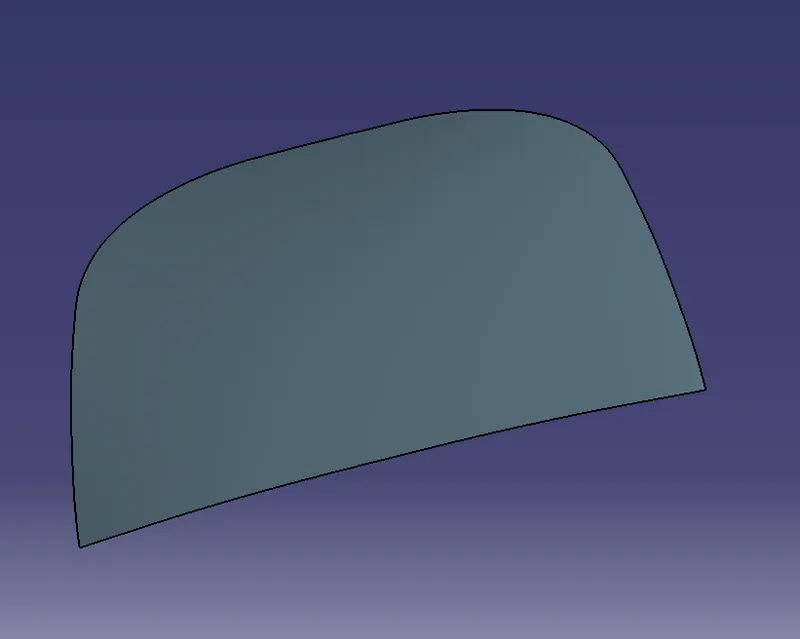
- The Hood outer Model is Selected and the Part is split using the plane.
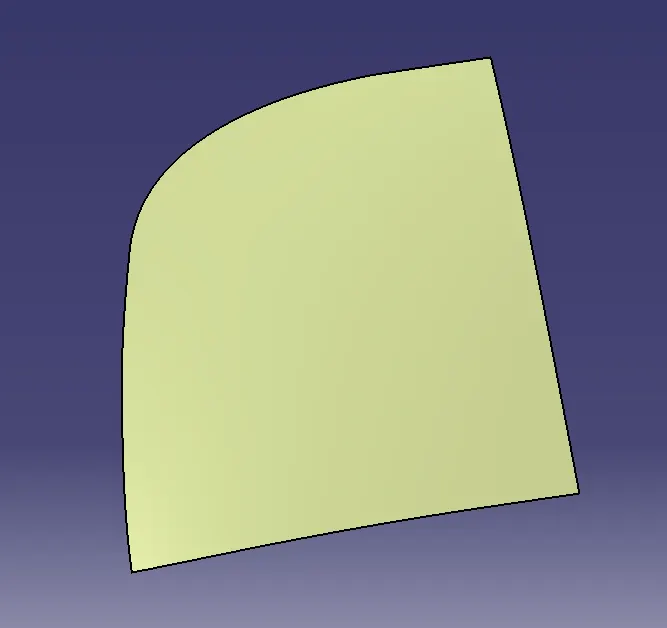
- Once the part is created, use the offset option to create a surface to offset the split part with a distance of 2mm.
- Create a boundary and use the parallel curve to a distance of 20mm (15mm + 5mm). Use the split option to create the surface.
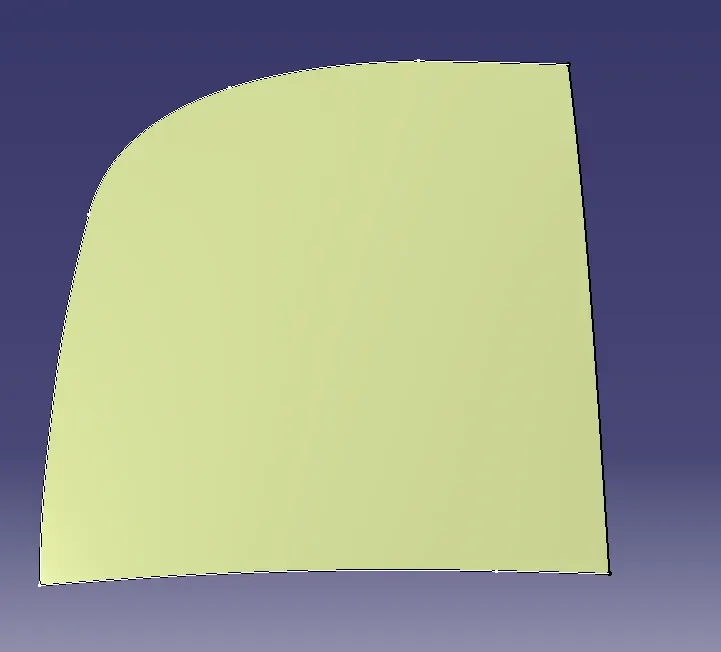
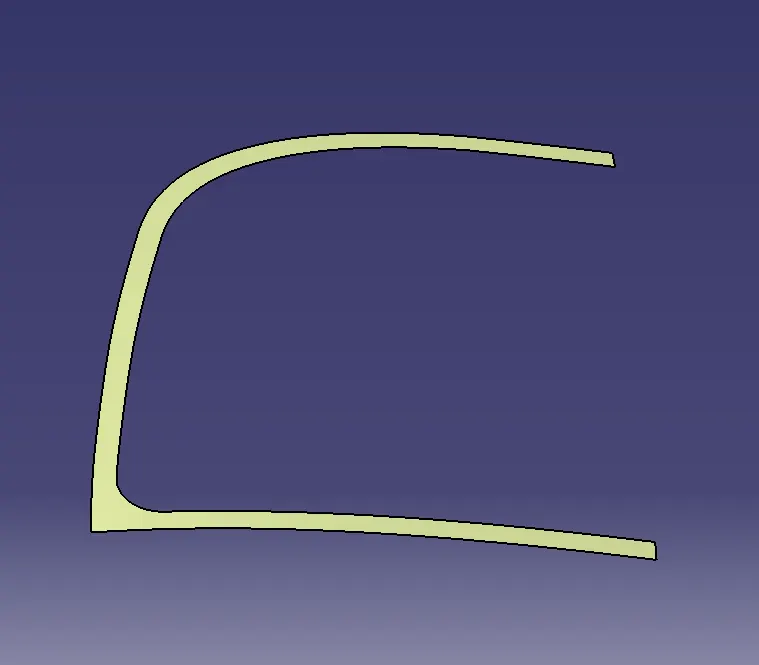
- Now, Offset the split surface to 4mm based on the Master Section. Create the boundary and use the parallel curve to set the layer of 22mm and split it.
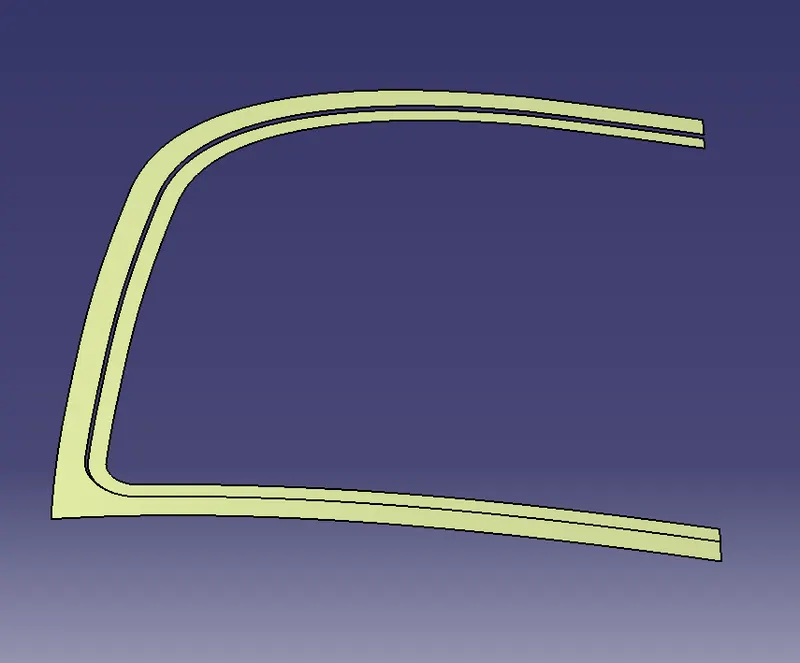
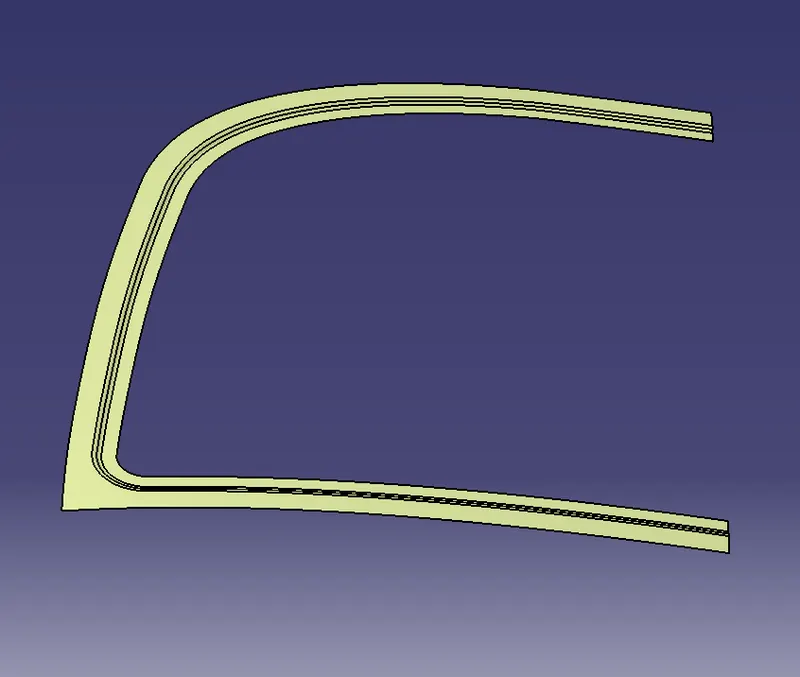
- Follow similar steps to create the inner surface. Now to create the Embossments to the Surface, create the sketch on the surface and constraint it.
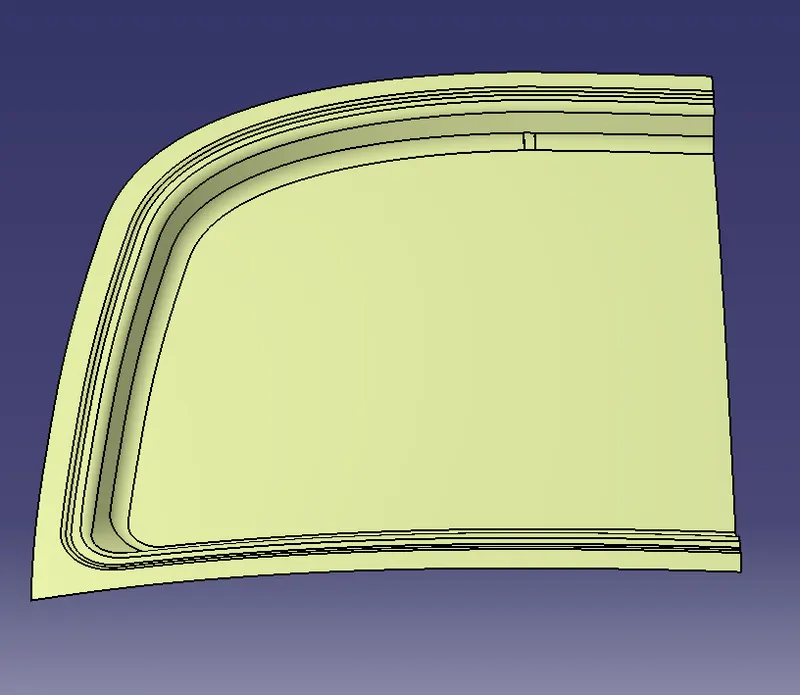
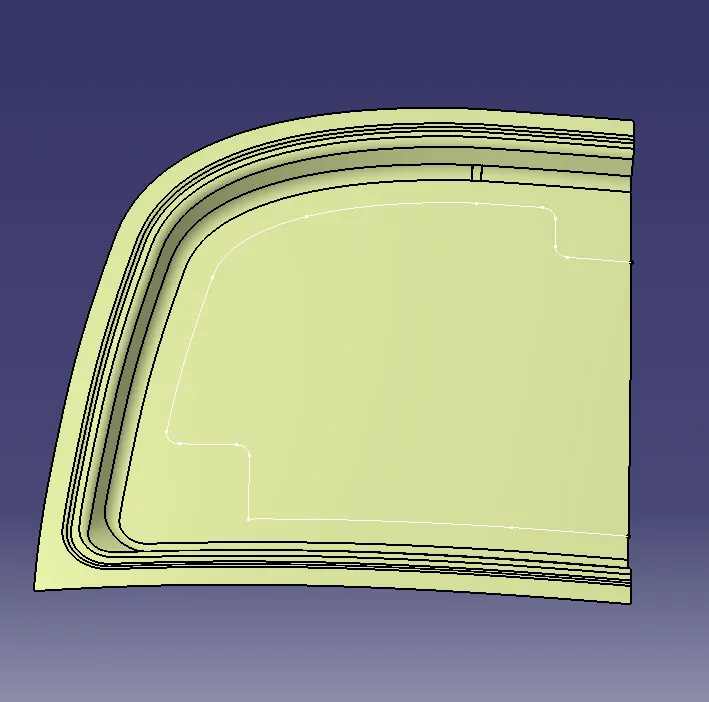
- Project the Sketch on the Surface and split the surface. Now use the line to sweep the surface. Now create a surface to offset the surface with an offset of 5mm.
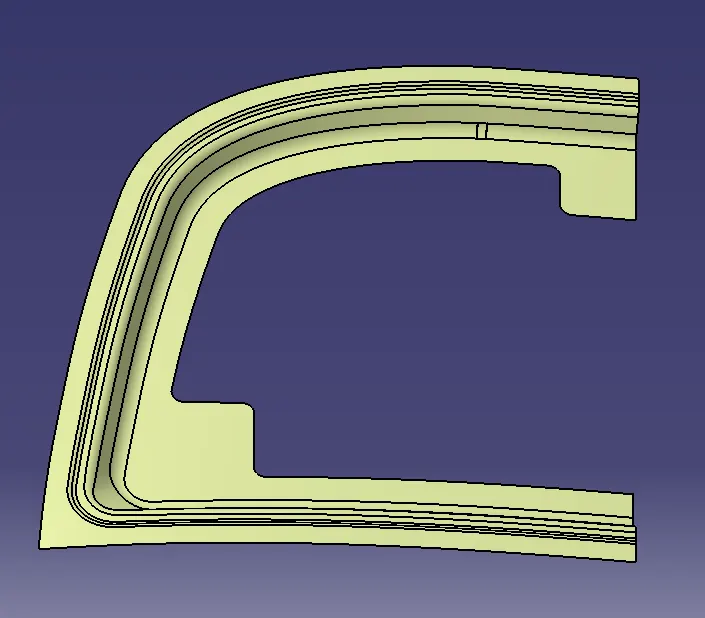
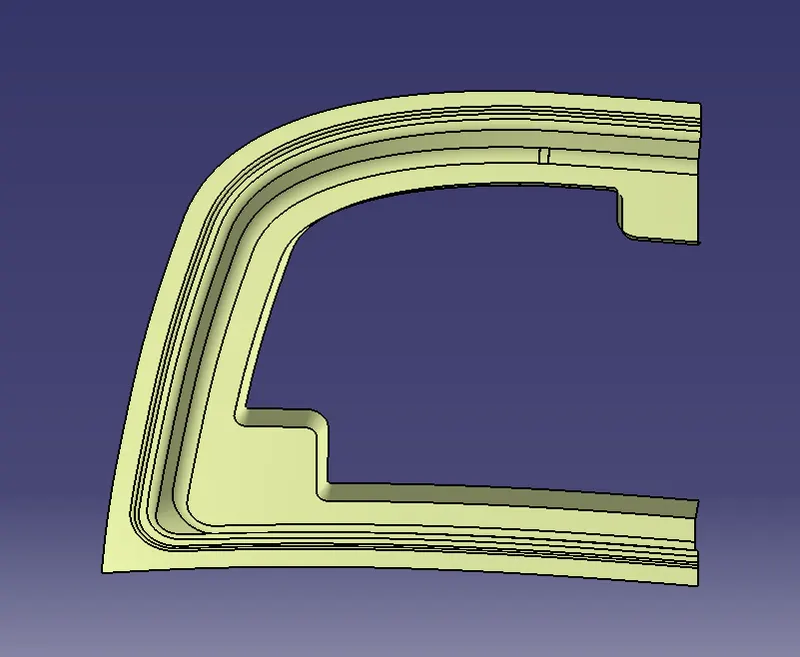
- Trim the sweep with offset and join the Surfaces together.
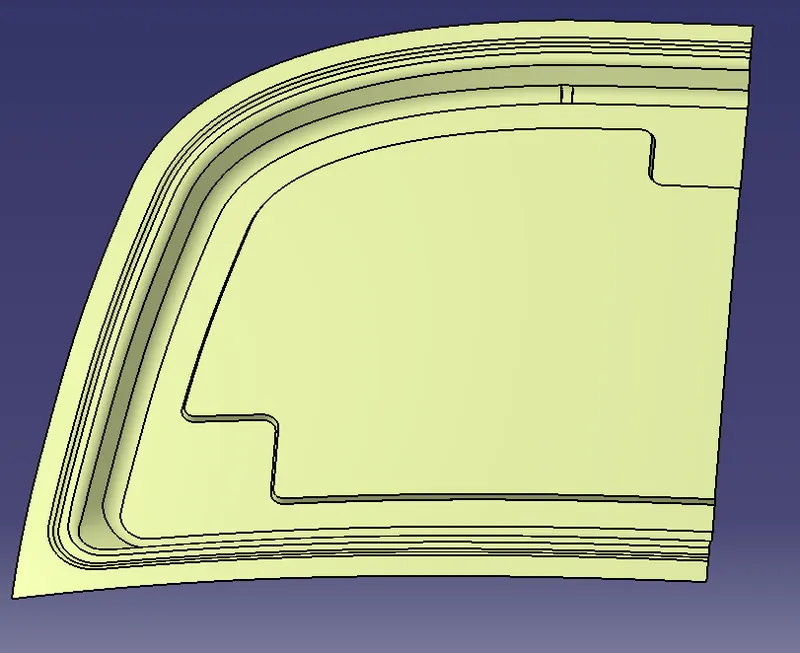
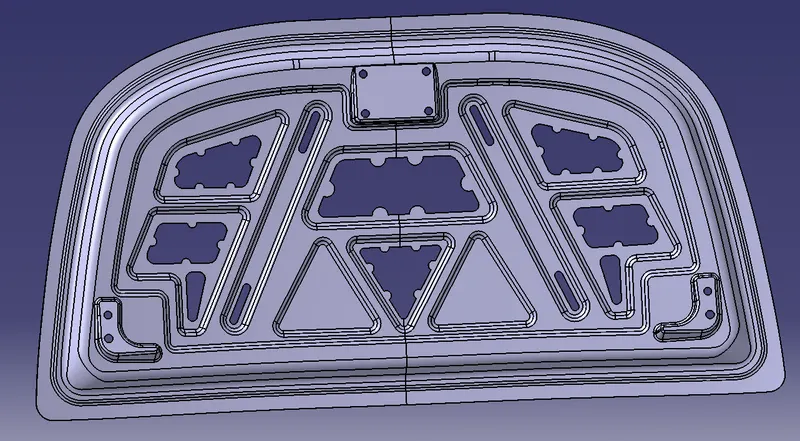
- Now, create a new shape for the embossments such that there is even stress flow distribution which helps to protect the passenger.
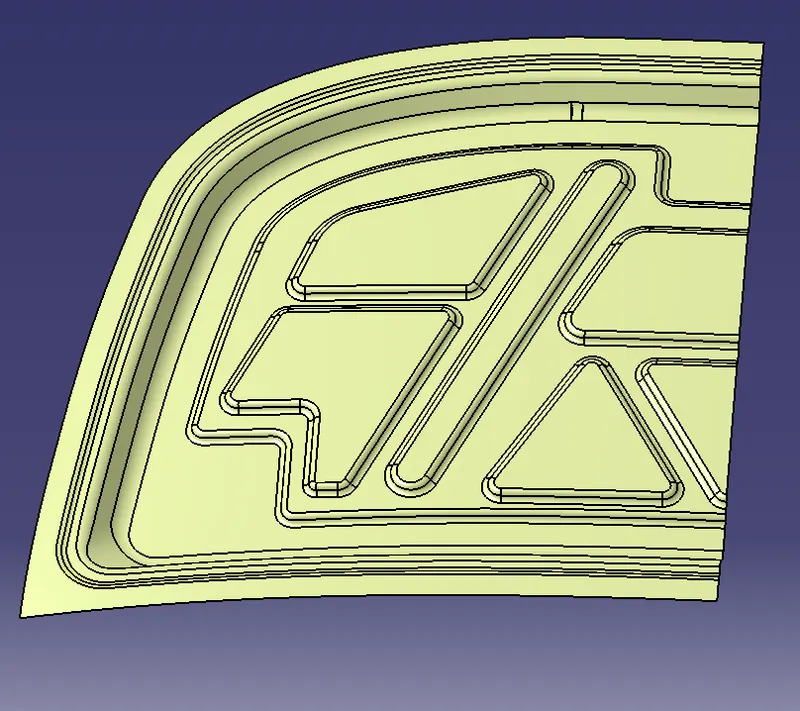
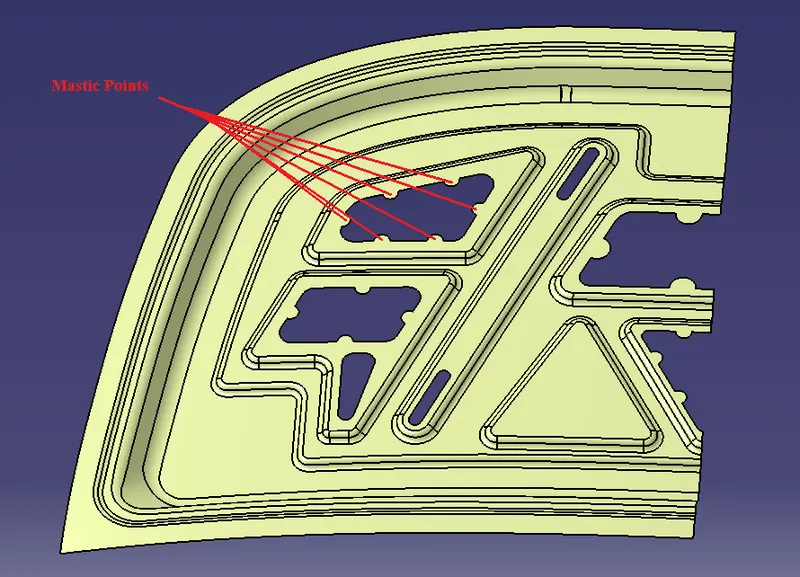
- After creating the embossments, mastic points are to be included near the hole regions such that these points are used to make sure that there is no gap between the outer and inner panels.
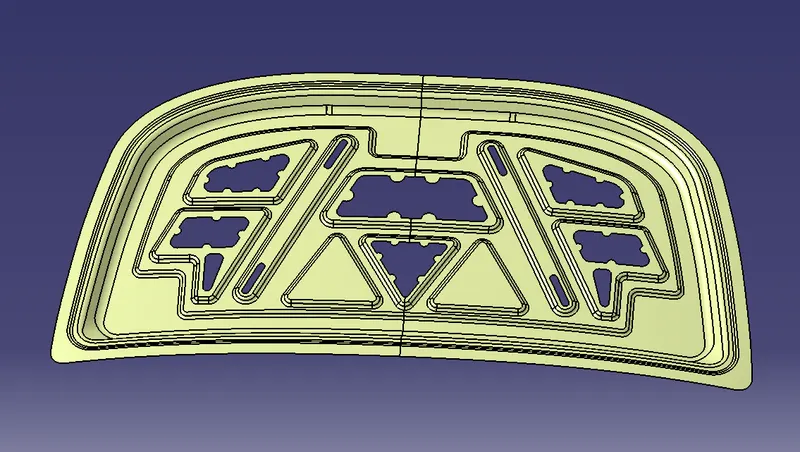
- Now, Use the symmetry option to create the surface on the other side. Join the Surfaces and if there is a gap between the surfaces, we need to create a surface in between them and join it.
- Now go to the Assembly Workbench just to arrange the hinge and latch with the Hood part without constraining it.
- Creating the Outer Panel:
- To create the Outer Panel, use the split surface to extrapolate the surface up to 2.75 mm.
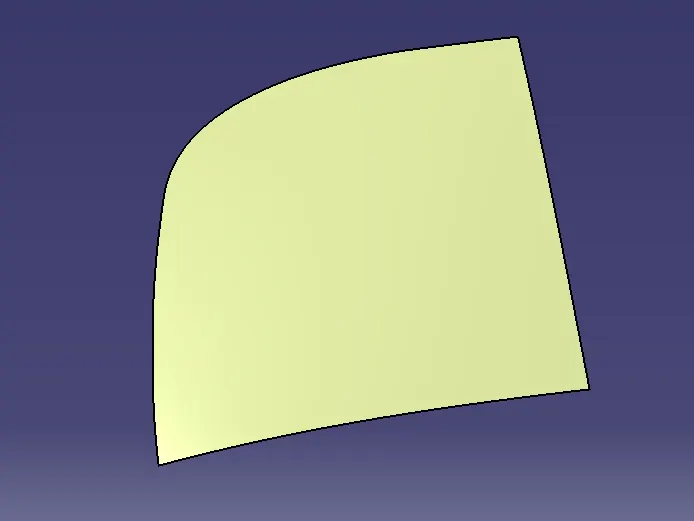
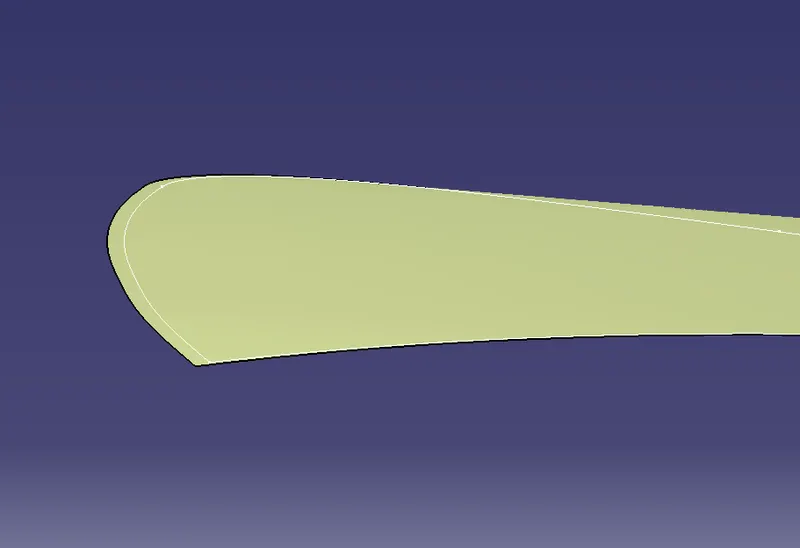
- Now, offset it to 2.45mm. Create a boundary and use the parallel curve option to offset it to 8mm.
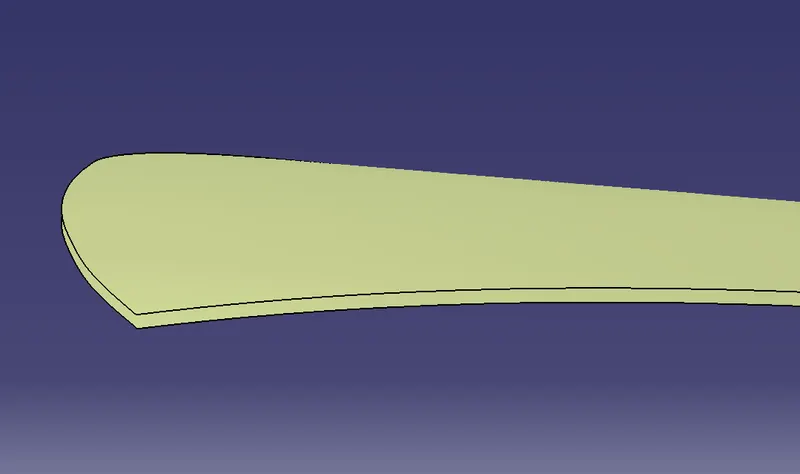
- Use the Split option and create a surface.
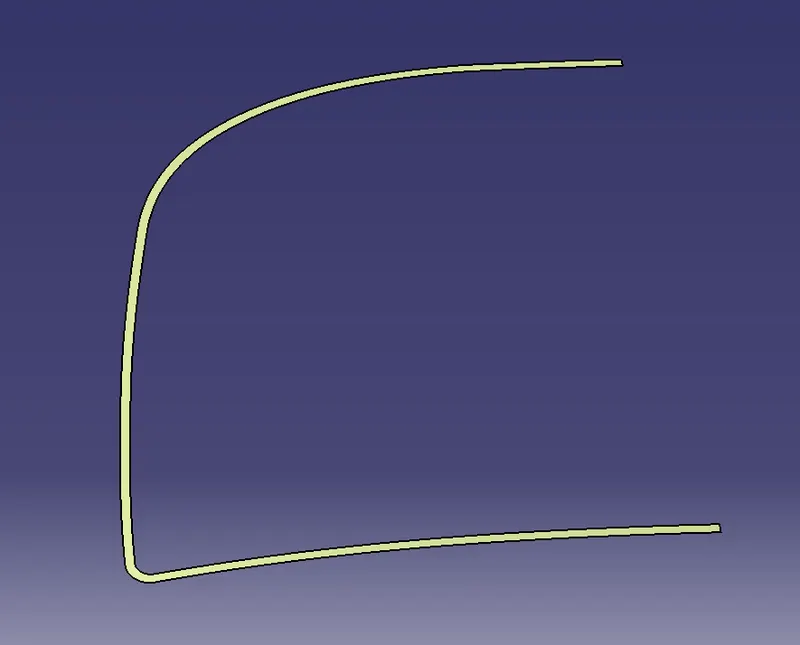
- Use the Multi-Section surface to create a Surface in between the surfaces.
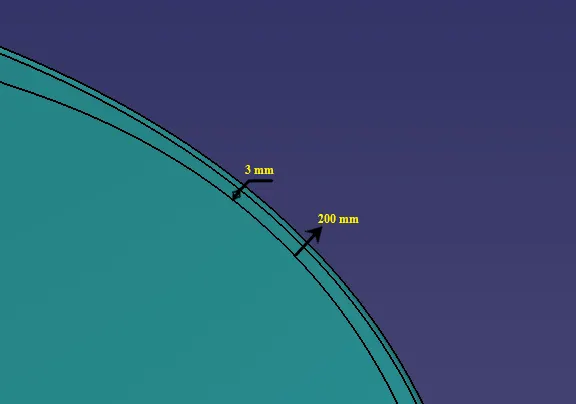
- Join the Surfaces and give an edge fillet of 1.225mm.
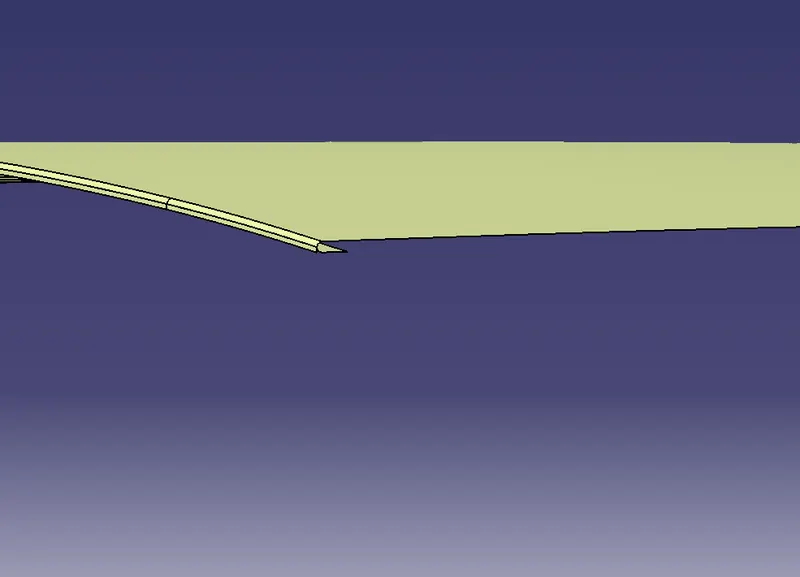
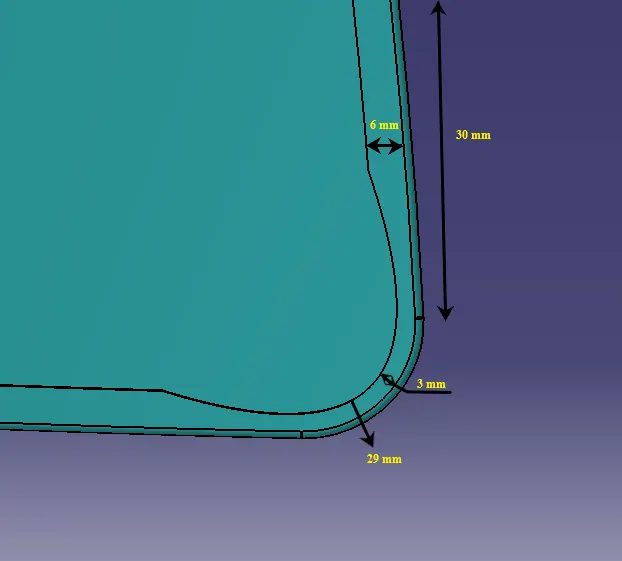
- Cutouts should be given near the hemmed region.
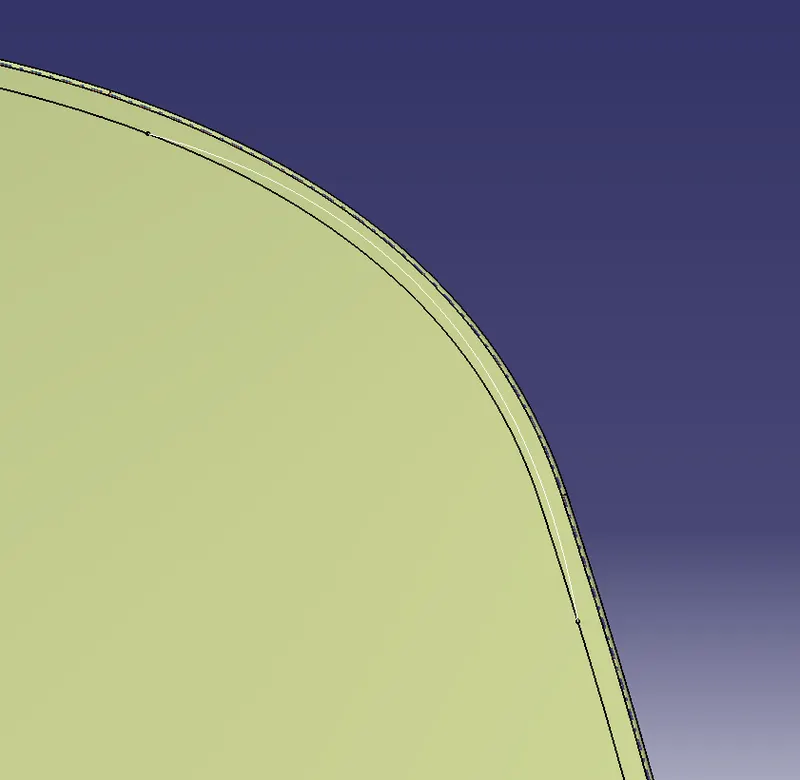
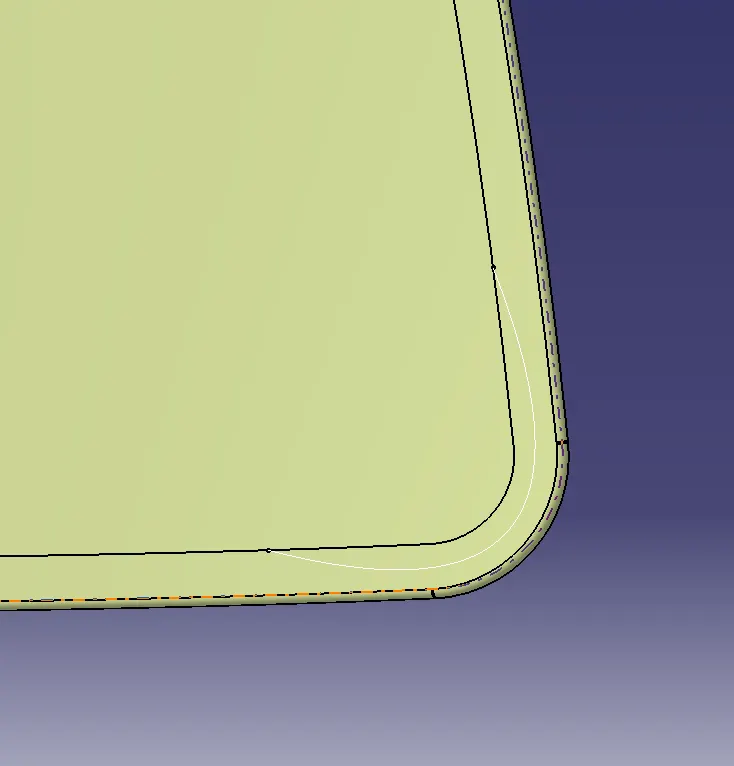
- Use the Symmetry option to create the surface on the other side and Join the Surfaces.
- Go to the Part Workbench and use the thick option to create the solid with a thickness of 0.75mm.
- Creating the Hinge Support:
- To create the Hinge support, use the Assembly workbench to adjust the Hinge Part near to the Hood Part using the manipulate tool.
- Now, go to the Hood Model part workbench and create a sketch using the Hinge such that the hinge part is covered with the support length.
- Once the sketch is created use the project option to create a projection on the surface. Use the split option to split.
- Use the Sweep option to create the surface with a draft of 7 degrees(minimum). Now extract the lower surface of the hinge part and extrapolate it.
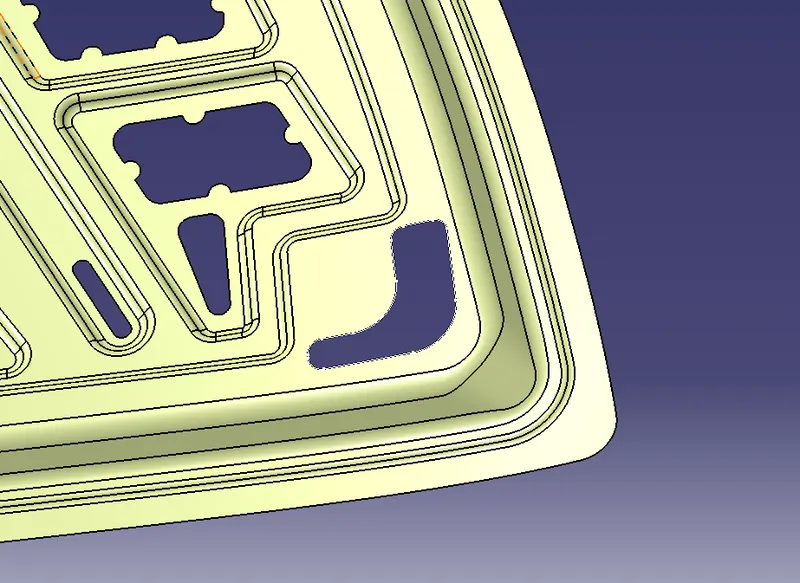
- Trim the surface with the Sweep surface. Symmetry the Part onto the other side.
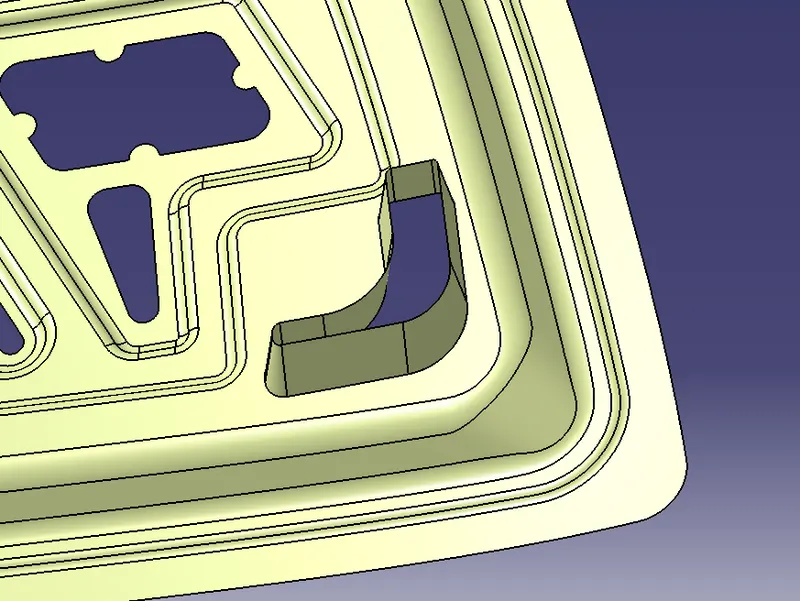
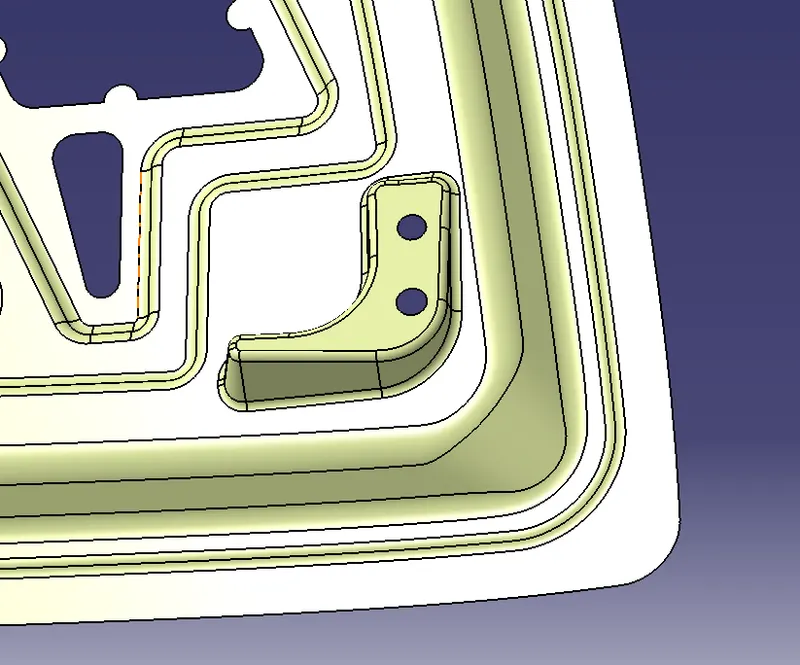
- Join the Surfaces and check for the boundaries.
- Now, go to the Assembly workbench again to join the Surfaces together. And adjust it to the surface.
- Mirror the Hinge Surface onto the other side.
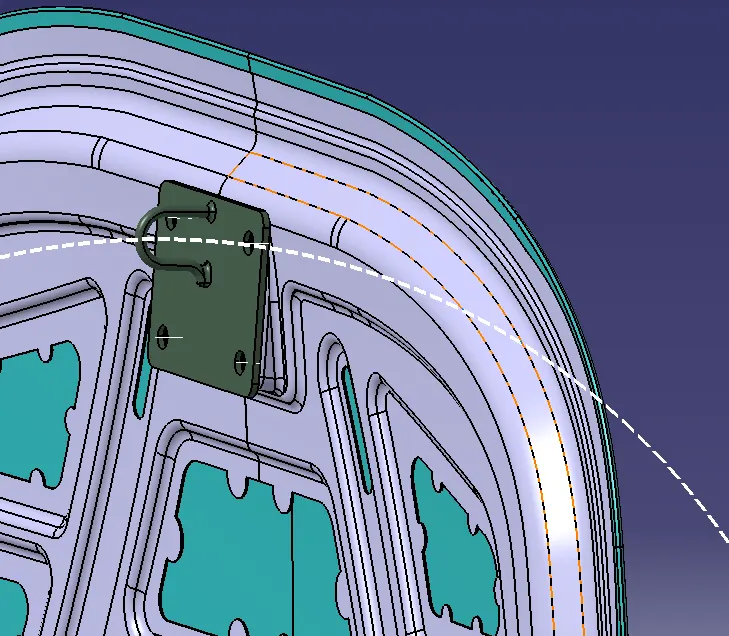
- Create a point at the center of the Hinge circle at both points and create a line using the two points.
- Create the middle point using the two points created and create a circle using the middle point created. The circle trajectory should be tangent to the latch part.
- Creating the Latch Support:
- Use the latch part, to create the Support which is similar to that of the hinge part but the latch part striker should be tangent to the circle.
- Use the part to create a sketch and project it to the surface and split it.
- Use the Extrude option to extract a line to the Y-Axis. and extract the line from the lower latch part.
- Trim the extract and the Extrude lines together. Join the surfaces together.
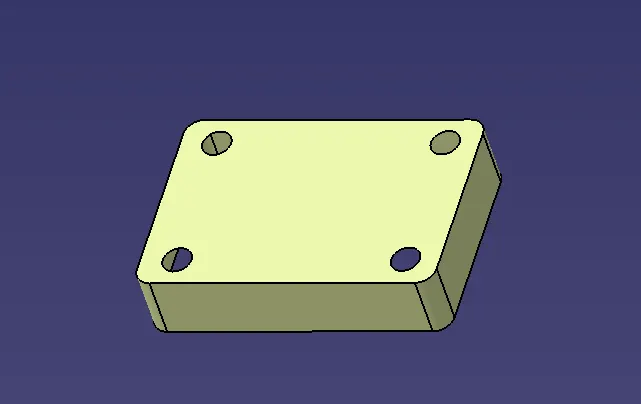
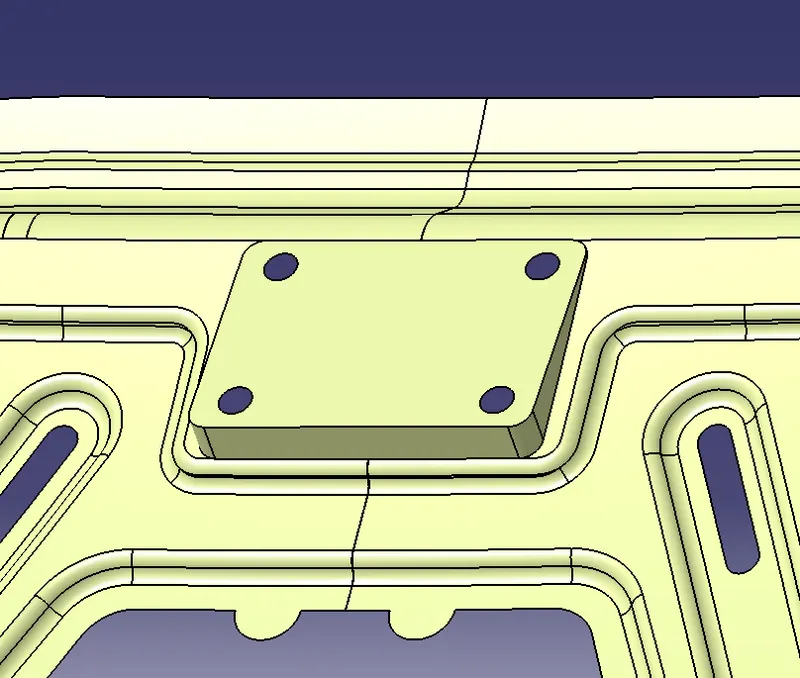
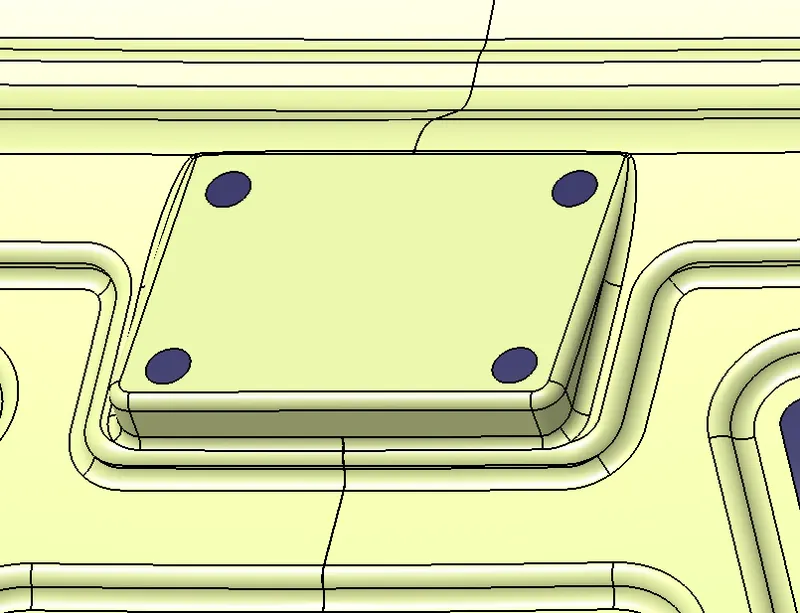
- Check for the Boundaries and go to the part workbench and use the Thick surface option to create a solid with a thickness of 0.75mm.
- Reinforcements creation:
- To create the Reinforcements, In the Assembly workbench, Click on the Lower part of the Hinge and Latch surfaces and extract the surfaces.
- Now, offset the extracted surface to the lower part of the Hood’s inner Panel.
- Go to the Part Workbench and Use the thick surface option to create a solid with a thickness of 1.5mm.
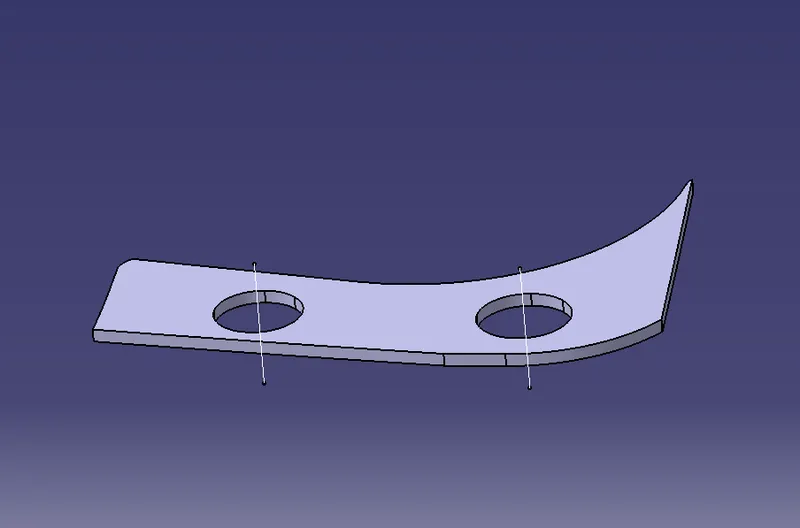
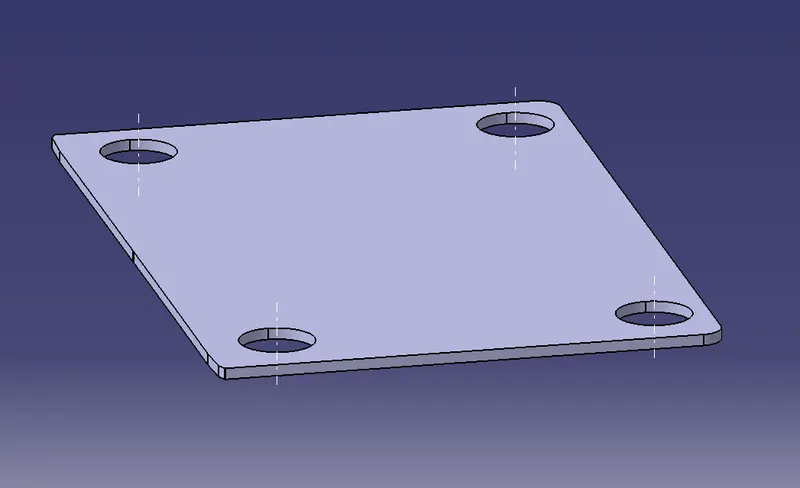
- Assemble the Components:
- To assemble the components, Use the Assembly Workbench and constraint the parts using the Contact or Offset constraints.
- Check for the Degrees of freedom such that it is constrained fully.
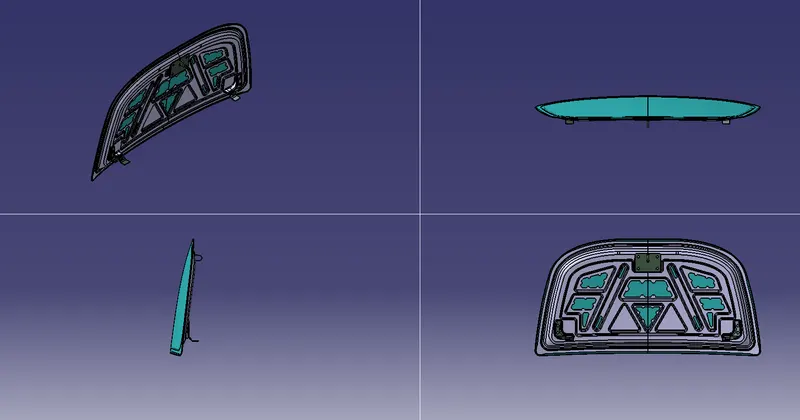
Result:
The Hood model is created and hinge, Latch, and Reinforcements are assembled together to form a complete model.
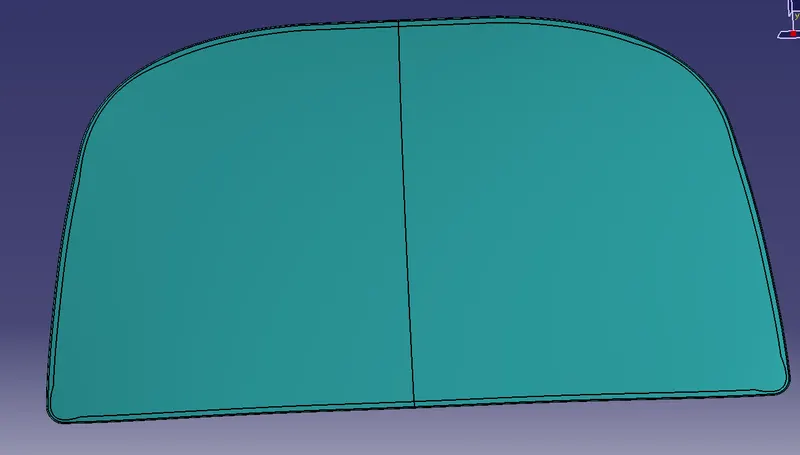
Outer Panel:
Inner Panel:
Hinge Joint trajectory is Tangent to the Latch Part:
Section View Inner and Outer Panel of Hood:
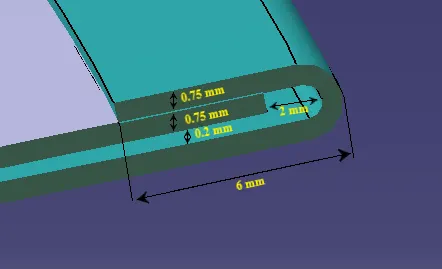
Outer Hood Cutout :
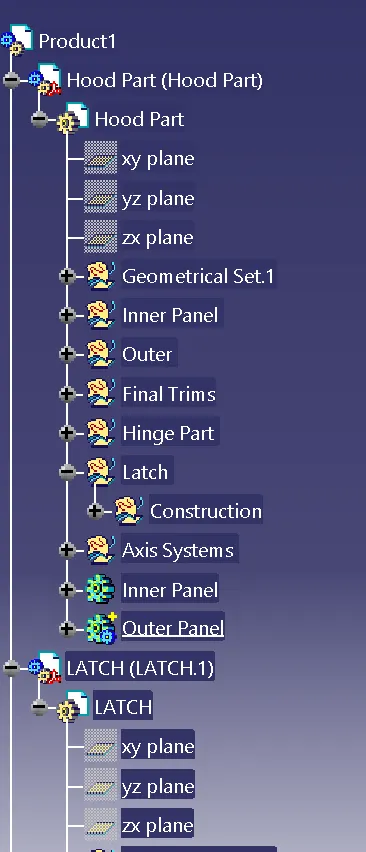
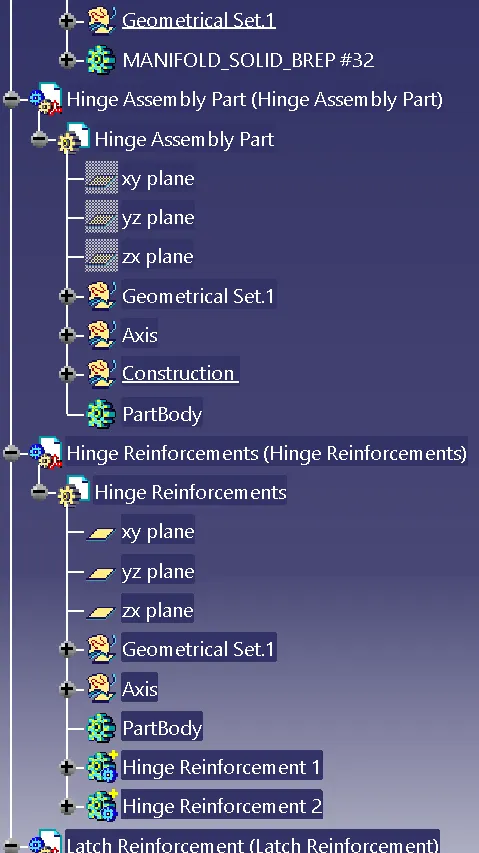
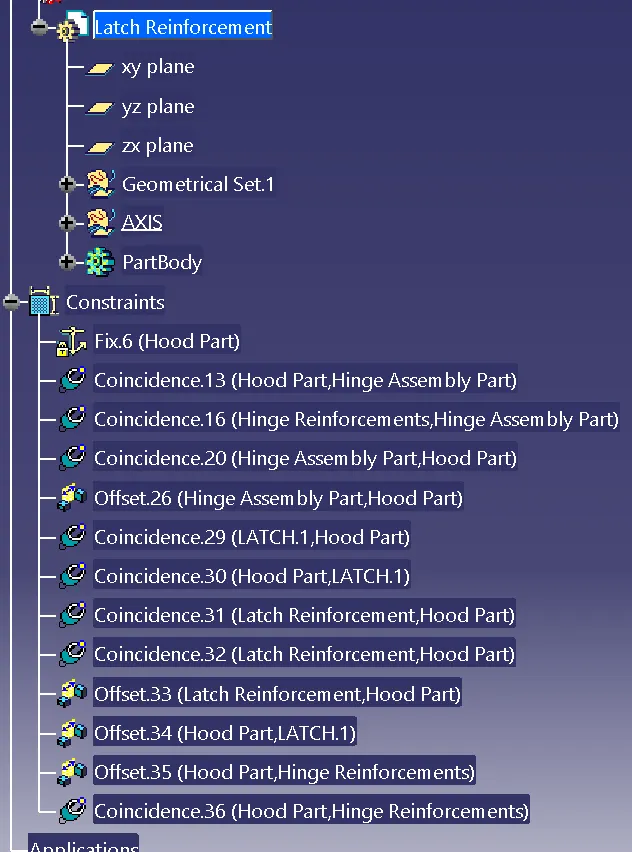
Tree Structure:
Terms Used:
Mastic Data:
Mastic is commonly as an adhesive and sealant. A mastic sealant is a type of liquid sealant that cures in an elastic state, thus making it flexible while holding the bond of the surfaces that have attached together. It adheres to just about any material making an all-purpose type of sealant. Wood, aluminum, glass, marble, and even duct board are all standard applications for mastic sealant
Embossments:
Embossing is an operation used in making raised figures on the sheets, with corresponding relief on the other side. The process essentially involves drawing and bending of the metal. The die set consists of a die and punch with the desired contours so that when the punch and die meet the clearance between them is the same as that of the sheet thickness. Embossing operation is generally used for providing dimples on sheets to increase their rigidity and for decorative sheet work used for panels in houses and religious places. Stretch forming operation is a relatively less severe operation.
Reinforcements:
In the motor vehicle bodywork constructed from sheet metal components, it is often necessary to reinforce the sheet metal components in regions where heavy strain occurs. Therefore, an additional sheet is added (known as Sheet Doubling) over those areas.