Fender Design Challenge
FENDER DESIGN
Introduction
Fender is the American English term for the part of an automobile, motorcycle or other vehicle body that frames a wheel well (the fender underside). Its primary purpose is to prevent sand, mud, rocks, liquids, and other road spray. from being thrown into the air by the rotating tire. Fenders are typically rigid and can be damaged by contact with the road surface.
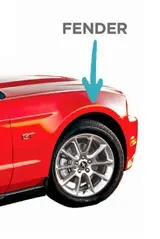
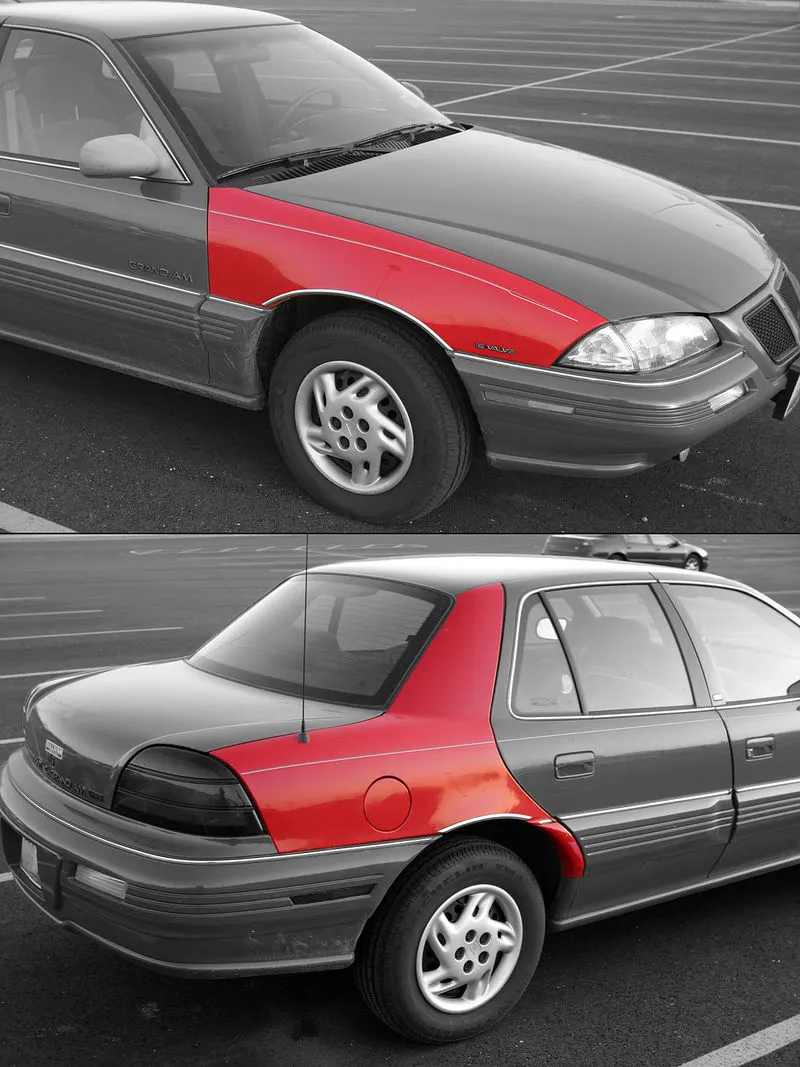
Sticky materials, such as mud, may adhere to the smooth outer tire surface, while smooth loose objects, such as stones, can become temporarily embedded in the tread grooves as the tire rolls over the ground. These materials can be ejected from the surface of the tire at high velocity as the tire imparts kinetic energy to the attached objects. For a vehicle moving forward, the top of the tire is rotating upward and forward, and can throw objects into the air at other vehicles or pedestrians in front of the vehicle.
There are two type of fender in general
- Full bumper type
- Half bumper type
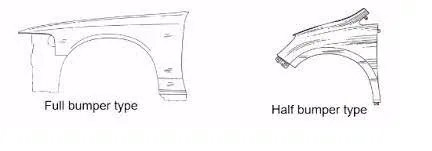
1. Full bumper type :
Presently we are using the half bumper type , the reason for choosing the half bumper type is that when we choose the full bumper type the blank used for creating it is very large and also has the lot of wastage , but in the case of the half bumper type we have the possibility to reduce the scrap . This is what we called as scrap management
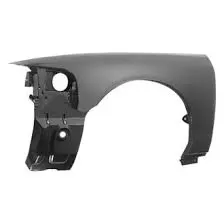
2. Half bumper type :
In half bumper type we reduce the usage of the steel material and uses the lots of plastic on the bumper which in term decreases the cars weight and increases the performance.
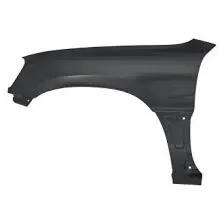
Car Fender Pros
- The fender is responsible for protecting the body of the car. If debris could flow freely from the moving tires, a lot more body damage would occur, requiring repairs. The fender is the shield that protects both your car and others near you on the road.
- The fender also helps to keep the car from getting too messy. Because the fender blocks dust and mud from being sprayed from the tires, you will need to clean your car less frequently.
- On top of that, the vehicle fenders have such a beautiful appearance, perfectly complementing the style of your vehicle. When perfectly matched, the fenders flow seamlessly with the rest of its appearance.
Car Fender Cons
- If a car repair occurs and the fender isn’t put on the vehicle properly, you will notice the trouble. It has a dramatic impact on the way the vehicle looks. The protruding fender will draw attention, especially if the color isn’t matched perfectly.
- Oversize fenders can also impact the aerodynamics of the car. If you are driving at higher speeds, there could be higher resistance that could create a level of instability.
Mounting Regions on Fender :
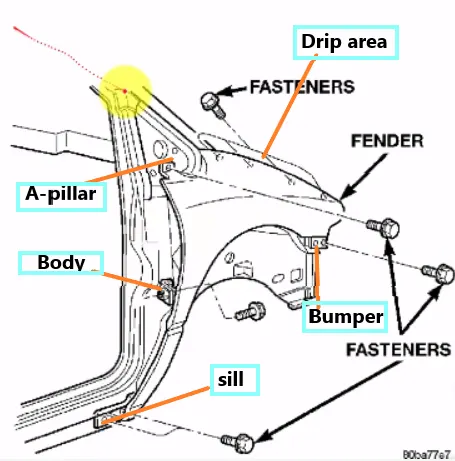
There are 5 mounting regions on the fender , they are
- A- pillar mounting
- Body mounting
- Sill mounting
- Bumper mounting
- Drip mounting
Software : CATIA V5
Design Process :
Follow the given Master section to create the Drip Area
For the Sill, Bumper, Baffle(Splash), and A-Pillar mount create your own design according to the Engineering standard that you learned.
Given Fender Class A Suface
Create a fender part model by using .igs or .step file to .Cat part file convertion. cleanup given multiple surface and create single surface join feature with merging distance 0.001 to 0.003 mm.
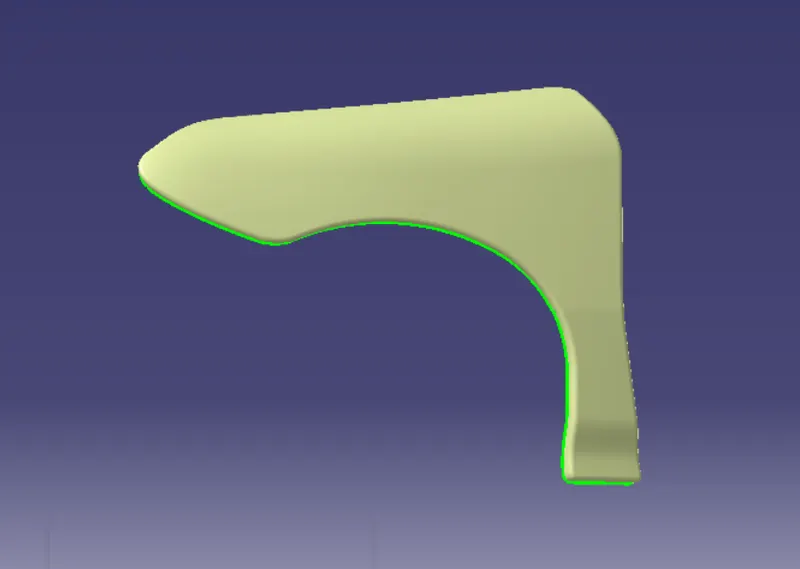
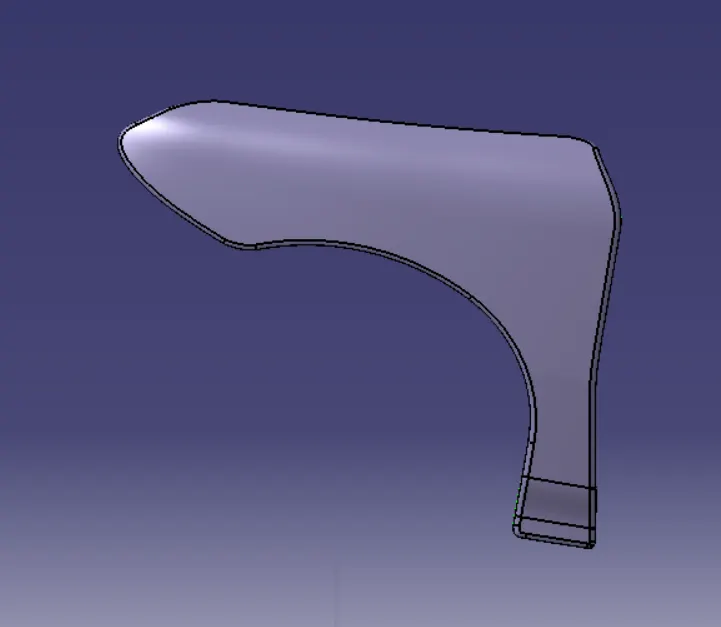
Design Criteria :
- Embosses are provided to increase the strength.
- Curve smooths are designed for easy manufacturing of panel.
- Beads are provided to drip area mount to give structual support and extra strengh.
- Maintain extra 10mm from the flat surface for the fastner holes.
- All fillets should maintain at minimum 3mm radius in most regions.
- Thickness of fender is 0.75mm.
1. Drip area :
Following above master section create drip area using section SA-SA,SB-SB and SC-SC we are maintian car line x distance for section SA-SA 2OO mm and SC-SC 150mm.Also hood fully open position tool work ability rear end point 200 mm or over and engine room side 10 or over.
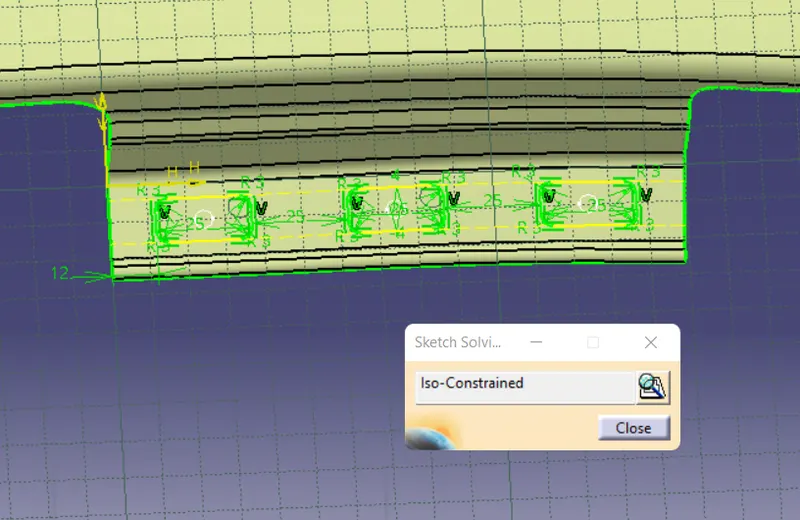
After applying thinksurface Drip area
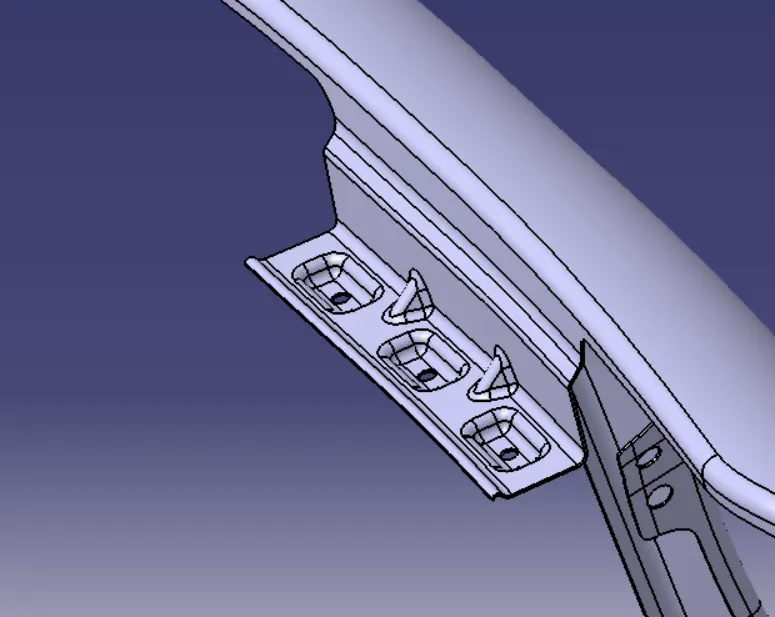
2. A- Piller Mounting :
Create a piller mount on right side corner above given fender according to the engineering standards.
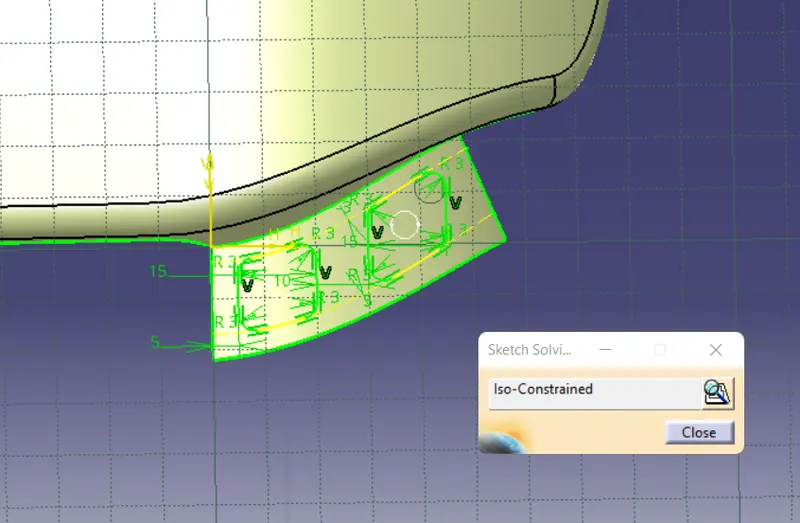
After applying thinksurface A- Piller mounting
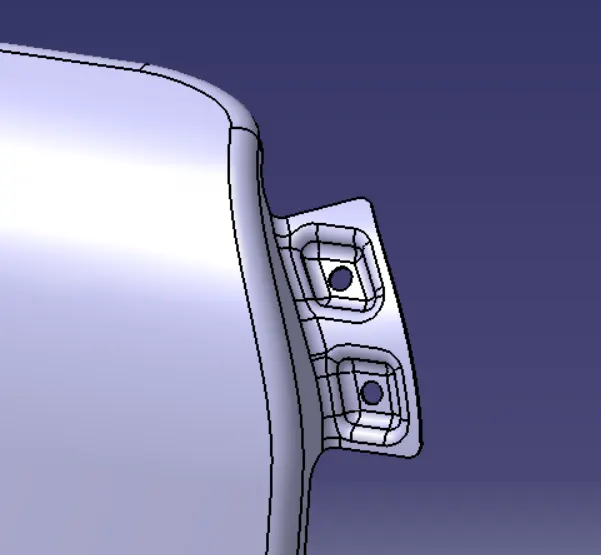
3. Bumper mounting :
Create a Bumper mounting on left side corner below given fender according to the engineering standards.
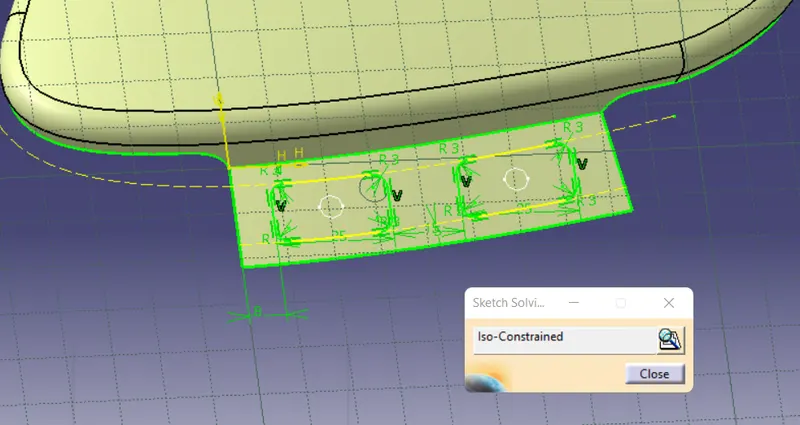
After applying thinksurface Bumper mounting
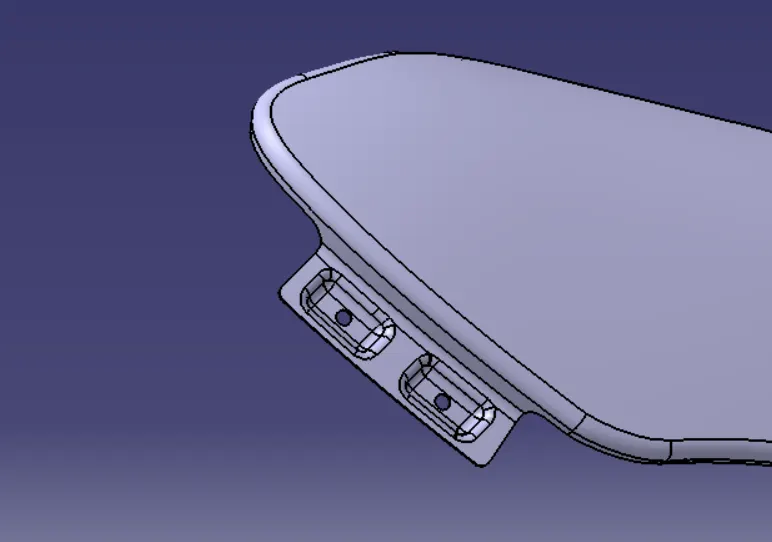
4. Body or Buffle mounting :
Create a Body or Buffle mounting on middle corveture portion given fender according to the engineering standards.
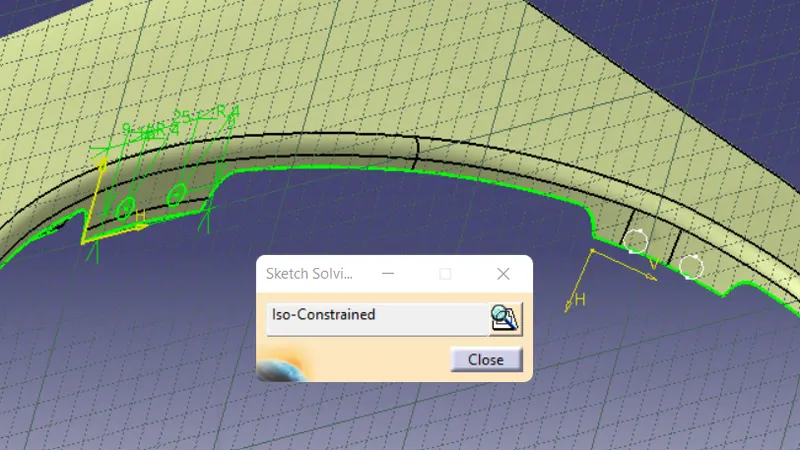
After applying thinksurface Body or Buffle mounting
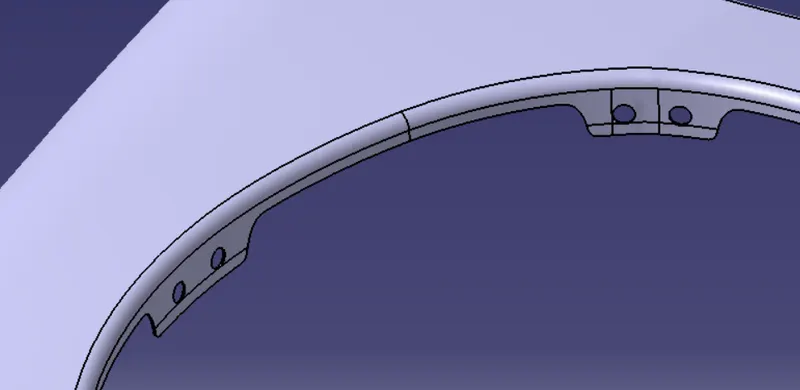
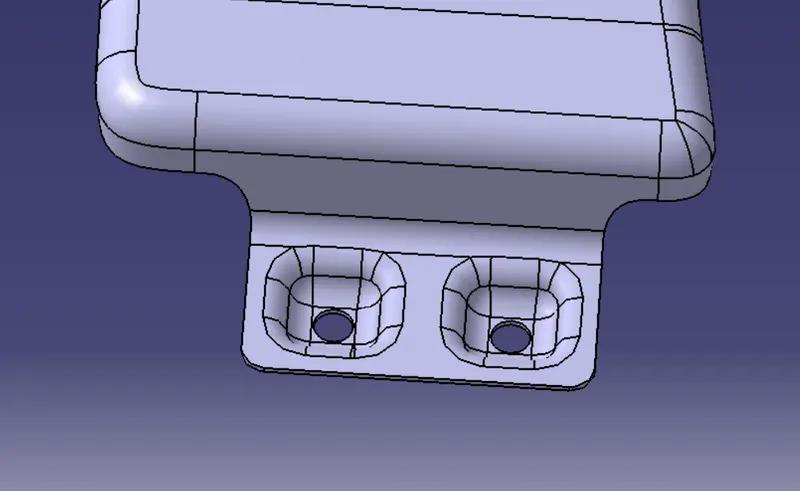
5. Sill mounting :
Create a sill mounting on right side corner below the given fender according to the engineering standards.
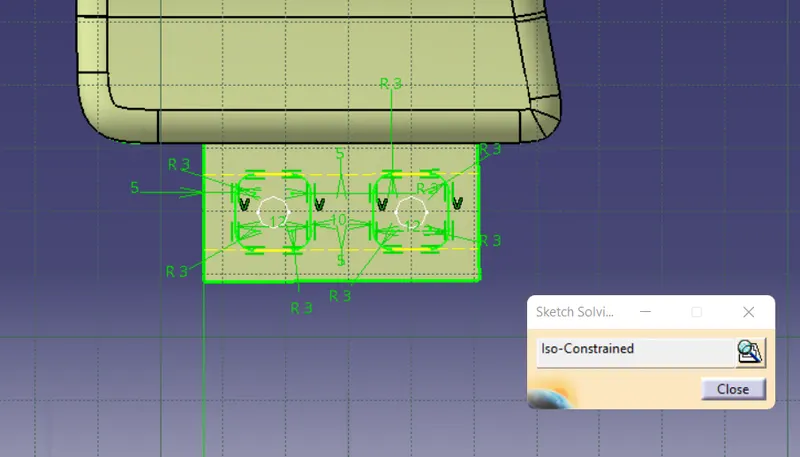
After applying thinksurface Sill mounting
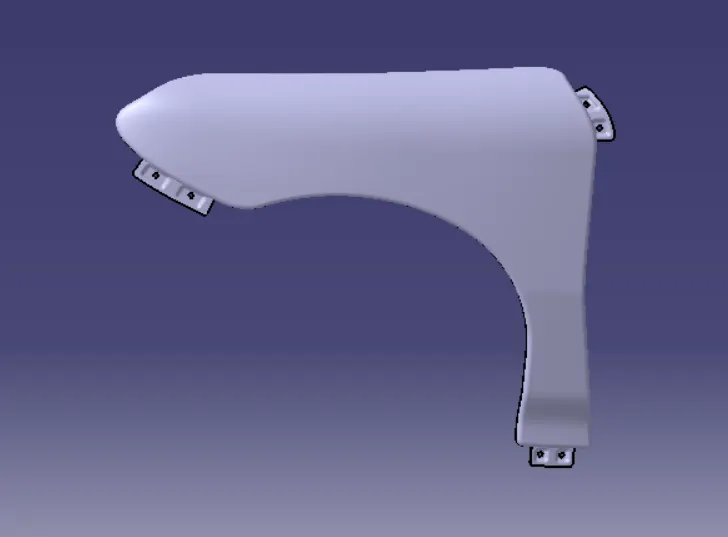
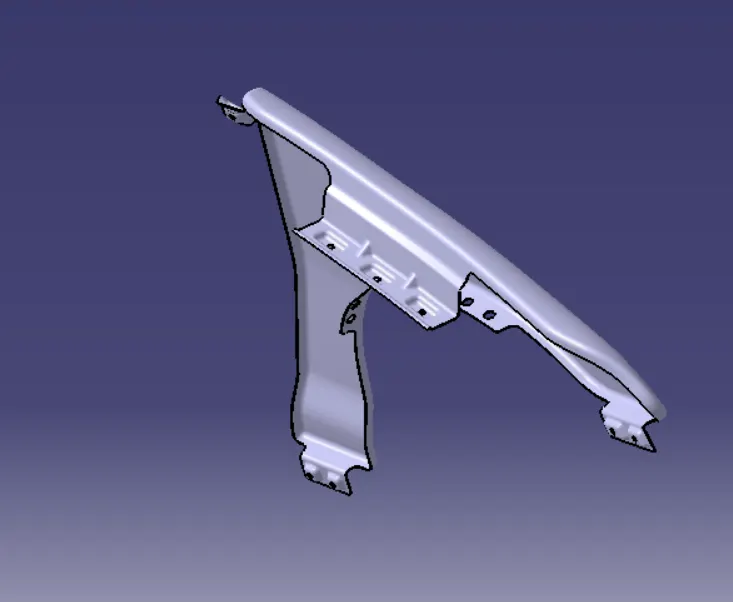
Different Views Of Fender :
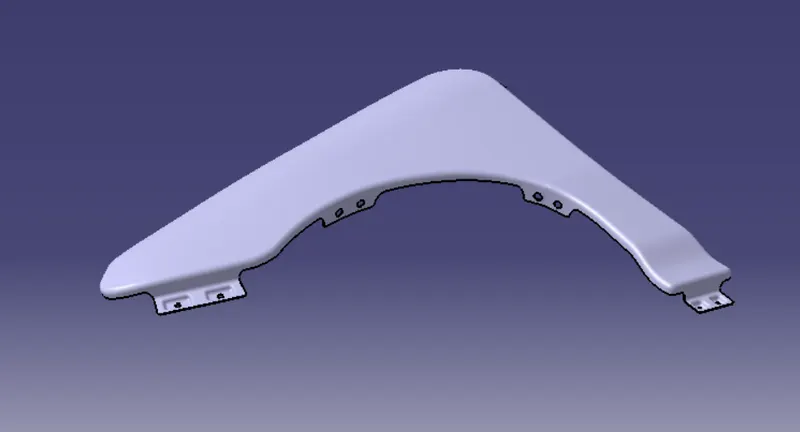
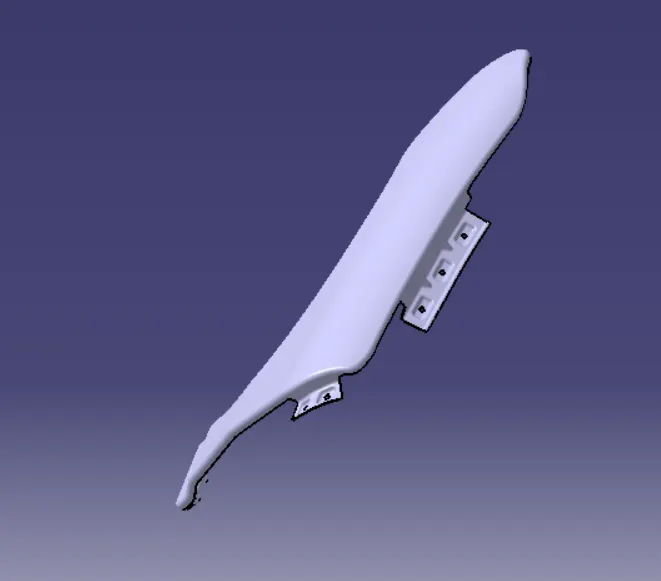
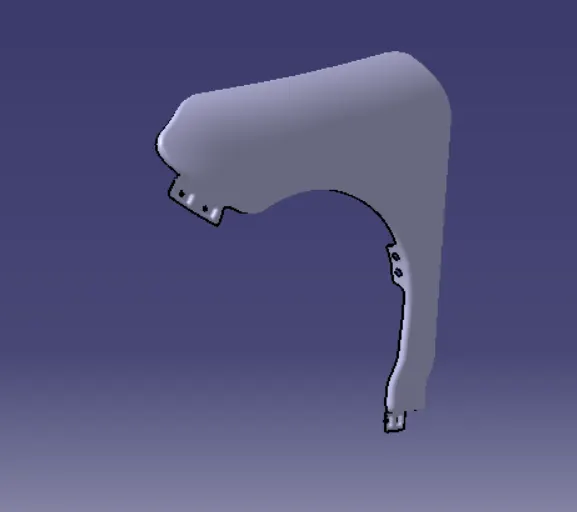
Conclusion :
Finally design of fender is done with help of CATIA V5 software by following master section and engineering standards.