Fender Design Challenge
FENDER DESIGN
FENDER:
It is a part of an automobile, motorcycle or other vehicle body that frames a wheel well. Its primary purpose is to prevent sand, mud, rocks, liquids, and other road spray from being thrown into the air by the rotating tire. Fenders are typically rigid and can be damaged by contact with the road surface.
Sticky materials, such as mud, may adhere to the smooth outer tire surface, while smooth loose objects, such as stones, can become temporarily embedded in the tread grooves as the tire rolls over the ground. These materials can be ejected from the surface of the tire at high velocity as the tire imparts kinetic energy to the attached objects. For a vehicle moving forward, the top of the tire is rotating upward and forward, and can throw objects into the air at other vehicles or pedestrians in front of the vehicle.
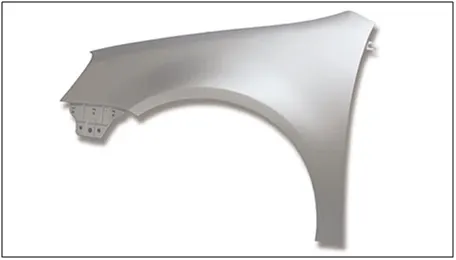
Fig 1. Fender
There are 2 types of fender used in automobile:
Full Bumper Type:
These type of fenders were mainly used in old cars.
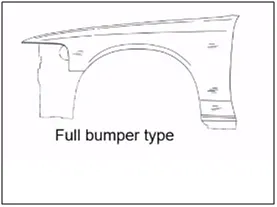
Fig 2. Full Bumper Type
Half Bumper type:
Mainly half bumper type is used in automobiles. It is basically related to scrap management. Half bumper type leads to less wastage of the blank.
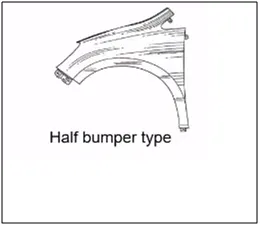
Fig 3. Half Bumper Type
Fender is designed and mounted at body, A pillar, Sill, and the drip area with fasteners.
FENDER DESIGNING:
The class A surface is provided to us by the styling team. We have to create mountings on the fender.
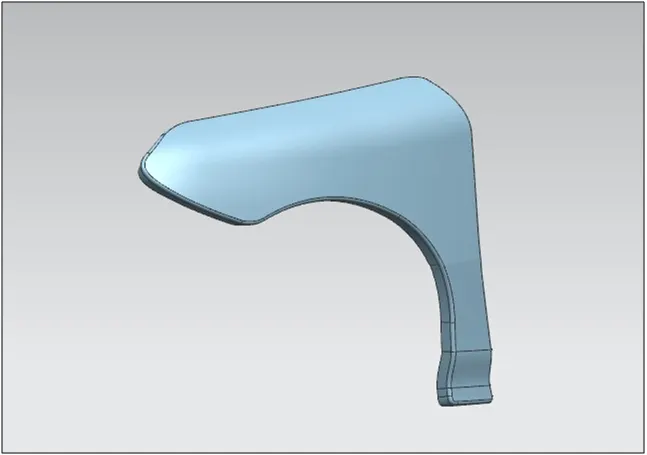
Fig 1. Class A Surface
The fender consists of the following mountings:
A Pillar mounting
Sill Mounting
Bumper Mounting
Drip Area
DRIP AREA:
The design of the drip area plays an important role. There are many design parameters to be followed while designing the drip area.
The master section is given to us for designing the drip area.
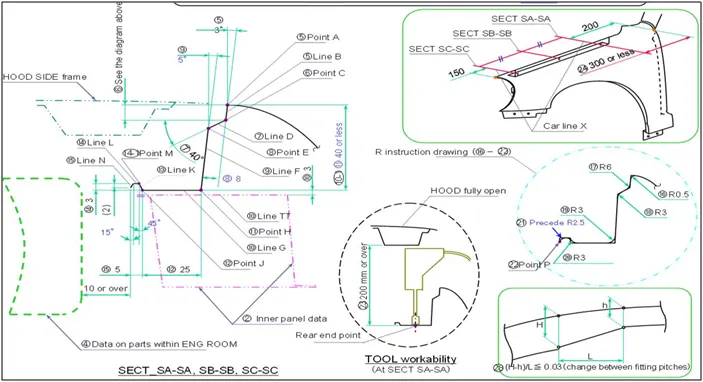
Fig 2. Master section
The drip area should be located 150mm away from the front of the fender to cater to the space for the headlight.
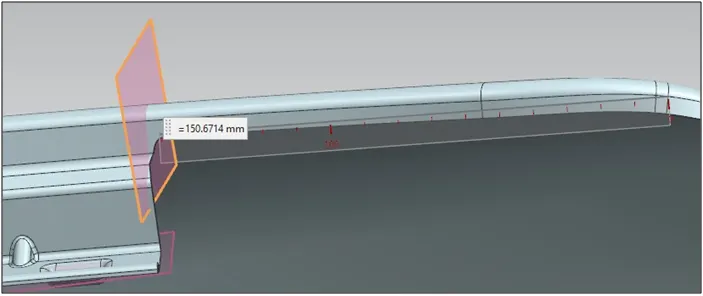
Fig 3. Drip area 150mm away from the front of the fender
The height of the drip area should be 40mm or less.
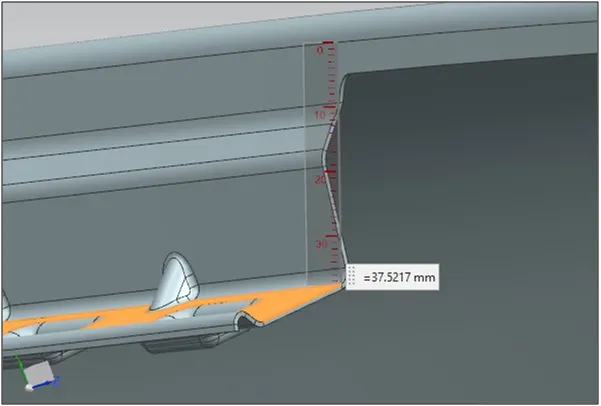
Fig 4. Height of the drip area should be 40mm or less
Darts are provided to increase the strength of the drip area.
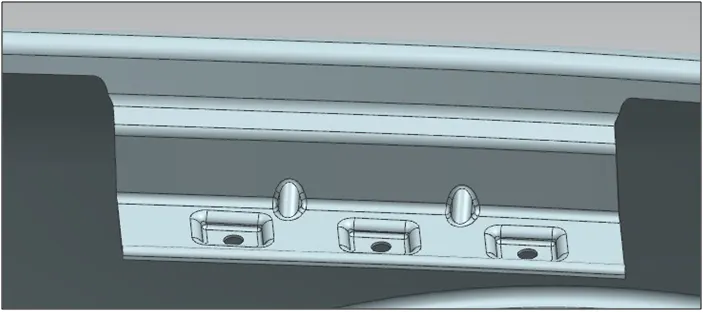
Fig 5. Darts
A PILLAR MOUNTING:
This part attaches to the A pillar of the car. There should not be any sharp corners. All Sharp Corners are made smooth.
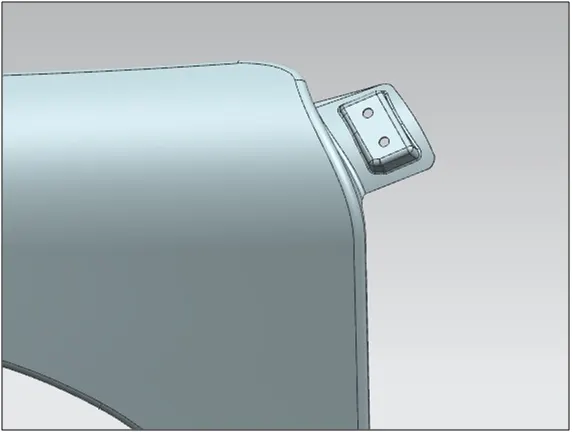
Fig 6. A Pillar
SILL MOUNTING:
The fender is mounted at the sill area. For this mounting area along with holes are created.
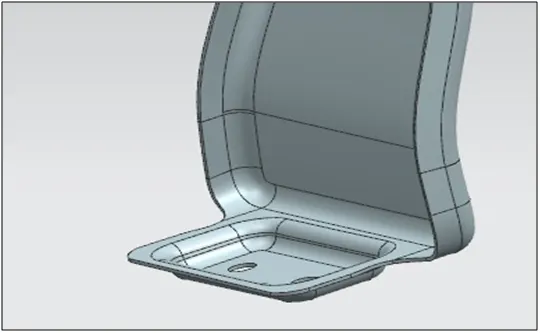
Fig 7. Sill Mounting
BAFFLE MOUNTING:
The baffle is the black coloured part over the tyre. It is press fitted.
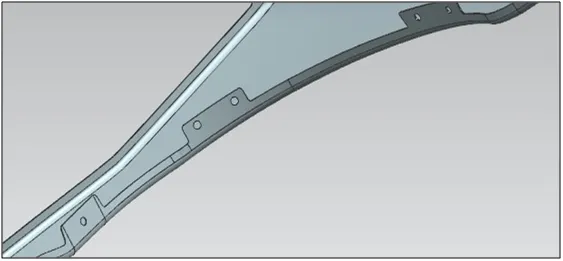
Fig 8. Baffle Mounting
BUMPER MOUNTING:
The bumper mounting area is created at the place where fender is fitted to the bumper. Since the bumper mounting area is long darts are created for increasing the stiffness of the part.
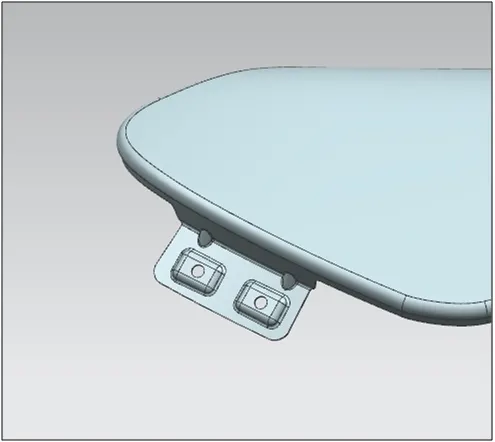
Fig 9. Bumper Mounting
FENDER DESIGN MODELS:
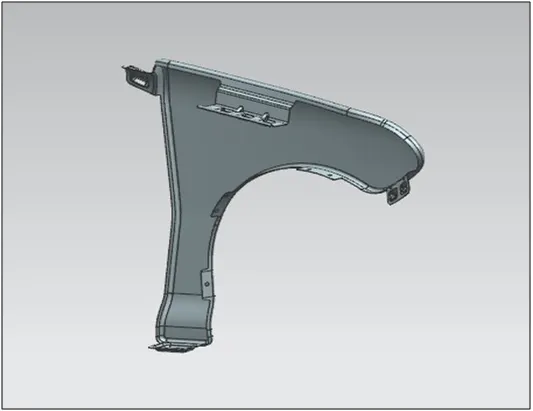
Fig 10. Fender View 1
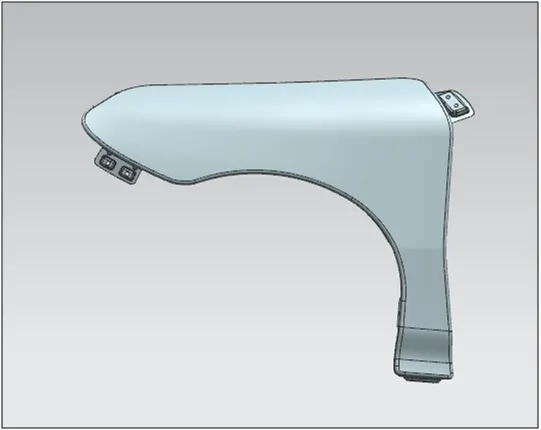
Fig 11. Fender View 2
CONCLUSION:
The fender was successfully created with the following mounting points and taking into account all the design parameters.