Fender Design Challenge
OBJECTIVE:
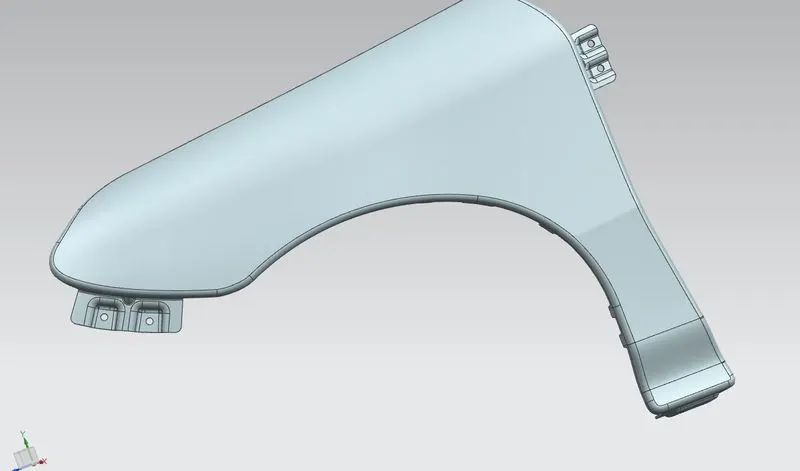
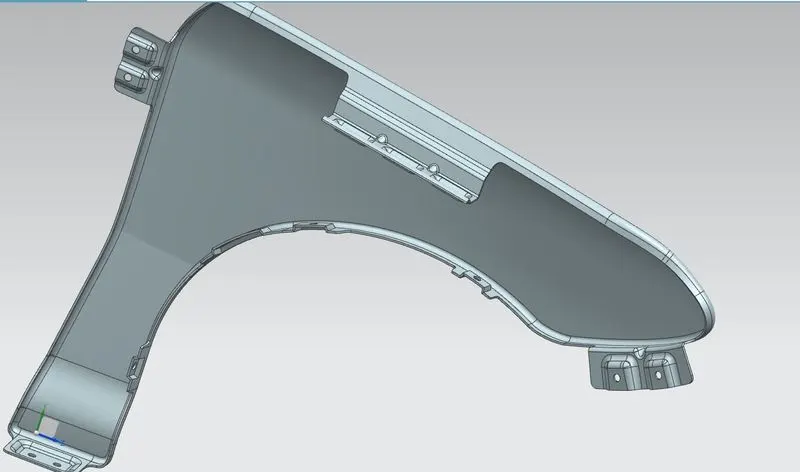
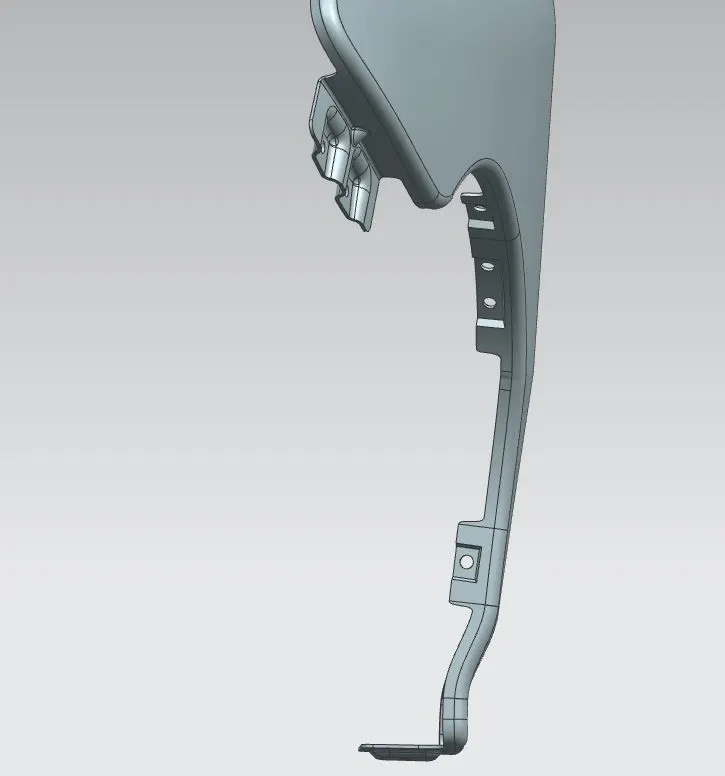
Design a front fender from the given skin data and the master section provided with Drip mounting, A-pillar, Sill, Bumper, C mounting, and Splash mountings.
INTRODUCTION:
The design of any product starts from a requirement. The design engineer sketches the 2D object of the product based on the requirement. later with proper dimensions is converted into the 3D model using the advanced CAD software. The important Factor in the design is that every product that is designed should be able to be manufactured. so the role of the design engineer is to design a product that can be easily manufactured with cost-effective techniques. This is the place where the Design for manufacturing [DFM] and Design of assembly [DFA]plays a vital role in the development of any product. The process of development of design carries on until the design satisfies the customer's needs. In this project, we will discuss the design process of the Fender
Fender:
The fender is the part of the automobile part that frames a Wheel well the primary purpose of the fender is to prevent sand, mud, rocks, liquids, and other road sprays from being thrown into the air by the rotating of tires, It also avoids injuries to pedestrians when stones hurl in all directions.
Wheel well tend to be much larger than the diameter of the tire, because they do not move with tire suspensions and consequently must be large enough to allow the full range of tire motion on the suspension without touching the interior of the wheel well
More elaborate designs include fender skirts for enclosing the outside edge of the wheel well and stylized pontoon fenders for exposed fenders
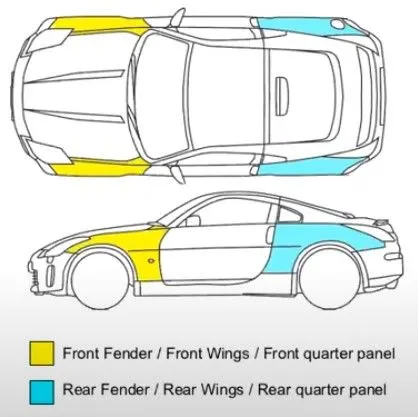
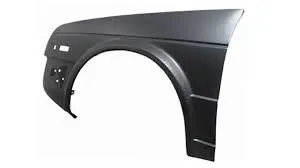
Types of Fender
There are two types of fenders, they are
1) Full bumper type
2) Half bumper type
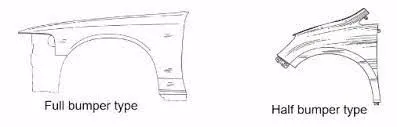
- Nowadays the half bumper is preferred over the full bumper in that the blank that is used large and much more scrap is generated whereas in half bumper the size is small and 2 bumpers can be created out of the one blank that is used for full bumper here we see scrap management comes in picture
- Plastic parts can be substituted in some areas of half bumpers which helps in weight reduction the thickness of the fender is maintained as 0.75mm
Mounting Units :
The fender is mounted on 5 different regions of the car they are
- Body mounting
- A-Pillar mounting
- Sill Mounting
- Cowl mounting
- Drip mounting
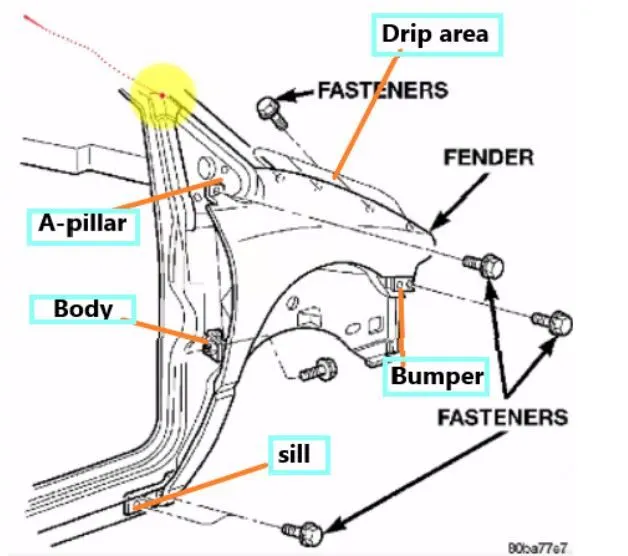
- we use fasteners for all mountings of Fender as they are inside and are hidden by other features
DESIGN 0F DRIP AREA MOUNTING :
- It is the important mounting unit of the fender. this is the region where the fender gets in contact with the Engine compartment, the design constraints are keenly studied while designing the drip area
- It should be noted that there should be a minimum of 200 mm gap between the drip area rear point to allow the cowl top mounting space and a minimum value of 100mm at the fender start point to allow space for bumper and headlamp assembly
- Two darts are inducted to provide stiffness and strength to the part. This helps in the reduction of fender noise creation and impacts the forces outside of the fender during the motion of the vehicle.
Embossing is provided on the mounting to strengthen them during fastening
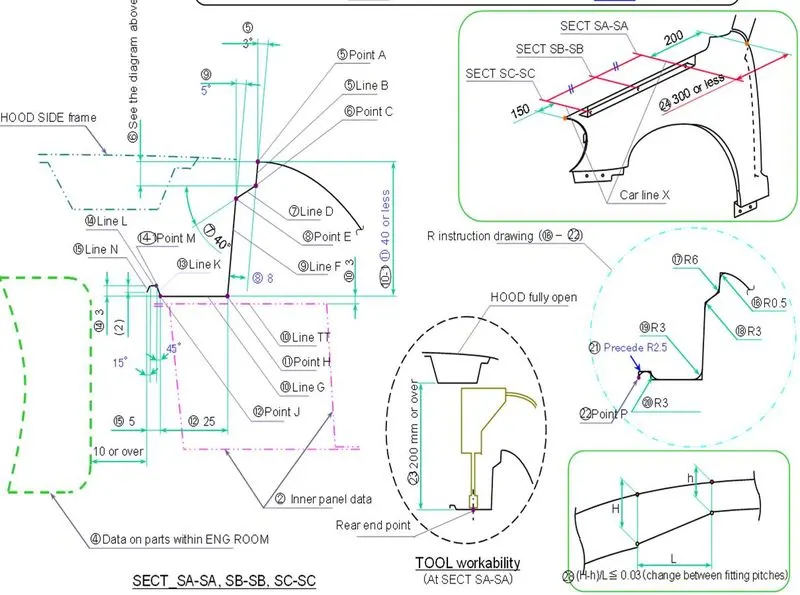
- At point 5 a 3 degrees flange depth is given to minimize defects due to compression stamping
- At point 9 a 5 degrees bent is provided to avoid the spring-back effect
- Hood side drip depth should be 40 mm or less to maintain maximum productivity if its more than 40 mm rigidity bead should be provided also forming is not feasible if it exceeds 60 mm due to wrinking and spring back
- 40 degrees at point 7 is given to hide the fender fixation bolts from outside and also to improve the appearance
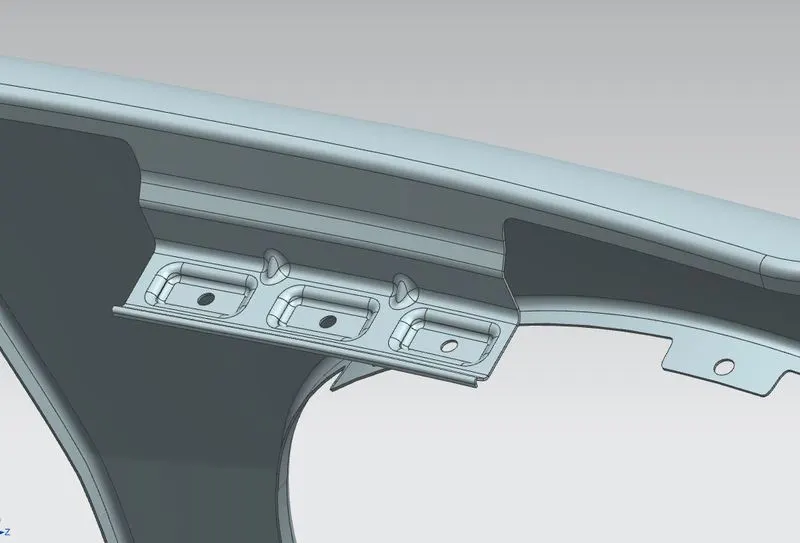
Sill Mounting Area:
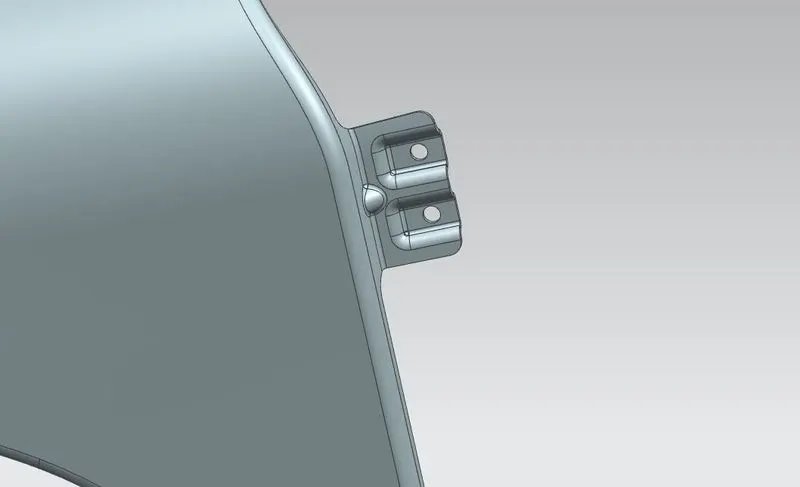
- Sill is the panel directly below the bottom of the door supporting the floor and may be used to combine the floor and the body. The bottom end of the fender is mounted on the sill body for reinforcement of the fender panel, thus the sill mounting position is designed with holes and emboss. M5 fasteners are used to fix
the fenders on the sill body.
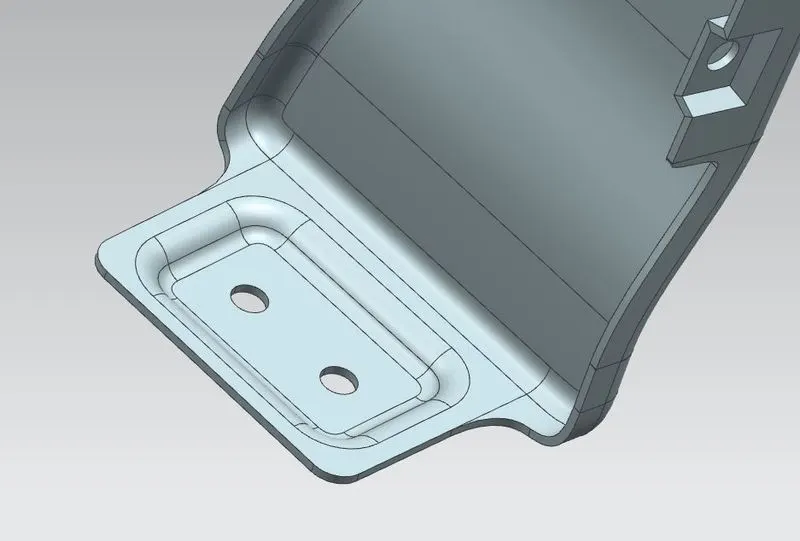
Bumper Mounting Area:
- Bumper mounting area is used to fix the bumper to the fender with the help of the fasteners
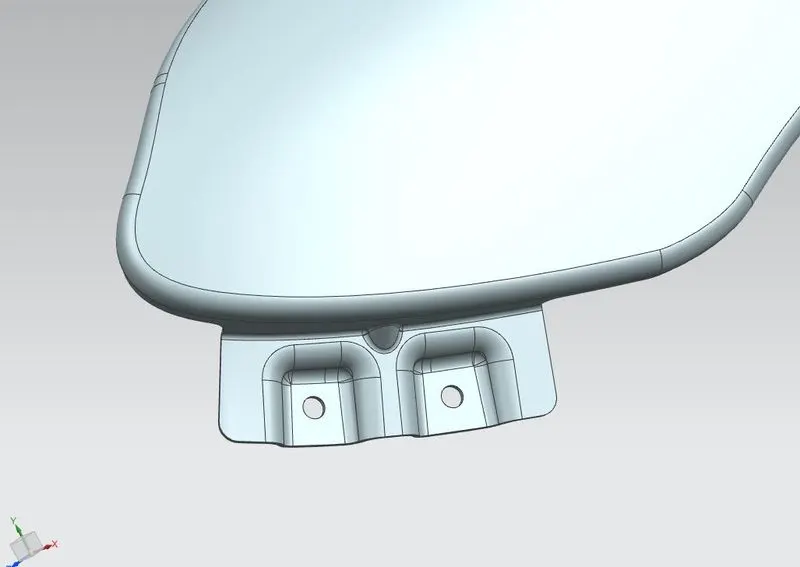
A-Pillar Mounting Area:
- The A-pillar is the structural pillar that combines the body with the roof, this makes the sides of the windshield rest. Front Fenders are fastened to the A-pillar to form a robust structure.
Baffle Mounting Area:
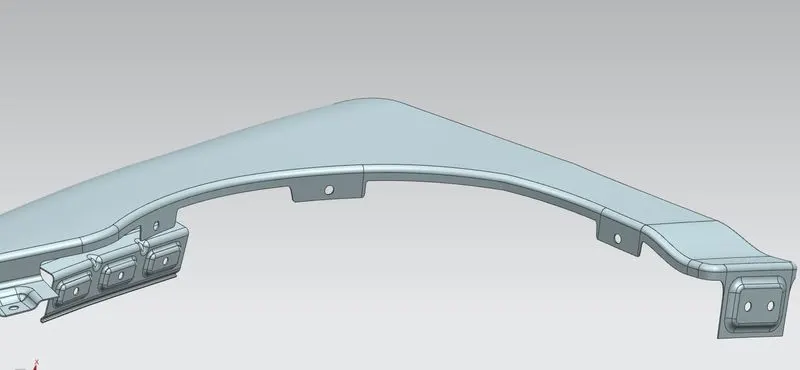
- Baffle mounting or mudguard are clip fit types of mounting on the inner side of the fender arch over the Tyre. it protects the car engine compartment and pedestrians from causing injuries from chip-out debris on the road when the car is in motion. they are mounted on the fender using a special type of locking clips which are made up of plastics.
Model Views:
Conclusion:
Designing of the front fender from the given skin data and the master section with Drip mounting, A-pillar, Sill, Bumper, C mounting, and Splash mountings is done.