Fender Design Challenge
Fender Design Using NX CAD
Objective:
To design BIW Fender mounting using sheet metal parameter on the Class A surface with given skin data and master section, using NX CAD.
Abstract:
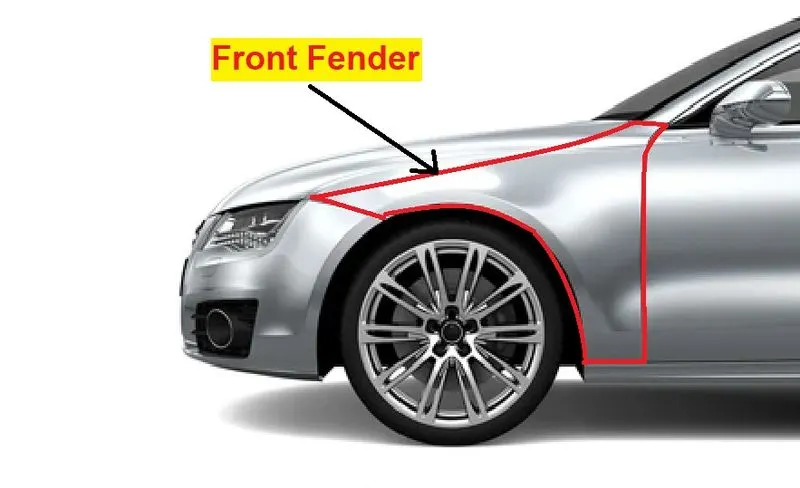
Fender is Body in White part of an automobile (vehicle body) which houses or frame wheels in order to prevent sand, mud, rocks, liquid, and other road debris to throw into the air when tyre is in motion, which may lead to a pedestrian accident and protect the engine compartment from damages. Apart from pedestrian safety, it serves the purpose of providing an aerodynamic shape to the car thus performing better at higher speeds and give aesthetic look to the body.
Types of Fender:
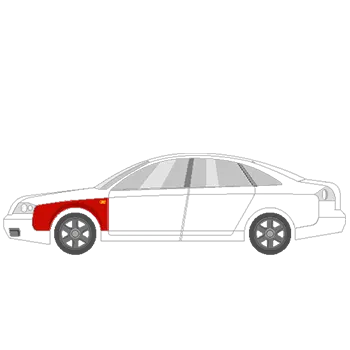
Full bumper type
The full bumper type is the traditional type of fender where more surface area covered. This type is used in the old designs of automobiles where it increases the overall weight and thus reduces performance.
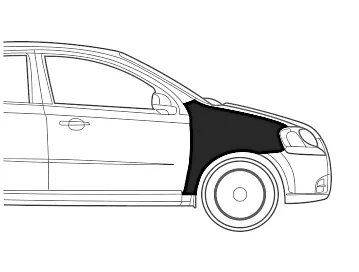
Half bumper type
Half bumper type is a modern design that serves the technical requirement of a full fender using less material. The productivity of half bumper is more by reducing the size of blank and tooling cost. As the material consumption to produce the part is the low result is a reduction in the overall weight of the steel body thus increase the performance and aerodynamic aspects of the car.
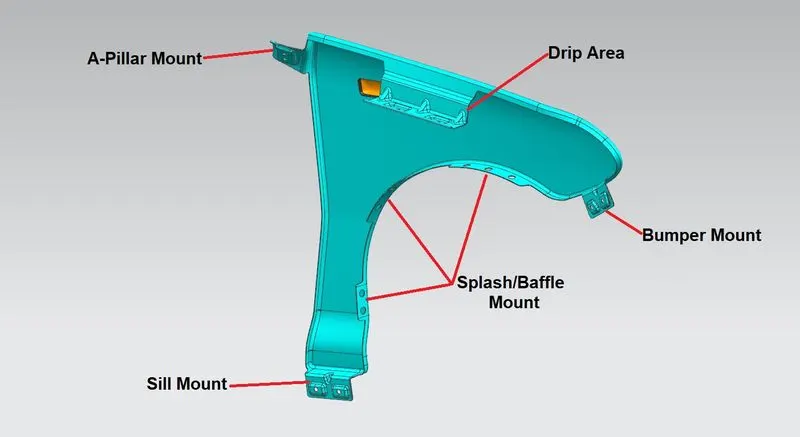
Fender are mounted on five important regions with car body
- Drip mounting area
- Sill mounting area
- Bumper mounting area
- A-pillar mounting area
- Splash/ Baffle mounting area
These Mountings are joined using fasteners. To Improve the NVH Factor (Noise, Vibration, harshness).
Design Methodology:
Given data:
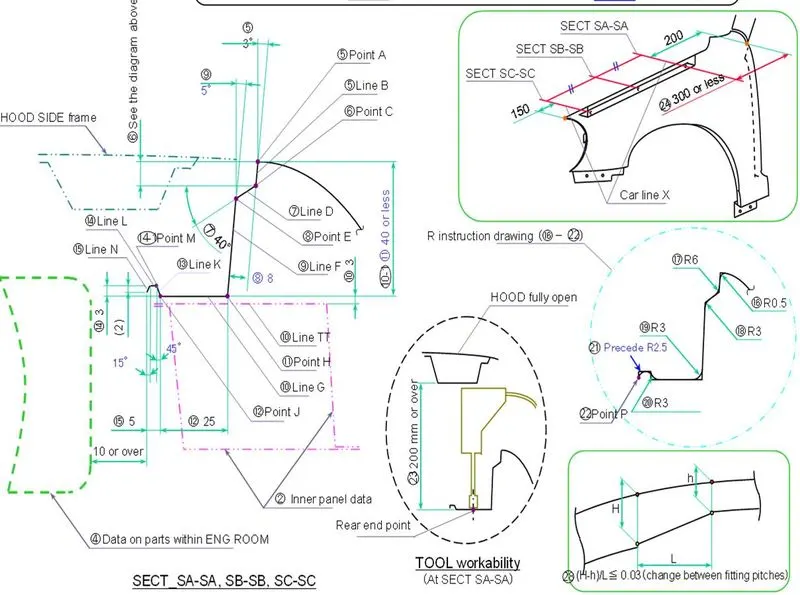
Master Section
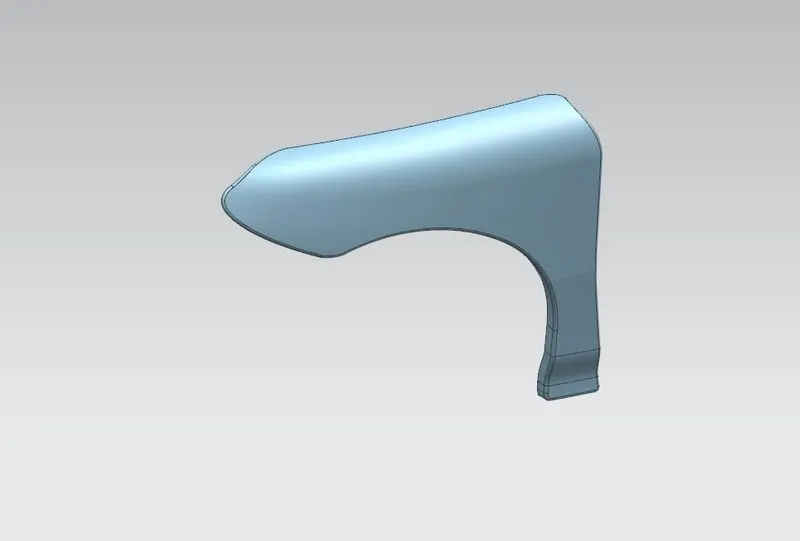
Skin Data
Design of Drip area:
Data given for the Drip area in the master section is designed using the curve and surface feature tool in NX CAD.
It is the most important mounting unit of a fender. It is connected with the engine compartment and therefore a lot of design constraints are to be followed while designing the drip area.
It should have sufficient clearance from the front and rear end of the fender to accommodate the Cowl mounting region and the Headlamp housing unit respectively as shown in the figure.
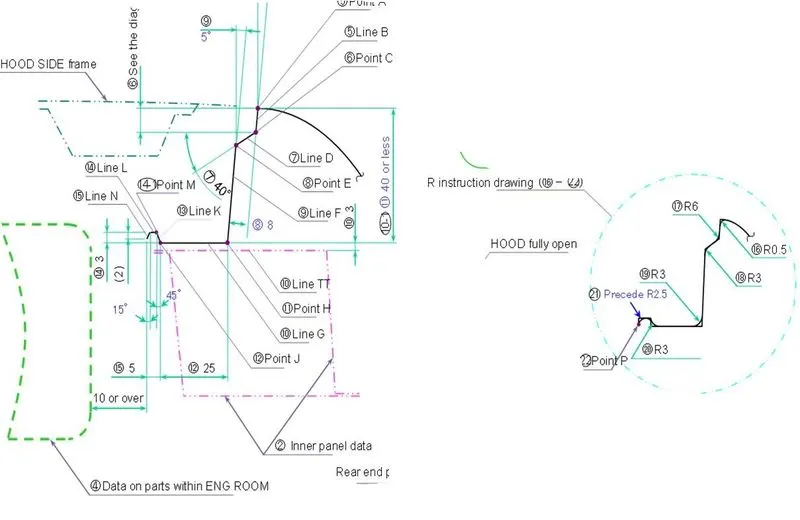
The Master Sketch provides the linear and angular measurements for designing the drip mount after taking into consideration various factors like Hood opening, Tool workability, aesthetics (since Fender is a styling surface), Spring Back effect due to exceeded length, etc.
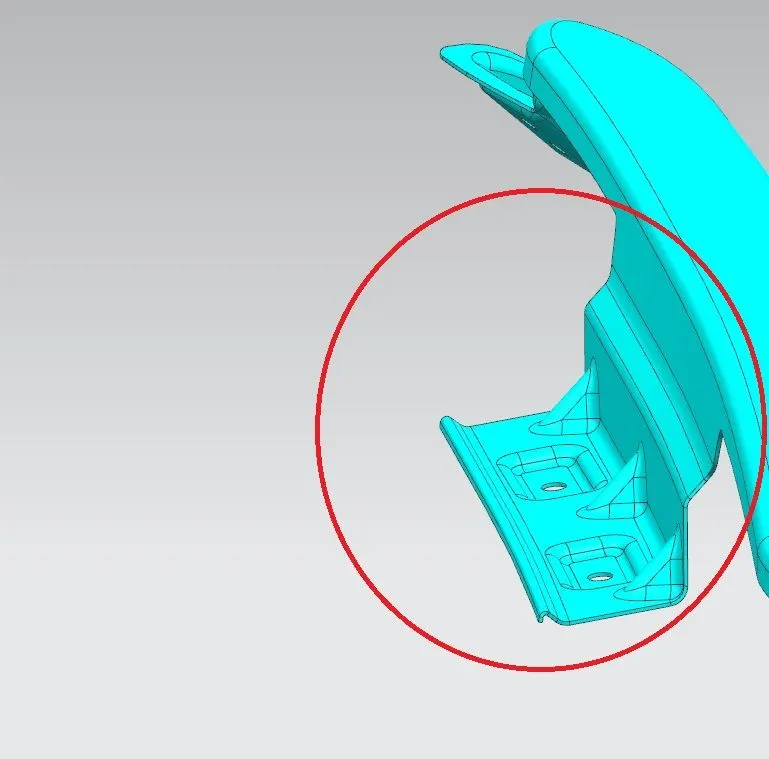
Drip Area
- Two darts patterns are added on the longer side in order to provide stiffness and add strength to the part. So that during motion it does not vibrate and impart forces to the fender outer surface.
-
Embossing was provided on the mountings to strengthen them during fastening.
Design of Sill Mounting Area:
Sill is the panel (metal plate) directly below the bottom of the door supporting the floor and may be used to combine floor and body. The bottom end of the fender is mounted on the sill body for reinforcement of the fender panel, thus the sill mounting position is designed with holes and emboss. M5 fasteners are used to fix fenders on the sill body.
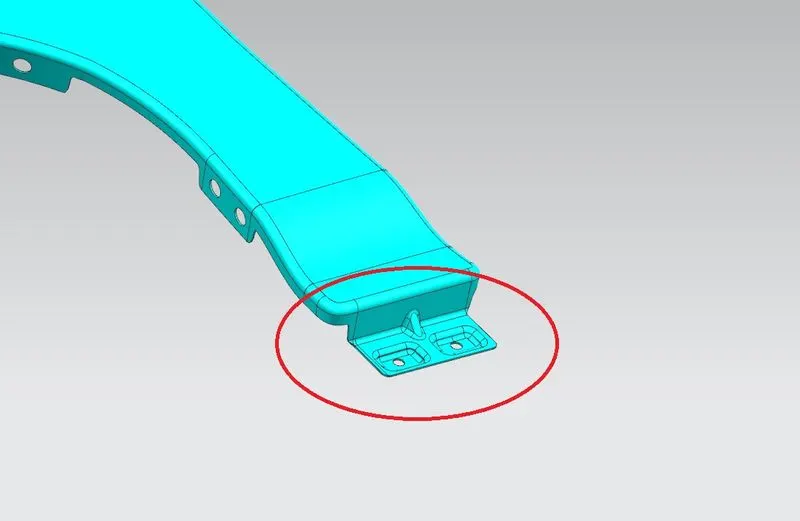
Sill Mounting
Design of Bumper Mounting Area:
In the bumper mounting area also darts and embossed surfaces with bolting holes are provided. M5 bolt holes are considered to assemble the bumper and fender on the car.
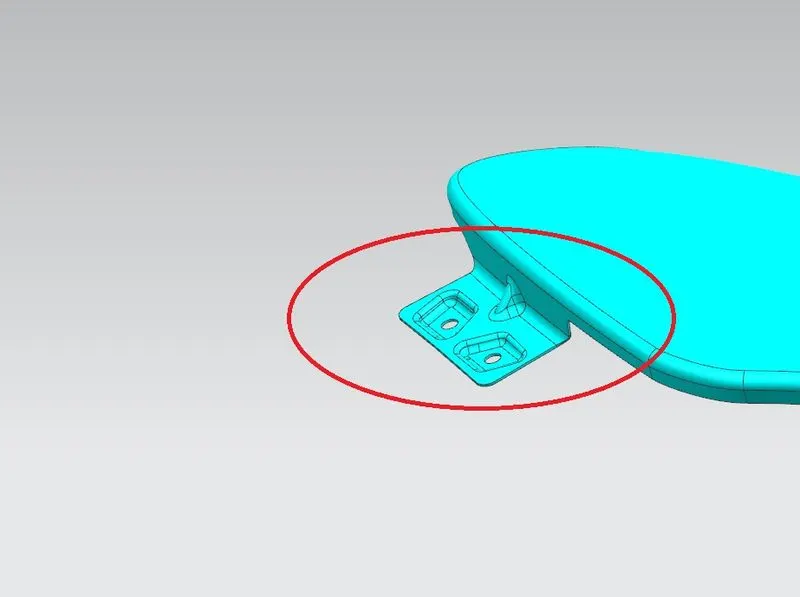
Bumper Mounting
Design of A-Pillar Mounting Area:
The A-pillar is the structural pillar that ties the body to the roof. This makes the sides of the windshield rest. Front fenders are fastened to the A-pillar to form a robust structure.
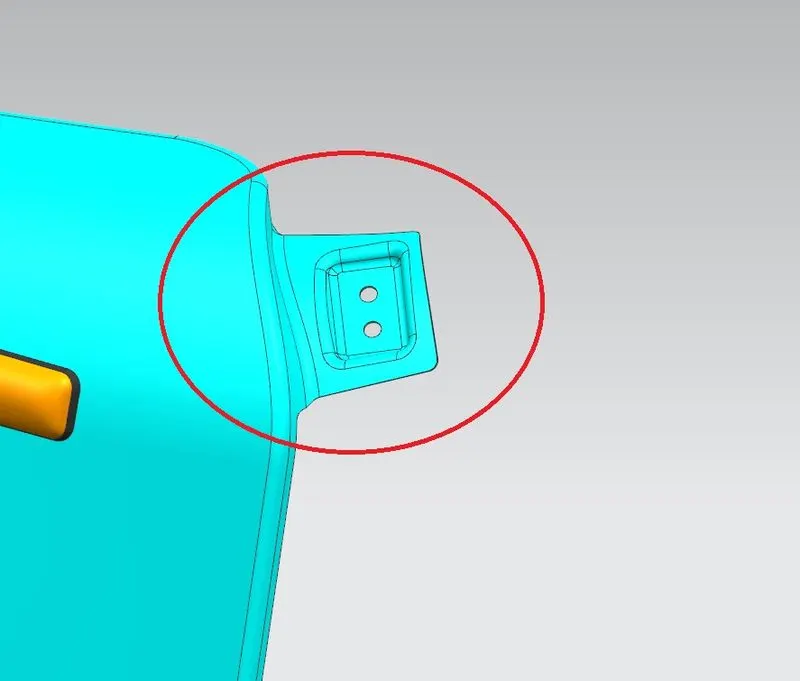
A-Pillar Mounting
Design of Splash/Baffle Mounting Area:
Baffle mounting or mudguard are clip fit types of mounting on the inner side of the fender arch area over the tyre. It protects the car engine compartment and waking pedestrians from causing injuries from chip-out debris on the road when the car is in motion. They are mounted on the fender using a special type of locking clips which are made up of Plastic.
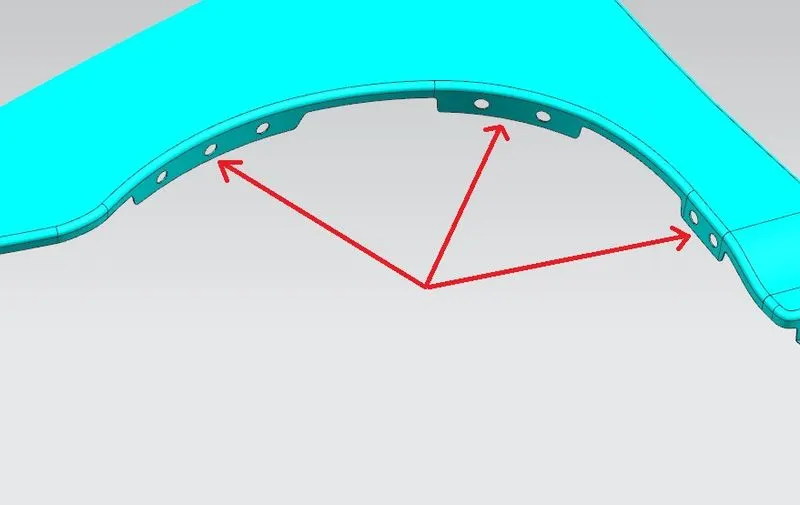
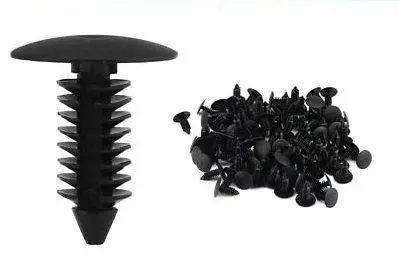
Baffle Mounting Locking Clips
Locating Side Indicator on Fender:
Indicator lights are amber in colour and can be located at the front, the rear, and sometimes at the side of the car on both the left and right-hand sides. W use our indicators to show an intended change of direction, whether turning left or right or moving out into traffic.
Use of Indicator:
Use indicators while changing lanes, overtaking, taking turns, and for other denotations as they form an integral part of road safety and keeps fellow road users informed about the driver's intents and thus, avoid accidents.
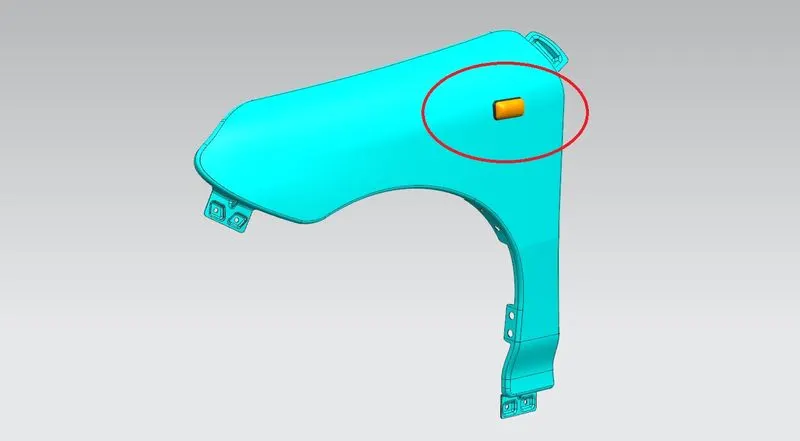
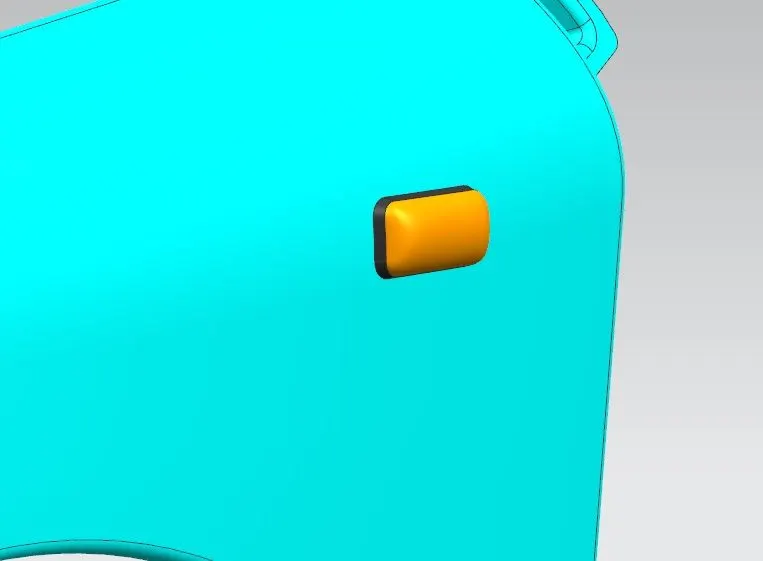
Side Indicator
Applying Thickness to surface design.
The thickness of 0.75mm inward on the final sewed surface of the fender to the sheet metal parameter.
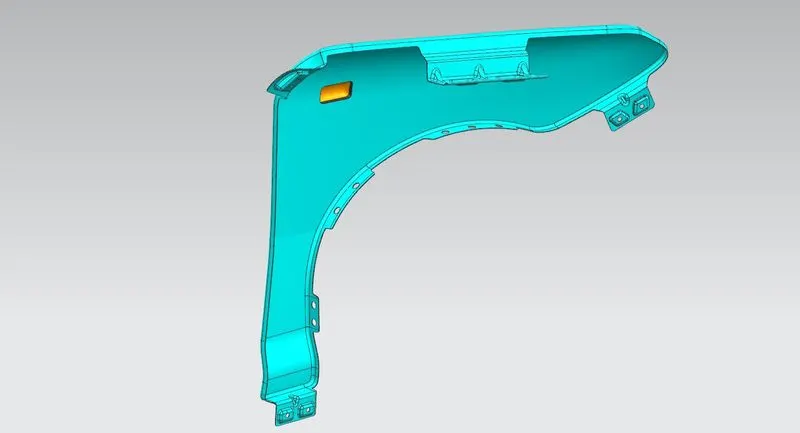
Fender with all Mountings:
Front View of Fender:
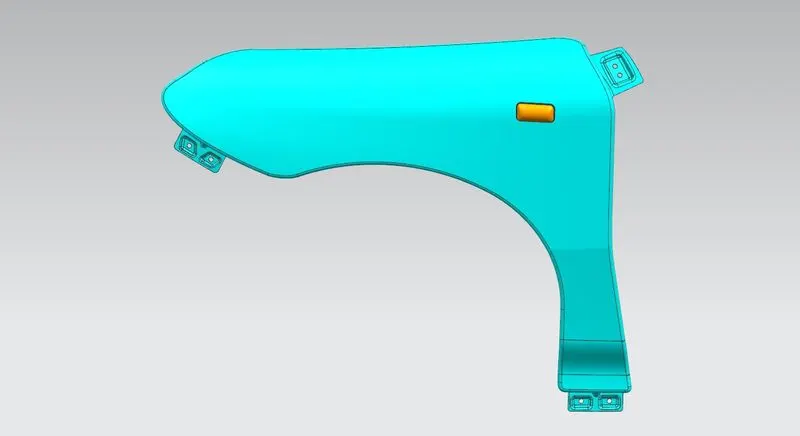
Back View of Fender:
Conclusion:
Thus, all mounting areas for the fender designed from the skin data and master section received from the styling team.