Fender Design
FENDER :
Fender is a one of the part of an automobile vehicle, it frmaes the wheel well. The main purpose of the fender is prevents sand , mud , liquids and road spray from thrown into the air by rotating the tyre. Fenders are commonly used with steel and thermoplastic and it is one of the styling part which cannot be welded and look good.
Fenders are tow types,
1.Full bumper type fender
2.Half bumper type fender.
FULL BUMPER TYPE FENDER : In this type of fender, the fender covers the full bumper. The full bumper type fender is not used nowadays, because it requires big size of blank to produce the part and also waste material is there while manufacturing.
HALF BUMPER TYPE FENDER : In this type of fender, fender covers the half bumper. yhe half bumper type fender is used because it has less siz required and the waaste of the material is less. The most of the manufacturar needs to reduce the cost of the manufacturing which needs the less material. And also can be produce two fenders at the same time by increasng the raw sheet.
Fedner has a defferent types of mounts, these are.
1. Drip area mount
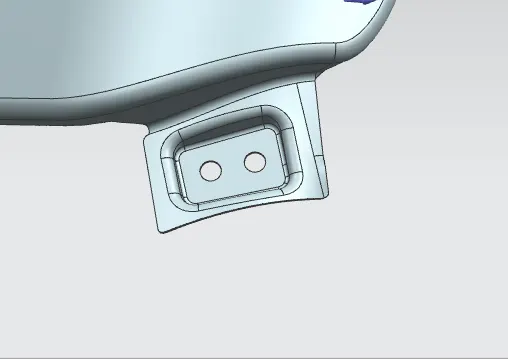
2.A- Piller mount
3. Sill mount
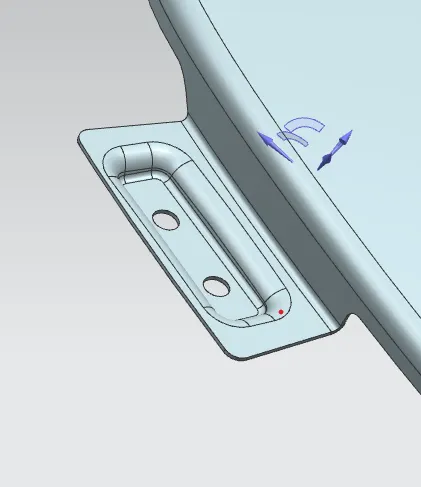
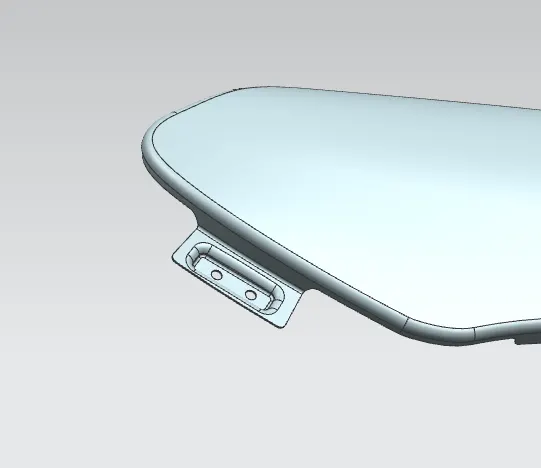
4.Bumper mount
5.Baffle mount
PROCEDURE:
1.We recevied the skin of the fender, then cheked the surface of the skin and proceeded.
2.We make some possible cuts by using curve on surface command which is required shapes and then trim.
3.Now we start design the mountings.
4.The first mounting we created is drip area mounting.We extand the surface which is required angles provided in the drawing image by using law extansion. Then draw a required sketch in drip area after that emboss on it, and then trim the sheet for the holes by using trim sheet commaand.
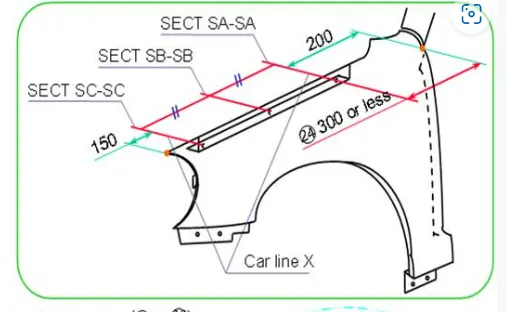
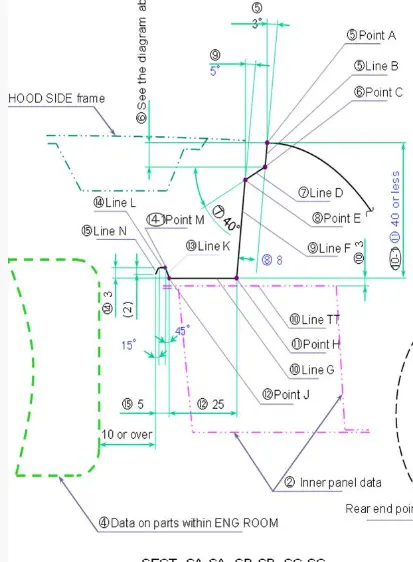
5.The height of drip area mounting shuold be less than 40mm. So that it reduce the springback effect.
6. The edge of the mounting part should be atleast 10mm away to the opposite parts from the enegine.
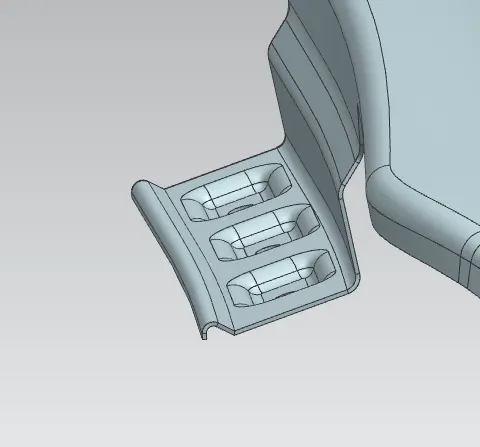
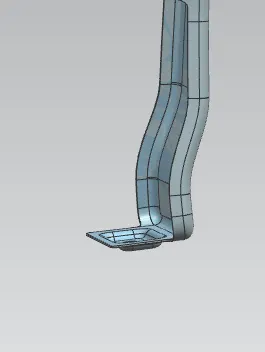
7. Next one is sill mounting, in this we extand the surface to requires length by using law extansion and sketch on that surface then emboss on it
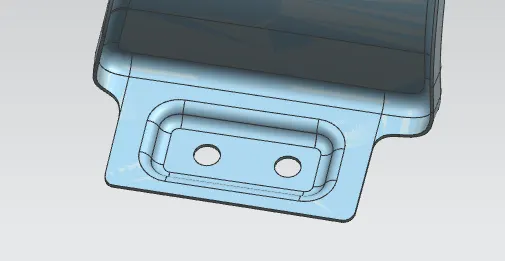
8. Similarly extand the surface which needs for the bumper mounting and draw the sketch on tha surface. and emboss the sketch by using emboss command, trim the sheet for the holes by using trim sheet command.
9. And also design the a piller mounting and baffle mounts by using required commands.
DRIP AREA :
SILL MOUNT:
BUMPER MOUNT:
A PILLAR :
BAFFLE MOUNTS :
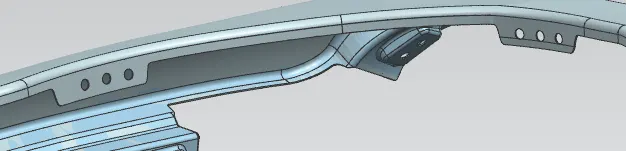
FINAL OUTPUT :
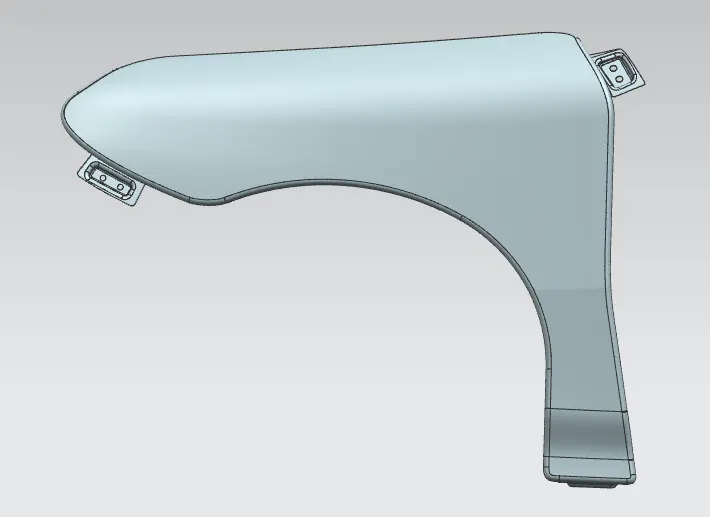
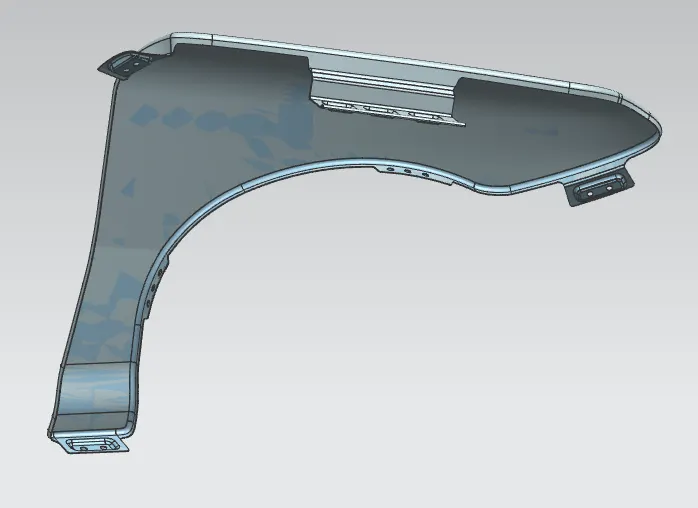
CONCLUSION:
I developed the front fender mounting on recived fender skin by using required commands in NX software by following the provided mastersection.