Door Arm Rest Week 8 Challenge
OBJECTIVE:
The main of this project is to perform the DOOR ARMREST through the given Class-A surface. Beginning with the creation of tooling axis, Class B surface development and then Class C surface and then merging Class A, B, C surfaces to form a plastic component. BY considering the thickness as 2.5mm
THEORY:
Draft:
A draft angle is a slant that is applied to each side of most features of an injection molded part. In other words, Draft is providing tapers on the product features such as walls ribs posts and bosses that lie parallel to the direction of the release from the mold part ejection
The nominal draft is 3mm for plastic components and for automotive sheet metal components is 7mm
Tooling axis:
It is defined as the direction in which the molds opens or core and cavity, with the help of tooling axis created along x and Y axes are used for creating the Main Tooling axis by using the bisecting method
PROCEDURE:
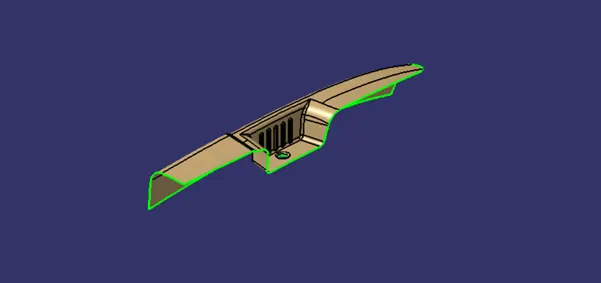
Given class a surface:
Connectivity of Class A surface:
The first and foremost thing to do is to check for the connectivity of the surfaces this is to ensure that there are no gaps between the surfaces if gaps are present then it should be resolved.
This can be done visually or by creating boundaries, if their gaps are present, they are graphically represented by green lines. If not while performing boundary command it shows an error.
Creating the tooling Axis:
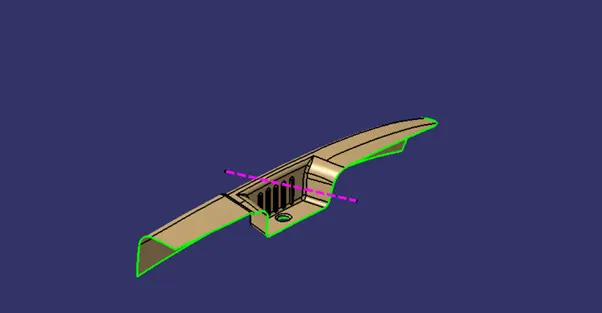
- Extract the boundary of the hole in the Class A surface and fill it. Create a point on the surface at the centre using the Point command.
- Create a line using the above point in the z direction.
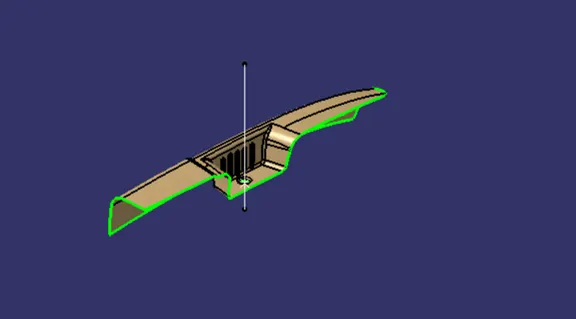
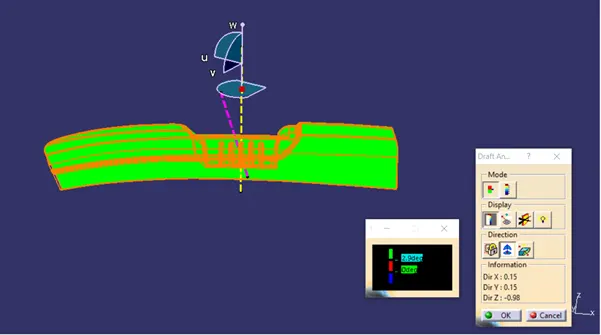
- Put the Class A surface in the material mode and open the Feature Draft Analysis Tool.
- Now, drag the compass onto the line and click on the given A surface.
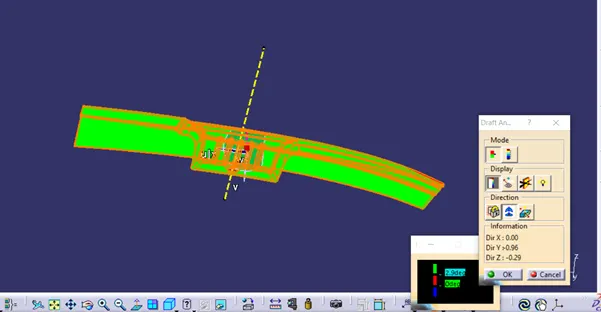
- Tilt and adjust the compass until you get the green surface.
- Lock the current orientation of the compass.
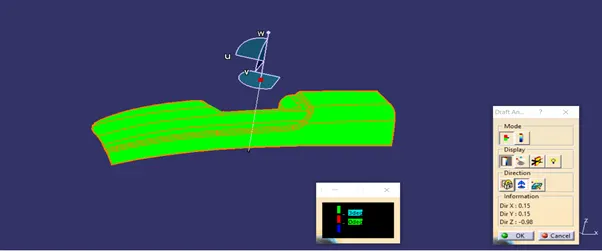
- Go to the line we drew in the beginning and change the direction option to compass direction. Then unlock the current orientation of the compass.
- The resultant line is the Tooling Axis.
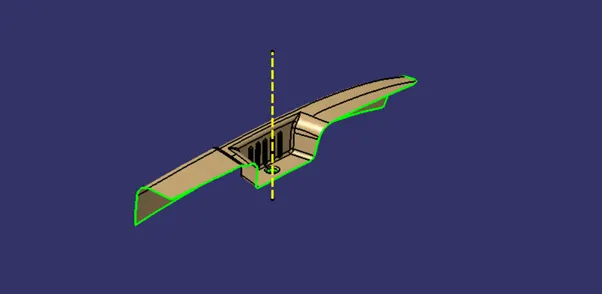
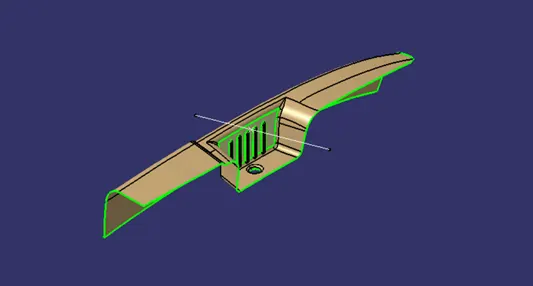
Creating sliding axis:
- By extracting the rib of A surface, follow the same procedure which we have done in creating Tooling Axis.
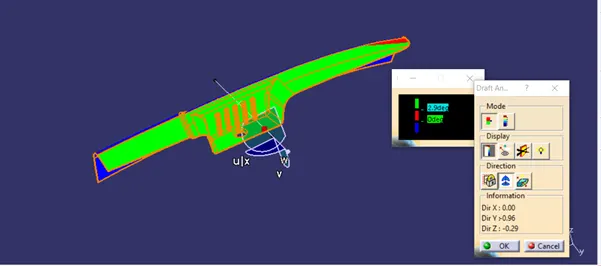
DEVELOPMENT OF CLASS B SURFACE:
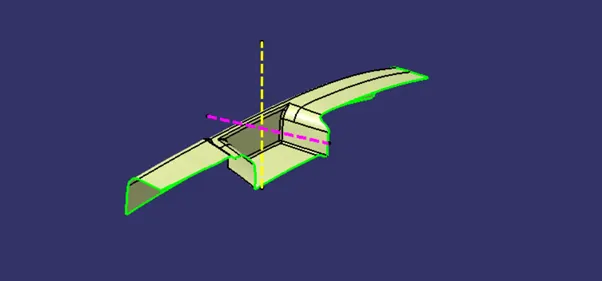
Class B surface is created by extracting each walls and untrimming walls extrapolating the walls and then trimming the extra surfaces and offsetting it to certain value based upon the thickness of the component where it is 2.5 mm. The offset surface will be the B-Surface.
DEVELOPMENT OF CLASS C SURFACE:
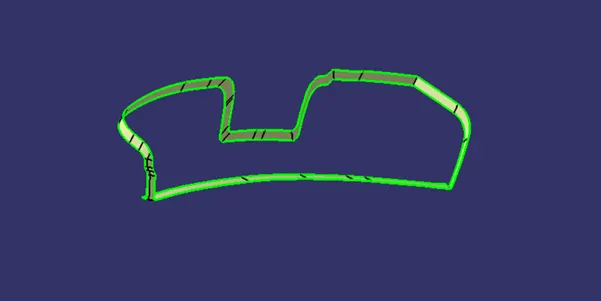
This surface is obtained by sweeping the boundaries of the Class A surface along the Tooling Axis direction, it connects A and B surfaces.
FINAL TRIMS:
- Join surface A and surface C and later trim with surface B.
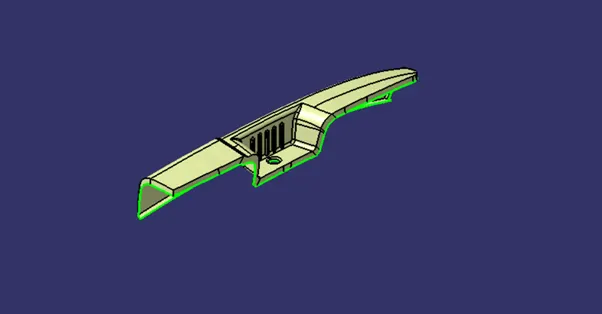
- Now trim this surface with the B surface.
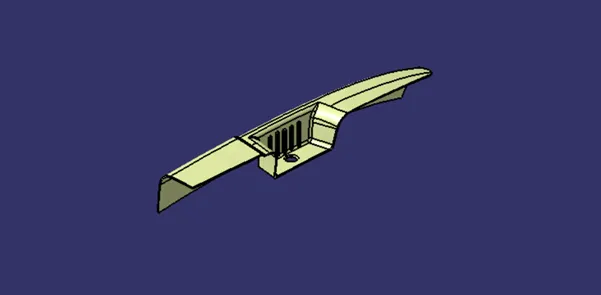
The Final trim part is converted into a solid component using closed surface command.
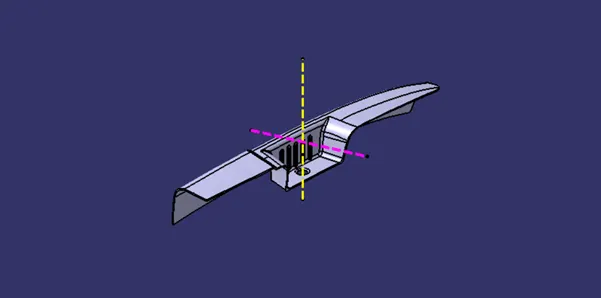
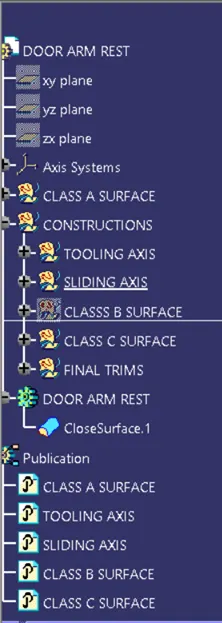
PUBLICATIONS:
- Tooling axis
- Sliding axis
- Class A Surface
- Class B Surface
- Class C Surface
These are the main features that are published.
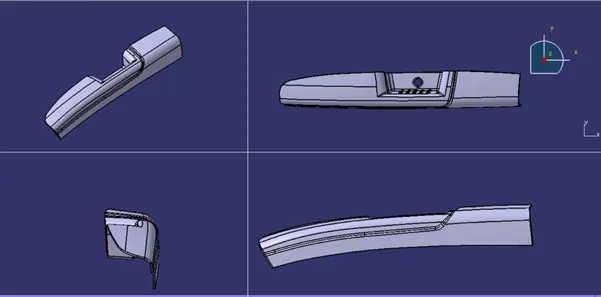
DRAFT ANALYSIS ON SOLID PART: