DEVELOPMENT OF SIDE DOOR TRIM
Development of Door Trim Panel
Objective :
To create a CAD model of solid body on the back left side door of a vehicle considering following inputs like using CATIA V5 tool using the given Class A surface and master section and adding thickness to the component.
A) Nominal thickness : Refer master sections
B) Attachment strategy : Find the attachment strategy for the door panel complete work.Use Push pin with Dog house for Lower substrate – Door panel attachment Use heat stakes for part to part attachment
Door Arm Rest
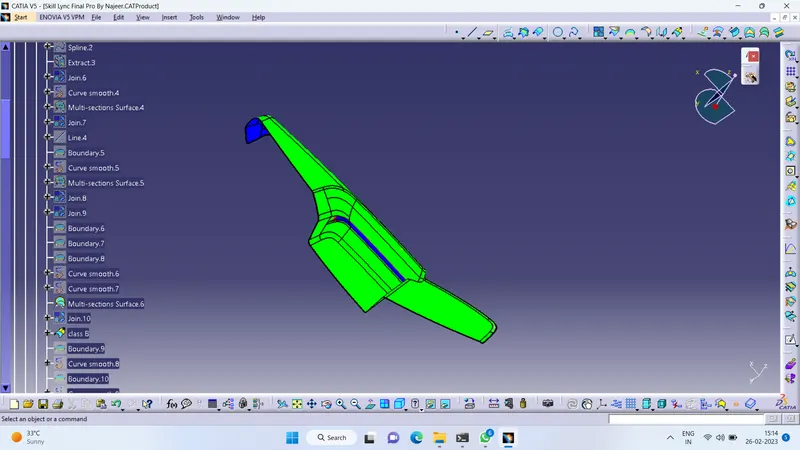
Class A
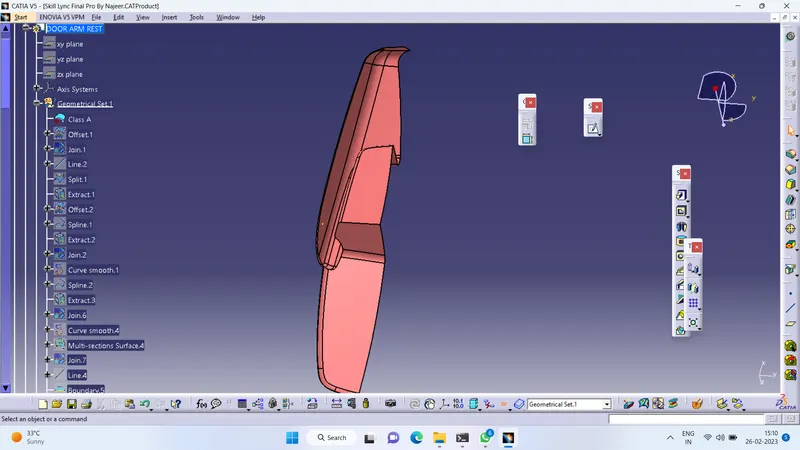
Class B
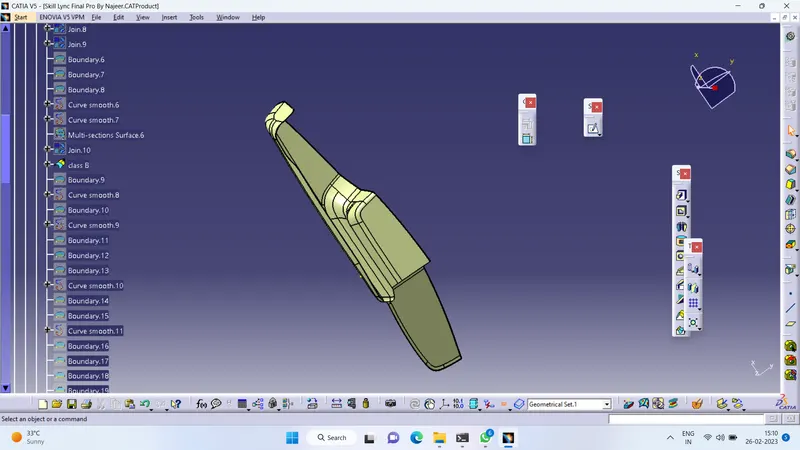
Class C
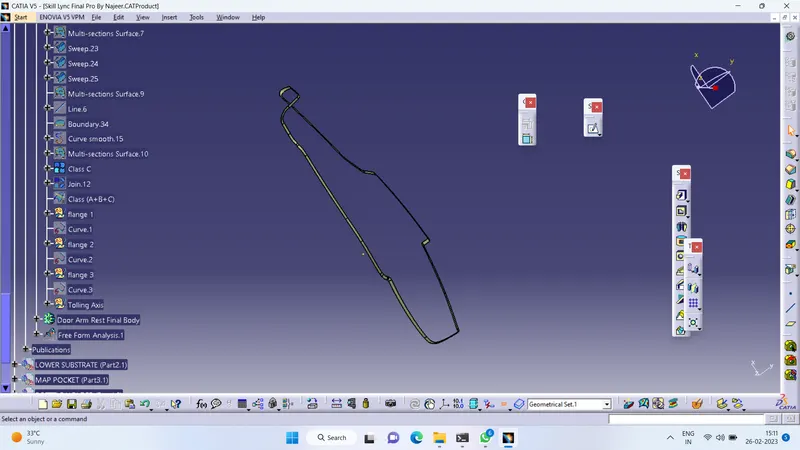
Class A+B+C
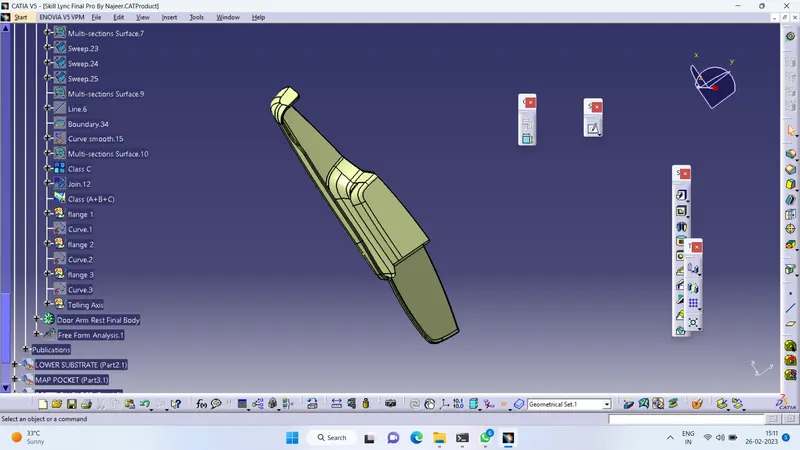
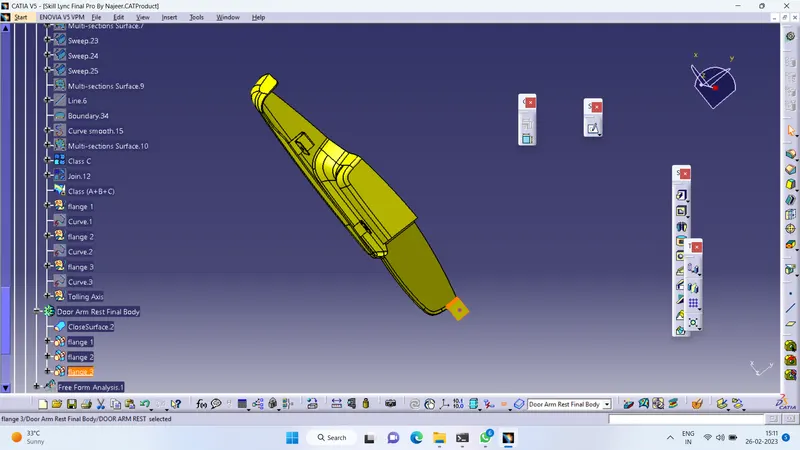
Door Arm Rest Closed body
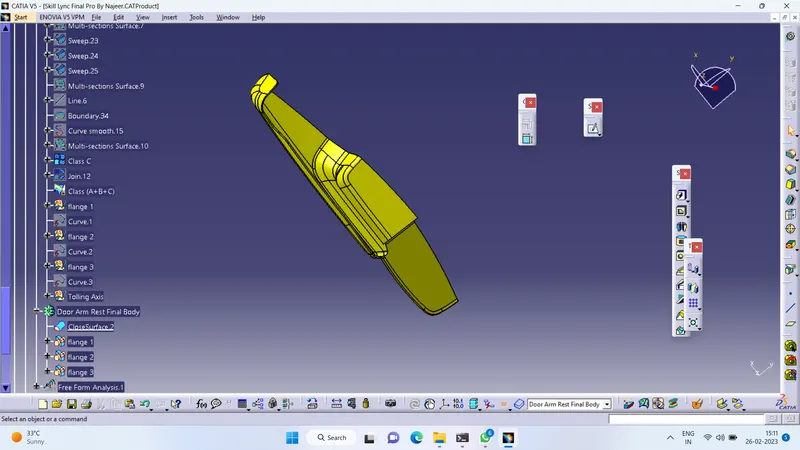
Closed body with Heat stakes and flanges
Draft analysis of Class A
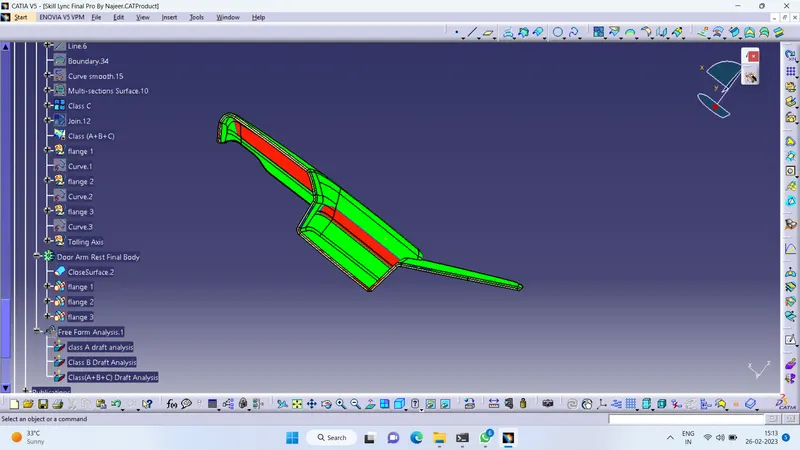
Draft analysis of Class A+B+C
LOWER SUBSTRATE
LOWER SUBSTRATE CLASS A
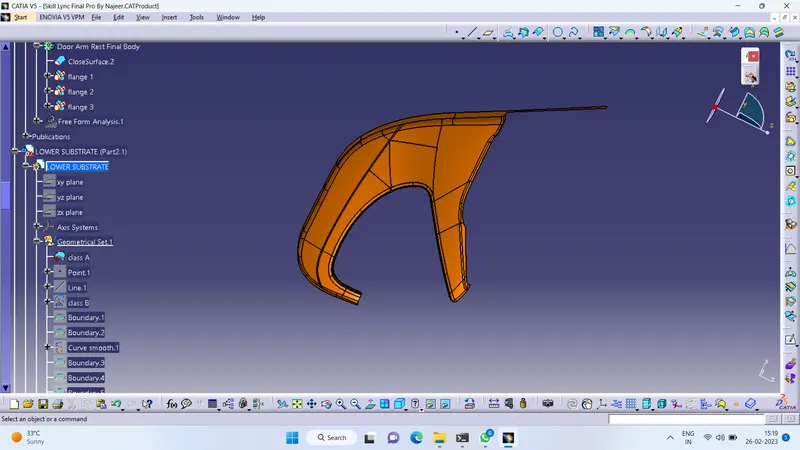
CLASS B
CLASS C
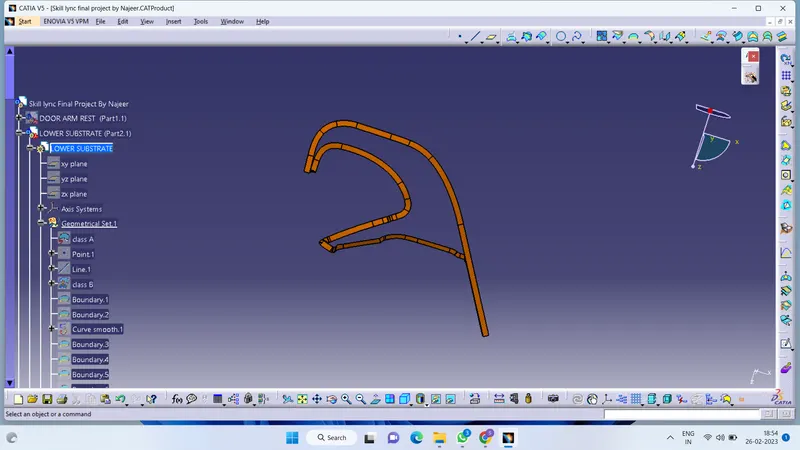
Class A draft analysis
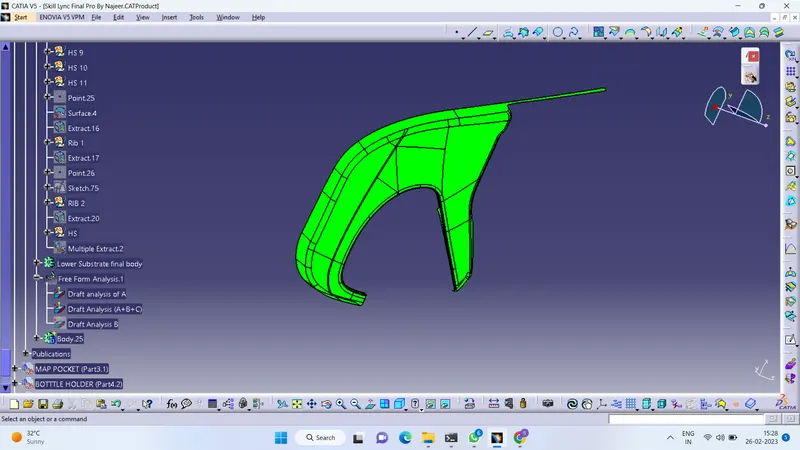
CLASS B draft analysis
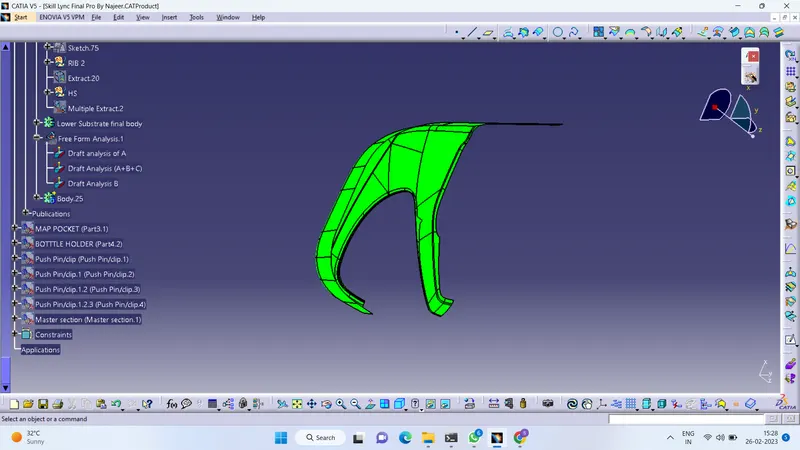
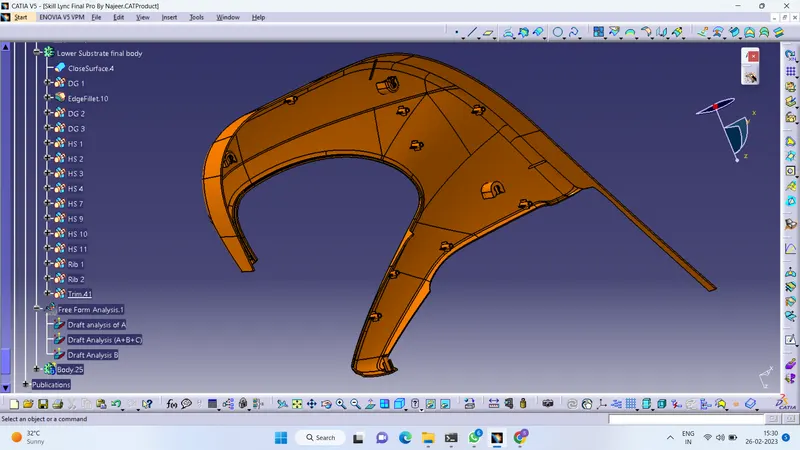
Final body with dog houses,Heat stakes
MAP POCKET
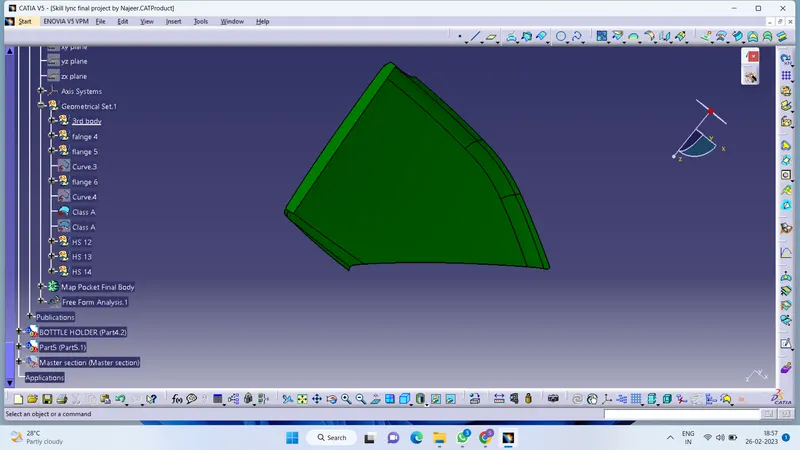
CLASS A
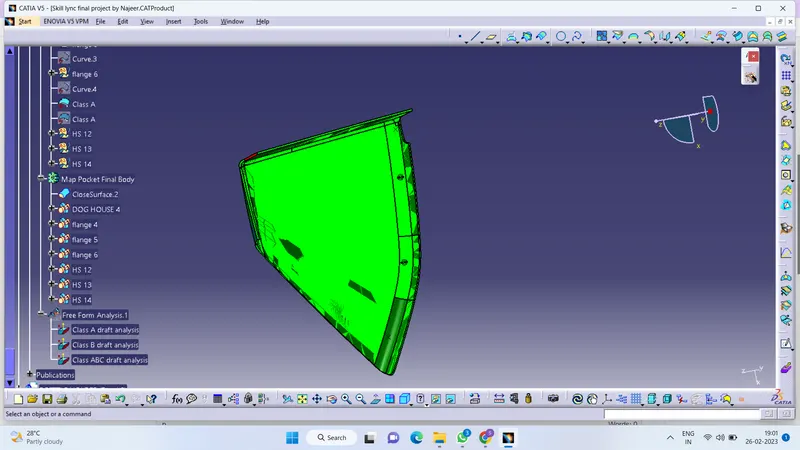
DRAFT ANALYSIS OF CLASS A
CLASS B
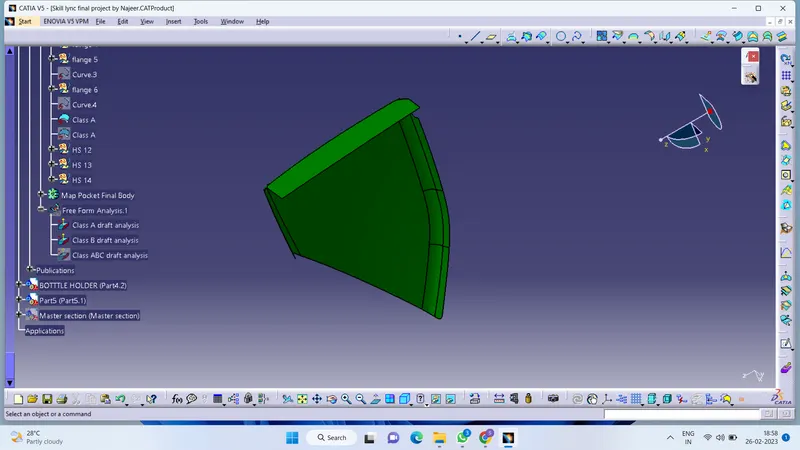
Draft analysis of Class B
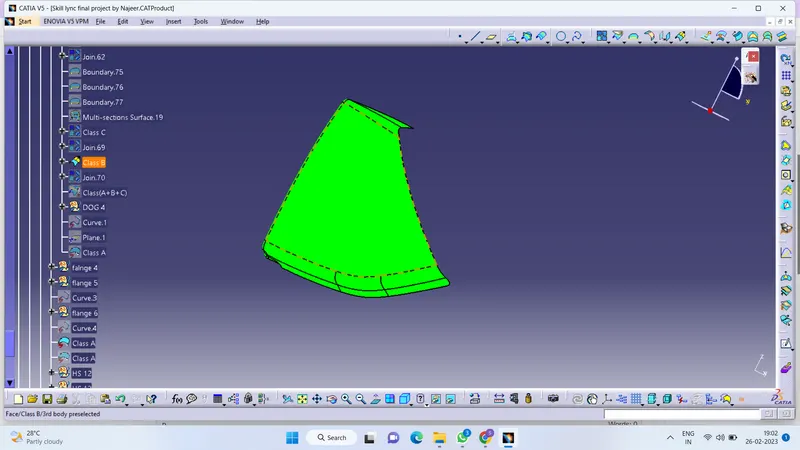
CLASS C
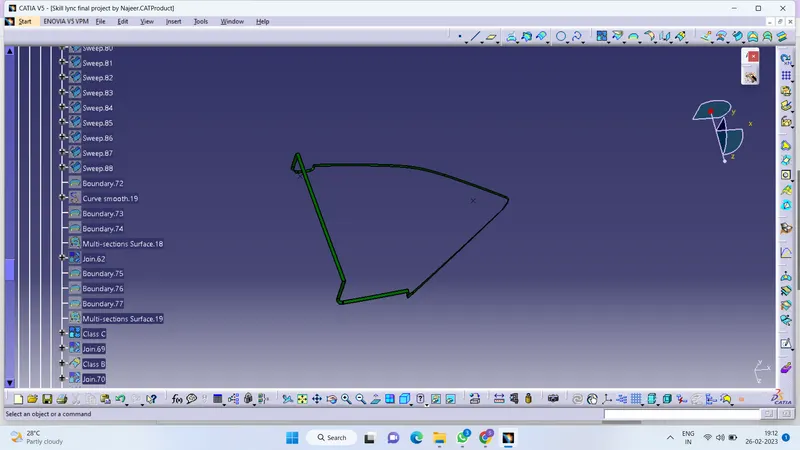
CLASS A+B+C
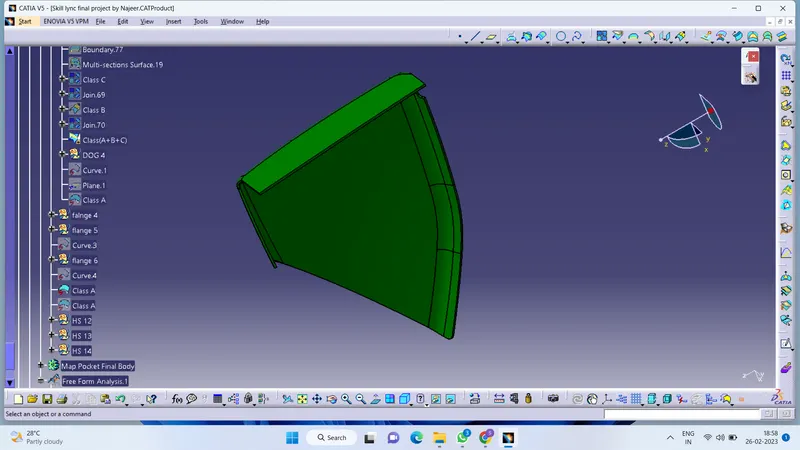
Draft analysis of Class A+B+C
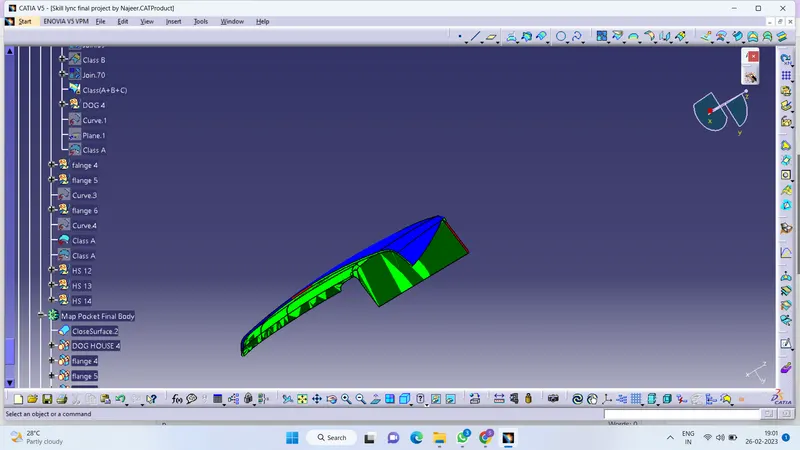
Final body with Dog houses,Heat stakes and Flanges
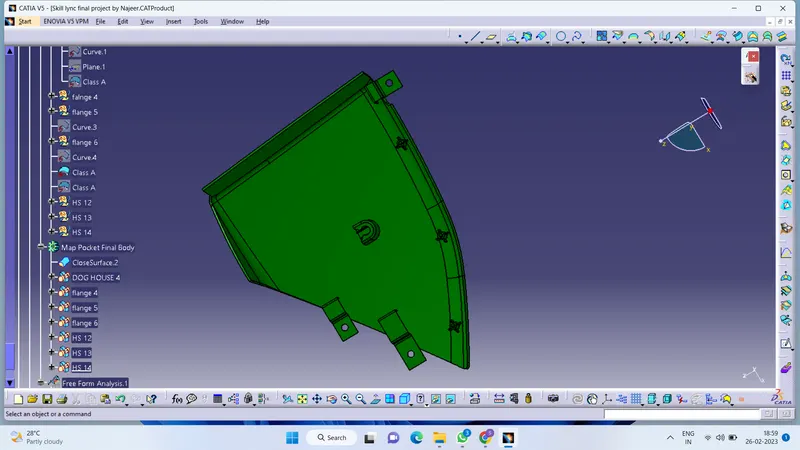
BOTTLE HOLDER
CLASS A
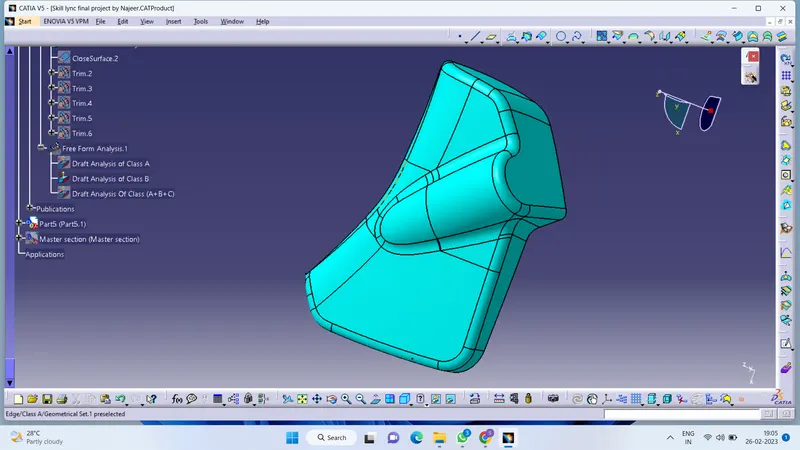
Draft anlysis of Class A
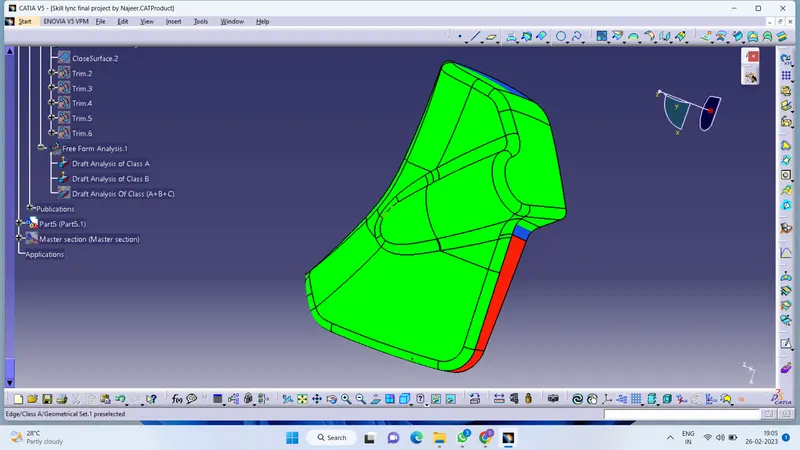
Class B
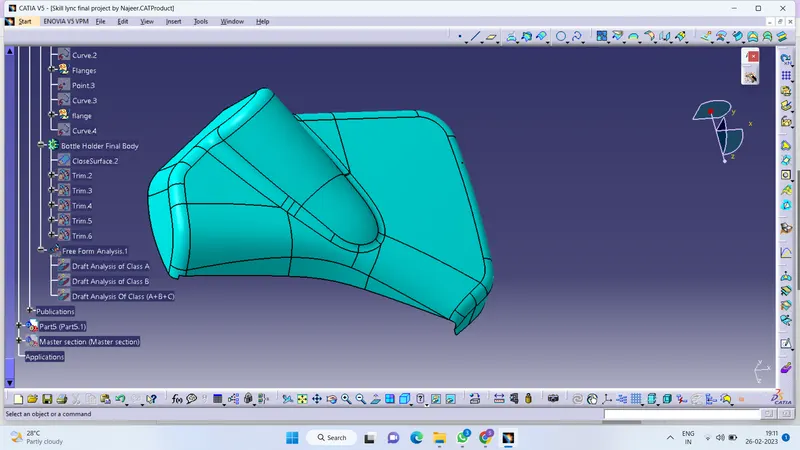
Draft analysis of Class B
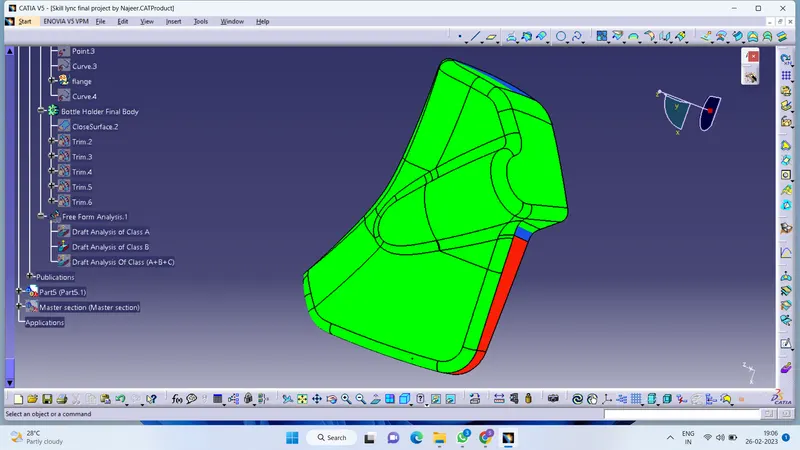
Class C
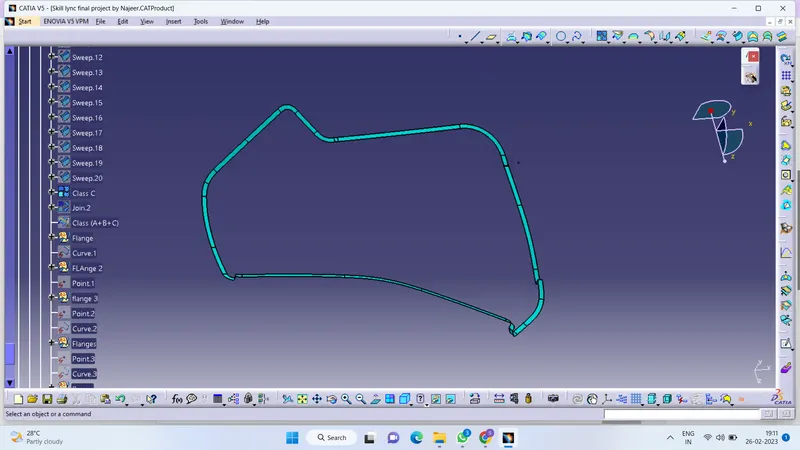
CLASS A+B+C
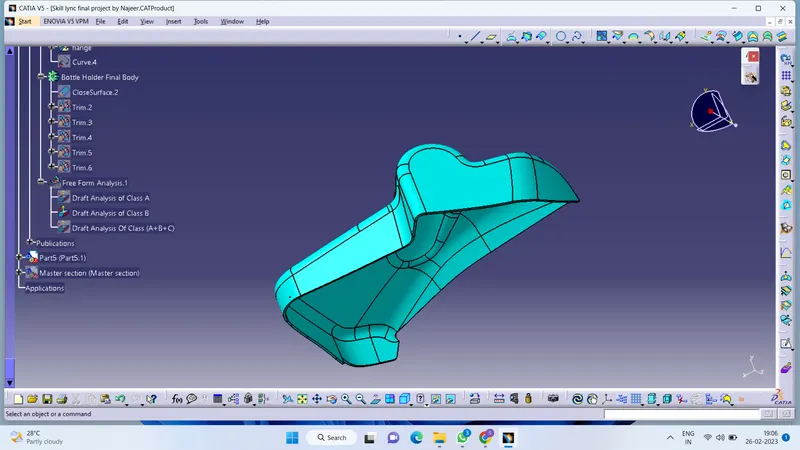
Draft analysis of Class A+B+C
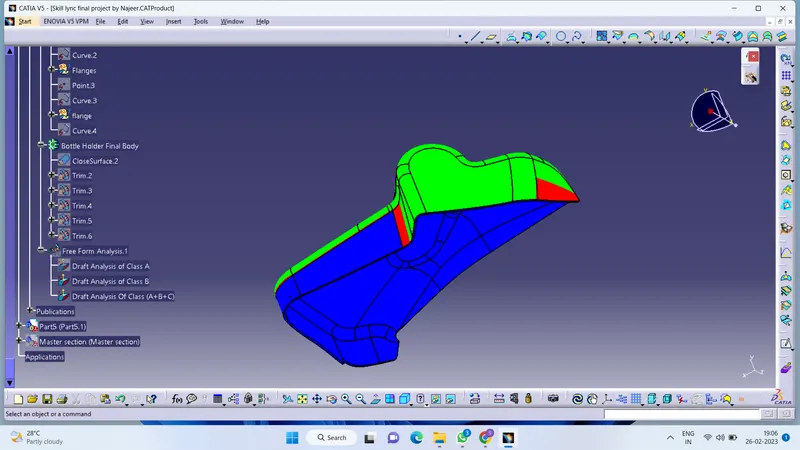
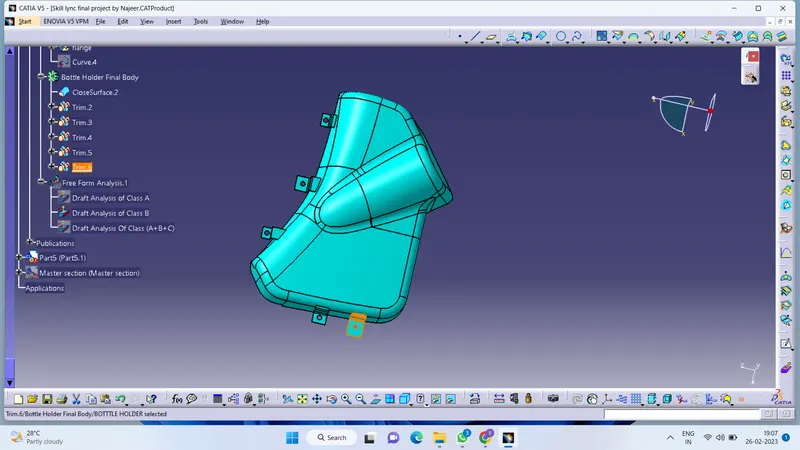
final body of bottle holder with Flanges
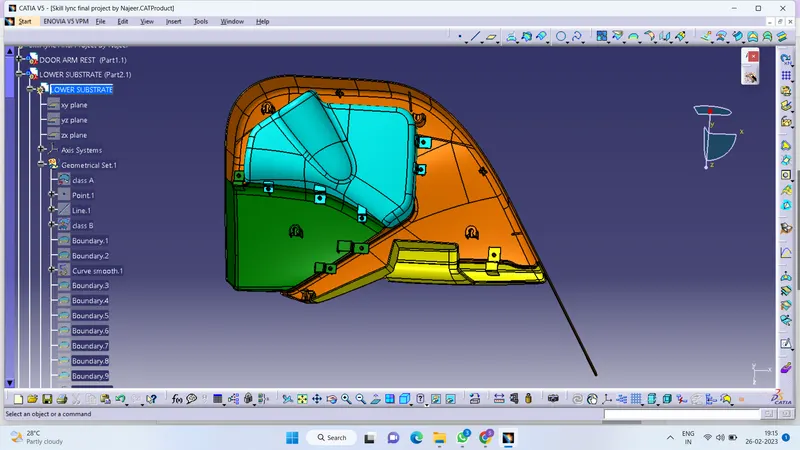
Final body of the project
Method followed in creation of the plastic new product design are :
- Tooling axis creation
- Class B surface creation
- Class C surface creation
- Closed body creation
- Draft analysis
- Additional features like Dog house,Heat stake,Rib and flange
Class A surface given to us and also master section
Class B surface creation
Class B surface includes derived surfaces created by offset operations from class A surfaces to define the thickness of the material. In this file it is important to link Class B surfaces geometrically to enable an adaptation to class A surfaces.
After creation the tooling axis B surface is to be created which is nothing but the surface parallel to the A surface B surface contains all the fillets and the edges which the A surface contains.
Class C surface creation
Class C surface is swept along the boundary of the Class A at an angle perpendicular to the Class A surface with respect to the tooling axis direction with a draft angle of 3 degree.
Joining Class, A, B and C surfaces to get a Closed surface.
After finishing all the 3 surfaces join the Class A and Class C surface together using join command. Now the joined surfaces
are then trimmed with the Class B surface to form a Closed surface.
Draft analysis:
Aplications of B side features:
Create the Dog House as per the design rules and give the required draft angle
- Dog house wall thickness at a intersection of the part wall (C) should be 40% or less than the main wall stock (T).
- Height of (B) should be between 3-6 mm.
-
WALL THICKNESS(W)=0.70*(NOMINAL THICKNESS OF PLASTIC MATERIAL)
DRAFT ANGLE=2-3 DEGREE
Ribs
Create the ribs as the design rules and given the required draft angle.
Ribs are created to increase the stiffness and strength of the surface.
Heat Stakes
Heat staking is a pulsed heat process to join two or more parts out of which
One at least is made of plastic.
The process to deform the plastic material using heat and force at a set process time. The bond is made bit partially deforming
the plastic part in order to fix the other.
Push Pin Clips
After creation of flanges,heat stakes,Dog houses and ribs we have to assemble the push pin clip to the Dog house by using
coincident command.
Flanges
Flanges are created to fix the body with other bodies, so that they are not moving in other direction
andf these are created with required dimensions and edge fillets
Commands used in this project are :
1) Offset
2) Extract
3) Boundary definition
4) Multi surface creation
5) Split
6) Trim
7) Line definition
8) Union Trim
9) Add
10) Join
11) Curve smooth
12) Sweep
13) Draft angle
14) Shell operation
15) Hole
16) closed surface
17) Spline curve
18) extrapolatino
19) Edge Fillet
20) Pad
21) Pocket ect..