Design of backdoor
OBJECTIVE
Use the provided styling surface to come up with a back door design, use appropriate design methodologies, and provide the necessary reinforcements and embosses
Given Class A surface
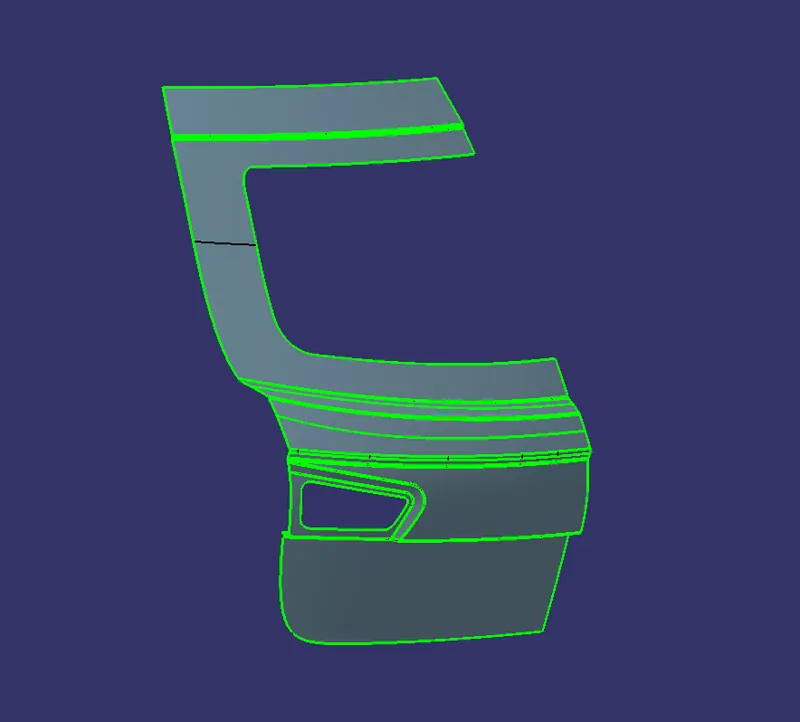
BACK DOOR (TRUNK DOOR)
Back door or tail gate simply refers to the back of the car that can open and close.it covering the rear of the vehicle.It provide access to a cargo area (trunk/boot ).A tailgate hinged at the roof is a predominant characteristic of hatchbacks, estates/station wagons and liftbacks .The door or opening of a cargo area may be hinged at the top, side, or bottom.
A door which is located at the rear side of a car which gives access for the boot space to store luggage, spare wheel etc. These doors can be operated manually or electric powered. In most of the luxury cars door is electrically operated.
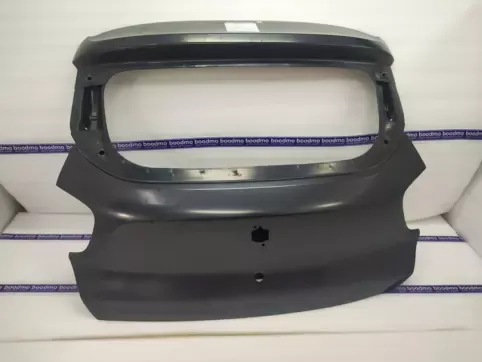
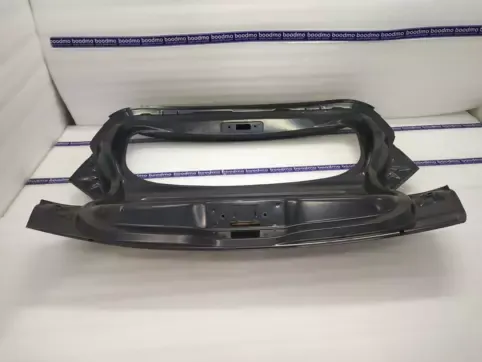
Functions of the Backdoor:
- It protects the occupants and luggage from getting damaged.
- It houses assembly of tail lamps, wiper motor and other components.
- It serves as entry and exit point for luggage/passengers.
- It houses windshield glass which helps in rear visibility.
- Parking sensors, rear view camera are mounted on it.
BACK DOOR DESIGN
The design consideration of back door are ,
- Visibility Criteria
- Force Dissipation
- Latch and Stricker Positions
- Hinge Position
- Gas Stay Position
- Hemming and Relief Areas
PARTS OF THE BACK DOOR
- Back door outer panel (Upper & Lower)
- Back door Inner panel
- Hinge reinforcement
- Gas stay reinforcement
- Wiper motor reinforcement
- Latch & striker reinforcement
DESIGN CONSIDERATION & METHODS
1. Back door outer panel
It is the outer styling skin surface of the back door. It is provided with multistage coatings which has property of scratch resistance, rust prevention etc. It is wrapped around the inner panel through hemming process.
Upper outer panel:
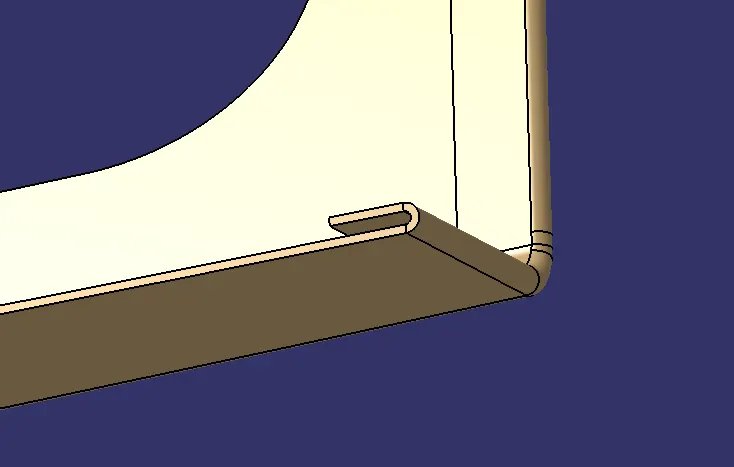
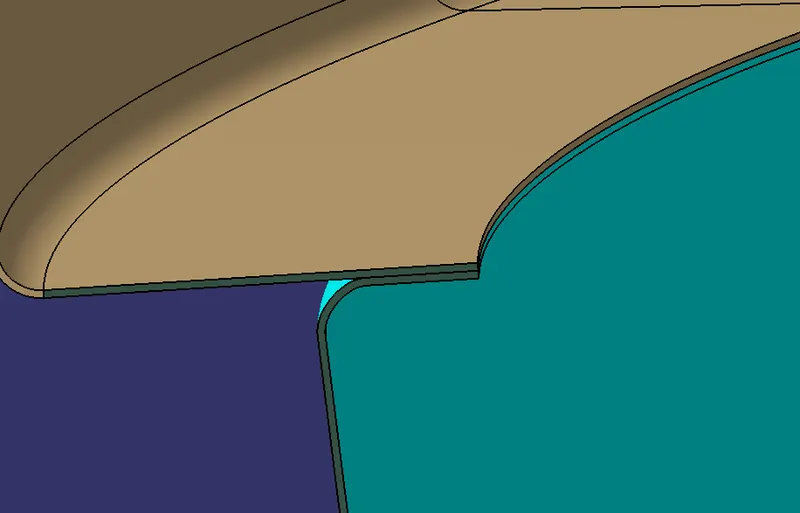
First, check class A surface & correct the sharp edges & broken edges. Create hemming flange & all surface are joined, then thicken it for 0.75mm. final design given below
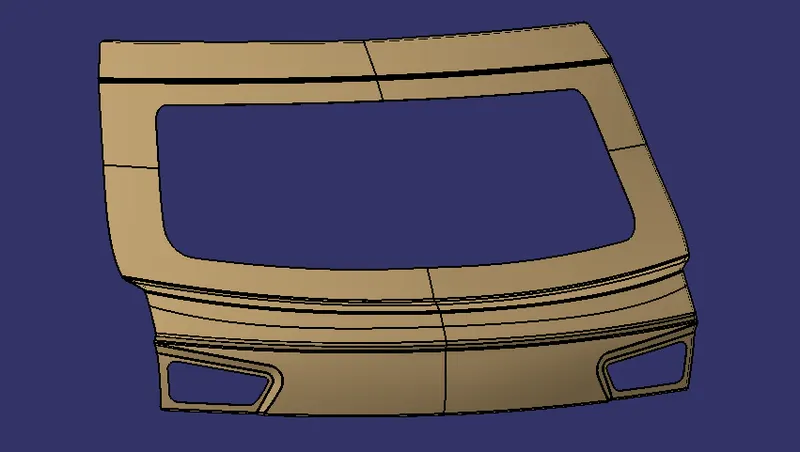
Hemming flange
Lower outer panel:
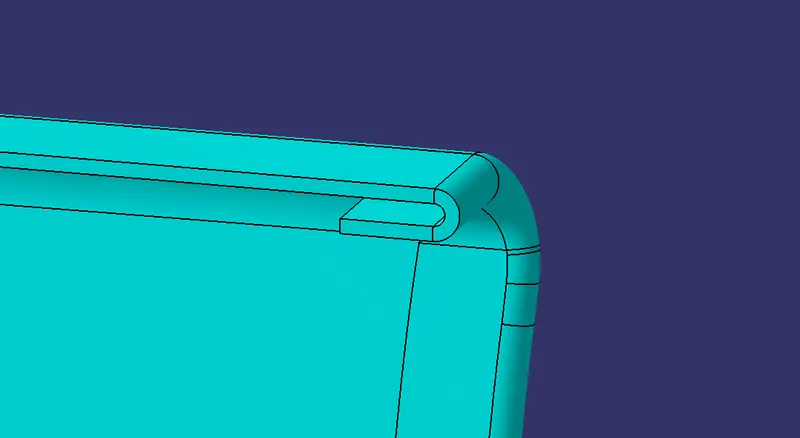
First, check class A surface & correct the sharp edges & broken edges. Create hemming flange & all surface are joined, then thicken it for 0.75mm. final design given below
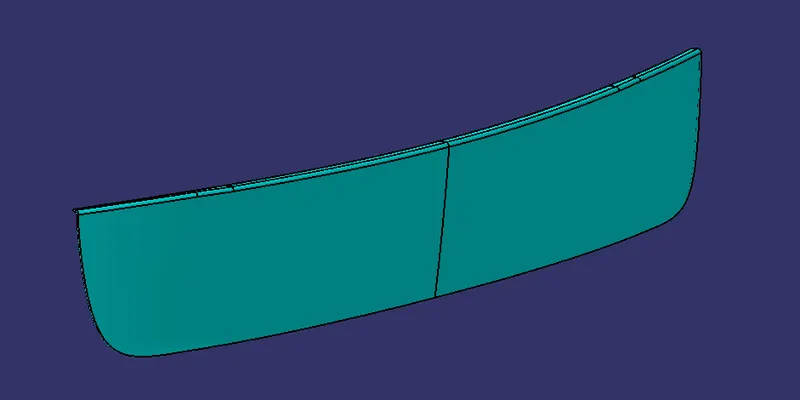
Hemming flange
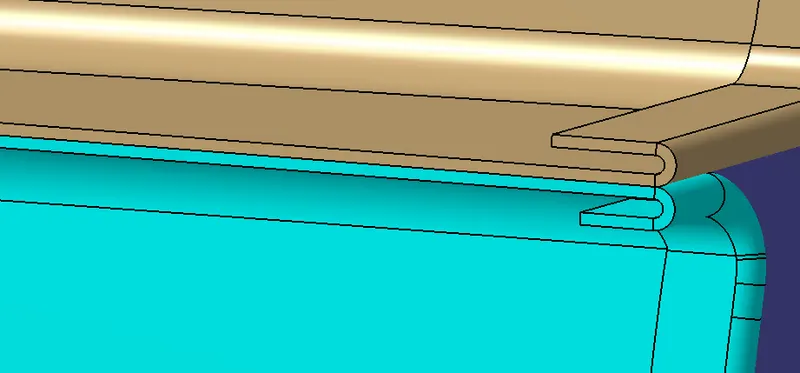
Upper & Lower Outer panel are joined together by spot weld
2. Back door Inner panel
The inner panel is one of the most important components of backdoor assembly. It provides strength and helps in dissipation of forces outside the part with the help of embosses made on it. It helps in mounting of accessories like hinges, wiper motor, gas stay, latch & striker etc.
Tooling axis:
First, we need to create the Tooling direction for the Deep drawing operation. It shows that all the operations like embossing is done by considering this Draft direction and it will help in manufacturing the part,
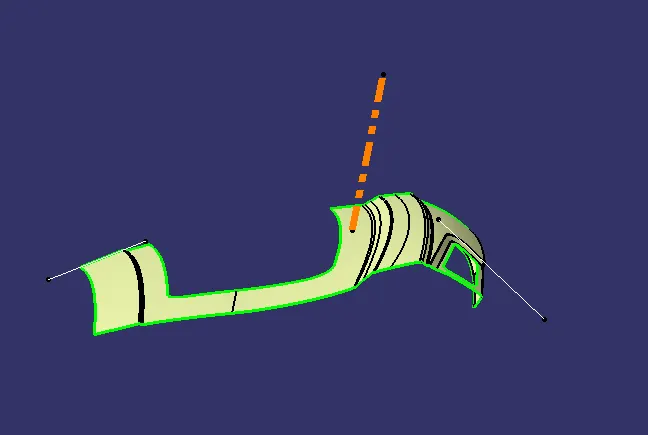
In inner door panel, first we have to create sealing flange by Offseting class A surface
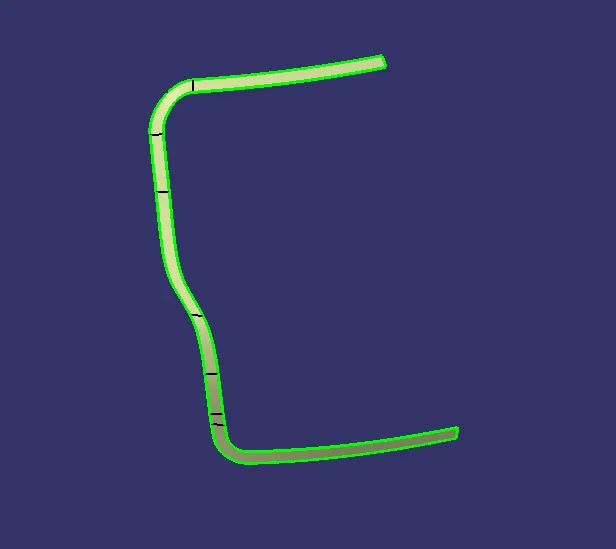
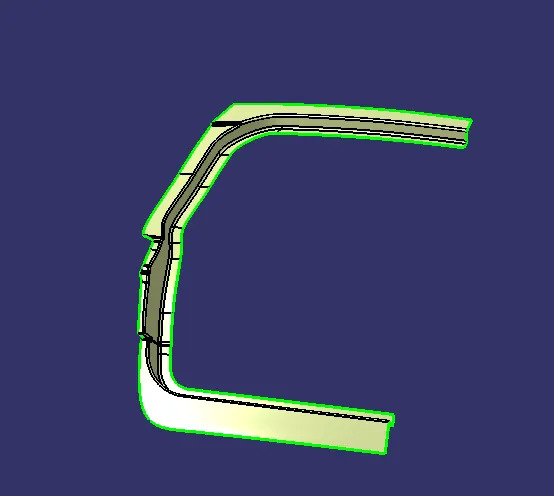
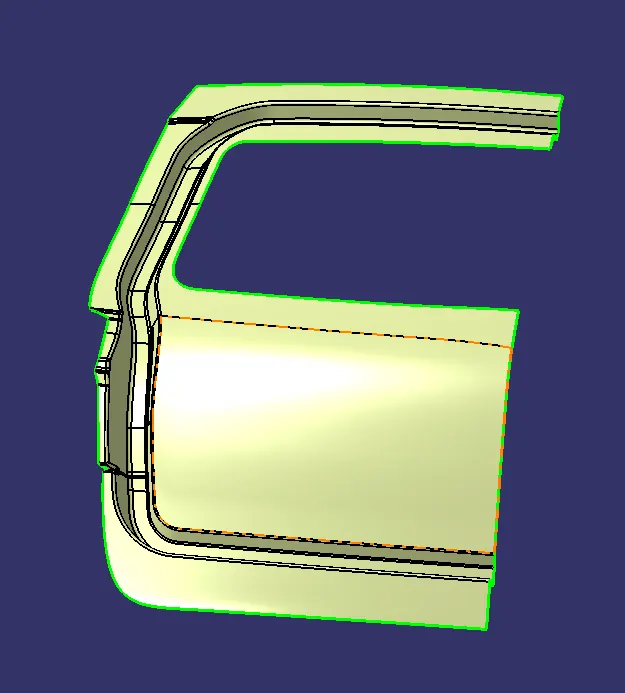
Mastic Sealants: As we know the outer panel gives the aesthetic look to the vehicle, so we can’t use bolting or spot welding or any other joining technique which damages the aesthetic looks of the panel. Thus mastic sealants are used for joining the Inner panel elements with outer panel. A maximum gap of 5mm is to be maintained in between parts where mastics are to be applied.
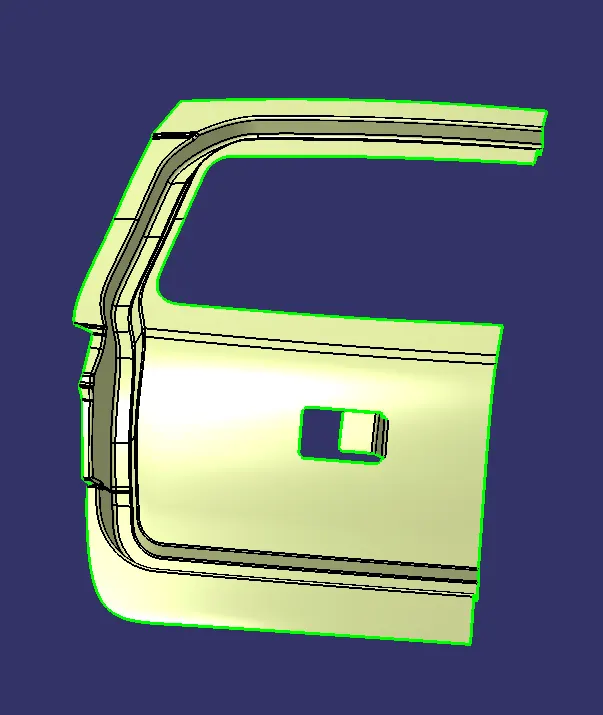
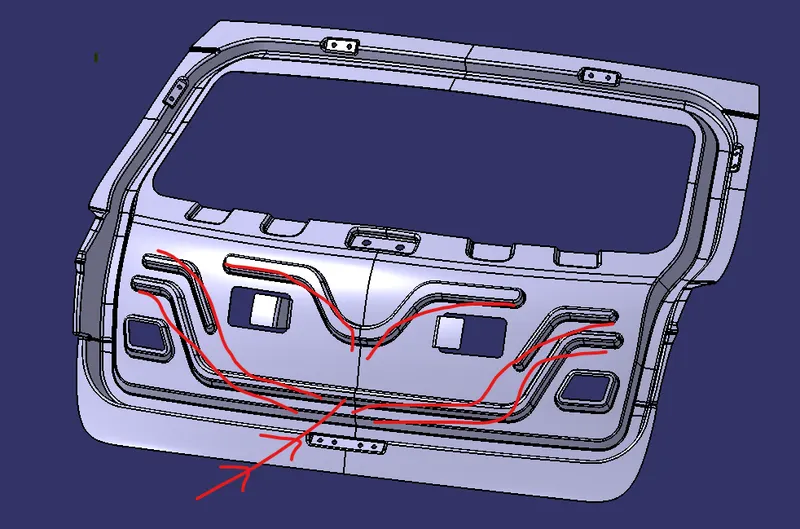
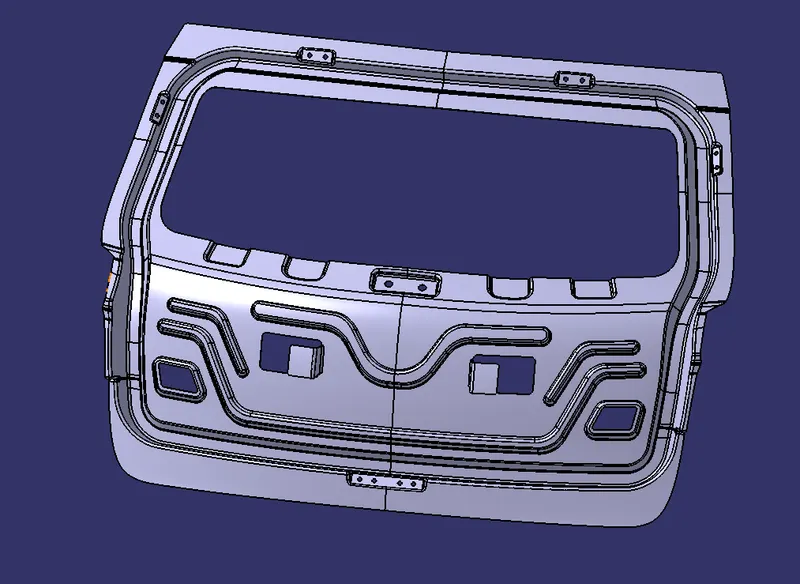
Embosses: It is provided to give extra strength to sheet metal panel and to help dissipate forces/energy towards a specific direction. Here embosses (Y/V emboss) are designed in such a way so as to direct them towards the outer end of the backdoor as shown in the image.
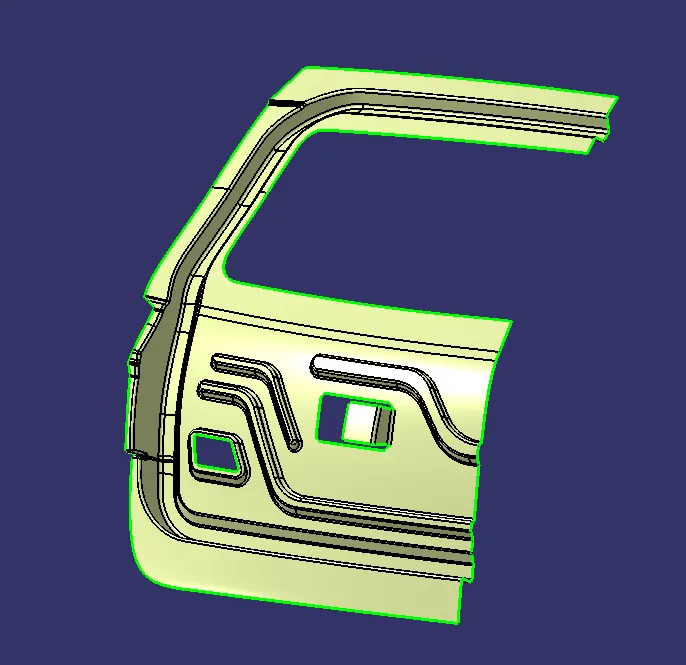
Force dissipation
This inner panel design created by considering the force dissipation criteria.The embosses are created in such a manner that force will dissipate in to sides of the back door during a collision and prevent reaching inside the passenger cabin.Y and V embosses provided in the back door for force dissipation and improve the strength of the metal.
Types of Inner panel mounting
- Hinge mounting
- Gas stay mounting
- Wiper mounting
- Latch mounting
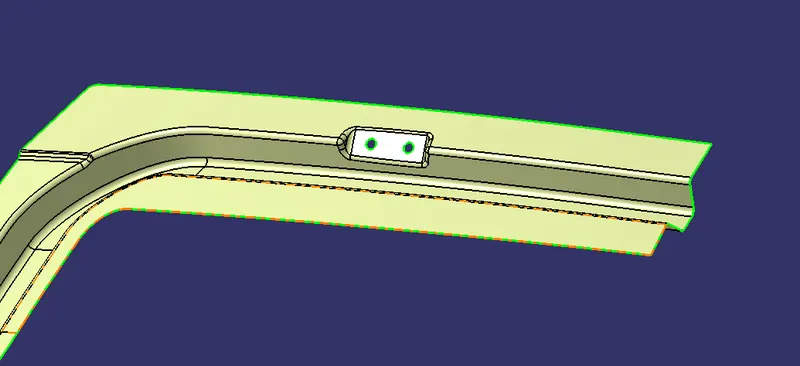
Hinge mounting:
Here where the Hinge assembly will mount on Inner panel
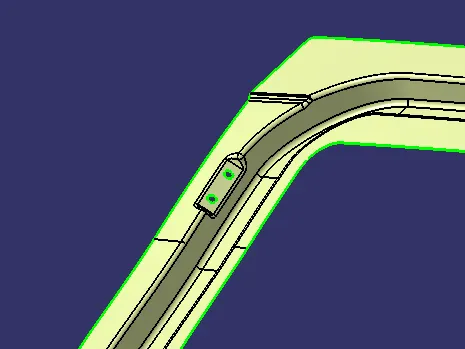
Gas stay mounting:
Here where the Gas stay assembly will mount on Inner panel
Wiper mounting:
Here where the wiper motor will mount on Inner panel
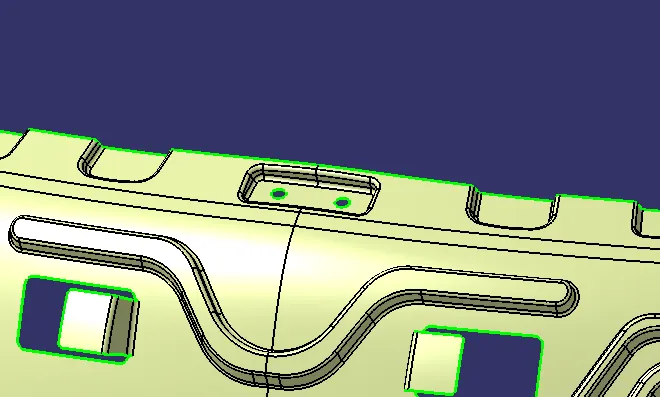
Latch & striker mounting:
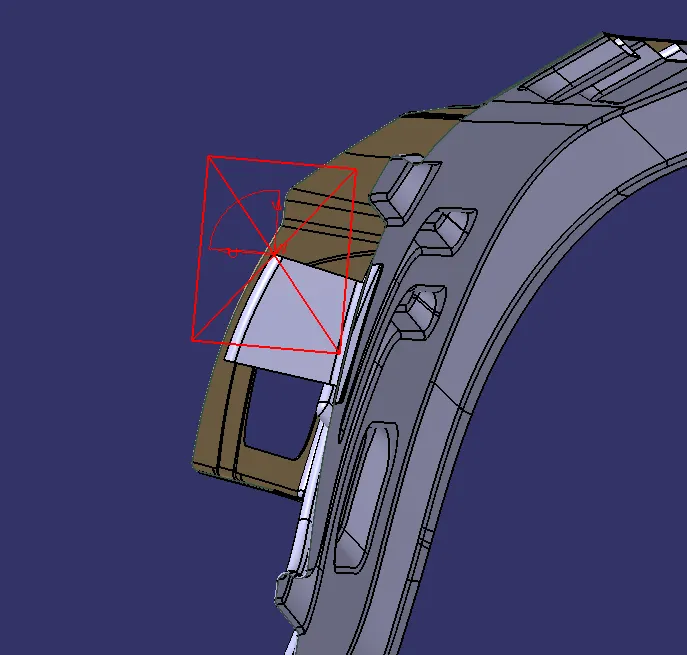
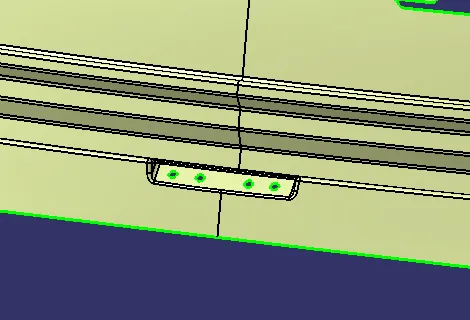
Here where the Latch will mount on Inner panel by using Latch trajectory
Positioning of Latch & striker/ Latch Trajectory:
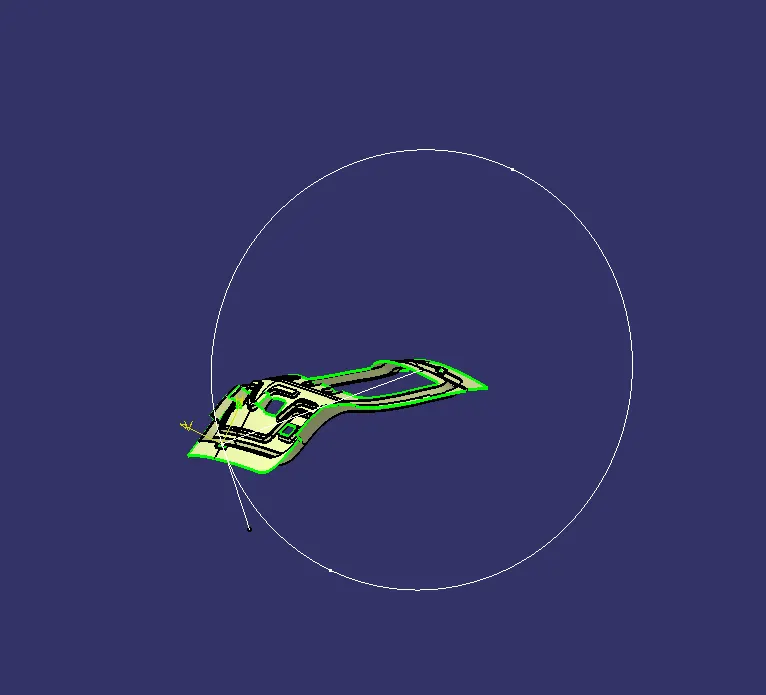
Backdoor is the swinging part which rotates about hinge axis. The position and orientation of latch striker is important for proper opening and closing of the backdoor. The positioning is done by sketching a circle with center as the axis of the hinge which passes through the striker at appropriate position with respect to inner panel.
So, Here the final design of the Inner panel with all embosses and mounting with 0.75mm thickness
REINFORCEMENT
Vehicle Door reinforcement structures as provided to reduce impact in collisions. In one embodiment, the structure is to include a lower reinforcement panel configured to mount to a vehicle chassis and an upper reinforcement panel welded to the lower reinforcement panel wherein the deflection of a front deformable wall of the upper reinforcement panel is configured to trigger deflection of rear deformable wall of the lower reinforcement panel.
Why we need Reinforcement ?
Hinge rotates in the rotational axis in that it will loose some strength there,It means huge Back door opens with the help of small hinges only in this case hinge needs extra strength,For this we providing extra strength in the form of Reinforcement
Hinge Reinforcement thickness be 1.2mm to 1.5mm.
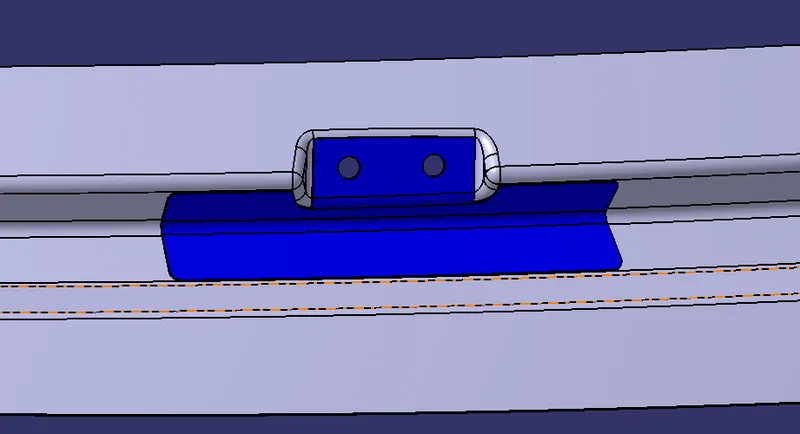
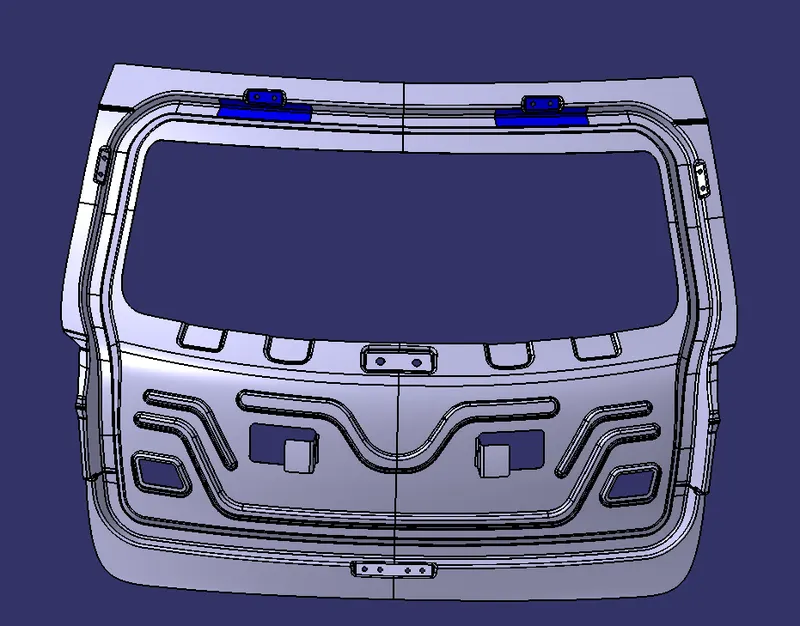
3.Hinge Reinforcement
Hinges are simple mechanical bearing devices that are used to connect two parts and allow them to rotate relative to each other about a fixed axis. Depending on the type employed, the components can move (most commonly) within a limited arc or with 360° freedom.
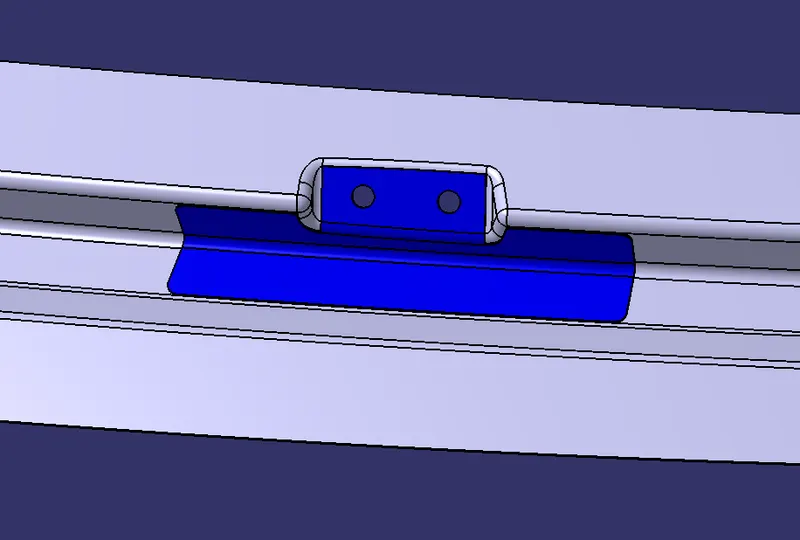
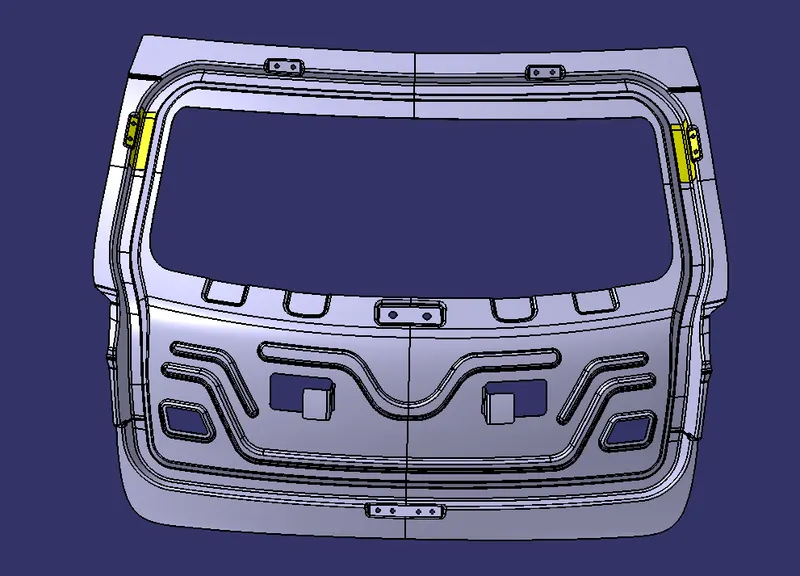
In this design hinges provided on the top side of the door. Appropriate reinforcement given for hinge mounting areas to improve the strength.
Hinge Reinforcement LH & RH with 0.75mm thickness
4. Gas Stay Reinforcement
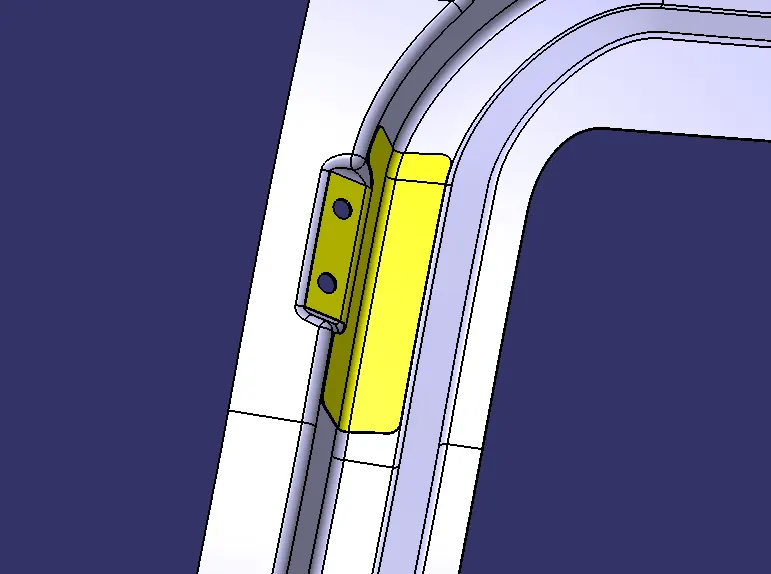
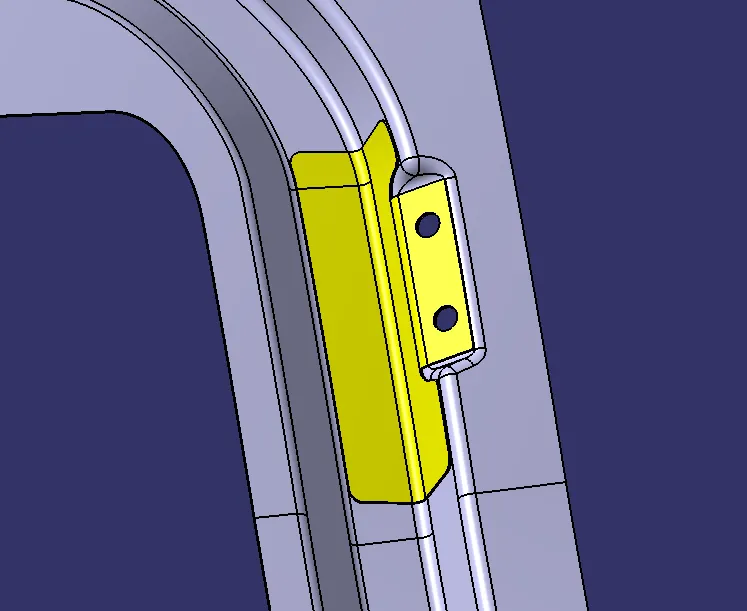
Gas stay is used to lift the backdoor automatically and is used to support the backdoor in its open position. It can be of Two types Semi-automated and fully automated.
Gas stay Reinforcement LH & RH with 0.75mm thickness
5.Wiper Motor Reinforcement
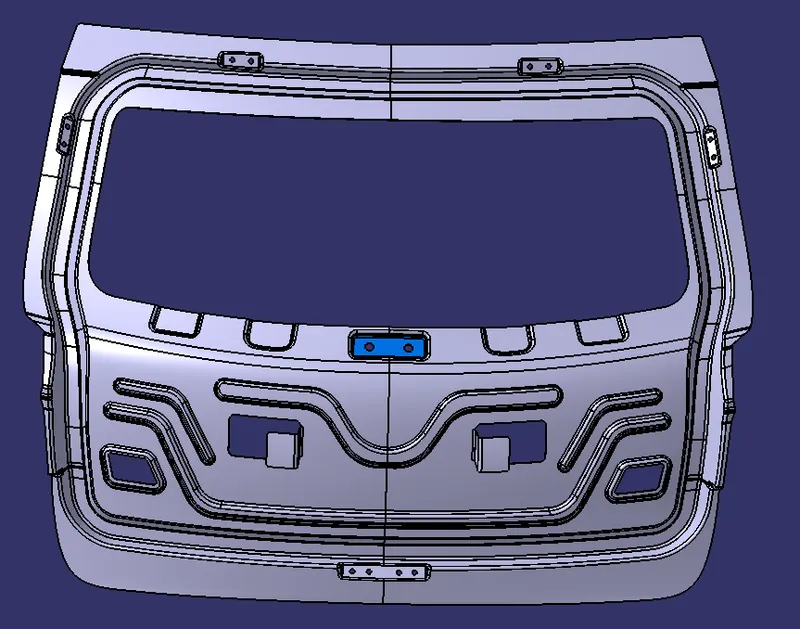
Wiper is used to wipeout the dust particles/water on the windshield glass which affects the rear visibility. It is actuated by the motor which is mounted on the inner panel. Due to vibration and heat of the motor, inner panel gets deformed which results in loss of strength & rigidity of the panel thus leading to poor NVH. So reinforcement is provided to avoid these conditions
Wiper motor Reinforcement with 0.75mm thickness
6. Latch & Striker Reinforcement
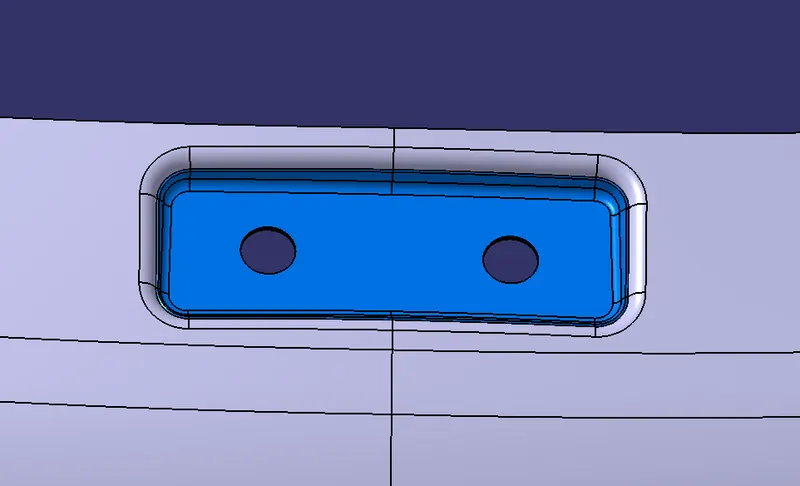
The striker is designed to create a tight fit between the door and the seal on the cab. The door open and shut several times in a day.So more force acting on this area.The reinforcement given in the latch and striker mounting area to increase the strength.
Latch & Striker Reinforcement with 0.75mm thickness
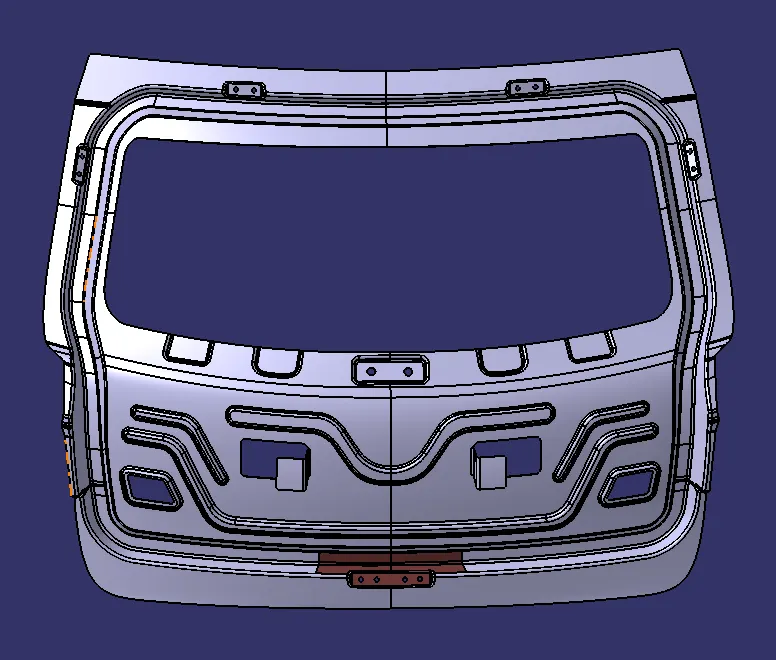
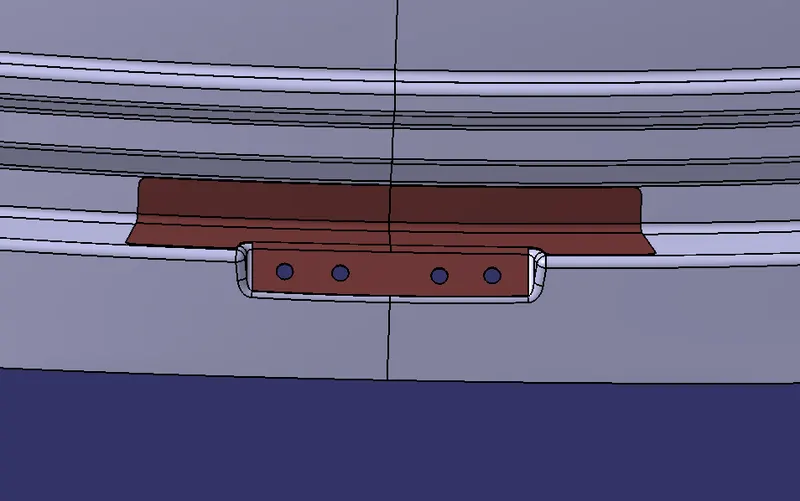
NOTE: All reinforcement parts spot welded on the inner panel for better strength on that area.
HEMMING PROCESS
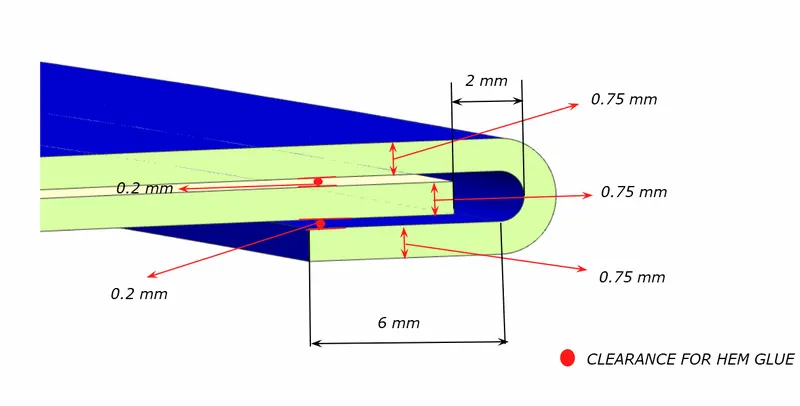
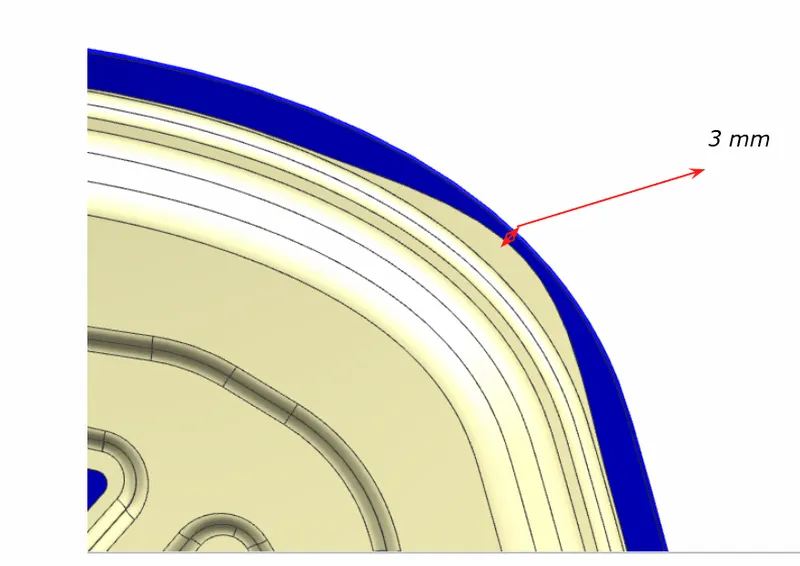
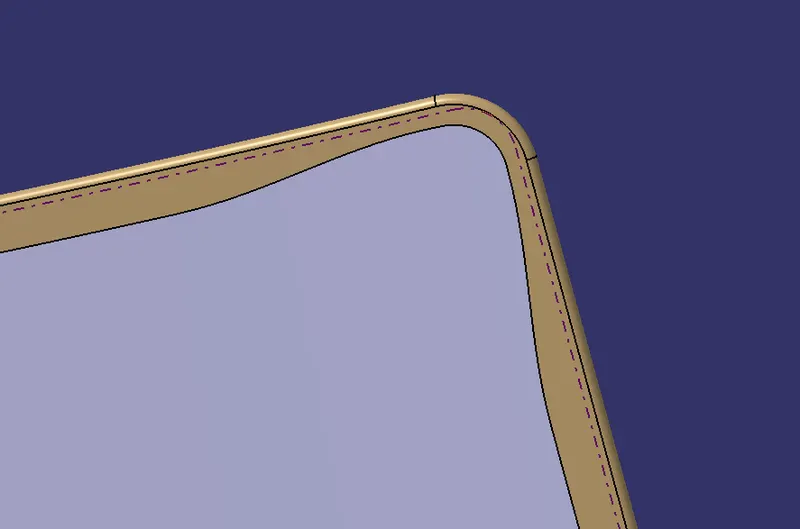
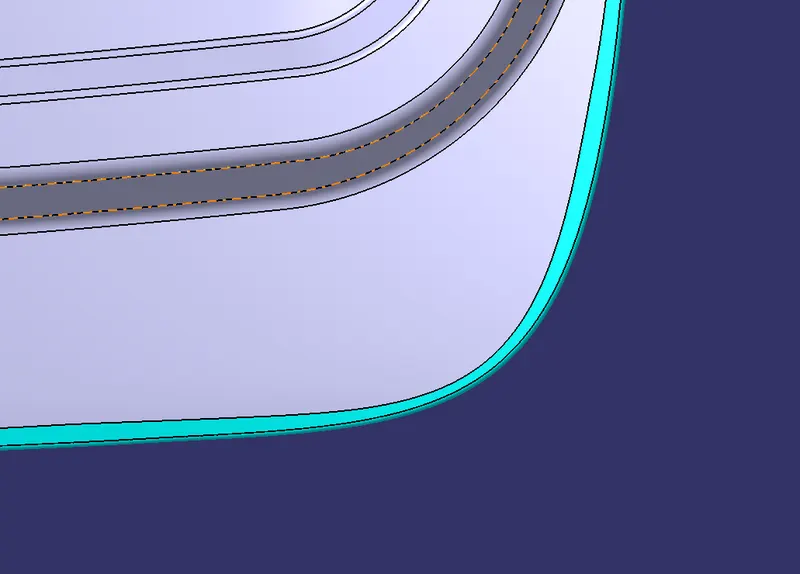
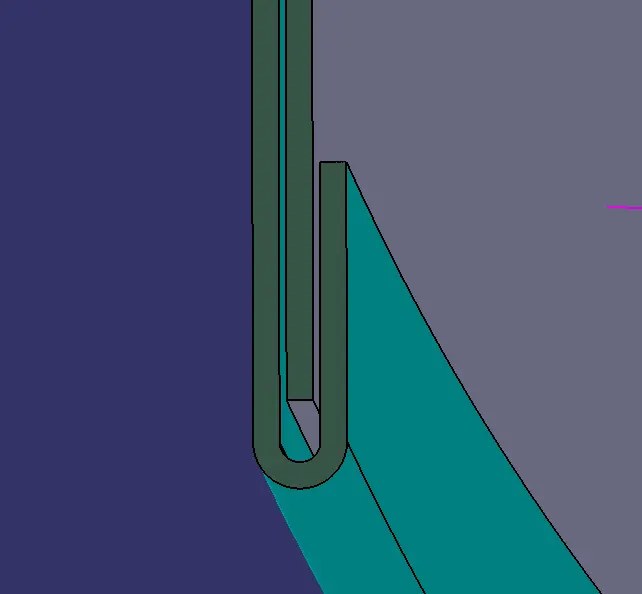
Hemming is a forming operation in which the edges of the sheet are folded over another part in order to achieve a tight fit. Usually hemming operations are used to connect parts together, to improve the appearance of a part and to reinforce part edges. In car part production, hemming is used in assembly as a secondary operation after deep drawing, trimming and flanging operations to join two sheet metal parts (outer and inner) together. Typical parts for this type of assembly are hoods, doors, trunk lids and fenders.
Here outer panel & Inner panel are joing together by hemming process
MANUFACTURING PROCESS
Metal stamping process is commonly used in automotive vehicle body manufacturing by OEM.
Metal stamping process
The process of turning sheets of metal into a useful part or component is called sheet metal stamping. The metal is fed into a press, where the stamping tool, also known as a die, creates the desired shape. The die is pressed into or through the metal with tremendous force.
Common Sheet metal stamping process:
There are basically only three components to sheet metal stamping—the sheet metal, die, and press machine—but any single part can require multiple steps to arrive at its final form. The following guide explains a few common processes that might occur during metal stamping.
- Forming: Forming describes the process of transforming the flat metal into another shape by applying force. It is accomplished in one of several ways, depending on the design specifications for the part. With a series of operations, the metal can be altered from a relatively simple shape into a complex one.
- Blanking: Blanking is the most basic technique and initiates when the sheet or blank is fed into the press where the die cuts out the desired shape. The resulting piece is called a blank. The blank may be the desired part, also known as a fully finished blank, or it may continue to the subsequent step of forming.
- Drawing: Drawing is a more complicated operation and is how vessels or deep depressions are formed. Tension is used to carefully draw the material into a cavity to change its shape. Though the material might stretch while it’s drawn, technicians try to avoid stretching as much as possible to keep the material intact. Sinks, cooking equipment, and oil pans for vehicles are usually made with drawing.
- Piercing: Piercing is almost the opposite of blanking, but instead of saving the blanks, technicians use the material around the outside of the punched area. As an example, think of cutting biscuits from a rolled-out circle of dough. During blanking, the biscuits are saved; during piercing, on the other hand, the biscuits are discarded, and the hole-riddled remains are the desired outcome.
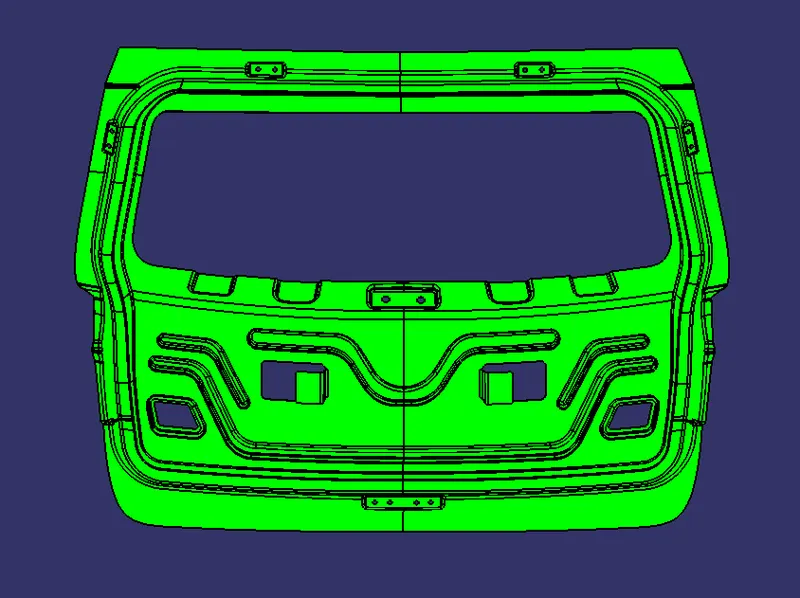
DRAFT ANALYSIS
NOTE: minimum drafft angel is 7degree
Back door upper outer panel
Side Core axis for under cut flange
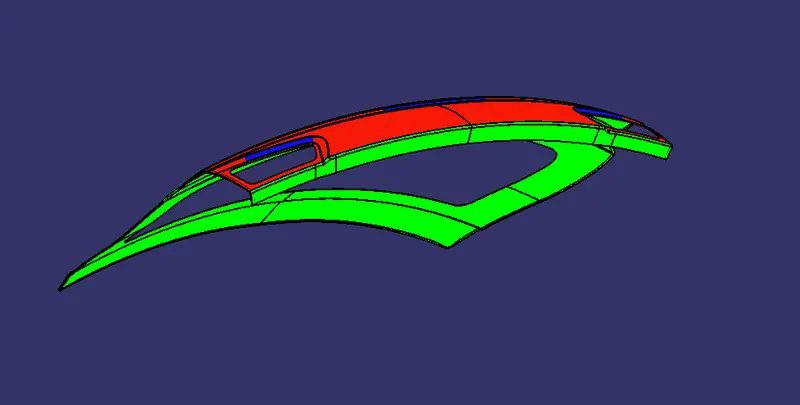
Back door lower outer panel
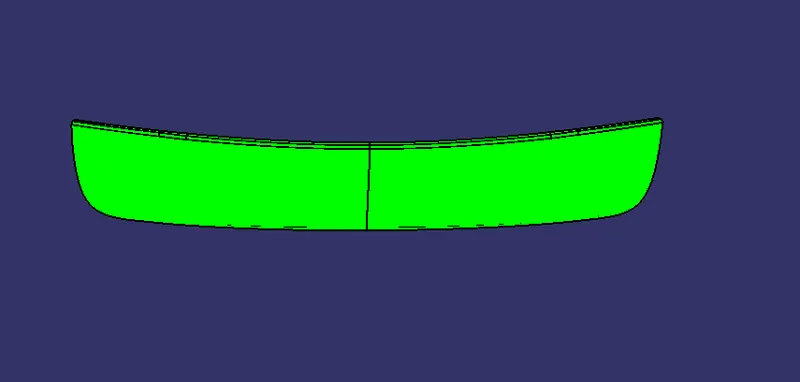
Back door Inner panel
CONCLUSION
Based on design considerations, The backdoor is designed by using suitable embosses annd required reinforcement provided on inner panel. The design is checked by using draft analysis feature found good.