Deploying the connections to a Rear door model using Nastran deck in ANSA
AIM: Deploying the connections to a Rear door model using Nastran deck in ANSA.
SOFTWARE USED: ANSA
THEORY:
Connections:
Here connections are used to connect the two or more parts together at subsystems level. these connections are done before doing the Analysis on the component level. these connections are used for the constraint of the required regions.
there different types of connections
*Cluster or Many node RBE2: These are used to represent the nut and bolt connection in the subsystem level and if we have washer we can use the zone cut options to constrain the region of the washer.
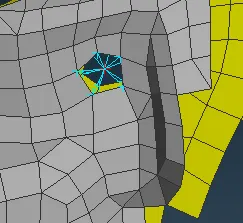
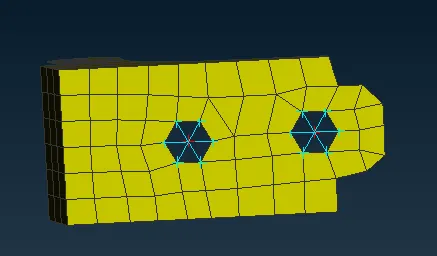
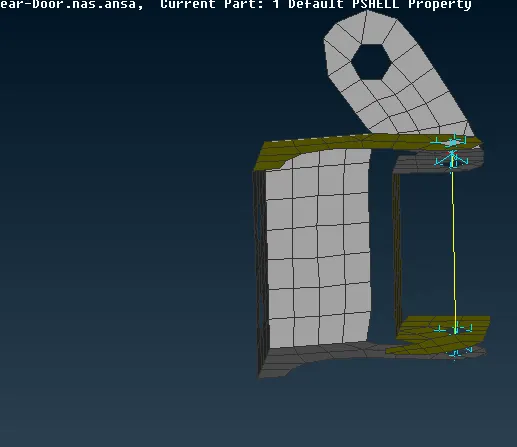
*Cluster or Two nodes RBE2: These connections are used to represent the rotatory motion of the region, this two-node RBE2 are connected between two many node RBE2 connections.
as shown below. here we can constrain region where we can require.
Welding: welding also one type of connections used to connect the parts in the component these welding also be defined before going in to the Analysis.
There are different types of welding we used here as per our requirement:
*Spot welding: It will define the weld between two parts as shown the below.
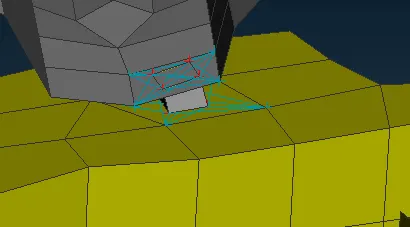
*Overlap shell welding: It is used when two surfaces are parallel to each other
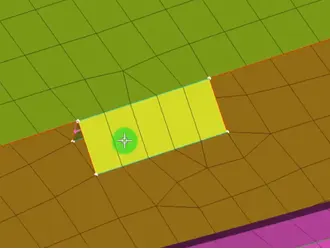
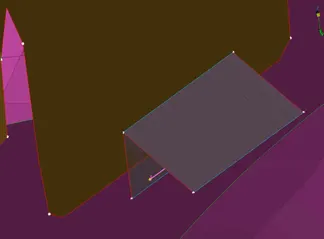
*Y-joint shell welding: It is used when two surfaces are parallel to each other
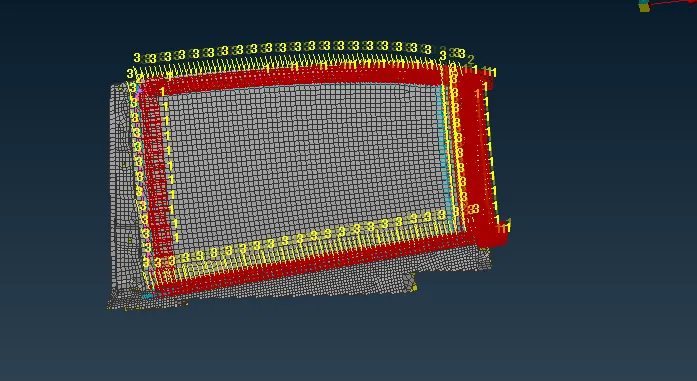
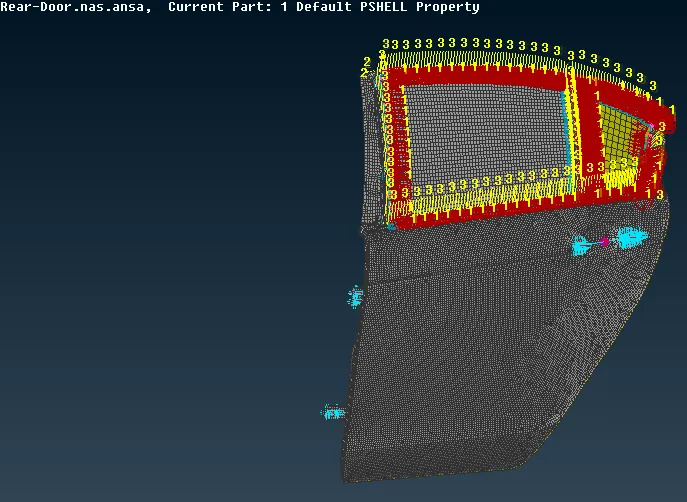
*C-Bush connection: These connections are used to the glass perimeter to avoid the vibrations these are like the rubber strips in the perimeter of the glass .this c-bush acts like the cushioning effect as shown in the below
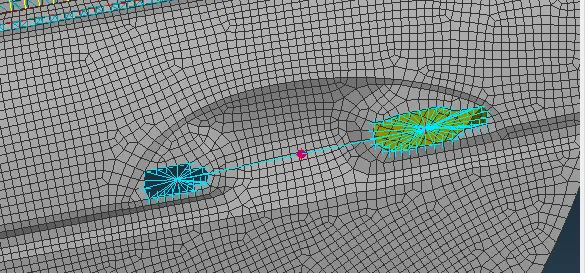
Assigning the mass to the door handle: Here both ends we should define the cluster RBE2 connections then we can connect them both with the help of two-node RBE2 then we can define the conmass command there we can define mass.
Learning outcomes:
*Different types of connections
1.Nut and bolt connections: Many node RBE2 and Two node RBE2.
2.Welding: spot weld, overlap shell, Y-joint shell.
3.C-Bush connections.
4.Assigning the mass to the door handle.
RESULT: Here we deployed the all required connections in the Rear door model.
MODEL LINK:
https://drive.google.com/file/d/102ZRX3V7sD7isjuZtiTZ0oUMbBcB-d0B/view?usp=sharing