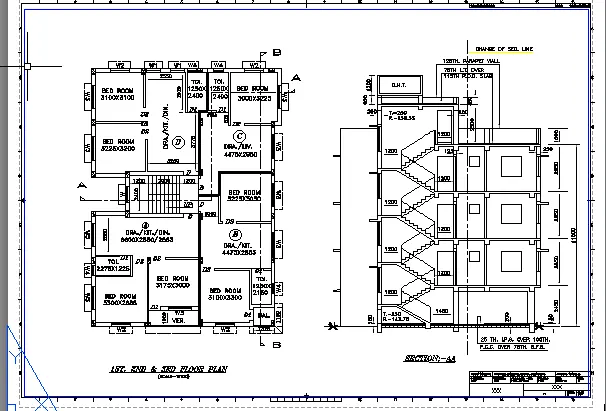
Creation of Multiple viewports, Scaling the drawing and setting in Template in AutoCad
To create a layout of the Plan and Section A using the specified template and commands in AutoCAD, follow these steps:
Step-by-Step Guide
Open the Template:
- Launch AutoCAD and open the
Tutorial-mArch.dwttemplate file.
- Launch AutoCAD and open the
Set Up the Layout:
- Switch to the Layout tab at the bottom (typically named "Layout1").
- Set the page size to A1 (841 mm x 594 mm).
Creating Viewports:
- Use the MV command (Make Viewport):
- Specify the size of the viewport as shown in your reference figure.
- Click to define the first corner and then the opposite corner to create the viewport.
- Adjust the viewport size to match the specified scale in the figure (e.g., 1:100).
- Use the MV command (Make Viewport):
Zooming to the Plan and Section:
- Double-click inside the viewport to activate it.
- Use the Z command (Zoom) and choose Scale to set the correct scale (e.g., 1:100).
- Pan or zoom in to ensure that the plan and Section A fit well within the viewport.
Adding the Title Block Information:
- Use the ATTEDIT command to edit attributes in the title block:
- Select the title block.
- Change relevant fields such as project name, date, and scale according to your project details.
- Make sure to fill in all necessary information.
- Use the ATTEDIT command to edit attributes in the title block:
Finalizing the Layout:
- Ensure all elements are properly aligned and spaced within the layout.
- Add any necessary notes or annotations around the plan and section views if required.
Plotting the Layout:
- Use the PLOT command:
- Select your printer/plotter settings.
- Choose A1 as the paper size.
- Set the plot scale (if needed).
- Click OK to plot the layout.
- Use the PLOT command: