Creating Walls, Partition walls and Floors for a residential layout using REVIT
Ans1:-
Aim:- to create floor layout from week 2 Project
Tools used:- Wall Command Architectural , Floor command. Property Command. Edit Property Command
Procedure:
- First open the revit software and click on new and select architectural unit
- In the next step go to Architecture tab and click on walls and start drawing the walls as per the required dimensions
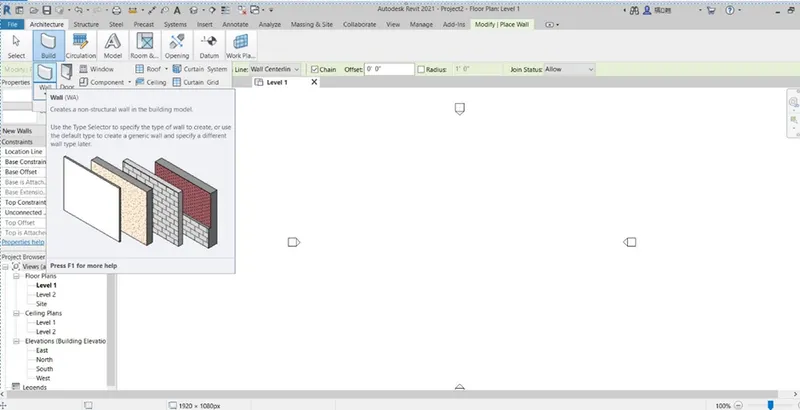
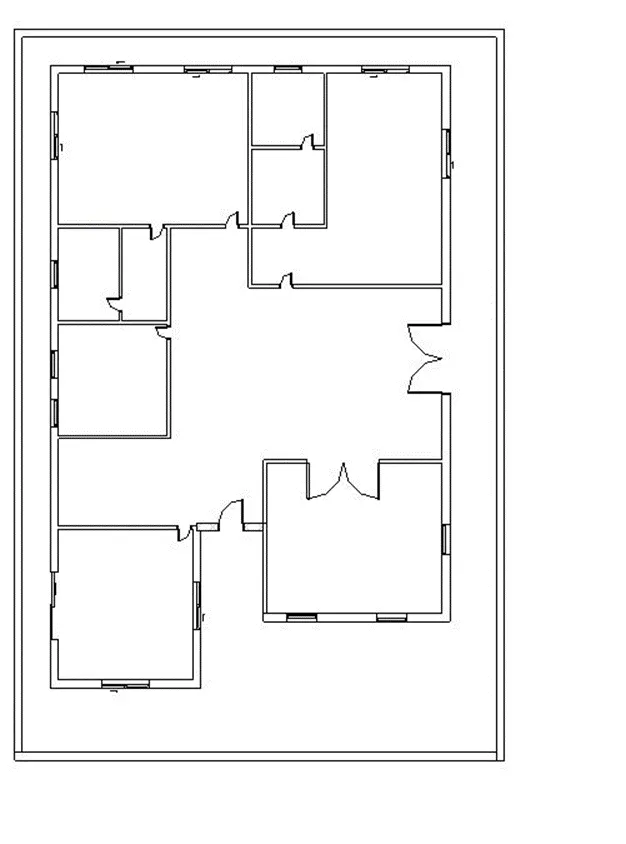
- Next go to view and select 3D view to see the 3d View of buildings
- Select the architectural Command in ribbon bar
- Select the floor command in ribbon bar
- Select the Floor command
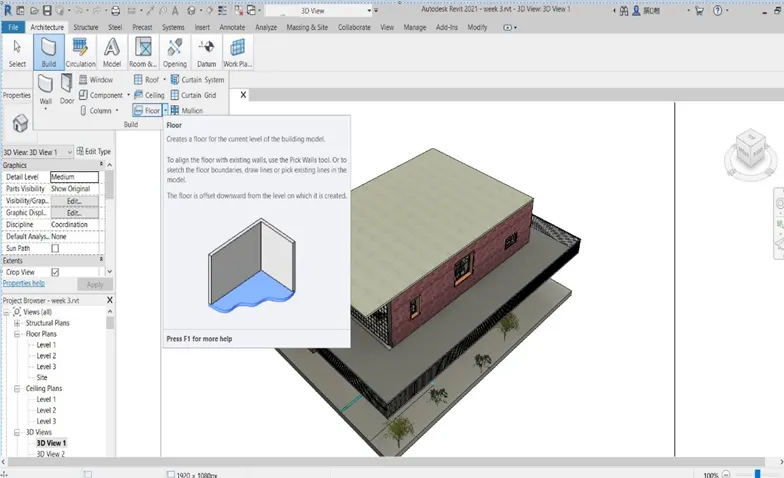
- Using the draw command Draw the boundry lines and draw the boundries for the floor and then click ok
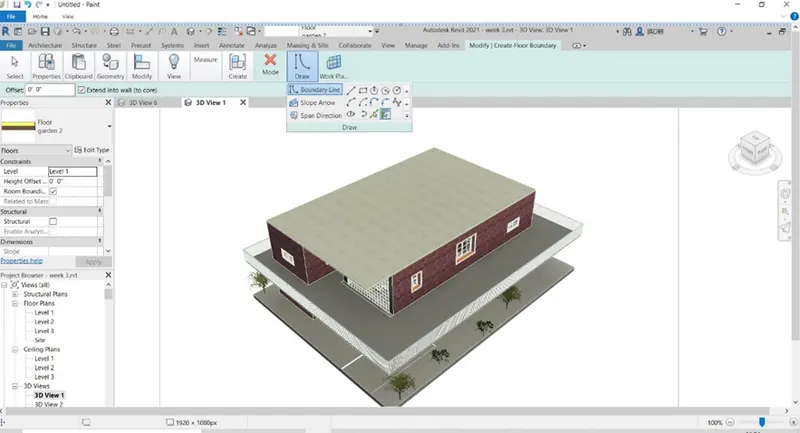
- In the property select the floor finish as desired and edit the thickness and type of floorfinish required click ok.
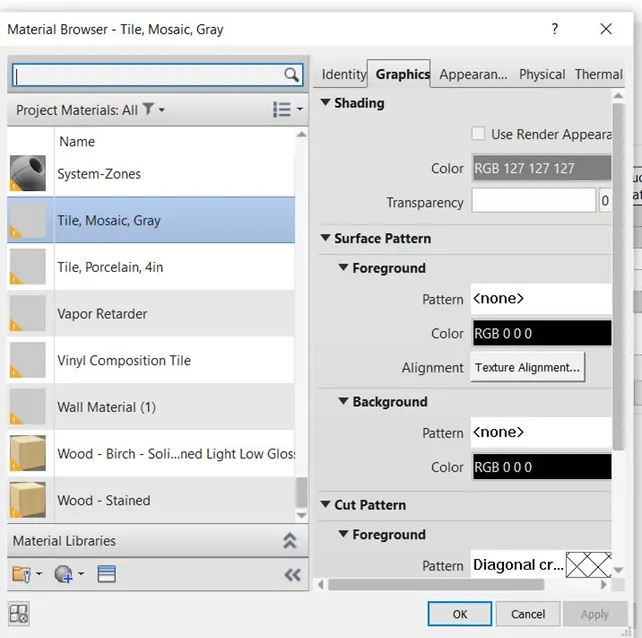
Result:-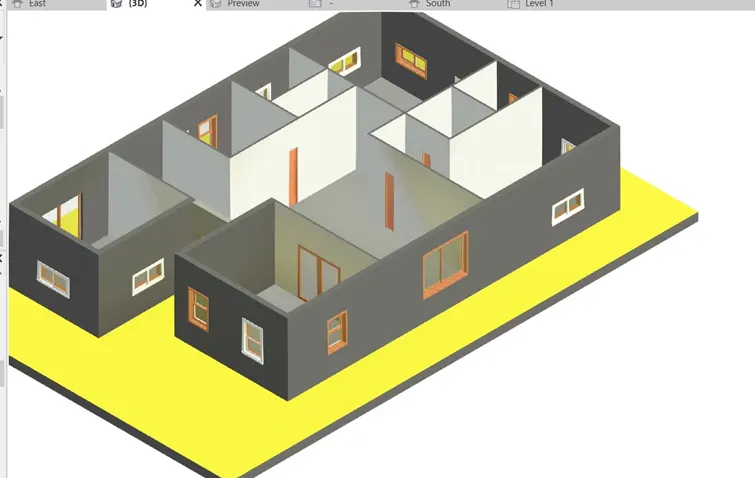
Ans2:-
Aim:-To draw the inner partition walls and modify the boundry of walls and assign the proper properties for the walls
Commmands used:
Architectural,walls
Procedure:
- Open the file in revit
- Select the wall command under Archtecture ribbon
- Select the type of wall required as partition walls
- And Started drawing the walls as per specification
- Here we can see the walls are constraints upto level 2
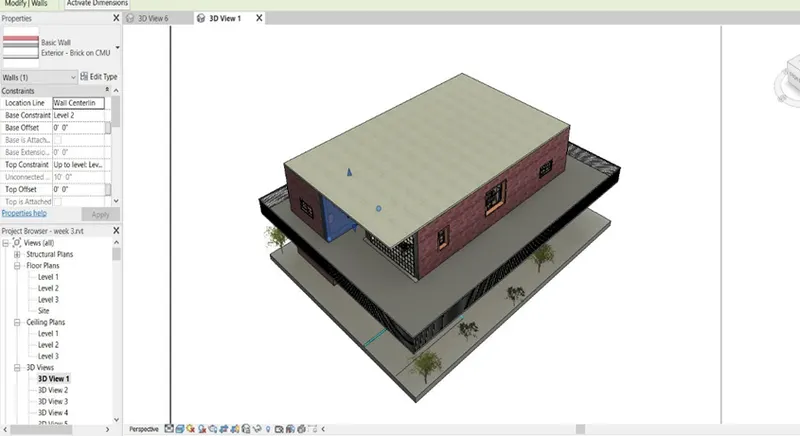
-
6.Benefits of connecting wall is that when walls are connected with the constraints any changes in the height of the building in any view the walls automatically adjusts its height with the building levels and whereas if walls are unconnected then we have to edit the height of the walls manually which will take lots of time and chances of error will be more
According to me the best way to model walls is by height than depth.
Ans3:
Aim:-use the commands as copy and paste modelling the plan
Commands used
Copy,paste Aligned to the level , modify,#D view
Procedure:
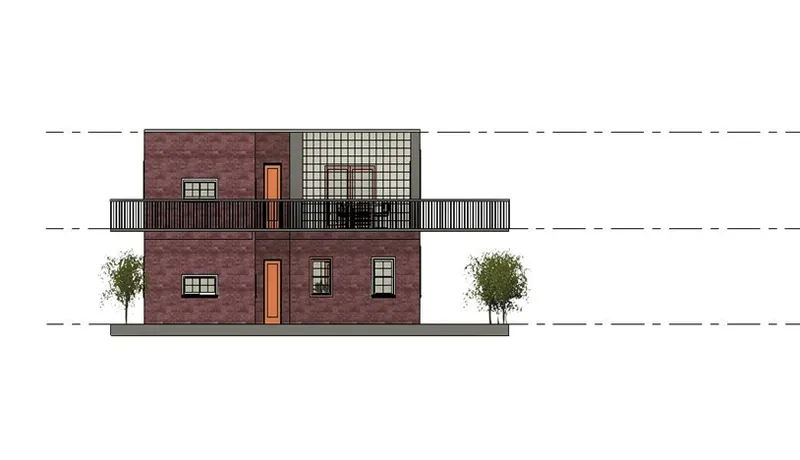
- Select the floors and walls by dragging the mouse
- The press ctrl+c to copy this
- Then go to level 2 and press ctrl +v
- And aligned the floors.
Ans 4:
Aim:- To create the model as per the given specifications
Commands architecture command. Walls , elements load family roof railing and stair
Procedure
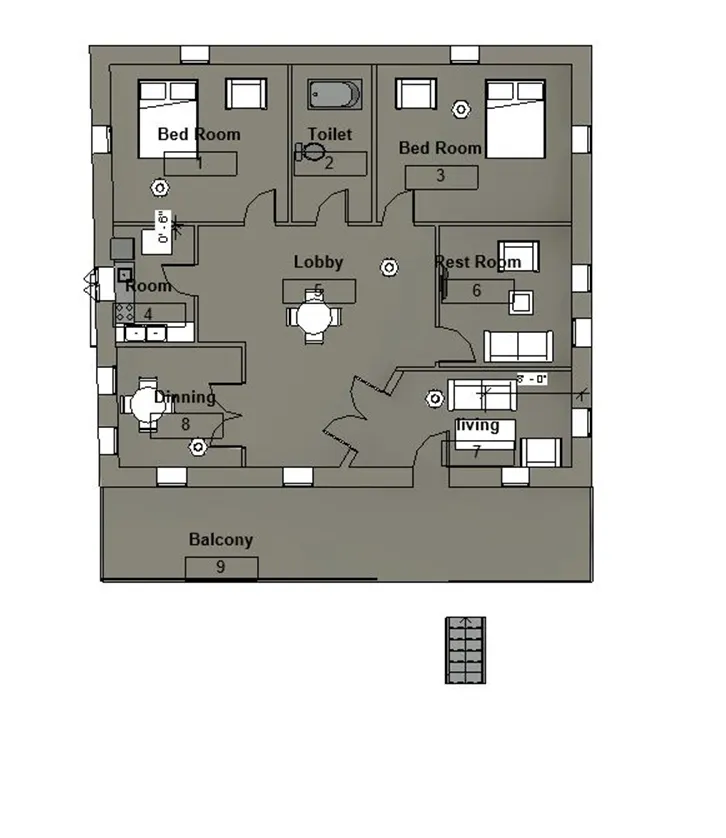
- using the Wall command draw the rooms as required.
- Now draw the inner walls using wall command
- Now go to insert and load the required families of elements as required
- For examples for, windows, counter tops, plumbing fixtures,lighting sofa table chair urinals bath tub etc
- Now go to architecture command and draw floors select the floors and draw the floor boundaries and click ok
- Select the railing option And draw the railing boundaries
- similarly select the stairs and draw the stairs.
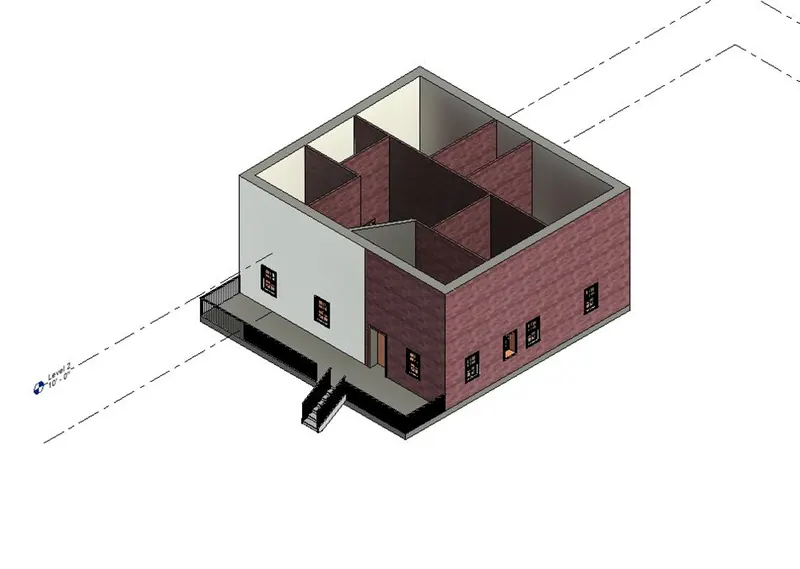
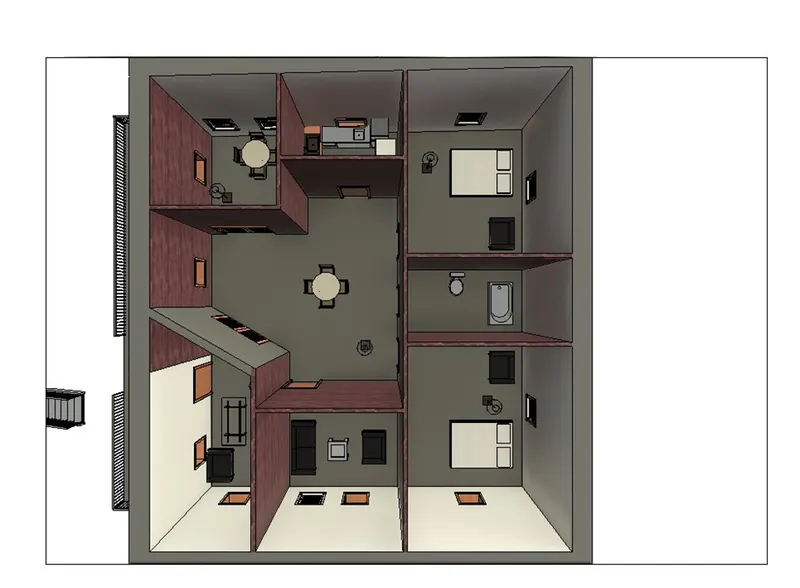
-
Ans 5:-
Aim: to load all the necessary elements inside the model
Commands used:- insert .load from family and the elements
Procedure :
- First go to insert and select loads from family and start opening the doors, windos required click open,
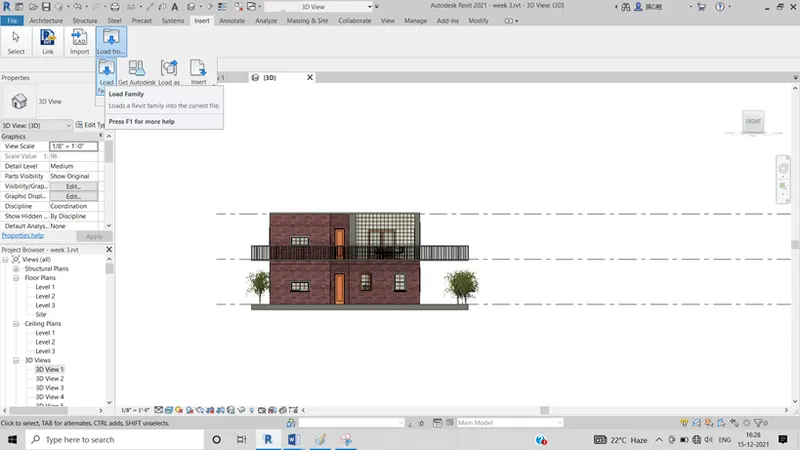
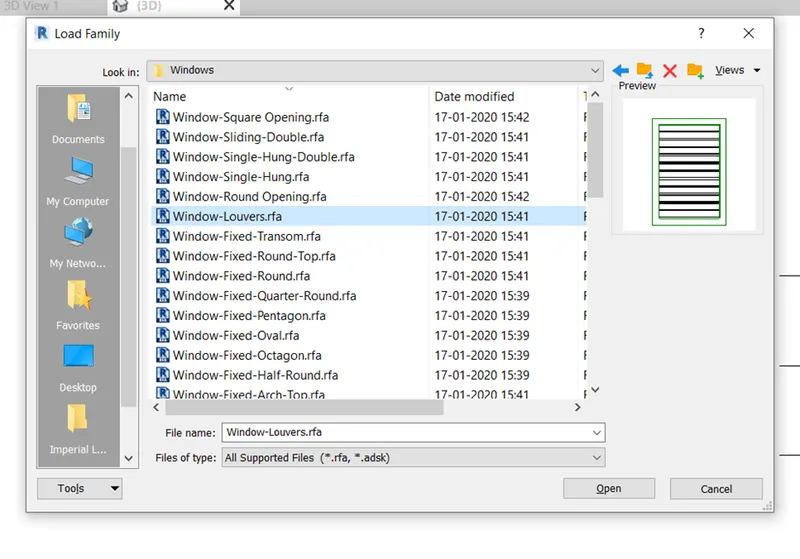
- Similarly load all the elements in the same way and using property browser put the elements on the required locations.
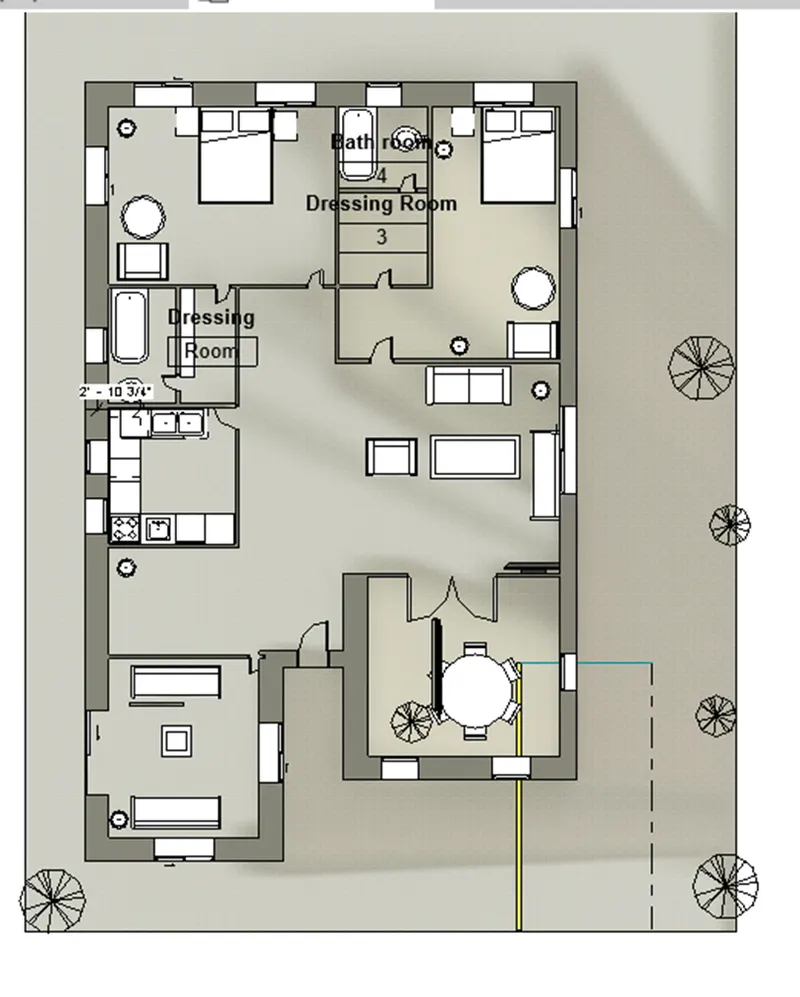
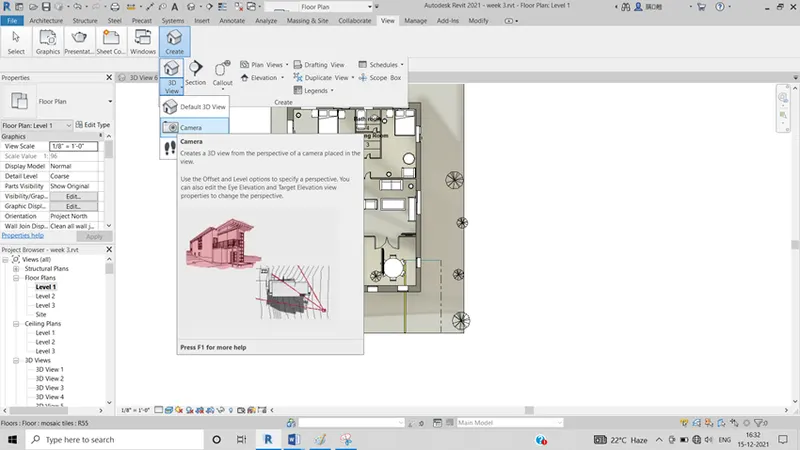
- Now to see these elements in the realistic view go to vide select 3d and click camera and place it on the required positions.
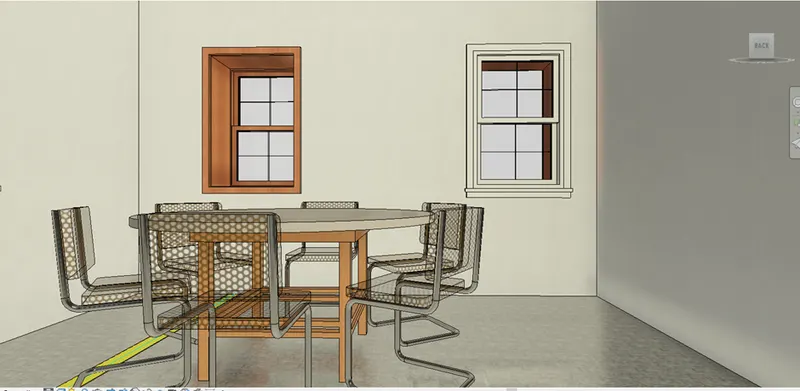
- These are the realistic view of dinnig room
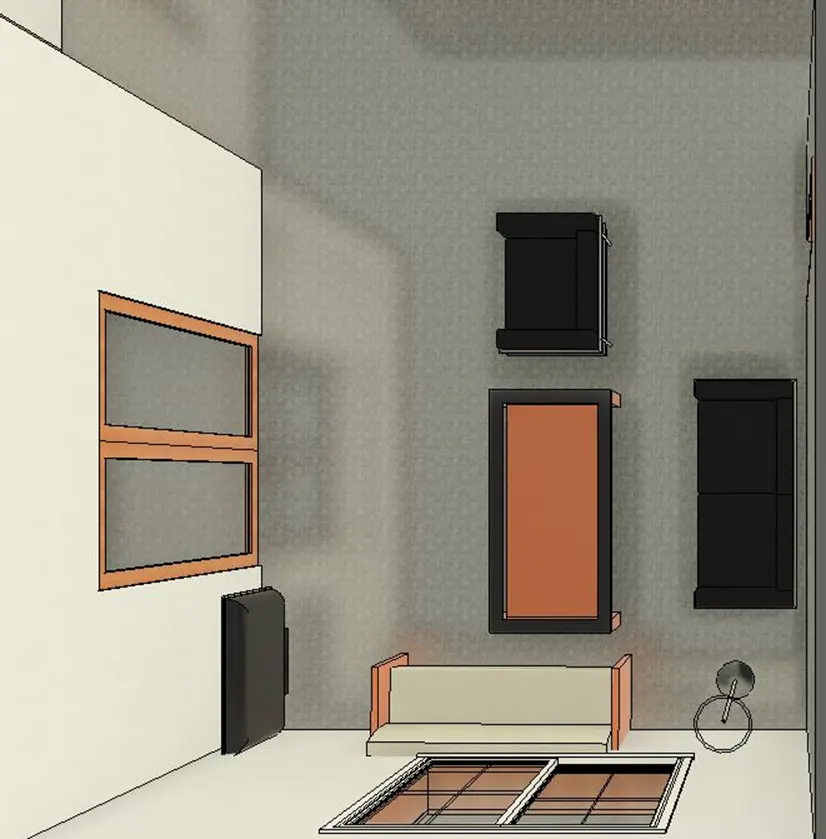
The realistic view of living room 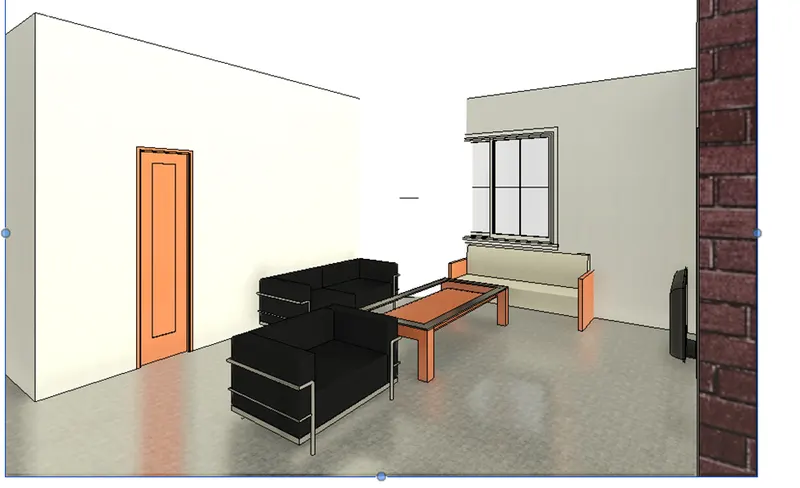
These are the realistic view of kitchen 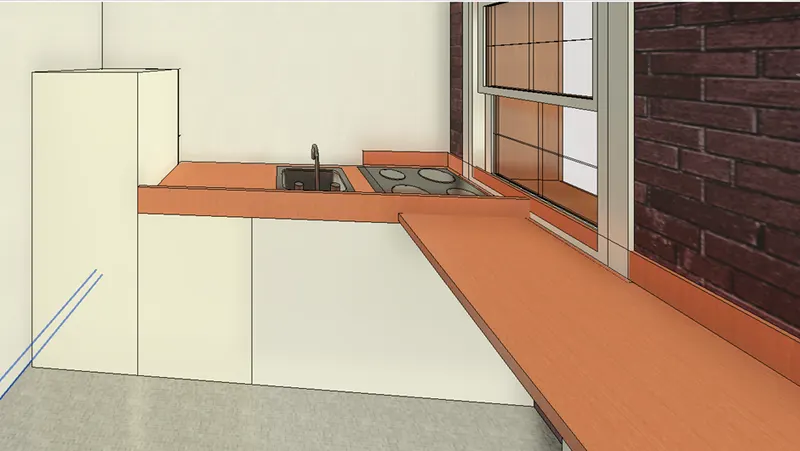
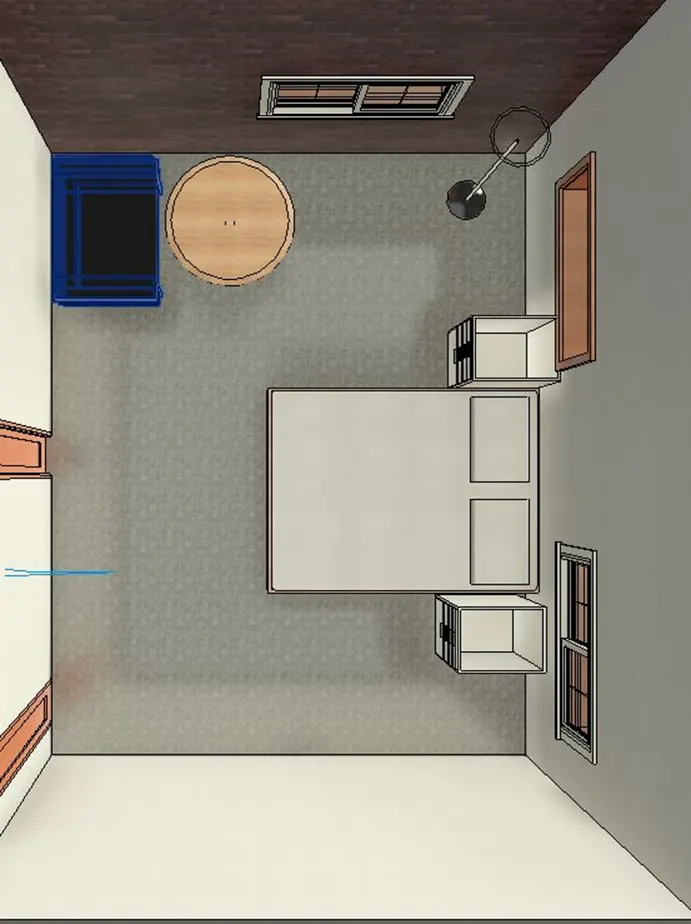
These are the realistic view of Bedroom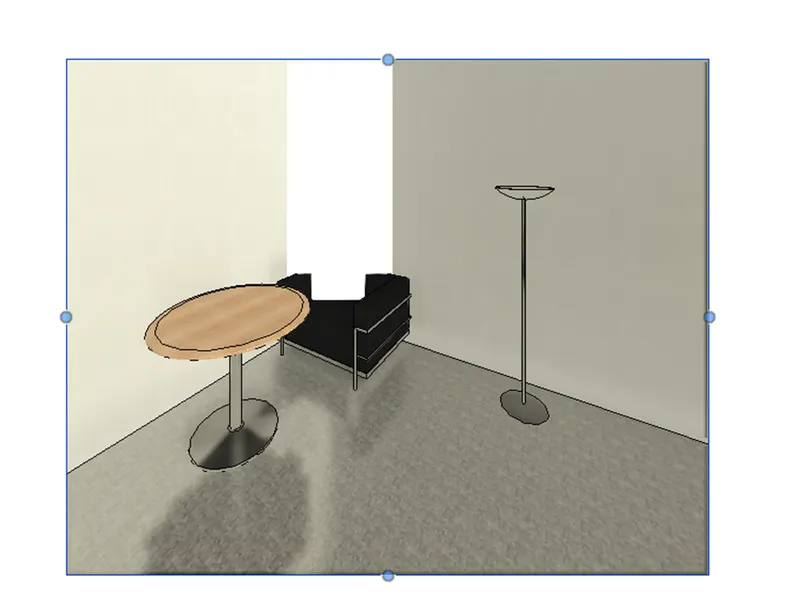
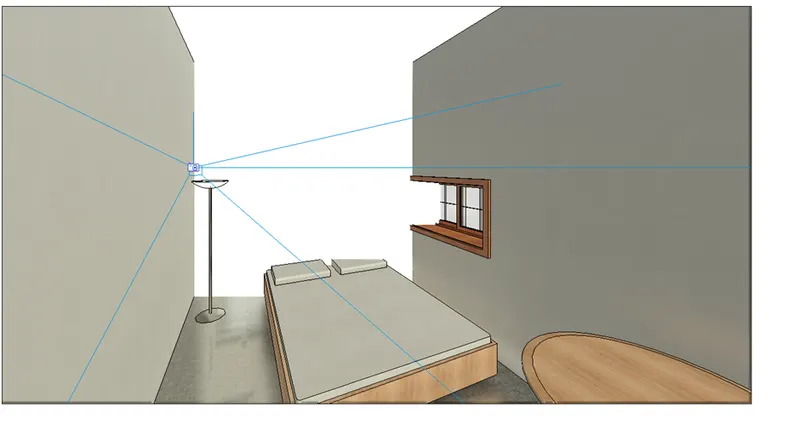
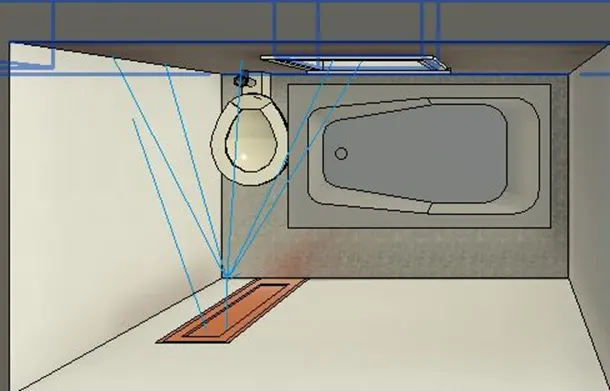
REaslistic view of bathroom