Creating Walls, Partition walls and Floors for a residential layout using REVIT
| Creating Walls, Partition walls and Floors for a residential layout using REVIT |
PROBLEM 1
- Aim :- To provide the flooring with appropriate material and thickness in the residential unit (created in Week 2 )
- Procedure :-
Step 1
- Click on windows start
- In Search bar type > Revit
- Click > Revit 2021
- Once the revit is open, It will shows the following page
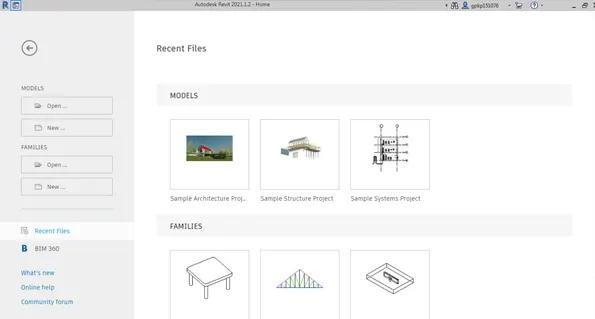
Step 2
- Click On > Open
- Open file > Residential Unit
- Click > Open
- The file is opened
Step 3
- Go to architecture tab
- Click On > Floors
- Go to properties window
- Click on > Edit type
- One dialogue box will open
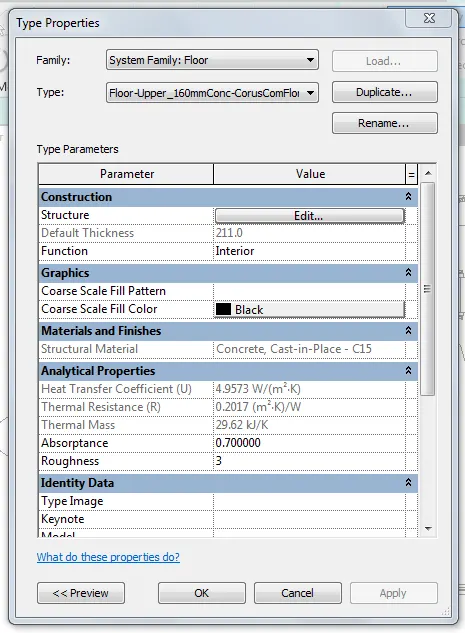
- Click on > Duplicate
- Name it as > Floor 1
- Enter
- Edit assembly dialogue box will open
- Click on > Materials
- Material browsing dialogue box will open
- Select the material > Oak Flooring
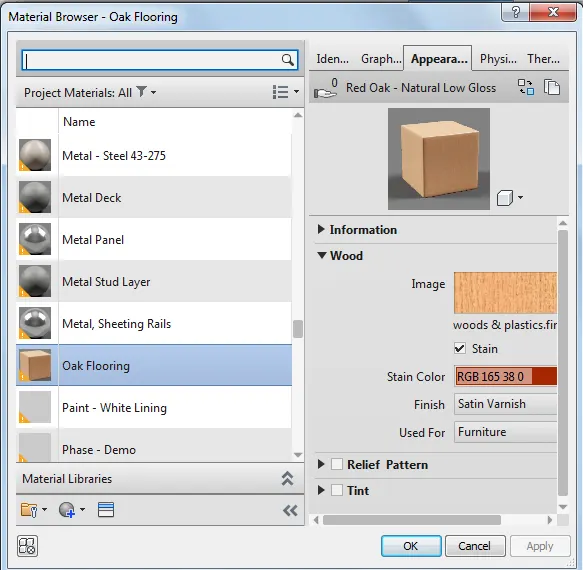
- Click > Ok
- Enter
Step 4
- Go to modify panel
- Click on > Boundary Line
- Select > Pick Line
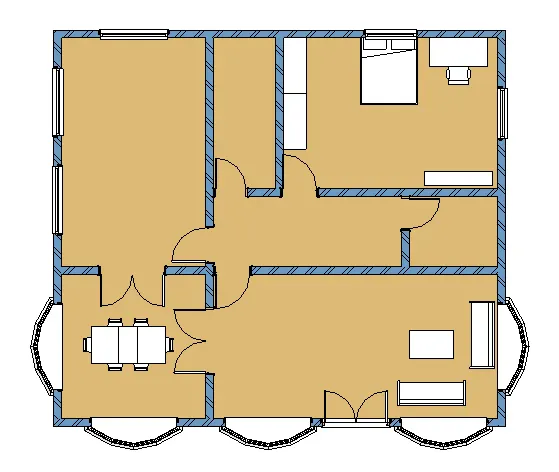
- Select all the necessary lines as per shown below
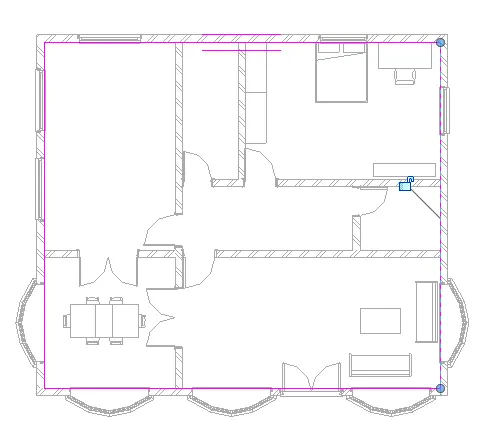
- Go to mode
- Click on > Finish edit mode
- It will shows the following results
Step 5
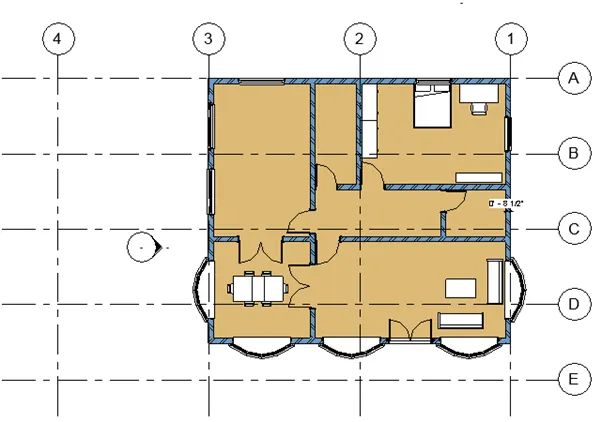
- To alighn the grids
- Go to Architecture panel
- Go to datum tab
- And do the same procedure as done previously in week 2
- It will shows the following result
- Result
PROBLEM 2
- Aim :- To add the walls based on the floor layout
- Procedure :-
Step 1
- Click on windows start
- In Search bar type > Revit
- Click > Revit 2021
- Once the revit is open, It will shows the following page
Step 2
- Click On > Open
- Open file > Residential Unit
- Click > Open
- The file is opened
Step 3
- Select all the walls
- Go to properties window
- Click on > Edit type
- One dialogue box will open
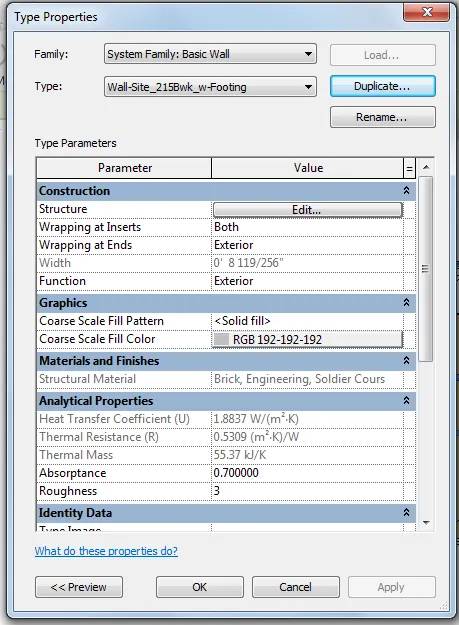
- Click on > Duplicate
- Name it as > Wall site-1
- Enter
- Edit assembly dialogue box will open
- Click on > Materials
- Material browsing dialogue box will open
- Select the material > Concrete masonry Units_High Density
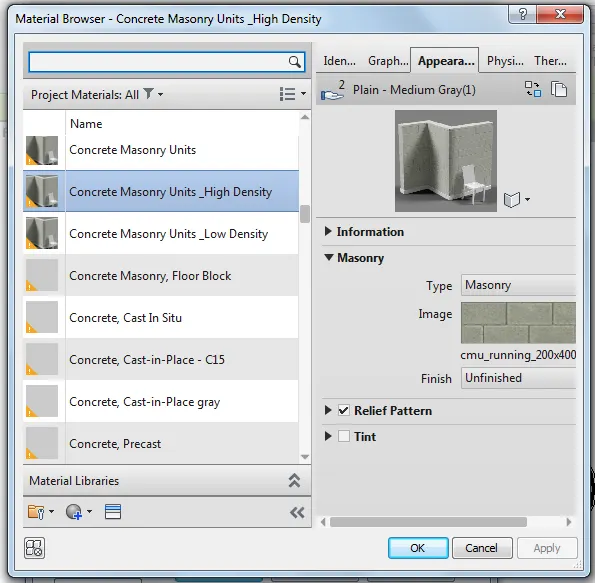
- Click > Ok
- Enter
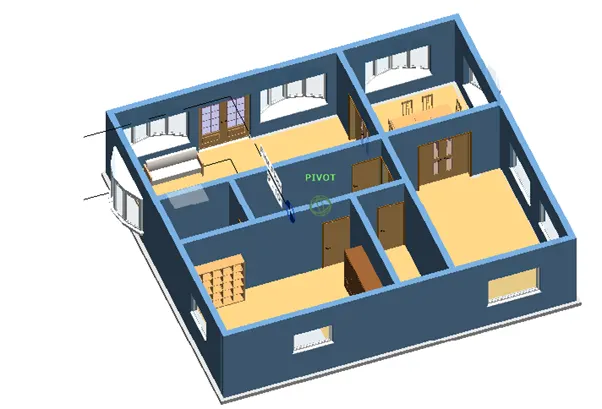
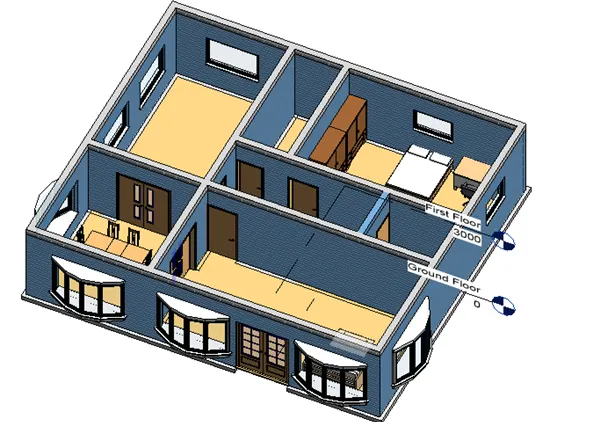
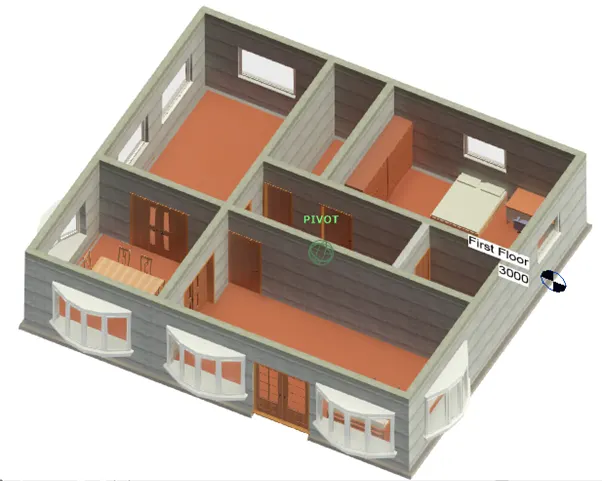
- It will shows the following results
- Result :-
Shaded View
Realastic View
a. Based on your observation, what is beneficial for connecting walls with associated levels rather than being Unconnected
- When a wall is drawn, It’s better to draw it in connect with level mode, because in the future if the height of the all walls needs to be change, then they can be changed by changing only the height of the respective levels but in unconnect walls the height should be changes individually.
b. Which option is convenient for modeling walls, By Height or By Depth?
- For me, the Height is the convenient option for modelling walls.
PROBLEM 3
- Aim :- To copy the model elements modelled to ground floor level and paste it aligned to the first floor level
- Procedure :-
Step 1
- Click on windows start
- In Search bar type > Revit
- Click > Revit 2021
- Once the revit is open, It will shows the following page
Step 2
- Click On > Open
- Open file > Residential Unit
- Click > Open
- The file is opened
Step 3
- Go to ground floor view
- Select all the model
- Go to modify panel
- Go to clipboard tab
- Click on > Copy to clip board
- Go to properties browser
- Open the first floor view
- Click on > Dropdown below the Paste
- Select > Align to selected levels
- Select > First Floor
- Enter
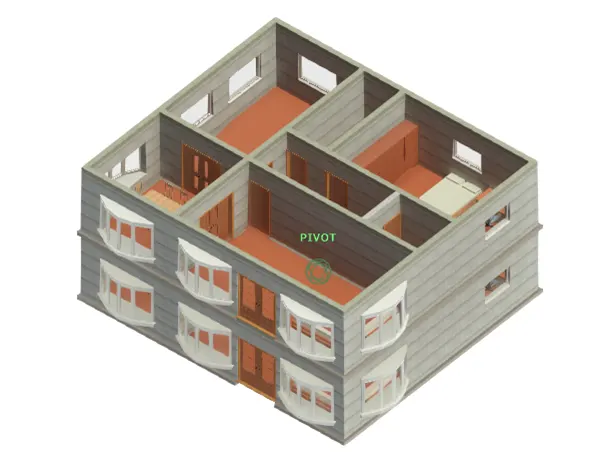
- The model is copied to the first floor
- Result :-
PROBLEM 4
- Aim :- To use interior partition walls to create separate rooms within your residential unit
- Procedure :-
Step 1
- Click on windows start
- In Search bar type > Revit
- Click > Revit 2021
- Once the revit is open, It will shows the following page
Step 2
- Click On > Open
- Open file > Residential Unit
- Click > Open
- The file is opened
Step 3
- Select all the interior walls
- Go to properties window
- Click on > Dropdown
- Select the appropriate interior wall as per shown below
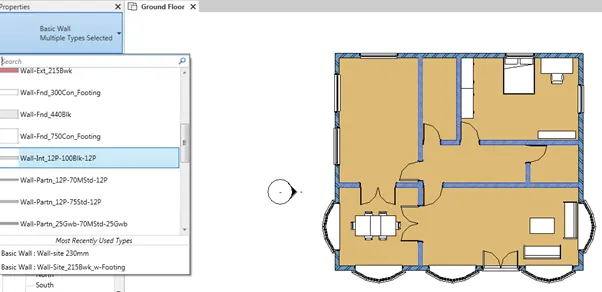
- After proper selection it will shows the following result
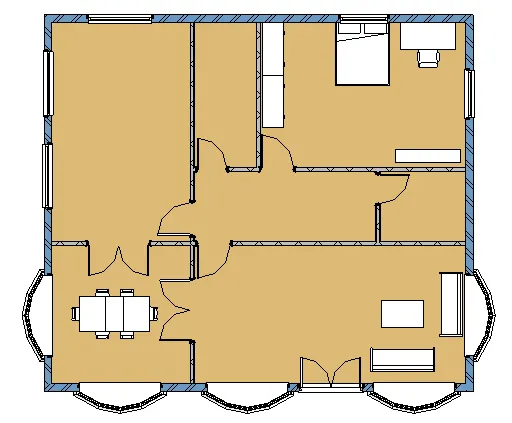
Step 4
- Go to ground floor view
- Select all the model
- Go to modify panel
- Go to clipboard tab
- Click on > Copy to clip board
- Go to properties browser
- Open the first floor view
- Click on > Dropdown below the Paste
- Select > Align to selected levels
- Select > First Floor
- Enter
- The model is copied to the first floor
- It will shows the following result
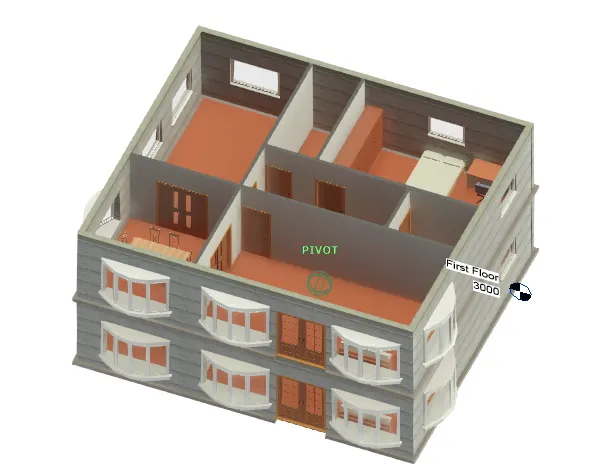
Step 5
- To create patio
- Go to first floor view
- Click on > Floors from the architecture panel
- Select > Boundary line
- Click on > Line
- Create the line as shown below
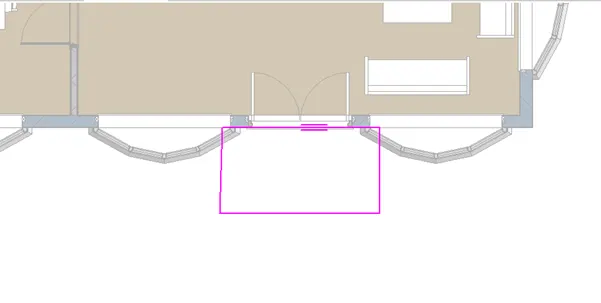
- Click > Finish edit mode
- It will shows the following results
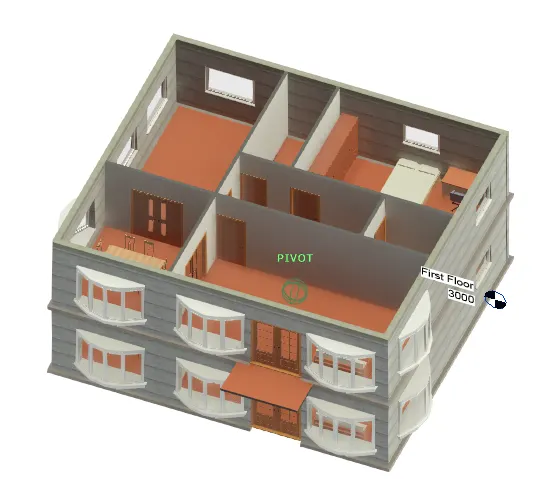
Step 6
- Go to architecture panel
- Go to circulation tab
- Click on > Railing
- Select > Boundary line
- Click on > Pickline
- Select the railing path to which railing is required
- Click > Finish edit mode
- It will shows the following result
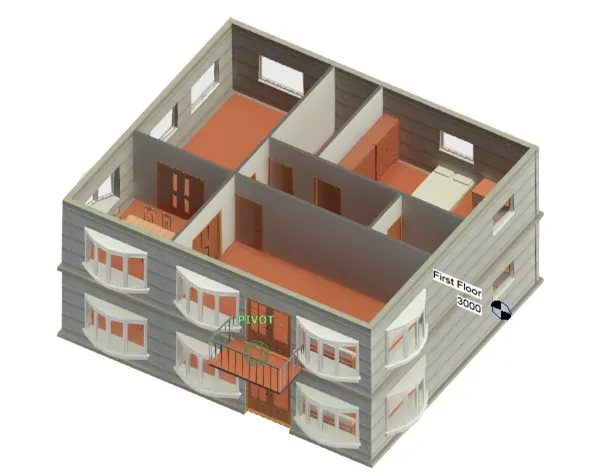
- Result :-
PROBLEM 5
- Aim :- To add the components of the residential units in the residential model created in week 2
- Procedure :-
Step 1
- Click on windows start
- In Search bar type > Revit
- Click > Revit 2021
- Once the revit is open, It will shows the following page
Step 2
- Click On > Open
- Open file > Residential Unit
- Click > Open
- The file is opened
Step 3
- Go to insert tab
- Click on > Load family
- Go to libraries
- Click on > Lighting
- Select > Internal
- Select > lighting as shown below
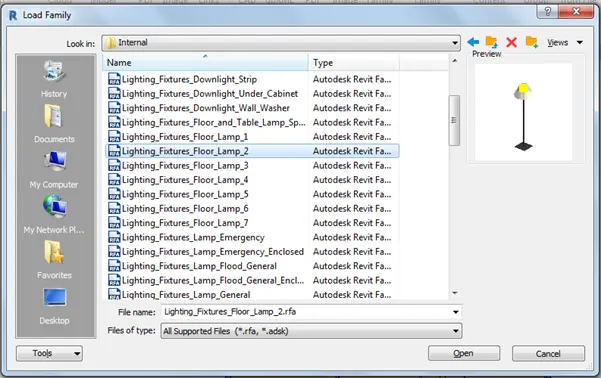
- Click On > Open
- Go to properties browser
- Click > Family
- Click > Lighting fixtures
- Click > lighting fixture lamp 2
- Select > 150W-230V
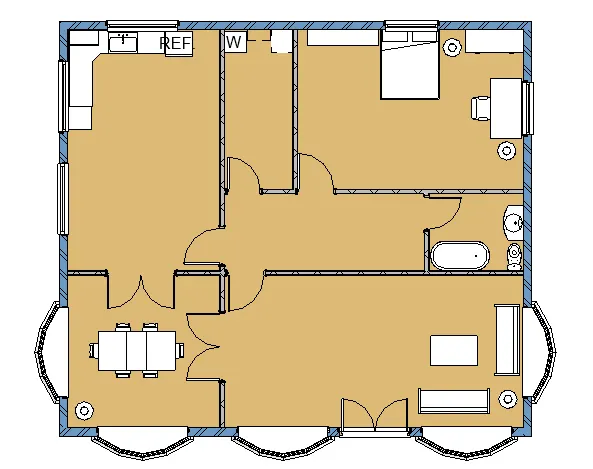
- Click lamp and drag it in the required room as per shown below
- Also move the some units as per reqirements
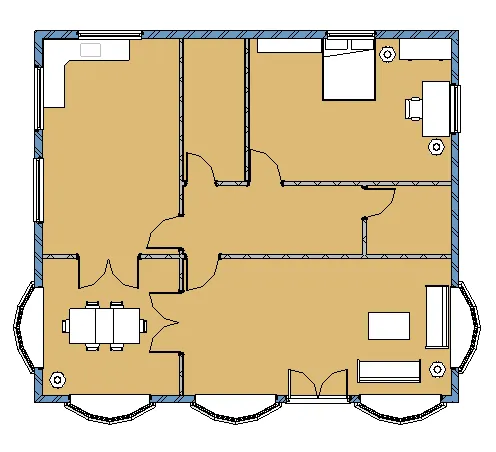
- By the same way, provide all the necessary components in the required rooms
- It will shows the following results
Step 4
- To set the camera view for living room
- Go to view panel
- Go to create tab
- Click on > Dropdown of 3D
- Select > Camera
- Put the camera as per shown in below
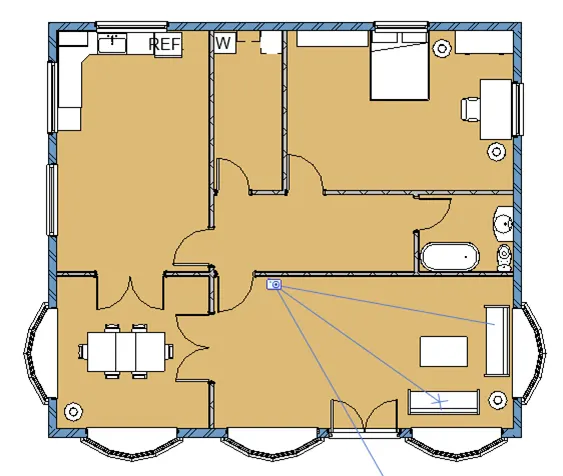
- The window will open
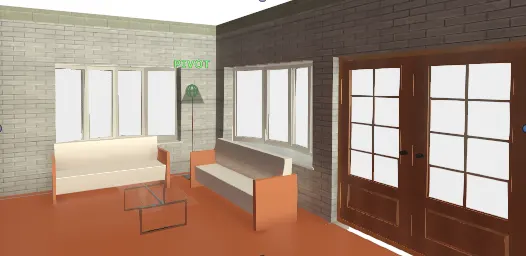
- Rename the window as > Living View
- Set the view style as > Realastic
- The camera shows the following view
Step 5
- To set the camera view for dinning room
- Go to view panel
- Go to create tab
- Click on > Dropdown of 3D
- Select > Camera
- Put the camera as per requirement
- The window will open
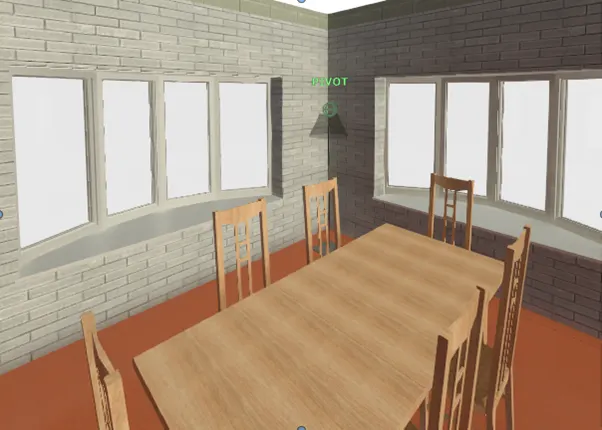
- Rename the window as > Dinning View
- Set the view style as > Realastic
- The camera shows the following view
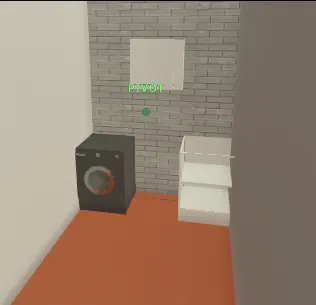
Step 6
- To set the camera view for Storage room
- Go to view panel
- Go to create tab
- Click on > Dropdown of 3D
- Select > Camera
- Put the camera as per requirement
- The window will open
- Rename the window as > Storage room View
- Set the view style as > Realastic
- The camera shows the following view
Step 7
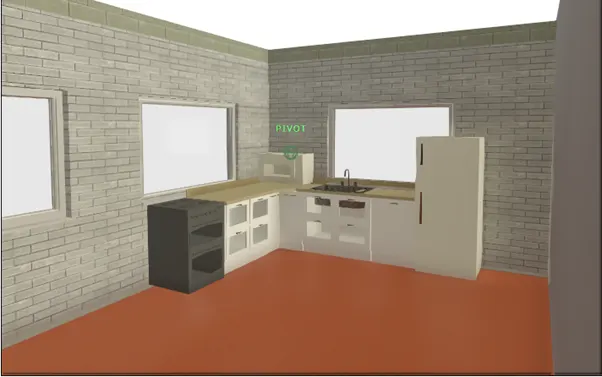
- To set the camera view for Kitchen
- Go to view panel
- Go to create tab
- Click on > Dropdown of 3D
- Select > Camera
- Put the camera as per requirement
- The window will open
- Rename the window as > Kitchen View
- Set the view style as > Realastic
- The camera shows the following view
Step 8
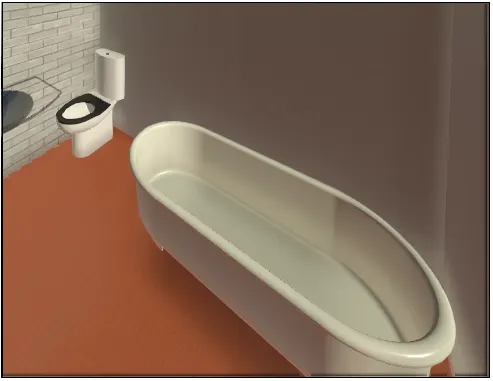
- To set the camera view for Rest room
- Go to view panel
- Go to create tab
- Click on > Dropdown of 3D
- Select > Camera
- Put the camera as per requirement
- The window will open
- Rename the window as > Rest room View
- Set the view style as > Realastic
- The camera shows the following view
Step 9
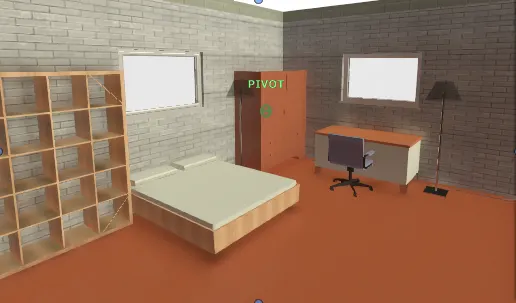
- To set the camera view for Rest room
- Go to view panel
- Go to create tab
- Click on > Dropdown of 3D
- Select > Camera
- Put the camera as per requirement
- The window will open
- Rename the window as > Rest room View
- Set the view style as > Realastic
- The camera shows the following view
- Result :-
- Living Room View
- Dinning Room View
- Storage Room View
- Kitchen View
Rest Room View
- Bedroom View