Creating Walls, Partition walls and Floors for a residential layout using REVIT
1.Aim:
To select the floor with appropriate material and thickness using the property browser create a layout in the Ground floor Level. Align the floor plan with grids created from week 2
Procedure:
Open the Revit file which is created in week 2.
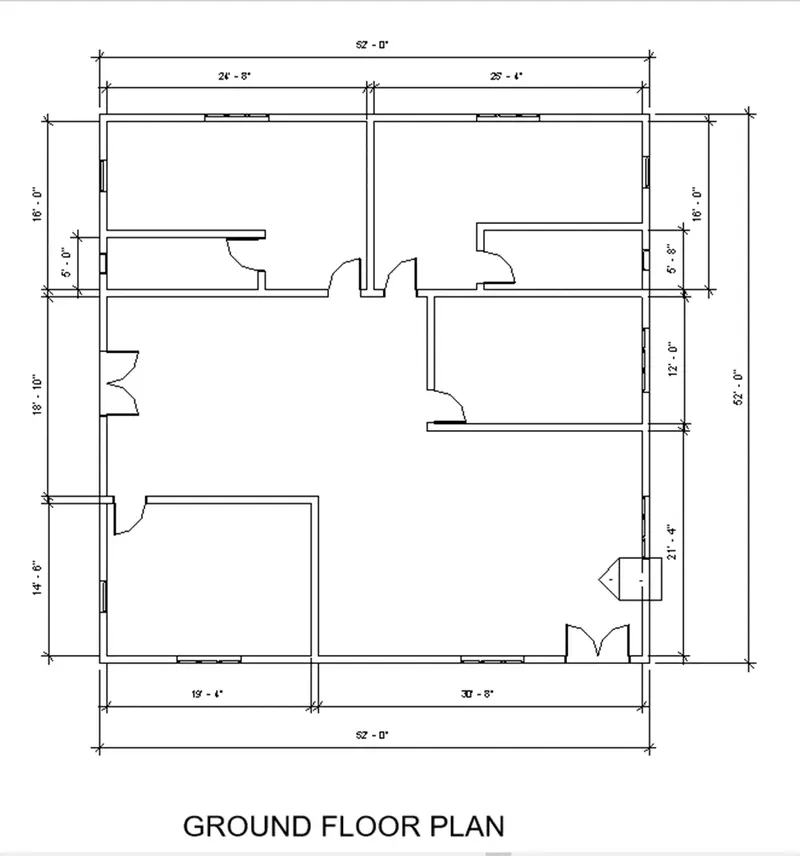
To create floor, go to Architecture tab, in that select floor and pick the line option

Select the boundary lines and click the mark
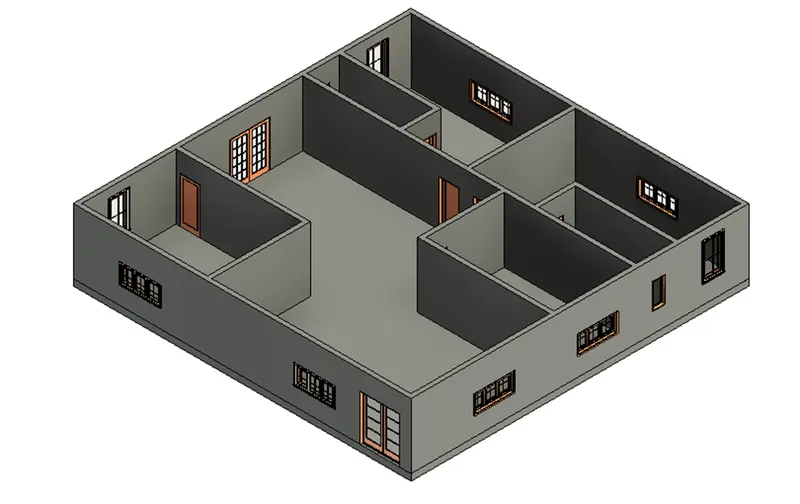
Go to 3D view
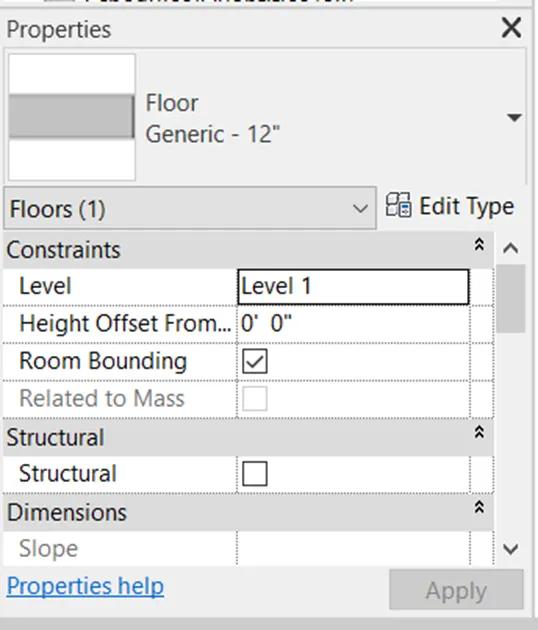
Select the floor and click edit type in property browser.
Which will display a dialog box. Click edit in it
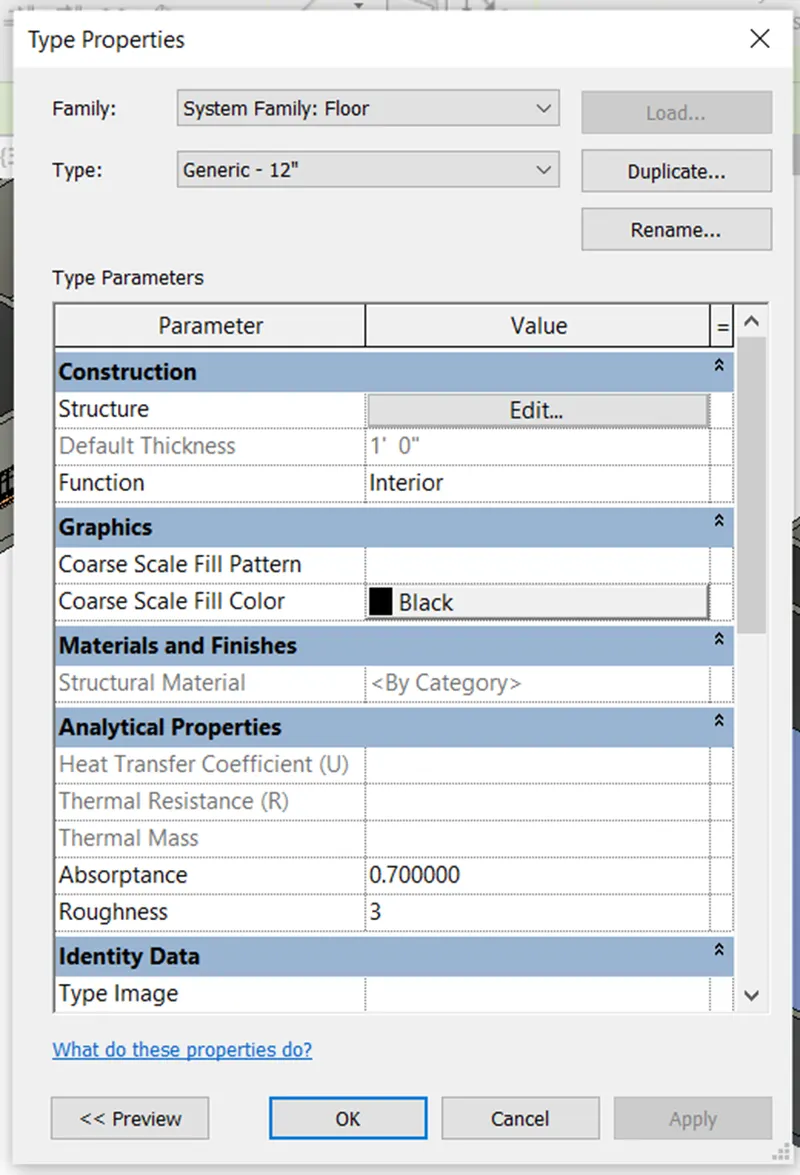
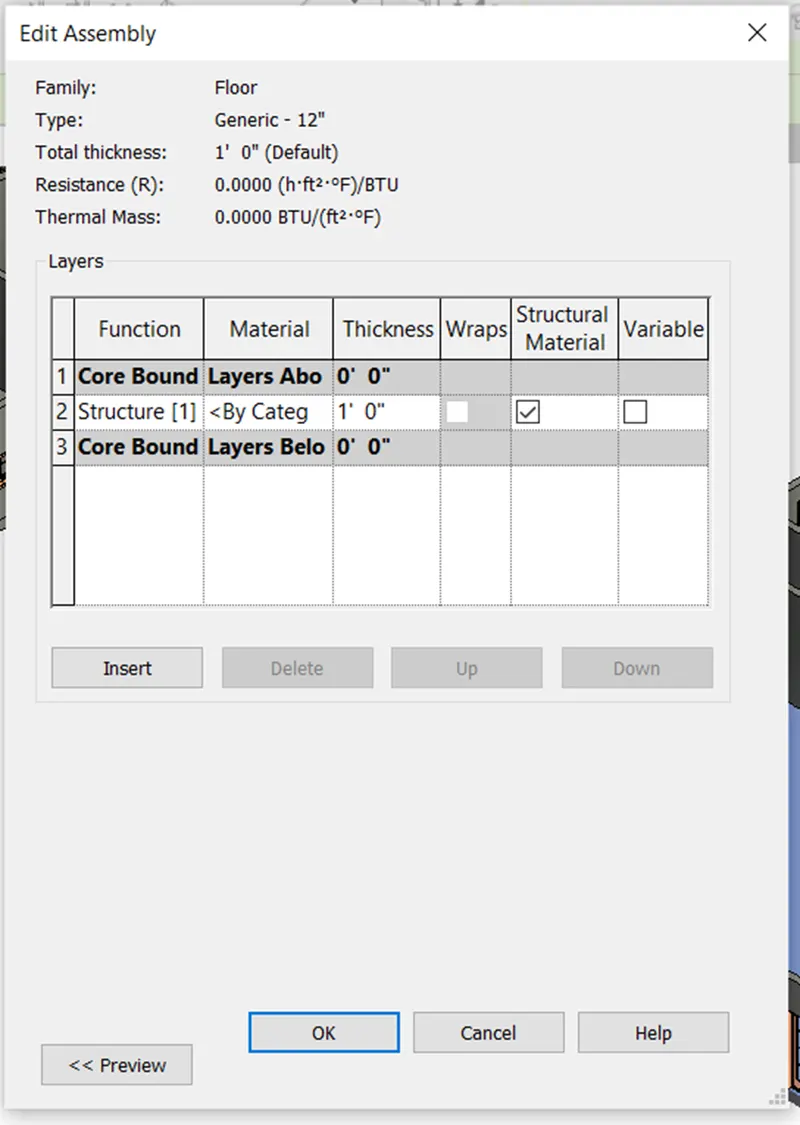
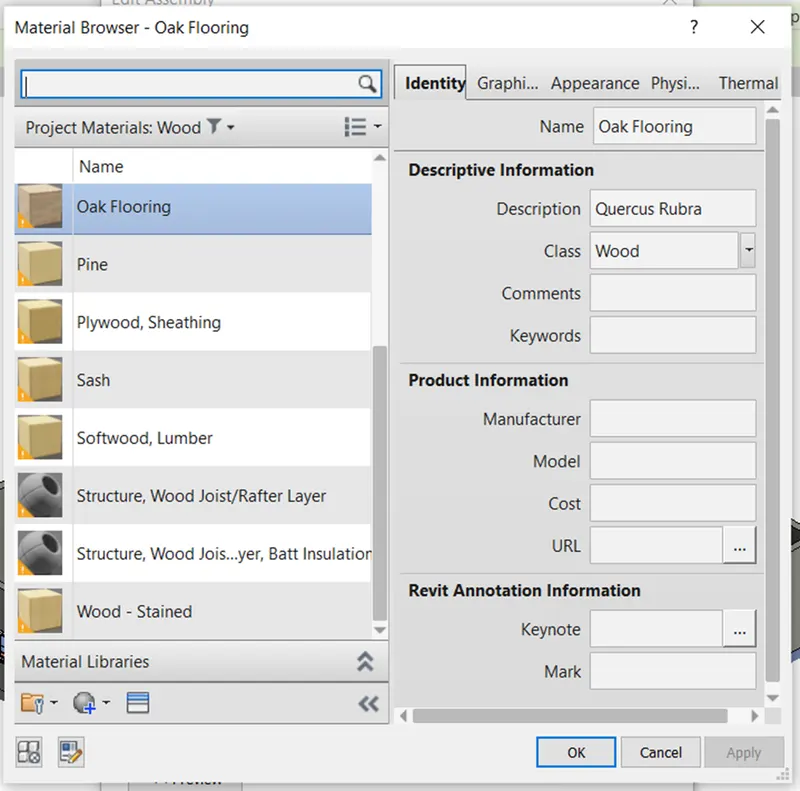
Select the material under structure row for floor
And click ok
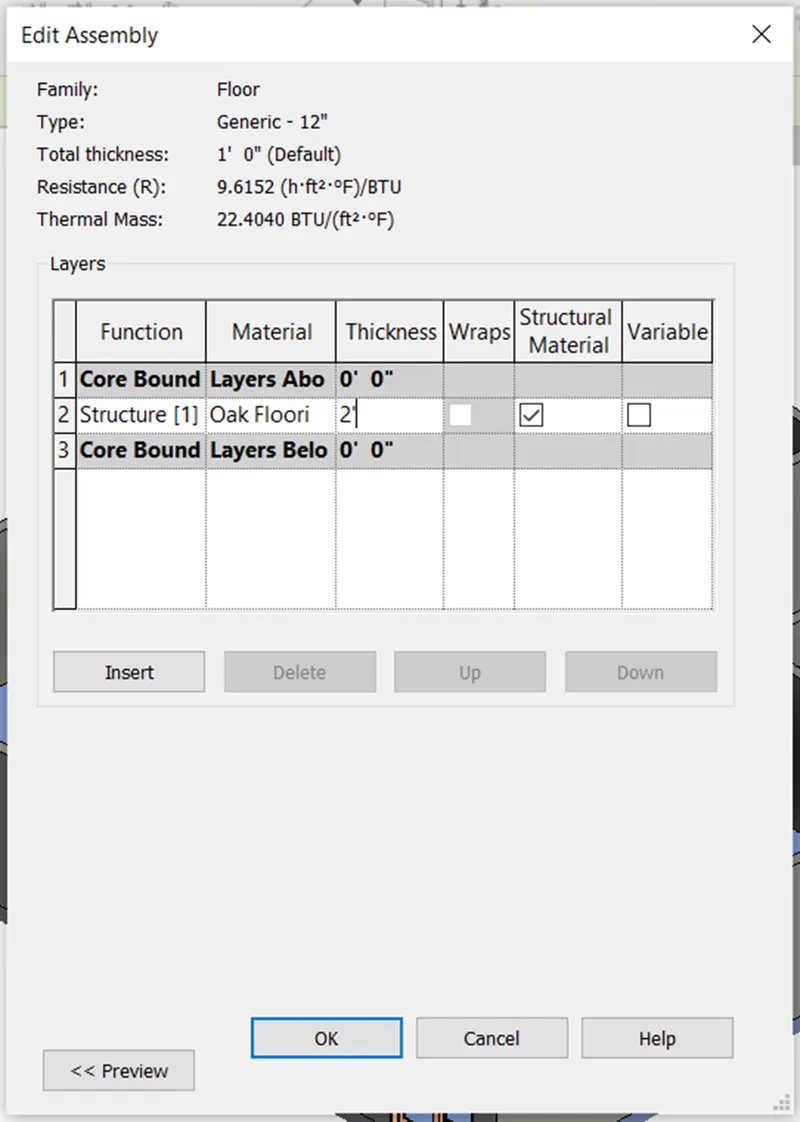
To change the floor thickness, again go to edit type and then to edit assembly.
Under thickness give the value as 2’ and click ok
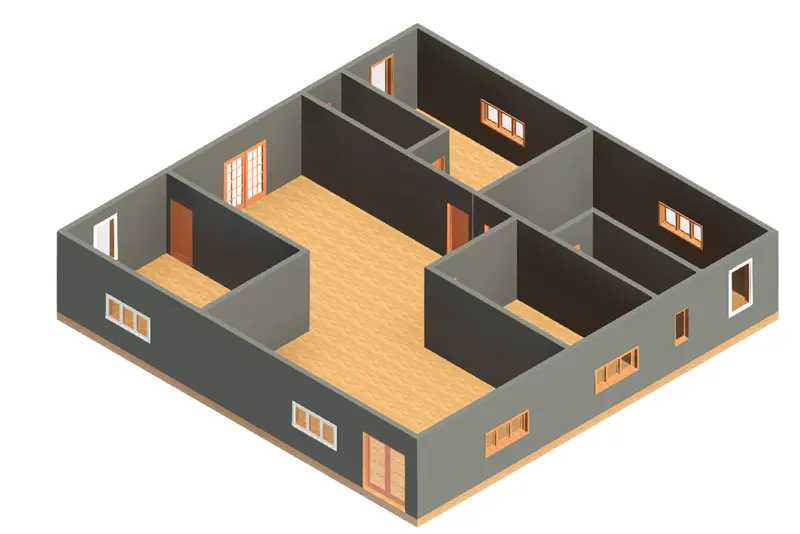
Result:
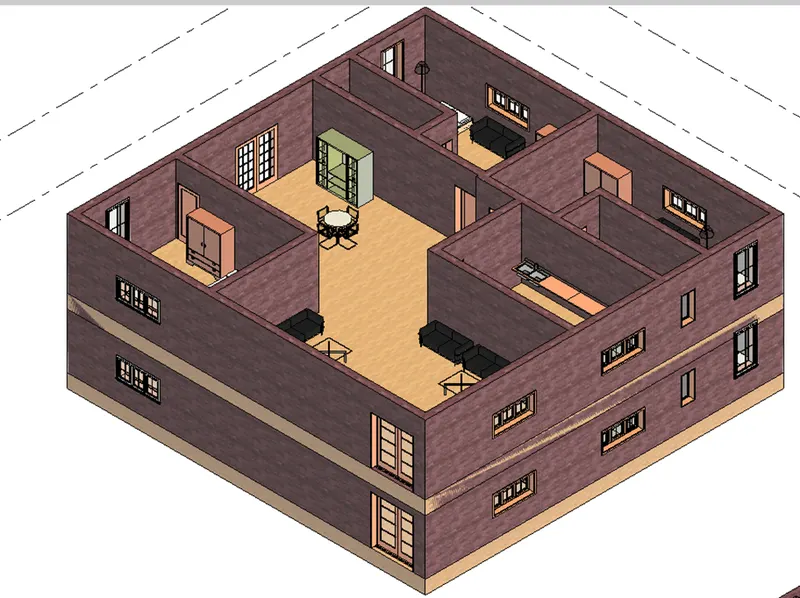
The result is obtained by the above steps
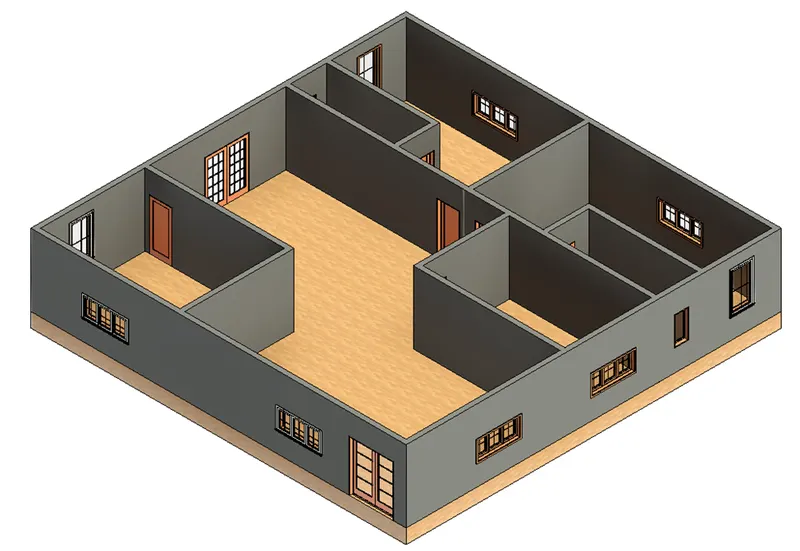
2.Aim:
To select appropriate material and thickness for walls. After creating the walls verifying the top and bottom of the walls are constrained in property browser.
Procedure:
In the same exiting plan with wall, which is created from Architecture tab.
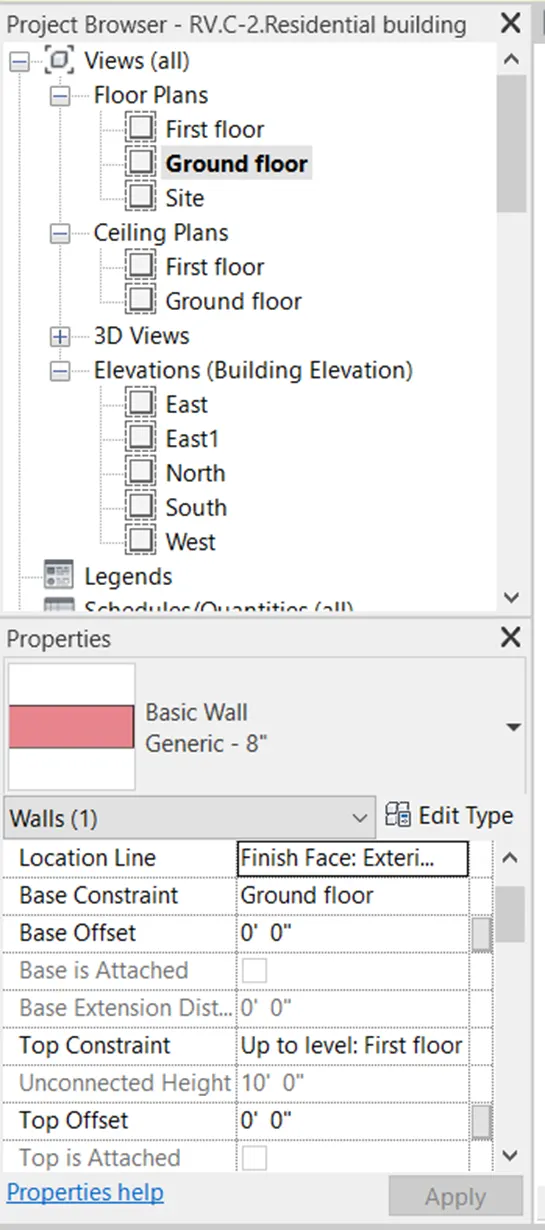
select the wall. In property browser, where the top and bottom constrained is connected to level 1 and level 2.
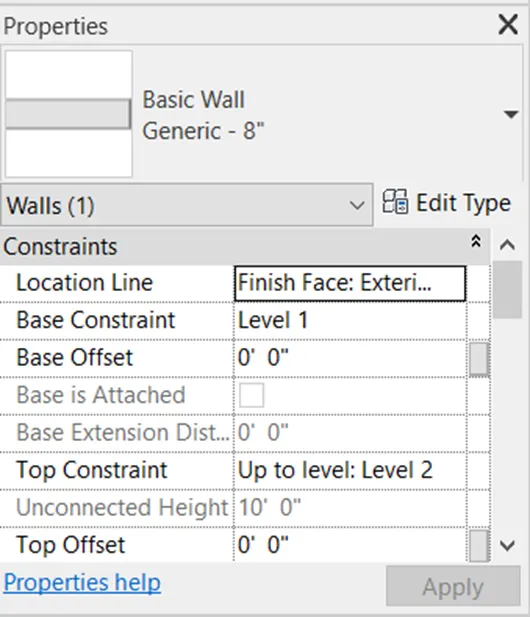
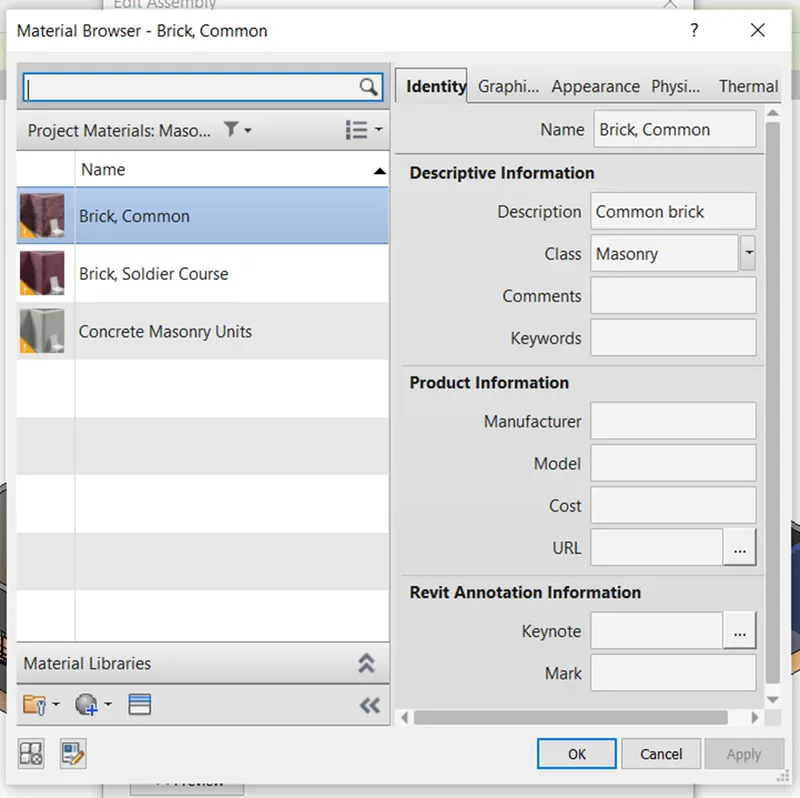
In property browser click edit type and go to material browser and select the material for wall.
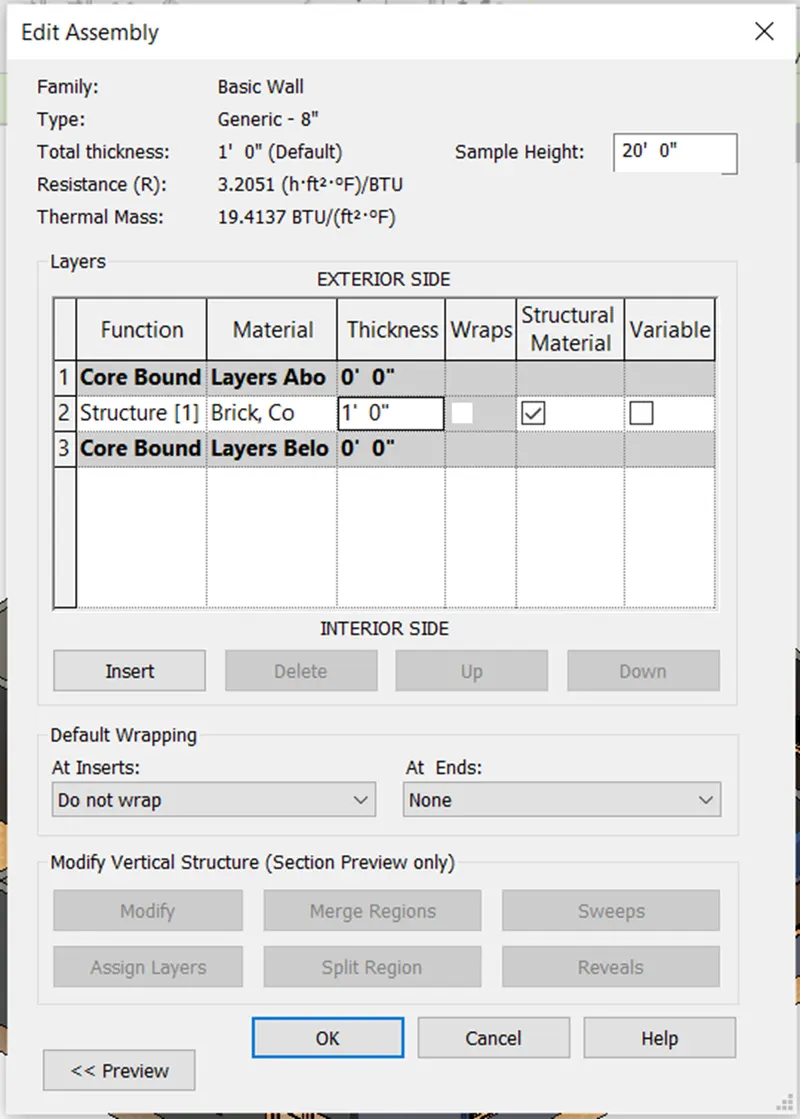
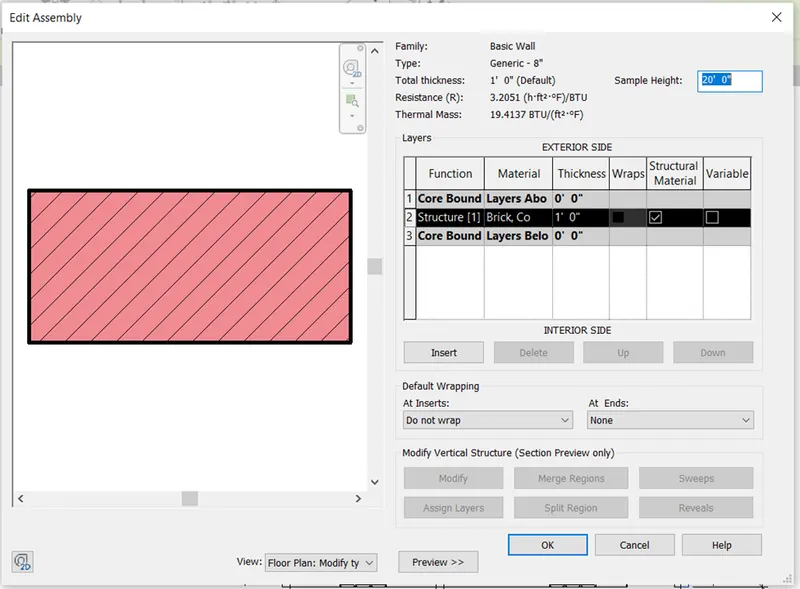
In the edit assembly dialog box change the thickness to 12” and click ok.
Result:
The result is obtained by the above steps
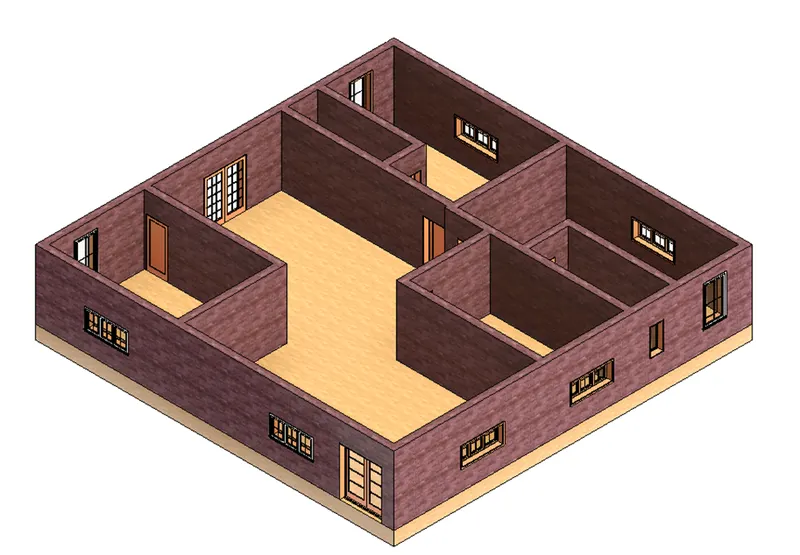
Beneficial for connecting walls with associated levels:
- Easy to change the change the wall height when it is connected to the respective layers.
- Avoid confusion
Modeling walls by Height is convenient so that it is easily connected to the respectively level and for easy editing.
3.Aim:
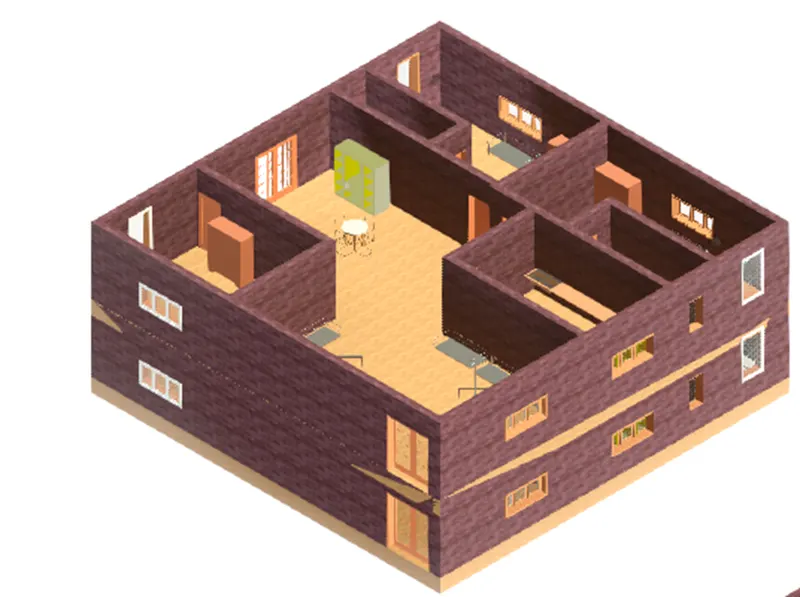
To copy the model elements (wall, floor) modelled to Ground Floor Level and paste it aligned to First Floor Level in Revit.
Procedure:
Open the same plan which created in challenge 2
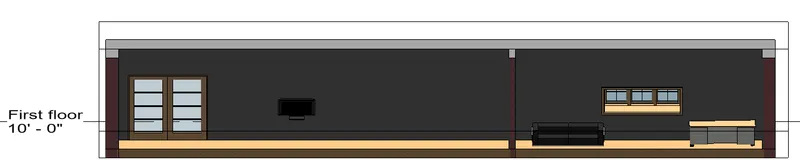
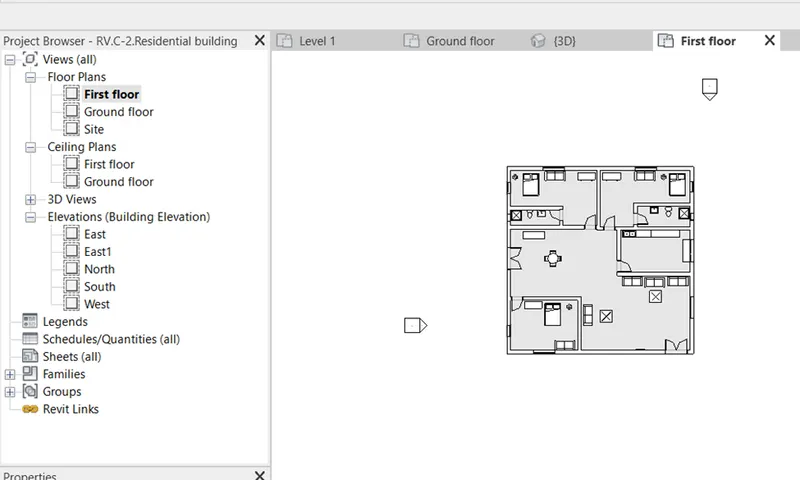
Change the name of level 1 and 2 as ground floor and first floor by right clicking mouse and select rename in project browser.
Go to ground floor plan and select as a whole and the ribbon changes like this.

Select copy to clipboard
And then click paste and select aligned to selected levels, which will show a display as follows
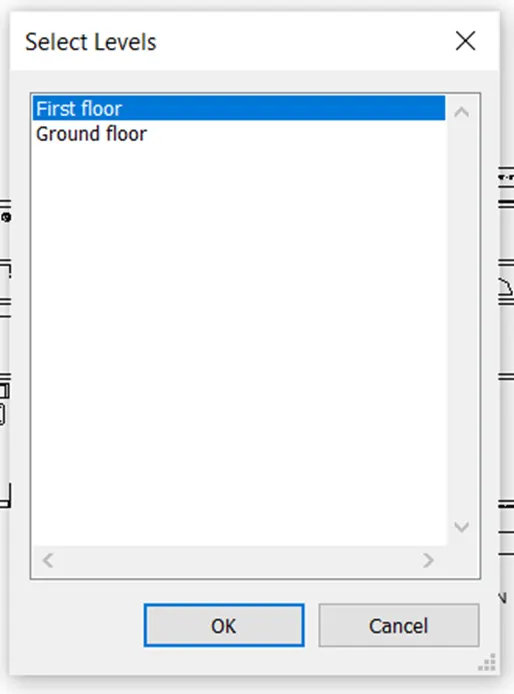
Select first floor and click ok
Result:
The result is obtained by the above steps
4.Aim:
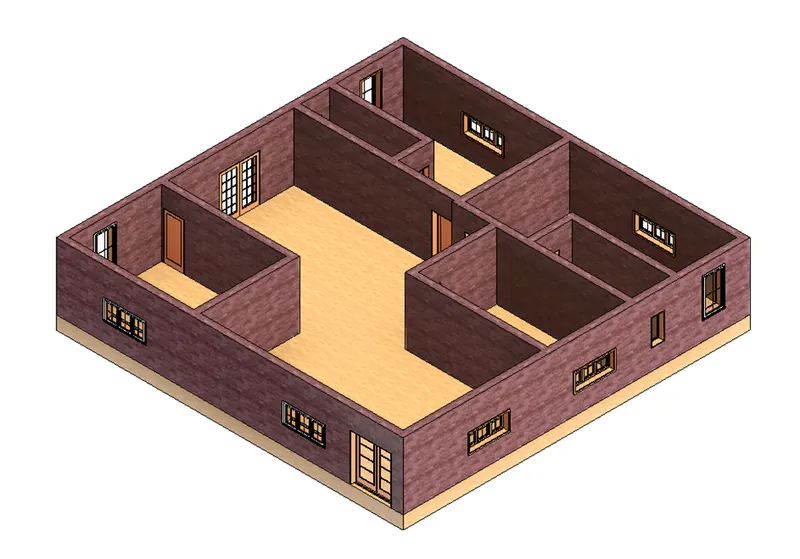
To create separate rooms within your residential unit in Revit
Procedure:
Open the previousy created layout and create a rooms using wall in Architecture tab
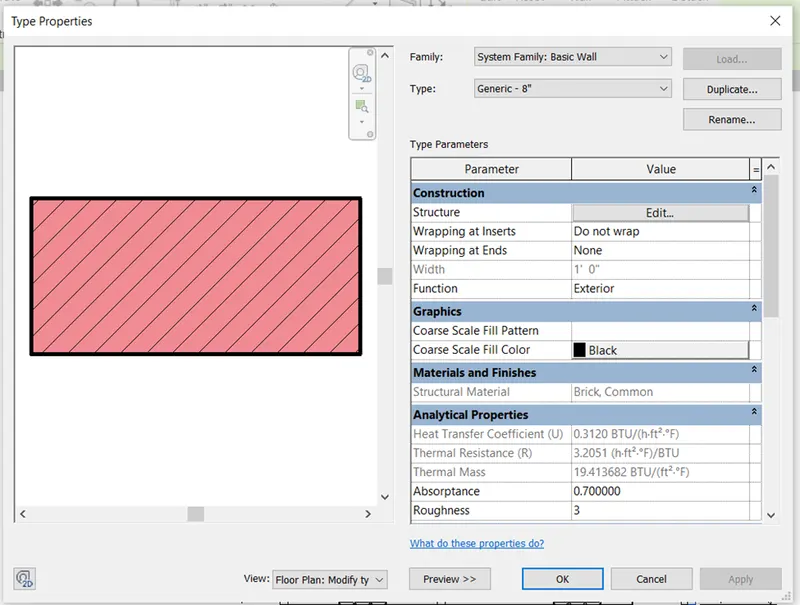
And select the wall type as Generic 8” wall

Click Edit type and Select the wall type and material as follow
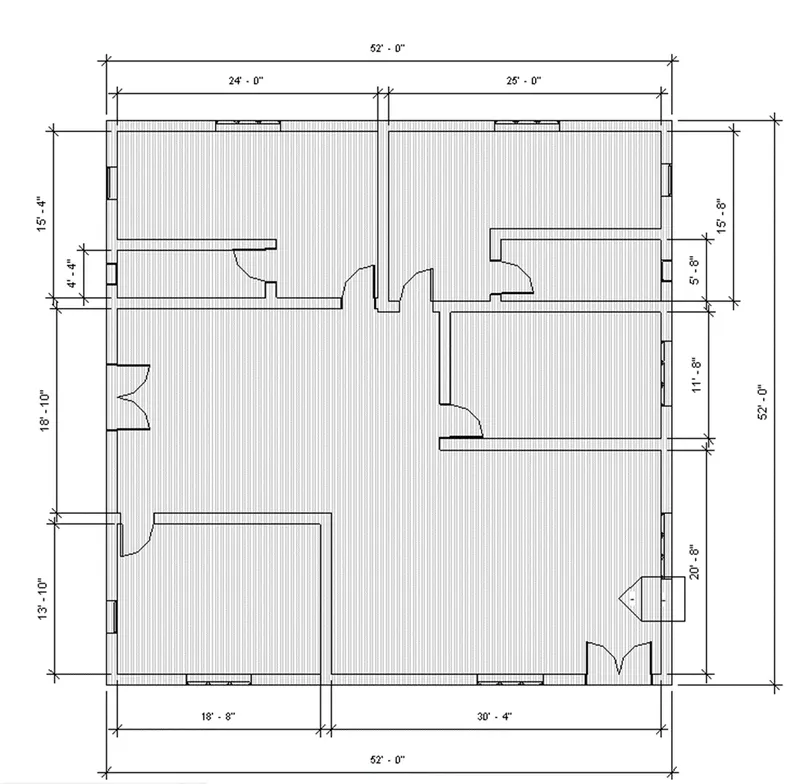
Total dimension of the house: 52’x 52’
Living room: 30’4” x20’8”
Kitchen: 19’4” x 11’8”
Dining room:29’8” x 18’ 10”
Bed room 1: 25’ x 15’ 4”
Toilet 1: 14’8” x5’8”
Bed room 2: 24’ x 15’ 4”
Toilet 2: 13’8” x 4’4”
Bed room 3: 18’8”x 13’10”
Result:
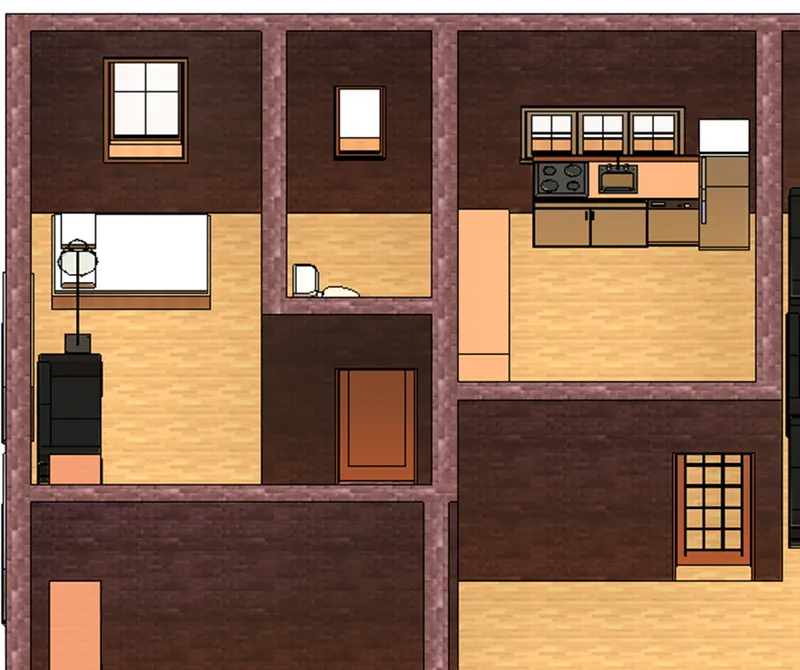
The result is obtained by the above steps
5.Aim:
To add components to the residential building.
Procedure:
Open the exiting residential building
Select Architecture tab and click component, then select place a component.

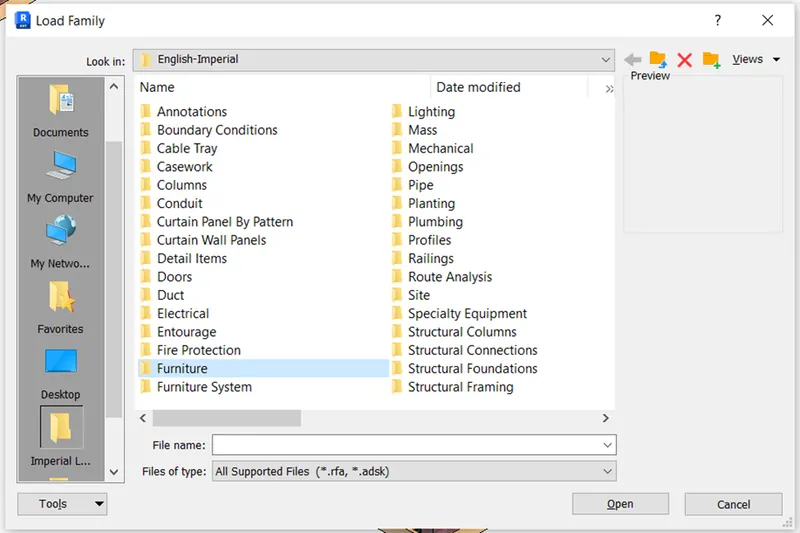
Select load family

Select furniture
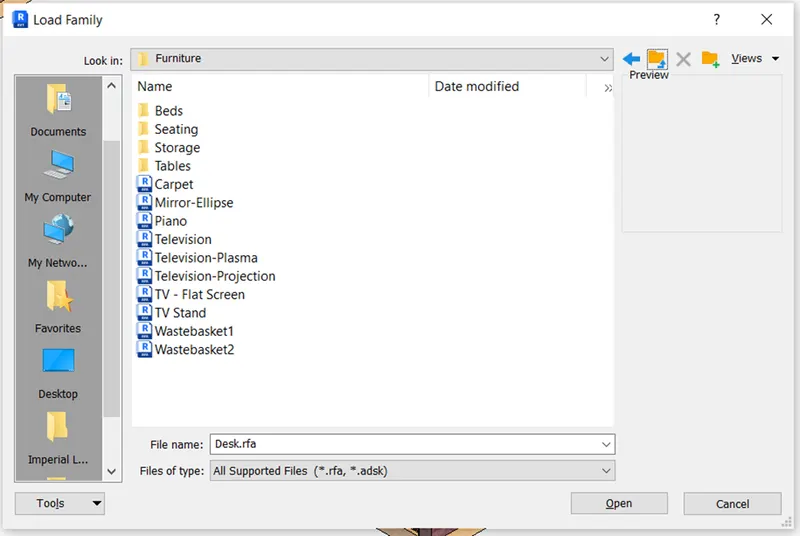
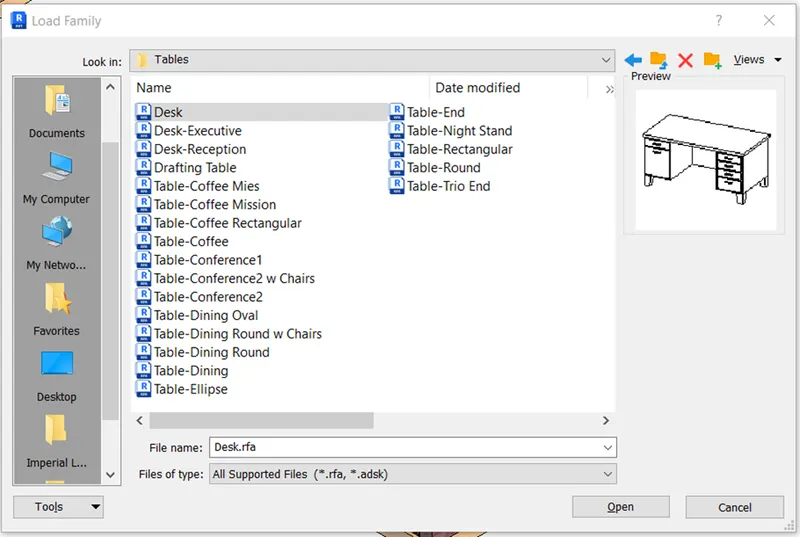
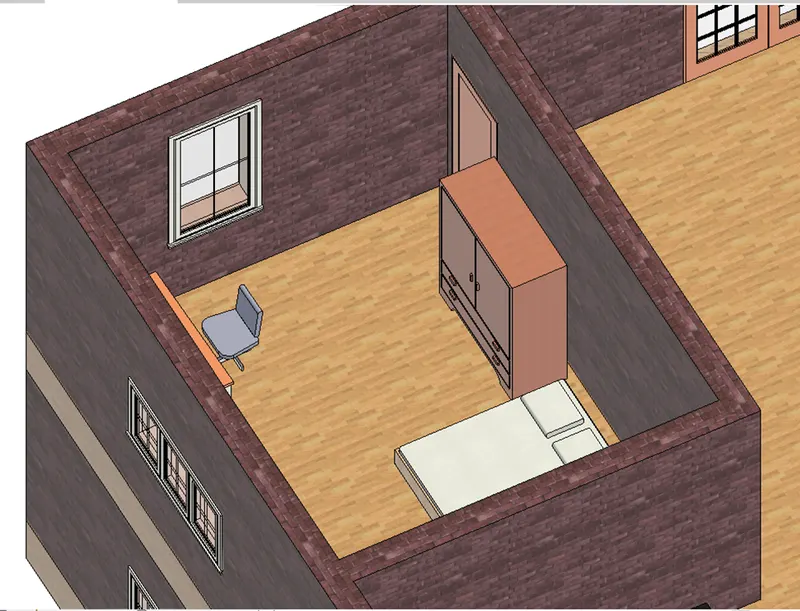
Place it in bed room
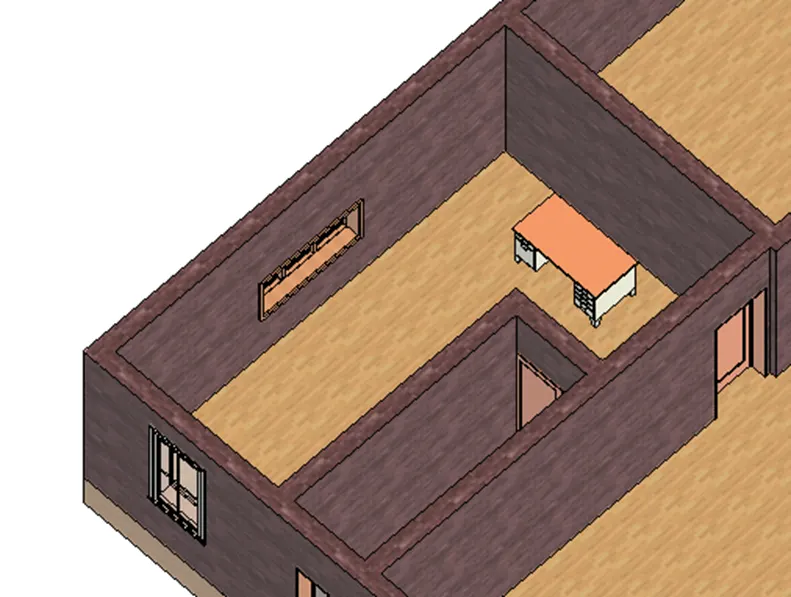
With the same procedure place all other components from the library with the respective category and family.
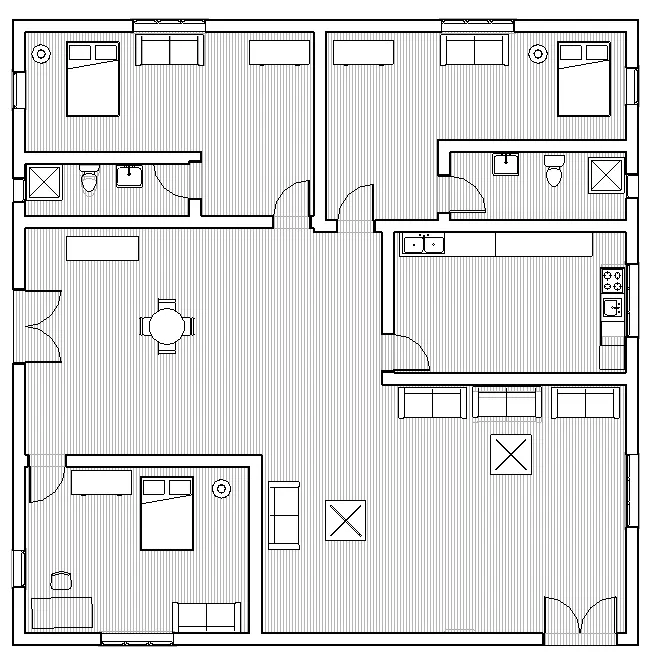
Result:
The result is obtained by the above steps