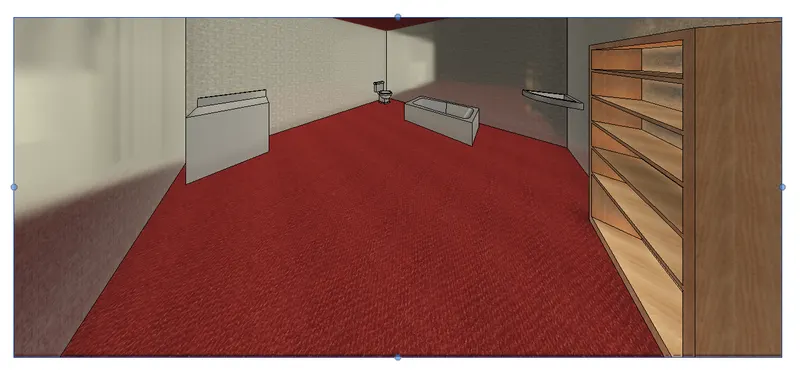
Creating Walls, Partition walls and Floors for a residential layout using REVIT
AIM :- To create a floor for the layout created in challenge 02 (last week).
INTRODUCTION :-
A floor is the lower horizontal surface of any space in a building, including finishing that are laid as part of the permanent construction.
A floor typically provides:
- Structural support for the contents of the room and weight of floor itself.
- Resistance to the passage of moisture, heat and sound.
- A surface finish that many contribute to the look, feel and acoustics of a space.
PROCEDURE :-
- Open Revit software once
- From the home page select last week project 2
- Go to the architectural tab
- Then select floor tab
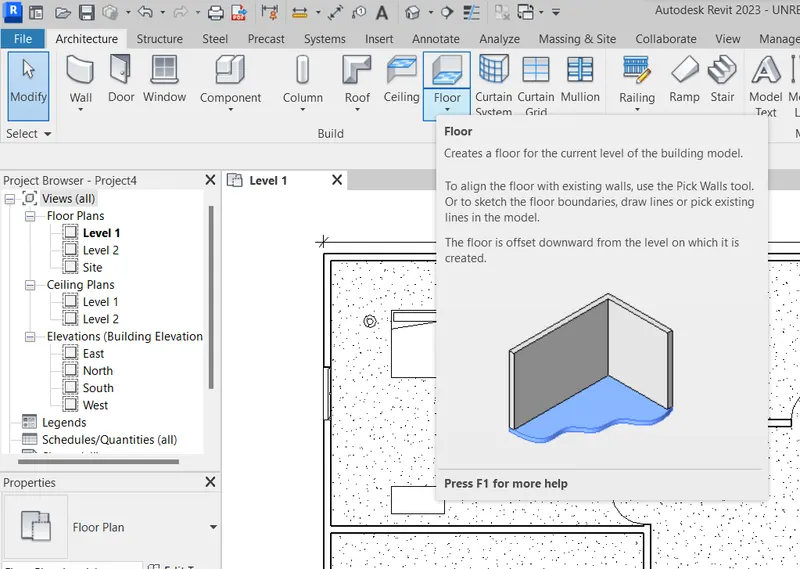
- Select the floor type if floor needed is present or click on edit type
- Duplicate the type to Generic 4” floor
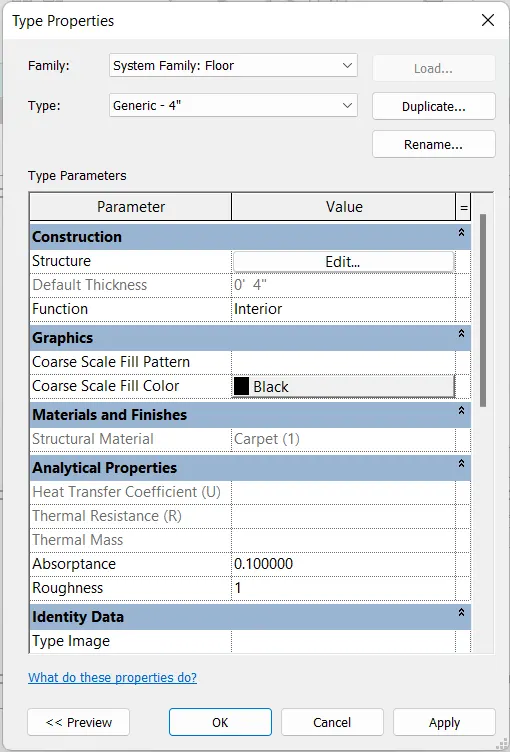
- Click on edit
- Change the floor depth to 4”
- Click on the three dots of structural
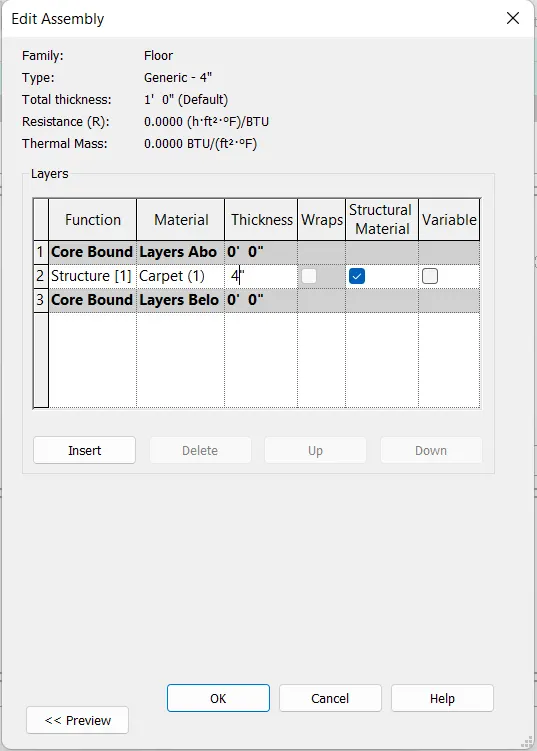
- Then change the material type
- Then okay then apply
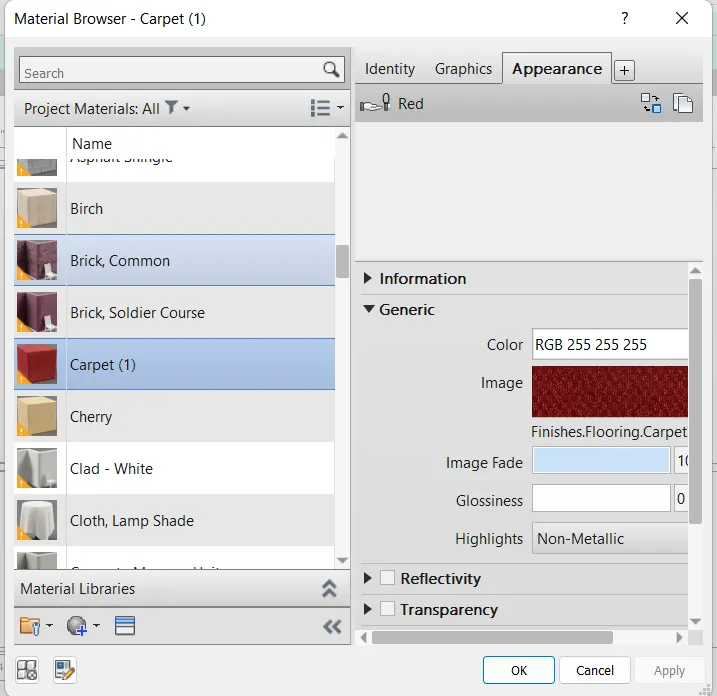
- After that changing details
- Select the four outer line of walls like wise
RESULT :-
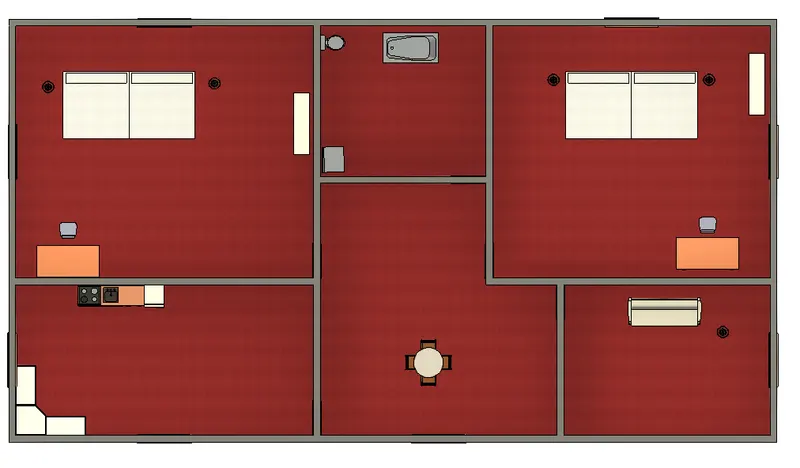
The result consist of a ground floor plan and a 3D view of the layout is created with the appropriate material as shown in final image below.
AIM :- To change the material of wall in layout by using property browser.
INTRODUCTION :-
A wall is a structural and surface that defines and area carries a load provides security, shelter or soundproofing. There are many kinds of walls internal and external.
PROCEDURE :-
- Open Revit software
- Open the last saved project
- The wall created in this layout are generic 9” brick wall as shown
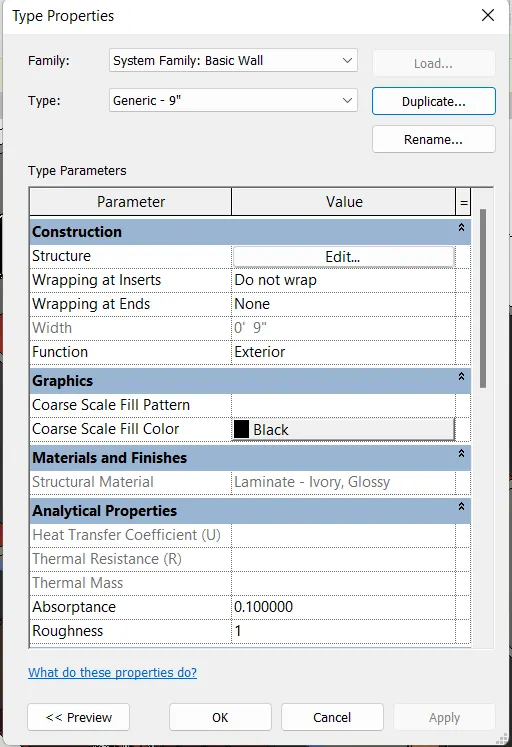
- Select edit by click the edit option from properties browser
- Now select edit structure
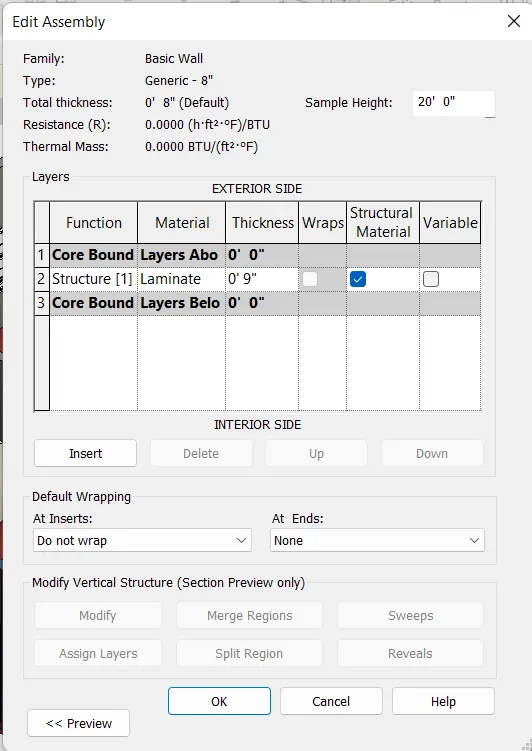
- From there choose material for wall type
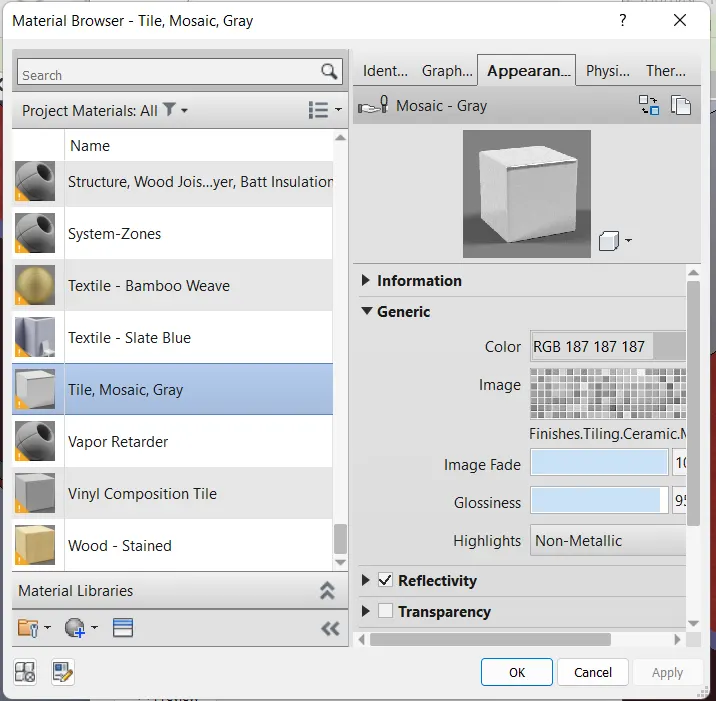
RESULT :-
The properties of wall changed by the using properties browser and changed with the appropriate material.
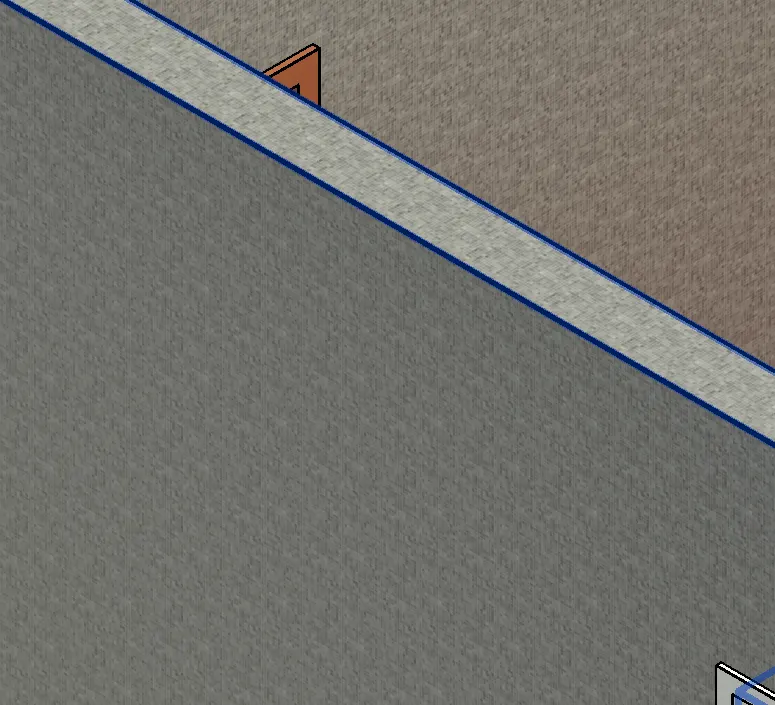
- (a) ANS – when a wall is drawn its better to draw it in connection with associated levels because in the future in the height of wall in the layout is to make some change then they can be changed just by changing the height of levels. In unconnected wall the height should be changed individually.
- (b) ANS – its better to model with the height of wall raise height than go depth.
AIM :- To copy the model created and paste it aligned to the first floor.
INTRODUCTION :-
The model created can be extended to level 2 or the first floor by copying with the elements of the ground floor and pasting them to the first floor.
PROCEDURE :-
- Open modify tab
- Go to the modify tab
- Select all the component in ground floor
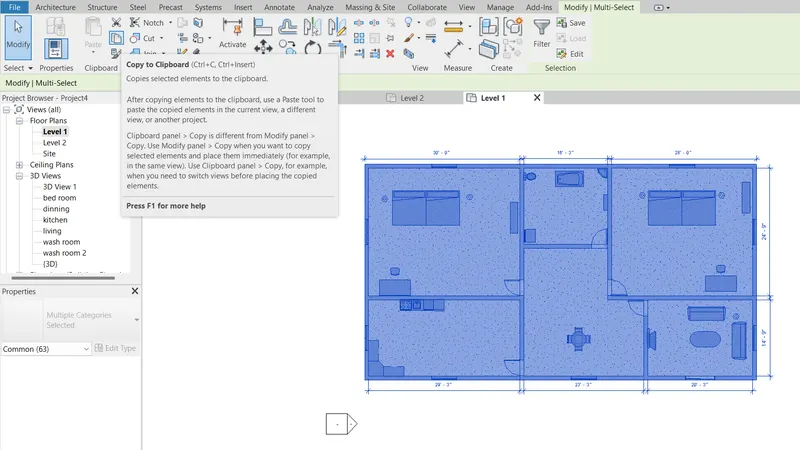
- Click on the copy to clipboard option
- Then go to first floor plan
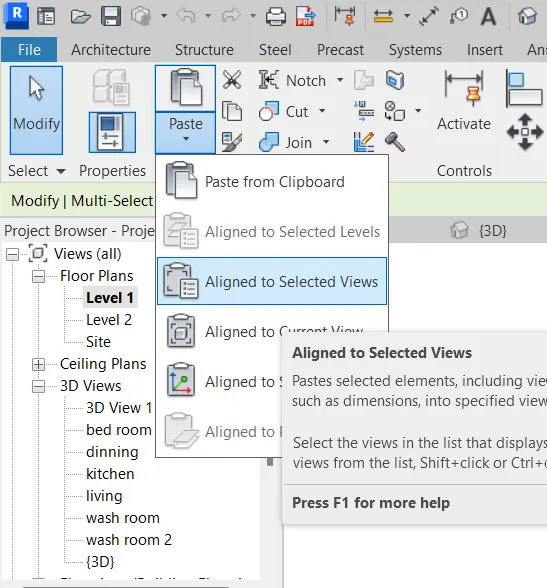
- Open modify tab
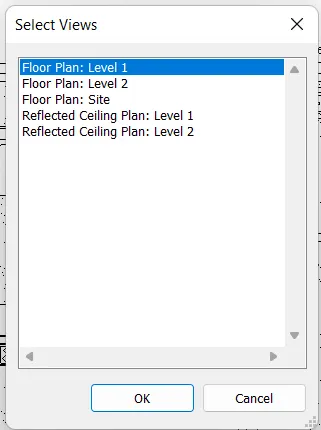
- Open paste aligned then select views
- Click on the first floor
RESULT :-
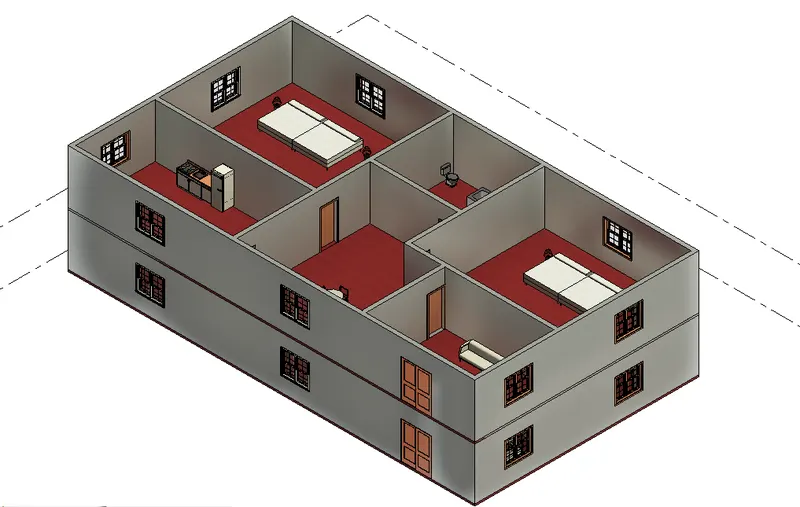
The result shows the 3D view of the two levels created one on each other as shown in figure.
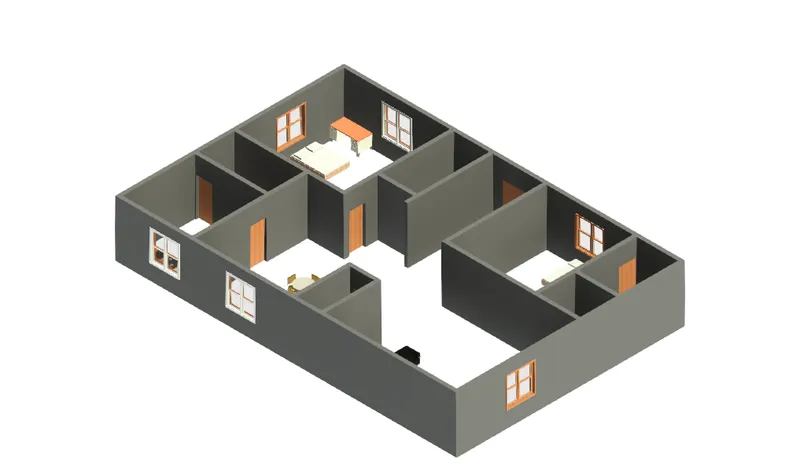
AIM :- To create a residential layout with the given dimensions.
INTRODUCTION :-
Partition wall are used to separate rooms of a residential plan these walls are drawn based on the dimensions of respective rooms.
PROCEDURE :-
- Open Revit software
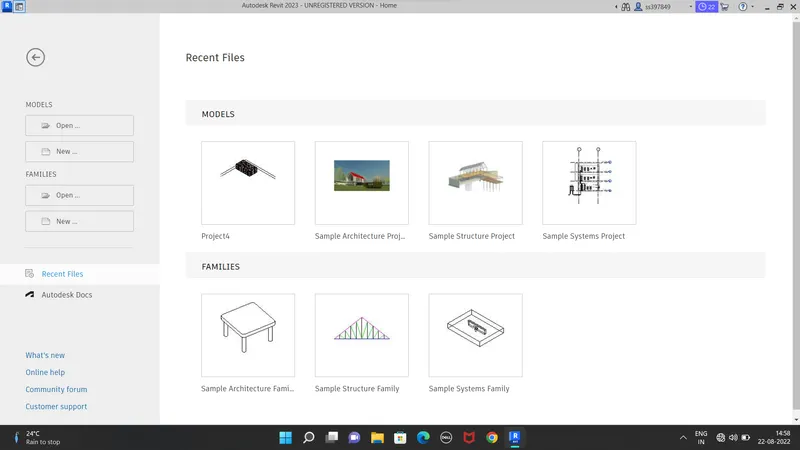
- Go to new below the model tab
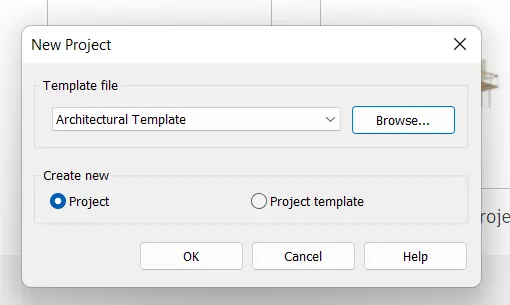
- Select template architectural
- Go to architectural tab
- Draw a wall 40’ x 60’ as shown below
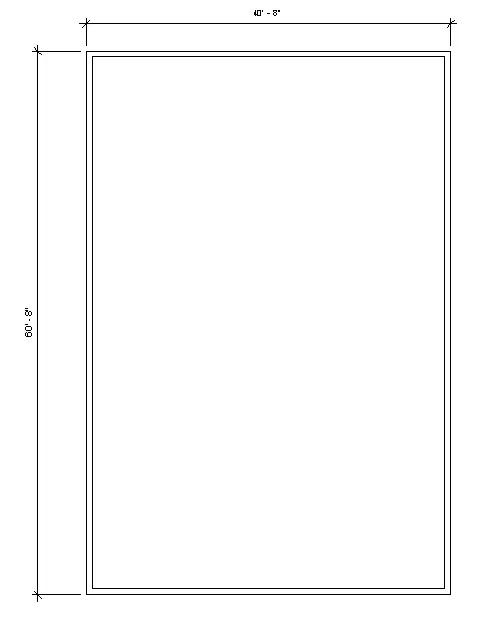
- Drawing partition wall for create room separate
- 5”wall is created by the making duplicate of Generic wall 9” to 4.5”
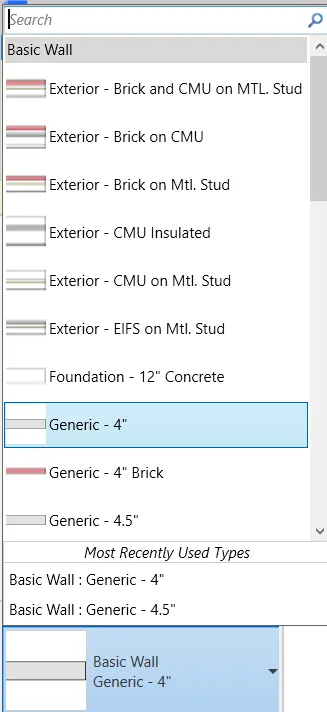
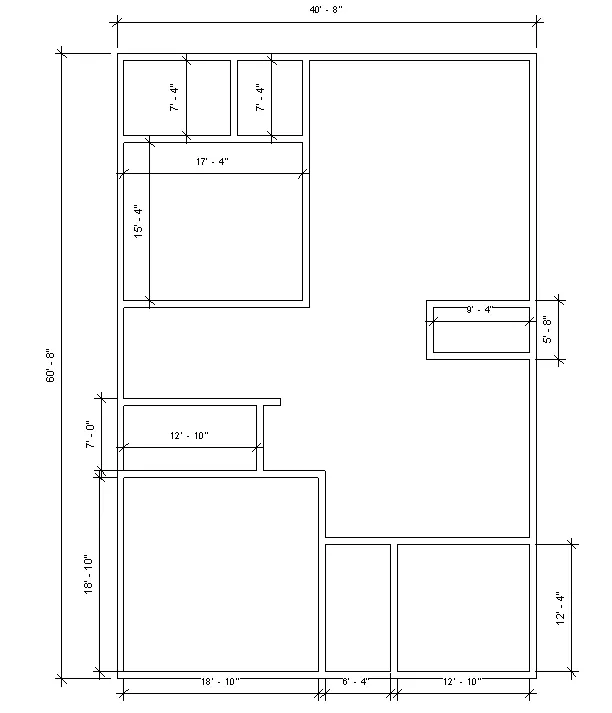
- the rooms are drawn with the dimensions which are given like
- living room – 22’x23’
- kitchen – 13’x13’
- dinning – 19’x18’
- pooja room – 10’x5’
- master bed room – 19’x18’
- bedroom – 16’x16’
- store room – 7’x7’
- dish washing & utility room – 7’x13’
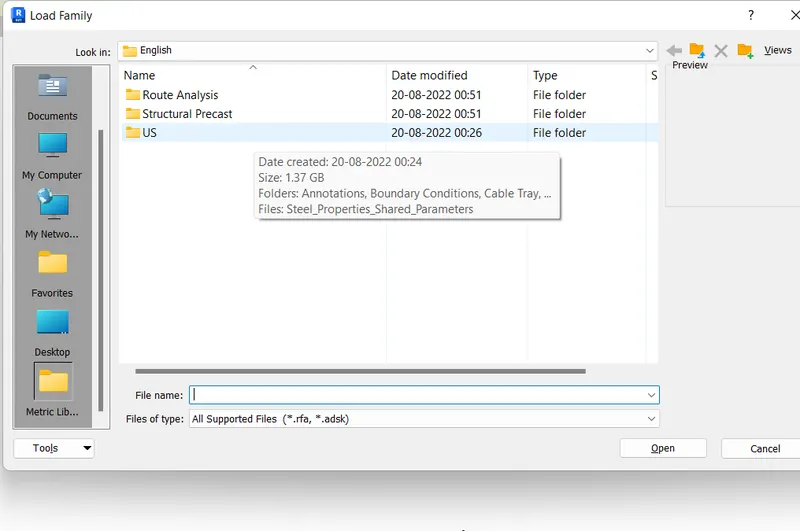
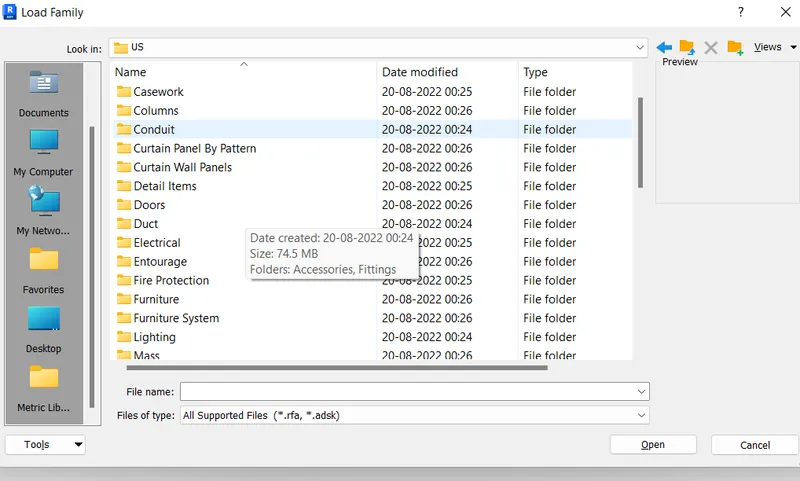
- now families are loaded as follow
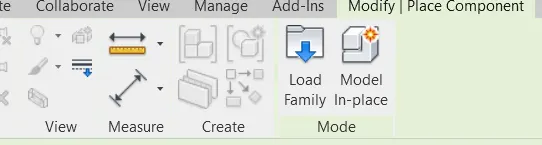
- click on component then load family
RESULT :-
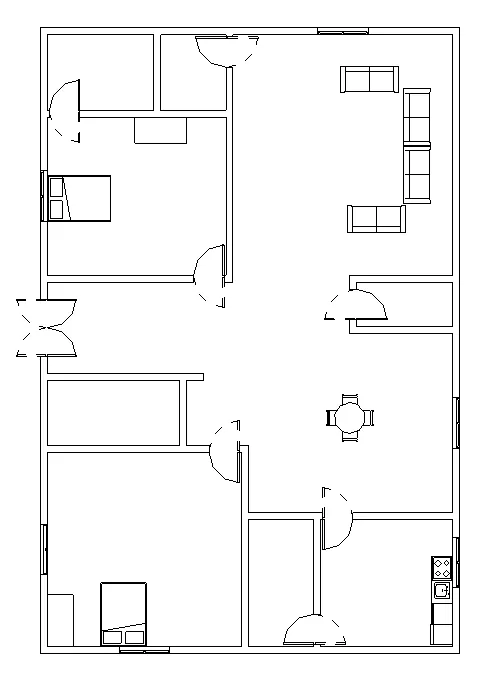
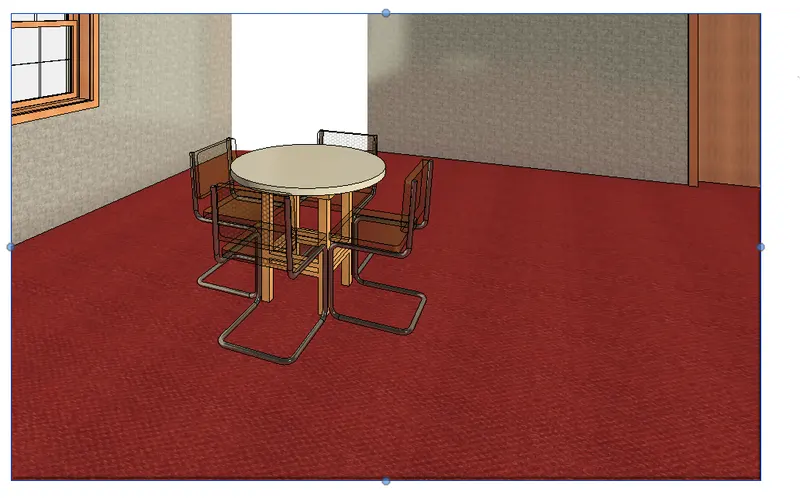
The floor plan and 3D view of the room created are shown below with components added such as door, windows, bed, chairs etc.
AIM :- To insert components required in a residential unit.
INTRODUCTION :-
Components are is grouping a family of 2D & 3D information that serves to represent a described building component & element’s in the project.
PROCEDURE :-
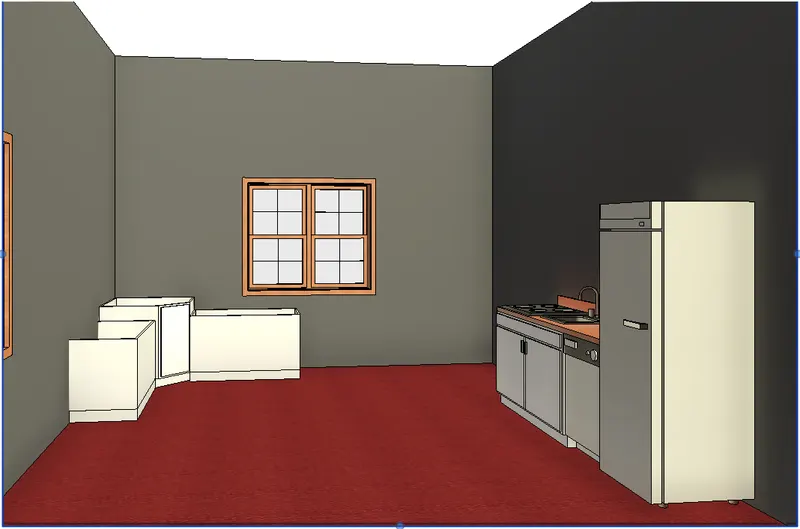
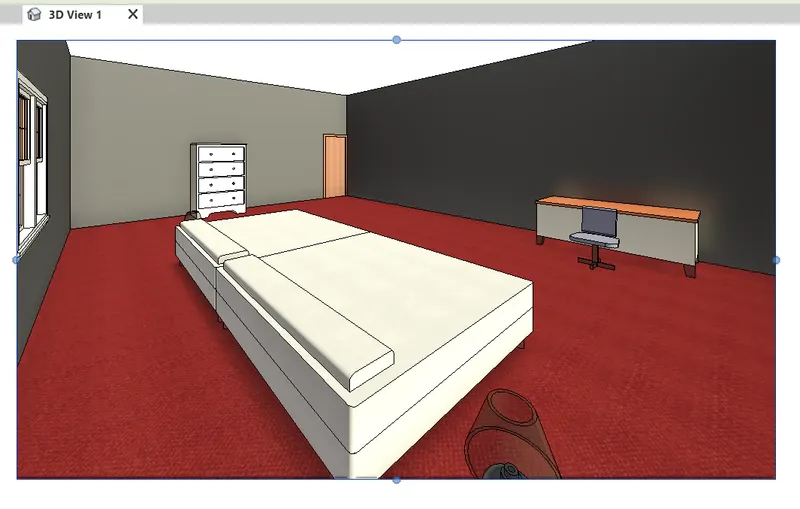
- Components are loaded as required in the questions by selecting respective component for the all other rooms
RESULT :-
The residential plan is created and the all components are loaded respectively there rooms.
KITCHEN
BED ROOM
LIVING
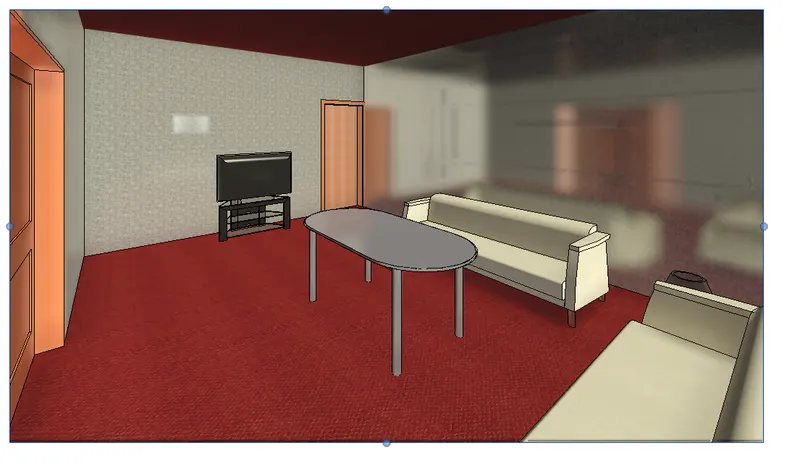
DINNING
WAHS ROOM