Creating Walls, Partition walls and Floors for a residential layout using REVIT
Aim: To create a walls, partition walls and floors for a resedential layout using revit
1) Go to start menu and open the revit software
And then go to open option and open the project that we had already created in the week 2
For this resedential layout, we need to apply floor
For this, go to architecture tab and open the floor and select the architecture floor option
Here in this window we can see various option like line rectangle etc
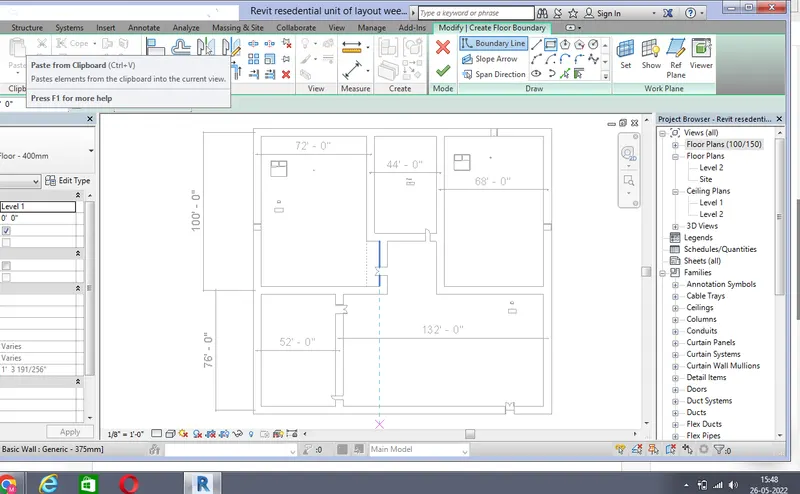
Select the pick line option and carefully select the walls over a created resedential layout
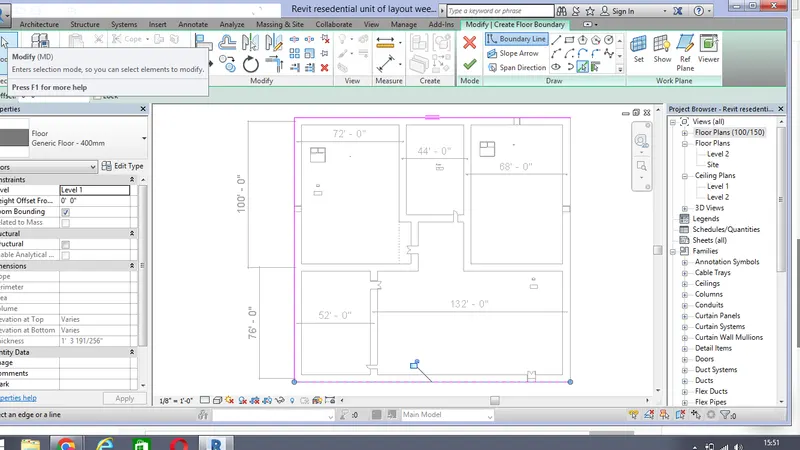
To cross check this creation, go to 3D view and there we can see the floor
Then select the floor and go to edit type in project browser and type properties dialogue box opens and just click edit under the structure type
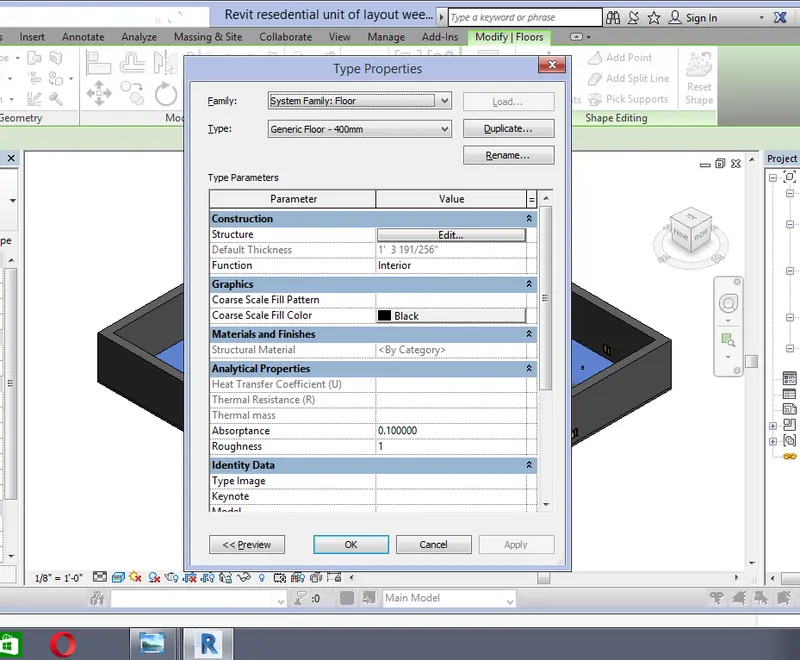
There select material by categary option and select the material and assign it to the floor
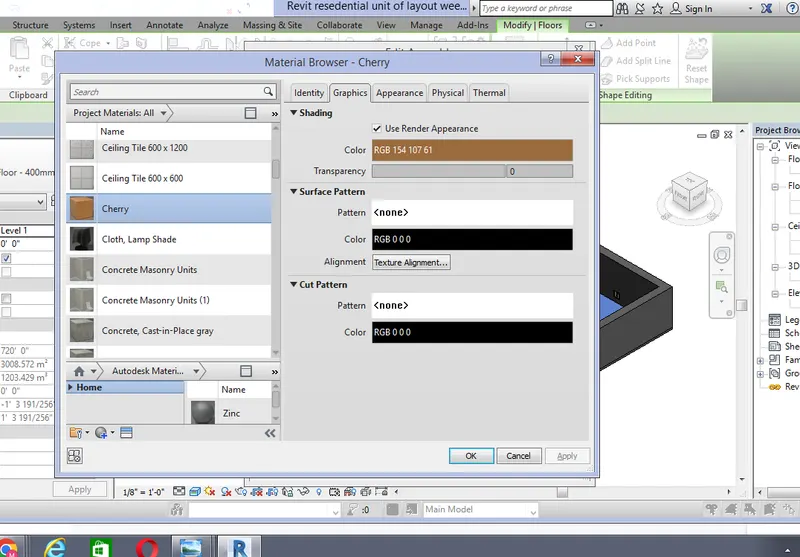
Then click ok and apply ok and the floor material has been changed
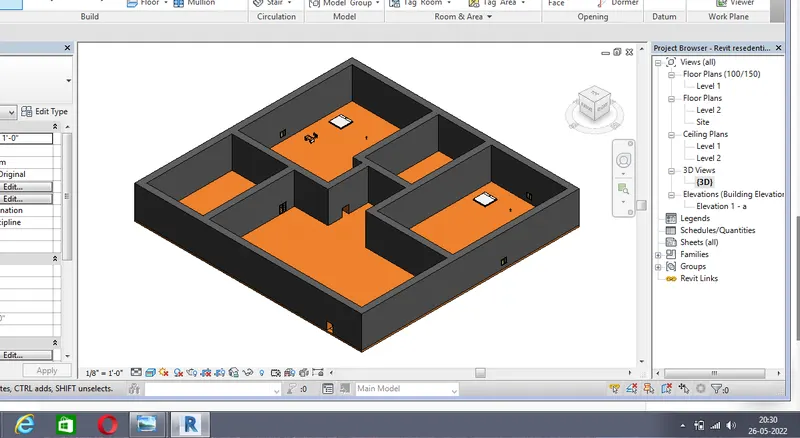
In order to change the thickness of the floor, again go to edit type in project browser and select the structure edit there we can change the thickness of the floor
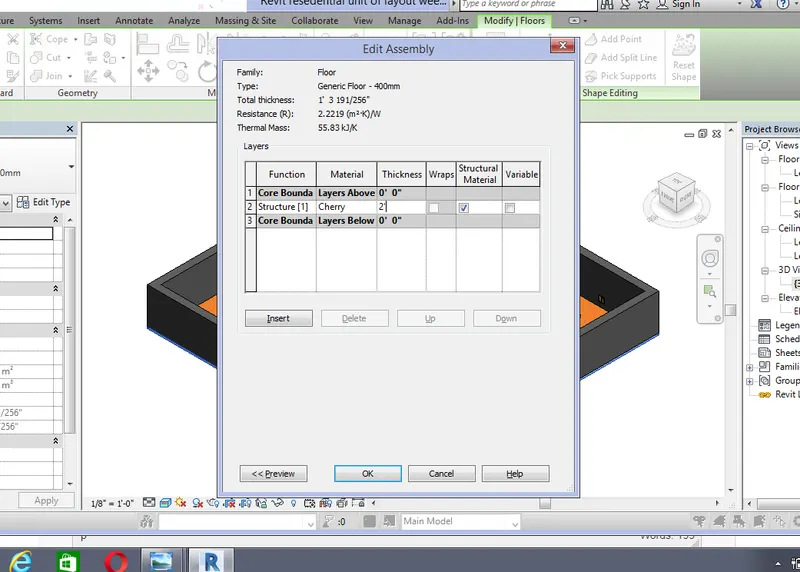
Then the thickness of the floor is changed to 2'
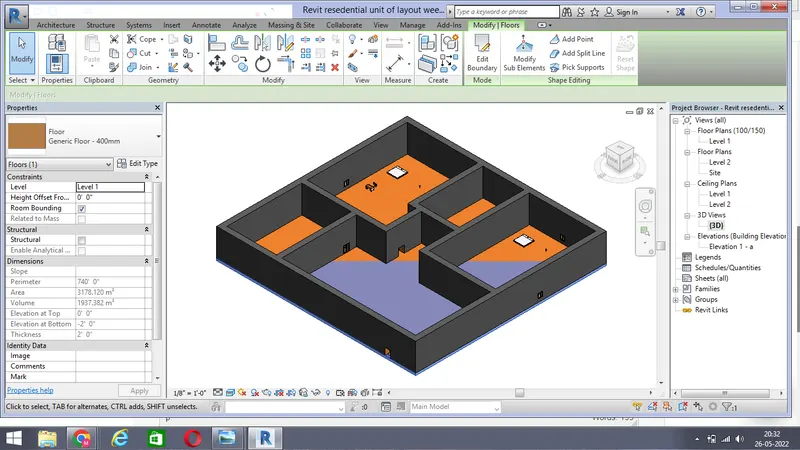
2) To create a wall. go to wall option in architecture tab and there some of the options will be available like rectangle, line, pick line etc
Select the pick line option and select the boundaries of layout and draw a wall
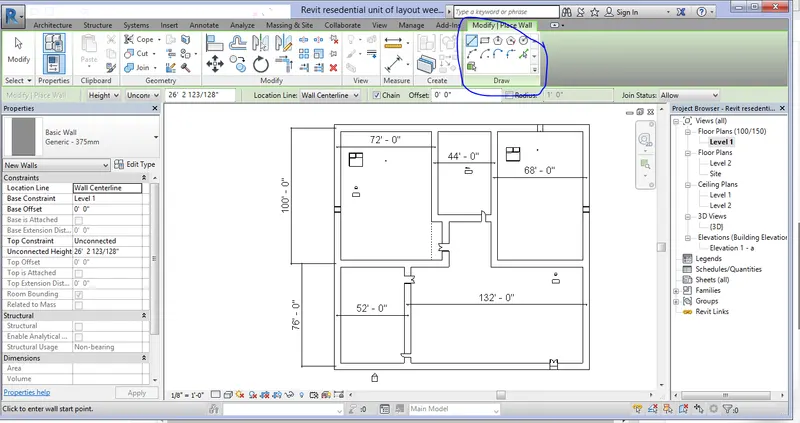
Then in order to edit the wall go to edit type in project browser and select structure edit
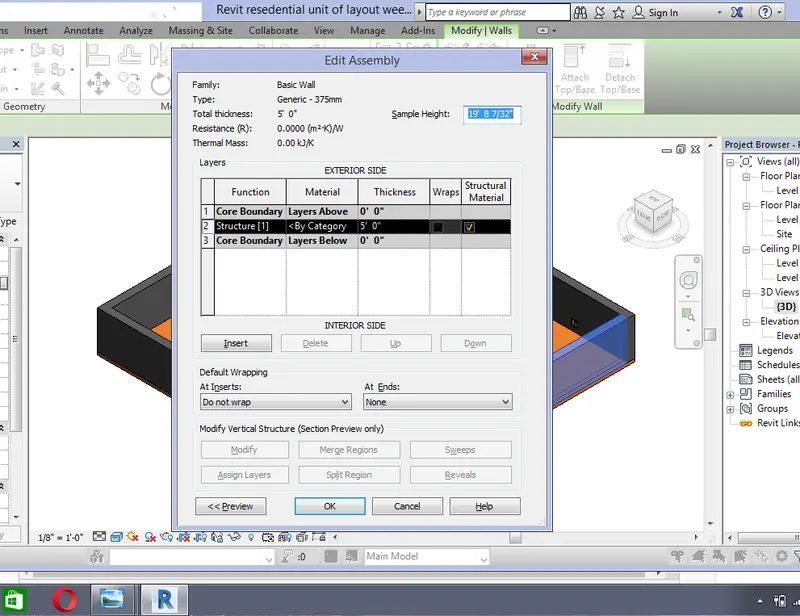
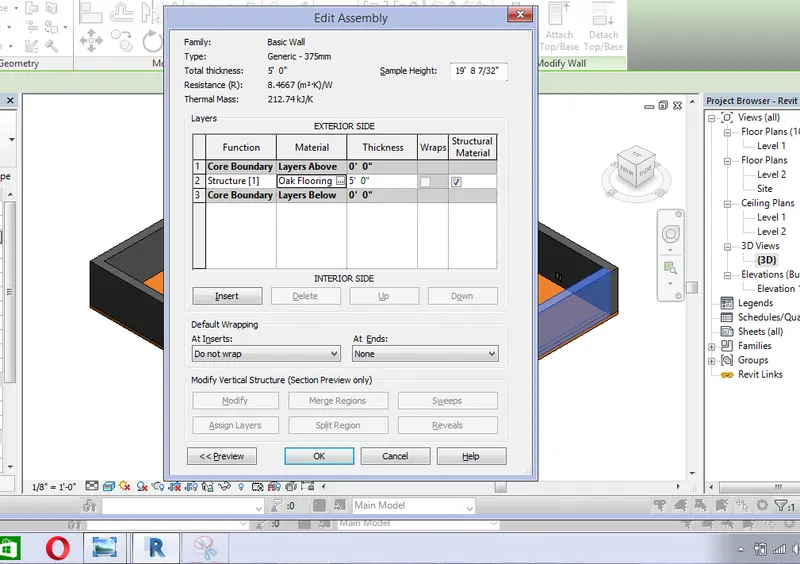
Select the material by categary option
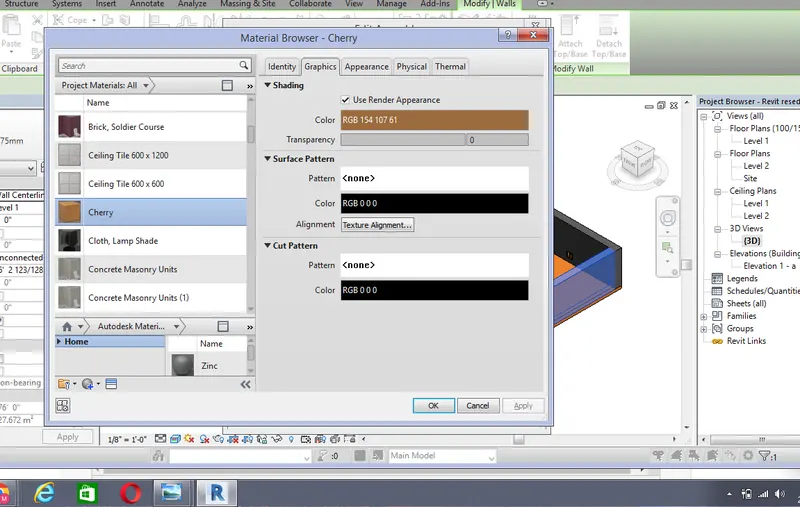
Then select one of the wall material and then click ok and apply ok
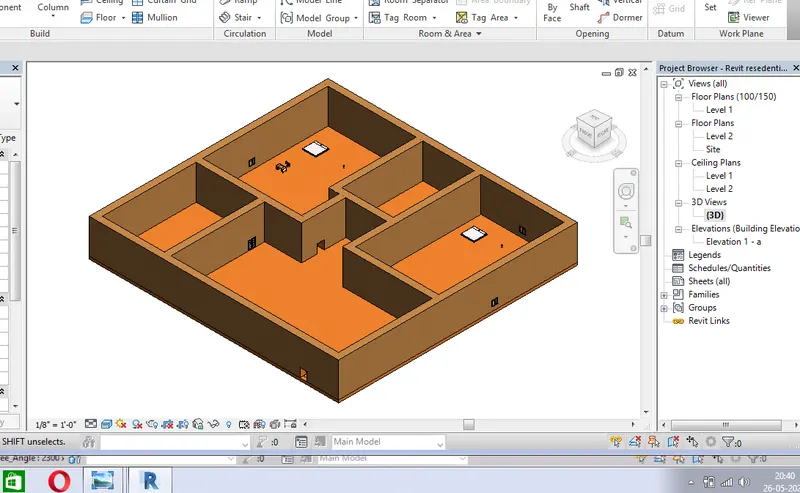
Then all the wall materials has been changed
Then in order to change the thickness of the wall, select the wall and select the type of wall in properties tab
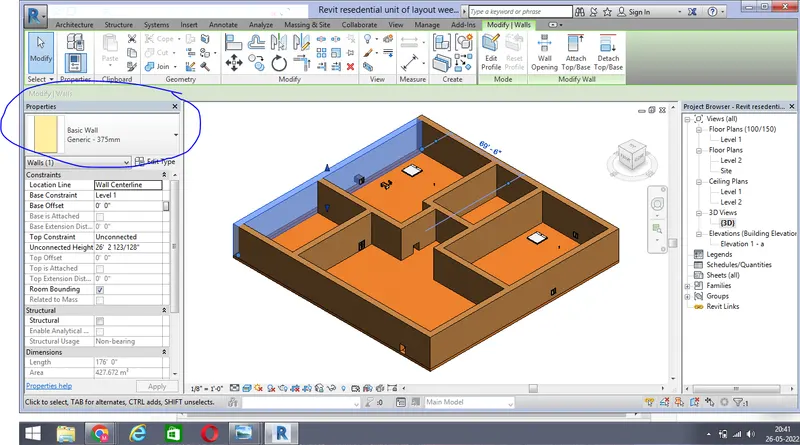
Or go to edit type and select the structure edit and there we can give the thickness of the wall
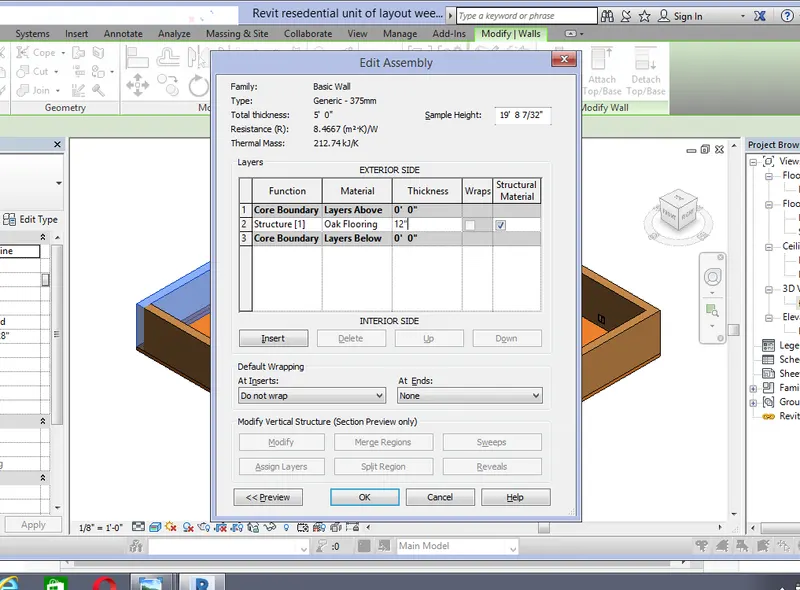
Then all the wall elements are changed
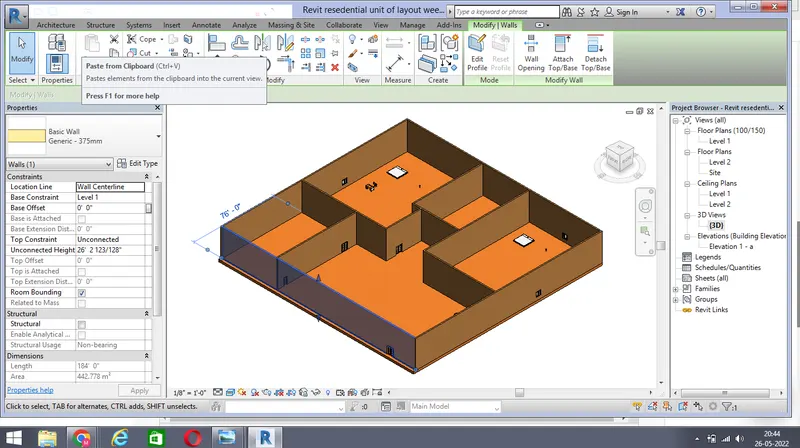
3) To copy the elements from ground floor to first floor, we need to add the levels first and the go to ground floor plan
Select all the elements and immediately one ribbon tab will open
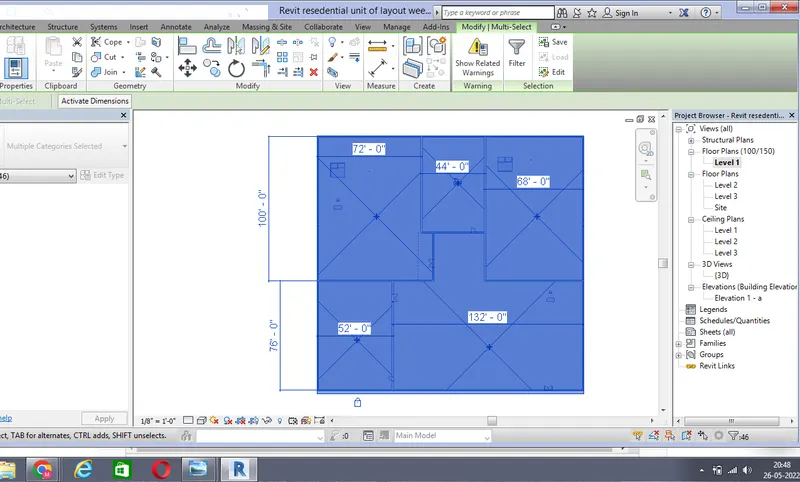
There we have to select the copy to clipboard option
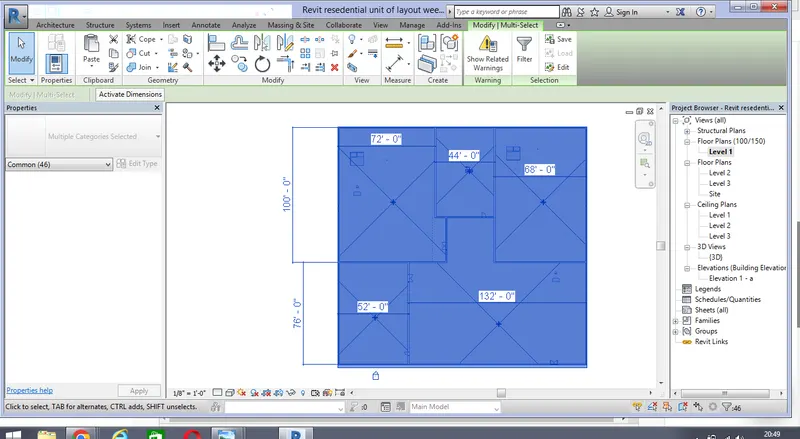
And select paste option, select alligned to selected view or alliigned to selected level option then it will ask to which level and select the level that we want to copy and give ok
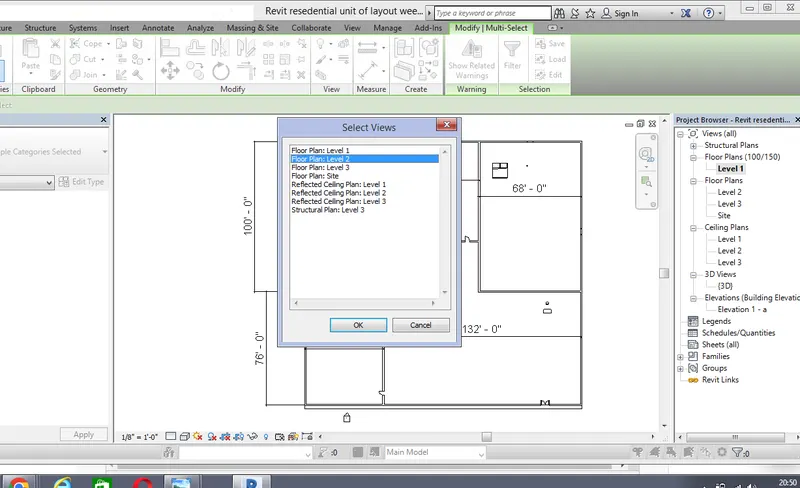
Then the elements in ground floor will copy to first floor
4) Firstly, we have to open a new architectural file
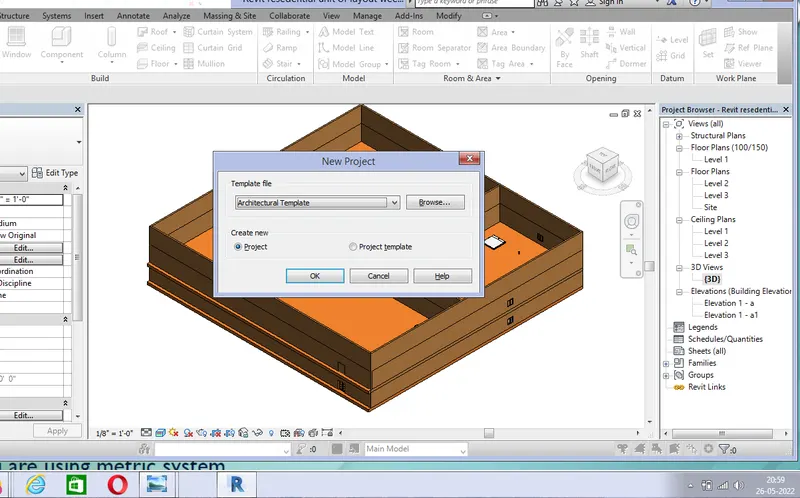
And then we need to set the units by giving un command
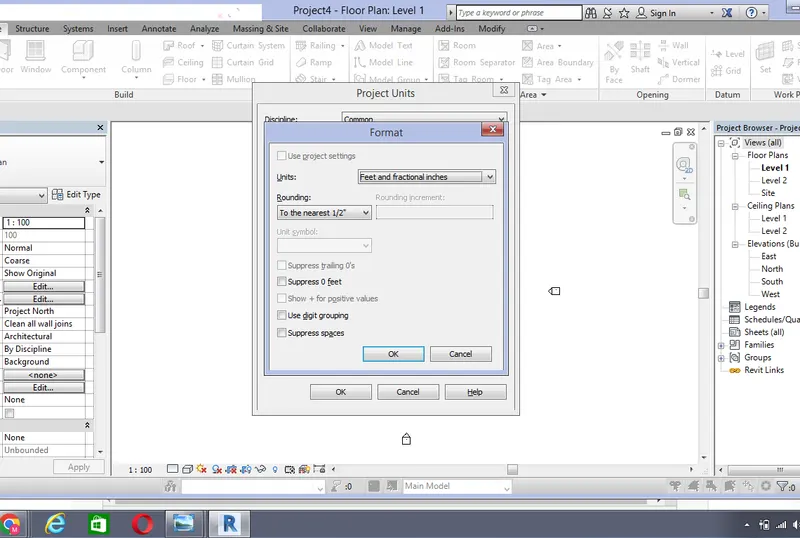
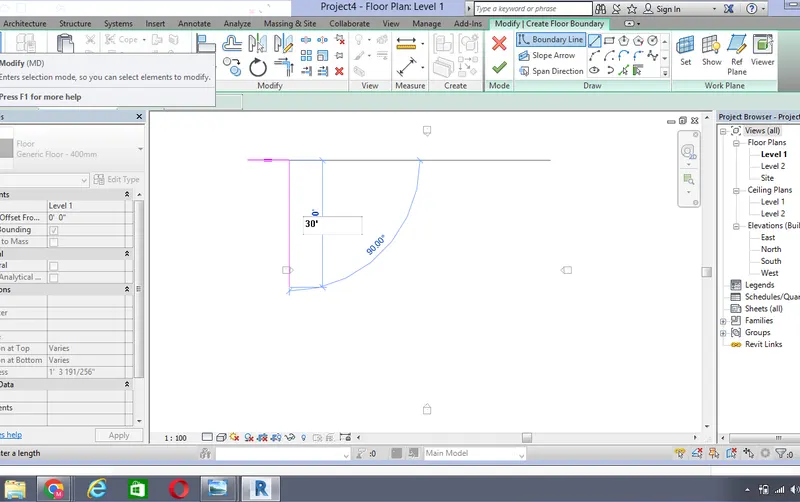
First go to floor command and draw a layout by giving suitable dimensions
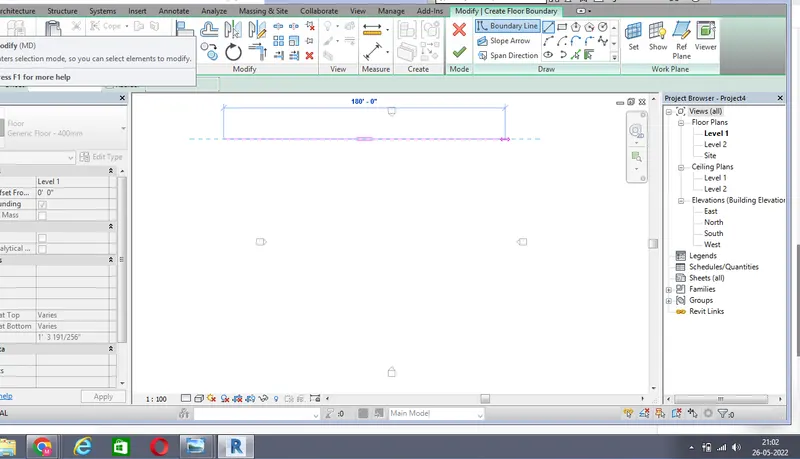
Give 25' in horizontal direction
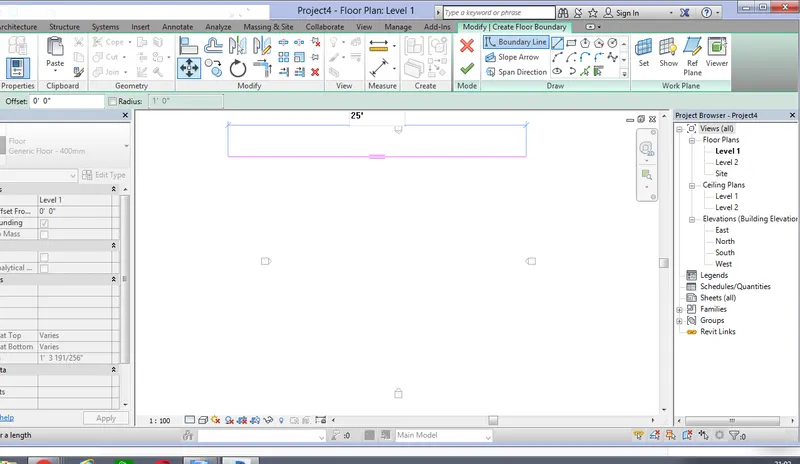
And give 30' in vertical direction
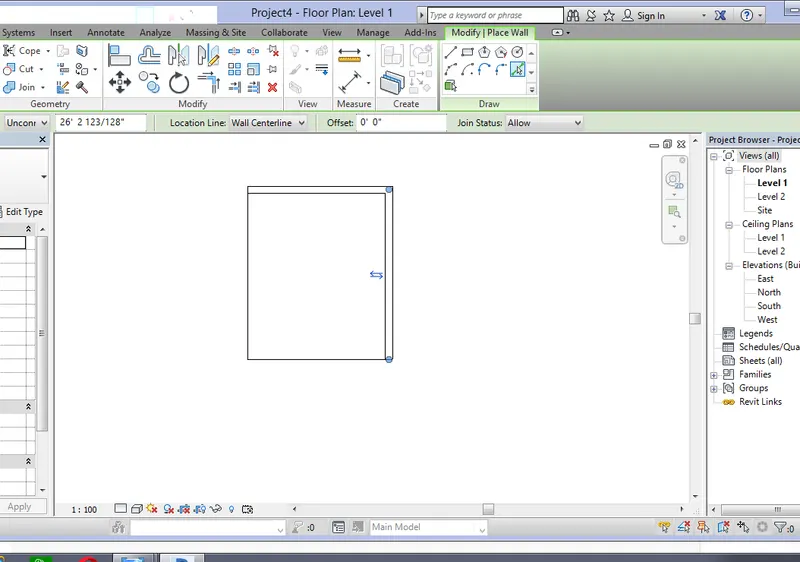
Then go to wall command and select the pick line option and draw a wall on the layout
Now first draw a kitchen of length 8'X10' using interial partition wall command.
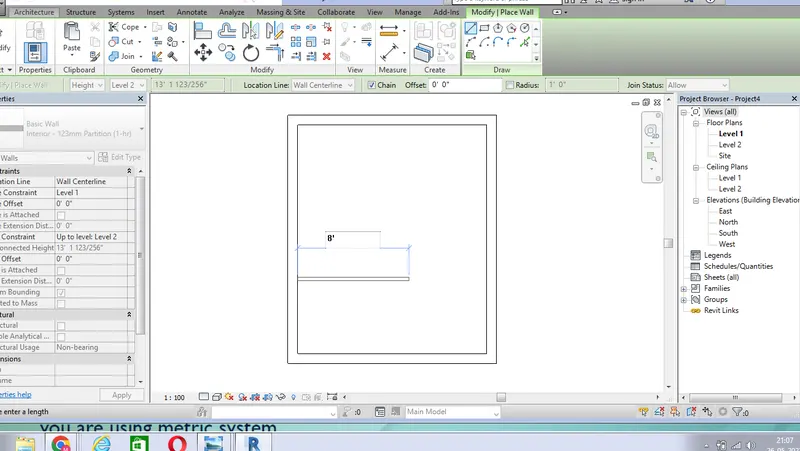
Draw a dining room of length 9'X11'
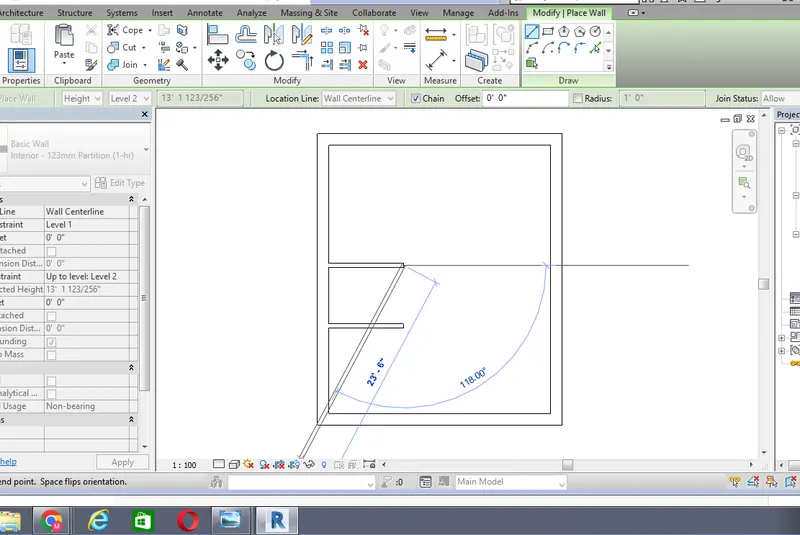
And draw a bedroom of length 9'X12'
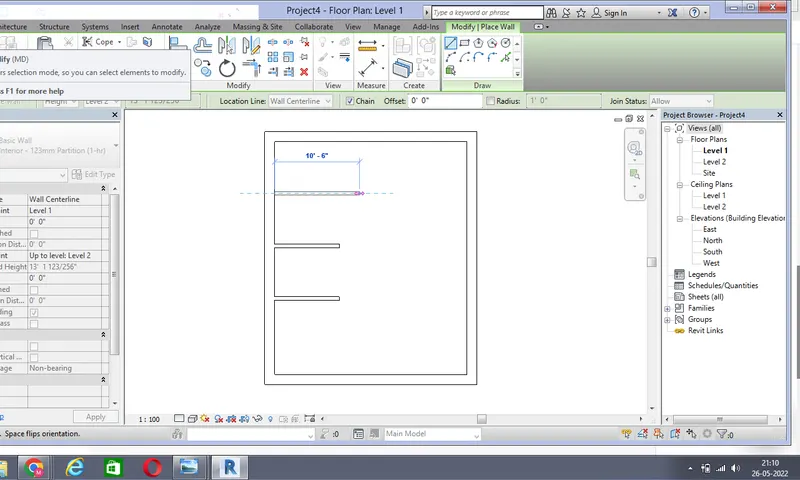
Again draw a bedroom of length 15'X11'
And draw a rest room of length 10'X12'
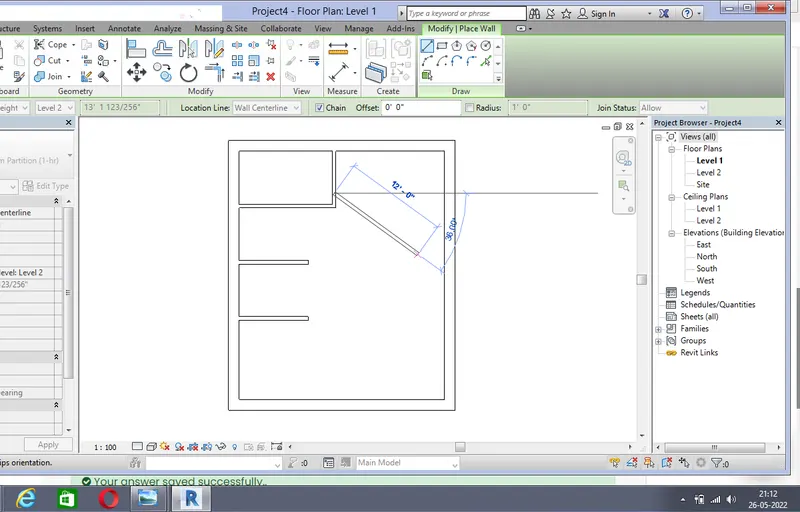
And draw a living room of length 15'X18'
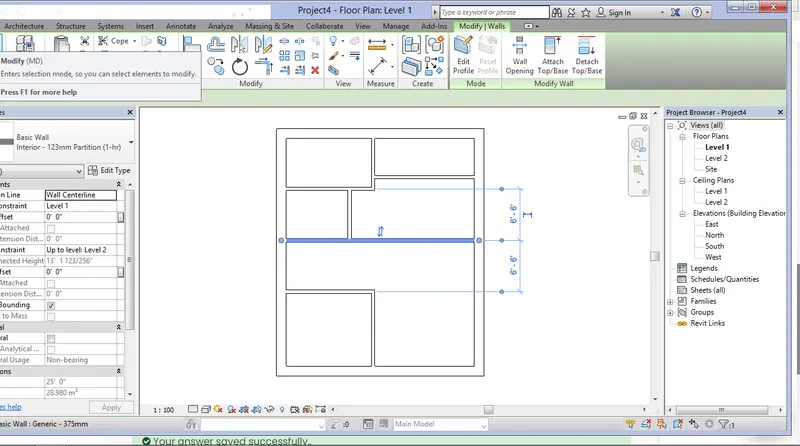
Then the remaining part of the layout has been considered as hall of entry room
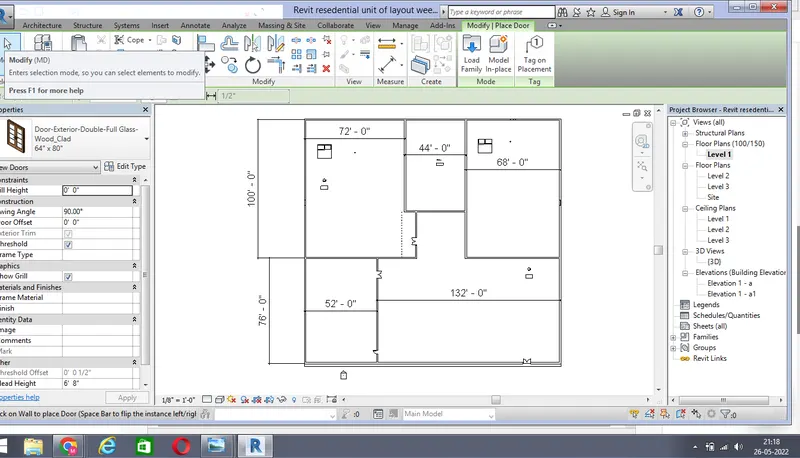
For placing a door, go to door option in the architectural tab and select the door type and place it in the layout
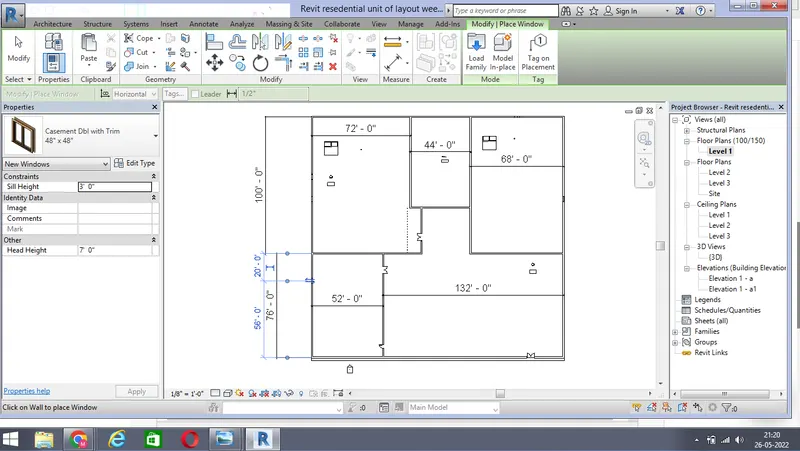
And in order to place a window, go to window component in architectural tab and select the type of window and place inside the layout
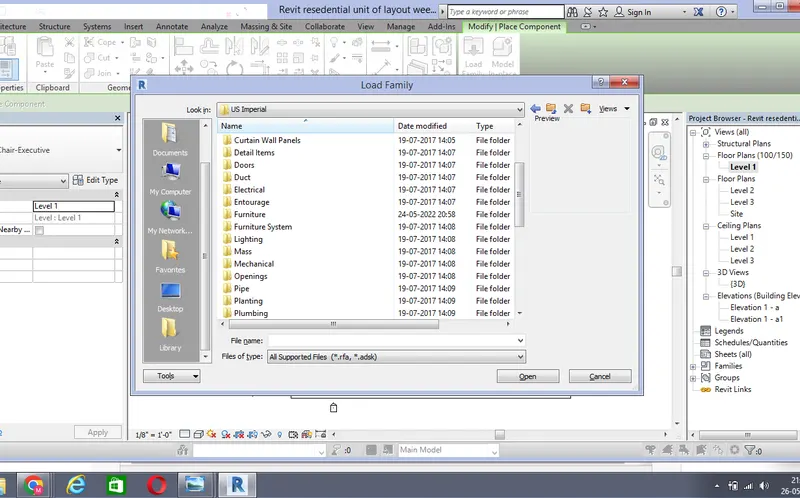
And in order to place the kitchen components go to component in architectural tab and select the load family option and there select the appropriate type of kitchen component which was preloaded in the revit
For kitchen we need to go for special equipment, and select the domestic and choose the type of kitchen set
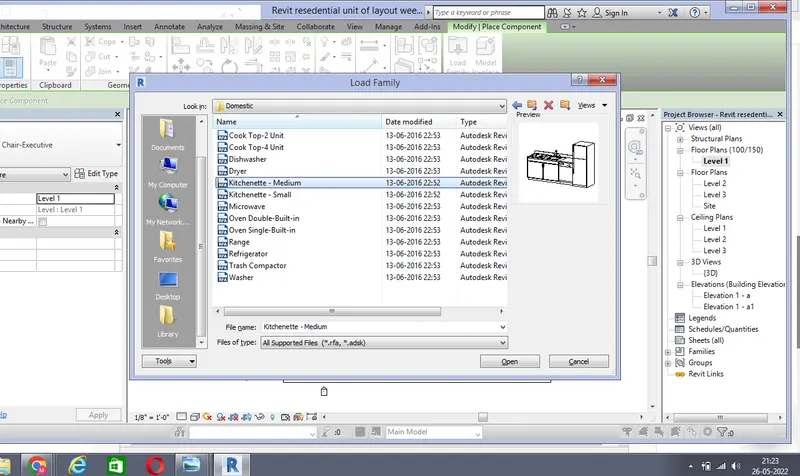
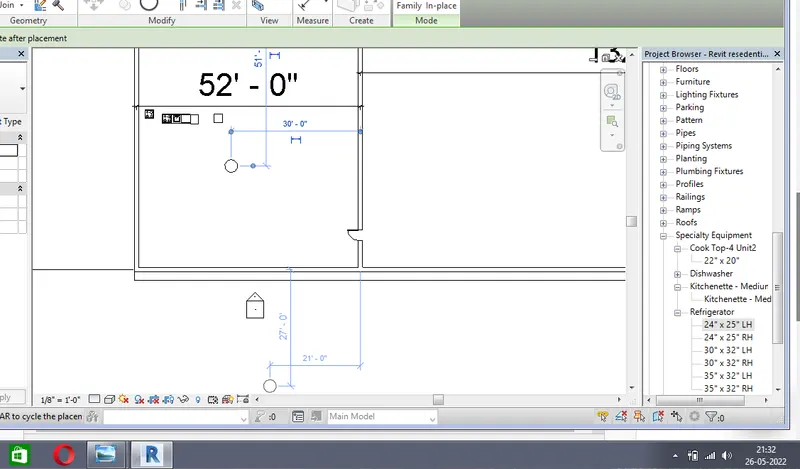
And place the component inside the kitchen room
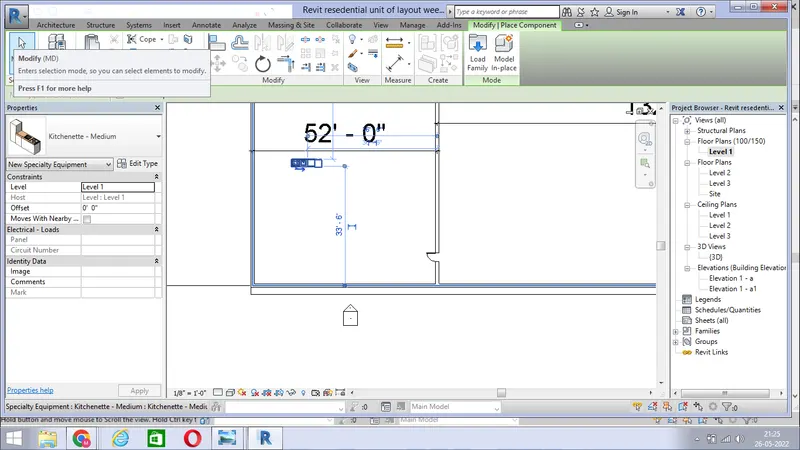
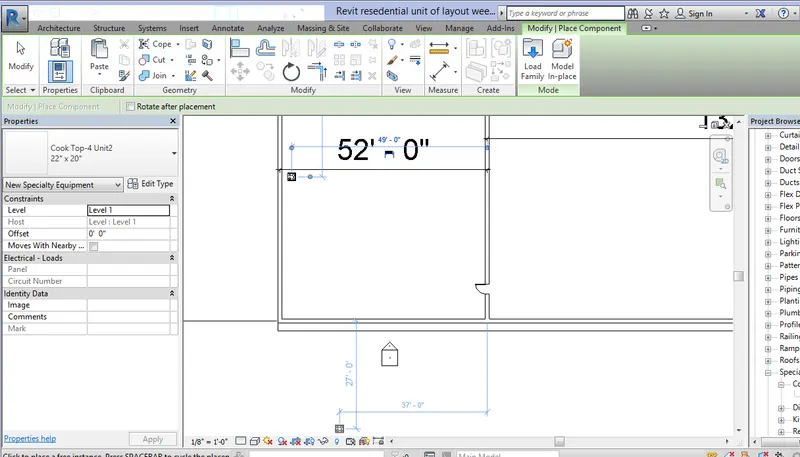
Select the cook top and place the component
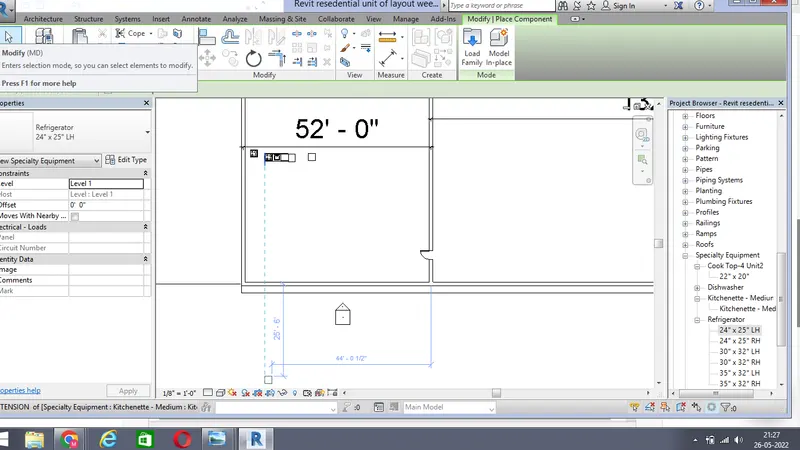
And select the refrigerator and place the component
So for kitchen we have to place dining table, for this go to component and load family and go to furniture option and select the table option and select the dining table furniture
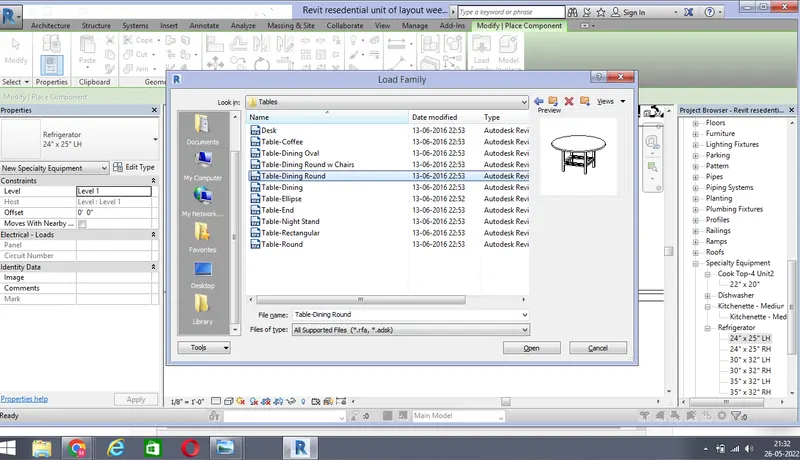
And place the dining table inside the kitchen room
To place the components in living room again go to place a component and select the furiture family and select suitable furniture components
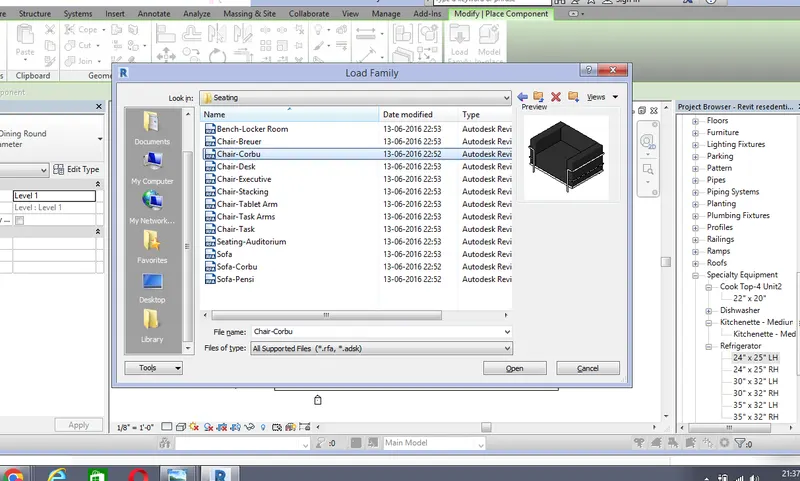
Place the components inside the living room
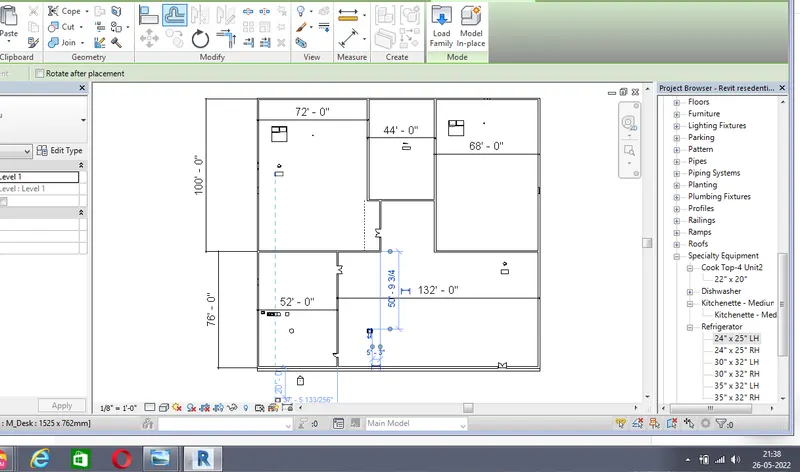
Again select some of the furniture type and place the compnent inside the living room
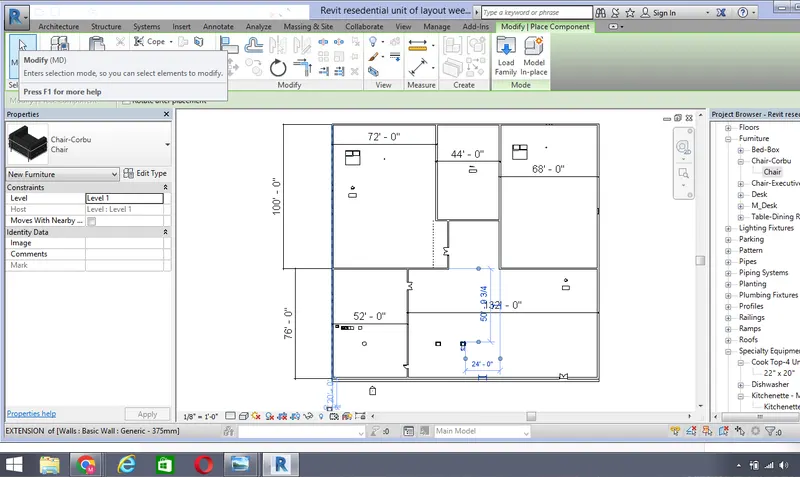
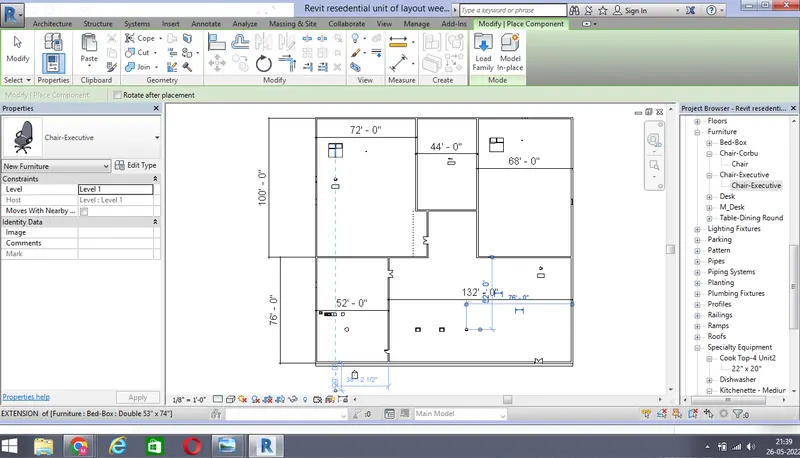
To add beds to bed room repeat the same procedure go to load family and load the furniture componeents like beds etc
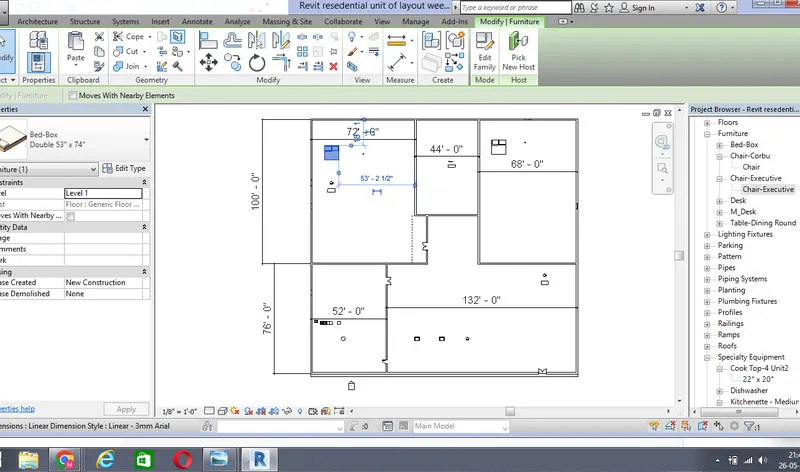
To add bath tubs to rest room, go to load family and load the plumbing fixtures family and select the bath tubs option.
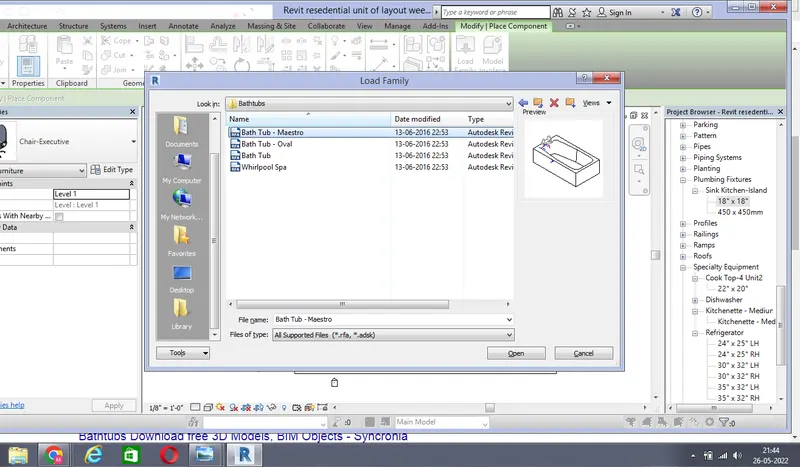
To add the lighting, go to lighting fixtures and add select the suitable lightings and place inside the layout
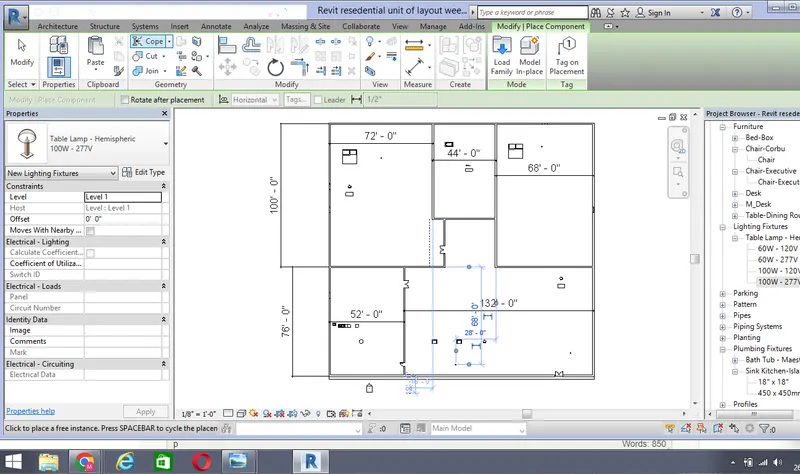
Like this ways we can add the components into the layout