Creating Walls, Partition walls and Floors for a residential layout using REVIT
1)
AIM:
To Create floor layout From week 2 project
PROCEDURE:
STEP 1:
- Open week 2 project
STEP 2:
- Go to architecture tab > floor >boundary lines> pick lines
STEP 3:
- Property browser >edit type> change the floor
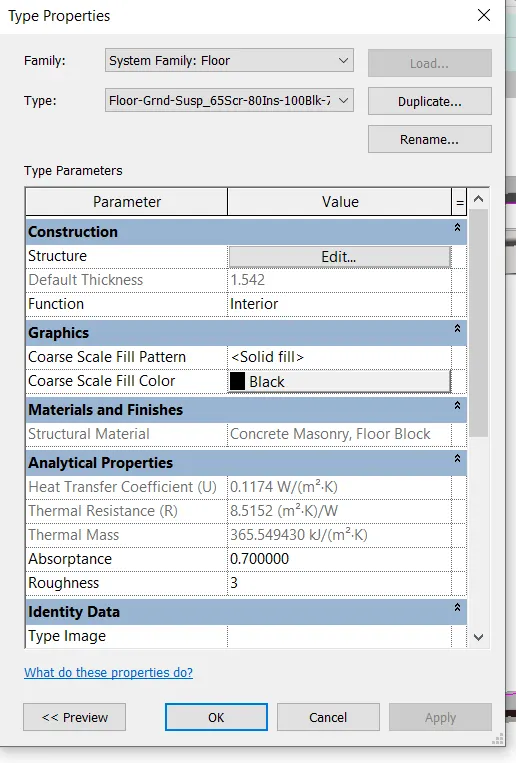
- click on structural material to change the material
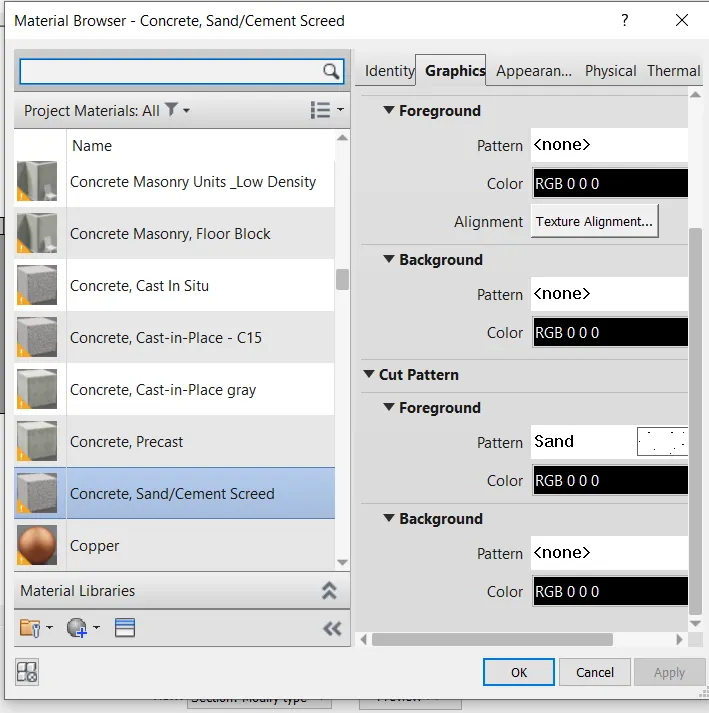
- select the desired floor material
- click on duplicate to change the thickness
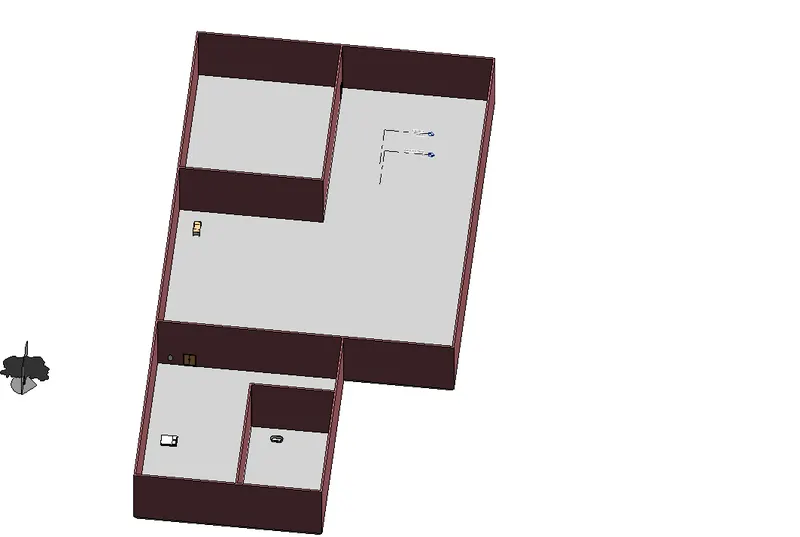
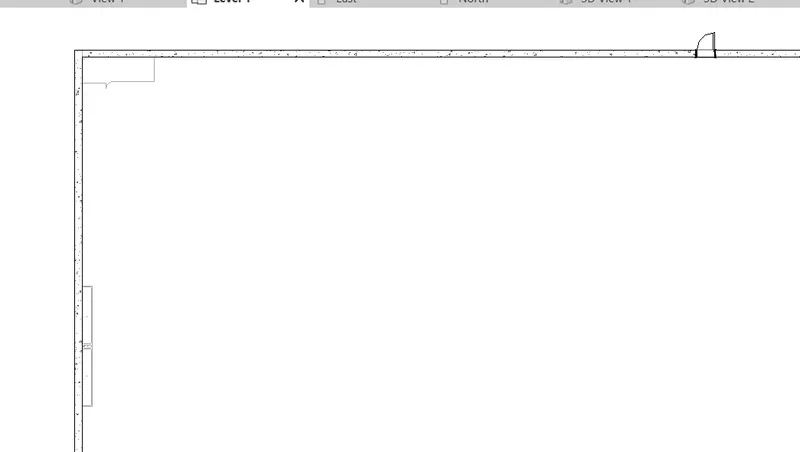
Result :
2)
AIM:
To create walls using property browser
PROCEDURE:
STEP 1:
- Open week 2 project file
STEP 2:
- Click on walls > property browser> edit > walls
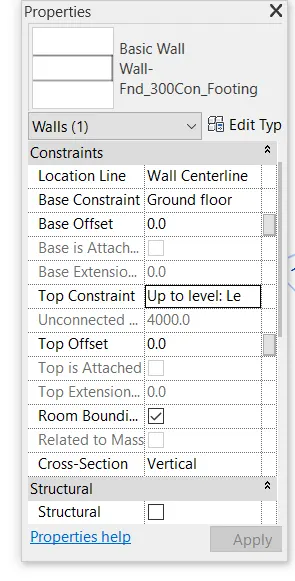
- Go to top constrain > level 2
- edit type > structure > to change the properties
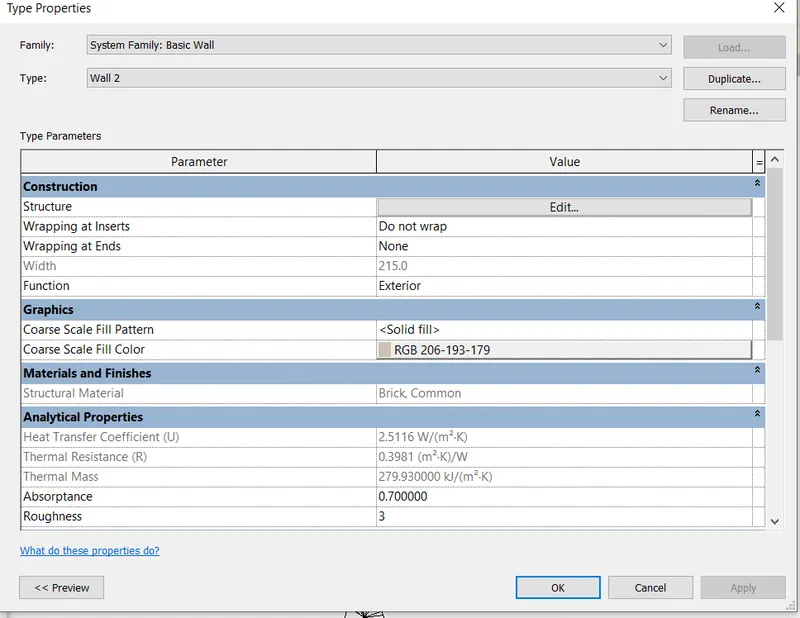
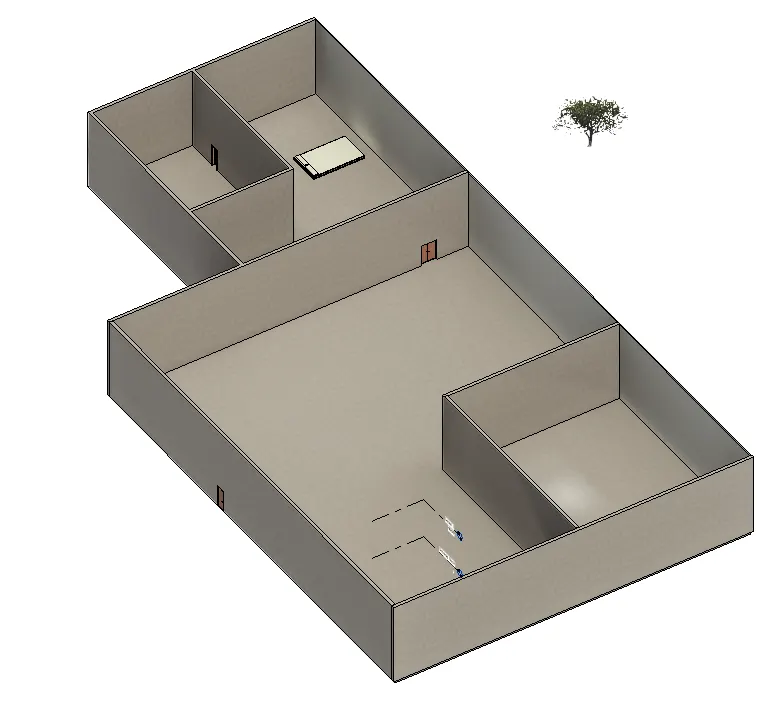
result:
a)
ANS:- According to my observation connecting with walls with associated levels is beneficial as if change the levels atomatically even the walls will change
b)
ANS:- Both are convenient but i prefer depth as height can be changed by constrainted method
3)
AIM:
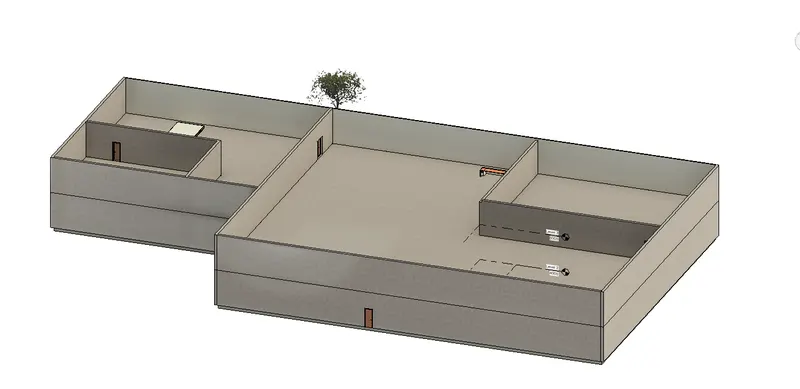
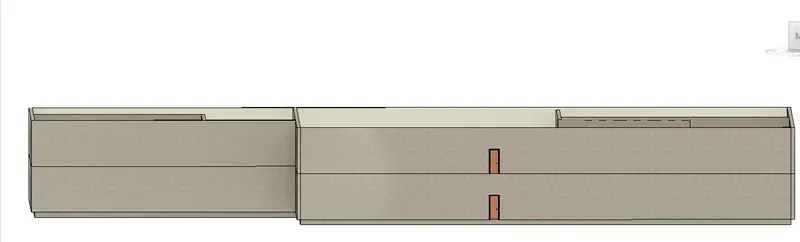
To Copy the model elements ( wall, floor ) modelled to Ground Floor Level and paste it aligned to First Floor Level .
PROCEDURE:
STEP 1:
- go to elevation > create level 2
STEP 2:
- modify tab >Copy the model > clipboard
- paste >alinged to selected leves> place in 3d view
4)
AIM:
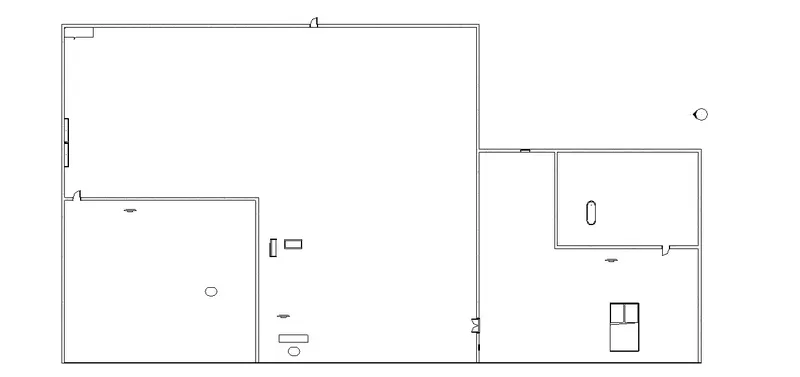
To create
a. Living Room/ Drawing Room ( 15’ X 18’)
b. Dining Room (9’ X 11’)
c. Bed Room ( 9’ X 12’ and 15’ X 11’)
d. Rest Room ( 10’ X 12’ )
e. Kitchen (8’ X 10’)
PROCEDURE :
- Go to architecture tab > walls > property > interior walls > create walls in your model
- Go to architecture tab> place a componet >load families >add furnitures , plumbing fixtures , kitchen appliances et
Result:
5)
AIM:
To add components to be included in a residential unit were inserted to the Revit file.
PROCEDURE:
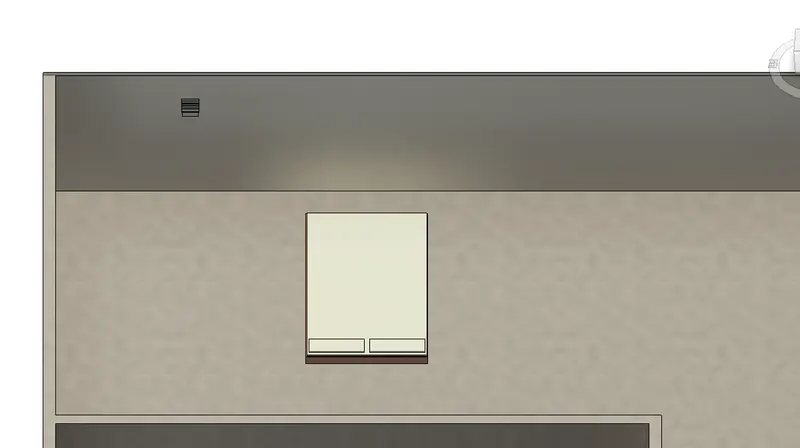
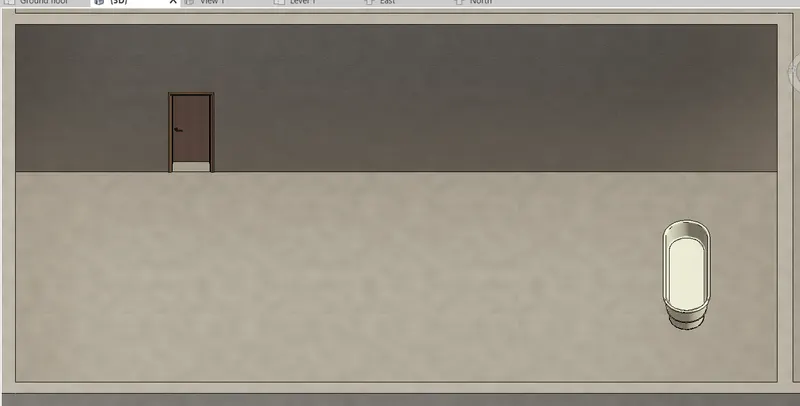
- Go to architecture tab> place a componet >load families >add furnitures , plumbing fixtures , kitchen appliances etc
Bed Room:
Wash room
Kitchen:
Dinning Hall: