Creating Walls, Partition walls and Floors for a residential layout using REVIT
Aim: Using floor tool under architecture tab and select the floor with appropriate material and thickness using the property browser create a layout in the Ground floor Level. Align the floor plan with grids created from week 2.
Procedure:
Open the project file created from week 2.
Adding floor to plan.
From the architectural toolbar select the architectural floor.
From the edit tab set the floor thickness as 6”.
Then click on first point and second point for the floor placement.
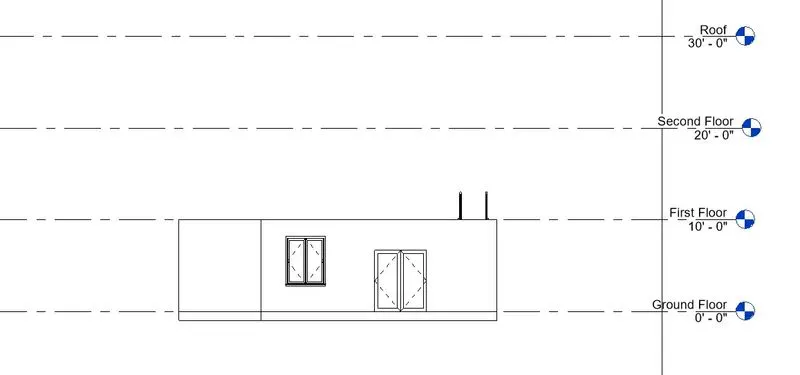
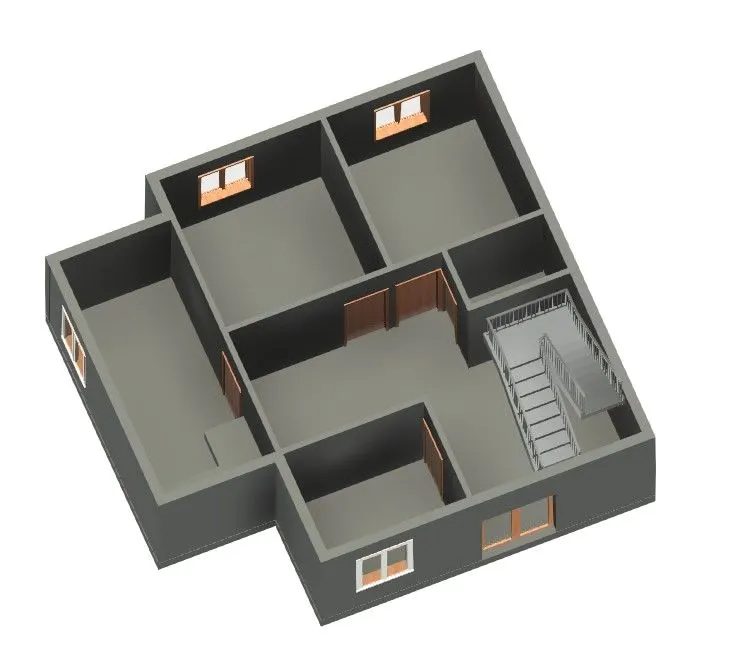
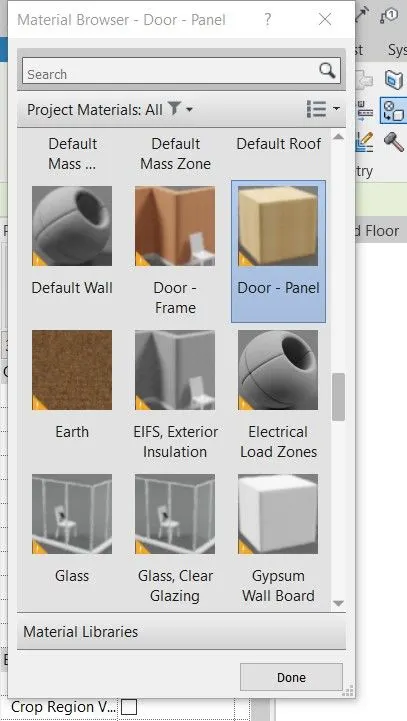
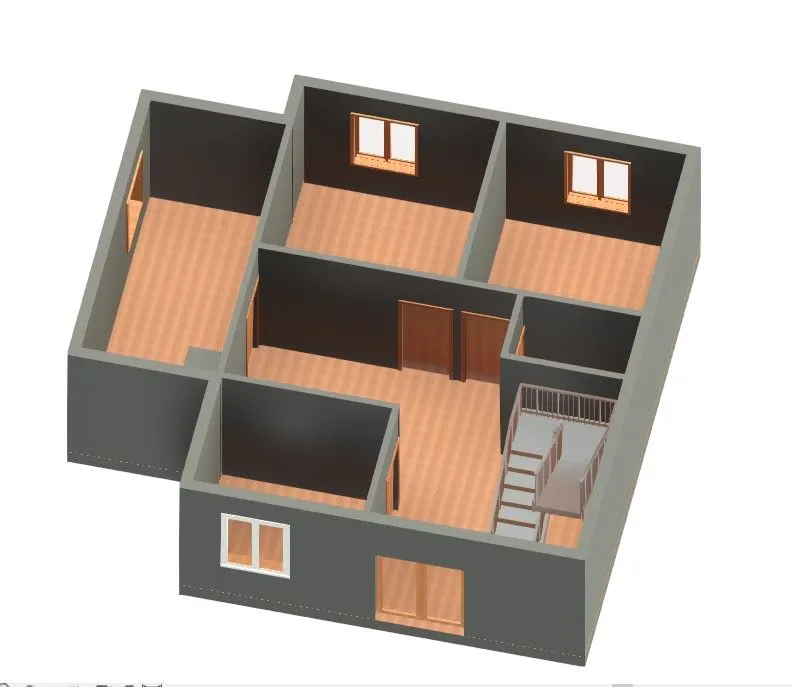
Floor Property
- From the architectural toolbar select the grid
- The horizontal grid are provided right to right and number as 1,2,3,4
- The vertical grid are provided bottom to top and number as A,B,C,D,E,F
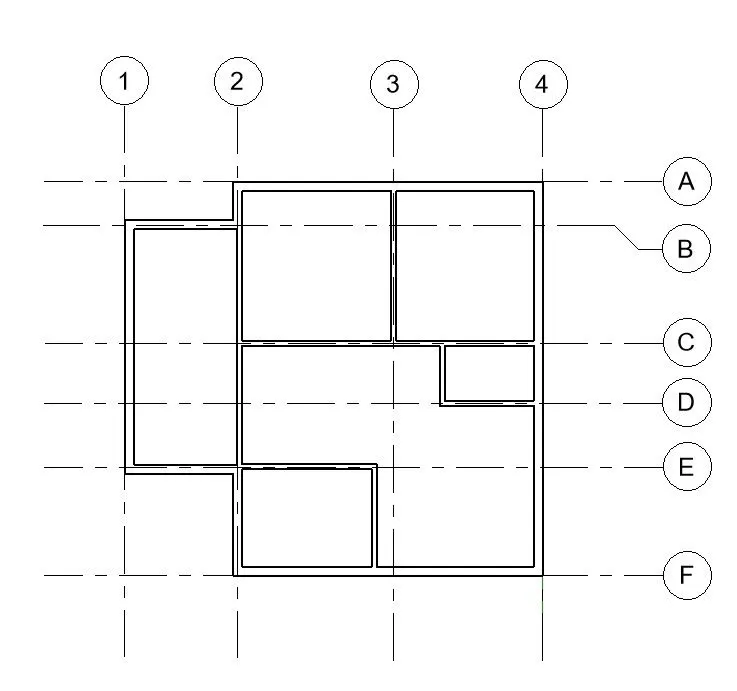
2)
Aim: Use the property browser to select appropriate material and thickness for walls. After creating the walls verify using the property browser to see if the top and bottom of the walls are constrained.
Procedure:
1. Select the walls in the layout plan.
2. In the properties browser, go to edit type and choose the desired material and thickness for the wall.
3. Verify using the property browser to see if the top and bottom of the walls are constrained.
RESULTS:
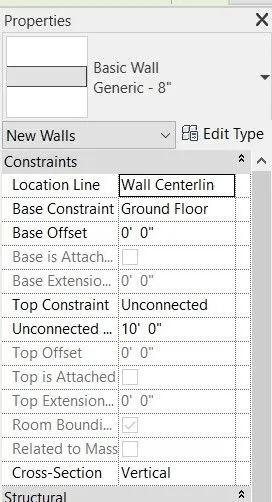
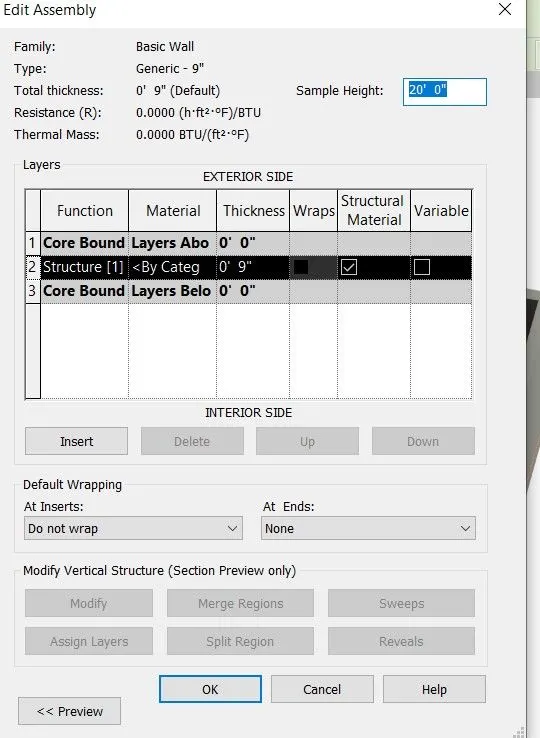
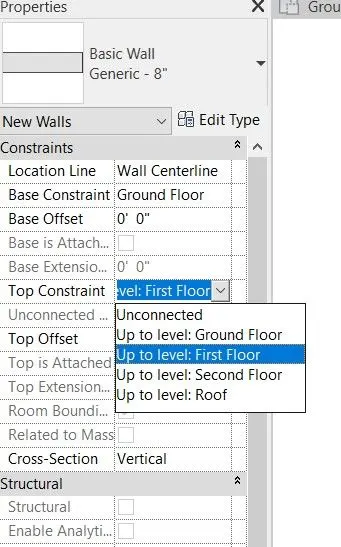
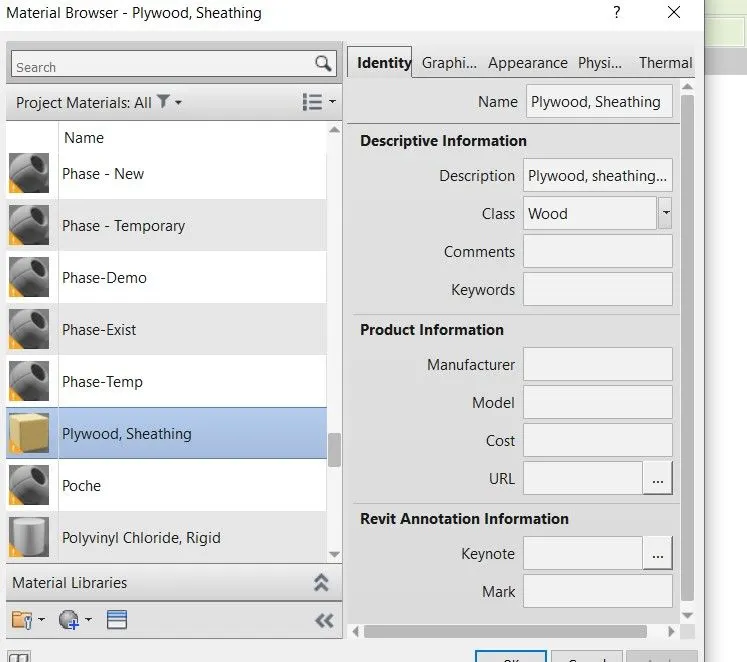
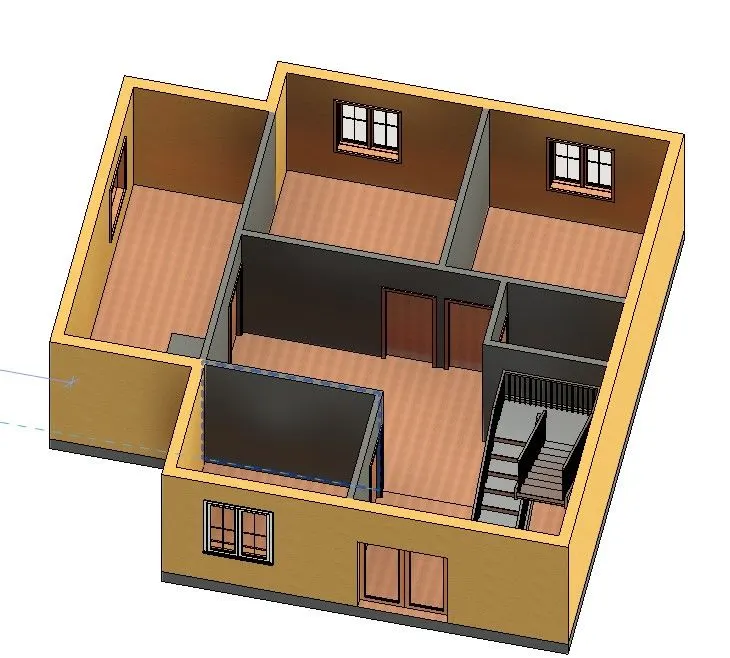
2) a : Based on our observation, Unconnected is benificial because roof covered from connecting assosiate levels.
b : by Height is convenient for modeling walls.
3):
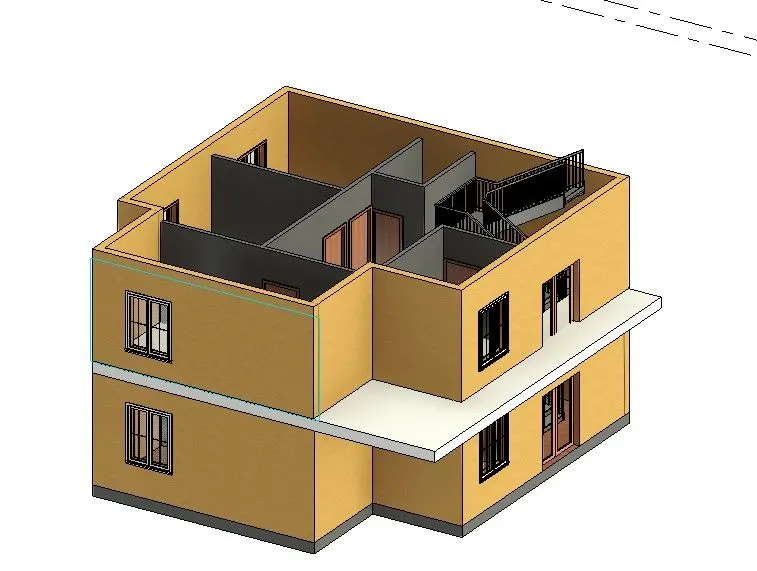
Aim: To copy the plan next level to create the first floor
Introduction: To copy the plan next level to create the first floor. By using Revit
Procedure:
Step1:
- From the project browser select the level 1 floor plan
- Copy the floor plan select the level 2 then go to paste option select aligned selected level
- Select the level 2 as the first floor
Result :
4):
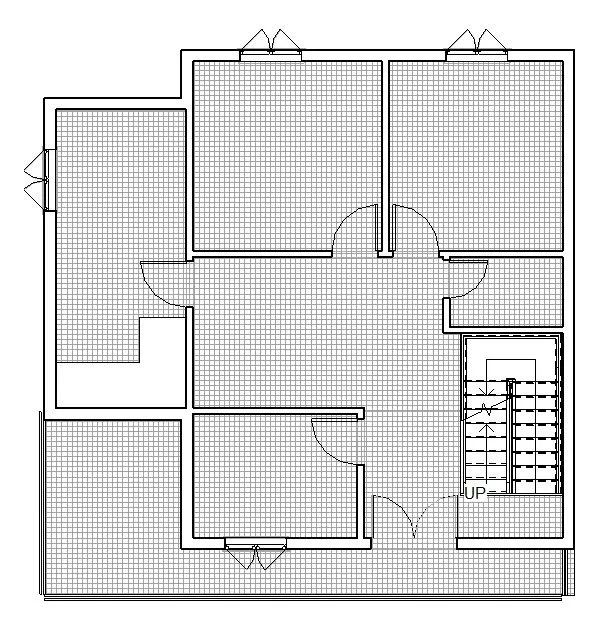
Aim: To create separate rooms with interior partition walls.
Introduction: To create separate rooms with interior partition walls. By using Revit
Procedure:
Step1:
- Adding interior walls to the floor plan
- Take the 5” wall as interior partition wall from the property browser
- Now divide or sperate the floor to room as your plan measurement
- Create the room tags kitchen, bedroom, toilet, living room as per your required measurements
5):
Aim: To the components in a residential unit All the components are available in Revit Library Placing these components in appropriate locations
Introduction: To the components in a residential unit All the components are available in Revit Library Placing these components in appropriate locations. By using Revit.
Procedure:
Step1:
- Adding components to the floor plan
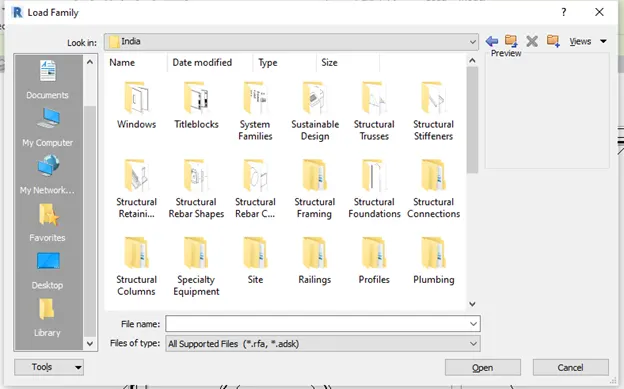
- From the architectural toolbar select component then click on load family
- All the components are available in Revit Library.
- Choose English Imerical
- We can use all the elements as per need.
Step 2:
- Select the furniture and place the sofa set, tea table, TV and other elements.
- Similarly place all the elements in Kitchen, dining, toilet, and Bedroom.
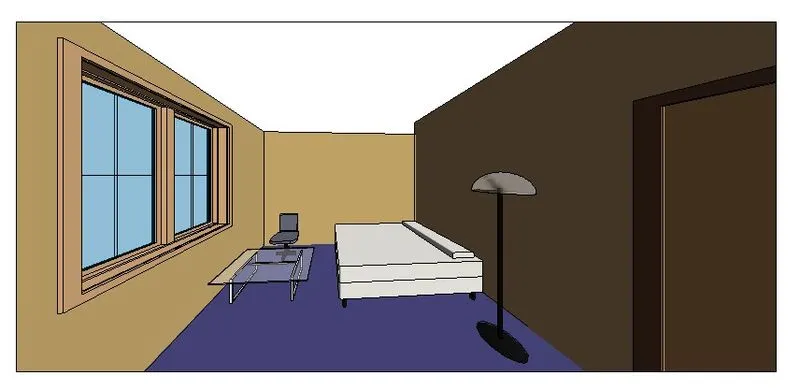
Bedroom :
Adding Beds and chair, Table from Furniture and Lamp from Lights.
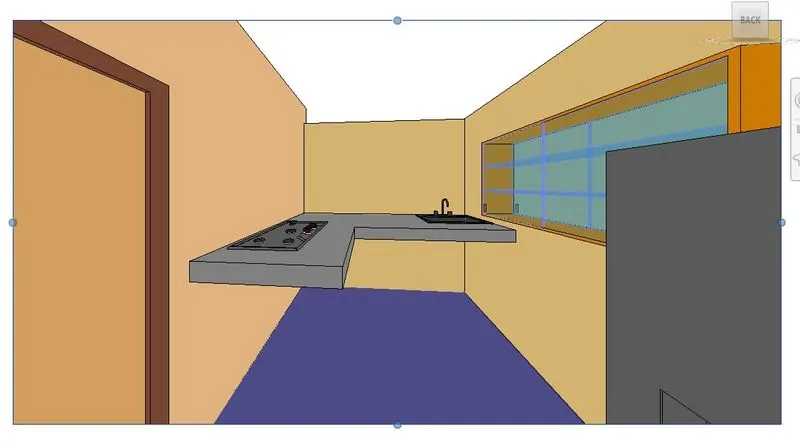
Kitchen :
Adding Gas Stove and Sink from the Speciality Equipment, Domestic, Mid range.
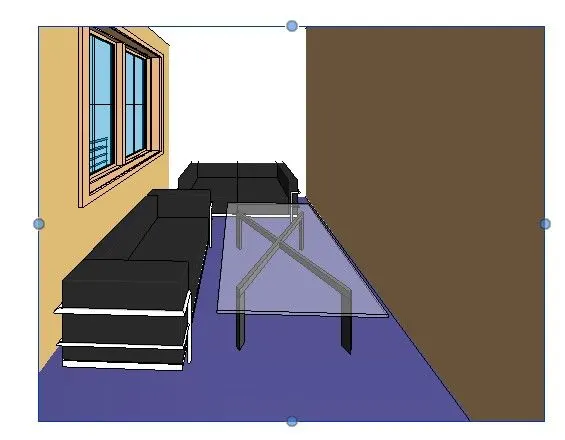
Guest Room:
Adding Sofa and Table from the Furniture .
Zim Area:
Adding Trademill and Lift Machine from Speciality Equipment.
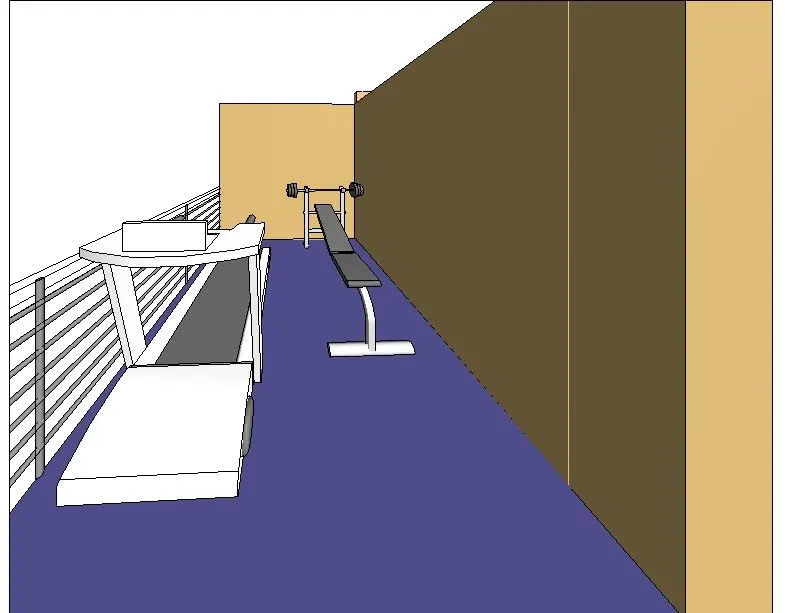
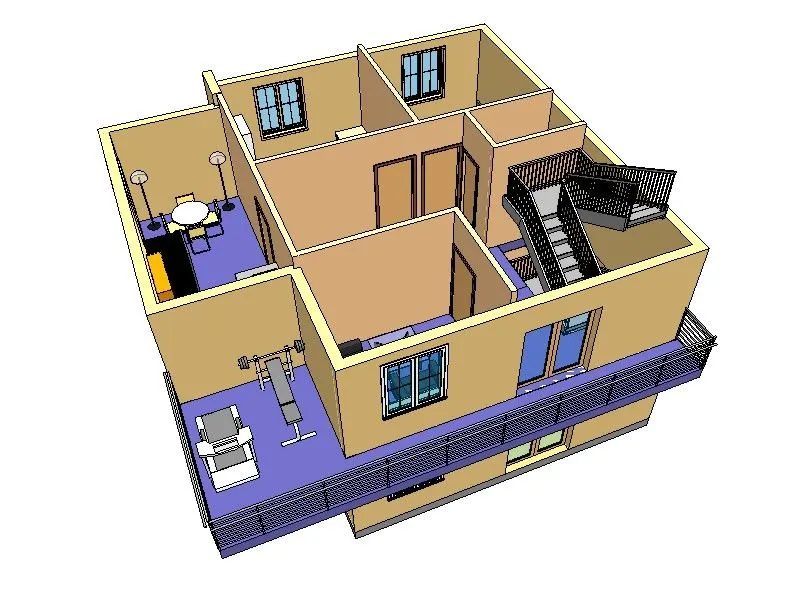
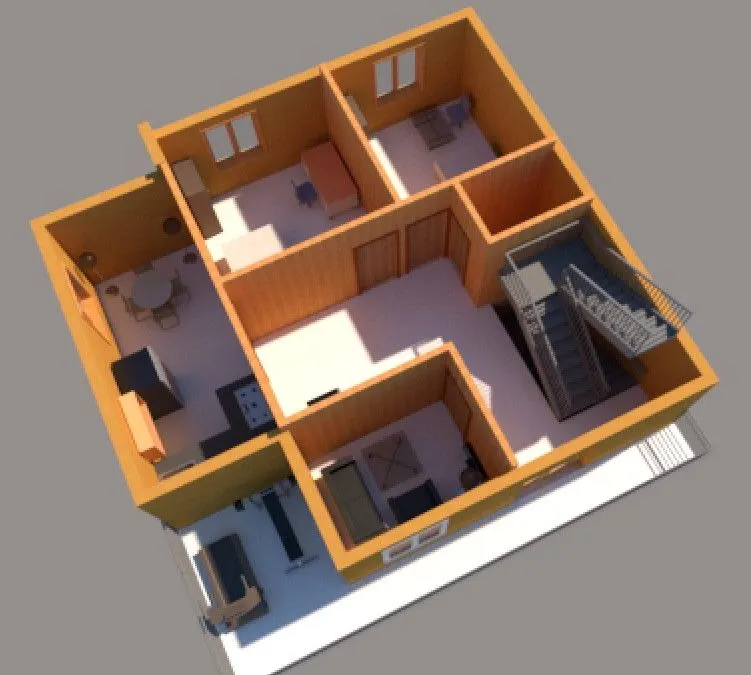
3D View
Hence We have created Walls, Partition walls and Floors for a residential layout using REVIT