Creating various 3D Models like Furniture, Footing, Girder, Column drop with panel and Gable Wall in AutoCad
Creating 3D models in AutoCAD involves using various commands to construct shapes and features accurately. Here’s a guide on how to model furniture, footing, girder, column drop with panel, and gable wall in AutoCAD.
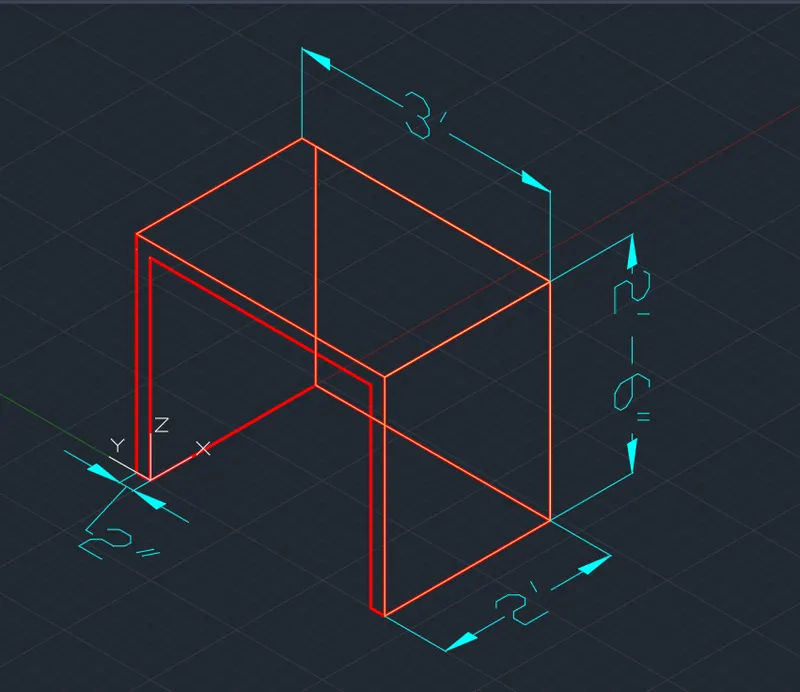
1. Modeling Furniture
Example: Simple Table
Create the Tabletop:
- Use the RECTANGLE command to draw the tabletop outline (e.g., 60" x 30").
- Use EXTRUDE to give it thickness (e.g., 1").
Create the Legs:
- Draw a square or rectangle for a leg (e.g., 3" x 3").
- Use EXTRUDE to the desired height (e.g., 28").
- Copy the leg using the COPY command to create four legs, positioning them at each corner.
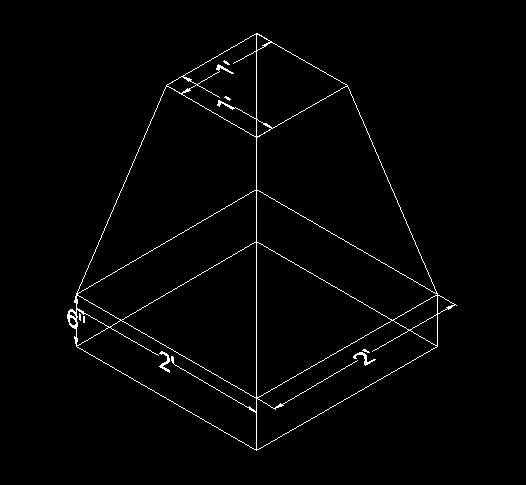
2. Modeling Footing
- Draw the Footing Base:
- Use the RECTANGLE command to outline the footing dimensions (e.g., 24" x 48").
- Use EXTRUDE to create depth (e.g., 12").
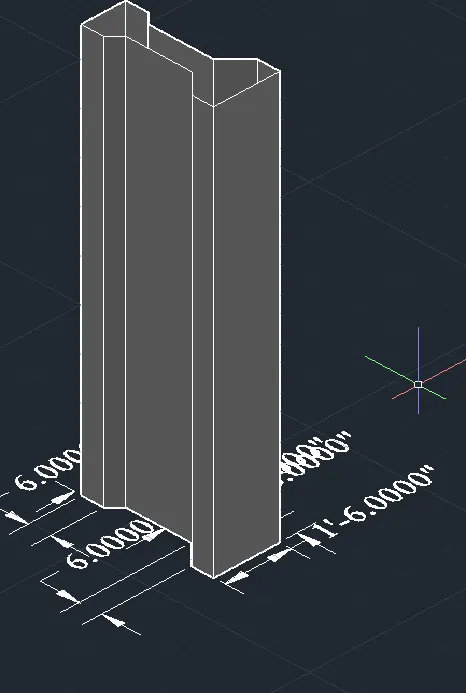
3. Modeling Girder
- Create the Girder Profile:
- Use the POLYLINE or RECTANGLE command to draw the cross-section of the girder (e.g., an I-beam shape).
- Use EXTRUDE to give it the desired length (e.g., 20').
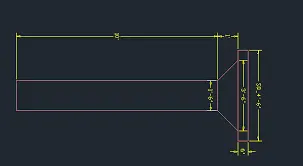
4. Modeling Column Drop with Panel
Create the Column Drop:
- Draw a rectangle for the column drop at the ceiling height.
- Use EXTRUDE to give it thickness and height.
Add Panels:
- For the panel, use the RECTANGLE command on one side of the column drop.
- Use EXTRUDE to create the panel thickness.
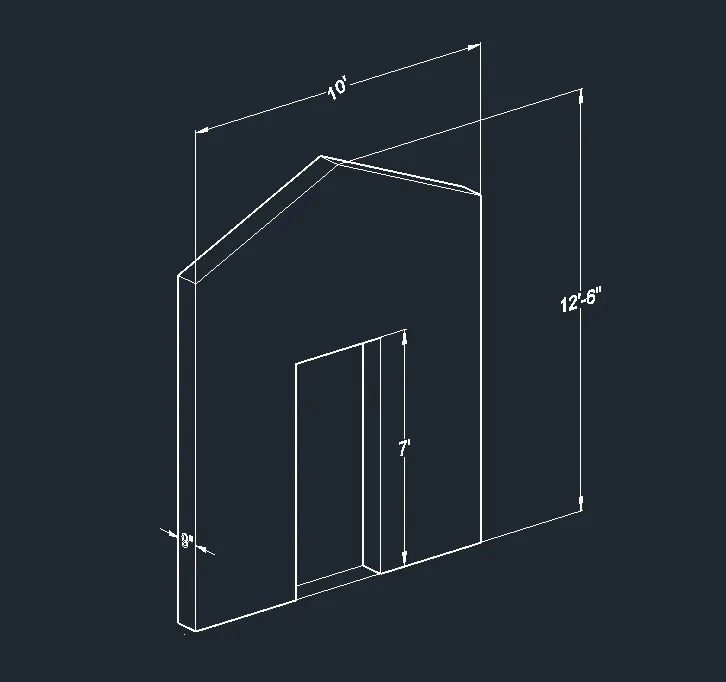
5. Modeling Gable Wall
Create the Base Wall:
- Use the RECTANGLE command to outline the base of the wall.
- Use EXTRUDE to give it height (e.g., 10').
Create the Gable:
- Use the LINE or POLYLINE command to define the gable shape (a triangle).
- Use the 3D POLYLINE command to connect the gable peak back to the wall edges.
- EXTRUDE the gable triangle to the same thickness as the wall.
General Tips
- Switch to 3D View: Use the VIEW command to switch between 2D and 3D views.
- Use UCS: Set your User Coordinate System (UCS) to work in different orientations.
- Modify with Commands: Use commands like MOVE, ROTATE, and SCALE to adjust your models.
- Layer Management: Keep your models organized by creating different layers for each type of object.
- Render for Visualization: Use the RENDER command to visualize your models with materials and lighting.
Finalizing Your Models
- Check Dimensions: Ensure all parts are dimensionally accurate.
- Group Elements: Use the GROUP command to group related objects for easier handling.
- Save Regularly: Save your work to avoid losing progress