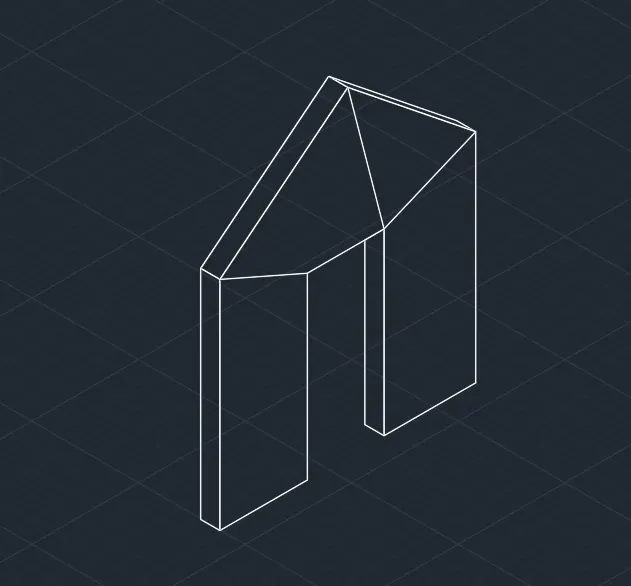
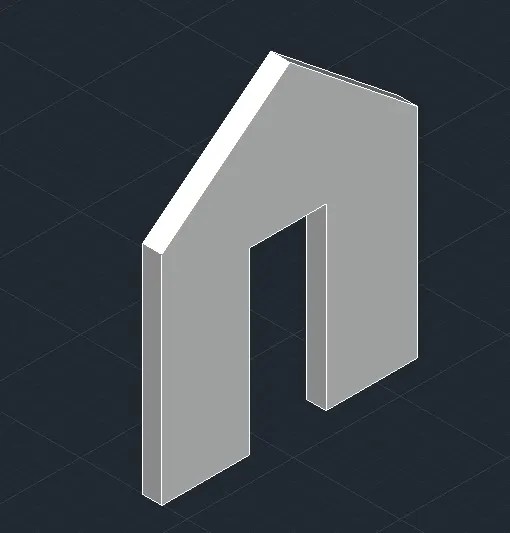
Creating various 3D Models like Furniture, Footing, Girder, Column drop with panel and Gable Wall in AutoCad
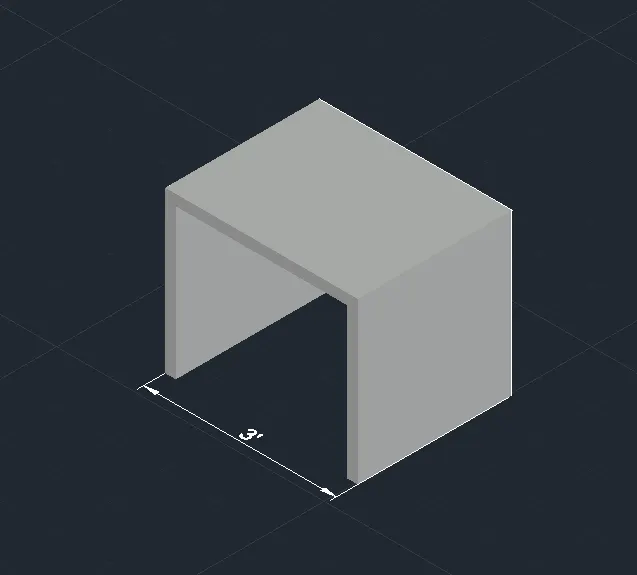
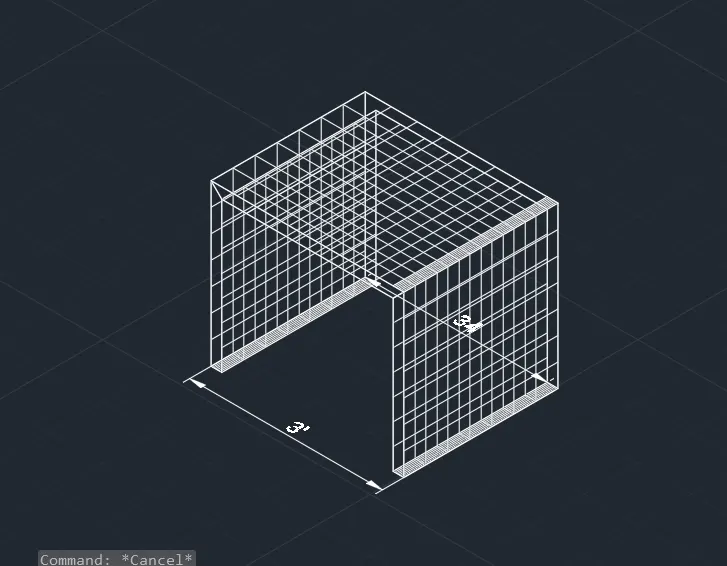
1. Create a 3D Furniture element as shown in the Figure. Assume dimensions which are missing.
Procedure - Open the Auto cad.
In the left corner click on the setting icon that is the icon of workspace.
select the 3D Modelling.Set units and limits.
Now enter Dim style in the command box and modify the setting and select as primary units as enginnering and give precision as 0'-0".
line command is used to draw the 3d object.
Draw a line 2'6" in z direction.
Draw a line 3' in Y direction.
Draw a line 2'6" in z direction.
Offset 2" as the thickness of the 3d object.
Assume the widthe of the object as 2'4".
Use face command and select the particular face .
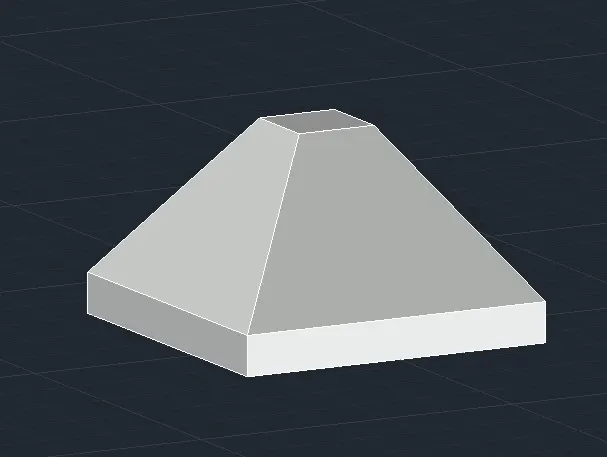
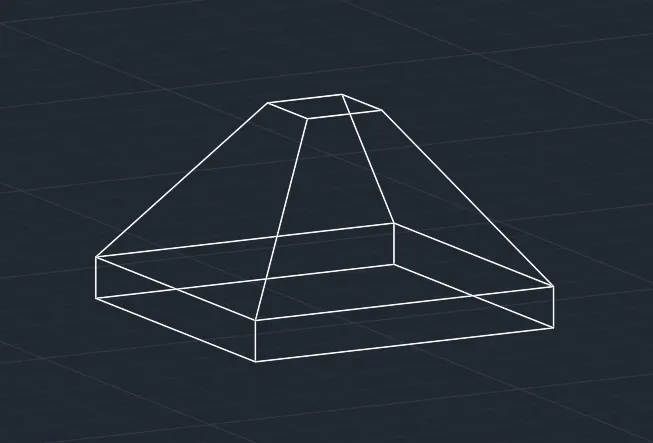
2. Create the 3d Model of an Isolated footing as shown in Figure.
Procedure - Open the Auto cad.
In the left corner click on the setting icon that is the icon of workspace.
select the 3D Modelling.Set units and limits.
Now enter Dim style in the command box and modify the setting and select as primary units as enginnering and give precision as 0'-0".
Draw a rectangle of 1' x1' in the 3d view.
Extrude the bigger rectangle to the height of 6".
Move the inner retangle at the height of 2'6".
Join the all the corner points.
Use the command 3d orbit to move the object in the derged mannerand join all the corner points.
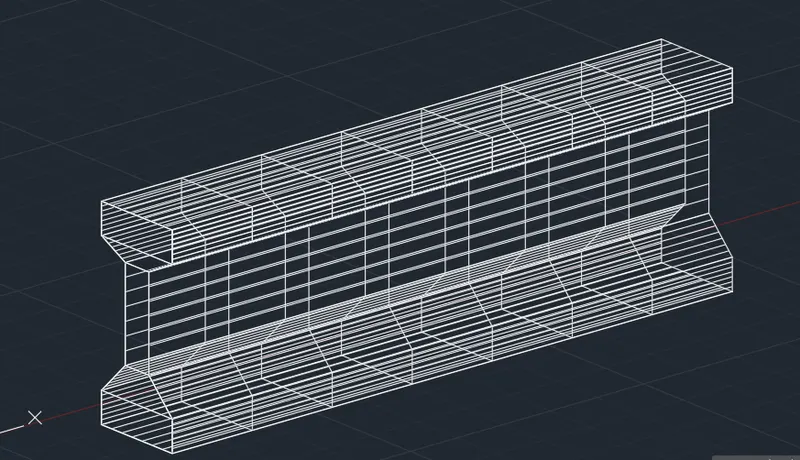
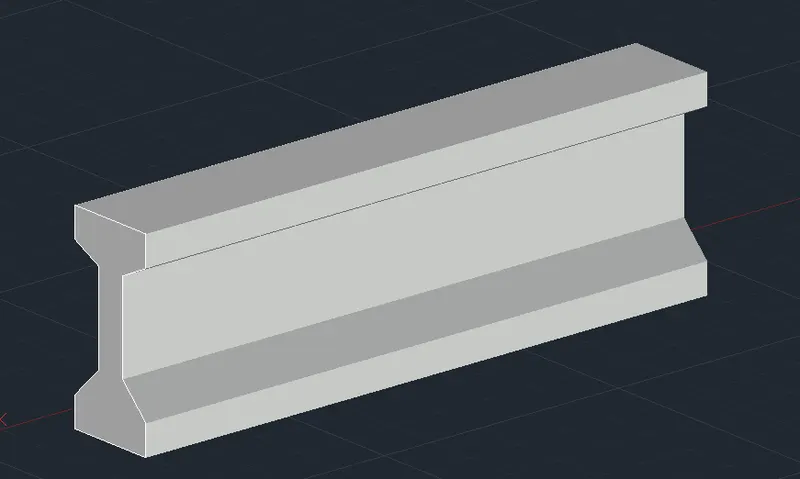
3. Create the 3D view of the AASTHO Type Girder.
Procedure - Open the Auto cad.
In the left corner click on the setting icon that is the icon of workspace.
select the 3D Modelling.Set units and limits.
Now enter Dim style in the command box and modify the setting and select as primary units as enginnering and give precision as 0'-0".
Create the frony view of the ashto type girder as shown in the 3d view by using the line command.
Extrude the object line in the 3d view.
Using the 3D orbit command and move the object as desired.
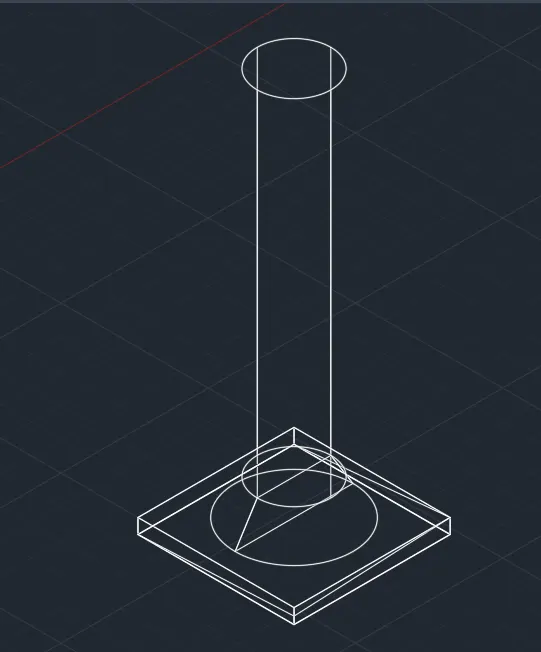
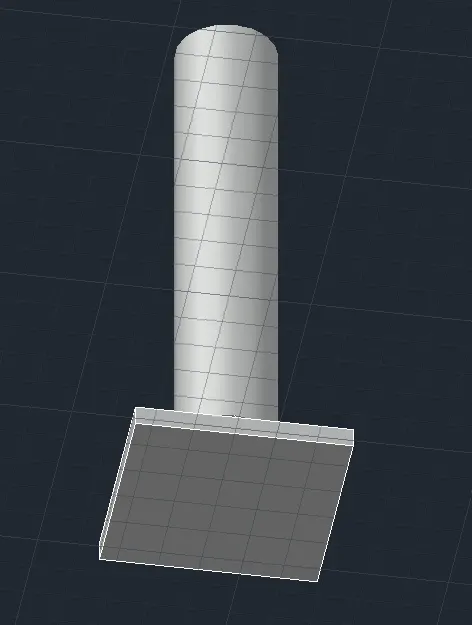
4. Create a 3d Model of a drop column with panel as shown in section and isometric view.
Procedure - Open the Auto cad.
In the left corner click on the setting icon that is the icon of workspace.
select the 3D Modelling.Set units and limits.
Now enter Dim style in the command box and modify the setting and select as primary units as enginnering and give precision as 0'-0".
draw a circle in the 3D mode of 1'6".
By using extrude in the ribbon 10' long.
Use the coomand cone and draw the cone of 3'6" and bottom side of 1"6" with height of 1'.
Again the draw the rectangle 4'6" and extrude it with the rhickness of 6".
by using 3do command move the objects and place it on one another as desired in the 3d figure.
Use 3d orbit command to align the figure.
5. Create the 3d model of a wall as shown in Figure. Consider wall thickness as 9”.
Procedure - Open the Auto cad.
In the left corner click on the setting icon that is the icon of workspace.
select the 3D Modelling.Set units and limits.
Now enter Dim style in the command box and modify the setting and select as primary units as enginnering and give precision as 0'-0".
Use the line command the draw the wall.
Draw a line of 10' in x direction.
Specify the centre of the line 1'.
Draw the line of 1'5" in both the direction with height of 7' to draw the door of the wall.