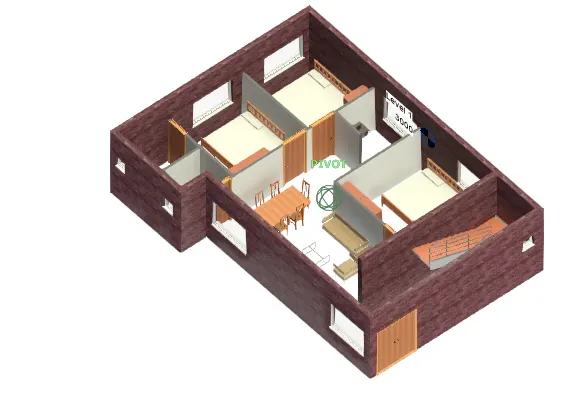
Creating Levels, Grids, Layout and model elements for a residential unit using REVIT
1) What is BIM? Summarize the features of BIM and benefits of using BIM over 2D CAD tools.
Ans -1) The BIM- BUILDING INFORMATION MODELLING is the software to design the building in each and every prespective including all the basic and advance requirements are to be considered and the modelling on the realstic model virtually .
2) It is highly collaborative software with Architect , Structural engineer , Electrical engineer, Hvac Specialist .
3) In Bim software the collaborative changes are informed and changes are made according to the rectification made .
4) The building information modelling allow us to modify rectify and identify the changes .
Features of BIM-
1)BIM allows us for planning of MEP step by step . and also represents the functional analysis of the buildng and detailed oriented project Information.
2)Every stake holder of the project makes disiplined specific input of the project .
3)BIM model represent the 3 d oriented geometric view of the projects .
4)BIM analyst can obtain right infromation at right time .
Benefits of using BIM over 2d CAD tools :-
*Three dimensional building information modelling provides numerous advantages over 2d cad tool .
*Three dimensional allows us to visulize the model in Three dimensional each and every detailed oriented components of the projects compared to 2d cad tools .
*it is easy to understand plan and the other functional design of the building compared to 2d cad tools only plans and placements are appropriate .
2) Understand the concept of Categories, Families, Elements, Instances in Revit. Go to Insert Tab, choose a category. Pick a family and element. Understand the instances and insert it to Revit model
Ans - The concept of Categories, Families, Elements, Instances in Revit aare used as per directives of the functional design of the building .
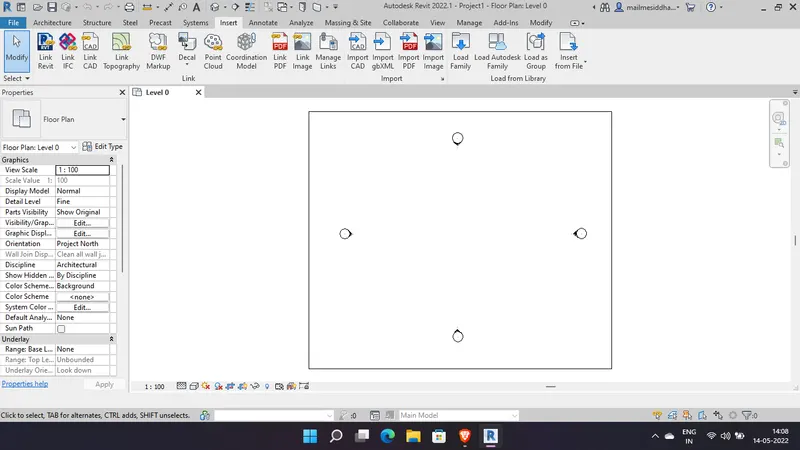
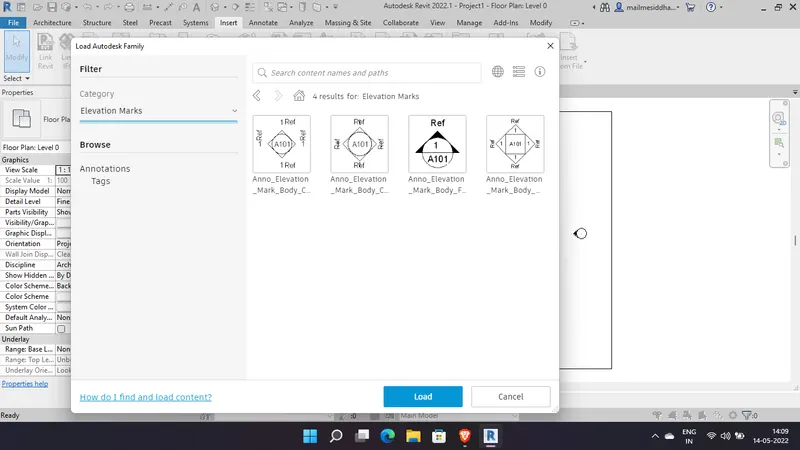
pick a family and elements
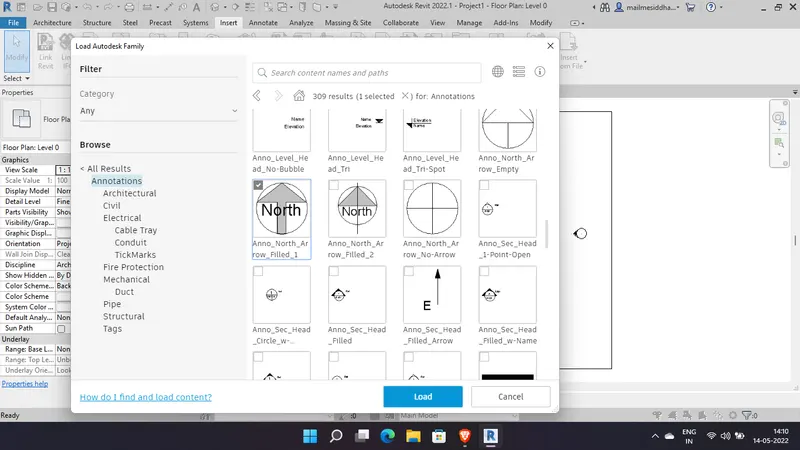
select annotation and load .
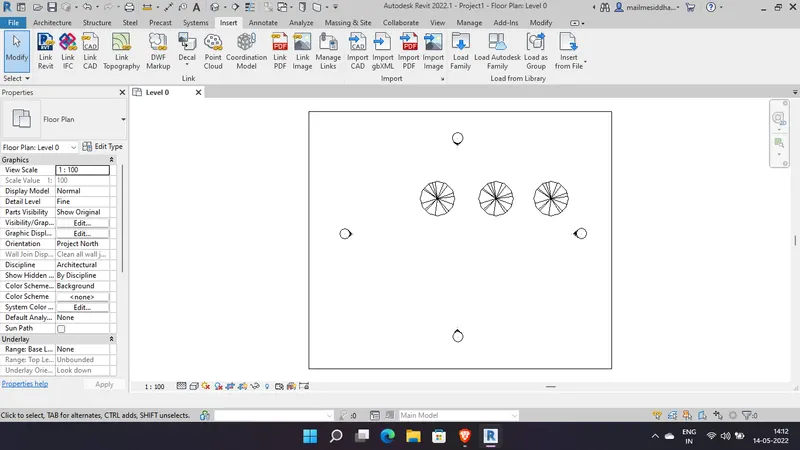
3) Setting up a Project – Open a project file with architectural template. Save the file with appropriate name. Set up the project units to Imperial / Metric based on your convenience of modelling. Complete the project information under Manage tab. Set up the maximum backups for project file to 3
ans - open project file with architectural template
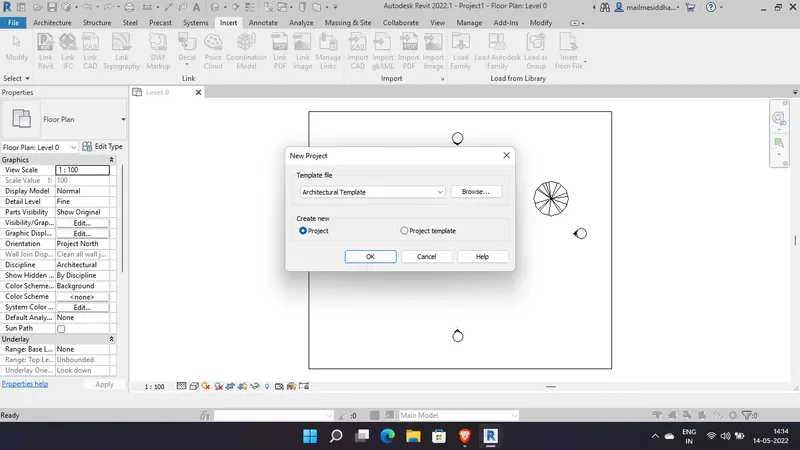
setup the project file to metric unit and start the project formstion .
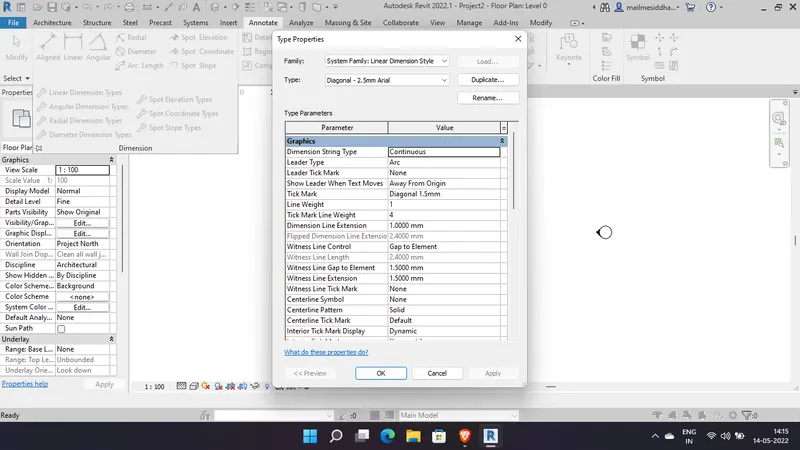
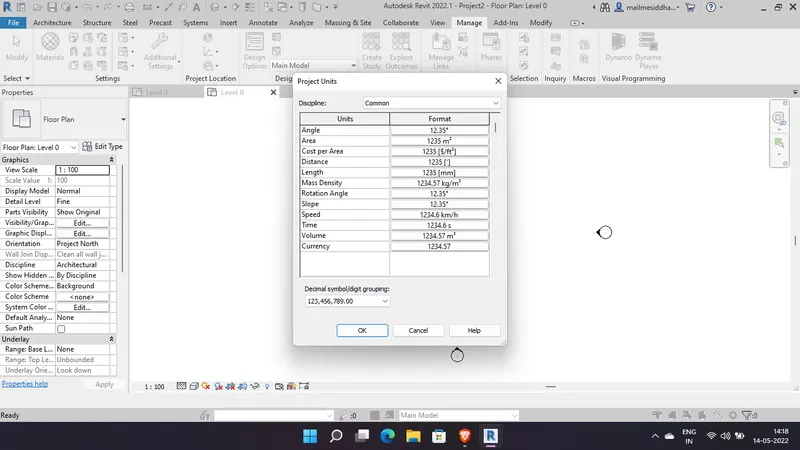
Creating backup under manage tab .
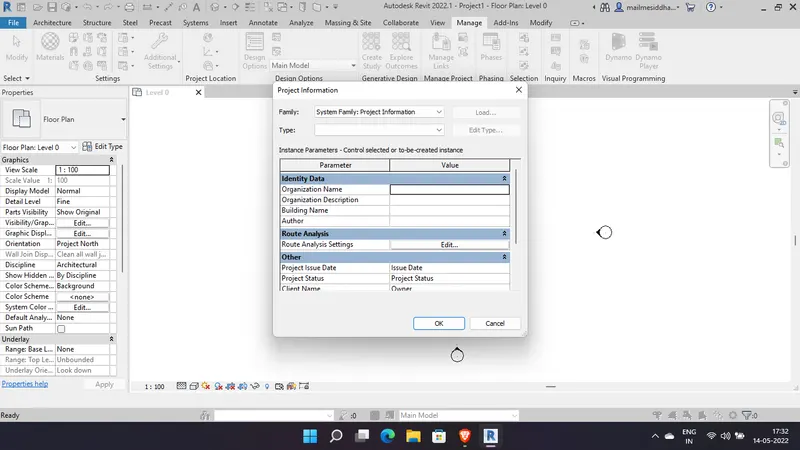
setting up the project in detailed manner .
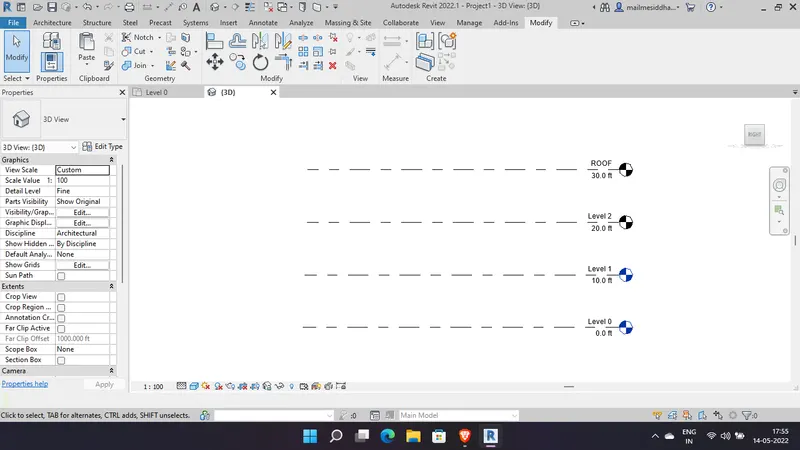
4) Understand the concept of Levels and Grids. Follow the naming and conventions. Create the following Levels: ( Convert to metric equivalents if metric is your units)
Ground Floor @ 0’
First Floor @ 10’
Second Floor @ 20’
Roof @ 30’
procedure
This allows you to determine whether grid lines appear in each new plan view that you create for a project. Grids can be straight lines, arcs or multi-segmented. You can hide grid lines after you add them.
Use the Grid tool to place column grid lines in the building design.
We can then add columns along the column grid lines.
As we start to construct our 3D model, we need some method of controlling the vertical height of our elements- be it floor heights, the base and top of columns, window cill heights, etc. This is where Levels come into play. In order to create an effective and efficient model, it is crucial that you understand the use of Levels. The correct use of Levels will ensure that your model can readily be adjusted with the minimum of effort.
PROCEDURE:- Step:-1
For creating the levels, first we select the levels in the project browse.
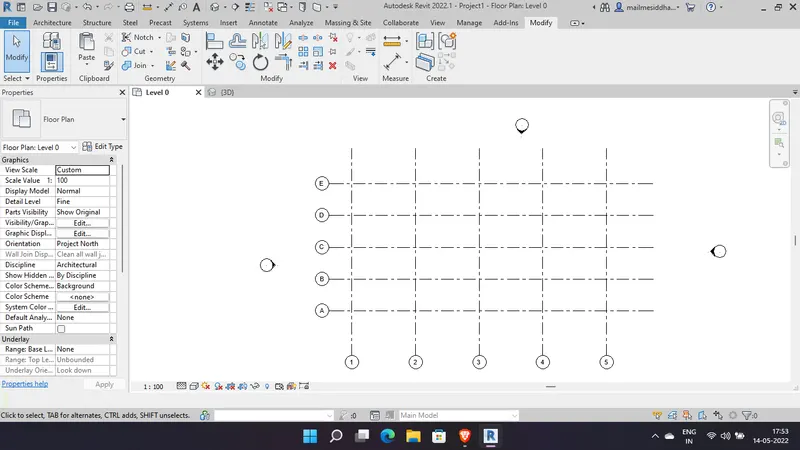
Creating Levels of the plan
5) 3D modelling of residential unit – From looking at your house / or a place you aspire. Create a conceptual layout of the residential unit. You can measure using a tape or
you can access your residential plan to create a similar layout.
Ans -
procedure -
3D modelling of residential unit – From looking at your house / or a place you aspire.
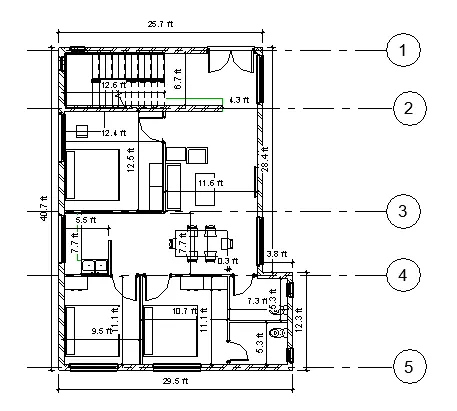
REALSTIC VIEW
6) In the layout created draft the level of details you are planning to include – Dimensions of room, components you plan to add in the residential unit.
7) Identify the residential model elements such as Door, Windows, Tables, Chair, Couch, Bed, Lamps from the library and insert them to the model . Save the project for use
for Assignment 3
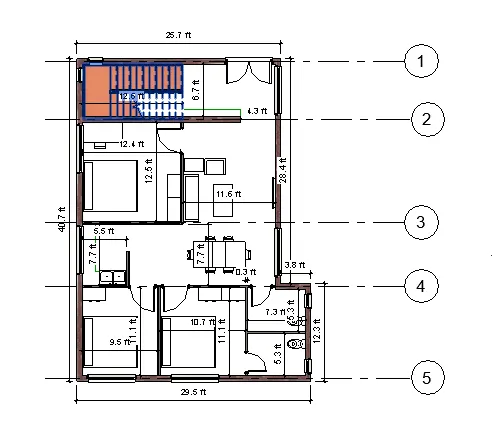
6) In the layout created draft the level of details you are planning to include – Dimensions of room, components you plan to add in the residential unit.
7) Identify the residential model elements such as Door, Windows, Tables, Chair, Couch, Bed, Lamps from the library and insert them to the model . Save the project for use
for Assignment 3