Creating Levels, Grids, Layout and model elements for a residential unit using REVIT
1)
What is BIM?
Building Information Modeling is a concept that was created or invoked by Autodesk. Autodesk Revit is a software or computation tool or modeling tool that helps in achieving BIM as a process.
Main Features of BIM:
- COORDINATION
- COMPUTATION
Coordination:
Autodesk Revit help to achieve coordination between multiple disciplines.
EX: Revit offers to help to do coordination across projects between the architect, mechanical engineer, and structural engineer how different disciplines can come to gather and work on a single project.
Computation:
In Revit, the BIM tool helps to perform computations such as material schedule, quantity schedule or to perform the energy elevation.
EX: Structural discipline works as Robo structural analysis that helps as computing the response to the loads that is applied to the building.
Benefits of using BIM over 2D CAD tools.
BIM creates the plan or layout in a 2D wireframe and at a time it creates the 3D drawing, for any correction or editing of the layout it directly changes in the 3D drawing, In the BIM tool we can save time and sketch the drawing accurately.
Revit helps to create error-free drawings as compared to 2D & 3D CAD tools. Revit has a huge database of components even minute details to the project can be added using the families & elements. Revit is highly focused on the structural design.
2)
AIM:
Understand the concept of Categories, Families, Elements, Instances in Revit:
The Families and categories are helping to add the details in the project space.
Categories:
A category is a group of elements that share common properties.
Families:
The group of elements that shares common properties.
Example: * Doors, Windows are Category
* Single flush & Double flush are Families.
* 30"X80", 32"X84" (Dimensions of Object) are Elements.
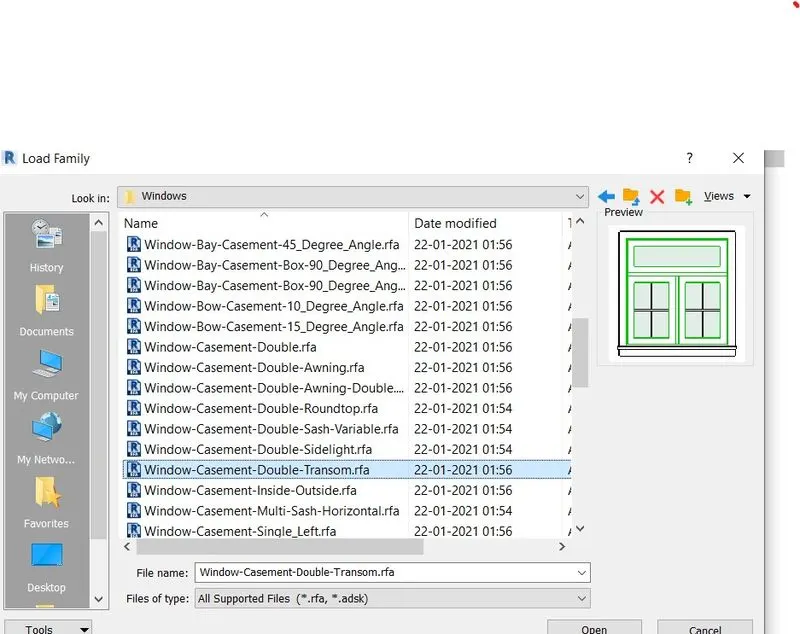
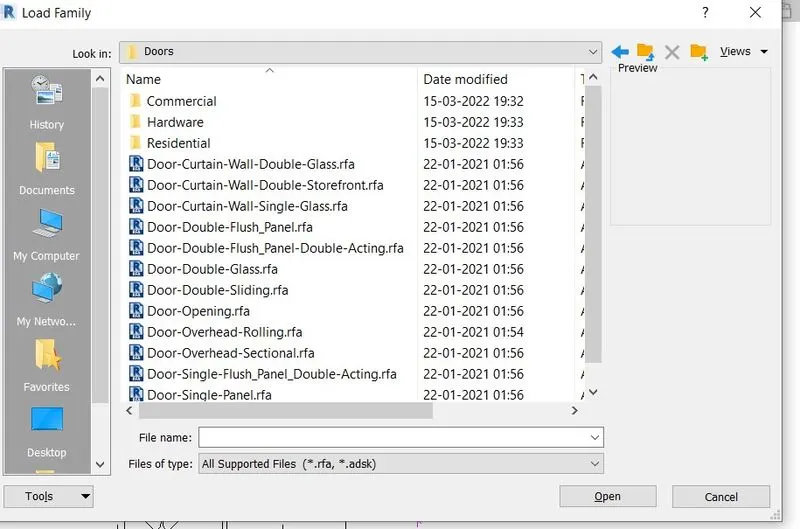
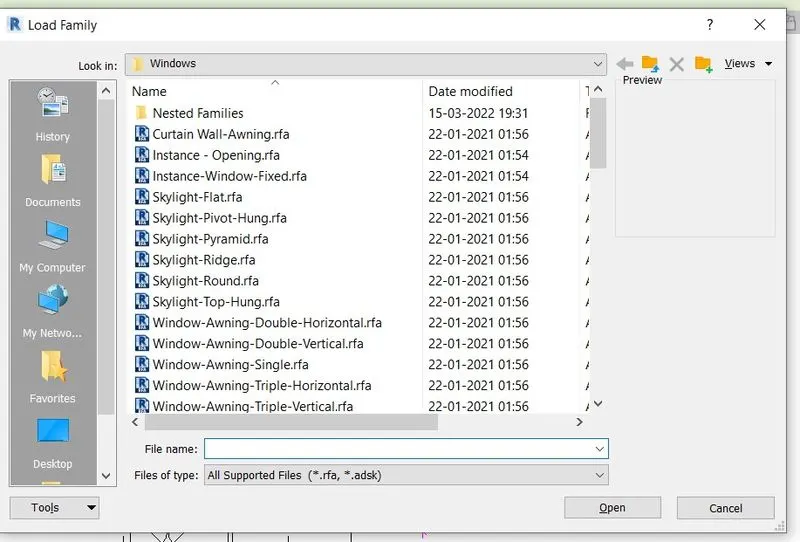
Loading the Families:
Select the Insert file Tab>
Click the Load Family in Load from the Library panel.
Select the Program data
Click on Autodesk
Click on RVT2022
Click on Libraries
Select Imperial
select the required Family folder
select the family
click on open>
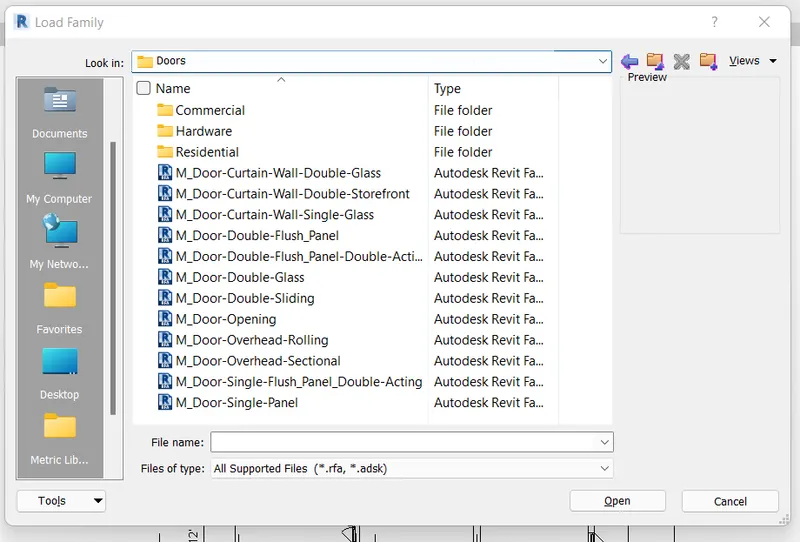
Loading the Door Families
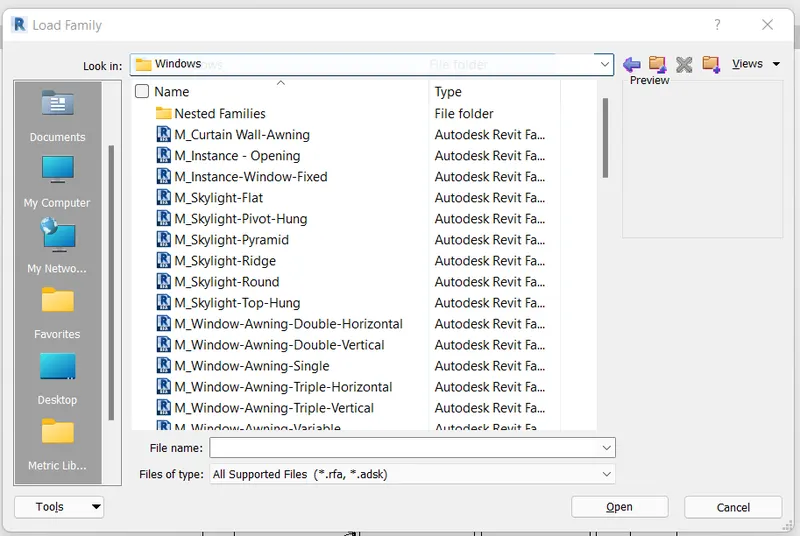
Loading the Window Families
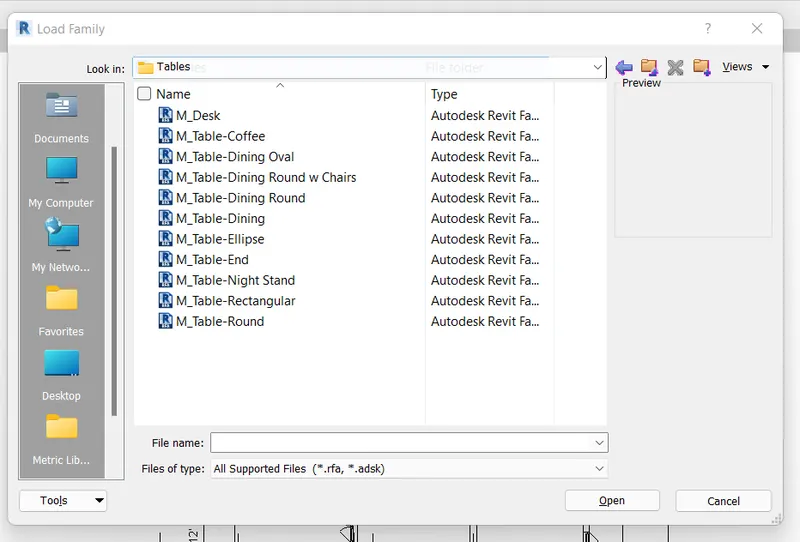
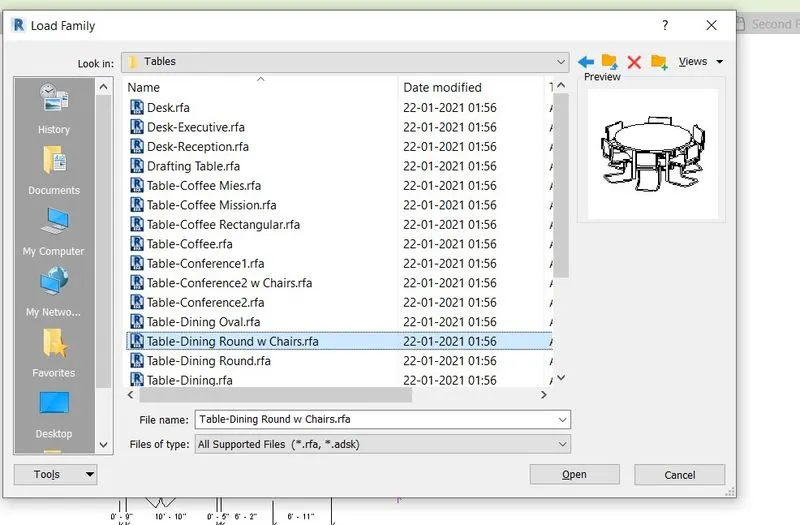
Loading the Tables Families
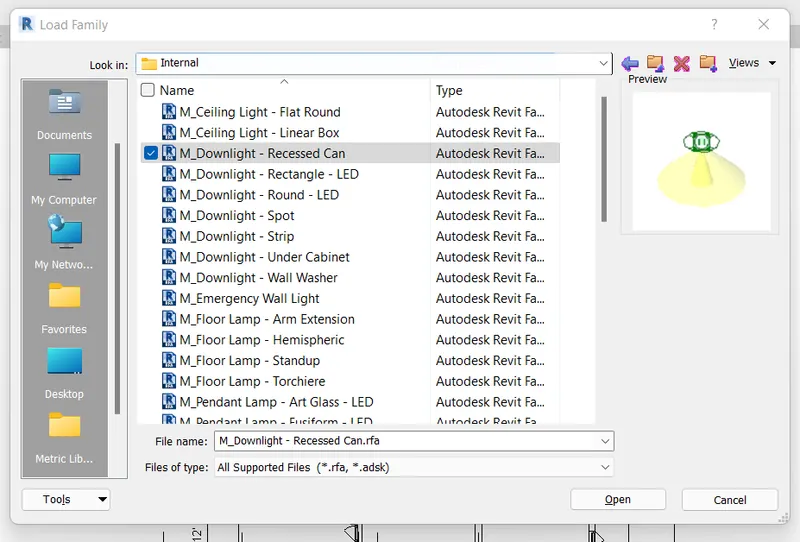
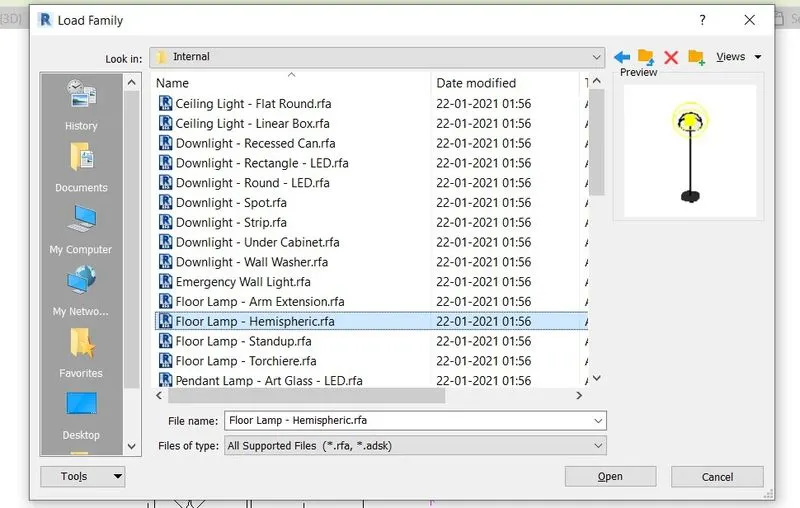
Loading the Internal light Families
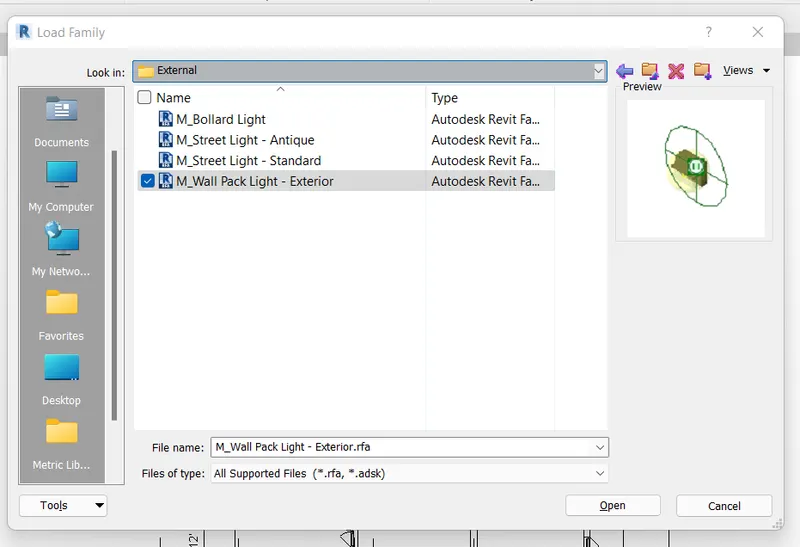
Loading the External light Families
RESULT:
Inserting the Various Families and Elements to the Revit, by invoking the Insert file tab.
3)
AIM:
Setting up a Project.
PROCEDURE:
Opening a project file with an architectural template:
* Open the Revit software
* Click New for creating the New project
* Select the Architectural Template in the Template file
*Save the file with an appropriate name:
* Save the project by clicking on the Save Icon at the top ribbon
* Name the project
* Click save option>
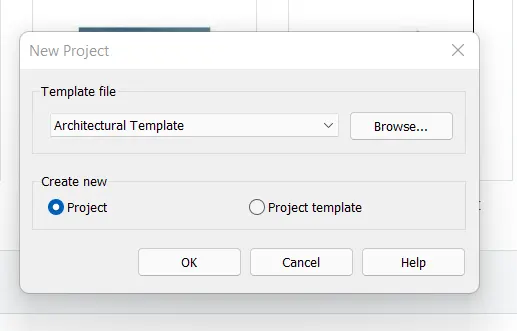
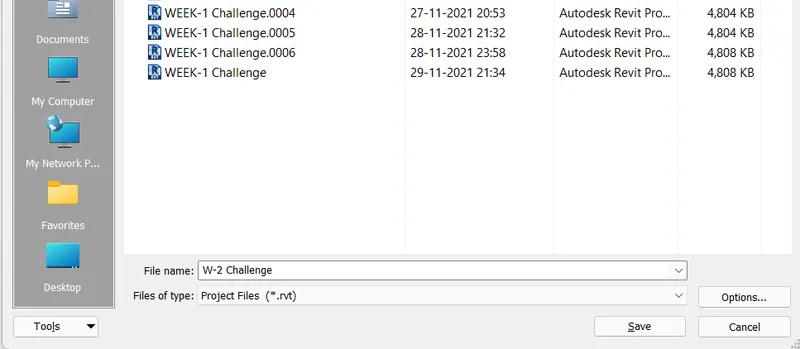
Architectural Template Saving the project
Set up the project units to Imperial / Metric based on your convenience of modeling:
For Invoking the UNITS tool:
- Type- UN
- Project Units dialogue box will appear
- Click on Length Format
- A FORMAT dialogue box will appear
- Select the Units formate: Feet and fractional inches (for Imperial)
- Similarly for changing the other units for Area, Volume, Angle, Slope, etc.,
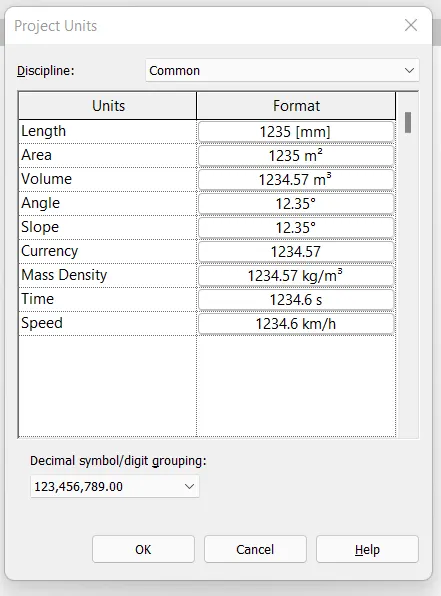
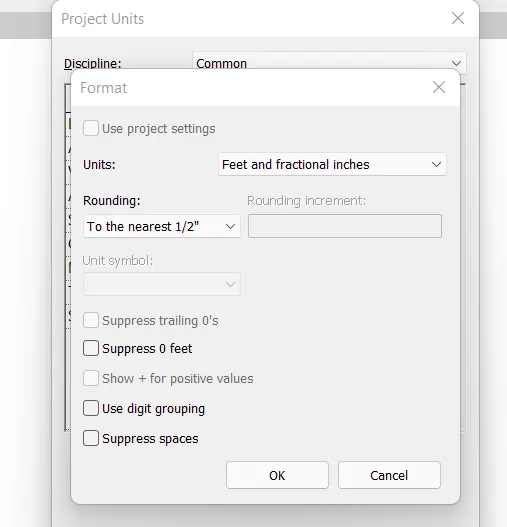
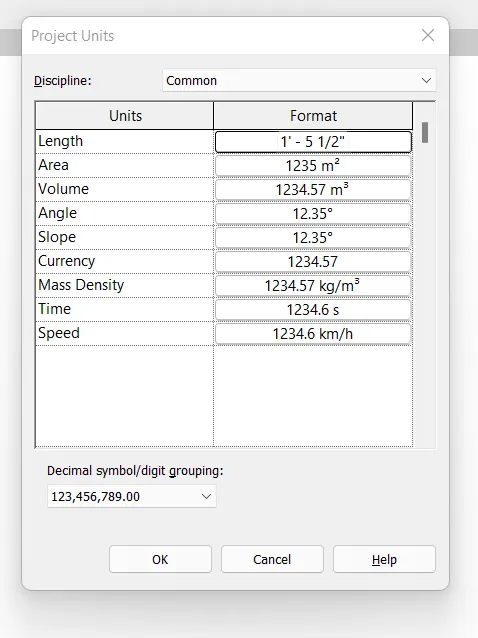
Before changing the units Units Format After changing the Units
Complete the project information under the Manage tab:
Invoking the Project Information
Select the MANAGE file Tab
Select the Project Information option in Project Setting
Fill the Data in their respective Parameters
Identity Data, Client data, etc.,
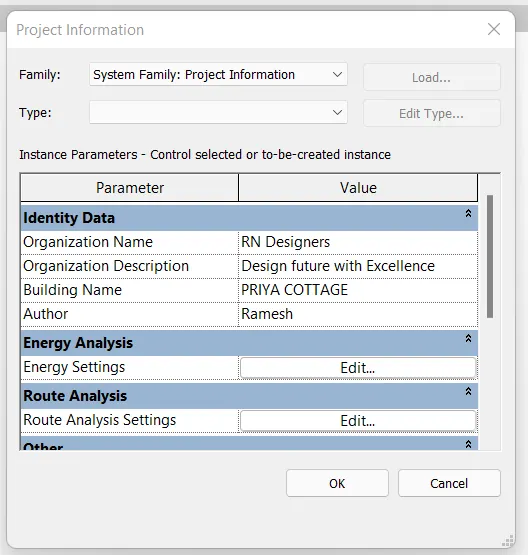
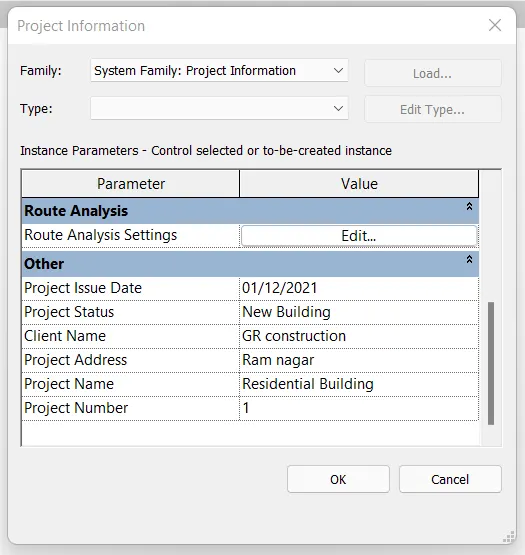
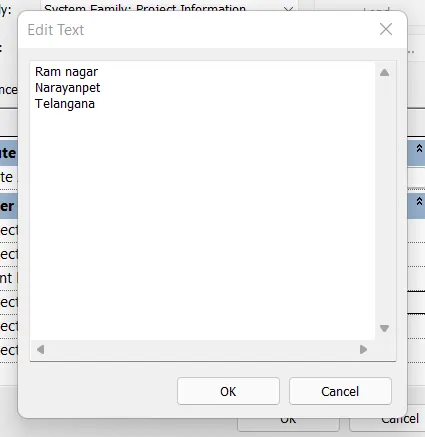
Identity Data Client Data Project address
RESULT:
Creating the New Project with all project settings, as set out the Units & Adding project Information.
4)
AIM:
Understand the concept of Levels and Grids, Create the Levels and Grids.
PROCEDURE:
Concept of Levels and Grids:
Levels and Grids are the infinite planes that help to define the defined project content.
Levels:
The levels are defined as to No of stories in the building.
The Revit creates Level-1 & Level-2 in Architectural and Structural templates
In the construction templates, Revit creates many Levels.
Creating the New Levels:
for inserting the New Level
Double Click on the East for Create the Elevation on the East side.
Select the LEVEL option in the Architecture File tab, Datum panel
Take the last created level for Reference and Define the Dimension of the Level.
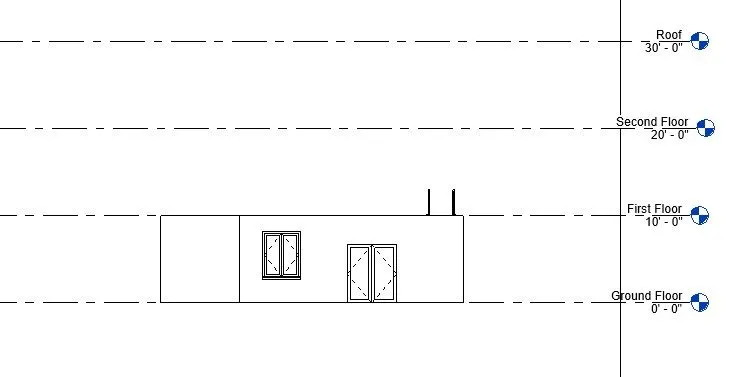
Grids:
Gridlines are helped to know the position of a column.
Gridlines are helped to understand the drawings.
Creatin the Gridlines:
Select the Gridline tool in the Datum panel of the Architectural file tab.
Click on the working space are.
Select the checkpoint for the direction of Grid representation.
similar to other grids.
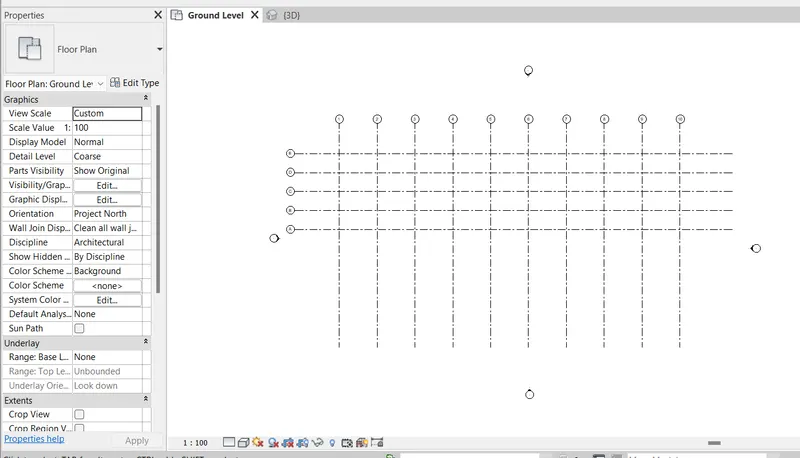
RESULT:
Gridlines and Levels are created by using the Level and Grid tools.
5)
AIM:
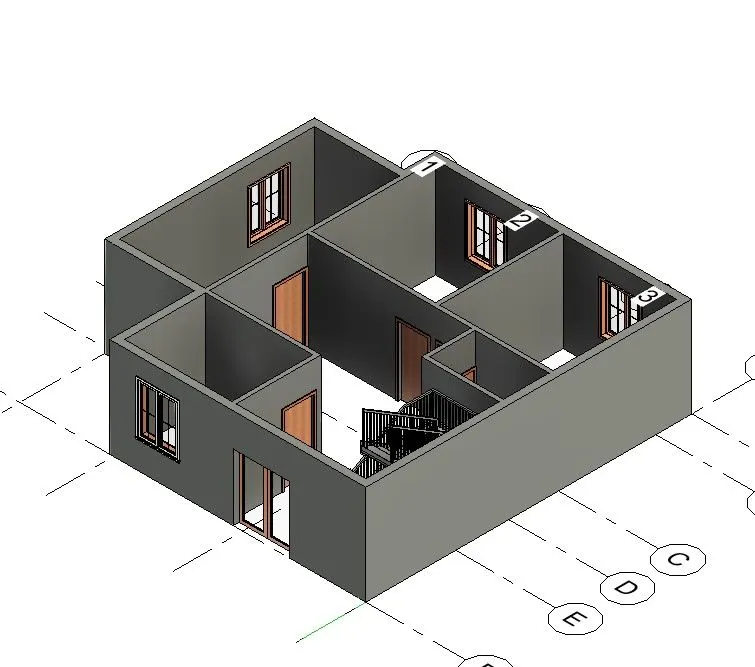
Creating a conceptual layout & 3D modeling of the residential unit.
PROCEDURE:
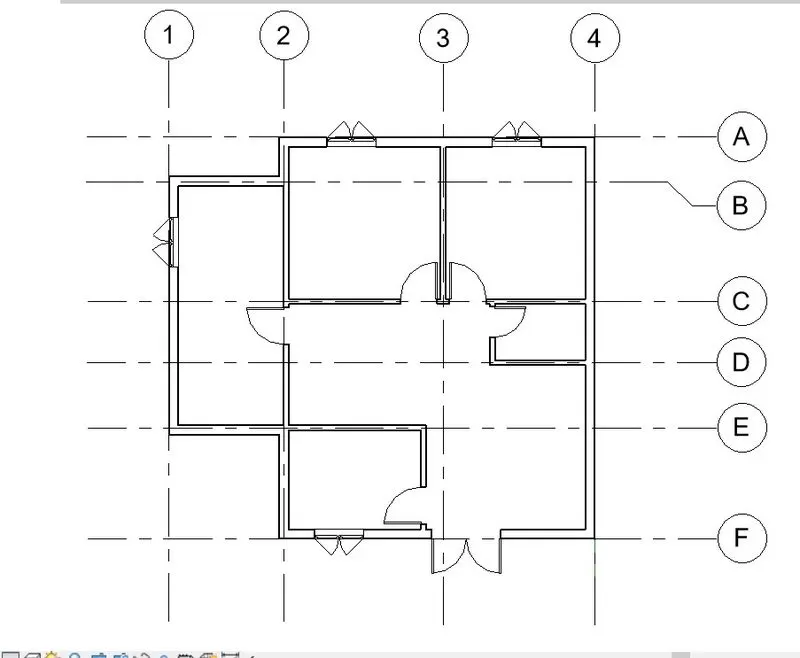
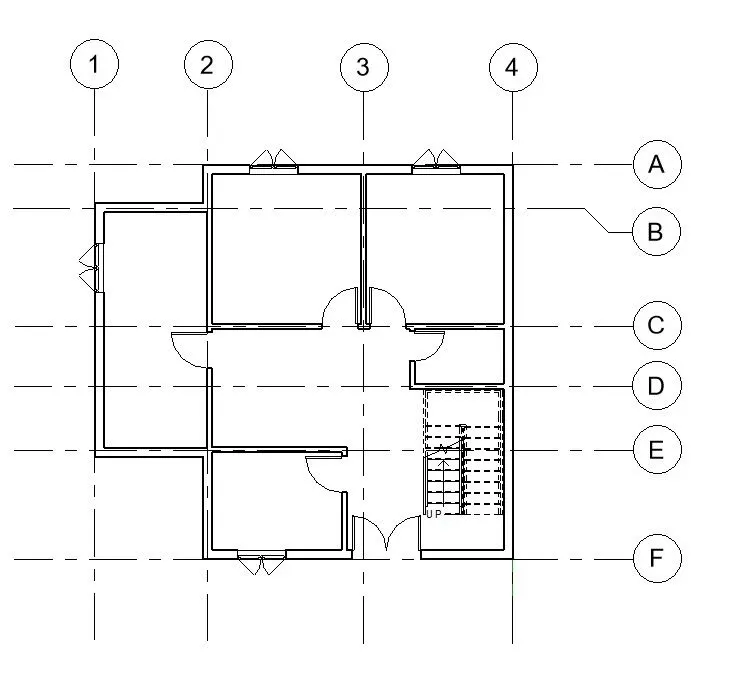
- Select the Wall tool from the Architectural file tab.
- Choose the Element of the Wall.
- Modify the option, as Height, location line, offset.
- Modify the Properties of the wall, as Base offset, Base constraints, Top constraint, etc.
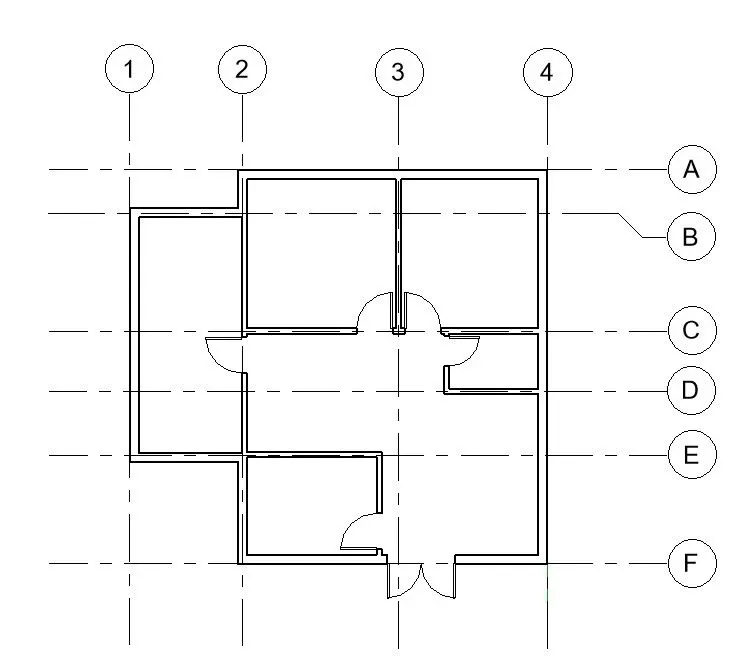
- Creating a layout by assuming the dimension of the layout.
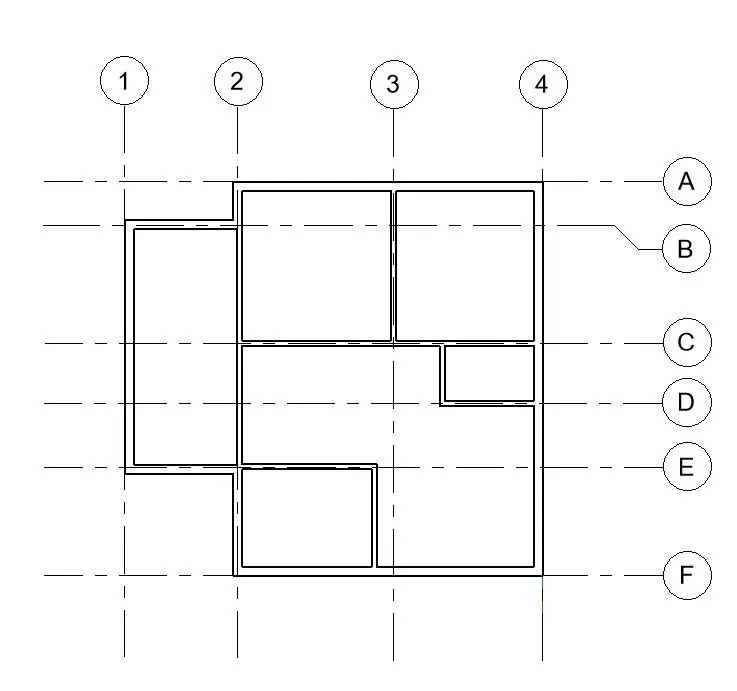
- Creating the Grids and Levels.
- Grids are placed center of the wall and given the annotation of the gridlines.
- Creating the Door opening.
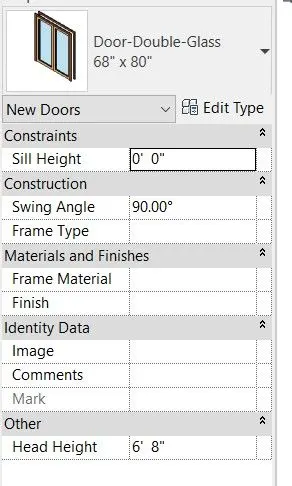
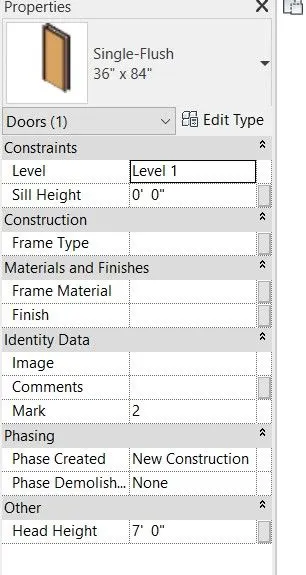
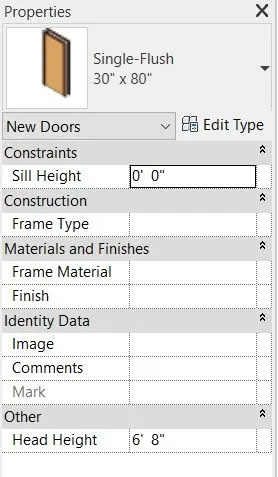
- Select the DOOR tool from the Architectural file tab .
- Choose the Door element for the required size of the door .
- Main Door was chosen as the Interior-Double-pocket-2_panel wood.
- Internal Doors was chosen as the Interior-Single_panel wood.
Inserting the Windows:
Select the window tool from the Architectural file tab
Choose the required element of the window
Choose the Double casement type
Inserted the window at require places.
Creating stair using stair tool.
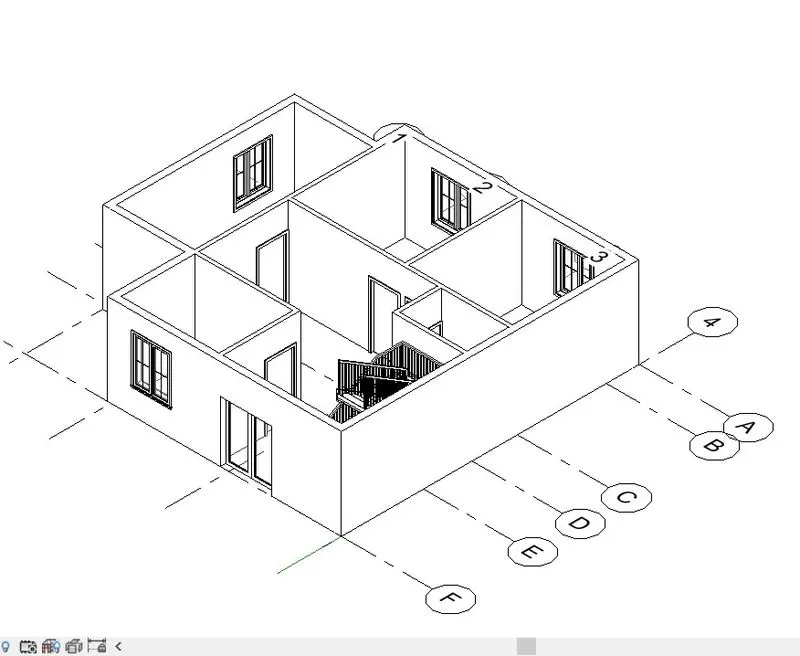
3D view of the Layout:
Select the 3D view option in the Project Browser.
Double click the 3D option.
The 3D view will be created
Another way for Invoking the 3D view
Click the Corner of the View Cube.
Result :
6)
AIM:
Creating the Levels and Dimensions of the Rooms in Residential Building.
PROCEDURE:
Creating the Levels for creating the multiple floors of the layout.
Invoking the level tool
Set the Elevation from the project browser
Select the Level tool from the Datum panel in the Architectural file tab
Create the Levels by plotting from the reference of the last created level.
Similar to creating the other Levels.
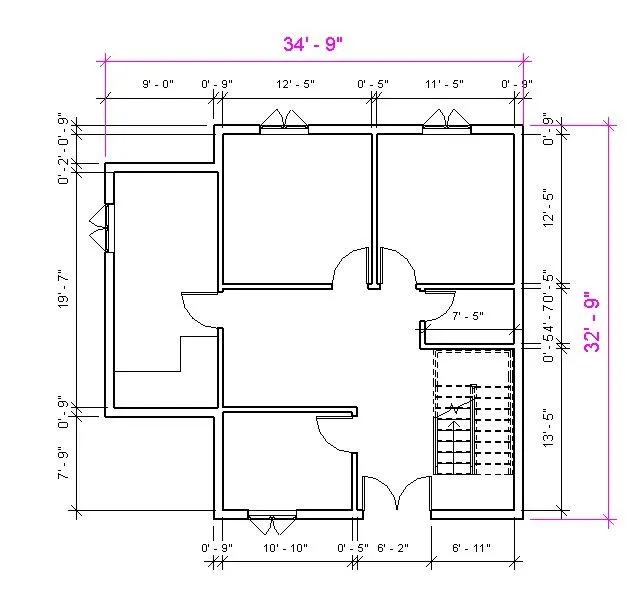
Dimensioning the Layout:
Select the Annotate file Tab
Choose the Aligned tool
An aligned tool is used for taking the dimension from the center to the center of the wall.
Plotting the dimensions of the layout.
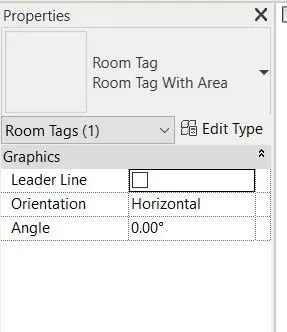
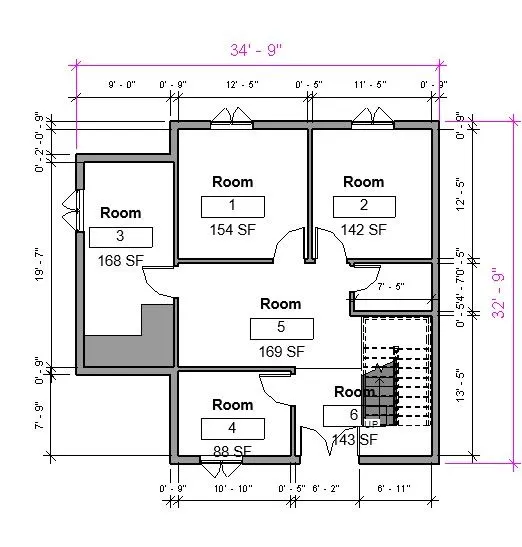
Creating the Area of the Rooms:
Open the Plan view of the building
Select the Area plan in the Area tool
Use Room Separator.
Result :
7)
AIM:
Identify the residential model elements such as Door, Windows, Tables, Chairs, Couch, Bed, Lamps from the library and insert them into the model.
PROCEDURE:
Inserting the Residential model elements.
Select the Insert file tab
Select the Program data
Click on Autodesk
Click on RVT2020
Click on Libraries
Select Indian/US metric/US Imperial
select the required Family folder
select the family
click on open>
For Invoking the Door Elements
Click the Door tool
Drag the Door types in Properties Column
Selec the Door Type and the size of the door.
Result :
Windows ;
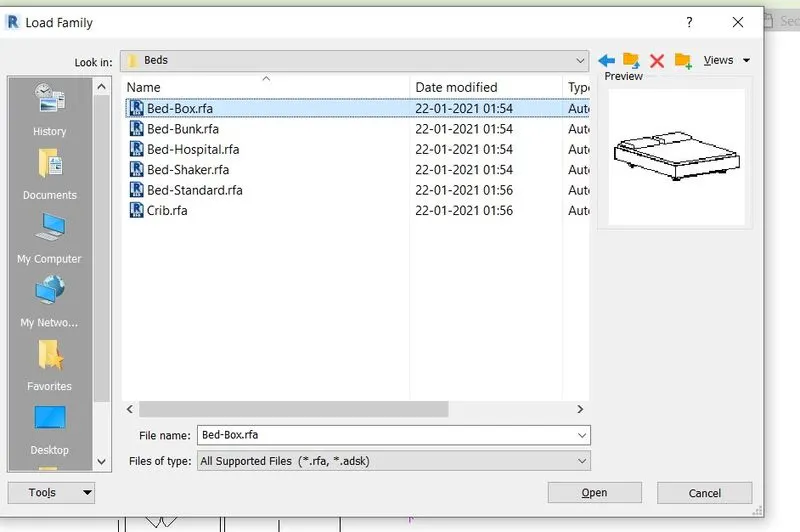
Bed;
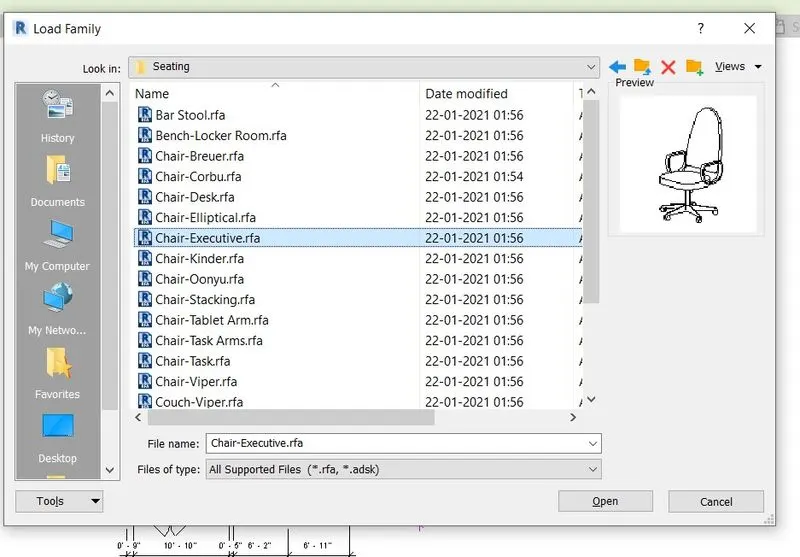
Chair;
Dining Tablr;
Lamps;
Hence we have created Levels, Grids, Layout and model elements for a residential unit using REVIT