Creating Bar Bending schedule, Different Door types, and Creation of standard drawing templates using AutoCad
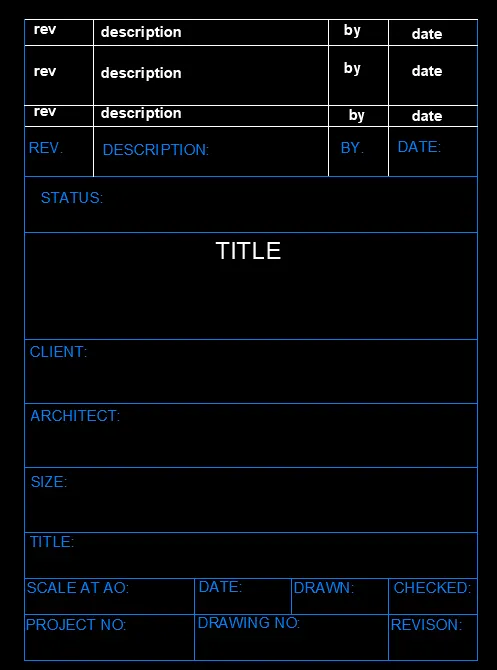
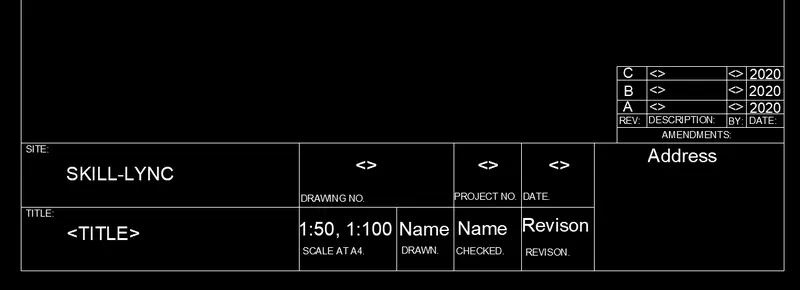
AIM :- Create the templates as shown in figures. By using text and attributes after creating template need to save as block with name: Custom1_titleblock and Custom2_titleblock respectively.
PROCEDURE :-
- The page is set for template is 210,297
- Table is created with the use of LINE command
- Dividing row & column are created by use of OFFSET command and MOVE & COPY command at required distance
- MTEXT command used for text
- Text height is 10mm & 5mm respectively
- Black color text style is bold for the showing
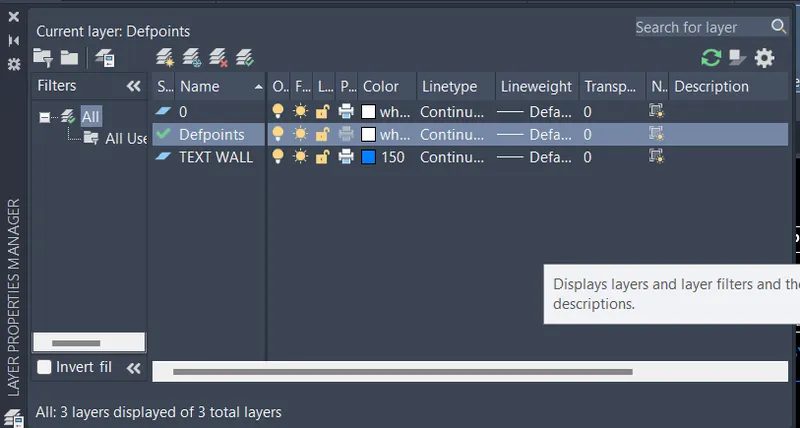
- After completing table make a layer for blue color line & text as shown
- After that use the layer where it required
- Now BLOCK in command prompt for making it as block
- Write name as Custom1_titleblock then save it & select the table.
- The page is set for template is 210,297
- Table is created with the use of LINE command
- Dividing row & column are created by use of OFFSET command and MOVE & COPY command at required distance
- MTEXT command used for text
- Text height is 10mm & 5mm respectively
- Black color text style is bold for the showing
- After completing table make a layer for blue color line & text as shown
- After that use the layer where it required
- Now BLOCK in command prompt for making it as block
- Write name as Custom2_titleblock then save it & select the table.
RESULT :-
- Template is created as shown in figure.
- Custom1_titleblock & Custom2_titleblock is saved as block.
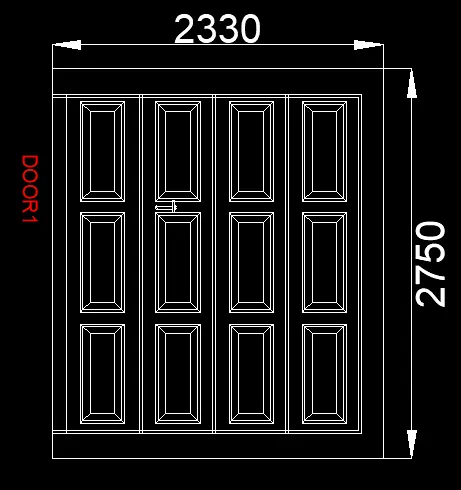
AIM :- To create the door type for warehouse as shown in figure. After creating them need to convert into block as name: DOOR1 & DOOR2 respectively.
PROCEDURE :-
- RECTANGLE in command prompt
- Specify first corner click at any point
- RECTANGLE command used for draw door1 at @2330,2750
- OFFSET bottom and top line at 200mm
- OFFSET right side line towards left at 150mm
- Now divide in 4 column at equal space
- OFFSET of 10mm on 4 column
- Now draw 4 rectangle same size same space
- OFFSET to suitable distance to show blocks of door
- COPY them at respective place where it requires
- DIMLINE command for dimensions
- MTEXT for texts
- BLOCK in command prompt
- Save it as DOOR1 in block
- RECTANGLE in command prompt
- Specify first corner click at any point
- RECTANGLE command used for draw door1 at @2330,2750
- OFFSET bottom and top line at 200mm
- OFFSET right side line towards left at 150mm
- Now divide in 4 column at equal space
- OFFSET of 10mm on 4 column
- OFFSET to suitable distance to show blocks of door
- DIMLINE command for dimensions
- MTEXT for texts
- BLOCK in command prompt
- Save it as DOOR2 in block
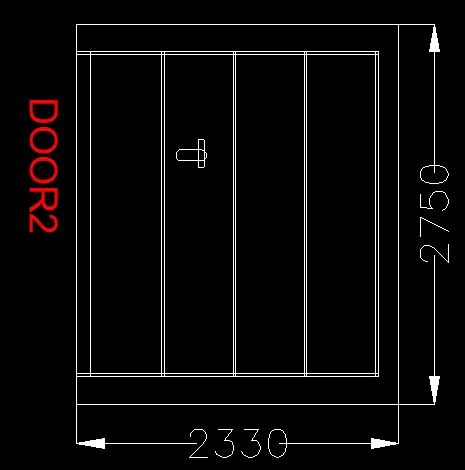
RESULT :-
- Created the door type of warehouse as shown in figure.
- DOOR1 & DOOR2 saved as block.
AIM :- To create each symbols as block. After creating as blocks arrange them in the legend as shown in the figure.
PROCEDURE :-
- Created a table by using LINE command
- MTEXT command used for text size of 20-30 mm respectively where size required
- First column symbol are created by use of LINE, CIRCLE, OFFSET & MIRROR command
- After creating them
- Saved as block each symbols by there name by using BLOCK command
- After that place it to 1st column by moving them
- In 2nd column to draw the symbol
- Used command for 2nd column symbol LINE, ARC, RECTANGLE & COPY
- After creating them
- Saved as block each symbols by there name by using BLOCK command
- After that place it to 2nd column by moving them
- For drawing 3rd column symbol
- Used command LINE,MTEXT & CIRCLE, POLYGON
- After creating them
- Saved as block each symbols by there name by using BLOCK command
- After that place it to 3rd column by moving them
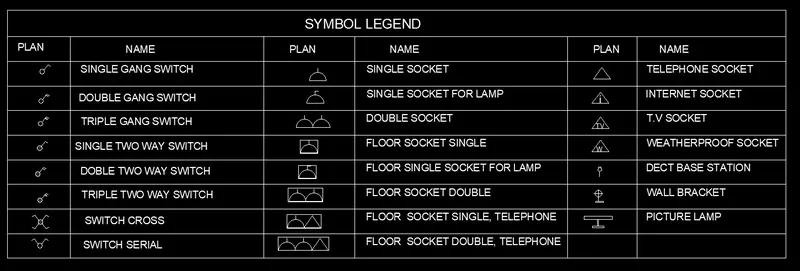
RESULT :-
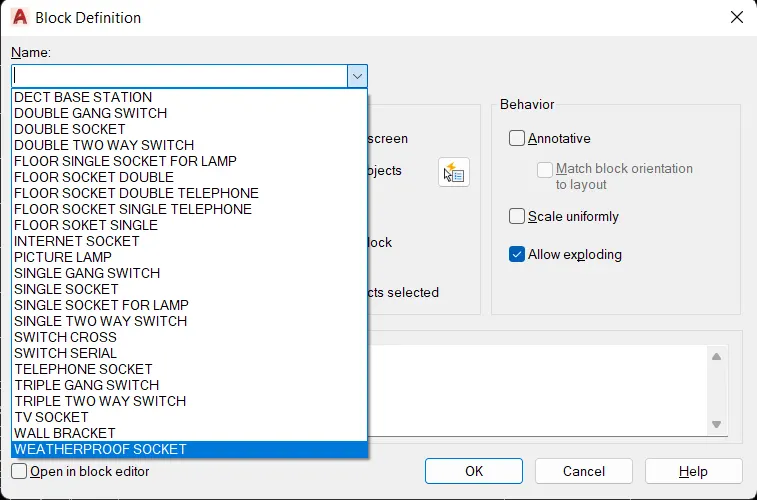
- All symbols are created as block individually.
- Placed in table with clearly.
- After creating arranged in well manner which shows in figure.
AIM :- To create the door type for residential building as a block. Save there name of the blocks as type.
PROCEDURE :-
D1
- D1 is drawn simply by using LINE command
- With the given dimension respectively
- Then OFFSET at some distance for D1
- Draw locker of door by use of LINE command
- MTEXT used for text
- DIMLINE used for dimensions
D2
- D2 is drawn simply by using LINE command
- With the given dimension respectively
- Then OFFSET at some distance for D2
- Draw a CIRCLE at center of door at suitable size
- Draw RECTANGLE at suitable size
- MTEXT used for text
- DIMLINE used for dimensions
D3
- D3 is drawn simply by using LINE command
- With the given dimension respectively
- Then OFFSET at some distance for D3
- Draw RECTANGLE at suitable size
- OFFSET of rectangle assumed size
- Fill the small rectangle by using HATCH command
- MTEXT used for text
- DIMLINE used for dimensions
D4
- D4 is drawn by the coping from D2 by using COPY command
- CIRCLE command used for arc shape door
- After drawing circle unwanted line are trimmed
- Made some changes what requires for D4
D5
- D5 is drawn by the coping from D2 by using COPY command
- Made some changes what requires for D5
- DIMLINE used for dimensions
D6
- D6 is drawn by the coping from D4 by using COPY command
- CIRCLE command used for arc shape door
- After drawing circle unwanted line are trimmed
- Made some changes what requires for D4
After creating D1-D6 save them as block separately as name D1-D6 respectively.
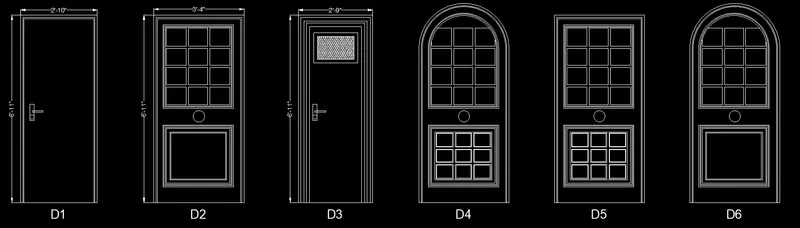
RESULT :-
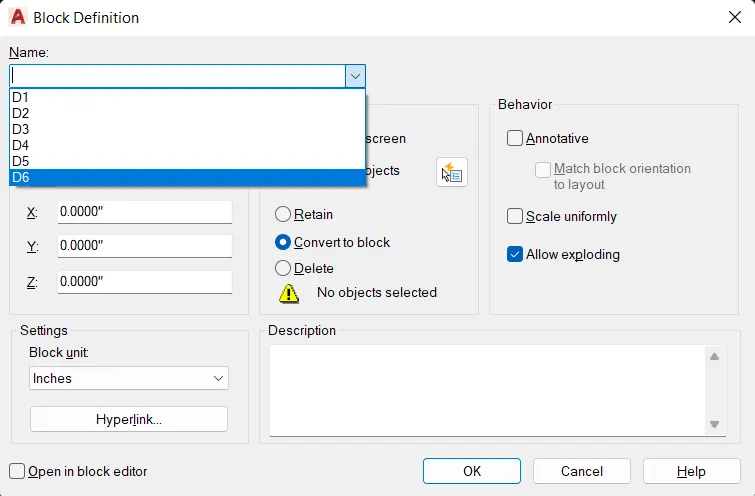
- D1-D6 are created for residential building as shown in figure.
- After creating saved as block by name D1-D6.
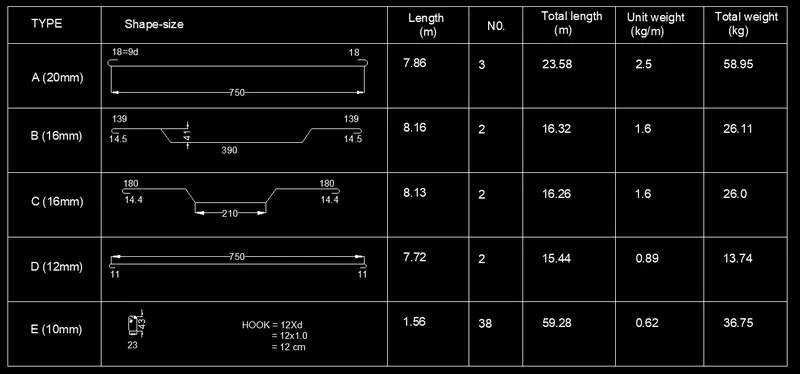
AIM :- Create each shape as block as shown in figure. Save them as block name as type shown.
PROCEDURE :-
- Table are created with the LINE command use
- After creating table use MTEXT command to write text as proper distance and height
- All shape are create by using LINE command & FILLET command
- DIMLINE command used to show dimensions
- MTEXT command used for texts
- After creating each shape convert each shape individually into block by name
RESULT :-
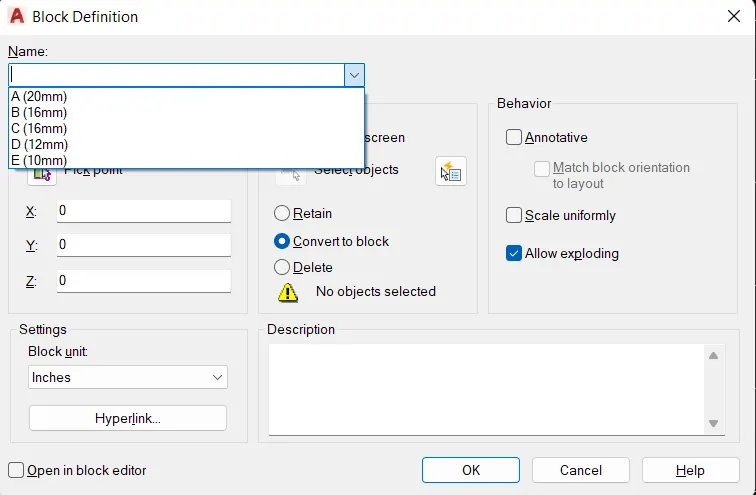
- Each shape is created in block.
- Each shape is placed in table at proper distance. As shown in figure.