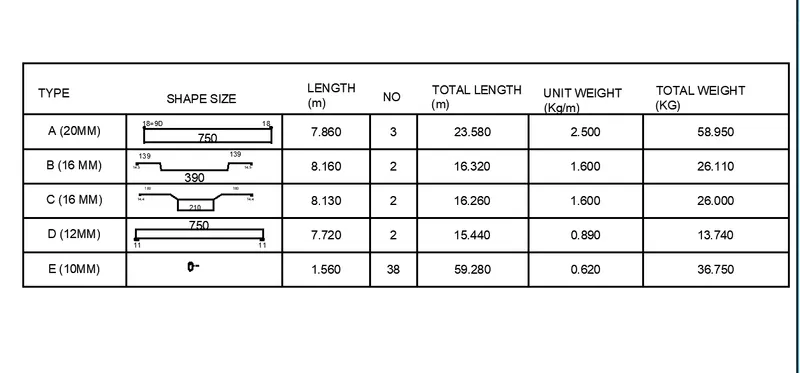
Creating Bar Bending schedule, Different Door types, and Creation of standard drawing templates using AutoCad
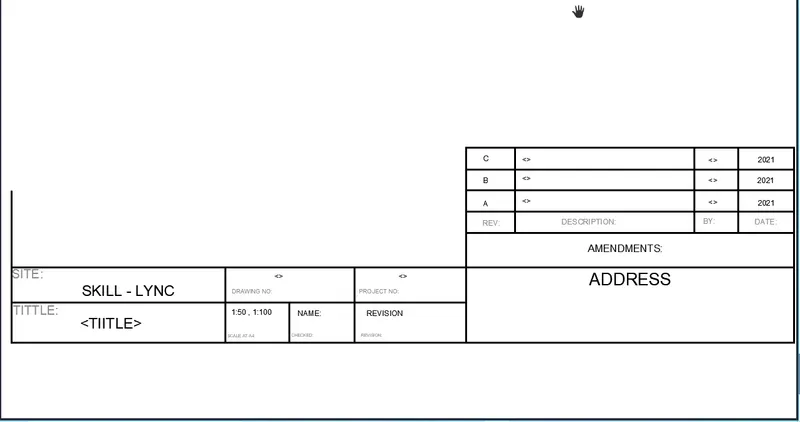
1. Create the templates as shown in Figures. Take the size of the title block as per industry standards or you can assume it as per the size of the paper. Use text and attributes wherever required. After creating the title block you need to save it as a block with names: Custom1_titleblock and Custom2_titleblock, respectively.
AIM :
To create custom1_tittle block and custom2_tittle block using attributes and block command from auto cad software.
PROCEDURE :
step 1:(custom1_tittle block)
- in the command type L to darw the lines
- in the ribbon type>annotate>mtline(to draft the text)
- go to properties tab to change the colour
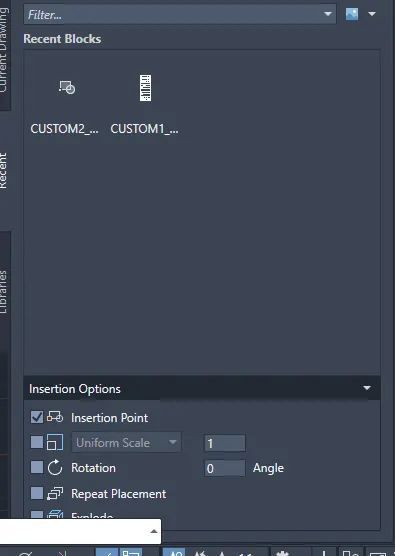
- in the ribbon bar>block>create block and name it custom1_tiitle block, therefore block is created
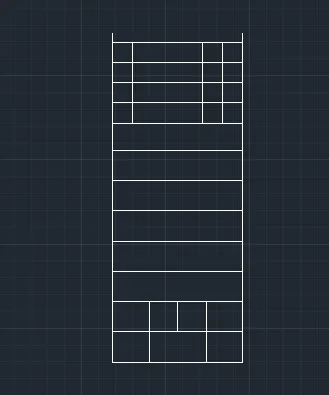
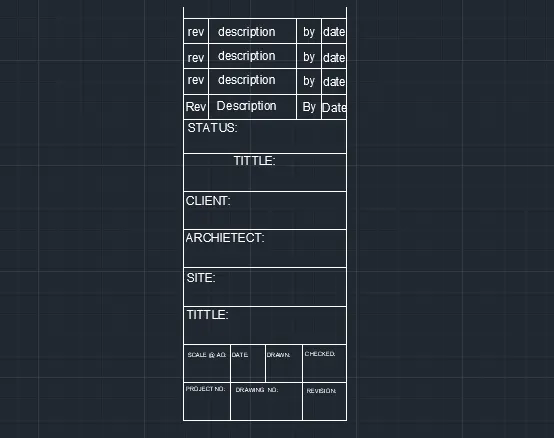
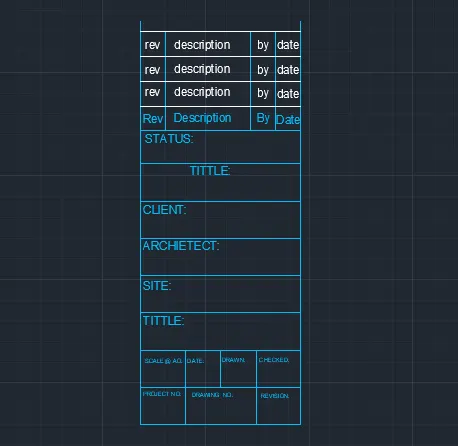
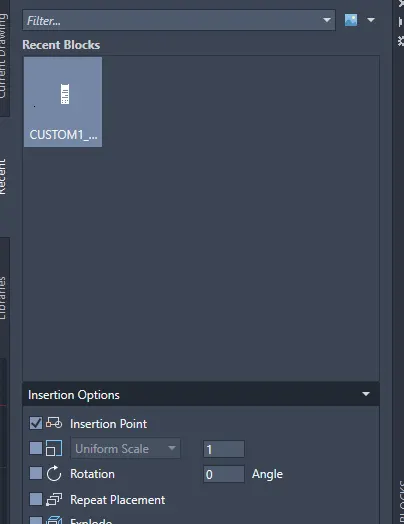
Custom1_tittle box result:
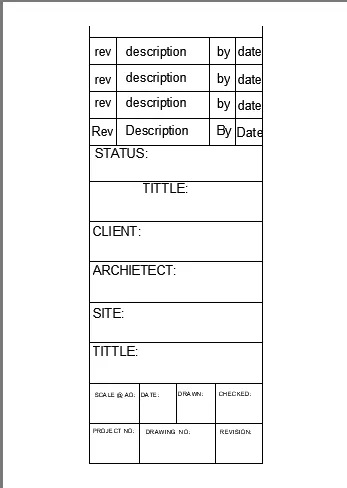
step 2: (custom2_tittle block)
- in the command type L to darw the lines
- in the ribbon type>annotate>mtline(to draft the text)
- go to properties tab to change the colour
- in the ribbon bar>block>create block and name it custom2_tiitle block, therefore block is created.
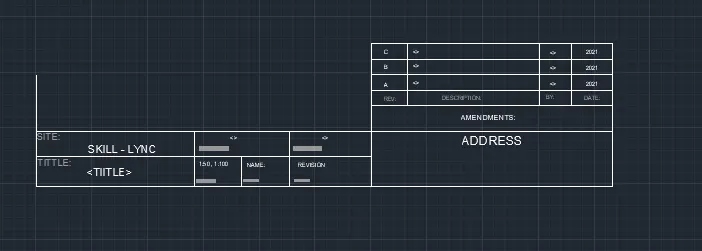
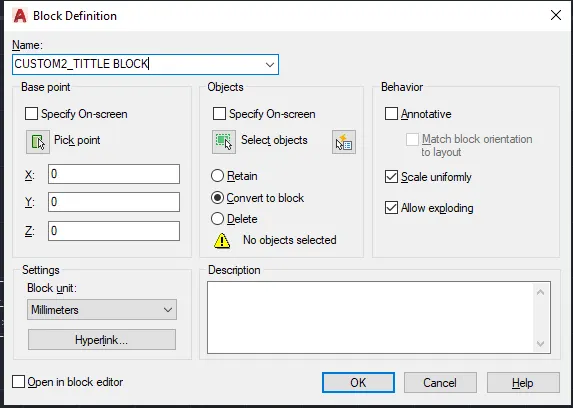
CUSTOM2_TITTLE BOX RESULT:
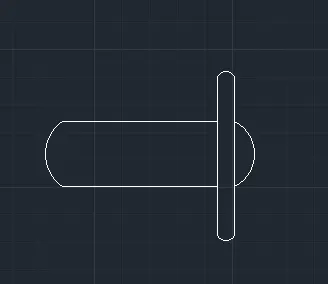
2. Create the doors type for warehouse as shown in the Figure. You need to create each door type as per standard size or given dimensions. Create the blocks of this door type after creating them.
AIM:
To craete the door type for warehouse and to also create the block of this door type after creating them using autocad.
PROCEDURE:
DOOR 1 WAREHOUSE BLOCK :
step 1:
- in the command type the units >mm
- in the command type limits, >0,0 & >100,100
step 2:
- in the command type l to draft lines
- in the command type rec , to draft the boxes or rectangle
- in the command type fillet to get curve edges
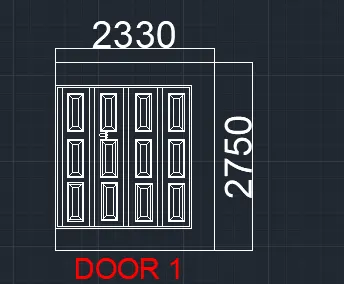
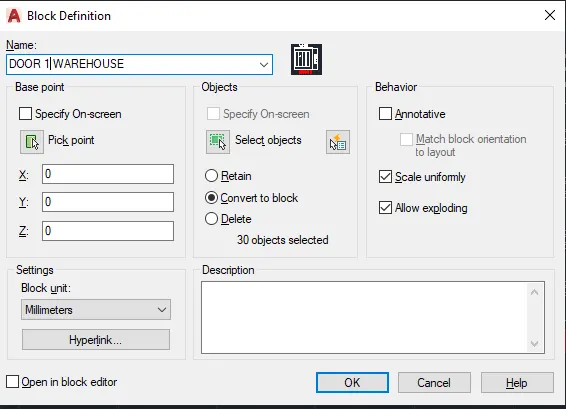
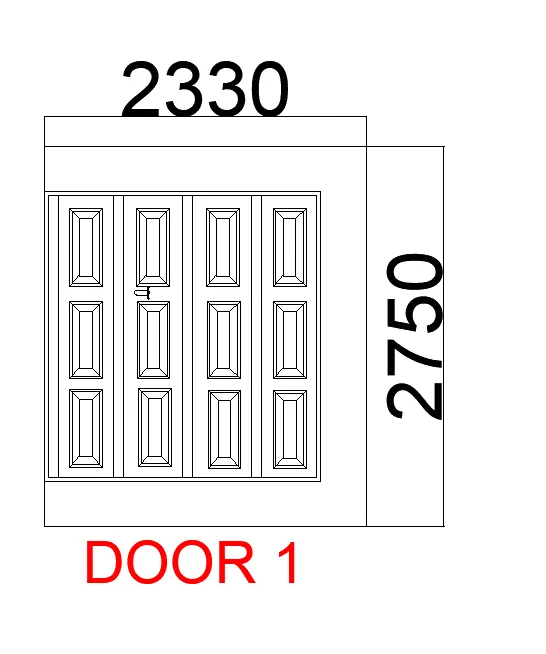
- in the ribbon bar>dimensions (to give dimensions of the door)
- in the ribbon bar > annotation>text (to give text of the floor)
- in the ribbon bar>block>create block ( to create the door block)
DOOR 1 WAREHOUSE BLOCK RESULT:
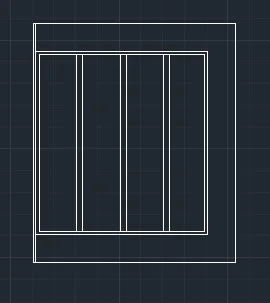
DOOR 2 WAREHOUSE BLOCK :
Step 3:
- in the command type l to draft lines
- in the command type rec , to draft the boxes or rectangle
- in the command type fillet to get curve edges
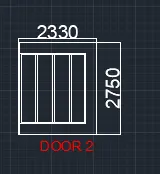
- in the ribbon bar>dimensions (to give dimensions of the door)
- in the ribbon bar > annotation>text (to give text of the floor)
- in the ribbon bar>block>create block ( to create the door block)
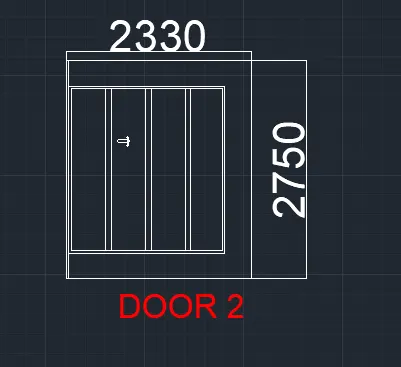
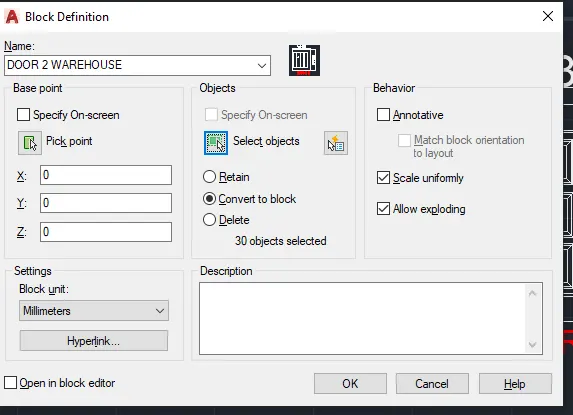
DOOR 2 WAREHOUSE BLOCK RESULT:
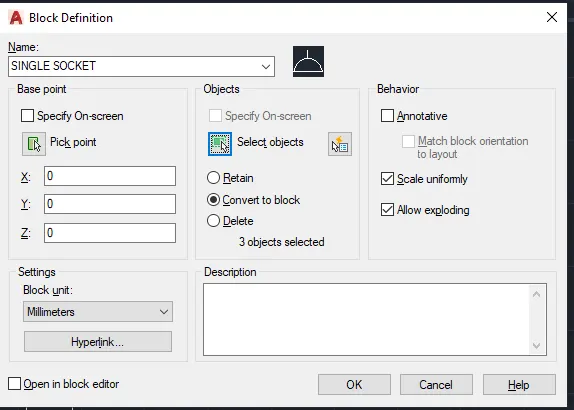
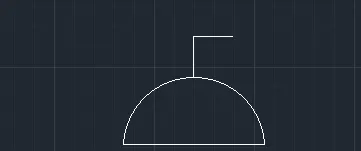
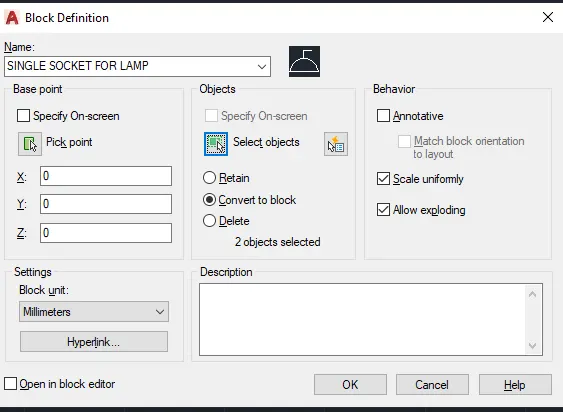
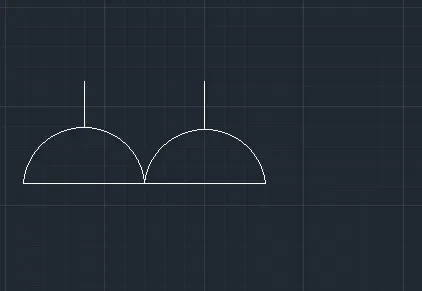
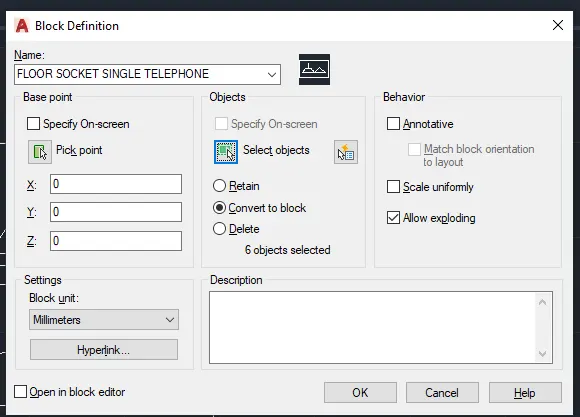
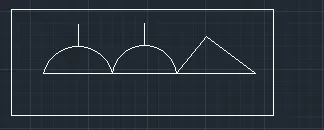
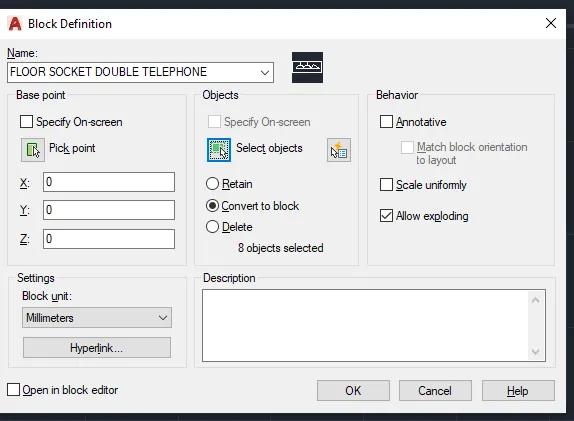
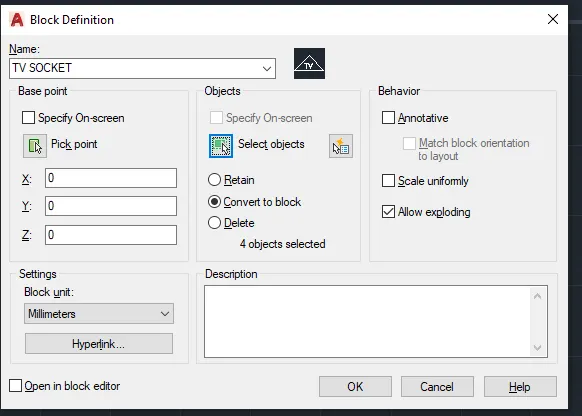
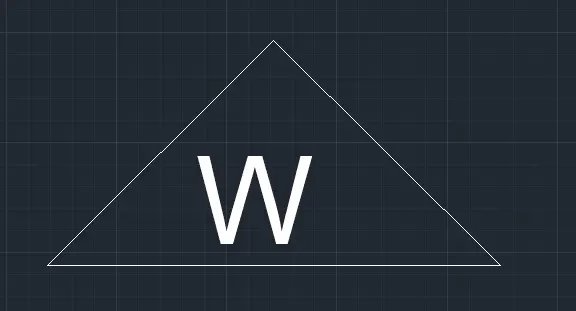
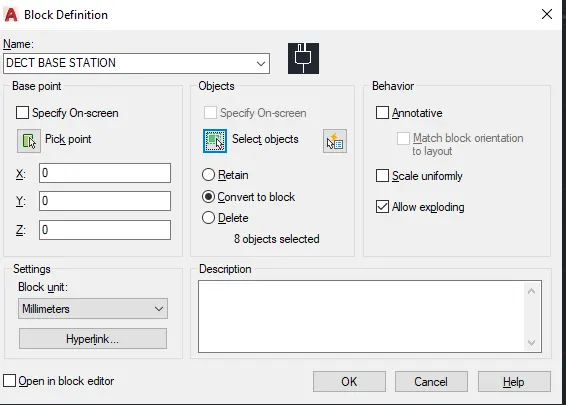
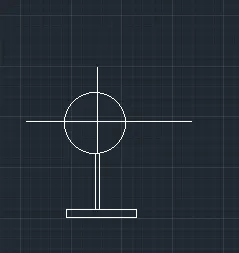
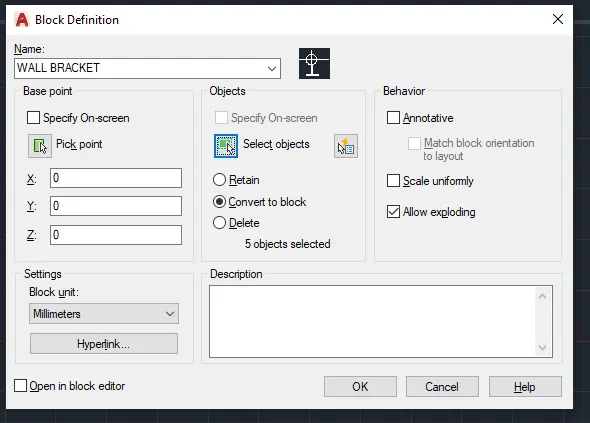
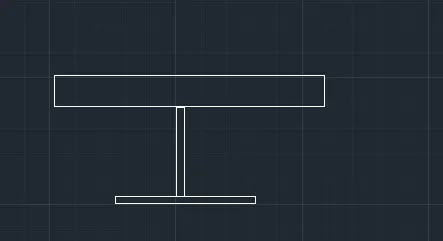
3. Create each symbol as a block with the name given in the legend. After creating the blocks arrange them in the legend as shown in the Figure.
AIM:
To create each symbol as block with the name and then arrange them in the legend.
PROCEDURE :
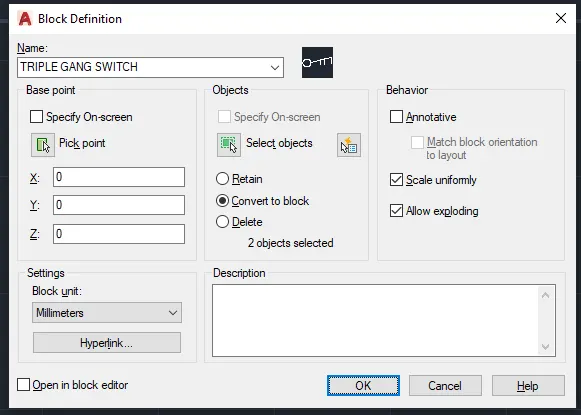
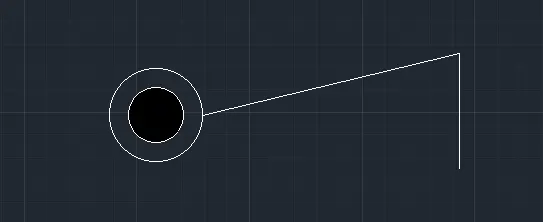
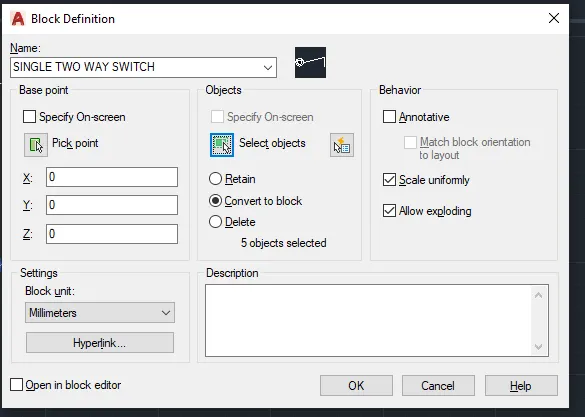
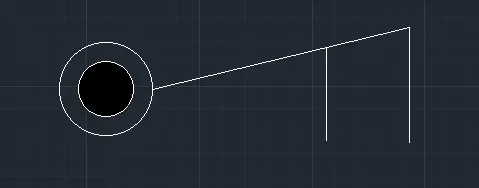
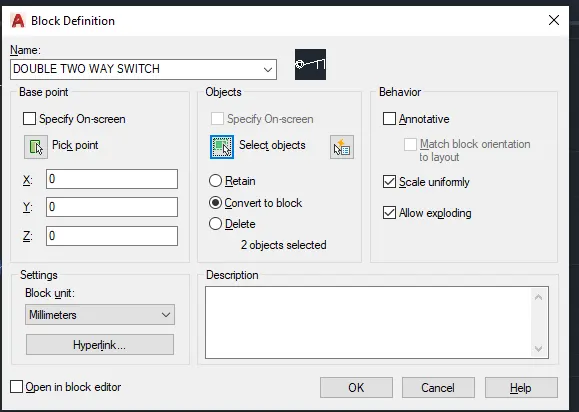
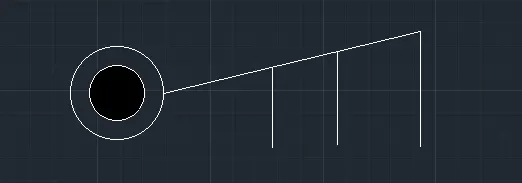
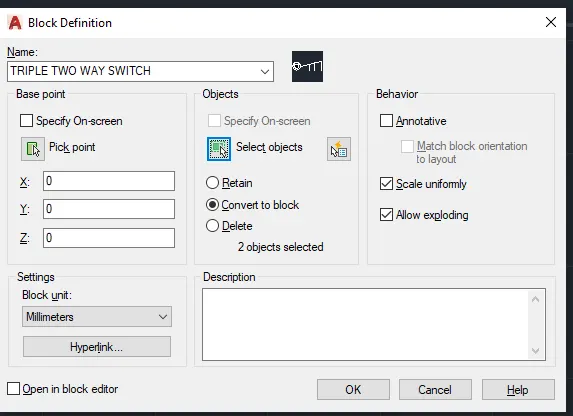
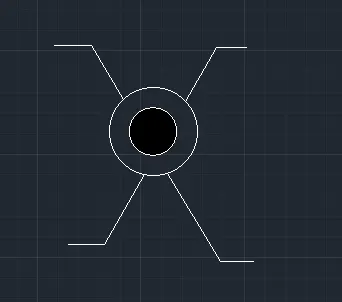
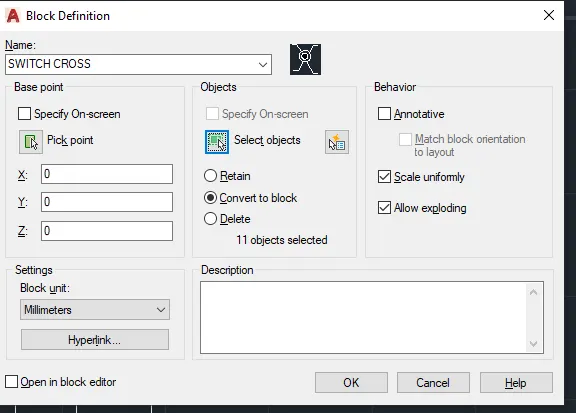
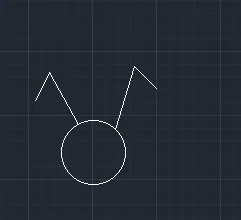
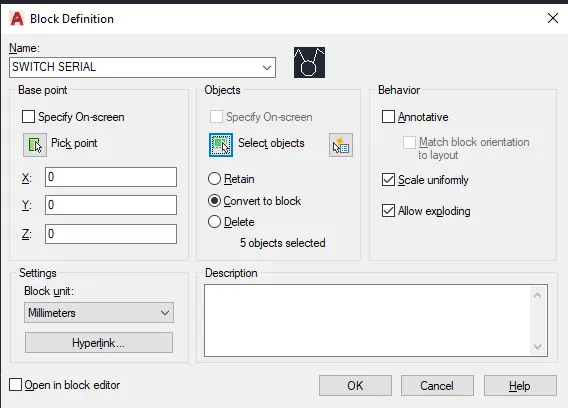
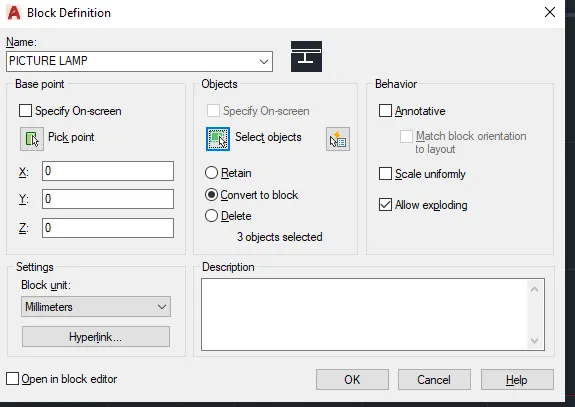
- In the command type C to get circle, and type L to get lines,
- In the ribbon bar>annotation>multi line text.
- In the ribbon bar>block>block edit.
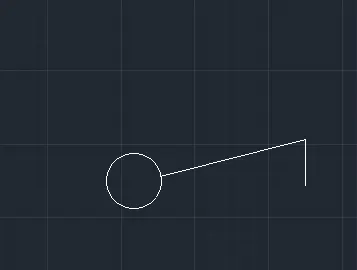
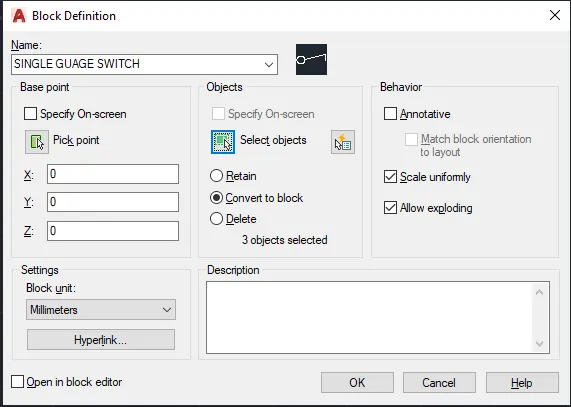
- Same command and procedure for all symbolls.
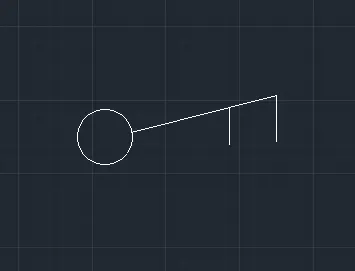
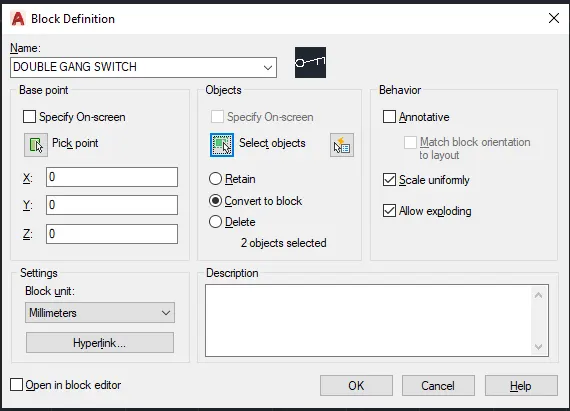
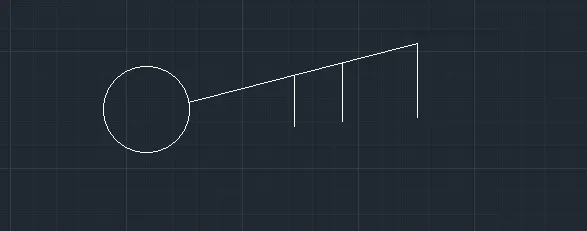
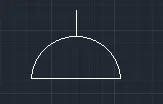
- In the command type A to get arc, and type L to get lines,
- In the ribbon bar>annotation>multi line text.
- In the ribbon bar>block>block edit.
- Same command and procedure for all symbolls.
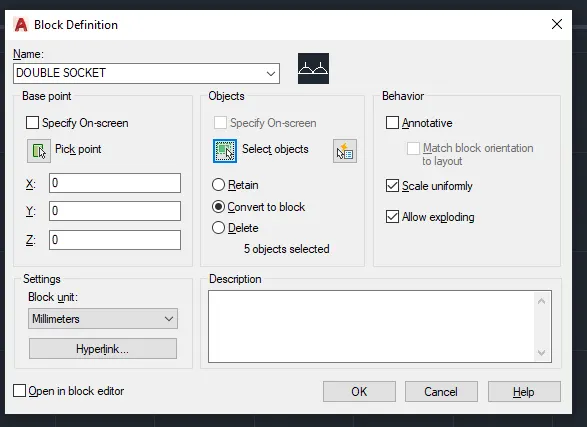
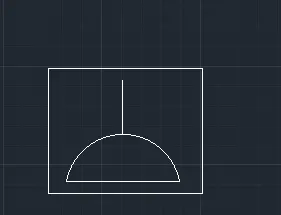
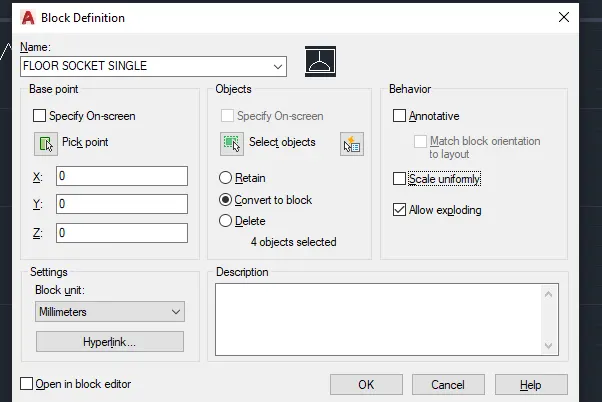
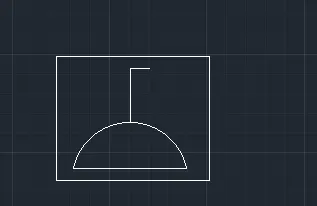
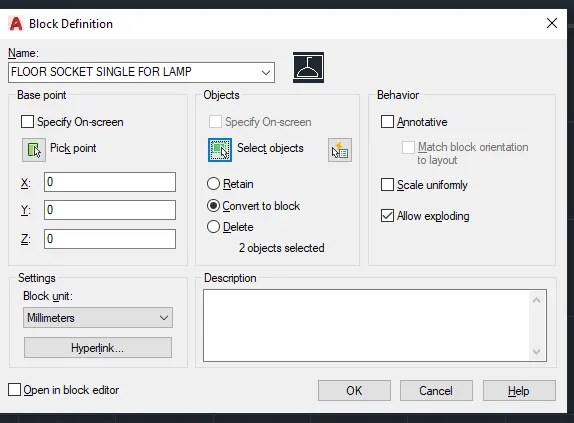
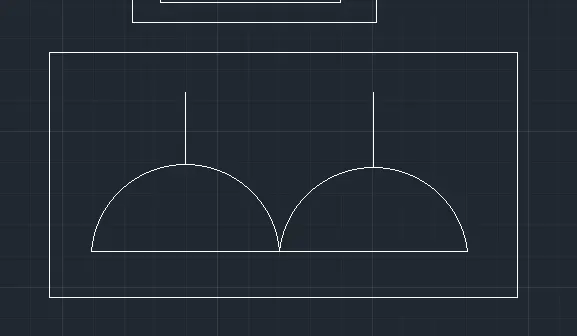
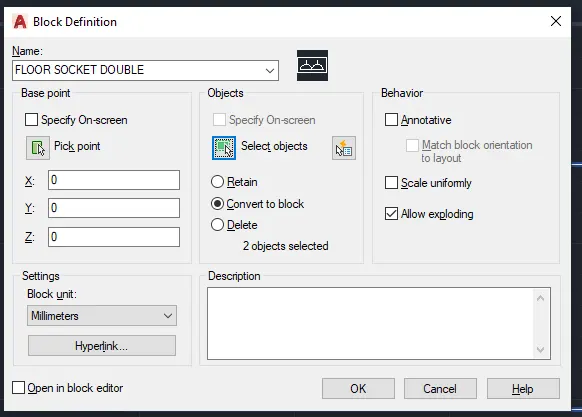
- In the command type L to get lines,
- In the ribbon bar>annotation>multi line text.
- In the ribbon bar>block>block edit.
- Same command and procedure for all symbolls.
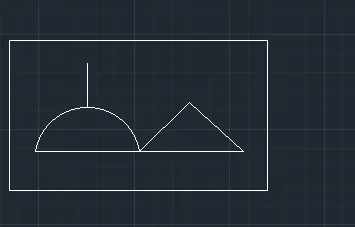
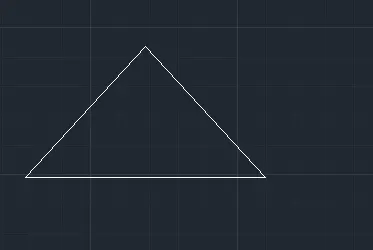
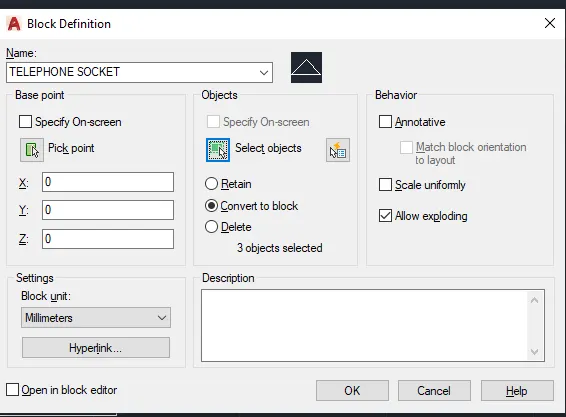
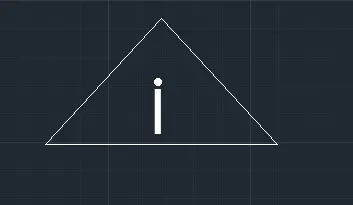
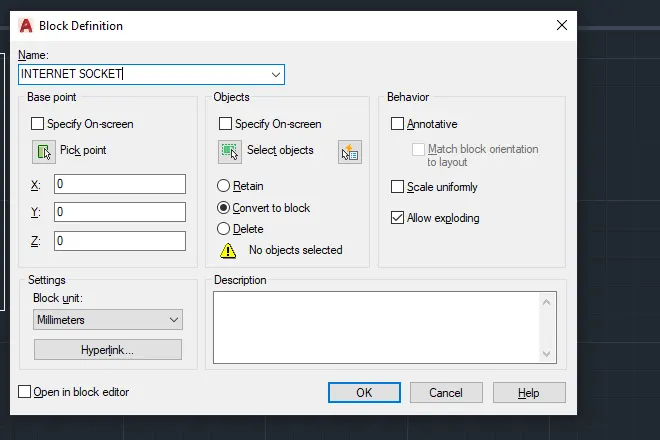
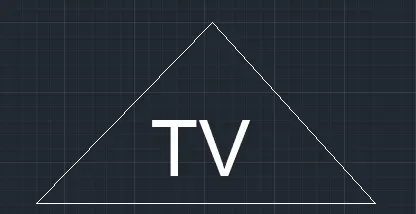
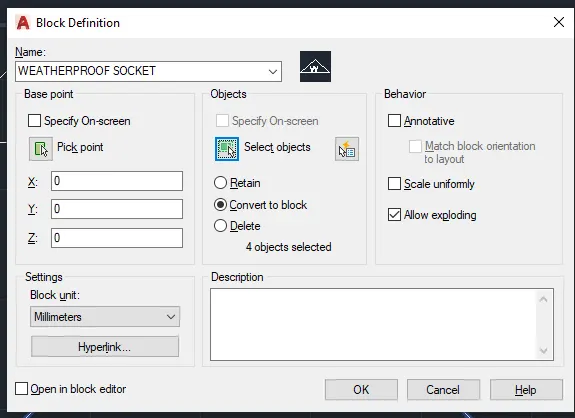
- In the command type L to get lines, and fillet to get the curves.
- In the ribbon bar>annotation>multi line text.
- In the ribbon bar>block>block edit.
- Same command and procedure for all symbolls.
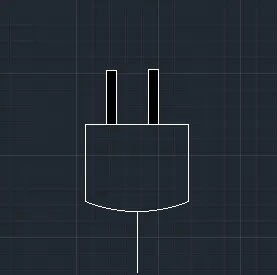
FINAL RESULT :
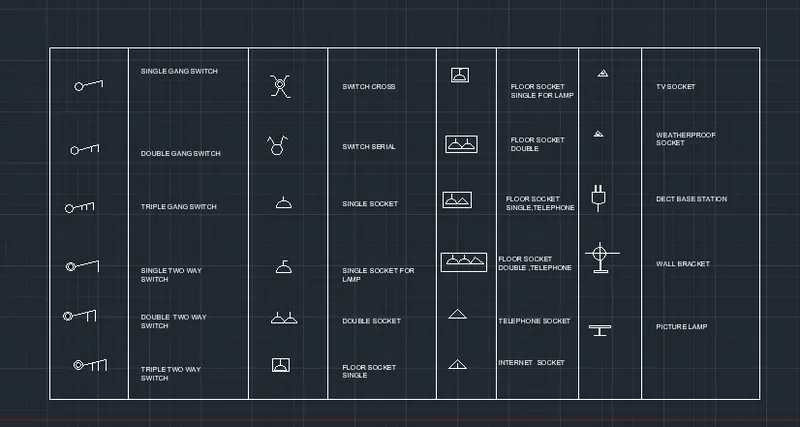
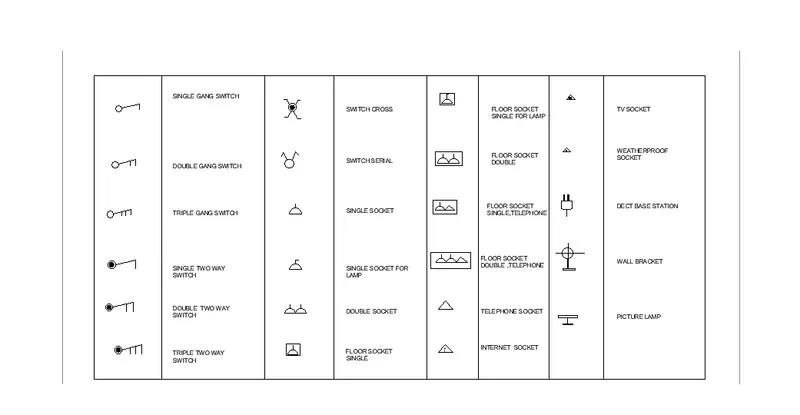
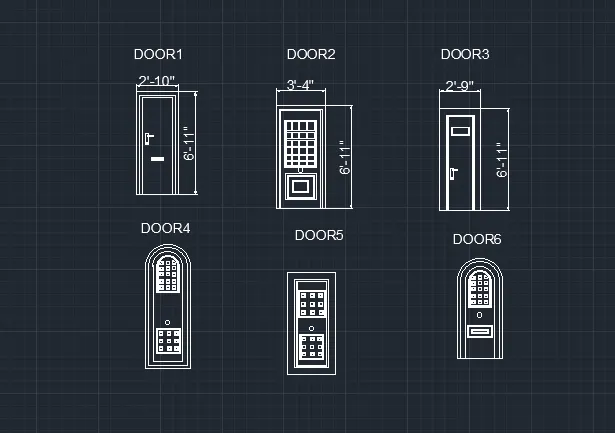
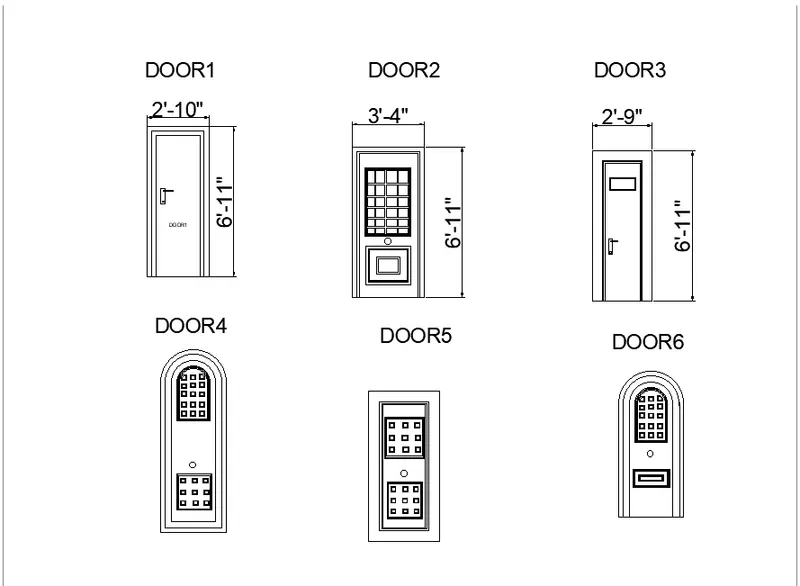
4. Create the door type for residential building as a block. Save the name of the blocks as type. Use given dimensions or assume dimensions as per industry standards.
AIM:
To create door type for residential building as a block.
PROCEDURE:
step 1:
- in the command type units>engineering>inches
- in the command type limits>0,0>100,100 & zoom>A >enter
- type L to draw lines
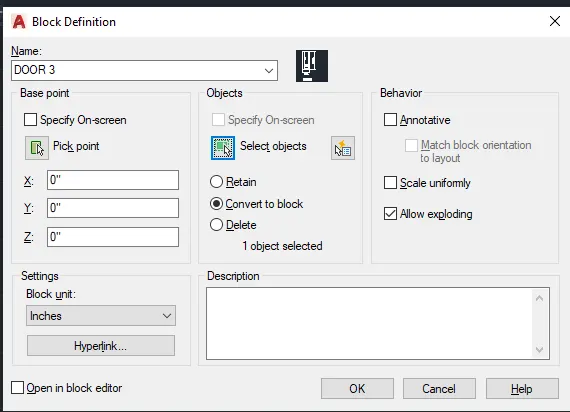
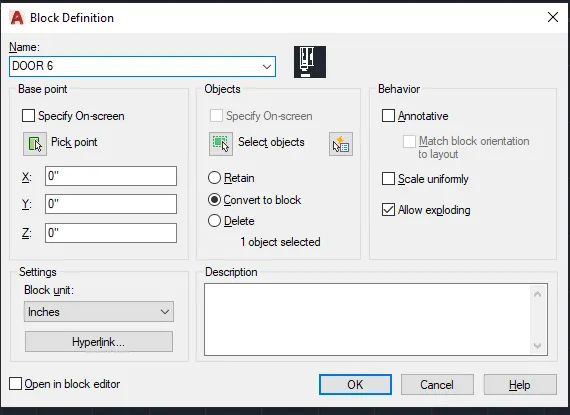
- type B to create blocks
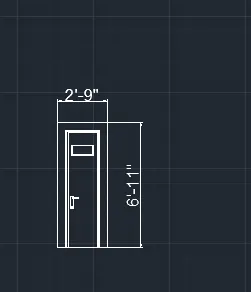
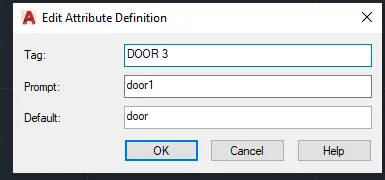
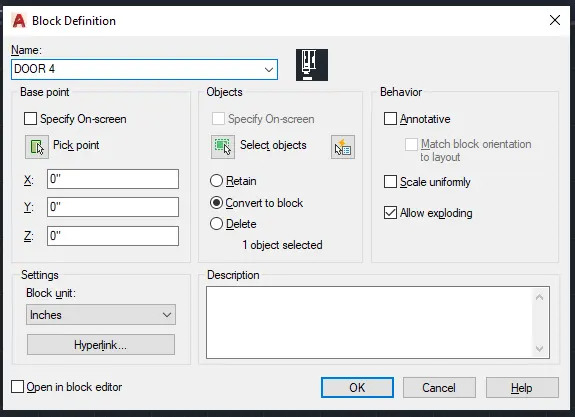
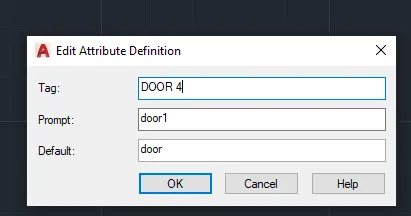
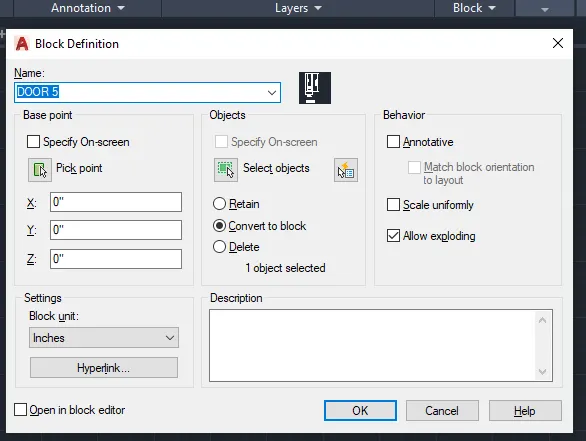
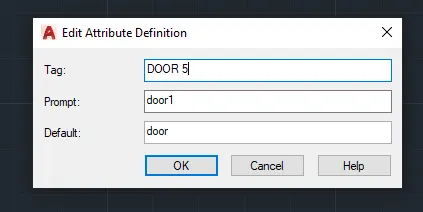
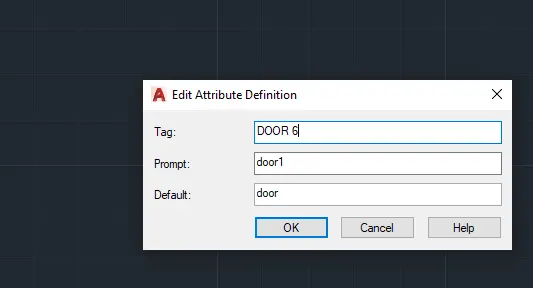
- in the command type ATT > name of the block save as type(PLAIN SINGLE DOOR)
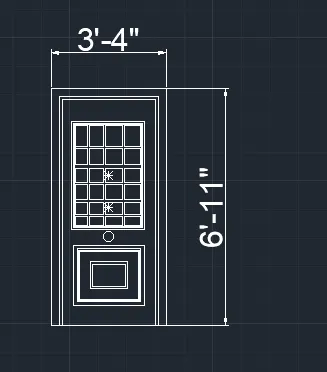
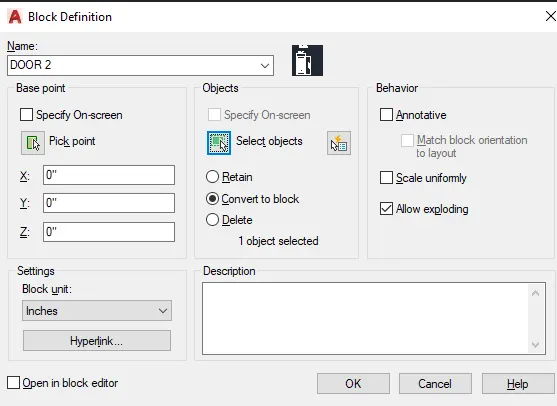
- Same command and procedure used for rest of the doors
- in the command type arc to draw the arc.
DOOR 1:
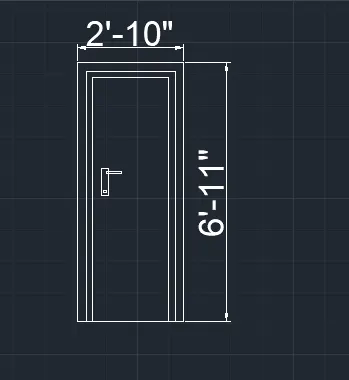
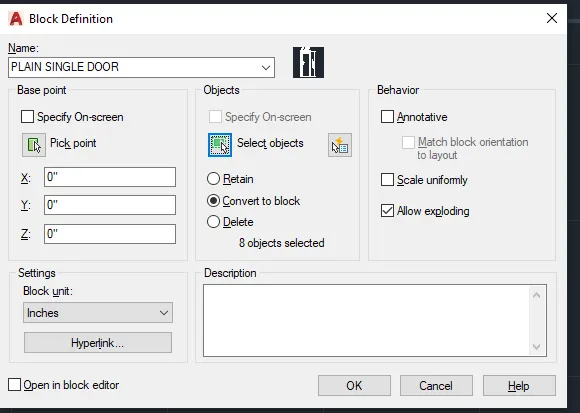
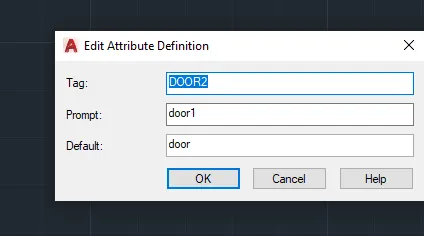
DOOR 2:
DOOR 3:
DOOR 4:
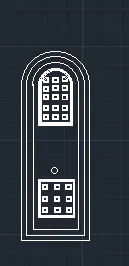
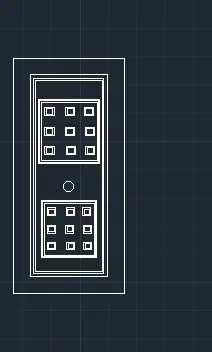
DOOR 5:
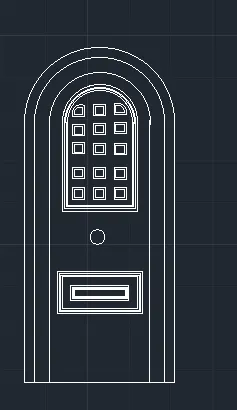
DOOR 6:
FINAL RESULT :
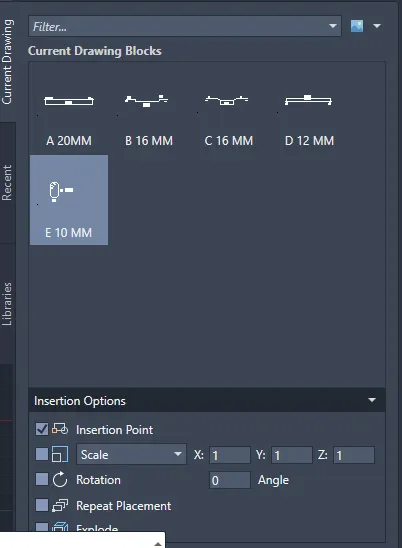
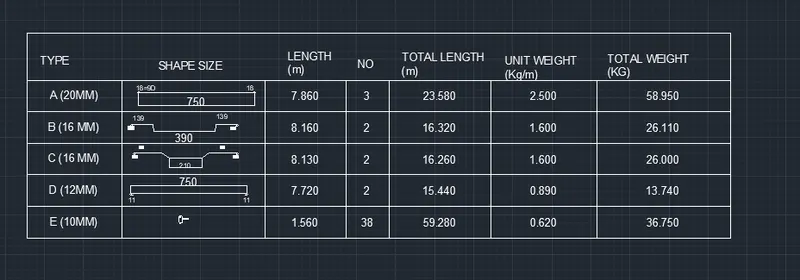
5. Create each shape as a block as shown in the Figure. Save the block and insert them on the table as shown in the Figure.
AIM :
To create each shape as a block and insert them on the table as given in the picture.
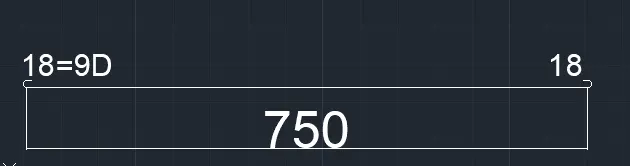
PROCEDURE :
Step 1:
- in the command, units>decimal>meters
- in thecommand , limits>0,0>100,100
- in the command, type l to draw desired lines
- type pl , to draw arc and poly lines
- type mt to give annotation and text
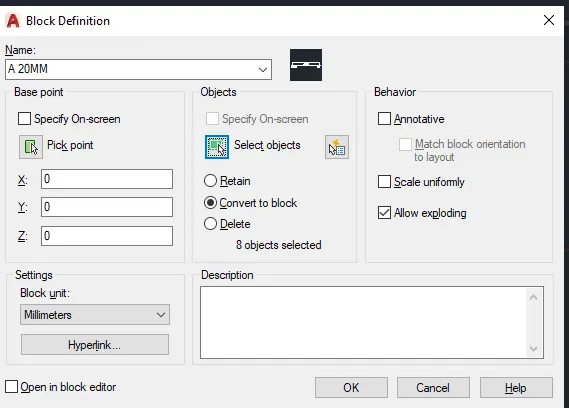
- type b to create block
- type i to insert a created in the block
- type table to insert a table
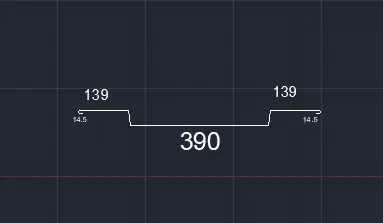
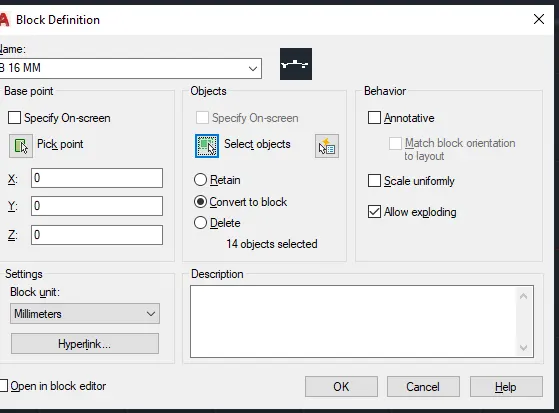
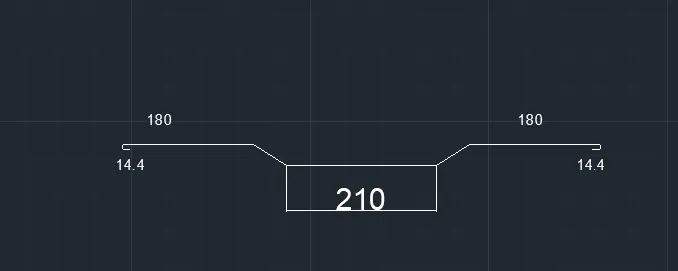
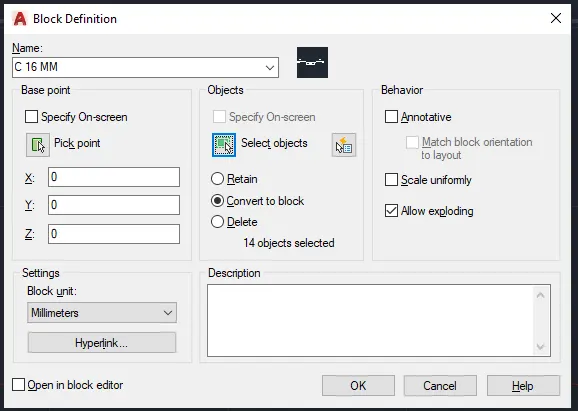
FINAL RESULT: