Creating Architectural and Structural model with 3D rendering using REVIT
Ans 1: School Building.
Ans 2: My Building is in Plain area
According to the NCB
- The Floor Hieght is above 3.6m height
- Front road is 50 m width.
Ans 3: The Following are the steps to model the object.
- Open revit and make horizontal and vertical grids.
- Go to the elevation and increase the number of levels upto roof and change their names.
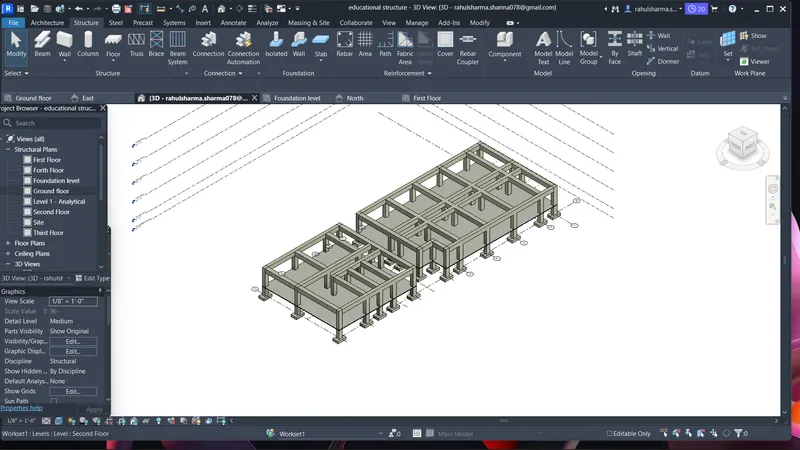
- Select column from ribbon and place the columns at intersection of grids.
- Select the Isolated Foundation option and place te foundation on ech and every column.
- Now extend the column to the top level by giving the constraints.
- Now select beam from the ribbon and modify the length, width of the beam as per column.
- Now Draw the beam as per required.
- Change the view to 3d.
- Select the entire figure and go to the copy option and assign them to first floor and second floor.
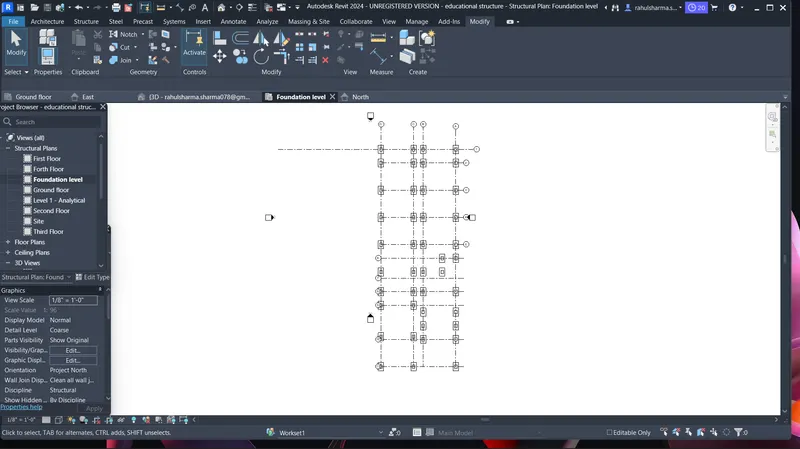
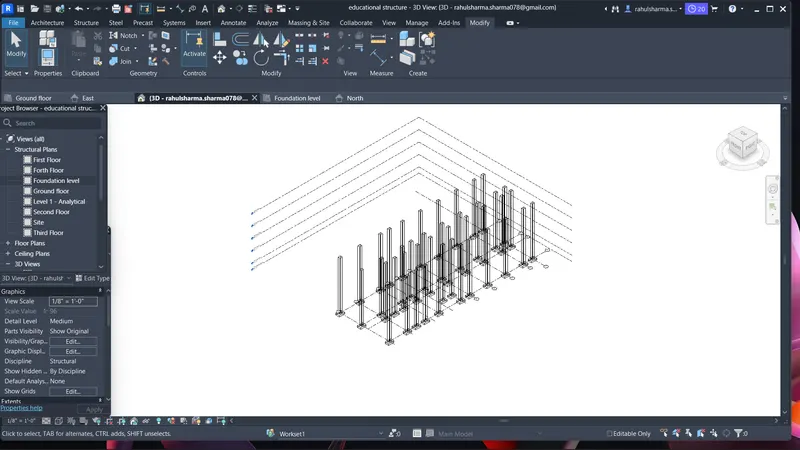
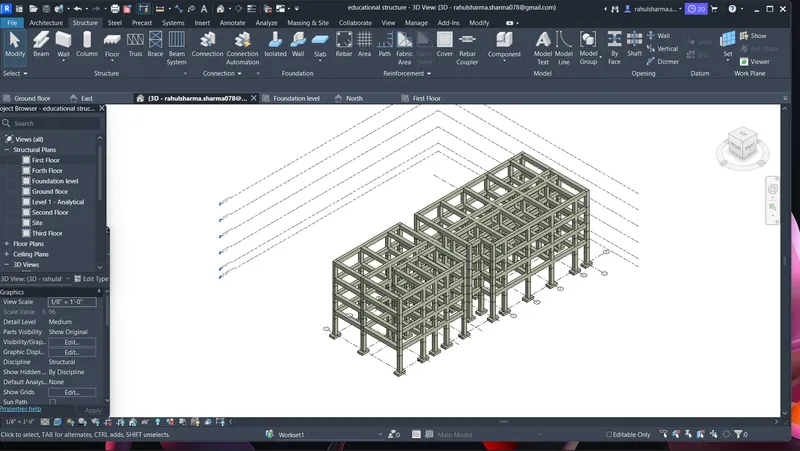
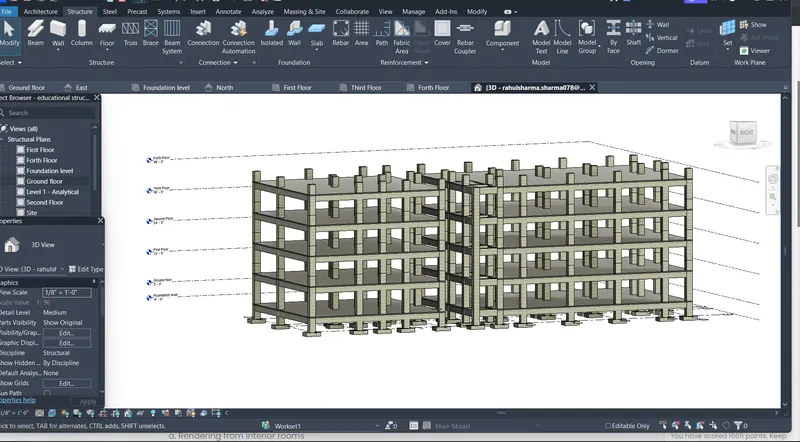
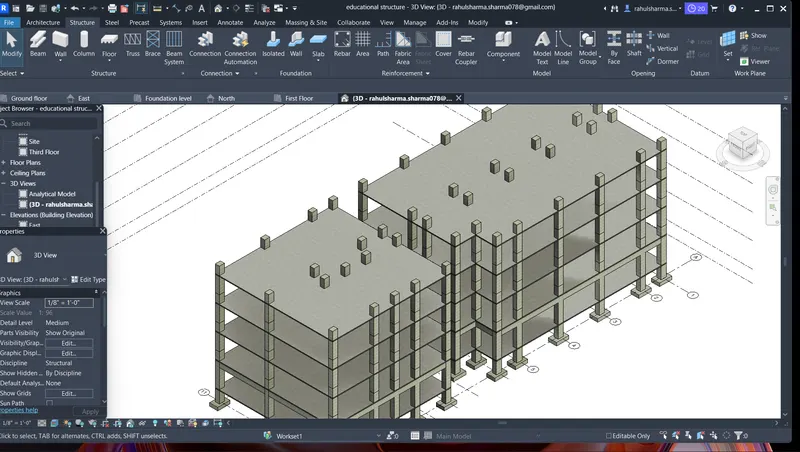
- Now go to the wall option and select the floor you want to assign the wall ,copy it and assign to different levels.
- Now Go to the Architectural File and link the structural File and copy monitor and start working on the model.
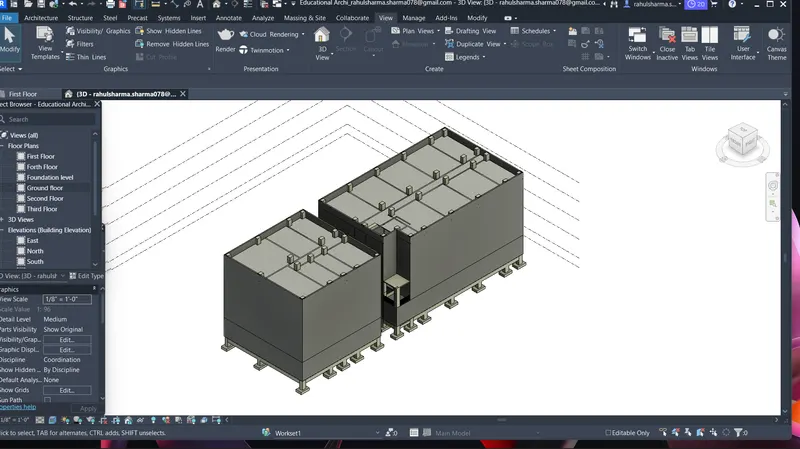
- Draw exterior and interior wall and make a top offset from 4th floor of 4' as a paraphet wall
- Now Select the Flooring command and put the flooring on each level.
- Now select the ceiling command and draw the ceiling on each floor.
- Open structural project and provide a shaft for the stairs.
- Open arhitectural project and draw the stairs to connect the Floor.
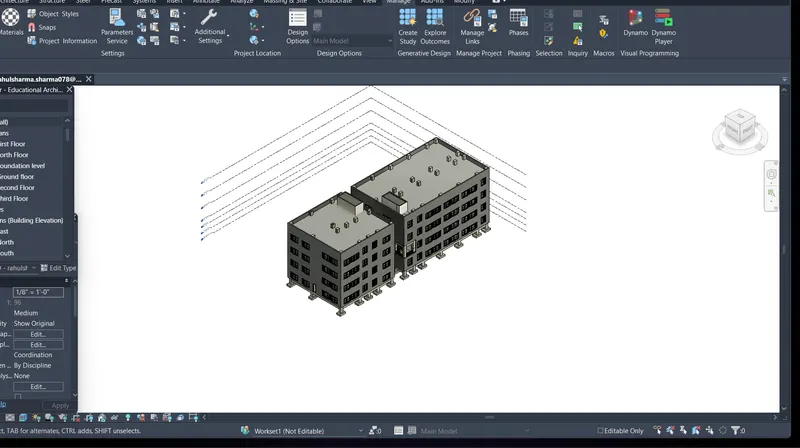
- Provide Windows and ventilation to the model.
Ans 4: The Following are the steps to model the object:
- Draw the walls by using architectural walls command and choose the wall finishing as per your requirement
- Provide the objects to the plan from ground to top floor.
- Provide the stairs to the plan and connect the Floors.
- Provide the Curtain wall to the plan
- Provide the Lighting Fixtures to the model on each floor after providing ceiling to the drawing.
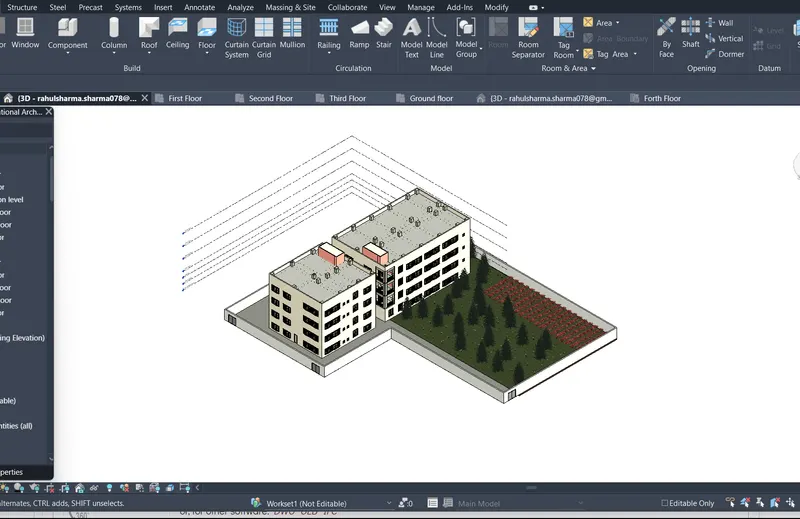
Ans 5:
- Create the sheets and fill the template as per requirement
- Provide the views and select the desired ratio of view
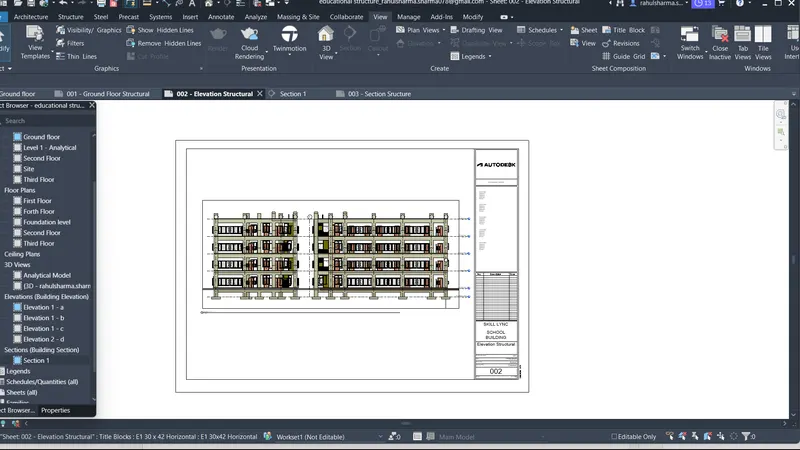
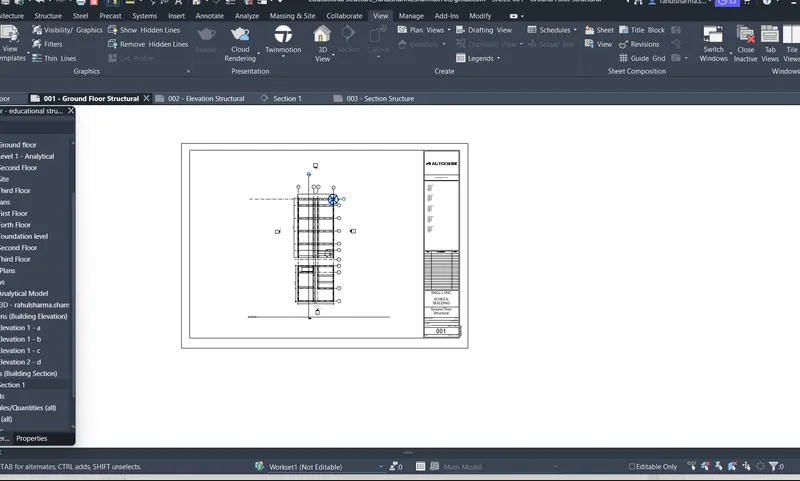
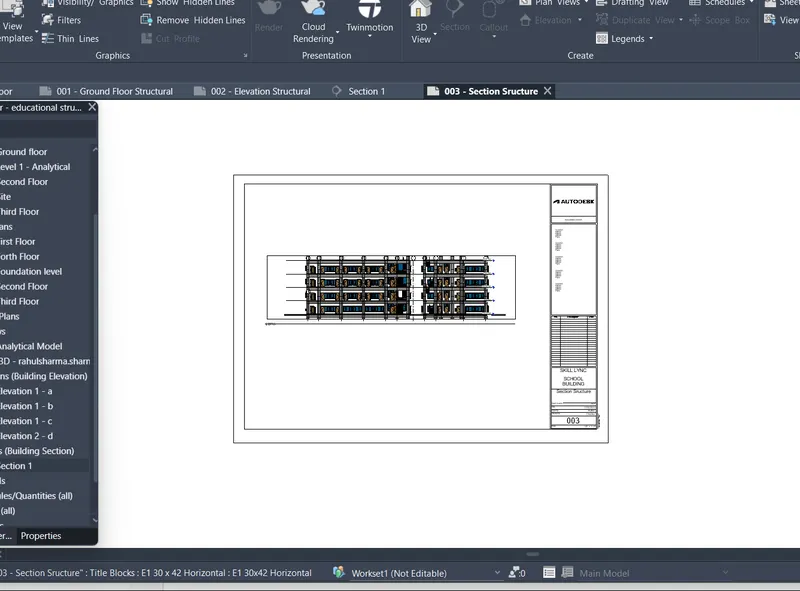
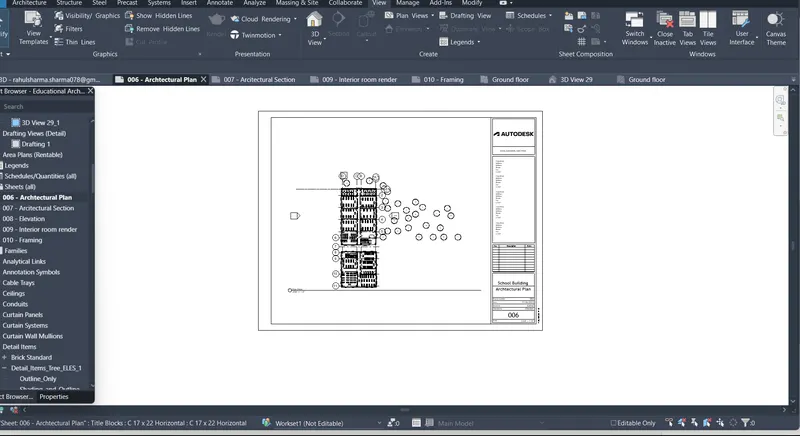
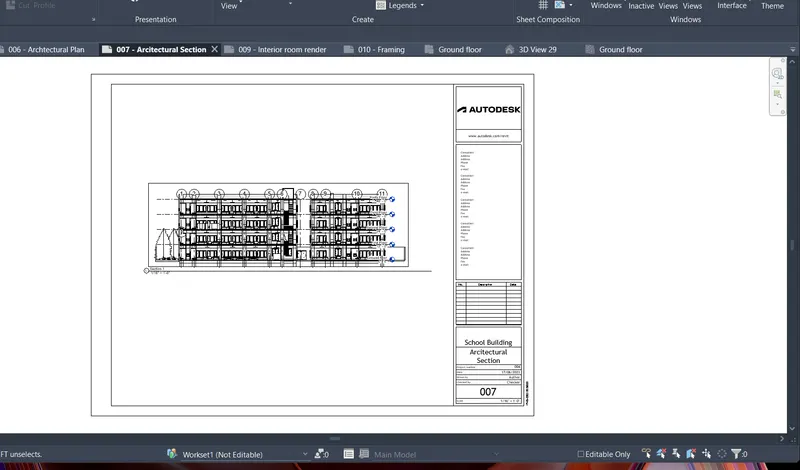
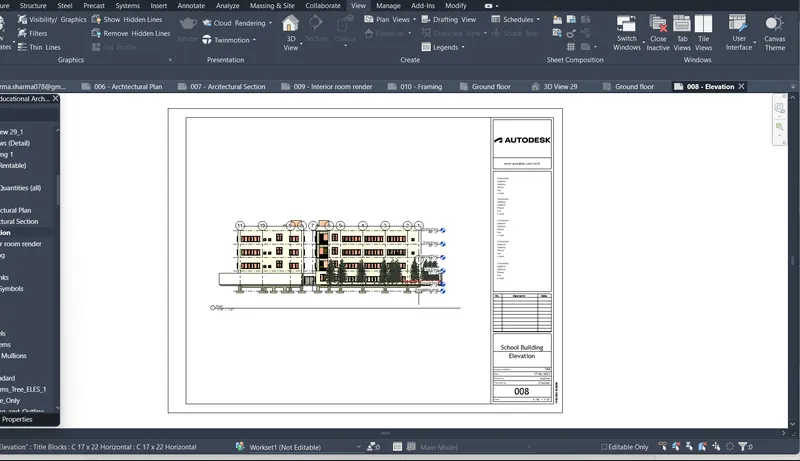
Ans 6:
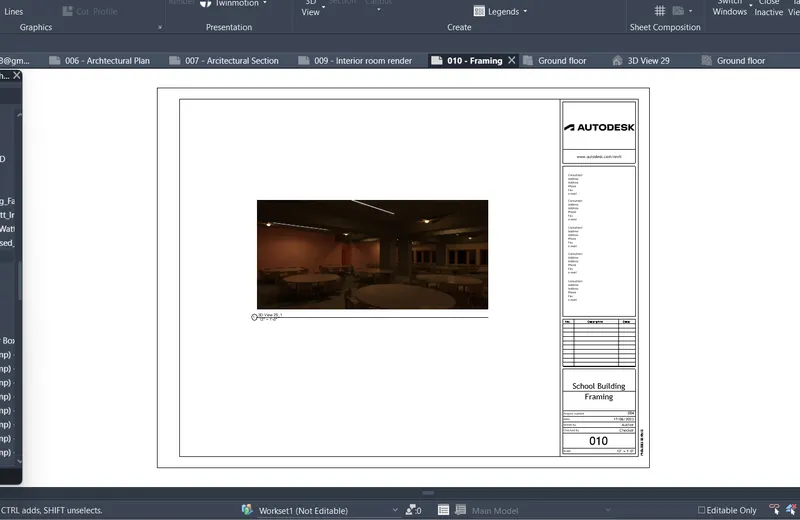
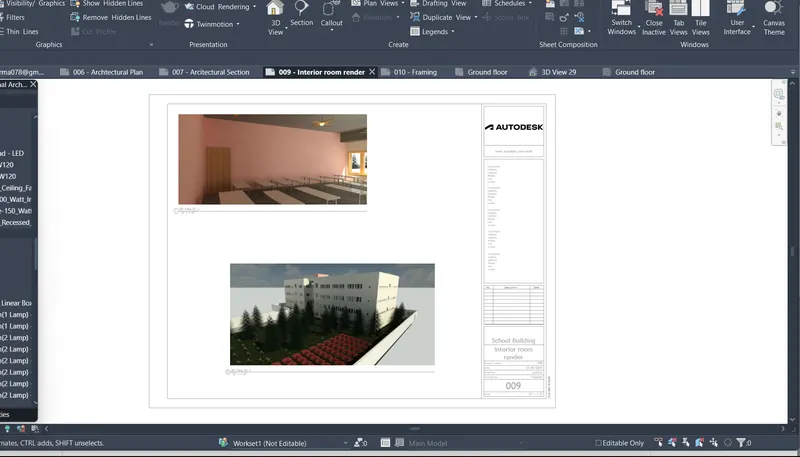
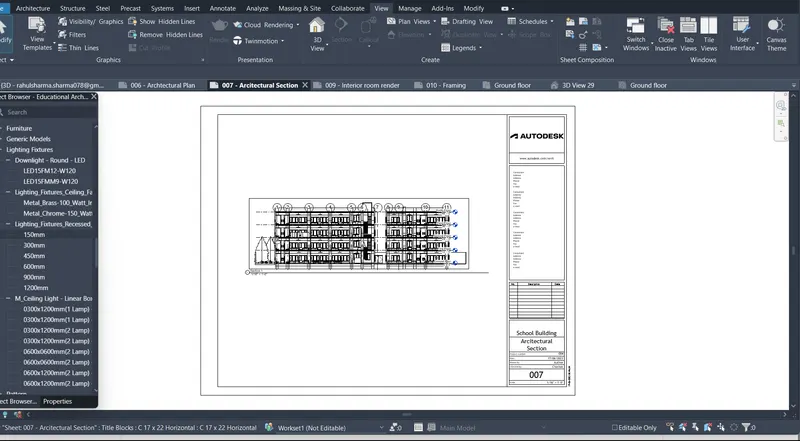
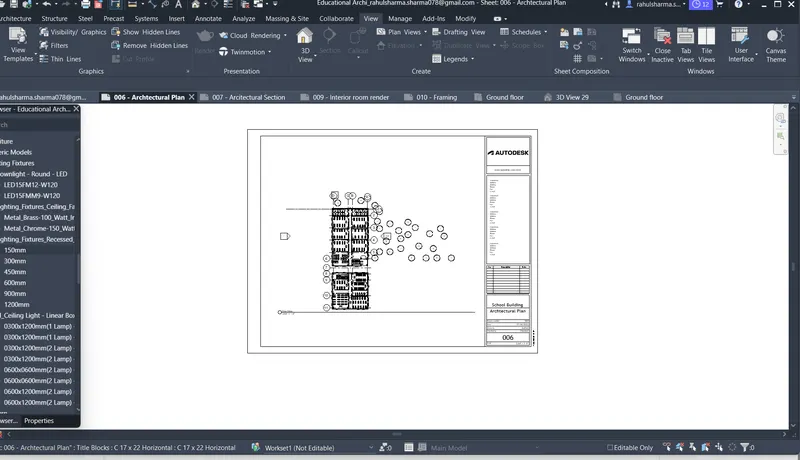
Ans 7: The documents are attached