Creating a Wardrobe detailed drawing, Floor Plan, Kitchen Layout and Column Detail using AutoCad
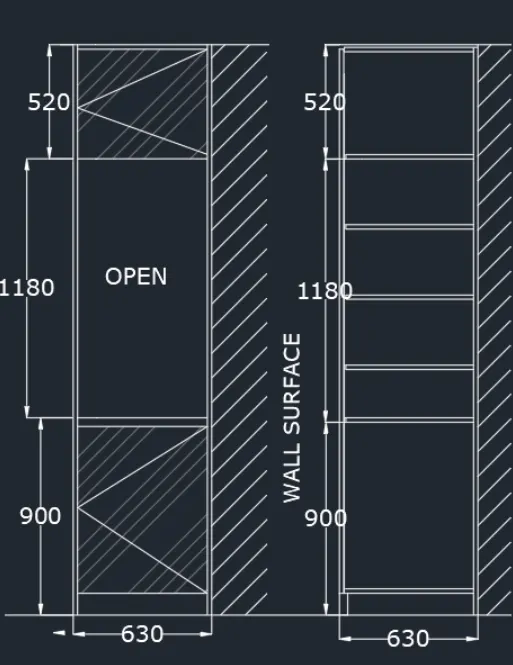
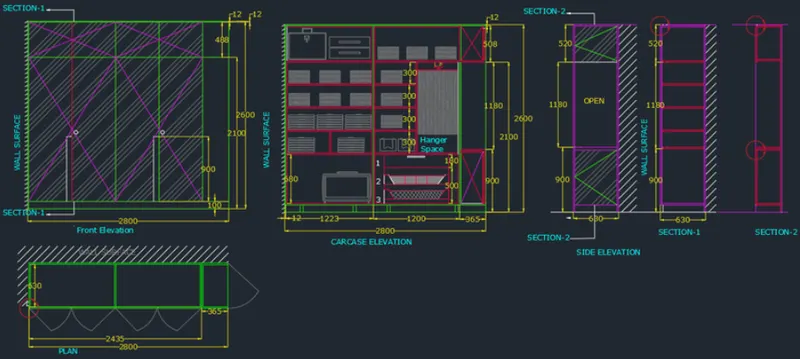
- Draw the elevation and details of a wardrobe as shown in the Figure below. After sketching, you need to provide the dimensions and text with the use of layers.
AIM:
To Draw the elevation and details of a wardrobe as shown in the Figure below. After sketching, you need to provide the dimensions and text with the use of layers.
PROCEDURE:
STEP: 1
- Units are set to mm
- Limits and lim-max are also set
- Zoom command is also used
STEP: 2
- In the command line type rec>2800,2600
- In the command line type offset
- Offset from the top of dimentions 12 and 488 mm
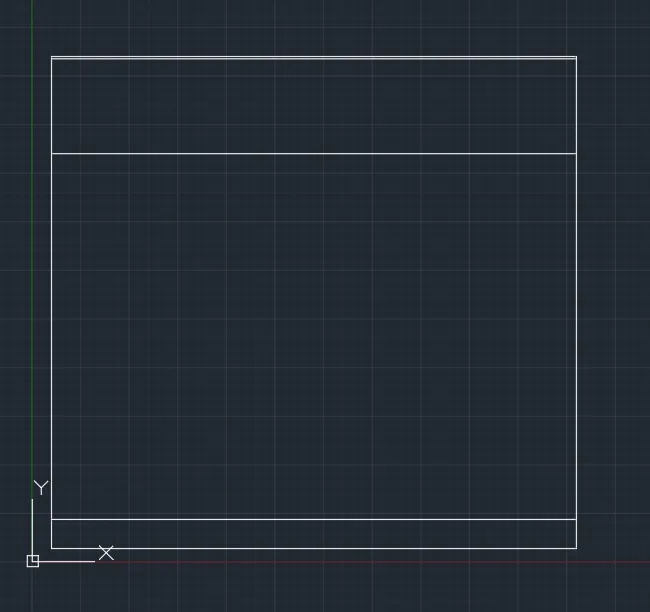
Step: 3
- In the command line type offset.
- Create the offset from the side at the distance of 608.75 and 365
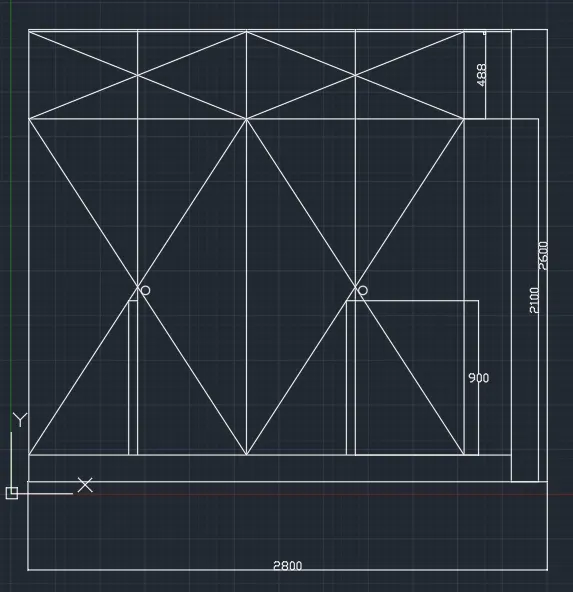
STEP 4:
- In the command line type L and by increasing the transparency to create wall surface.
- By using hatch and give scale 20.
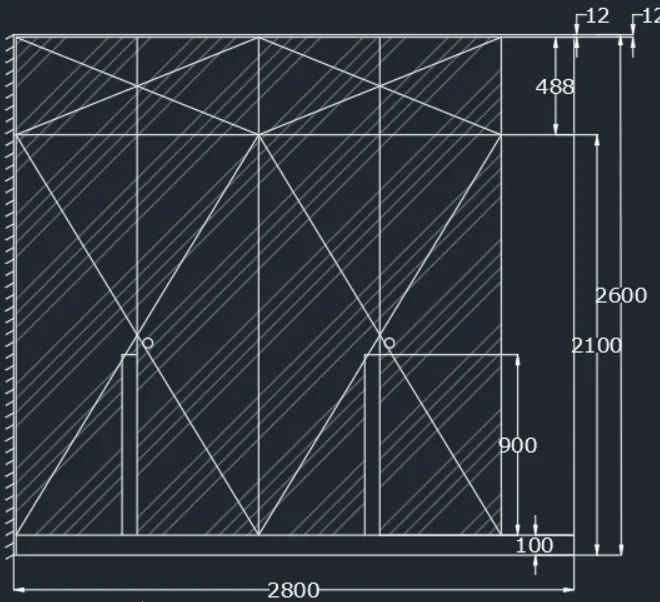
- In the command line type q leader to mention the annotations
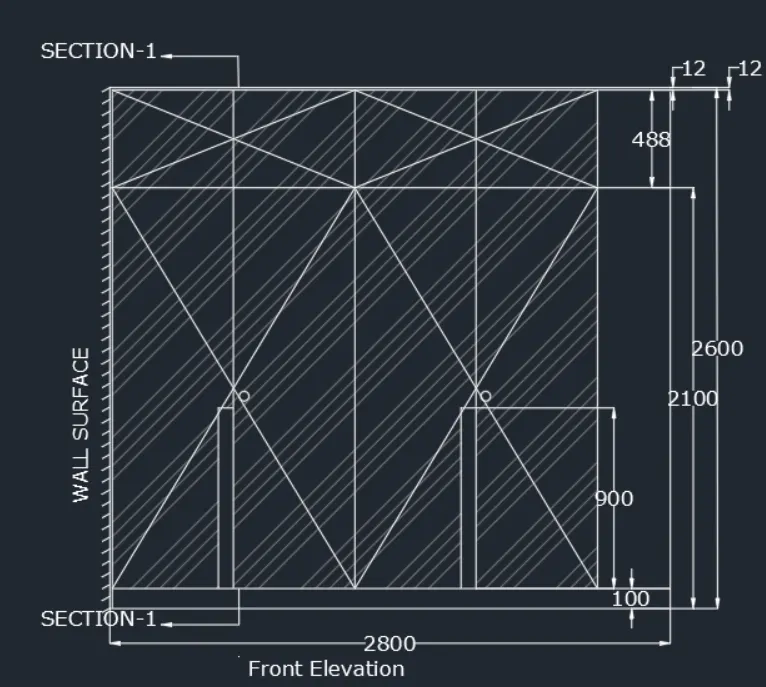
STEP: 5
- In the command promote type rectangle >630,2800
- In the command promote type q leader to give the annotations.
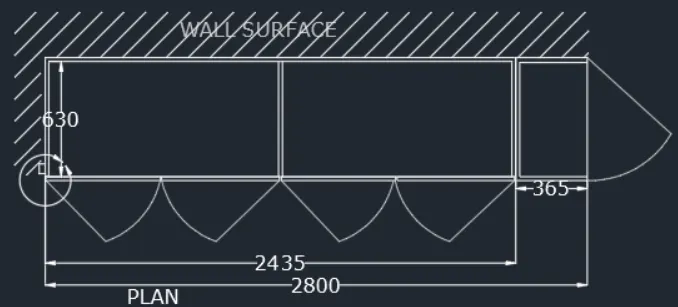
STEP: 6
- In the command promote type rectangle 2800*2600
- with the help of command drawers and cabinets are created.
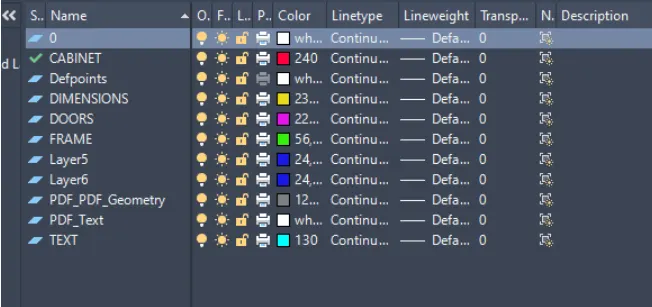
- Dimetions the drawing
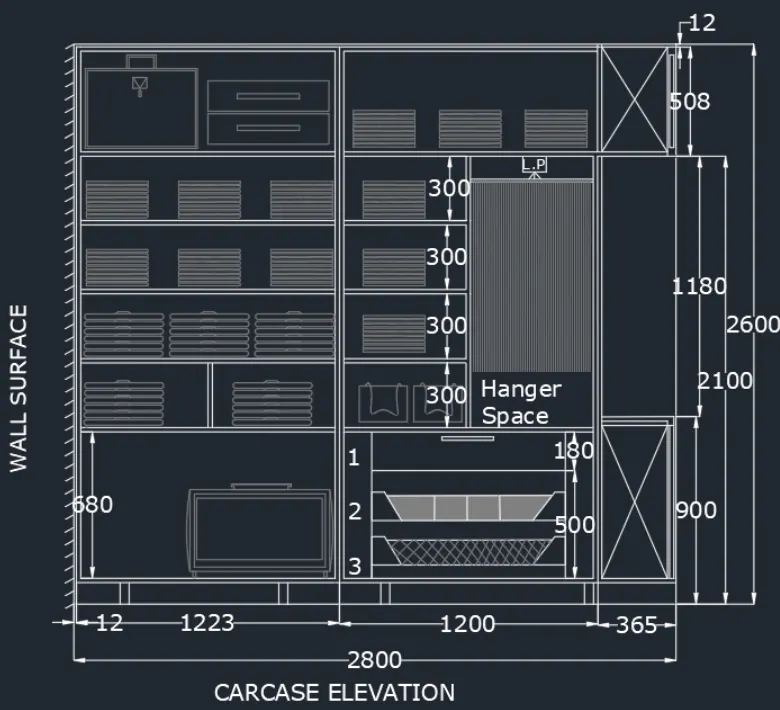
Place the entire drawing in the respective layers
RESULT:
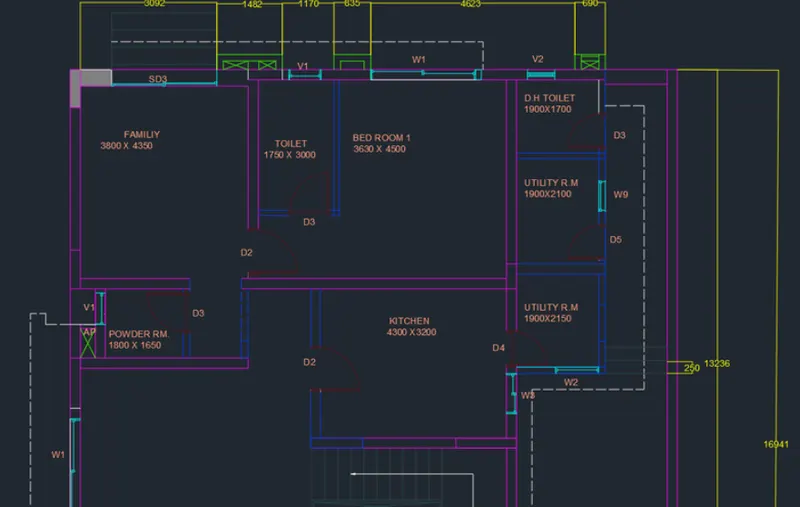
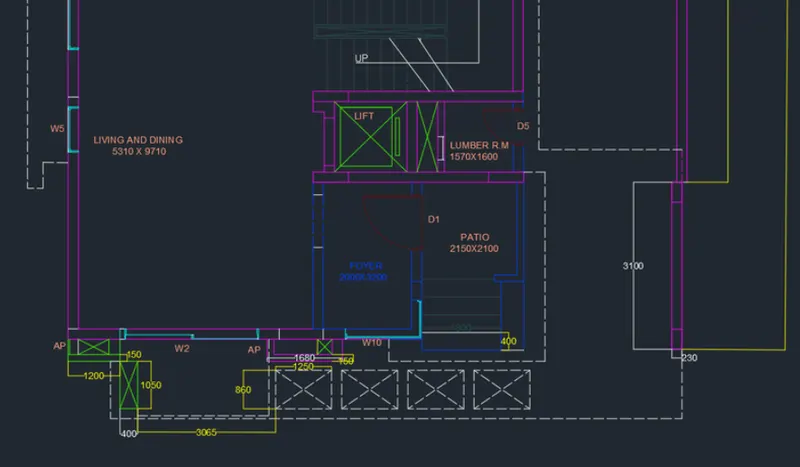
2.
AIM:
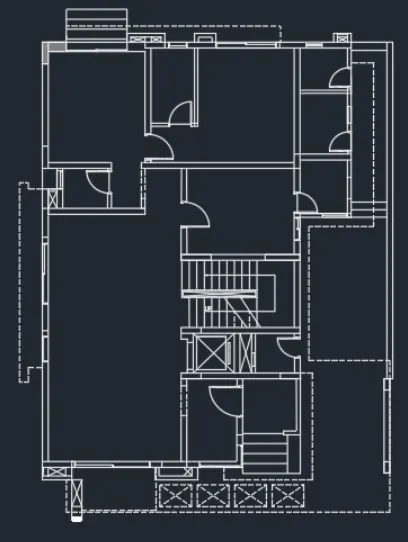
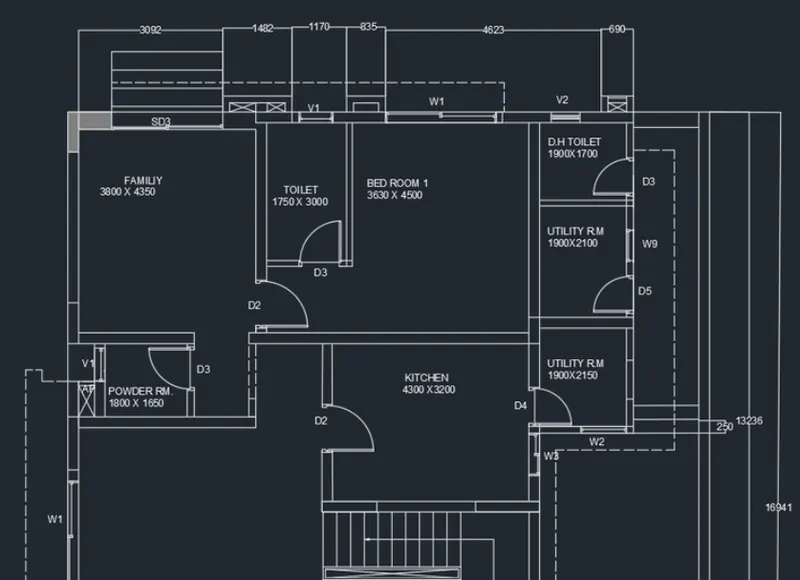
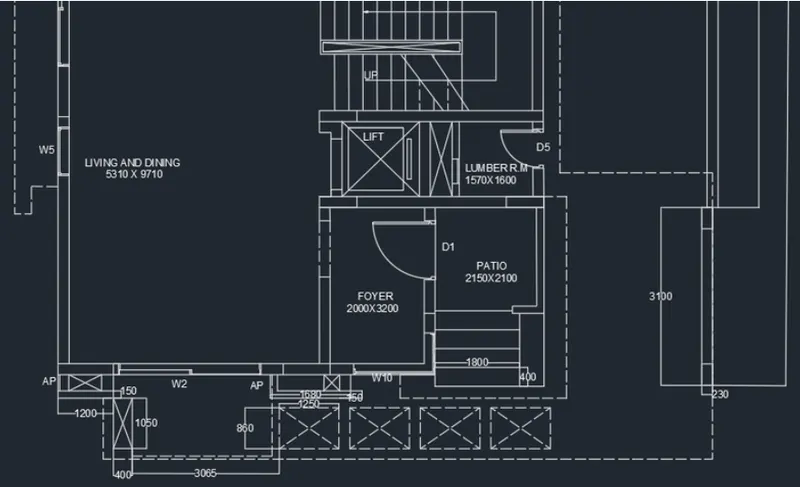
To draw the given floor plan.
PROCEDURE:
SEPT: 1
- Units are set mm
- Limits and lim-max are also set
- zoom command is also used
STEP: 2
- In the command prompt type XL to draw the infinite lines
- In the command prompt type offset to establish a particular distance
Doors:
- D1- 1000*2000 mm
- D2- 900*2100 mm
- D3- 800*2100 mm
- D4- 750*2100 mm
- D5- 700*2100 mm
Windows:
- W1- 2700*1500 mm
- W2- 2500*1500 mm
- W3- 900*1500 mm
- W4- 1000*1500 mm
- W5- 800*1500 mm
Ventilators:
- V1- 800*500 mm
- V2- 750*500 mm
STEP: 3
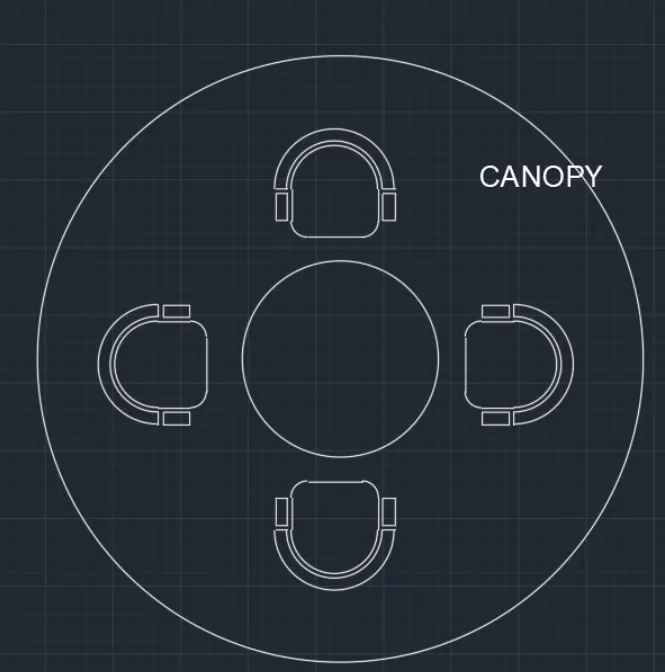
Circle
- In menu bar click circle>centre, radius
STEP: 4
- Give the dimentions and the drawing with the text where ever required
STEP: 5
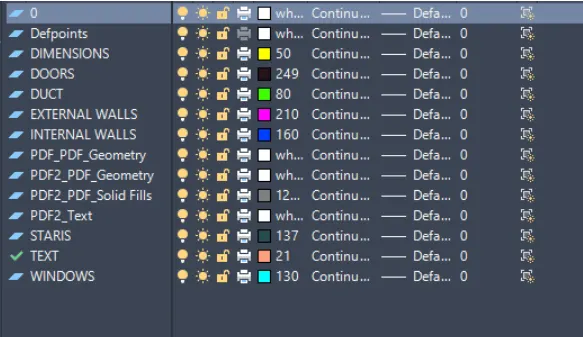
- Place the all elements of the drawing the respective layers
Result: