Creating a Residence Layout, Seating plan, Toilet and Utility room plan using AutoCad
Aim: To create a given residence layout, Seating plan, Toilets and utility room plan by using autocad
Introduction: The plan can be created by using various tools in the Autocad like X lines, blocks, dimensions, and various other tools that are available in the Autocad
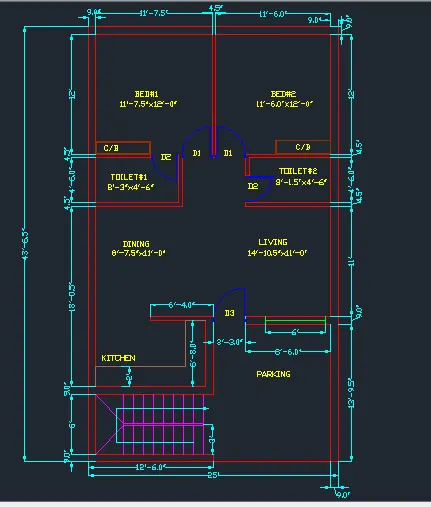
1)Residence Plan: Sketch the layout of a residence as shown in the Figure 1. Consider all dimensions as reference to sketch the unit plan. Also the text in the layout are only for reference. Assume the missing dimensions. Also, refer the schedule for size of the doors.
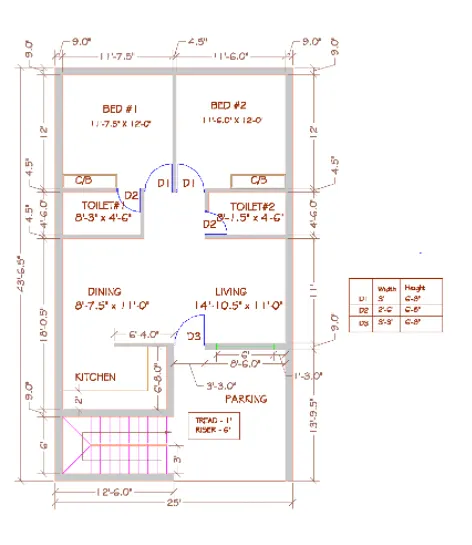
Procedure:
Step1
- Go to Start menu open the Autocad 2014 software
- Go to Startup command and give value 1, then go to application menu, open new file, create new drawing dialogue box will appear
- In this dialogue box go to advanced setup and set a unit system to imperial system, set a unit system to engineering units, precision as 0'0.00", and insertion scale as inches
- Give a limits command in command box and specify lower left corner as 200' and secify upper right corner as 200'
- Give zoom all by giving zoom command
- Take a Xline command and draw one vertical line of a wall
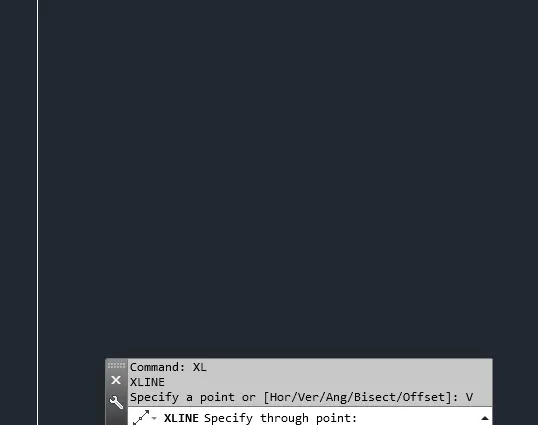
- Again take Xline command and draw one horizontal line of a wall
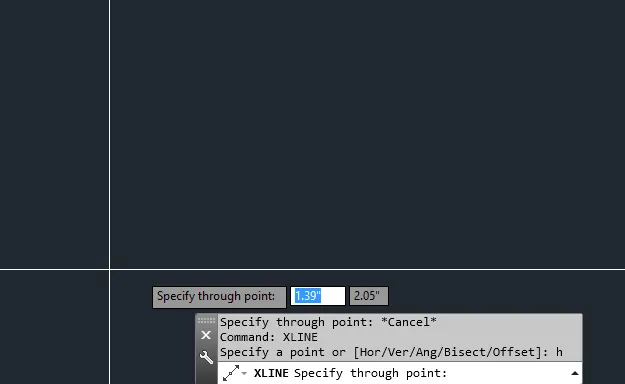
- Take a offset command tool and draw a offset of 9" for outer wall thickness
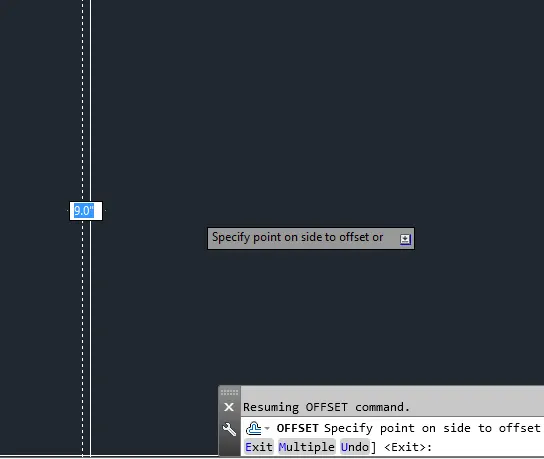
- Fillet the edges of the wall by using fillet tool command
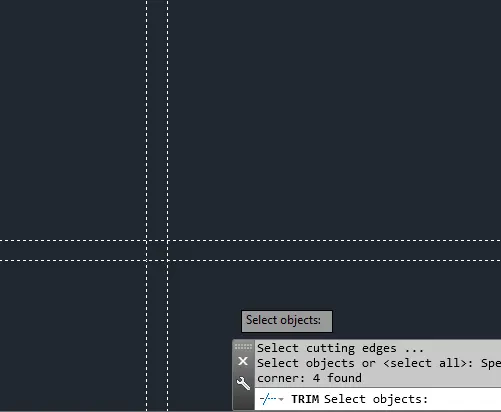
- Again take a offset of length 12'6" in the horizontal axis for length of the room
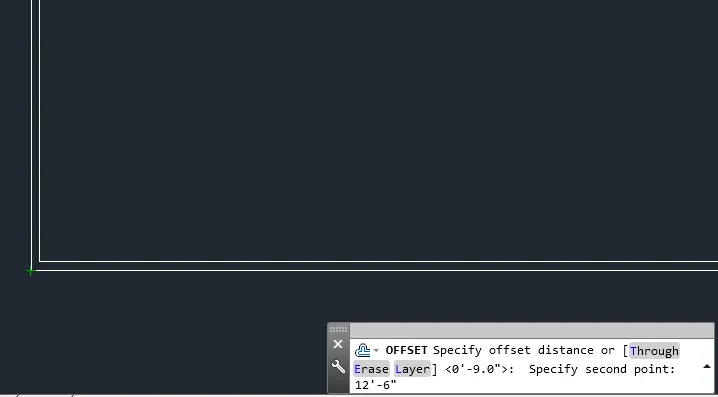
- And take offset in the vertical direction of 6' to create a inner wall and give wall thickness of 9"
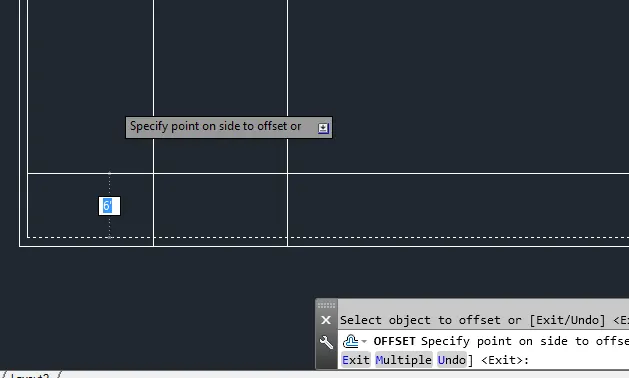
- Again take a offset of 6'-8" to create a inner wall and to continue the wall and give inner wall thickness as 4.5"
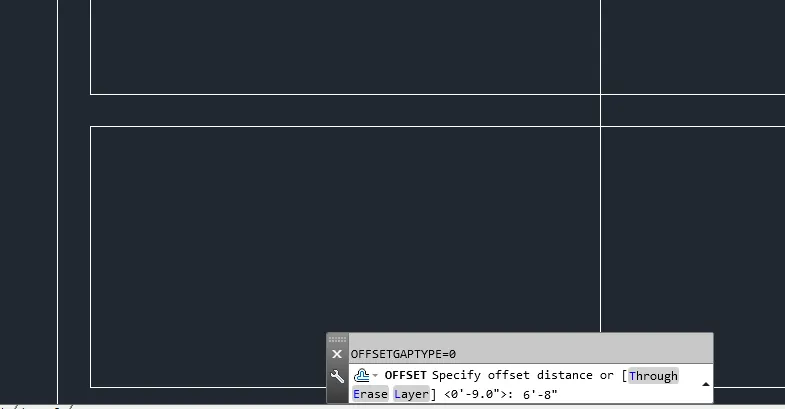
- Again take a offset of length 11' in vertical direction and inner wall thickness as 4.5"
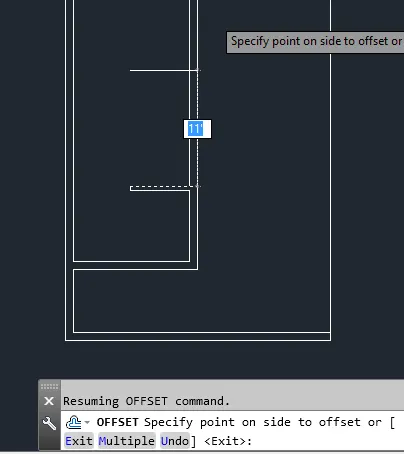
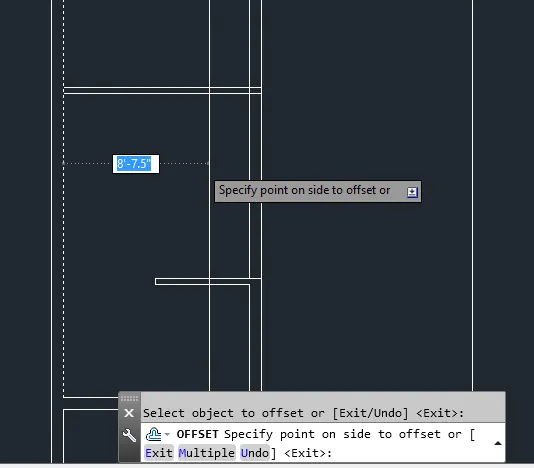
- Take a offset of 8'-7.5" in the horizontal direction as a width and inner wall thickness as 4.5"
- Trim of the unwanted portion in the drawing by using trim command
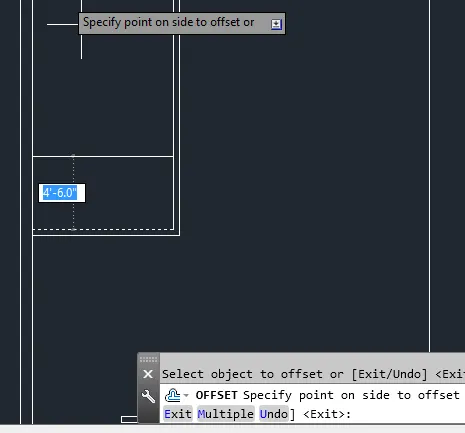
- Take a offset of length 4'-6"wall in the vertical direction and give inner wall thickness as 4.5"
- Again take a offset of 12' in the vertical direction and give outer wall thickness as 9"
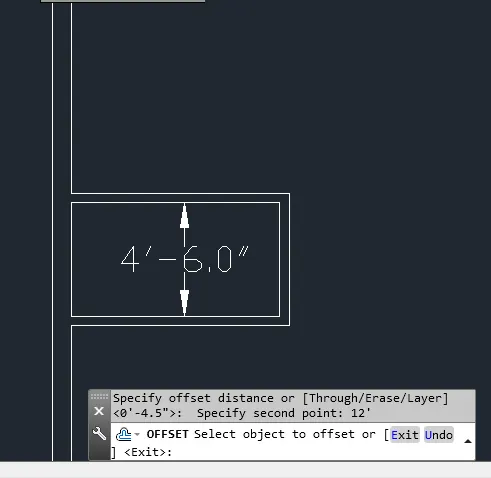
- Take a offset of 11'-7.5" in the horizontal direction and give inner wall thickness
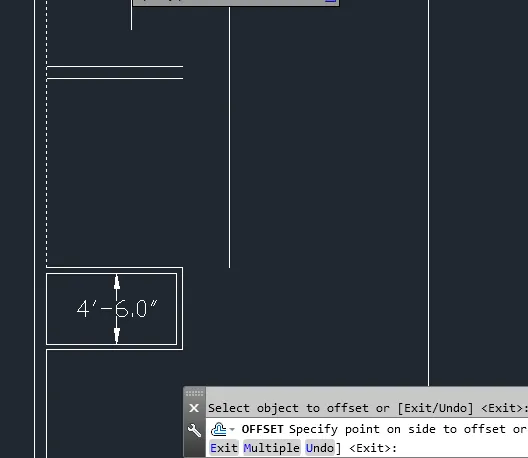
- Now take a offset of length 12' in negative vertical axis and also give inner wall thickness as 4.5"
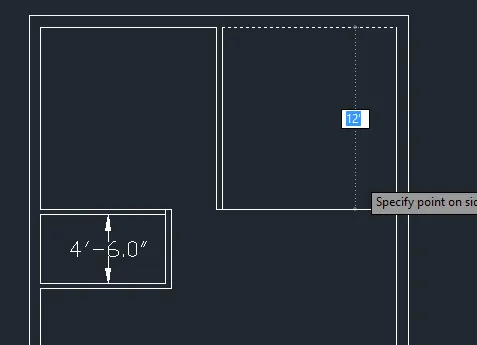
- And also take a offset of 4'-6" in the negative y direction and give a inner wall thickness to it
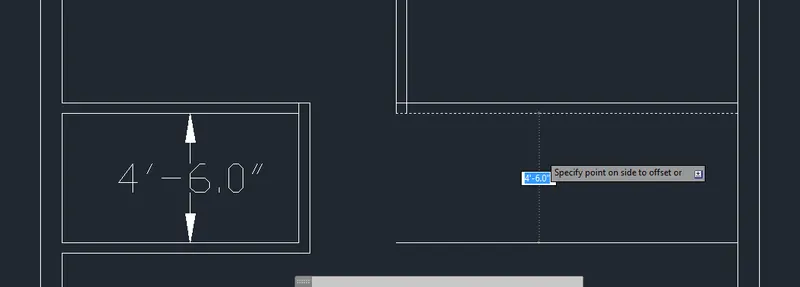
- Take a offset of 8''1.5" in negative x axis and give a inner wall thickness of 4.5" to this wall
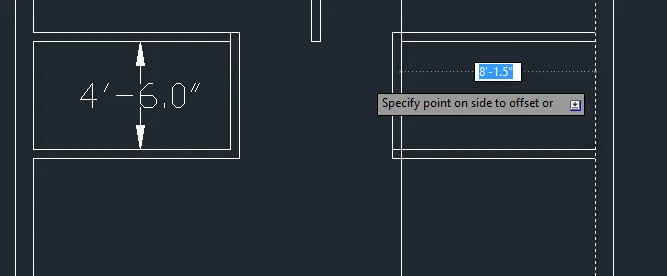
- Again take a 11' offset in the negative vertical direction and a outer wall thickness of 9"
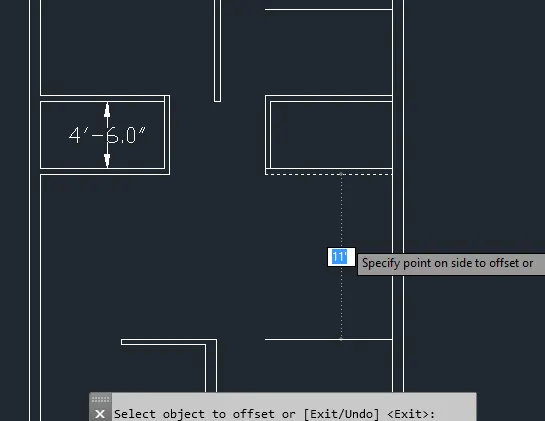
- Again take a offset of 13'-9.5" in the negative vertical direction including the outer wall thickness
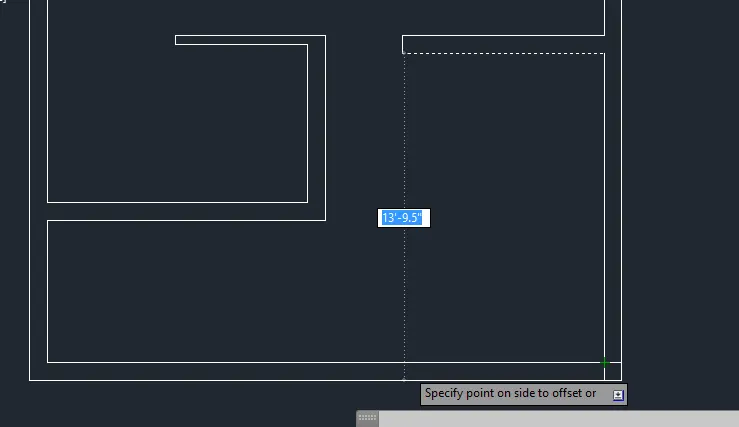
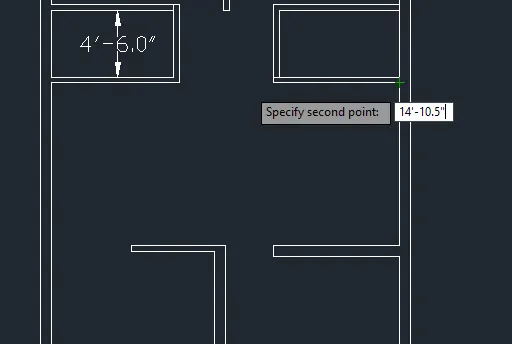
- Take a offset of 14'10.5" in the negative x axis by using a offset command
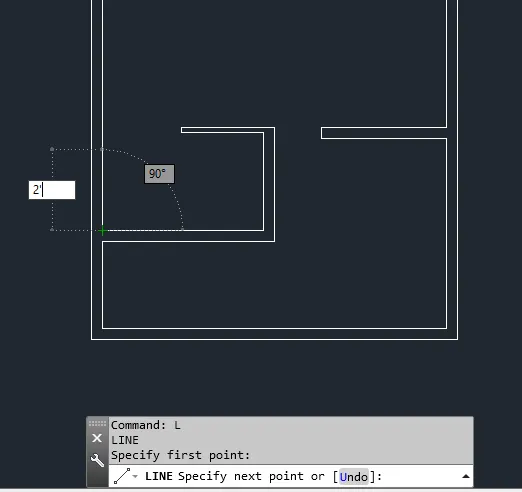
- Draw a line of 2' to draw a kitchen in the 11'X6'-8" room
- In order to create a door we have to do block to insert a door
- First and formost we have to know in which layer we are going to create a door, so for this we have to do create a layer first and name the layer and give particular color to the layer of a door
- Then go to line command and draw a line of length 3'-3" for D1
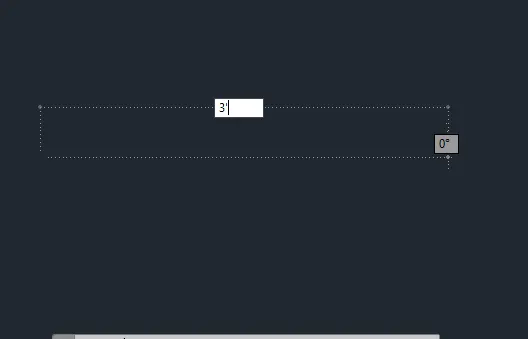
- Take a line and create a rectangle of length 1.5" in X and,3" in Y to create a frame of a door D1
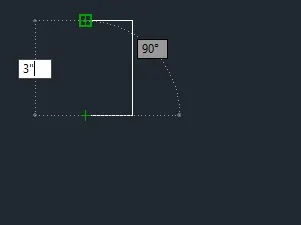
- Place the frame at the end point of a line that we have created
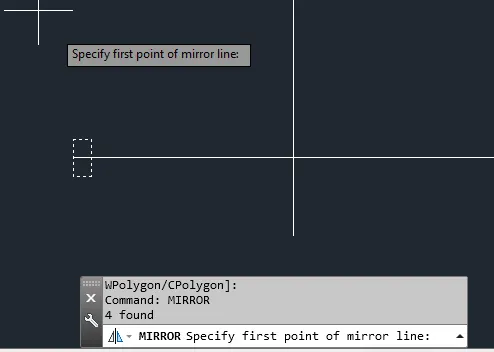
- Do a mirror on both side
- In order to create a panel of a door take 0.1" hinge thickness from the frame by using line command
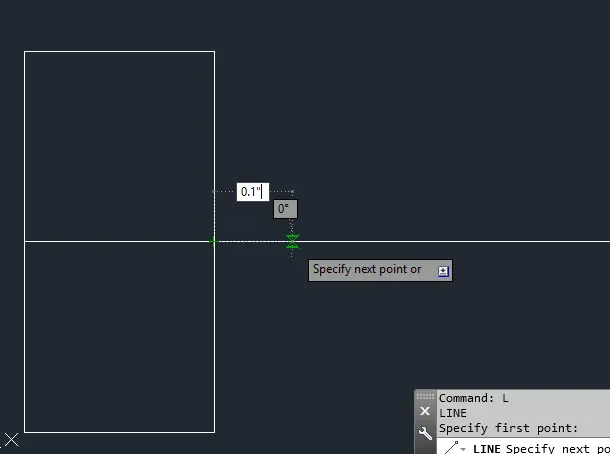
- Draw a line from 0.5" hinge thickness of length 3'-0" to draw a panel of a door D1
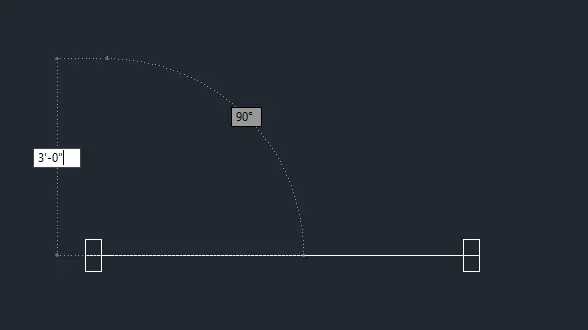
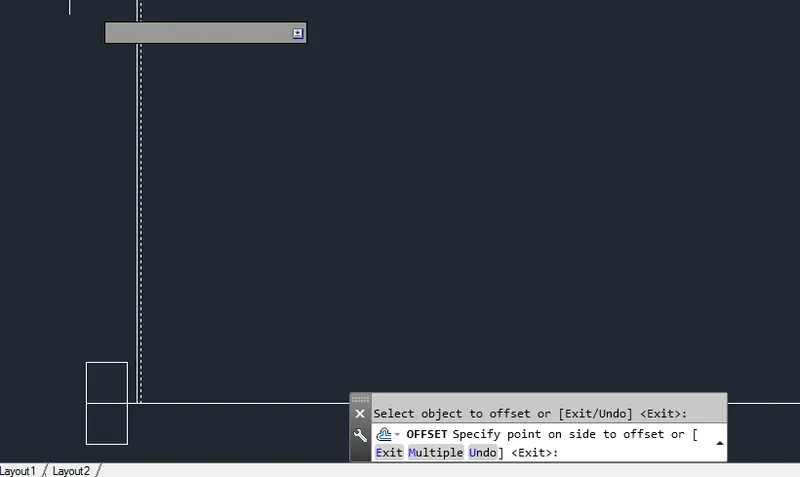
- Draw a offset of length 0.15" for panel thickness using offset command
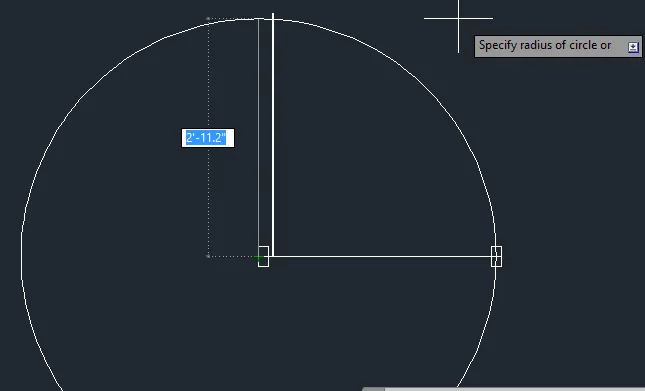
- Draw a circle from the end point of a reference line and join to another endpoint of a reference line to create a swing of a door 1
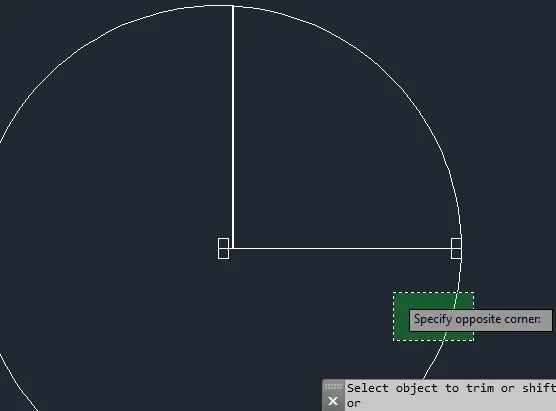
- Trim the unwanted circle and the swing of a door is created
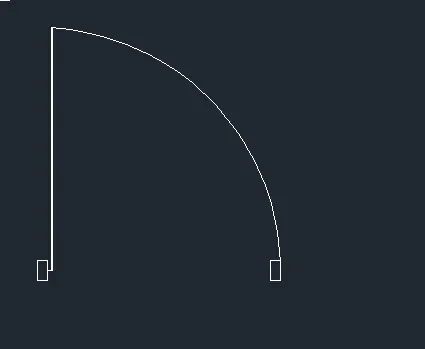
- Place the door in the door opening in a plan
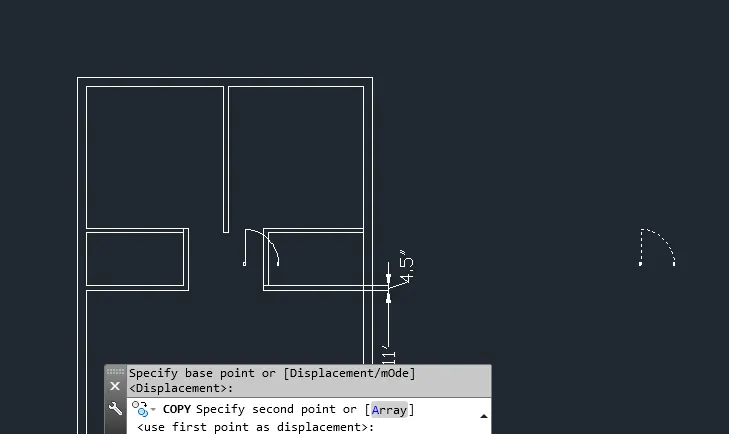
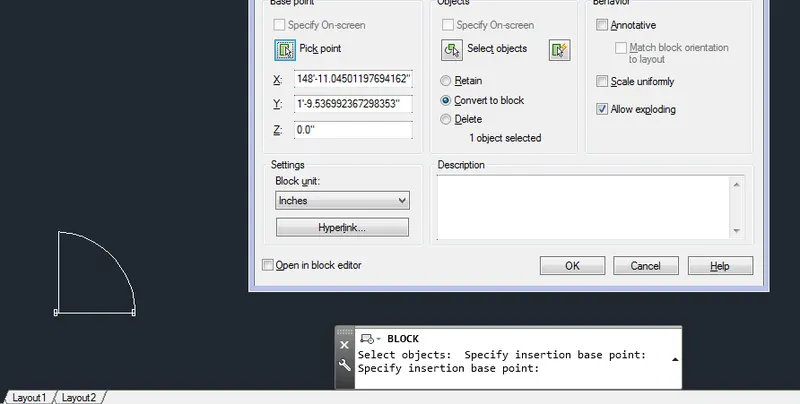
- In order to create a block go to Block command and there specify a name for a block select a object that we want to block and pick a point from the object and press ok
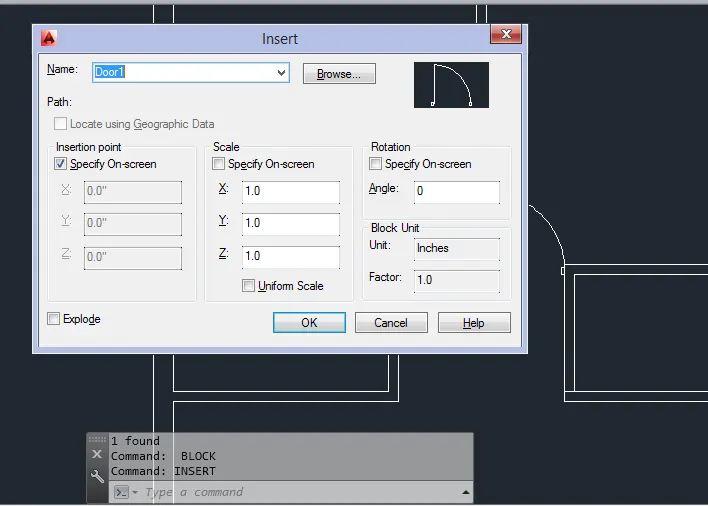
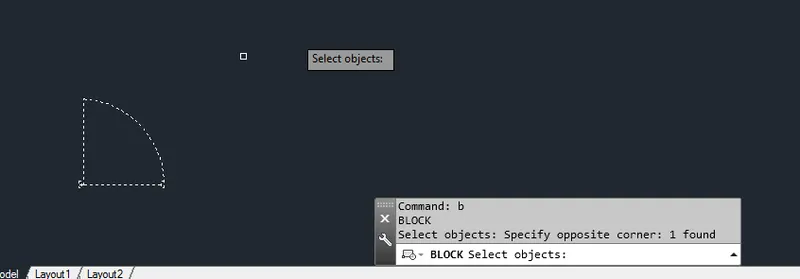
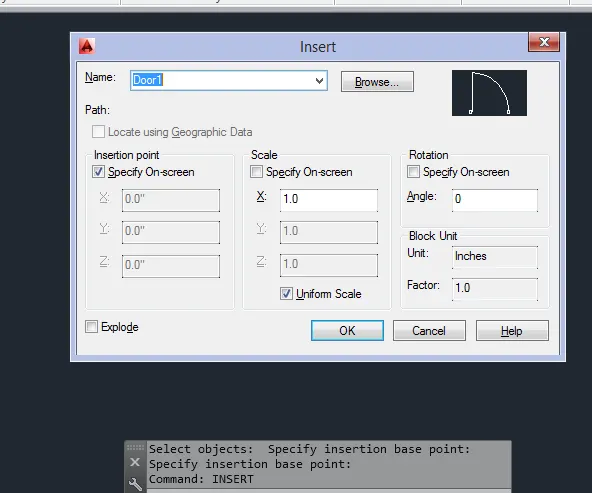
- To insert a block that we have created go to insert command and select the block that we have created and insert the block where we want
- Again create D2, D3 for the given dimensions as same as the Door1 and insert the doors created to the respective place
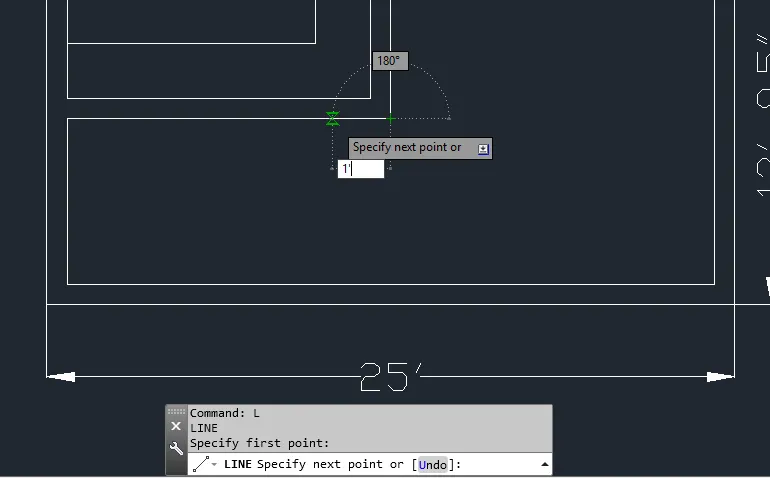
- Go to line command to create a staircase of given thread length of 1'
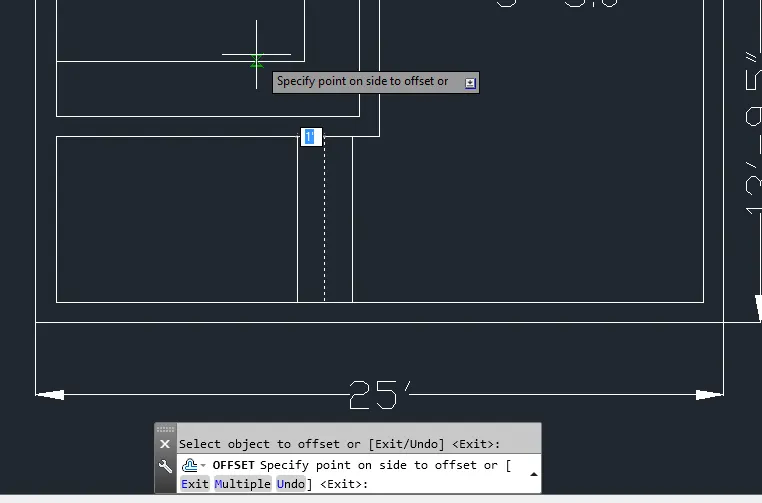
- And take a offset from the lines of 1' feets
- Go to rectangle and create C/B Cupboard of our own dimensions in the room 11'-7.5"X12'0" and 11'-6"X12'0" rooms
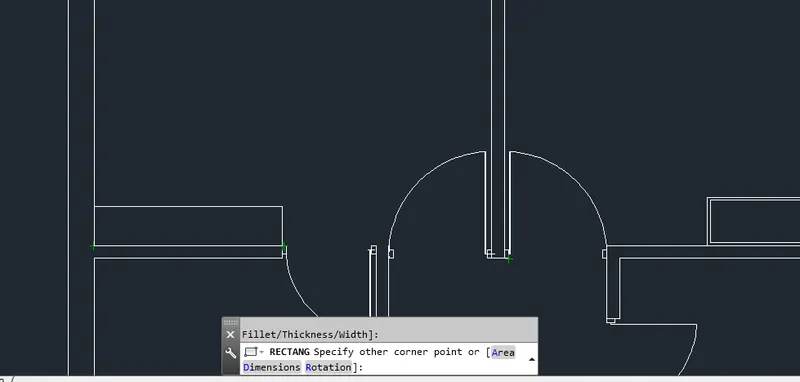
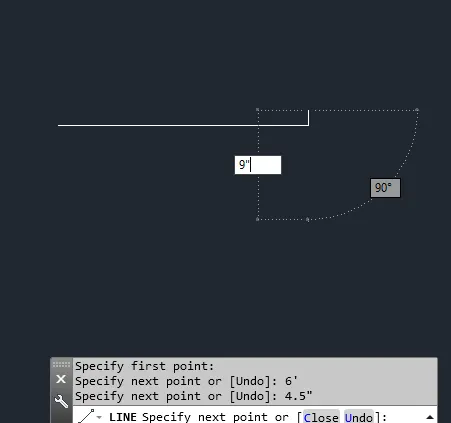
- To create a panel of a window go to line command and draw a line of length 6' line and 9" in the end of the line both the sides vertically and place the window in the plan
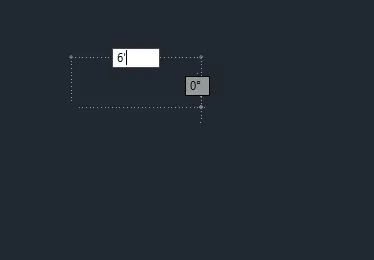
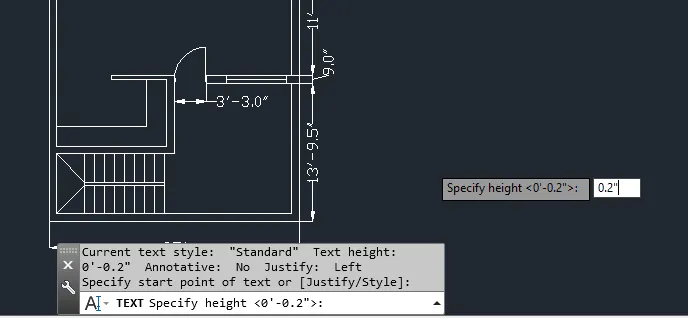
- Now go to single text option and give 0.2" height for the text height and add the texts to the plan
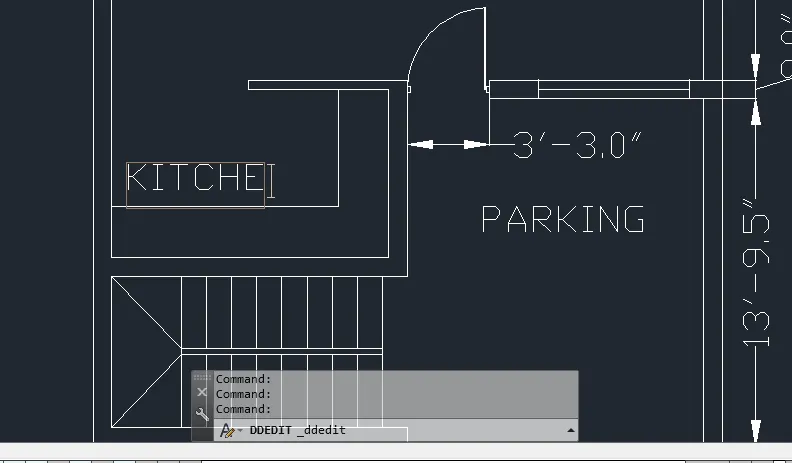
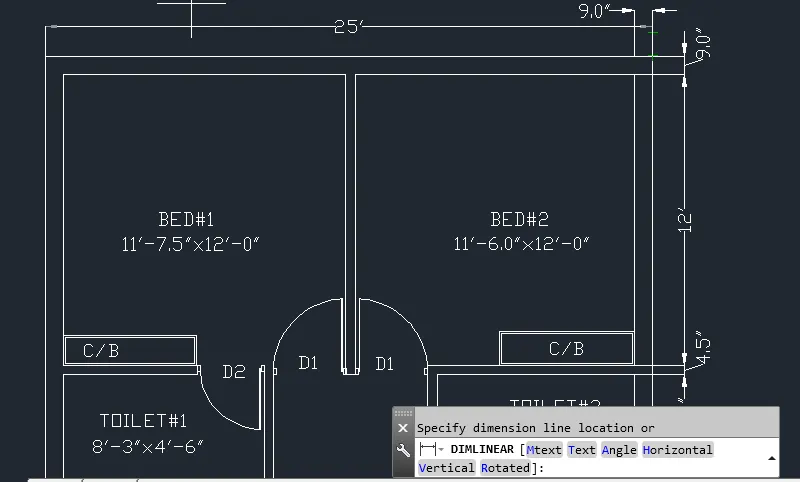
- And finally take dimensions tools and measure the lengths and breadths of a plan
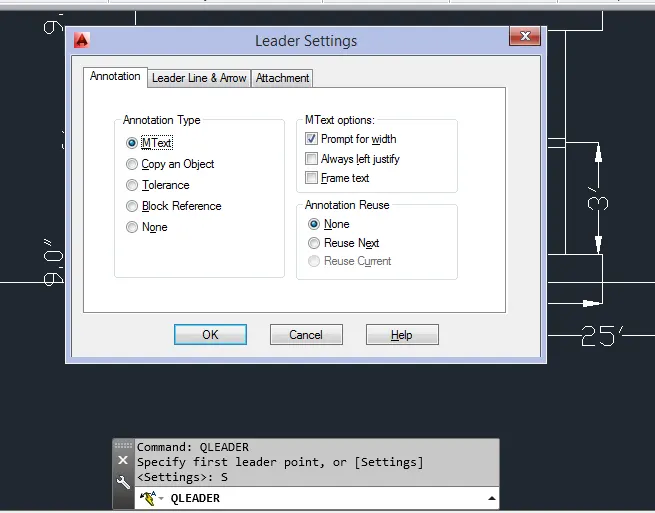
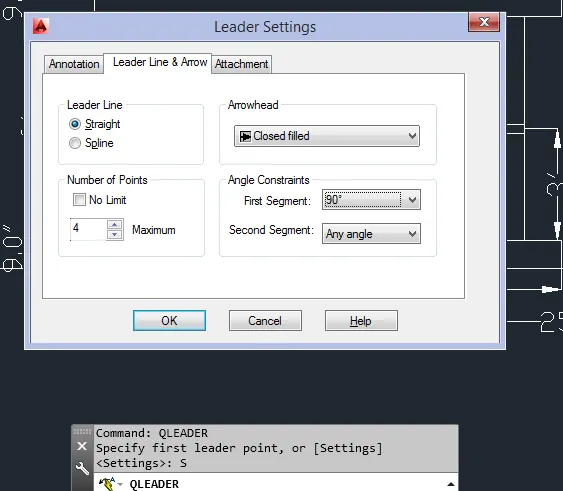
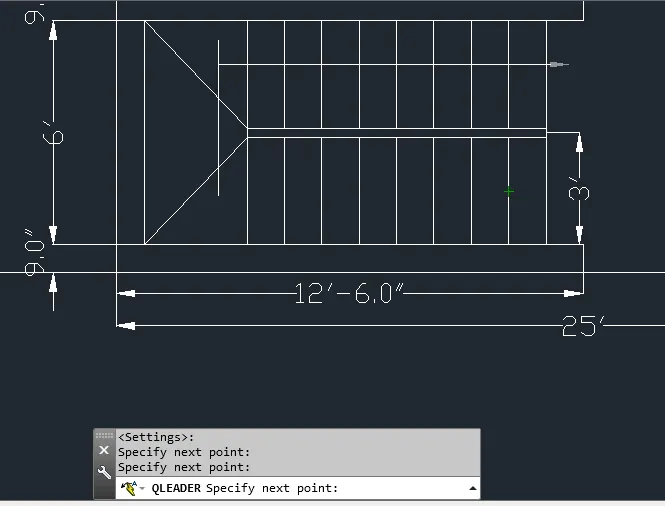
- To name the staircase go to qleader command and go to qleader settings and leader settings dialogue box will open
- Go to leader line and arrow option and go to straight option
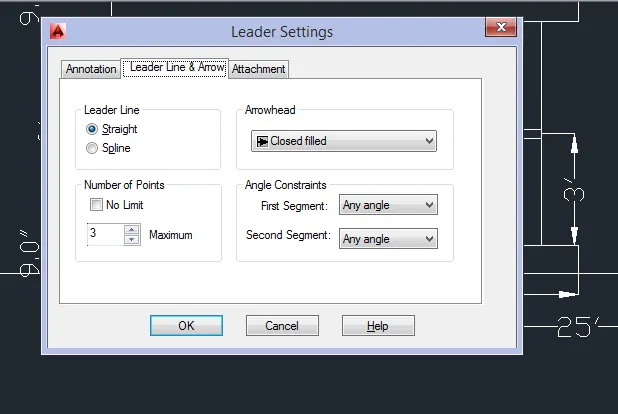
- Give arrow head as closed filled and no of points as '4' and first segment as 90degrees and press ok
- Then go to plan and indicate the up and down sign
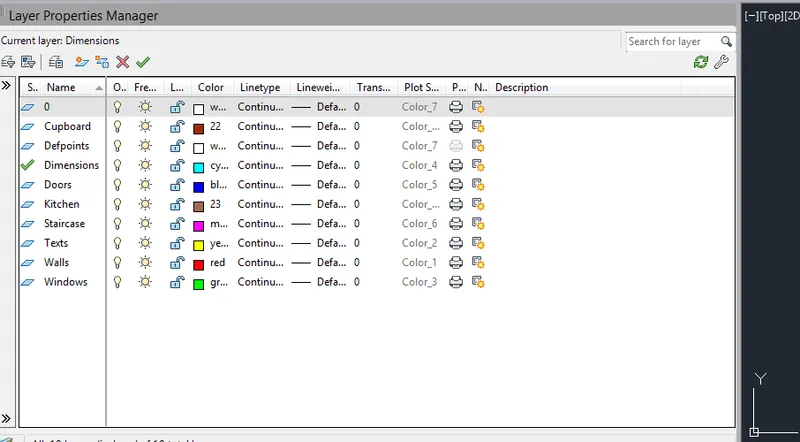
- Then go to layer properties and create a layers for various elements in the plan and assign the layers to the particular layers of the plan
Result
2)
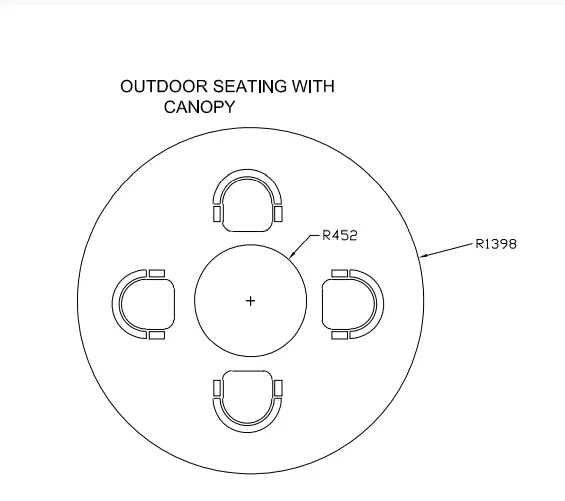
Aim: To create a given seating plan using autocad
Procedure:
Step1
- Go to start menu and select autocad 2014 software and double click on that and the autocad software opens
- Go to startup command and give value 1
- Then go to application menu and select new file
- Create new file dialogue box opens and set the units to decimals and pecision 0.0, press ok and finish
- Then types units in the command box and units dialogue box opens and set the units to decimal and precision 0.0 and insertion scale as millimeters
- Go to limits command and set the lower left corner as 500 and upper right corner as 500, press enter
- To create a seating draw a rectangle of 1mmX0.6mm dimension
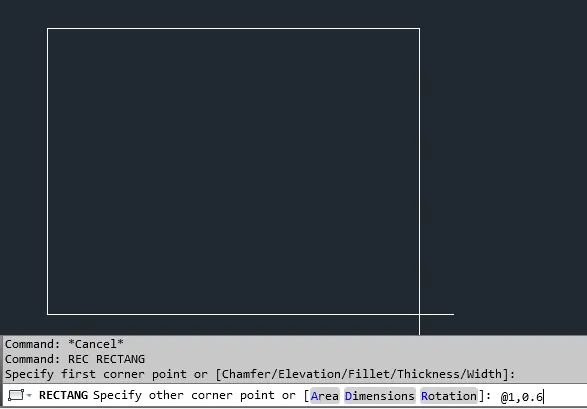
- Do a fillet of radius 0.2mm using fillet command on both the ends
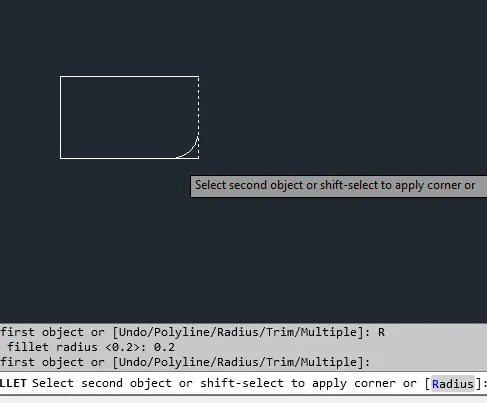
- Then go to an arc command and start, centre, end option and draw an arc
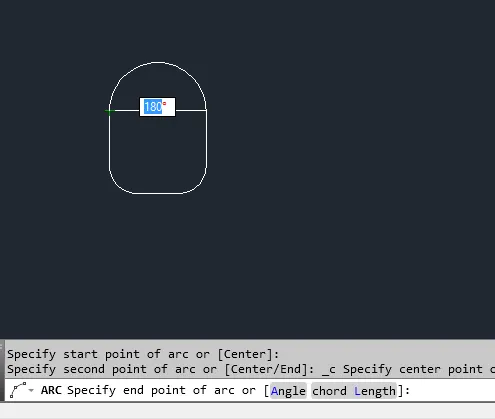
- Take a offset from the arc using offset command of offset of 0.02mm
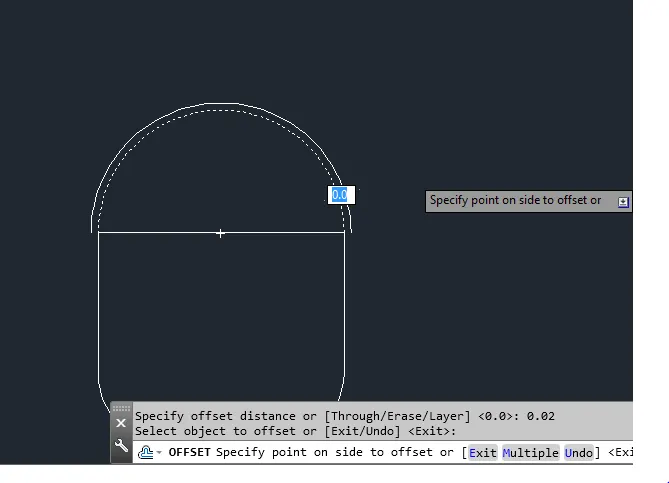
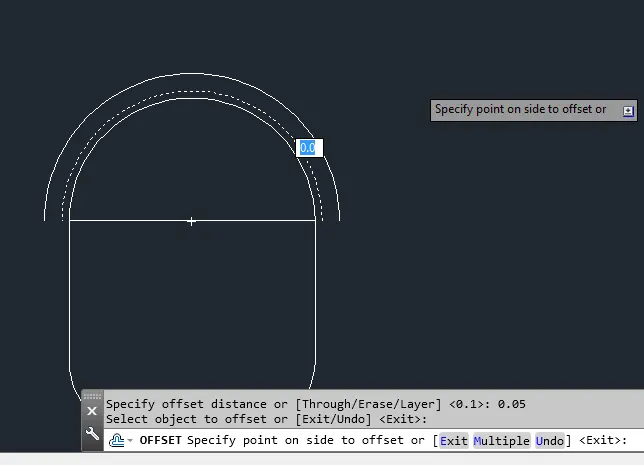
- Again take a offset of 0.05 from the second arc
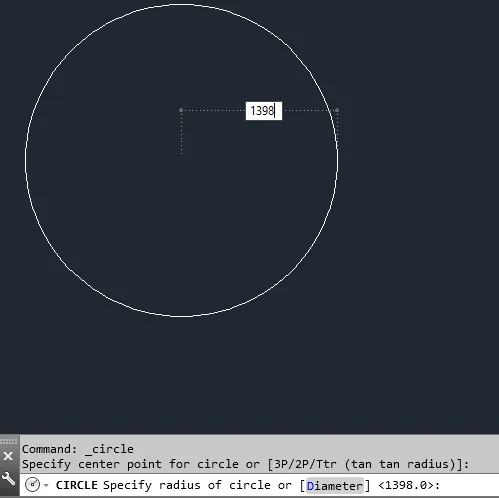
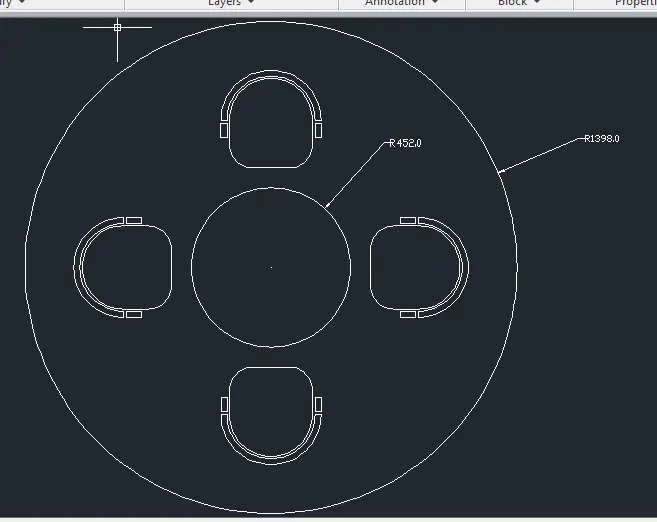
- Now create a circle of radius 1398 by using circle tool
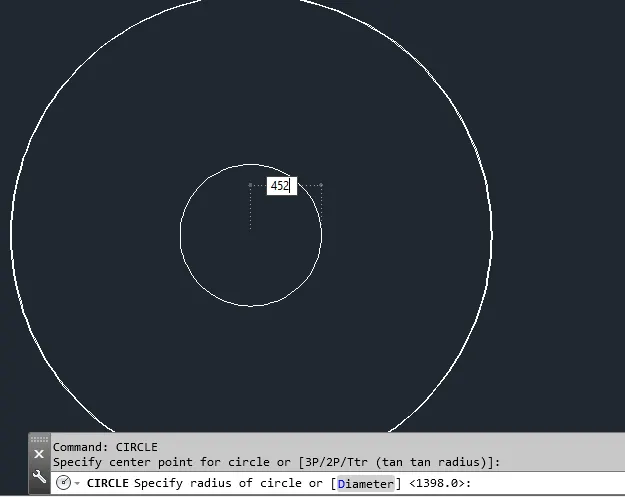
- Again draw a circle of radius 452mm in the centre of a circle of radius 1398mm using circle radius option
- Place the created seating in the place of seating
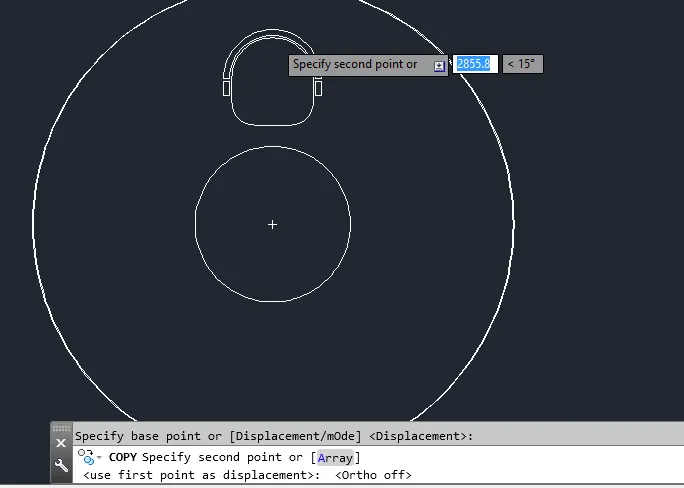
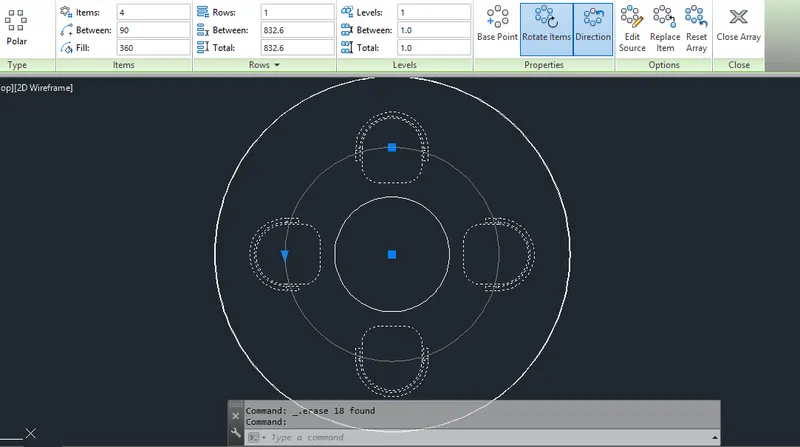
- Go to array command and go to polar array option and create a polar array around the inner circle of radius 452 of 4 polar arrays
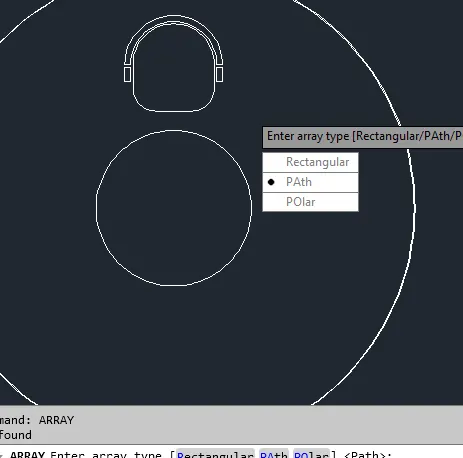
- Give the items to 4nos in array display tab and after giving the no of items and rows close the array
- Finally dimension the objects by using various dimensioning tools
Result
3)
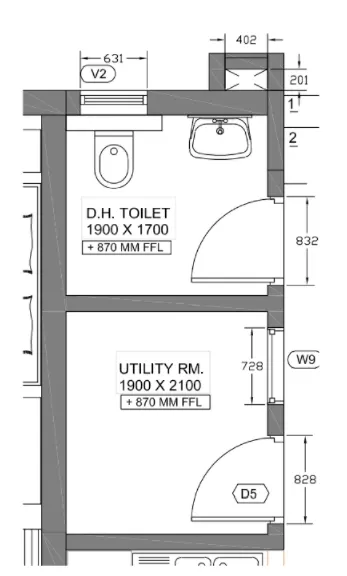
Aim: Sketching the part plan for toilets and utilities room using autocad
Step1
Procedure
Continue with the previous drawing sheet because the dimensions given in toilets and utilities room are in decimals as same as in the seating plan
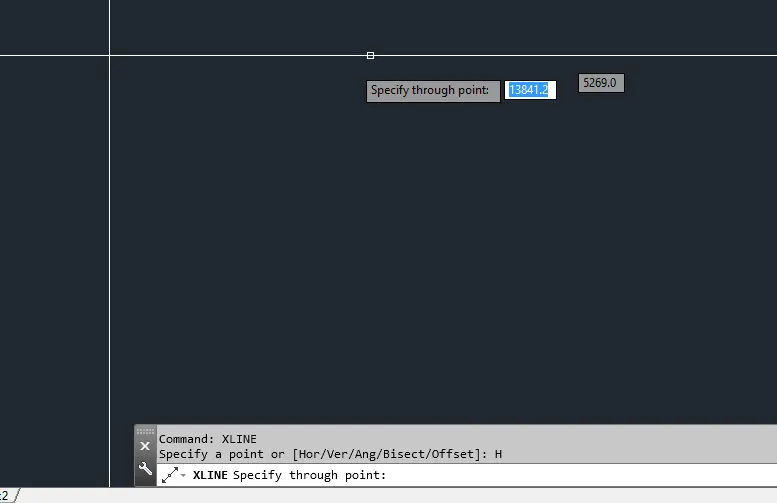
Take a xline command and draw a horizontal and vertical lines
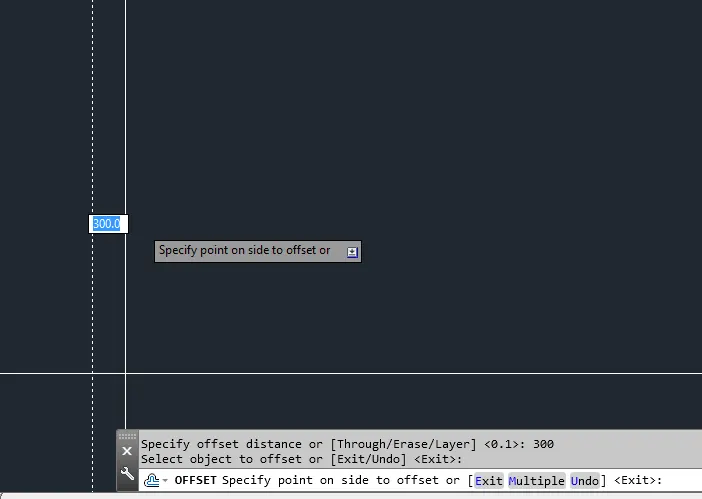
Take a offset command and take a offset of 300mm as a outer wall thickness and draw from vertical line
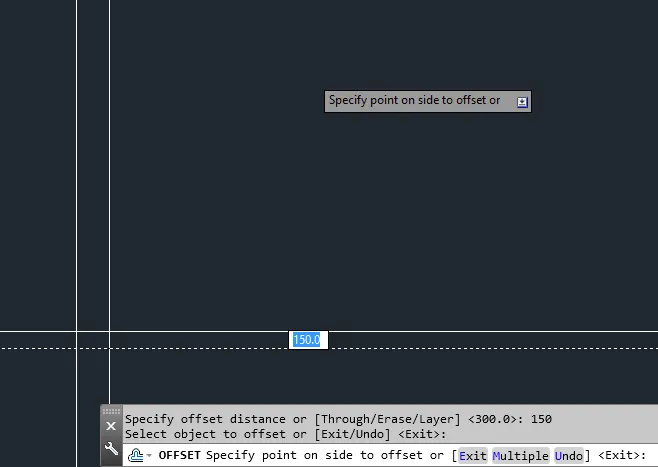
As it is a part plan take inner wall thickness as 150mm from the horizontal line upwards using offset command tool
As the dimensions of utilities room are given take a offset of 2100mm vertically upwards from the horizontal line
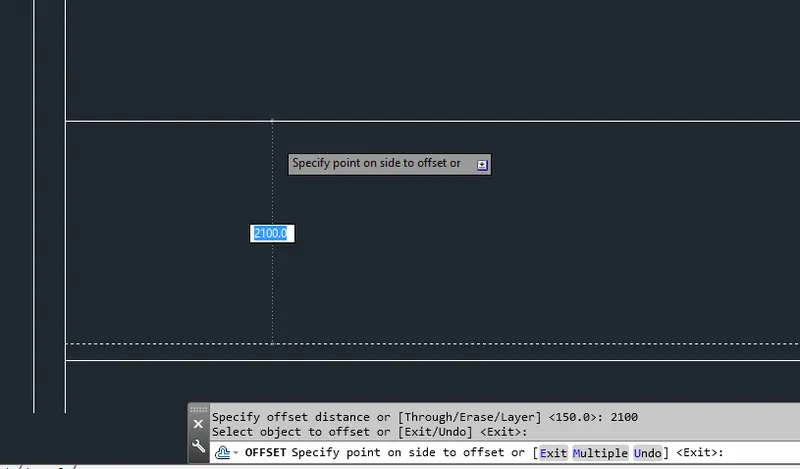
And take a offset of 1900mm as a width from the vertical line in the horizontal axis
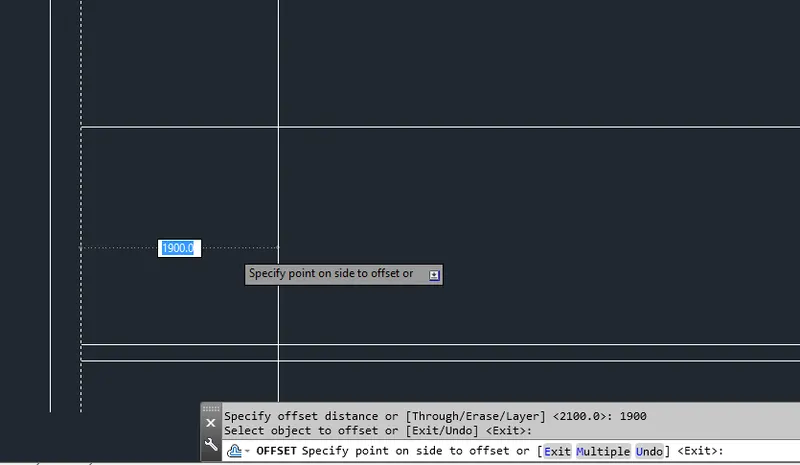
Trim off the extra lines from th plan
And also give outer wall thickness and inner wall thickness to the utility room
And again take offset of 1900mm in the horizontal direction as a width of a D.H toilet room and give inner wall thickness as 150mm
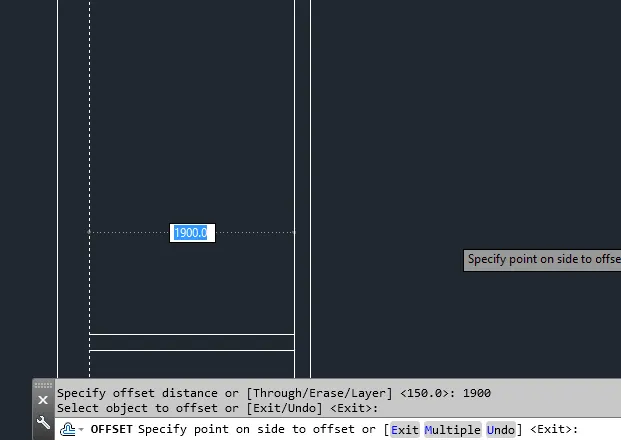
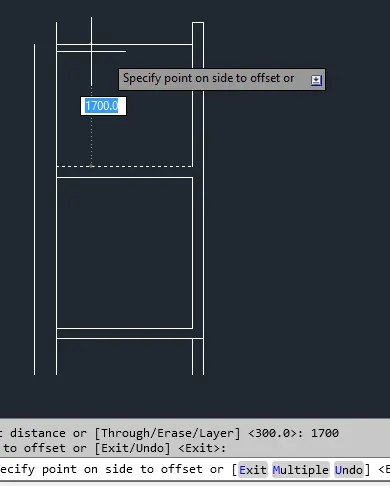
And specify the length of a D.H toilet room as 1700 and take offset of 1700mm in the vertical direction and also give outer wall thickness as 300mm for the D.H toilet room
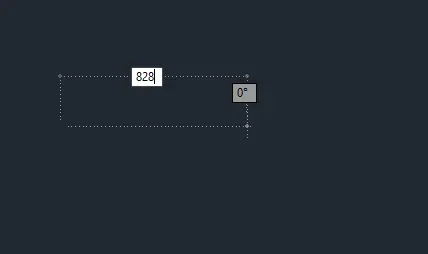
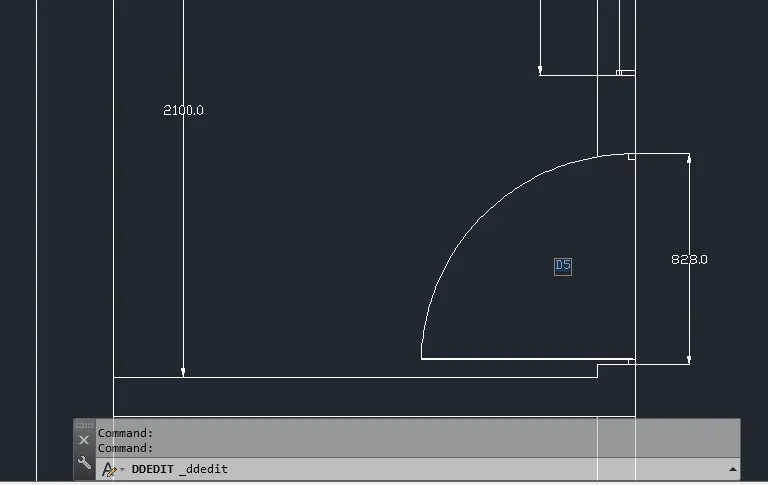
To create a door draw a line of length 828mm using line tool
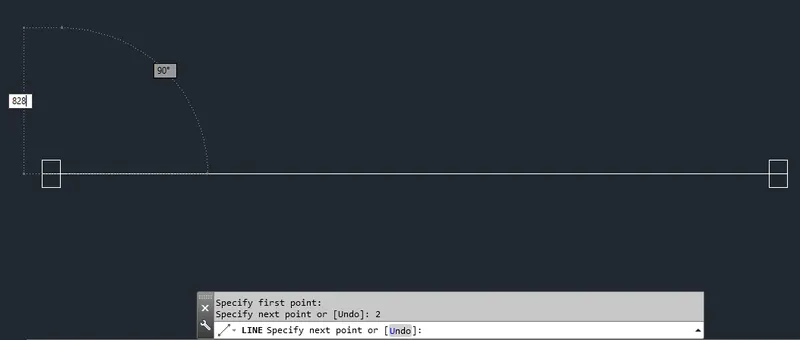
Again draw a perpendicular line from the end point of a horizontal line
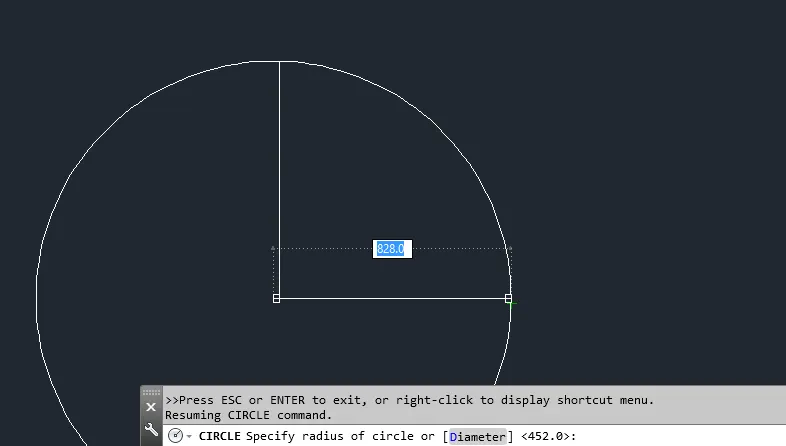
Draw a circle from two end points using circle tool
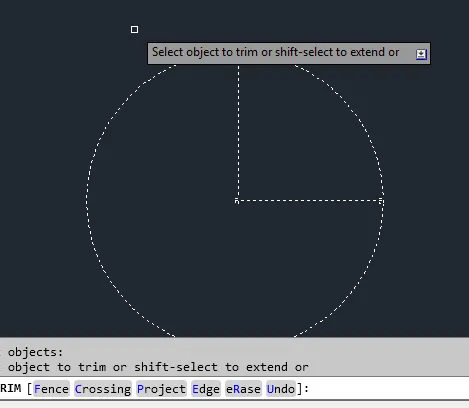
Trim off the unwanted portion of a circle to create a swing of a door
And now the door has been created
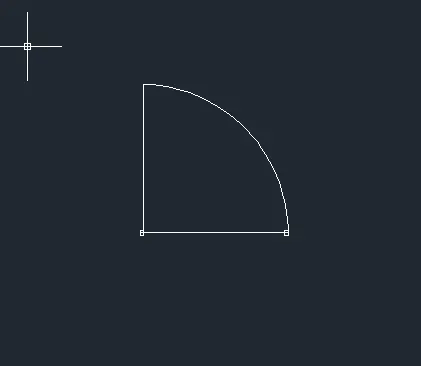
Insert this door D5 in utility room
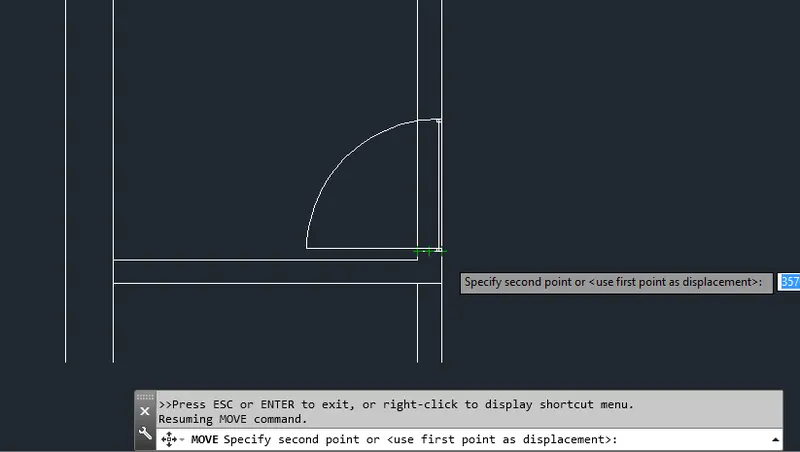
And draw another door of width 832 for the D.H toilet room in the same way
After placing the door draw a window of width 728 for the utility room
Draw a line of 728mm width by using line command
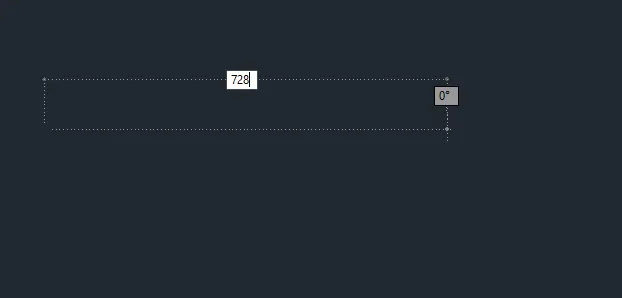
Draw two rectangle of particular size and place the rectangles on both end sides of a line
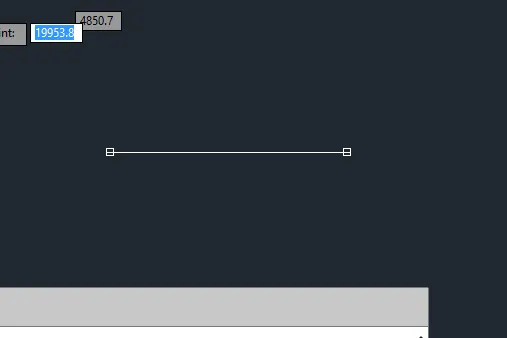
Place the window to the utility room
To draw a ventilator to the D.H toilet room draw a line of width 631mm by using line tool
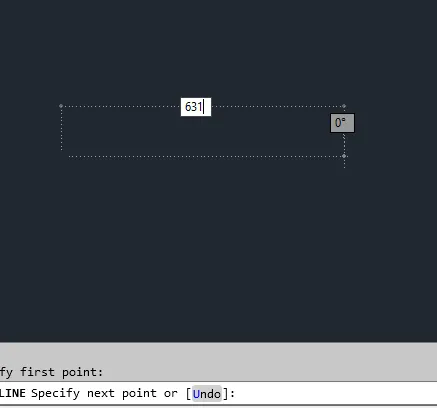
And take offset of 10mm twice below the line and create two rectangle on both the sides of a line
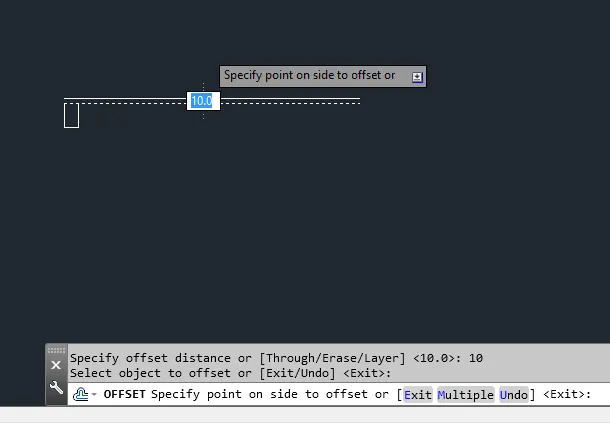
Place the ventilator to the D.H toilet room
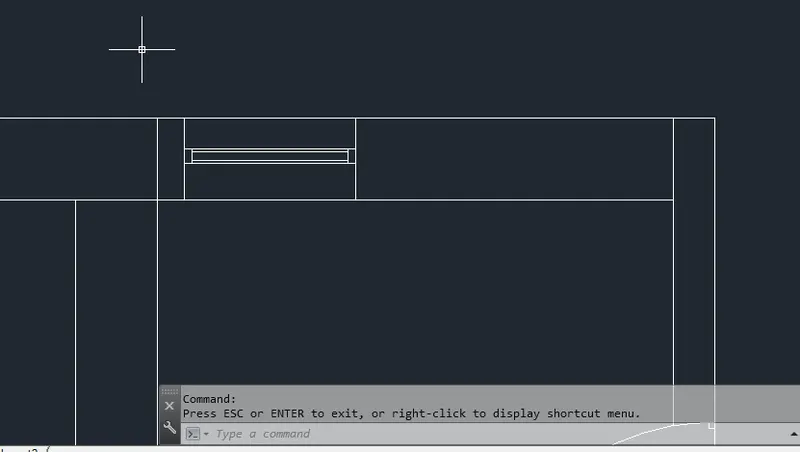
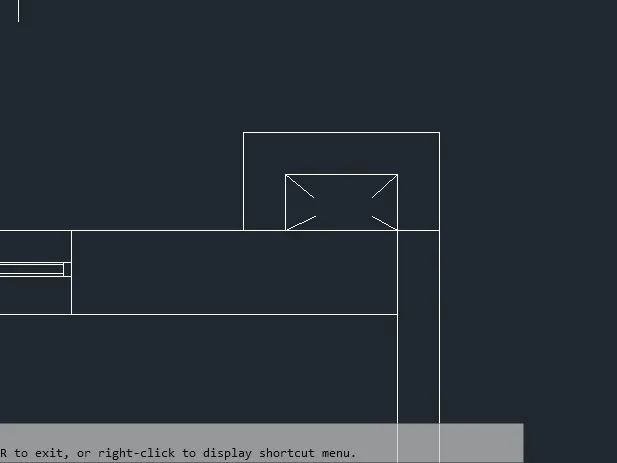
Again create a rectangle on the top of the D.H toilet room and build the wall around the rectangle
Finally add text to the plan and dimension the plan by taking suitable dimension styles
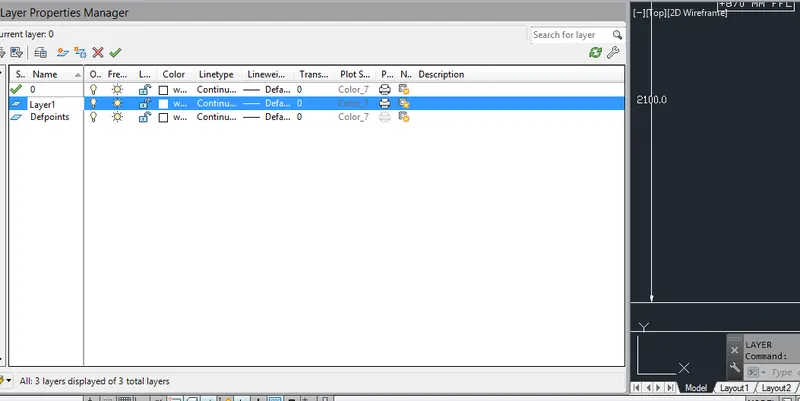
Create a layers by layer manager properties and asign those layers into the plan
Result
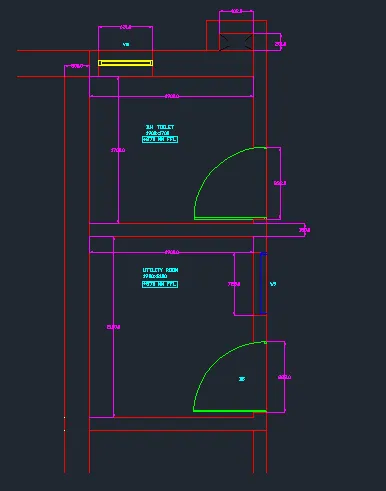
The drawing files has been attached below