Challenge 8 : Concept Modeling of Seats
- Title of the Project: Concept Modelling of car seat.
- Objective: To do the concept modelling of car seat using the perspective visual with the help of auto desk alias
- Introduction: Autodesk alias can be used to create a detailed 3d model of the car seat by using the certain tool in the software. By importing the image of car’s seat .we can use it to create surfaces. We have to use our perspective to create detailed surfaces of the seat.since the diagram given is not detailed diagram we have to use are imagination and perspective to create the model.
- Design methodology / approach: the whole approach of this project can be explained with this flow chart
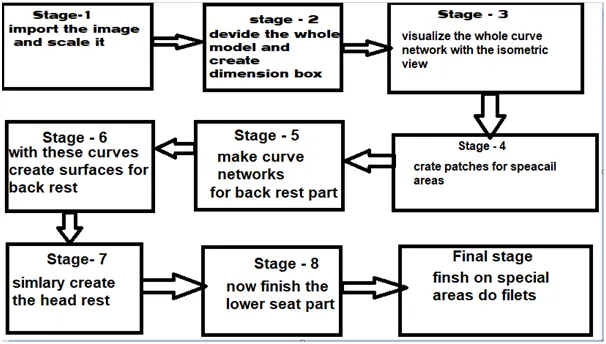
- Stage 1: Import the side view given in the seat since it has much more deatlied desgin and scale the canvas image accordingly .
-
Stage 2: As you can see the whole suture is much complex and needs to dived in serval parts to get optimum surface follow . we have to create different layers for head rest and back support .also according to the diagram create box so that we can fit the whole model in it as it has no proper dimensions.
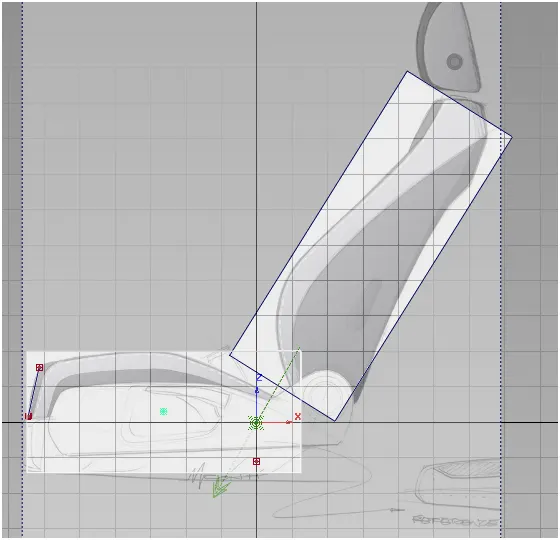
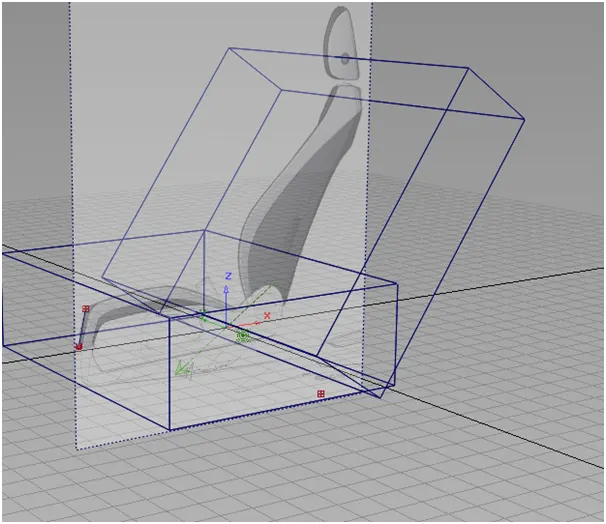
- Stage 3: visualize the whole curve network with the isometric view
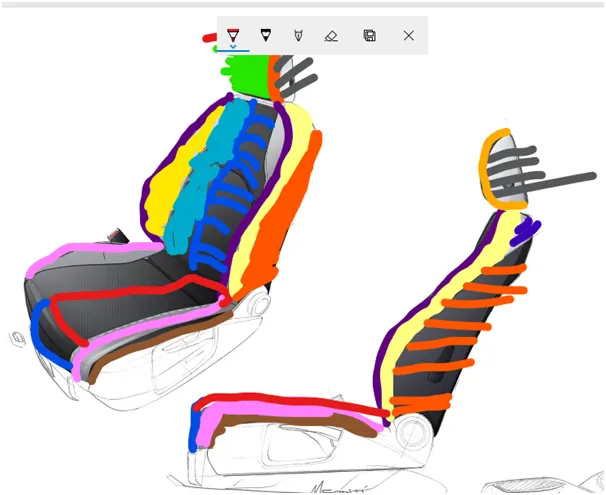
- Stage 4: Now for the each parts plan and focus on specail areas to crate patches
- Stage 5: now with the curve flow start making curve network on the back portion of the seat.
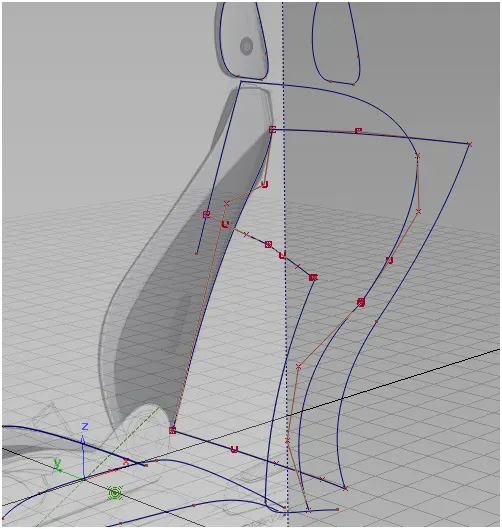
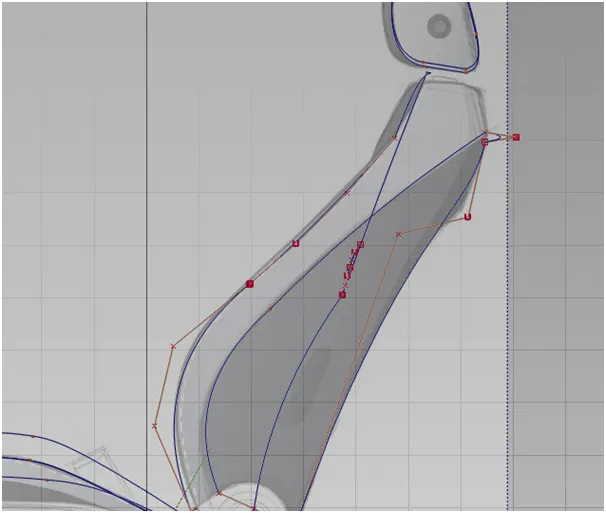
- Stage 6: use these curve networks to create surfaces. For the back support focus on the area as it will different from rest. Since it is more complex we have to create more surface and patches.
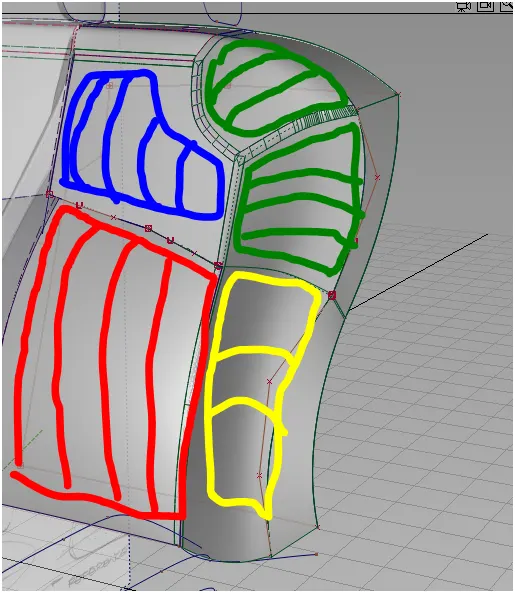
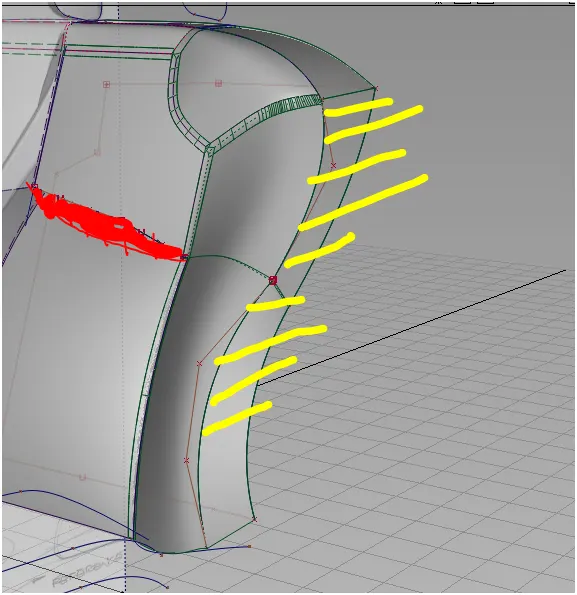
- Stage 7:for the head rest part reapeat the process and focus on the structure and surface flow.
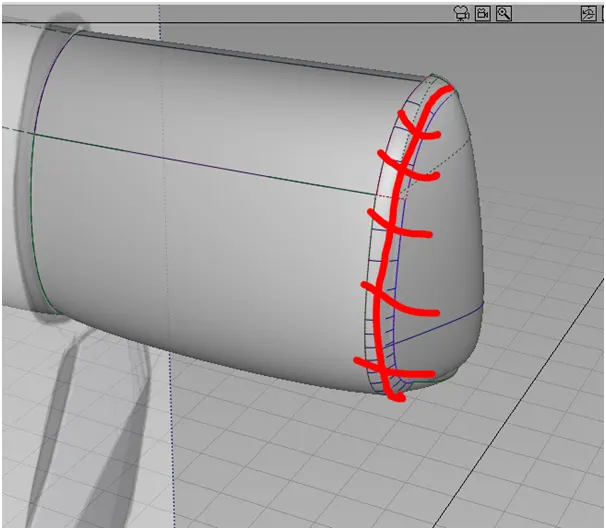
- Stage 8: for the lower part focus on the parts and see the surfaces flowing in proper way. Create the curves and create the surfaces accordingly.
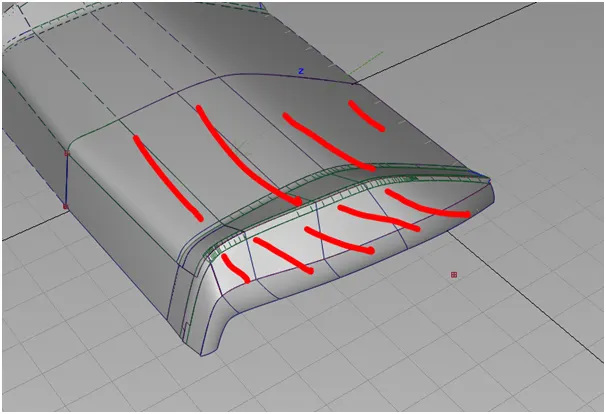
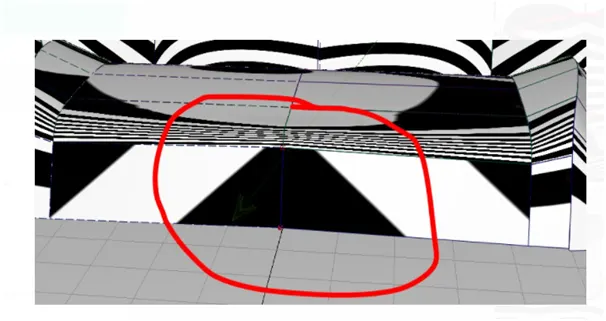
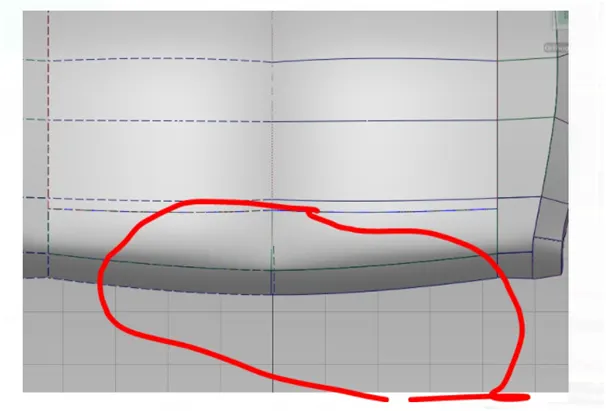
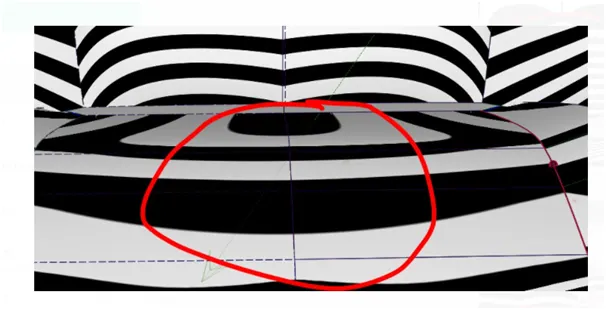
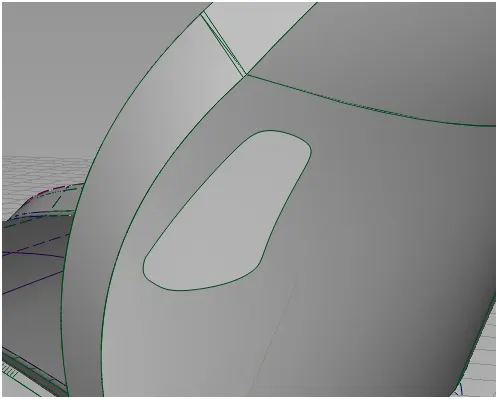
- Final stage: now there are certain special surfaces that we have to focus on to . also create fillets so that it cann give much smooth finish. finish the detailing part.check for the continuity.since model s difficult make surfaces as deatlied as possible
-
screenshots:
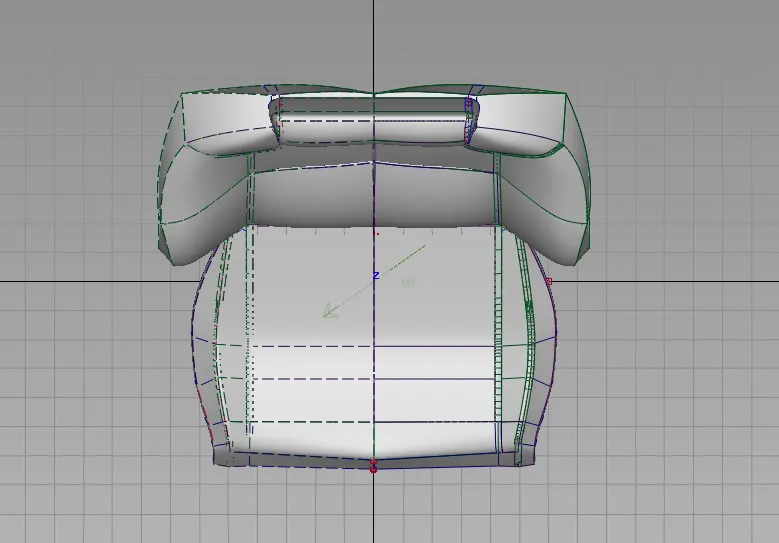
- Top:
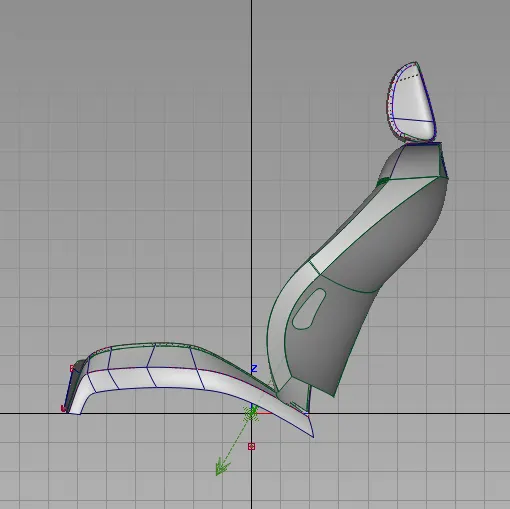
- Side:
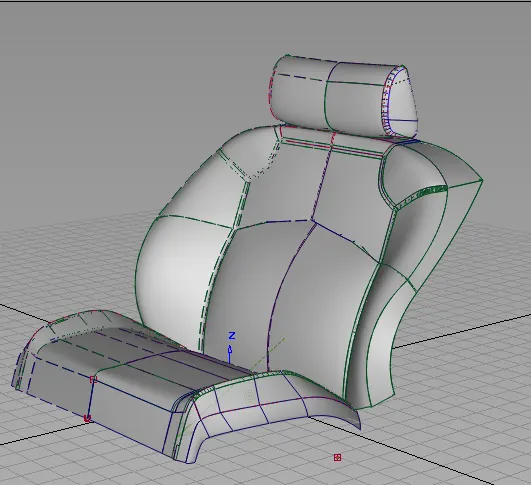
- Isometric:
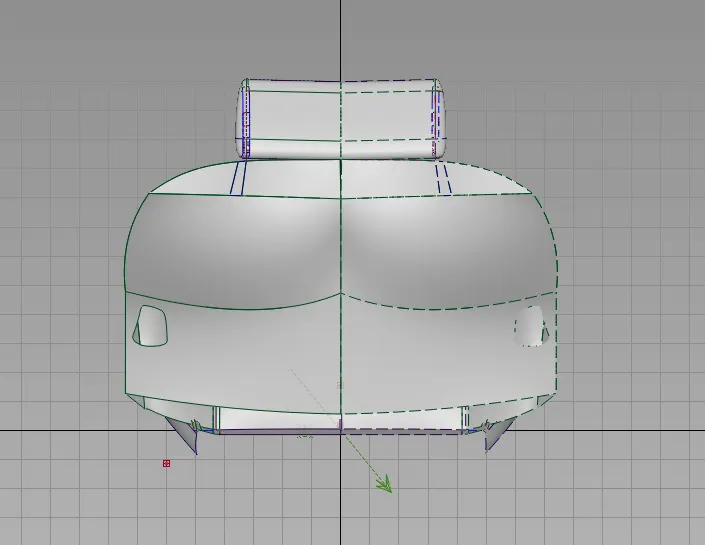
- Back:
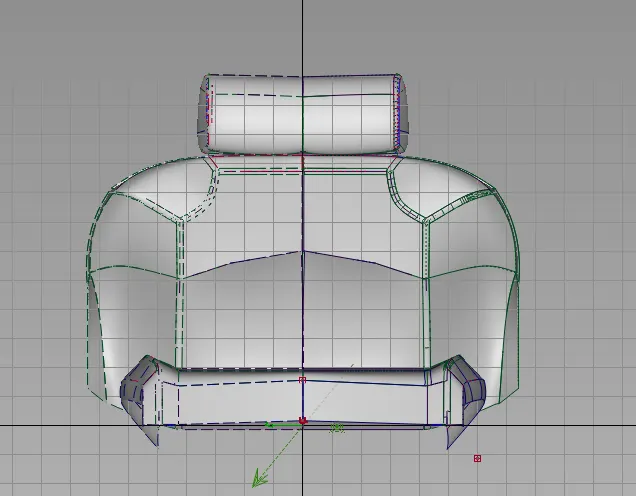
- Front:
-
- Description : the whole structure of seat can be created by using alias
There are several tools that were used in the making of the project. Tools like:
- Skin: skin tool that can be used to create surfaces from one curve or surface to other curves or surfaces.
- Rail: surface can be created by using generation curve and rail curve
- Project : a curve can be projected on the any surface that already exists.
- Trim:unwanted surfaces can be trimed from the surface to make whole
- Freeform blend: this can be used in special area where we want cure in a bend part like this, we can adjust the shape of the surface according to requirement
- Symmetry: this tool can be used symmetry the already created surfaces .this will help to create a pattern that can be duplicated further. Now by using the create geometry command in the symmetry option create a surface.
- Align : align the surfaces to conunity to make the surfaces make flow good
- Draft: using draft create surfaces at a angle and certain length
- Conclusion: the concept modelling of car seat using the blueprint by the help of auto desk alias was completed