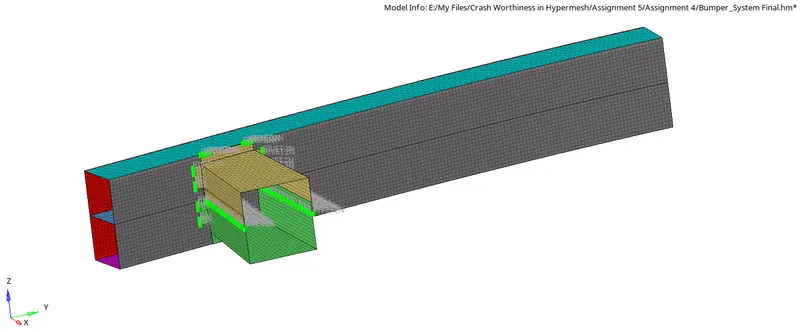
Assignment 5
AIM:
- To create a mesh for a given model and give connections to it.
- To simulates the given model.
METHODOLOGY:
- Importing the model.
- Meshing the model.
- Simulate with given parameters.
INTRODUCTION:
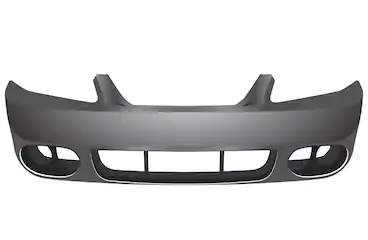
A bumper is a structure attached to or integrated with the front and rear ends of a motor vehicle, to absorb impact in a minor collision, ideally minimizing repair costs. Bumpers ideally minimize height mismatches between vehicles and protect pedestrians from injury. Regulatory measures have been enacted to reduce vehicle repair costs and, more recently, impact on pedestrians.
PROCEDURE:
Model 1:
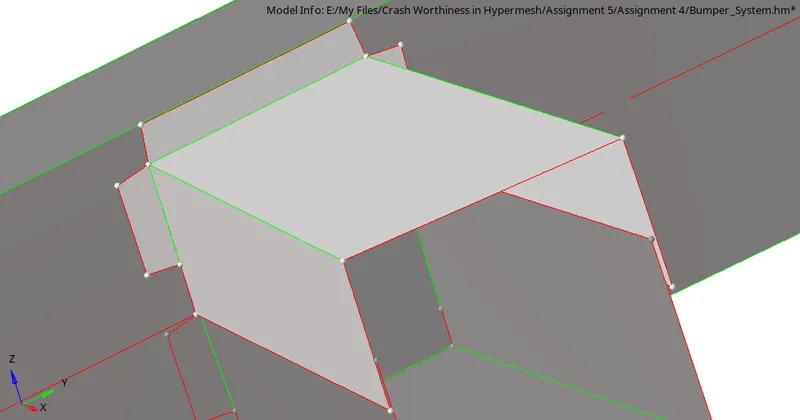
- Import the model.
- Clean up the model.
- Mesh the surface with given quality criteria.
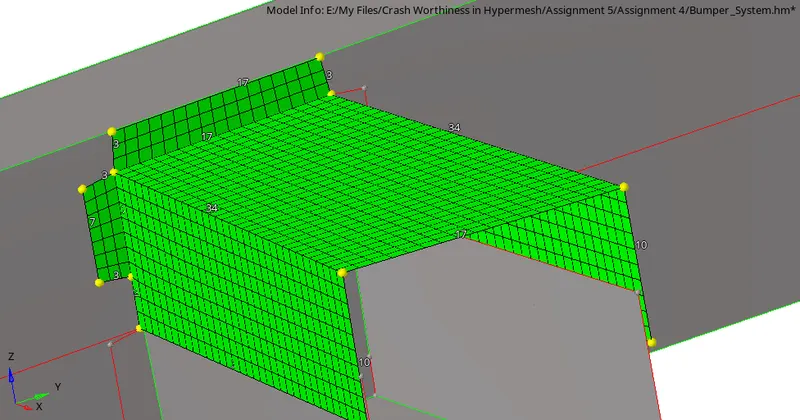
- Check for any element failure.
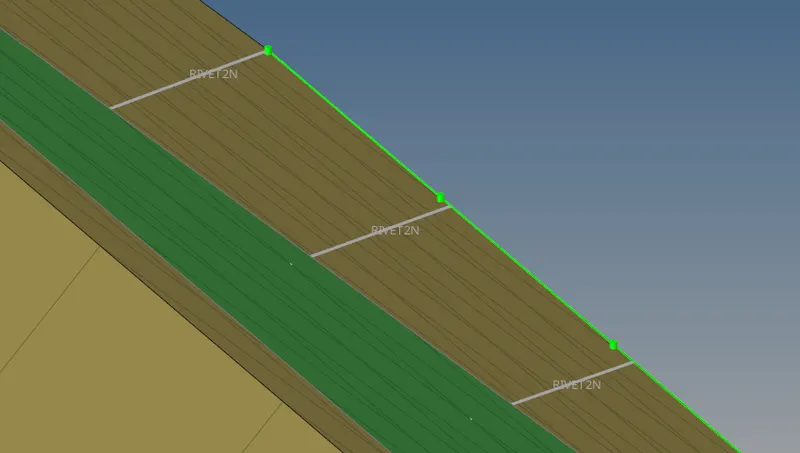
- Go to the 1D panel, select ‘connectors’ and select the ‘spot’ option.
- Select the connection type as “weld”.
- Select the nodes and components to connect.
- Set the spacing and tolerance value as “6”.
- Click on “Create”.
Model 2:
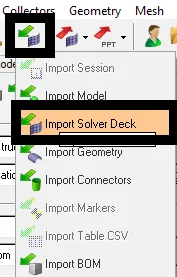
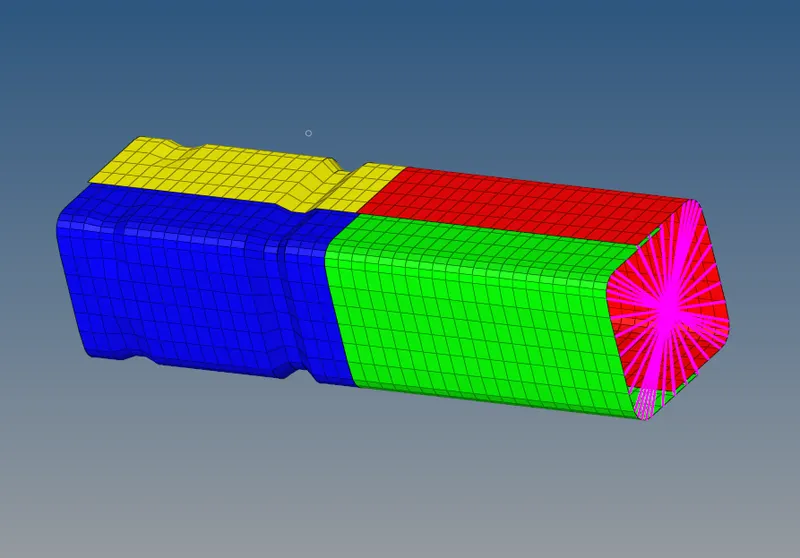
- To open .rad file, Go to the Import option in the Standard tool bar.
- Select Import as Solver Deck and select the file.
- Click on Import.
Simulation:
Case 1:
- Click on RADIOSS in the Analysis panel.
- Browse the file and and click on save as.
- Create a new folder and tick the include connectors
- Type as “-nt 4” in the options bar and click on Radioss.
- Run the simulation.

Case 2:
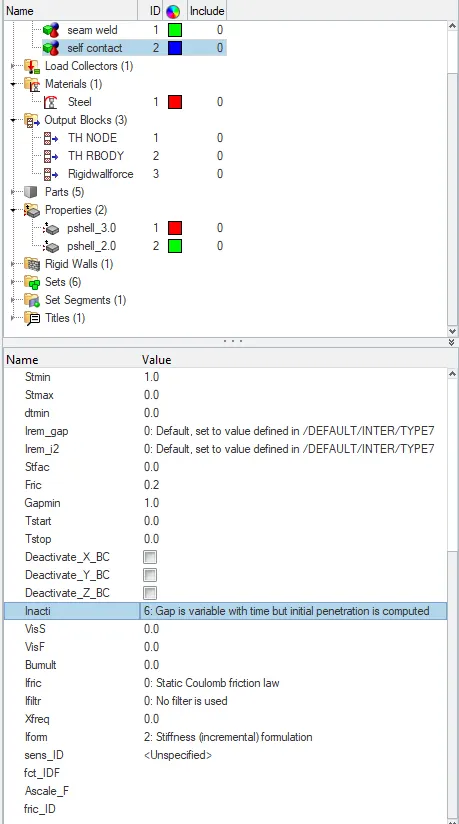
- Open the group in the model browser and select ‘self contact’.
- Open that group card and search for INACTI.
- Set that value as ‘6’.
- Click on RADIOSS in the Analysis panel.
- Browse the file and and click on save as.
- Create a new folder and tick the include connectors
- Type as “-nt 4” in the options bar and click on Radioss.
- Run the simulation.
Case 3:
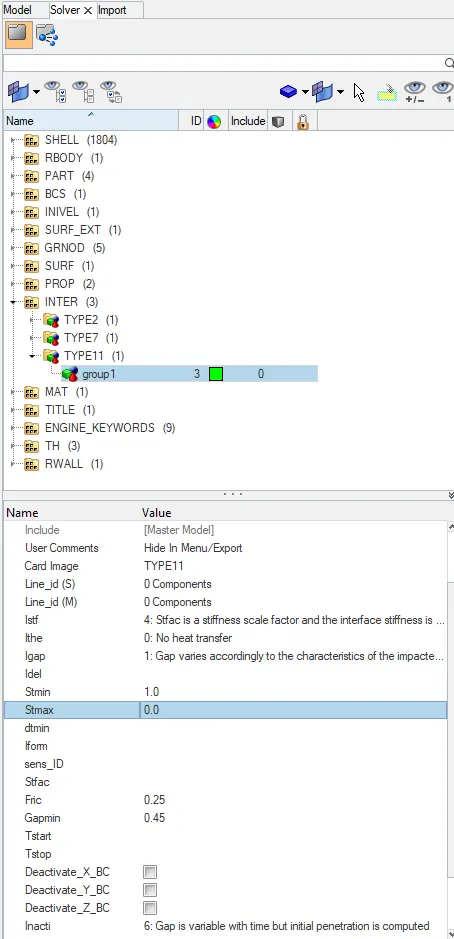
- Create a group card in Model Browser and name it as Type 11.
- Set the Values of Istf (Flag for Stiffness Definition) to 4, Igap (Flag Gap/ Element option) to 1000, Idel (Flag for node and segment deletion) to 0, Stmin (Minimum Stiffness) to 1, Stmax (Maximum Stiffness) to 0, Iform ( Flag for Stiffness or Viscous Formulation) to 0, Fric (Coulomb Friction) to 0.25, Gapmin (Gap for impact activation) to 0.45, Inacti (Flag for deactivation of stiffness) to 6.
- Click on RADIOSS in the Analysis panel.
- Browse the file and and click on save as.
- Create a new folder and tick the include connectors
- Type as “-nt 4” in the options bar and click on Radioss.
- Run the simulation.
Case 4:
- Click on F2, select the notch elements and click on delete.
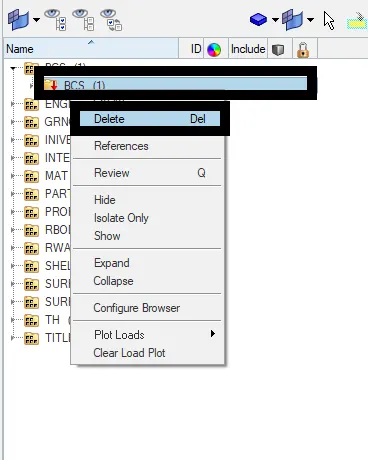
- Go to Solver Deck, open the Boundary Conditions card and delete it.
- Click on RADIOSS in the Analysis panel.
- Browse the file and and click on save as.
- Create a new folder and tick the include connectors
- Type as “-nt 4” in the options bar and click on Radioss.
- Run the simulation.
Case 5:
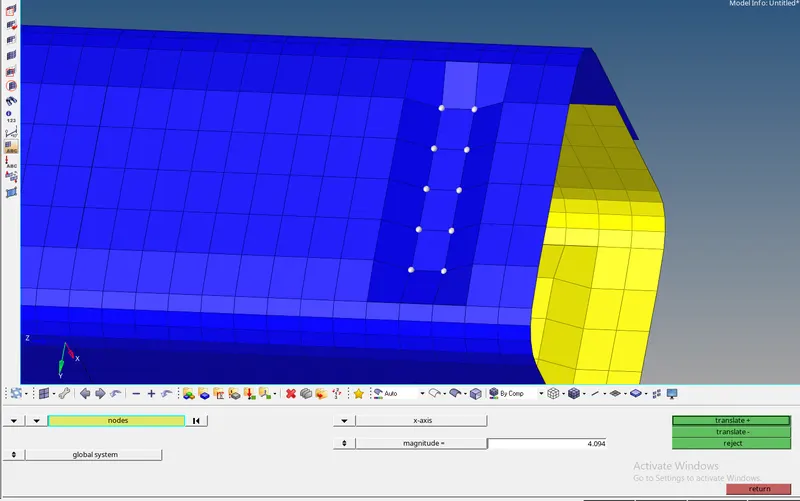
- Go to Tools panel, select ‘translate’ option.
- Select the nodes in the middle of the model and direction to translate.
- Set the magnitude as ‘4.094’.
- Click on ‘translate +’.
- Click on RADIOSS in the Analysis panel.
- Browse the file and and click on save as.
- Create a new folder and tick the include connectors
- Type as “-nt 4” in the options bar and click on Radioss.
- Run the simulation.
Case 6:
- Go to Tools panel, select ‘translate’ option.
- Select the nodes on the opposite phase of force applied.
- Set the magnitude as ‘4.094’ and click on translate.
- Click on RADIOSS in the Analysis panel.
- Browse the file and and click on save as.
- Create a new folder and tick the include connectors
- Type as “-nt 4” in the options bar and click on Radioss.
- Run the simulation.
Animations:
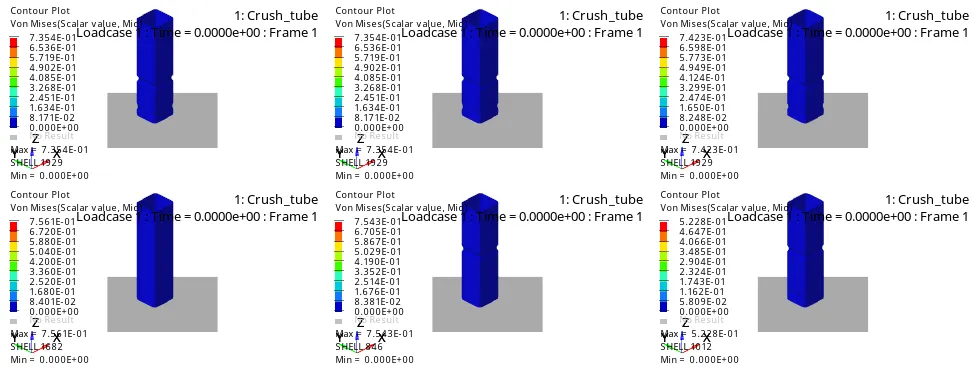
- Select the HyperView in the Client Selector in the toolbar.
- Browse the .h3d files for each case.
- Make sure load file and load results is ticked or selected.
- Click on ‘apply’.
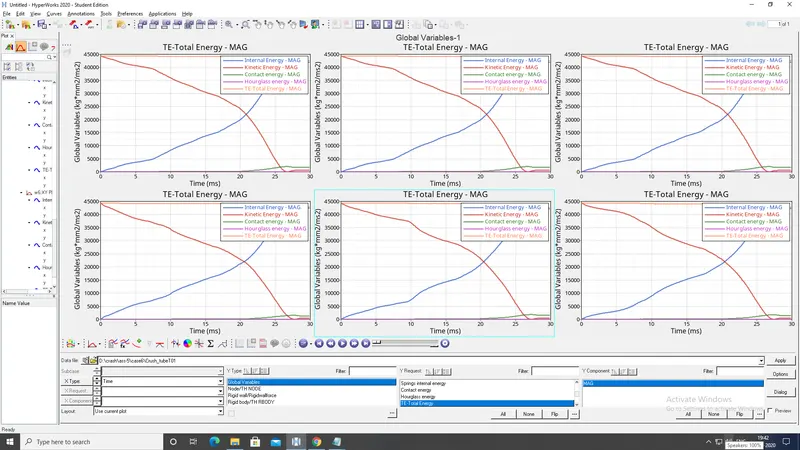
Graphs:
- Select the HyperGraph 2D in the Client Selector located in the toolbar.
- Browse the T01 files for each case.
- Select different energies to compare and click on Apply.
Definitions:
Istf:
It is a Gap for stiffness definition; it is the Interface stiffness which is the maximum of the master and slave stiffness.
Igap:
It is a gap/element option flag. The gap between the master and slave node is not defined in this case.
Idel:
It is the Node and segment deletion flag. The value is set to 0.
Stmin:
It is the minimum stiffness value and can be used only if the Istf is not equal to 1.
Stmax:
It is maximum stiffness value and can be used only if the Istf is not equal to 1.
Iform:
It is the Friction penalty formulation type. In this case it is set to 0 which takes the value defined in the
Fric:
It is a Coulomb Friction and it refers to a simple model of dry friction that is fairly accurate empirically. Specifically, it is a model that helps predict the direction and magnitude of the friction force between two bodies with dry surfaces in contact.
Gapmin:
It is the minimum gap for the impact to activate.
Inacti:
It is the option to deactivate the stiffness. In this case the Gap is variable with time, but initial penetration is computed as (the node is slightly penetrated)
Where,
= Initial Penetration of the Slave nodes.
= Initial Gap between master segment and Slave nodes.
How does the notch affect the results?
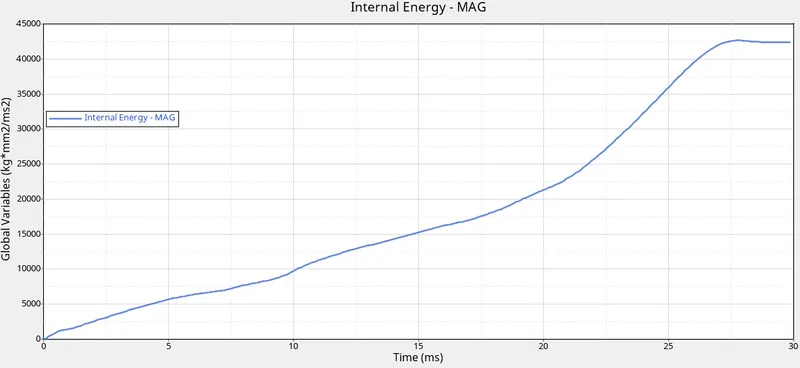
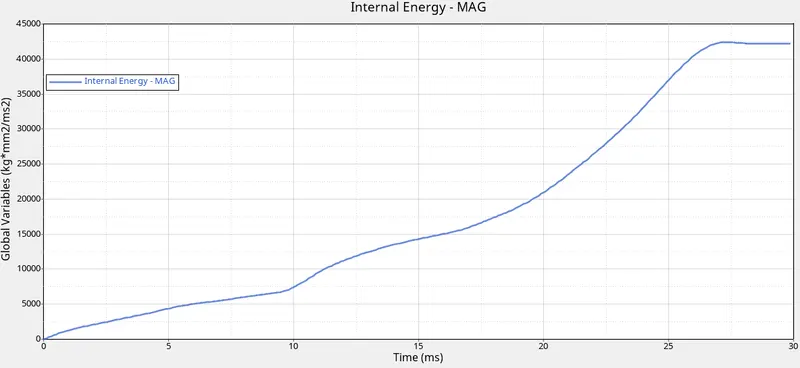
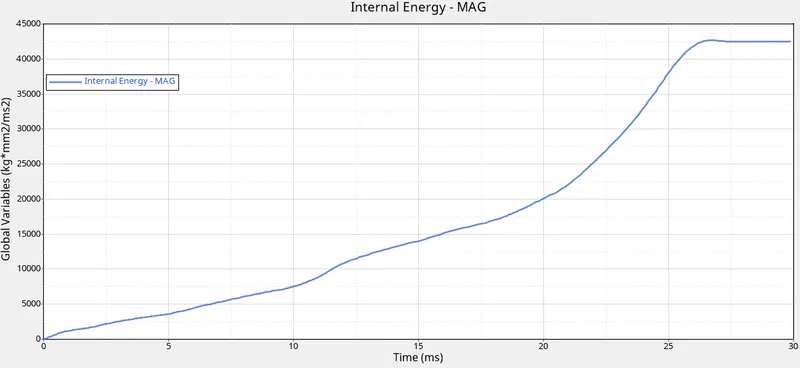
The notch areas are affected first when applied any external forces because the notch areas have high stress. The presence of a notch in the body can make differences in the energies applied .
Reason why internal energy differ in each cases:
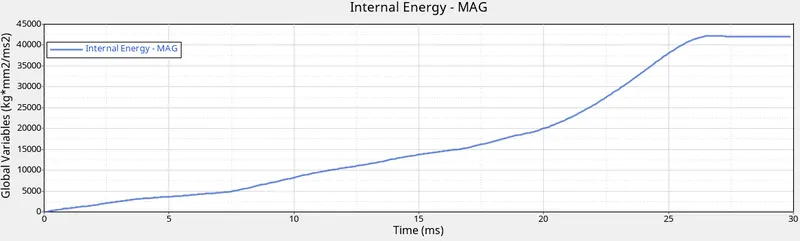
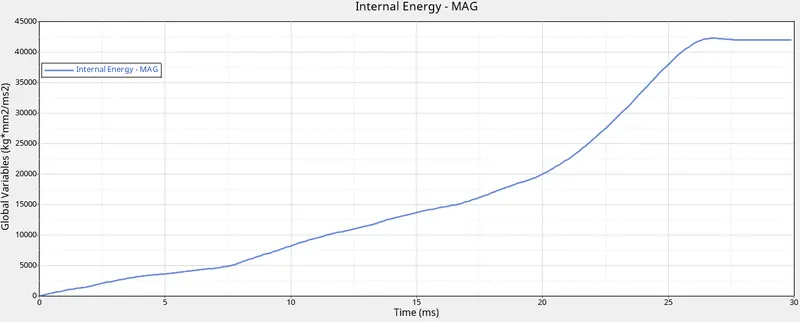
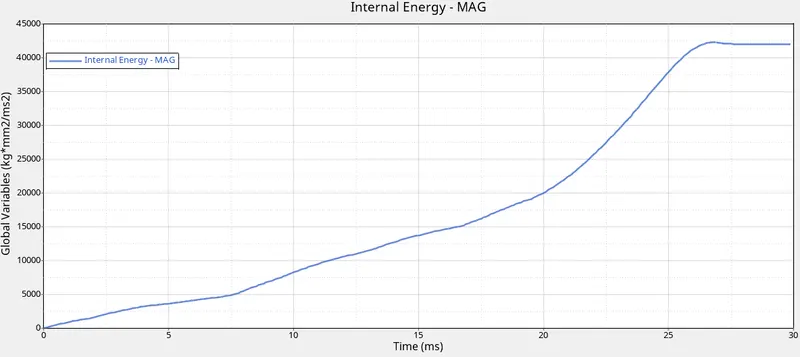
Notch areas have high stress and deforms early compared to other parts in the component.Due to this high stresses there is deviation in internal energies.
In Case 4 by deleting all the notches there is a small fluctuation in internal energy when compared to other cases.
Case 1
Case 2
Case 3
Case 4
Case 5
Case 6
RESULT:
- The mesh is generated and connected with required connectors for the model 1.
- The model is simulated with given tasks.