Assignment 2-RADIOSS Engine File Editing & 3D Meshing Challenge
Q.1) Material properties of the rail component are as given fig.
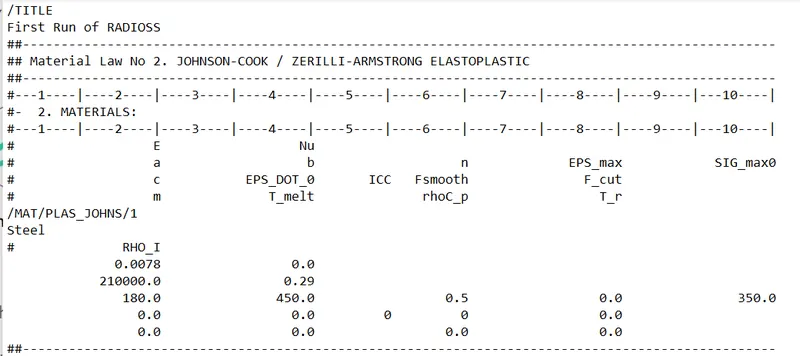
The speed of sound in steel rail (c):
Data from above starter input deck are;
a) Youngs modulus (E) =210000
b) Density (rho) = 0.0078
Now, c = `sqrt`E/rho
= 5188.75
Q.2) Time takes for shock wave to travel is:
t = l/c
= 1000/5188.75
= 0.1927
Q.3) As length is same so time (t) = 0.1927
Q.4) and Q.5) and Q.6) Frequency = Termination time/Annimation steps
But, In given condistion they said that, termination time equal to the time it takes for the sound to travel the length of the rail.
So; Frequency = 0.1927/20
= 0.00963
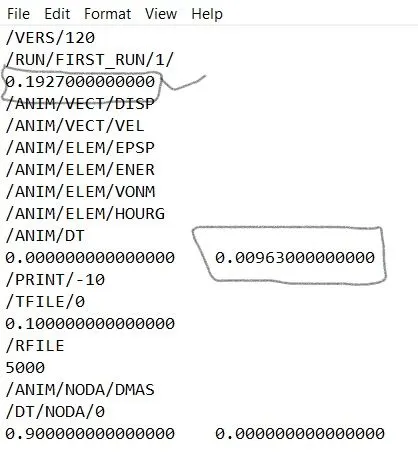
Report:
Objective:- To make 3D meshing on given component and also do hex mesh by making 2D mesh on surface.
Procedure:-
Model 1: Housing
- This housing model contain two components namely cover component and hub component. We will do meshing on both the component step by step.
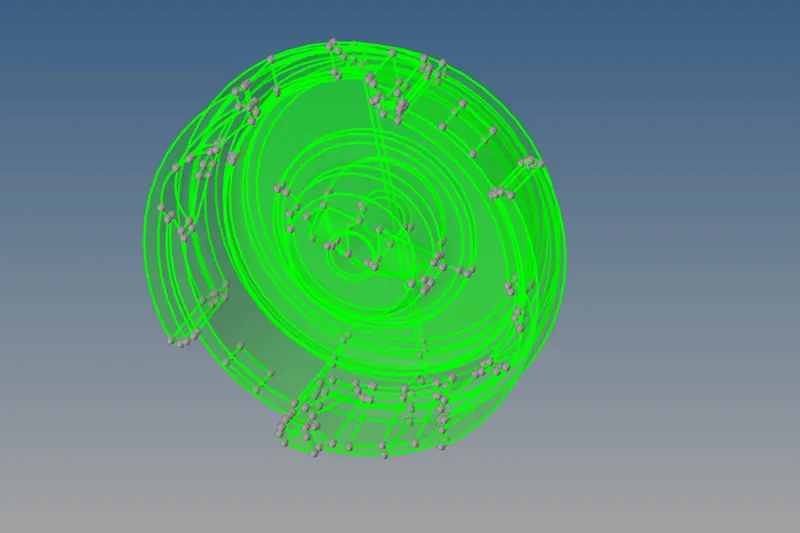
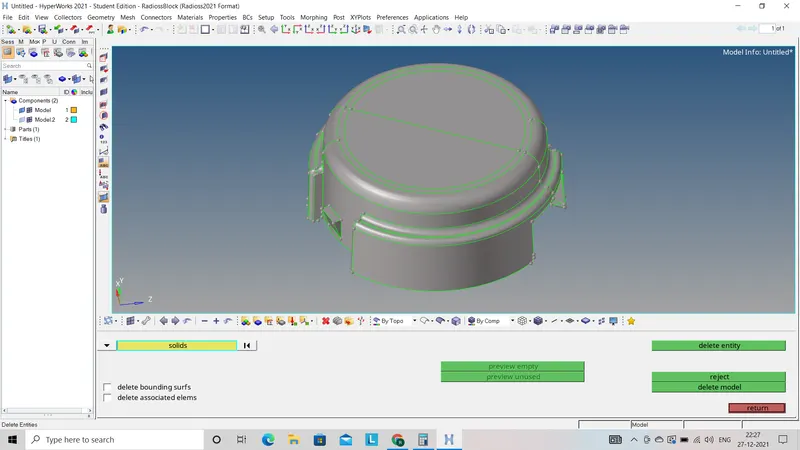
- After impoorting given .STEP model first step we have to do is delete the solids from given geometry.
- After deleting the solids we will go for 2D mesh first on surface by using (2D - Auto mesh - Select the component - Select the mesh size(5) - select the mesh type (Tria only) - Create).
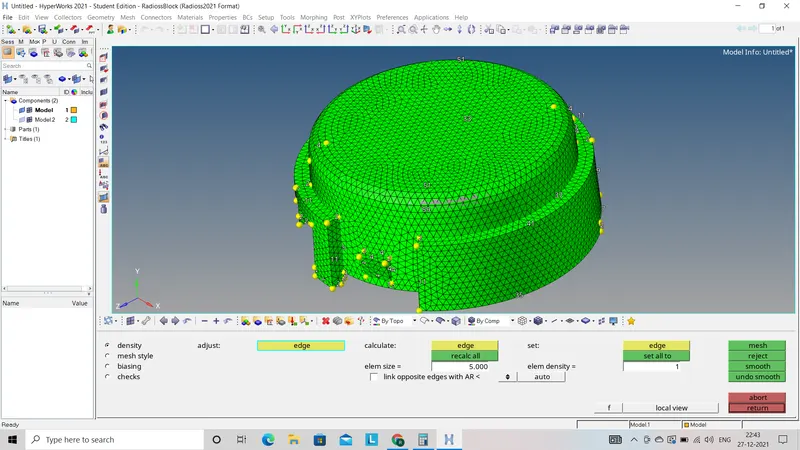
- Now after creating the 2D mesh on surface we will go for 3D mesh by using quick tetra method by using (View - Browsers - Hypermesh - Utility - Geometry/mesh - Quick tetra mesh - select and fill all the values - Create).
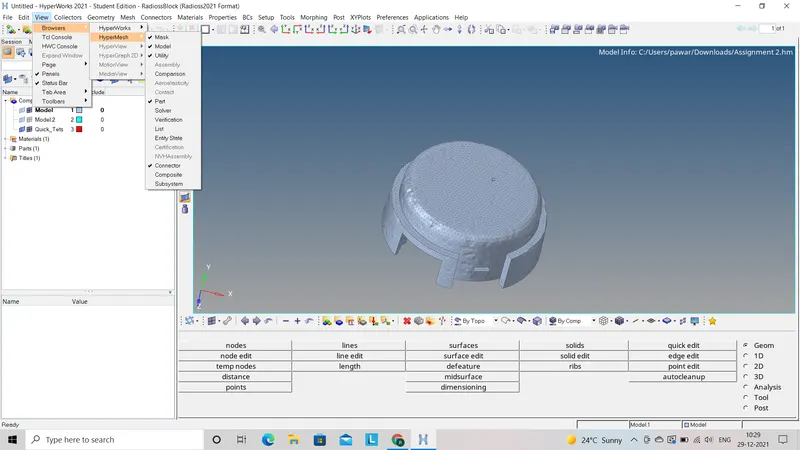
- In this way we will do 3D volume mesh on whole model, after this we will go for check the quality of tet collapse by using (Tool - Check elements - 3D - Select the tet collapse value as 0.15 - Check).
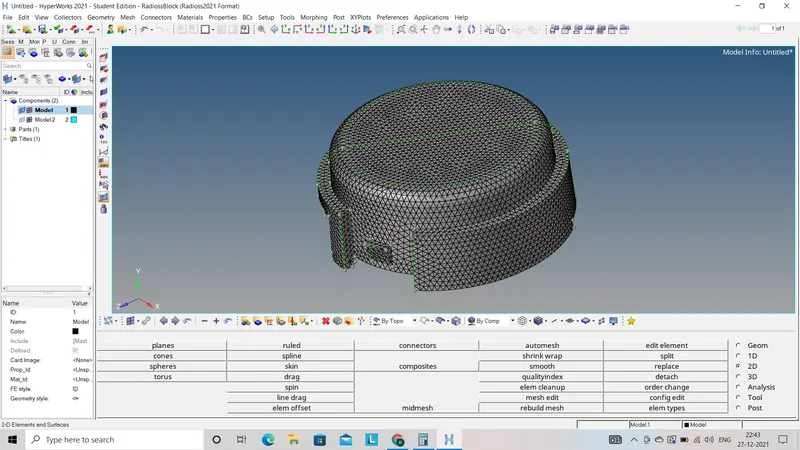
- Now if it shows any elements fails for tet collapse the we will go for remesh by using (3D - Tetra mesh - Mesh parameter - Fill all the values like mesh size - Go to remesh option - Select the elements - Remesh).
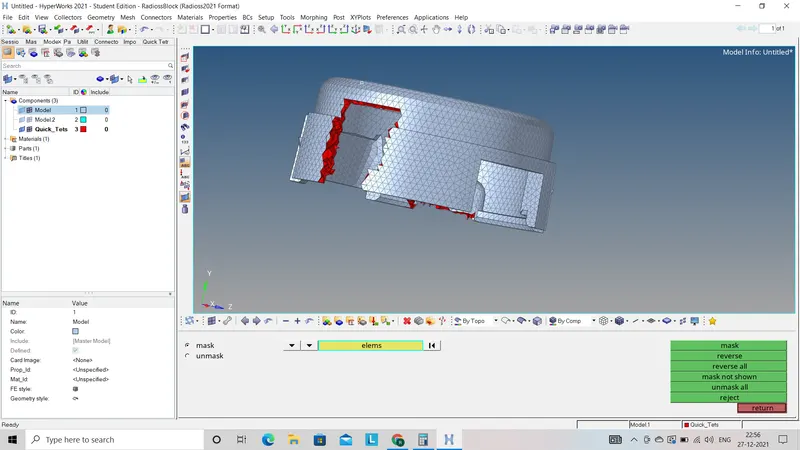
- I this way we remove all the tet collapse failed elements and make proper meshed model.
Model 2: Arm bracket
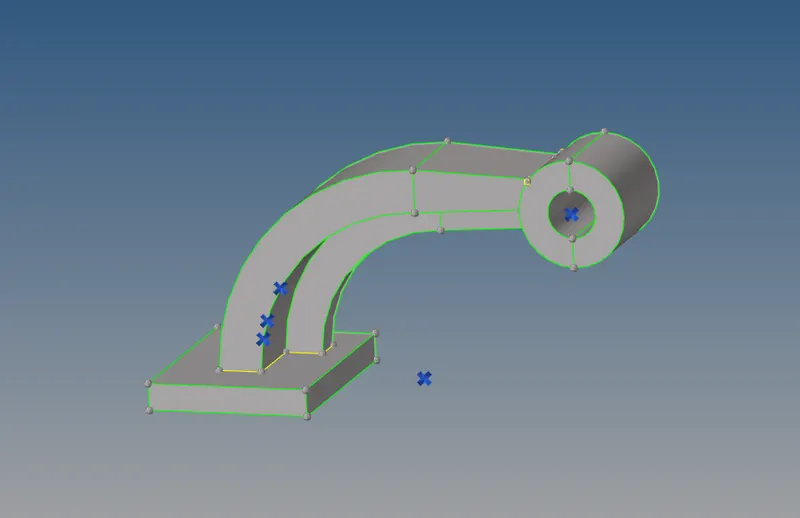
- First step we have to do is import given model to hypermesh GUI. In this Arm bracket model we will get four components, we will do hex mesh on this component step by step.
1) Base part :-
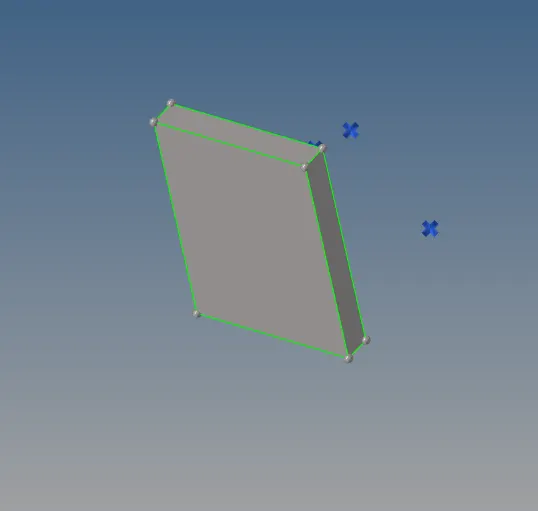
- To do hex mesh first step we have to do is surface mesh on given component by using (2D - Auto mesh - select the mesh size(10) - Select the mesh type(Quads only) - Select the surface - Create).
- To make hex mesh we will use element offset method by using (3D - Element offset - Select the 2d elements to offset - Select the surface along with to drag the element - Number of layers(5) - Thickness(25) - Offset+/-).
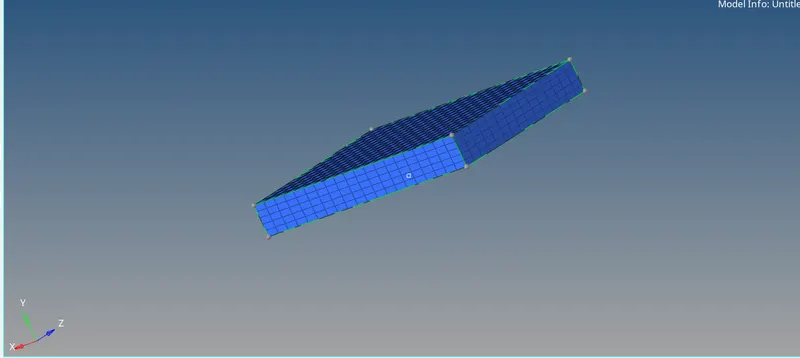
2)Middle part :-
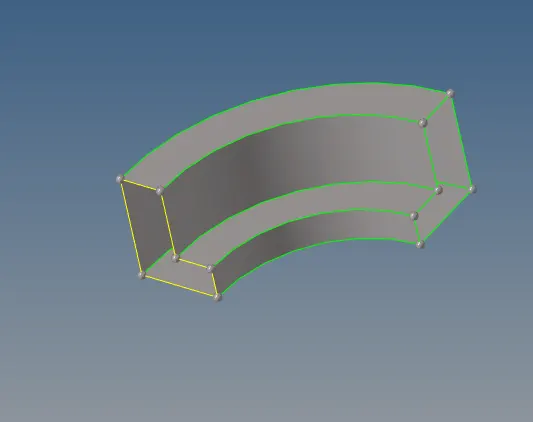
- To do hex mesh first step we have to do is surface mesh on given component by using (2D - Auto mesh - select the mesh size(10) - Select the mesh type(Quads only) - Select the surface - Create).
- To make hex mesh we will use spin method by using (3D - Spin - Spin elements - select the 2d elements - Select the axis - Select the base point (To create base point we will go to the three poin option in distance and select the centre) - Select the angle(90) - Spin+/-).
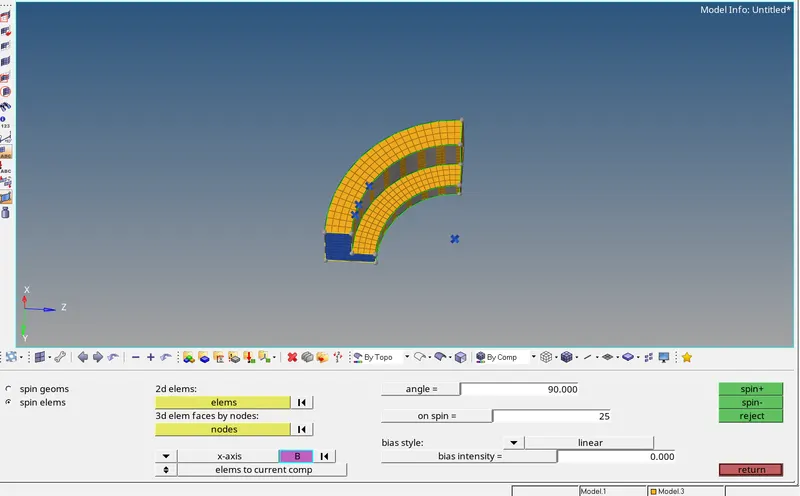
3) Part 3 :-
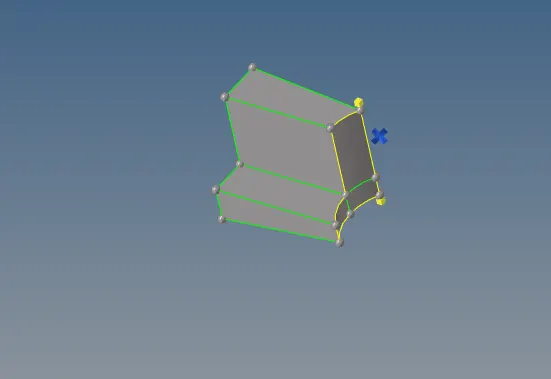
- To do hex mesh first step we have to do is surface mesh on given component by using (2D - Auto mesh - select the mesh size(10) - Select the mesh type(Quads only) - Select the surface - Create).
- To make hex mesh we will use linear solid method by using (3D - Linear solid - Select the from the elements and To the elements (elements on both the sides should be same to get bettter mesh) - Select the N1,N2,N3 on both the sides exactly on similar nodes - Solids).
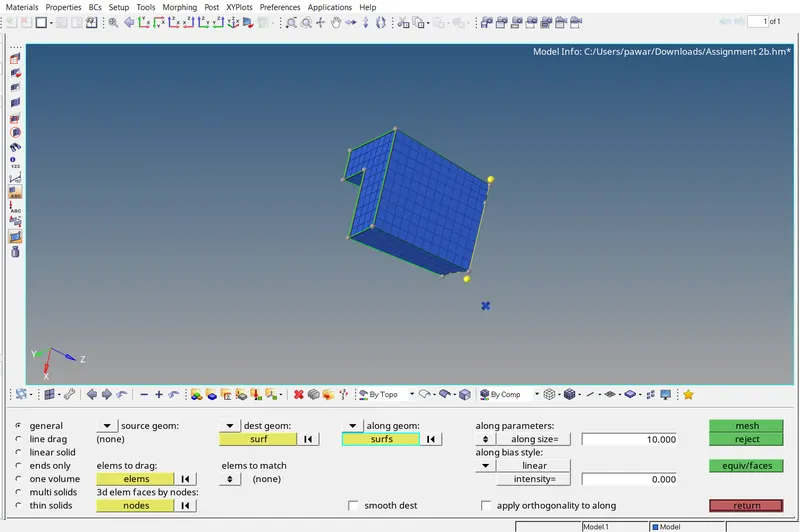
4) Part 4 :-
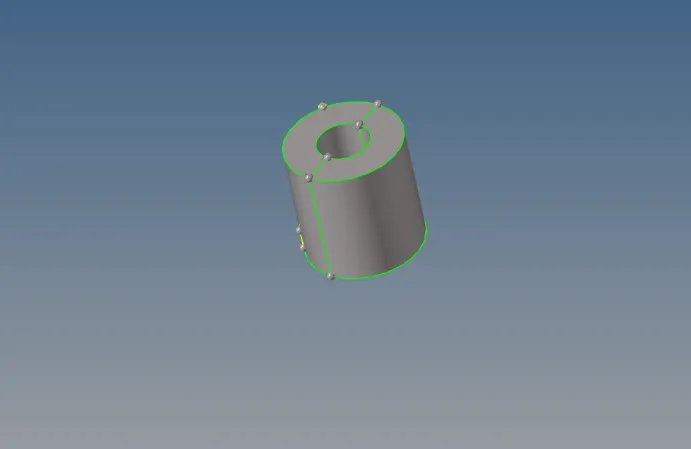
- To do hex mesh first step we have to do is surface mesh on given component by using (2D - Auto mesh - select the mesh size(10) - Select the mesh type(Quads only) - Select the surface - Create).
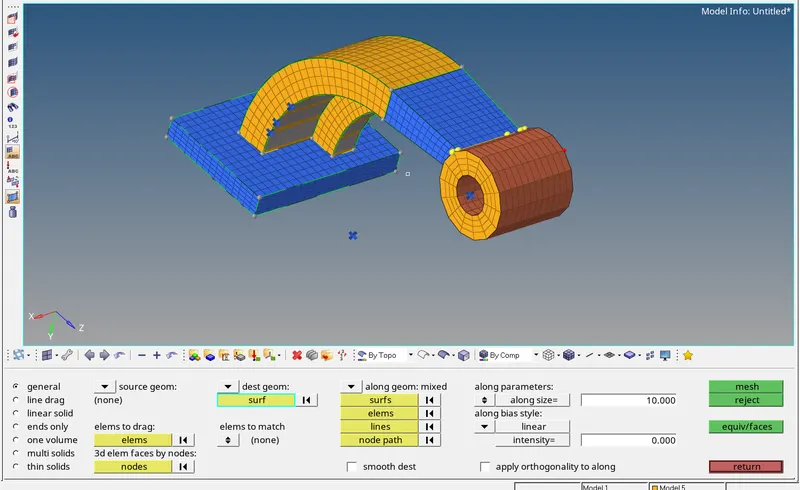
- To make hex mesh we will use solid map method by using (3D - Solid map - General - Source geometry(none) - Select the elements to drag - Select the dest. geometry - Select along gemetry (along the nodes, along the lines) - Mesh).
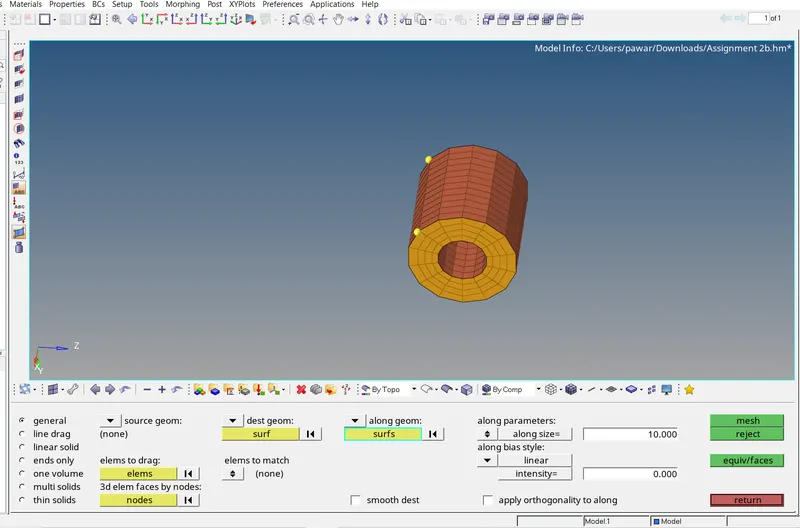
In this way we create hex mesh on whole model called Arm bracket by using different methods to create 3D mesh.
Conclusion :-
In this challenge I learn about how to create 3D mesh as well as hex mesh using different methods to drag the mesh. Also I learn about how to update starter file and engine file.