Assignment 1-2D Meshing Challenge
#1 Assignment Crashworthiness Analysis using Hypermesh and Radioss
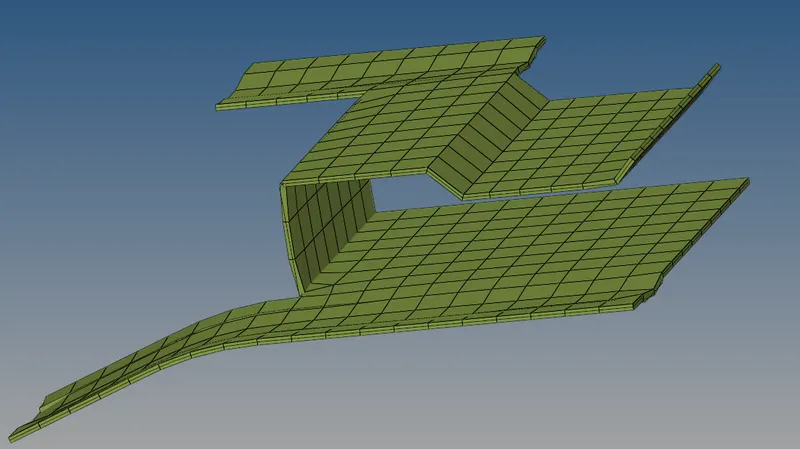
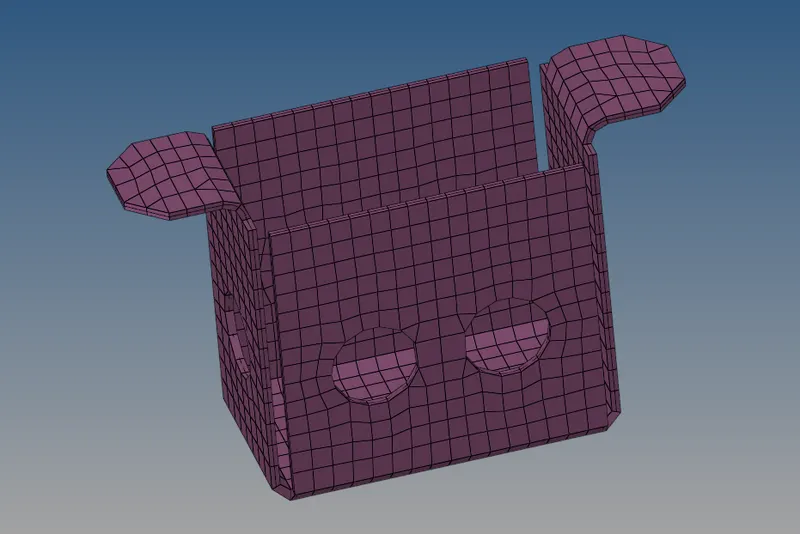
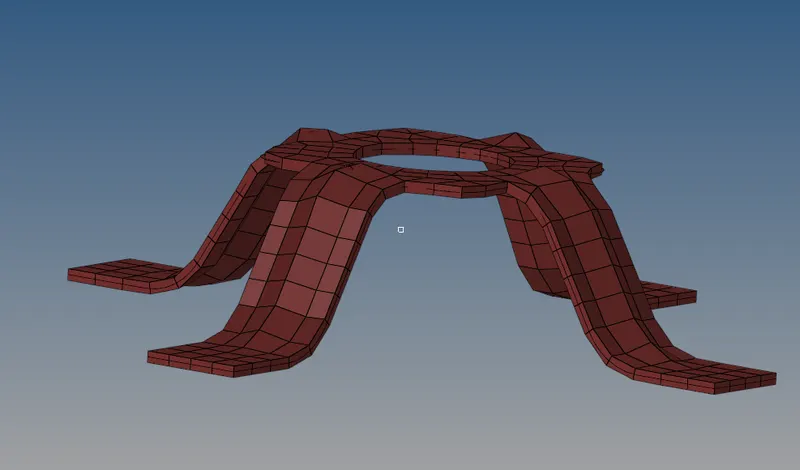
Aim: To Mesh the given component and assigning the thickness to the component by giving the target Element size as "5 units".
Target Element Length : 5 Units
Minimum Length : 3.5 Units
Maximum Length : 7 Units
Radioss:
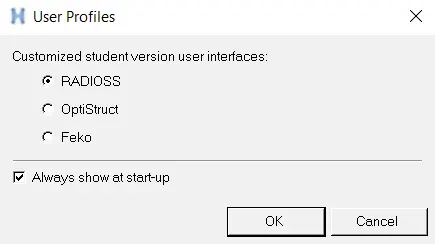
Set the user profile to Radioss.
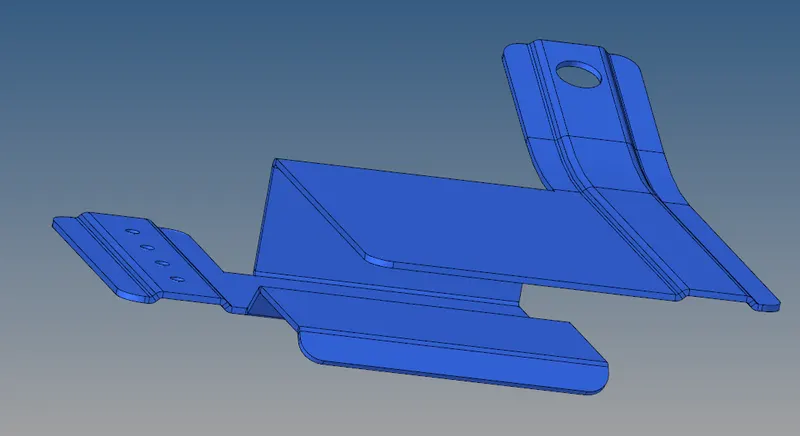
Import the geometry;
- Click on the import icon on the main menu bar.
- Select the import geometry and choose the file, click on import.
- Then the file will be imported and will be shown in the graphical area as below,
Defeature:
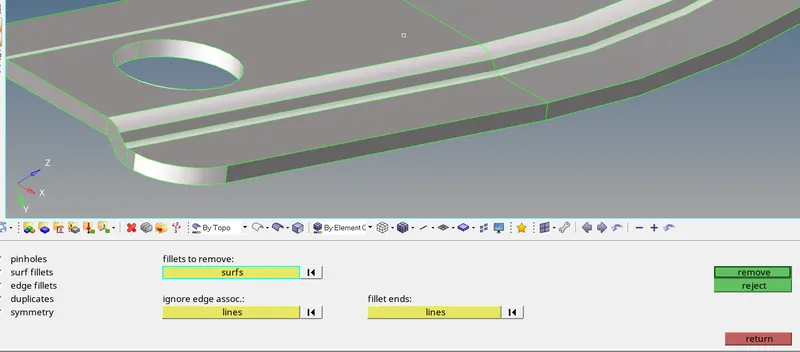
- Surfaces that fail for the minimum element size can be defeatured.
- Here the surface fillets fail for the minimum length
- Enter the minimum and maximum radius and select defeature.
- Now the surfaces will be defeatured you can see the status and change in surfaces in graphical area.
Extract the Mid-Surface:
- Click on the mid-surface from the geometry menu bar.
- Select the surfaces and click on extract.
- The mid-surface of the component will be extracted.
- Hide the original component and rename the middle surface that is extracted.
- Thus, the mid-surface can be extracted and seen on the graphical interface.

Performing Auto-Clean-up:
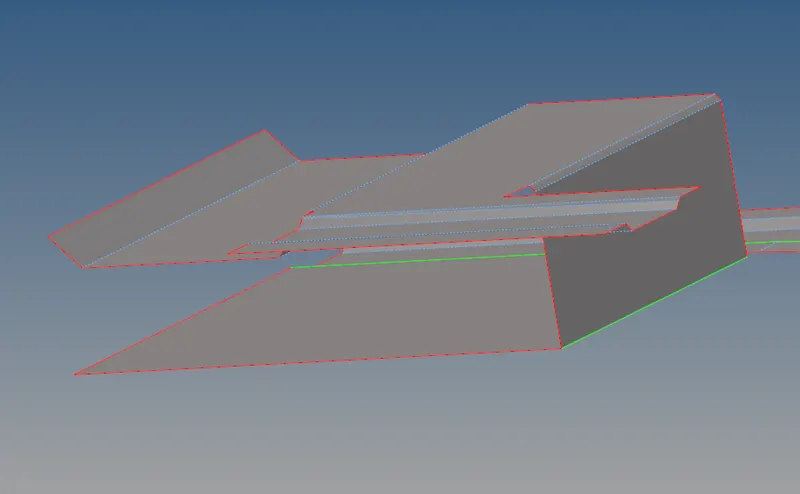
- Use the auto-clean-up tool to clean the component surface.
- Click on the auto-clean-up from the geometry menu bar.
- Select the surfaces and click on clean-up.
Meshing:
- Ensure the criteria file is applied and the values are properly applied.
- Click on Auto-mesh from the 2D menu in the menu bar.
- Set the element size to 5, select the element type as mixed (quads & tria’s) and select the surface to be meshed and click on mesh.
- Mesh will be created on target surface.
- Adjust the number of nodes on the either of sides, so that make sure rotational quads are not formed on the surface.

Element Quality:
- Check the element quality for failures.
- Perform the element optimization from the quality index.
- Re-mesh group of elements if necessary.

Edges:
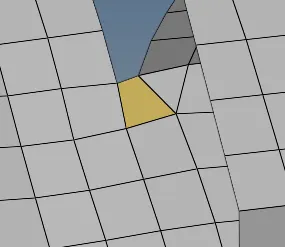
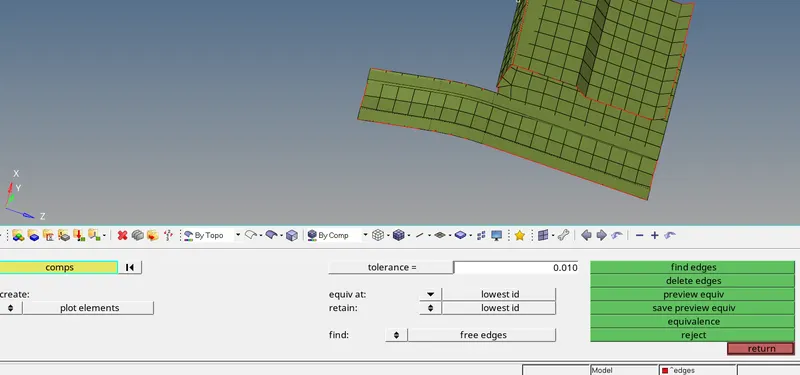
- Check for the free edges by clickin edges from the tools panel.
- Select the component and the red lines indicate the free edges.
- Edges at the open end are excluded, edges in the middles of the elements has to be cleared by replacing the nodes and saving the equivalence.
Assigning the Thickness:
- Check the thickness of the parent geometry.
- Create property and assign the thickness to the property.
- If the thickness is varying separate them to different collectors and create multiple properties.
- Assign the properties as per the thickness.
- To check the thickness switch to 2D Traditional Element Representation.
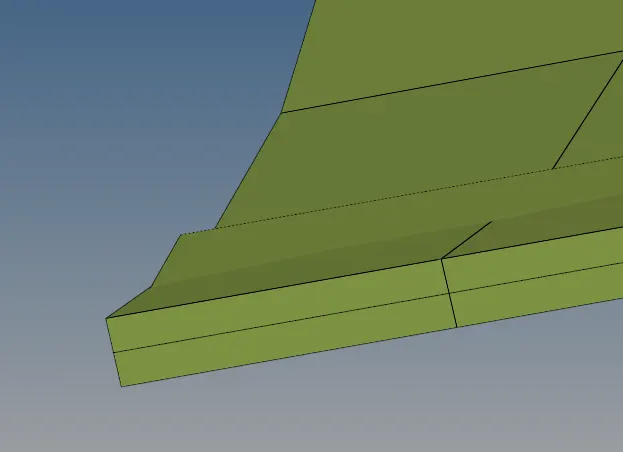
The Output: