Assignment 1-2D Meshing Challenge
AIM :To Meshing the Challenge.
OBJECTIVE :
- To extract the mid surface of the given surface.
- To check the extracted mid surface for any damaged surface or geometrical error.
- To clean midsurface geometry.
- Ignore holes less than 5mm.
- To mesh the mid surface according to the given criteria.
- To check the elements for mesh flow.
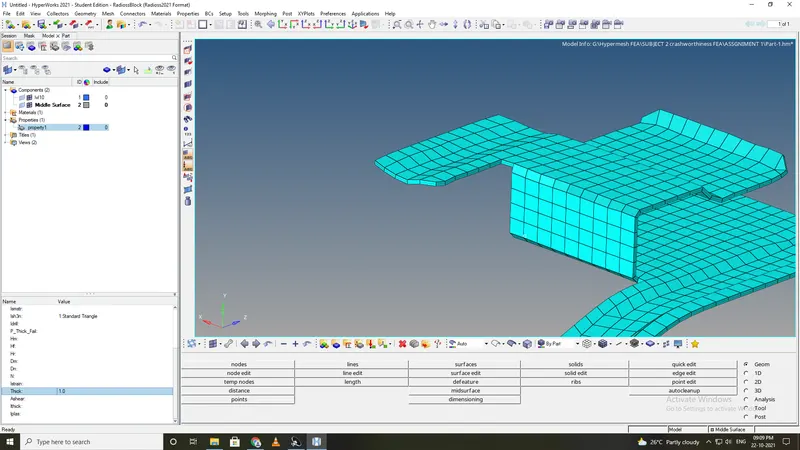
- To assign proper thickness, by creating a generic property.
PROCEDURE:
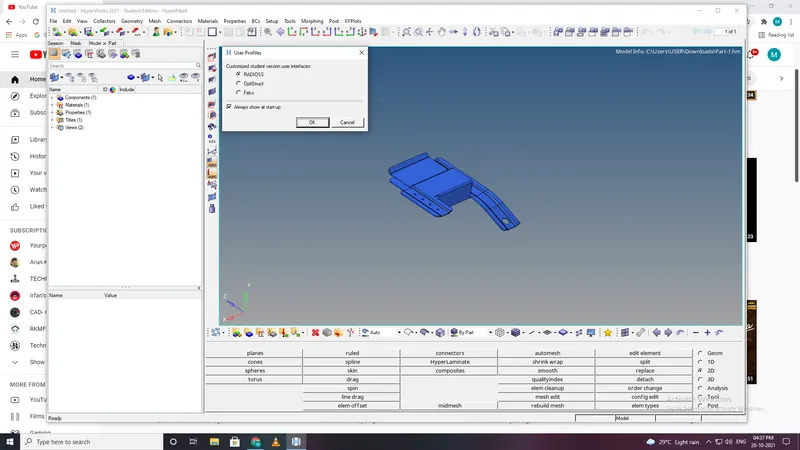
- Set the user profile as Radioss.
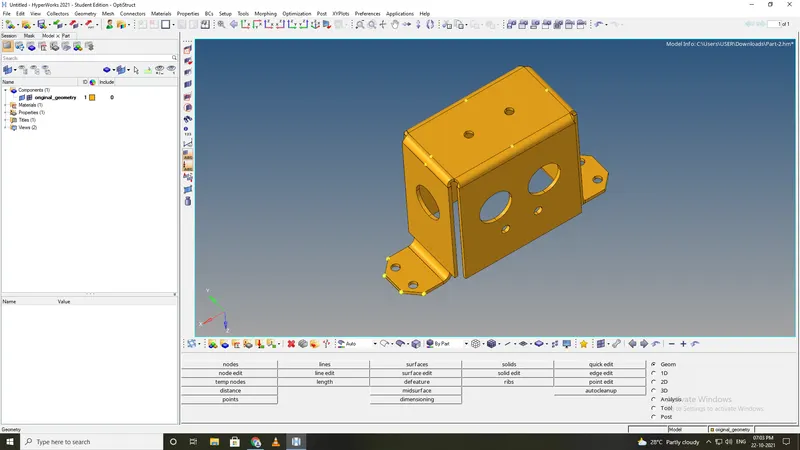
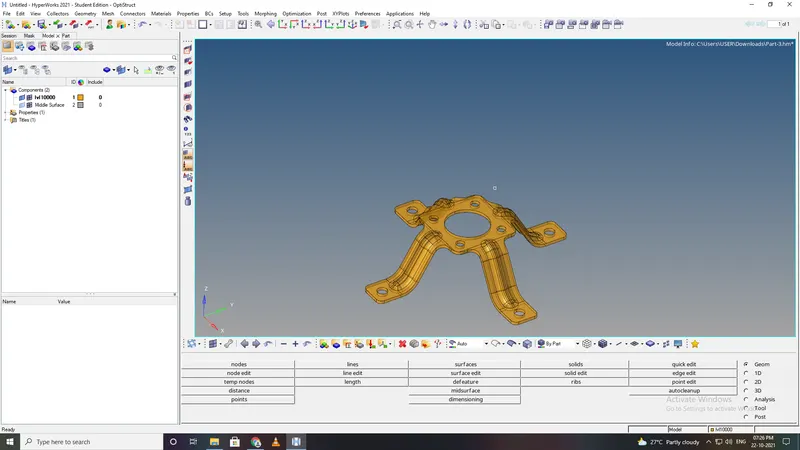
- Import the geometry into workspace and make it shaded .
- In import geometry we have to select the following model file and the format of the model file which has to import and proceed for the import.
- If the model is shown in Wireframe mode change it in shaded view.
- check the model for there is any solid surface is present of the component, Because we are working for the 2d mesh modeling for that we avoid tha 3D Solid surface.
- delete the solid surfaces if there is any and then procedd for geometry cleanup for deleting the solid surface.
- In this model theer is no solid surface
-
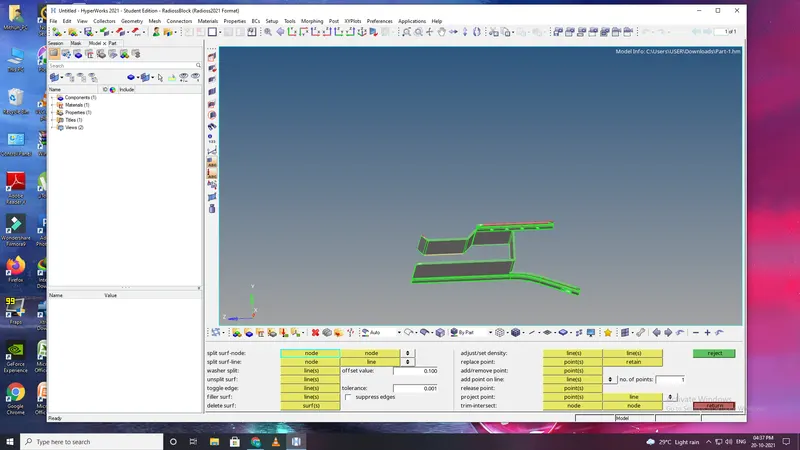
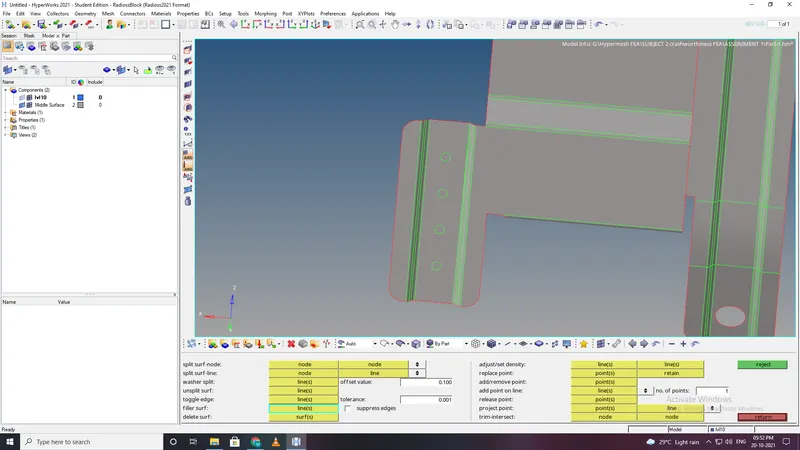
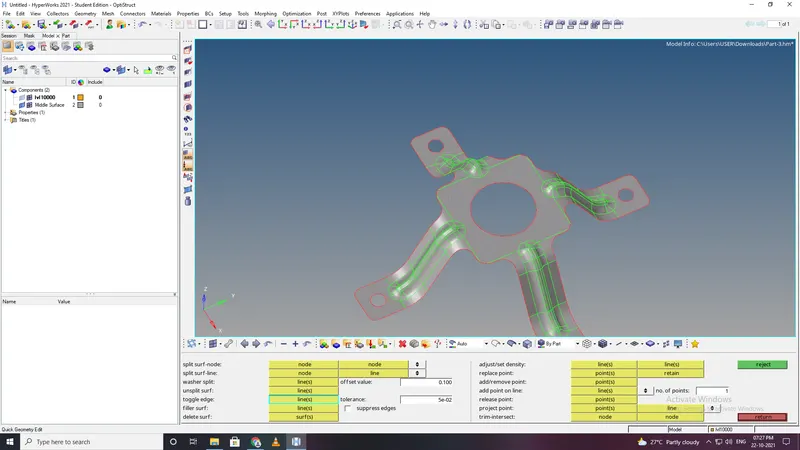
Here the geometry error that is missing of the surface part, for that we used here ruled tool from surfaces. which helps to create the surface between lines.
TO use this option we have to select the lines n which between we want the surface to be formed.
There is another option is also available for creating surface for surface error like this Filler From surafce
-
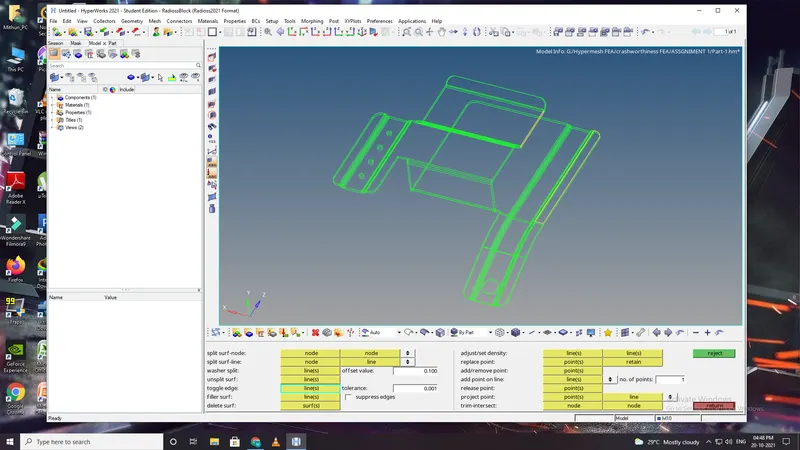
After creating from ruled we have single con or say "red" con which is indicated the surface is not fixed properly(i.e due to some gap or irregular minor gap formed between surfaces while creating.
To fix this we have here the tool "autocleanup" for attaching the surface and we have another option in quick edit that is toggle.
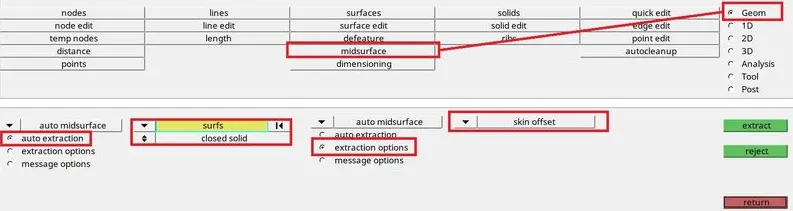
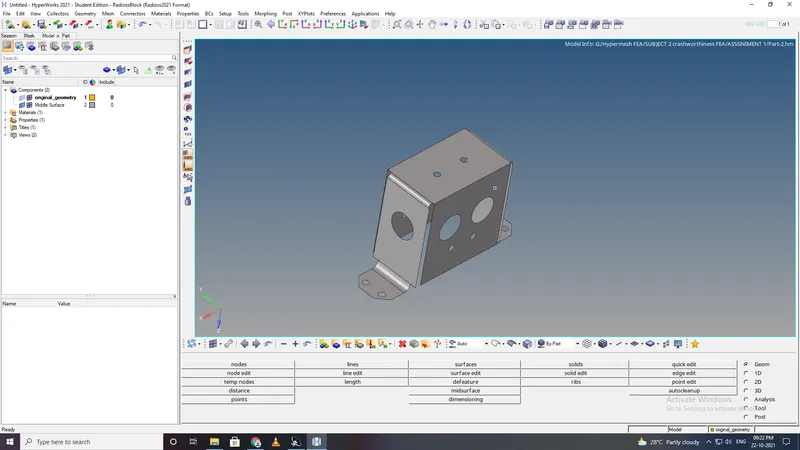
- extract the mid surface using auto mid surface option.
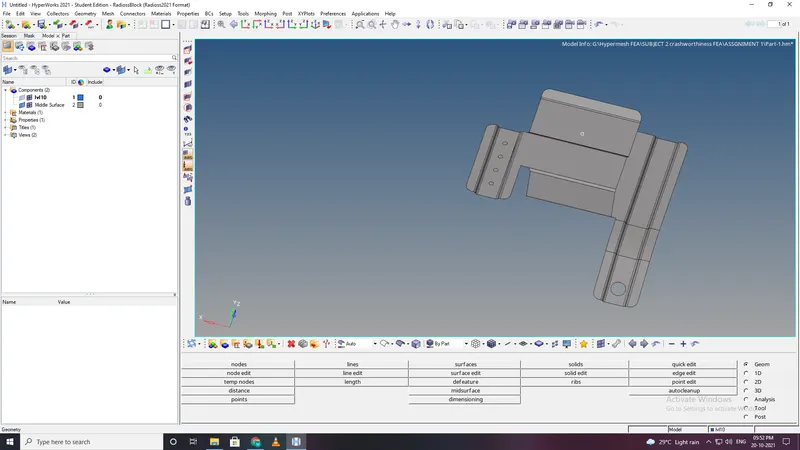
- Using midsurface command in the geometry module the mid surface for the model is created .The command is "Geometry-midsurfaace-auto midsurface-extraction option-offset-autoextraction-surfs-displayed-create.
- Aftre creating mid surface.Ignore holes less than dia 5mm.
- Fill the holes using filler command and toggle the circle.
-
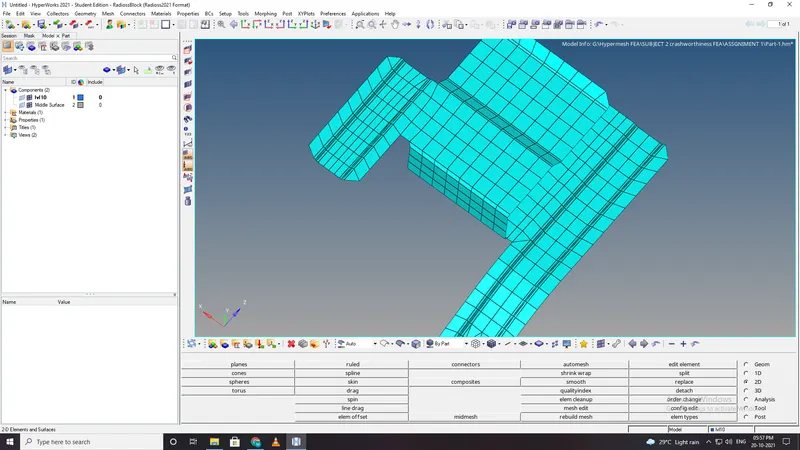
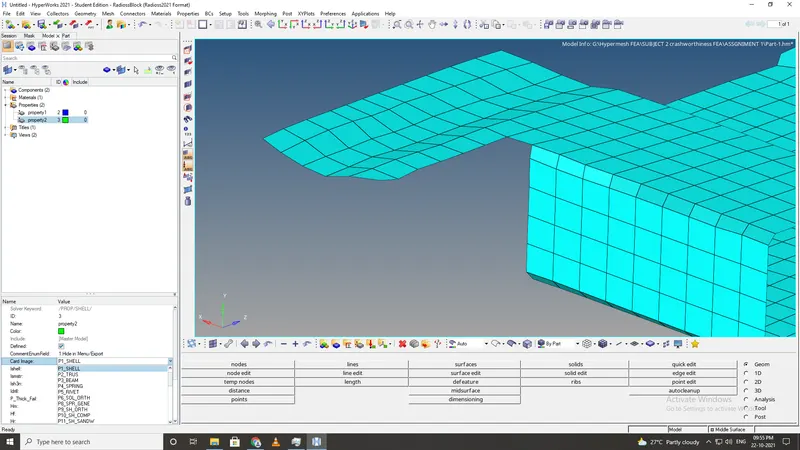
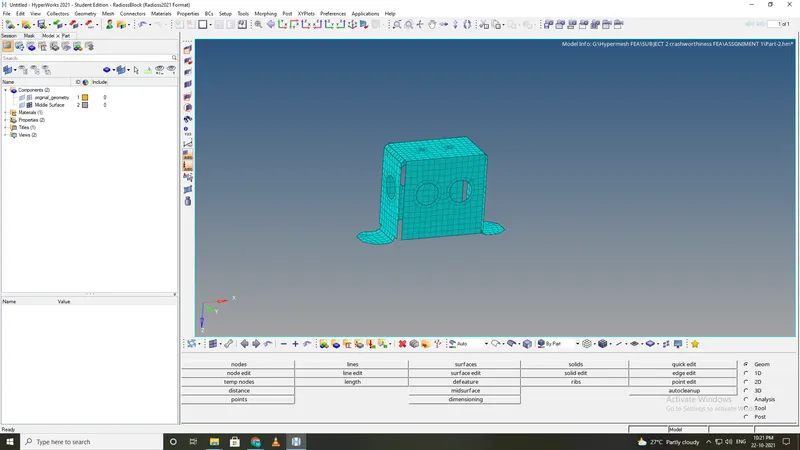
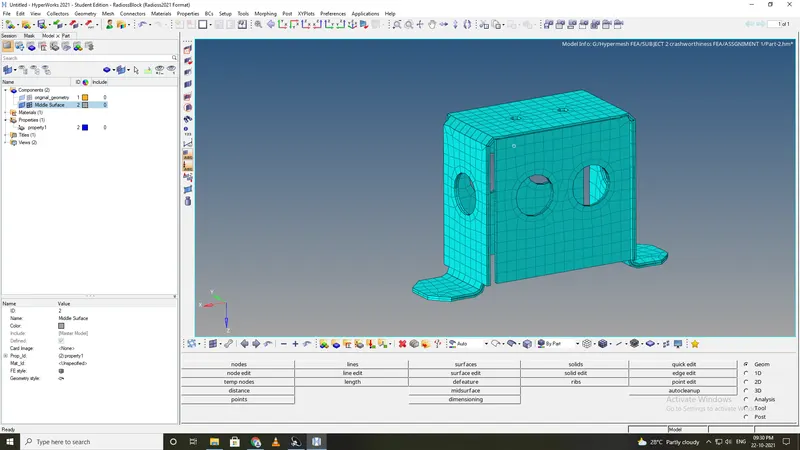
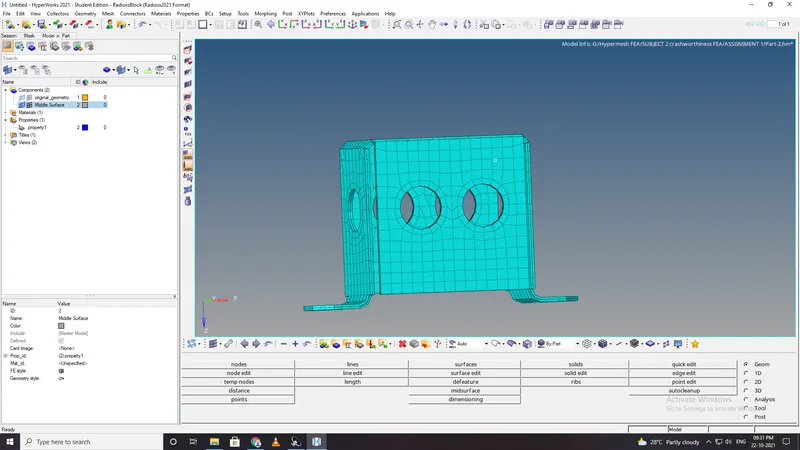
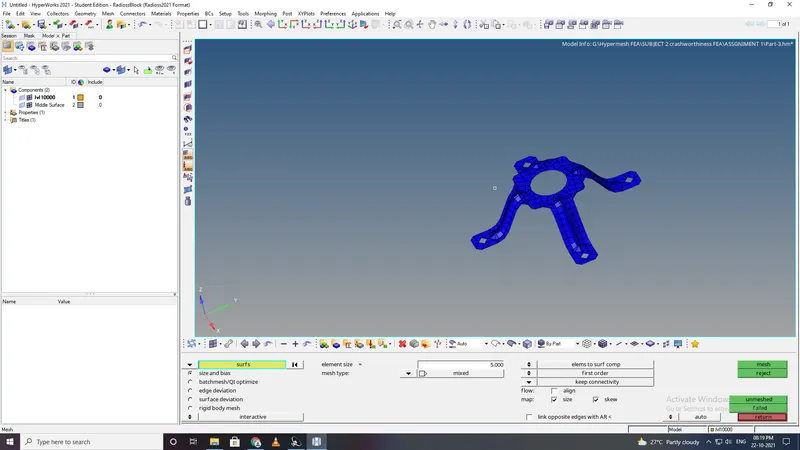
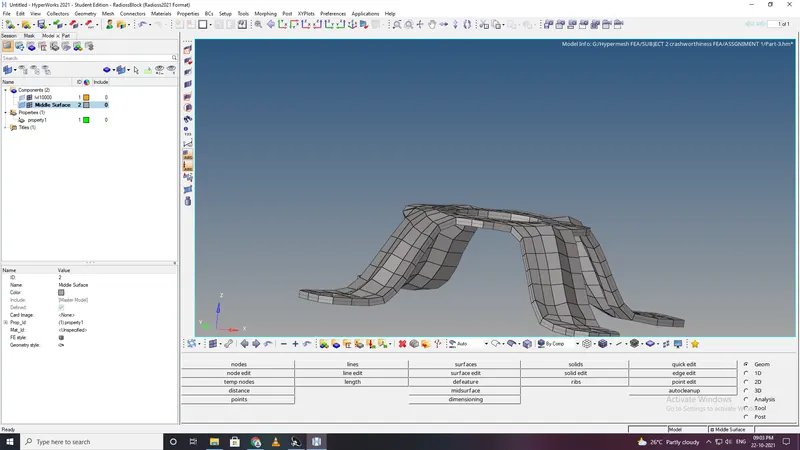
After mid surfacing the model is meshed using the automesh command in 2d module is used to mesh the surface with 5mm element size.
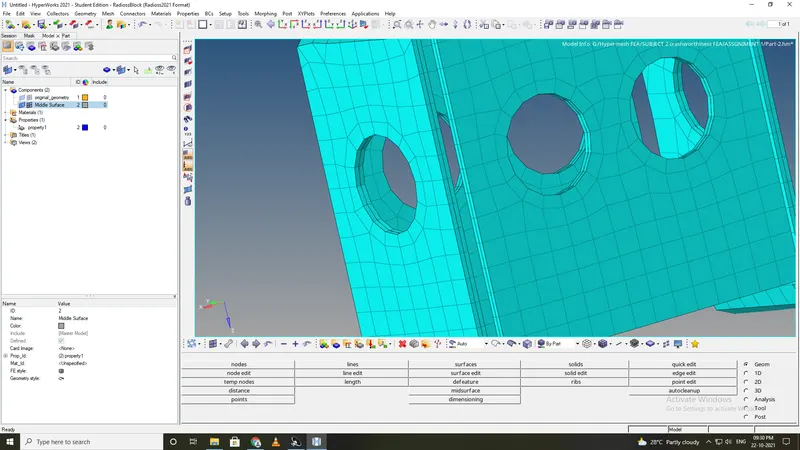
To mesh the given component , we need to create a washer splits the hole region for a smooth mesh.Washer split offset we selected is 5mm.
Generate the mesh with the element size as 5mm with the mixed element type.
-
meshing process is done, The element size tobe 5 and mesh type mixed in auto mesh option.
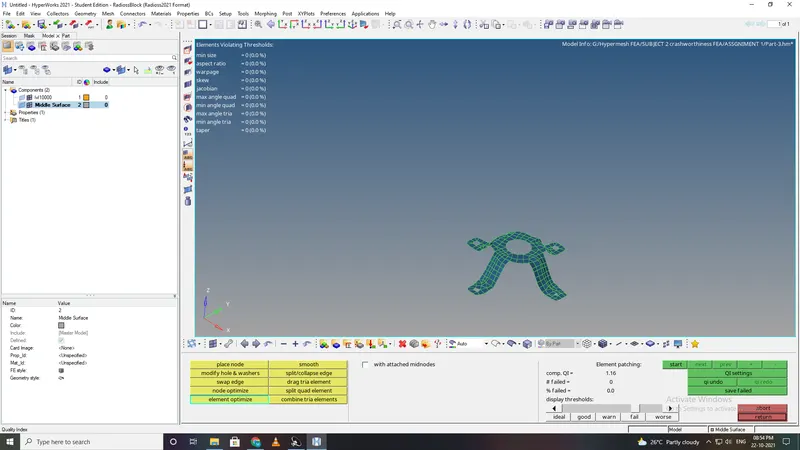
Now after meshing there are so many back to back trias and quad elements that will formed so, wee need to optimized the quality of the element.
To optimize the element we can use the rebuilt option abd also remesh the elementof the particular.
This will remove all the element failure from mesh the mesh , as it is necessary to have proper mesh for analyasis.
As meshing is applied irregular elements will forms in some region of latch and hinge like triangular elements,rotating quadrialateral elements
To achieve that (2D---edit--element---split)command applied to convert triangular and quadrialateral element into smaller into small one.
command to pull triangular elements backward in oder to present elements as minimum a possible in faces .
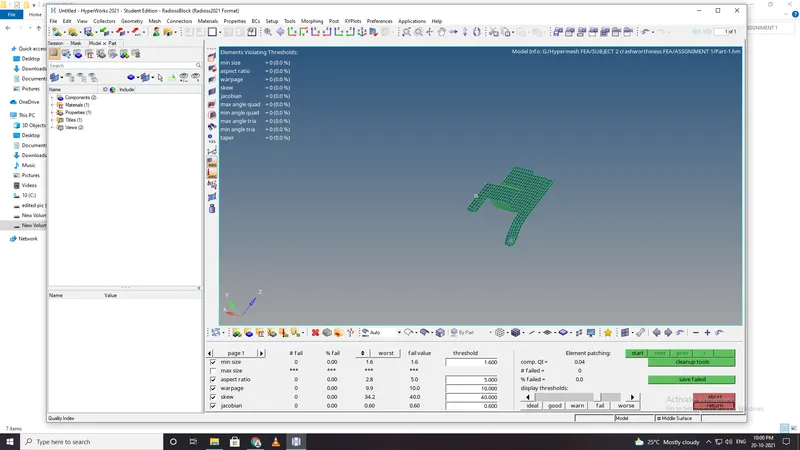
- assign proper thickness, by creating a generic property.
PART 2:
PART 3
CONCLUSION:
- From this assignment understood how to correct the mesh flow.
- understood how to create auto mid surface by differebt auto extraction type
- Then the thickness is assigned accordingly to the thickness.