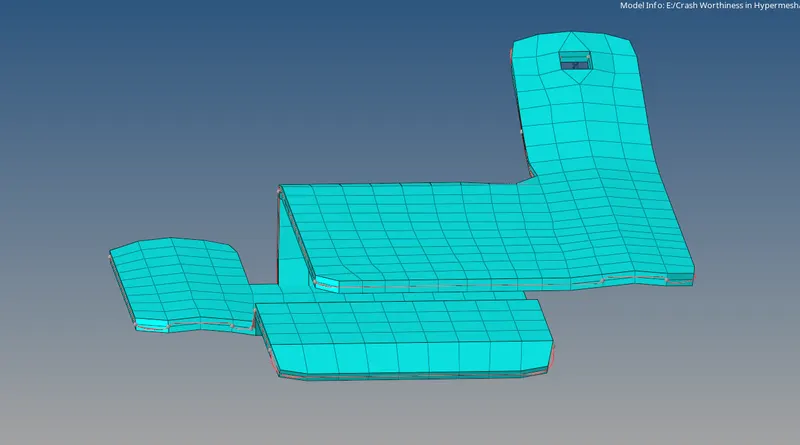
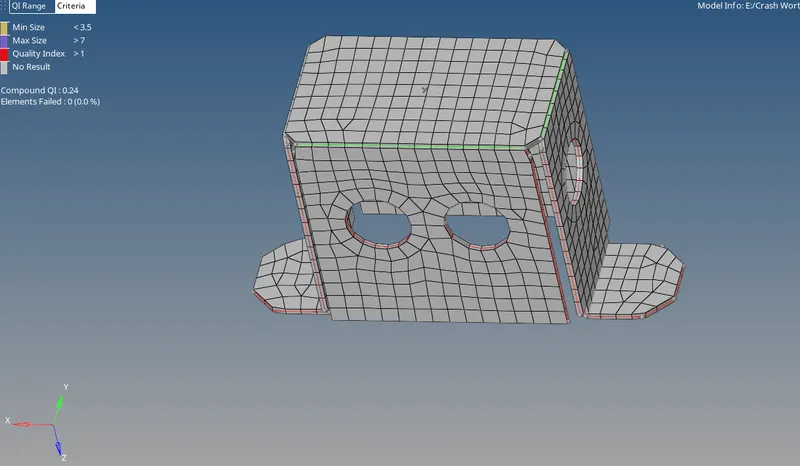
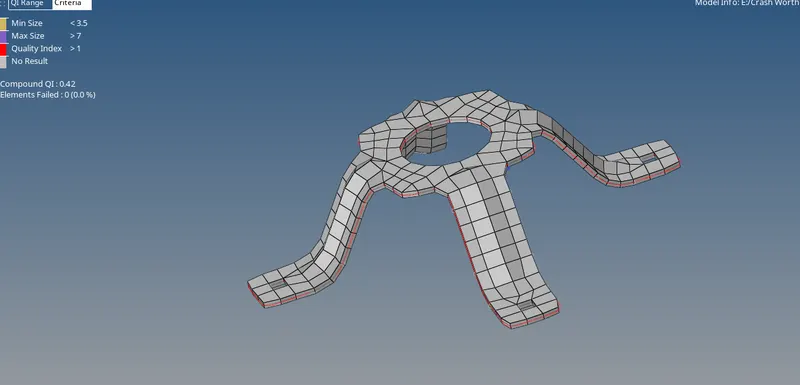
Assignment 1
Aim:
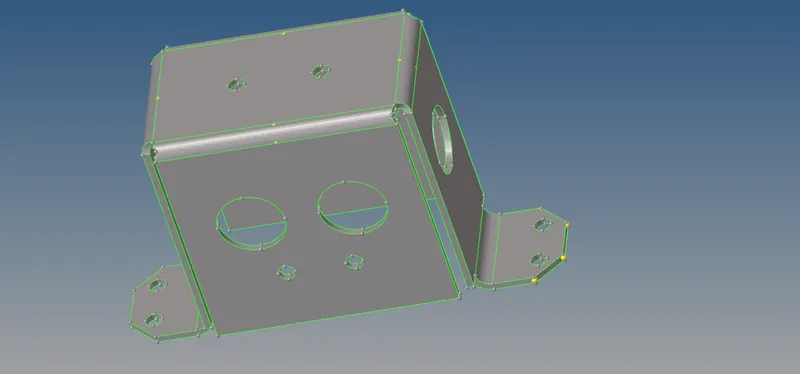
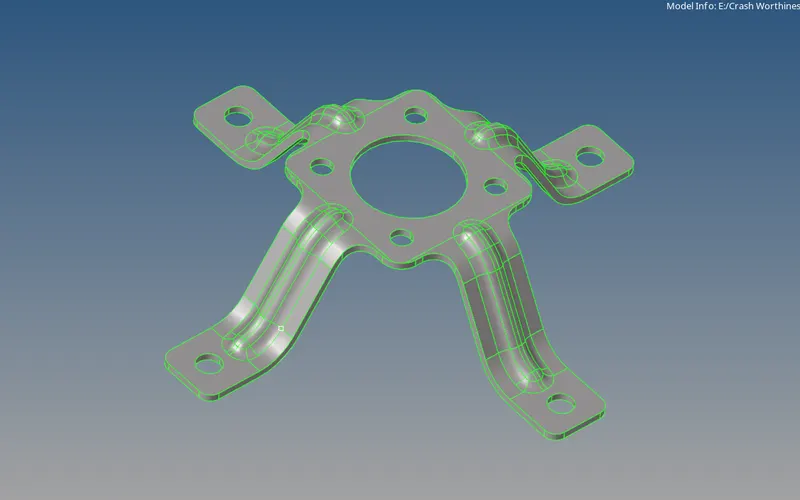
The main aim is to perform the geometry clean up and to give a mesh to the given sheet metal component, Clip Repair model, and Mounting Bracket Model.
Methodology:
The methodology to get the mesh effectively.
- Opening the file
- Extracting the Mid Surface.
- Giving the mesh
- Clearing the Errors
- Giving the material Property
Procedure:
- Opening the file:
- The File opening does requires few steps to be followed which then results in the opening of the file.
- When the app is opened, the file asks us which user interface to open. Select “RADIOSS”
- To open the file, Go to the File, on the main menu >>Open >> Click
- If the File is didn’t appear click on the display panel and enter Keyword “F” and the component will be displayed.
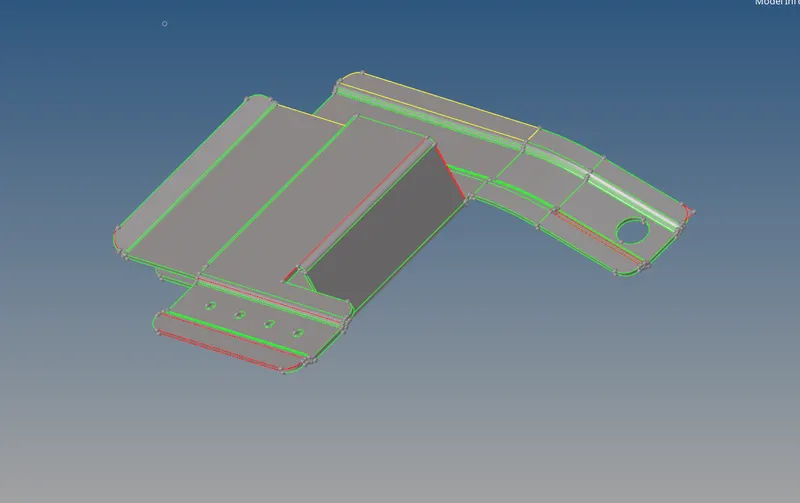
- Clearing the Geometric Errors:
- The geometric clean up can be done by using the tools in the quick edit panel.
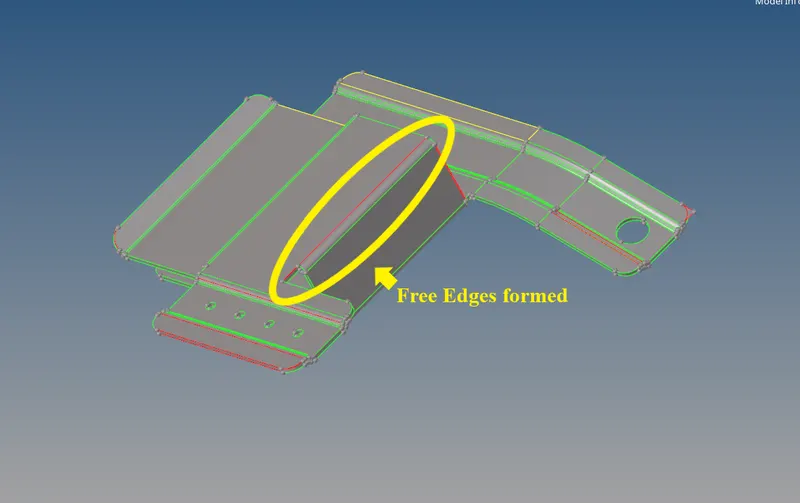
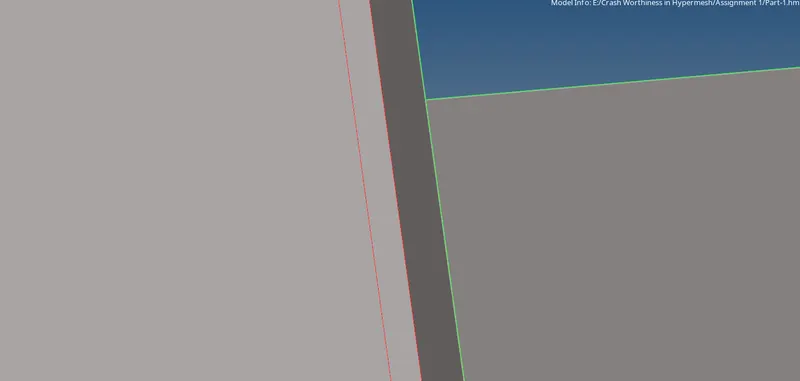
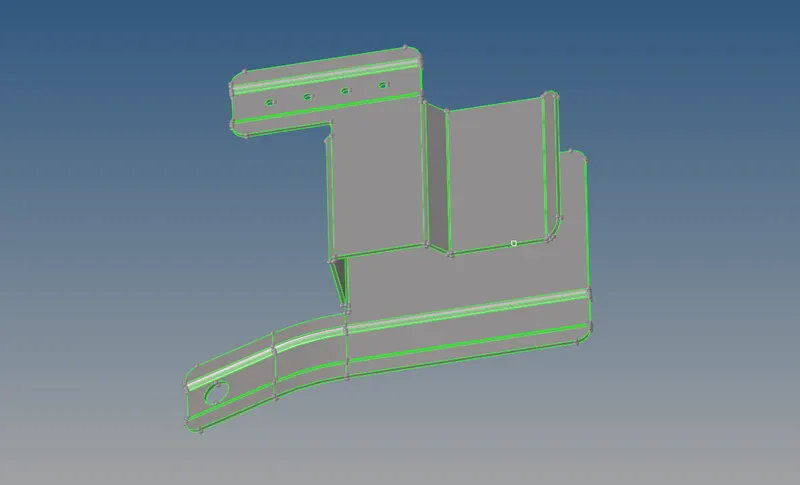
- The model didn’t have many errors, the free edges were cleared by using the Toggle tool and Fillet surface tool.
- Go to the Geom tab, Quick edit Panel, where you can find the tools required to perform the clean-up.


- Extracting the mid Surface:
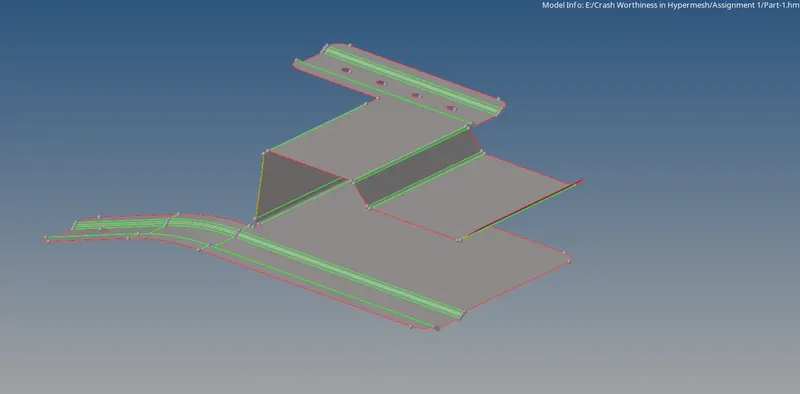
The mid surface for this part is done in 2 different ways the auto and manual mid-surfacing. The Auto Mid surface is done normally for all the surfaces. The Surface given can be done with the auto mid surface extraction option.
Auto Mid Surfacing:
- The Auto Mid Surface is done for the Inner Sheet metal part of the rear door of the car component.
- Go to the Geom Panel, Select mid surface >> Select Extraction options >> select Skin Offset instead of Offset + Planes + sweeps. >> Go to the Auto Extraction >> Select the Surface >> Click Extract.


- Giving the Quality Criteria:
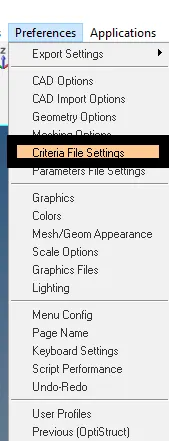
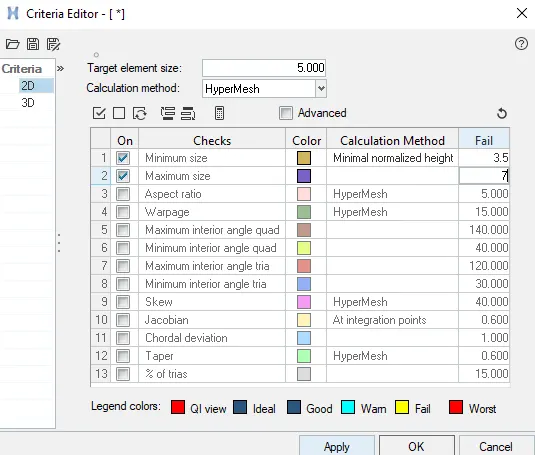
- Quality Criteria for this model are given.
- In status bar, Preferences >> Click Criteria File Setting >> Give the criteria >> Click Apply >> Click OK
- Giving the Mesh:
- The mesh is to be created on the mid surface so that the main part doesn’t get affected.
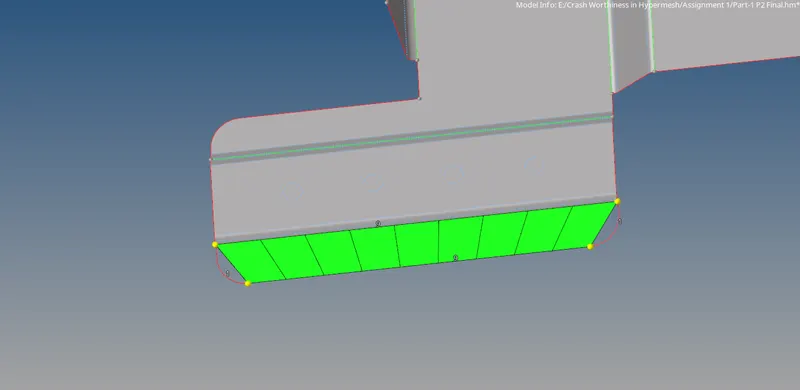
- To mesh the component, Go to 2D Tab, Select Auto meshing >> select surfs >> give Element size >> Select Mesh Type as mixed >> Click Mesh.
- To reconfigure the mesh select quality index in the 2D tab, Select Cleanup tools >> The Tools are used to modify the mesh to get the proper mesh.
- Click F7 to align the nodes. Select the nodes of 1stend and 2nd end and then select the nodes.
- To Project the meshed lines to the Feature line, the Project tool is used. Go to the Tools Tab >> Select Project >> Select To line >> Select the nodes >> Select the lines >> Click Project.

- Clearing the Errors:
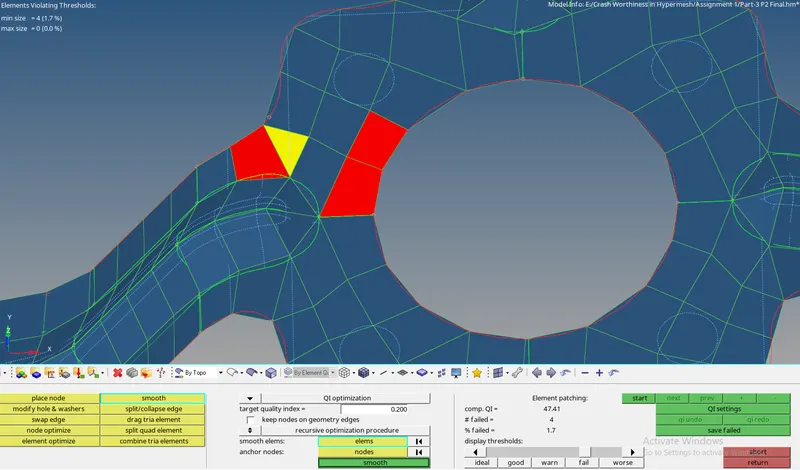
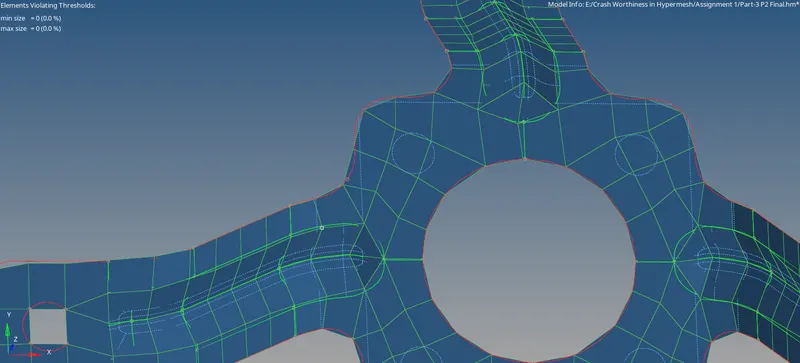
- To clear the Errors, the Quality Index Panel is used. The Quality index panel consists of a different set of tools to make an error-free mesh.
- Go to the 2D Tab, Click Quality Index >>Select Clean up Tools.
- Use the tools to create an optimum mesh.

- Giving the material Property:
- The Material properties are to be given to the component.
- To Create a Material card, Go to the Model Browser, Right Click >> Click on the Create >> Material >> Give a Name to the Material.
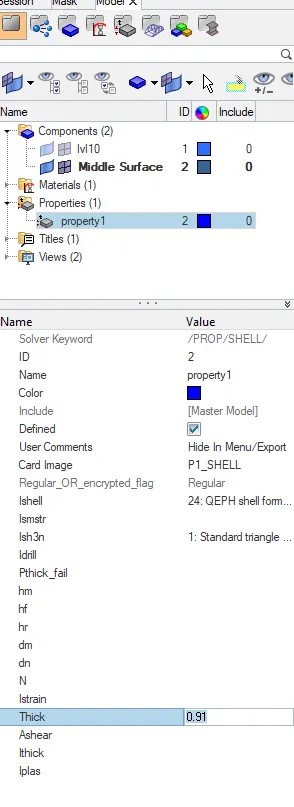
- To Create a Property card, Go to the Model browser and right-click on it >> Click on Create >> Select Property >> Give a name to the property>> Give the Thickness of the Model>> Give the Material to the Property.
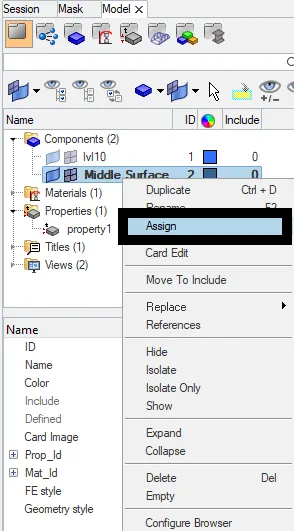
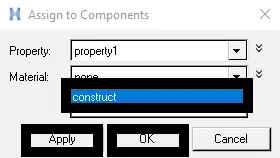
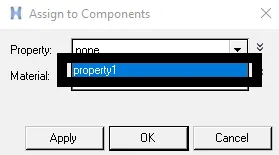
- To assign the Property to the component, Go to the Model Browser, Select the Component >> Right-click on it, Click Assign >> Select the Property to assign.
Result:
The Given Models are clean-up, meshed and the thickness is added to the model.
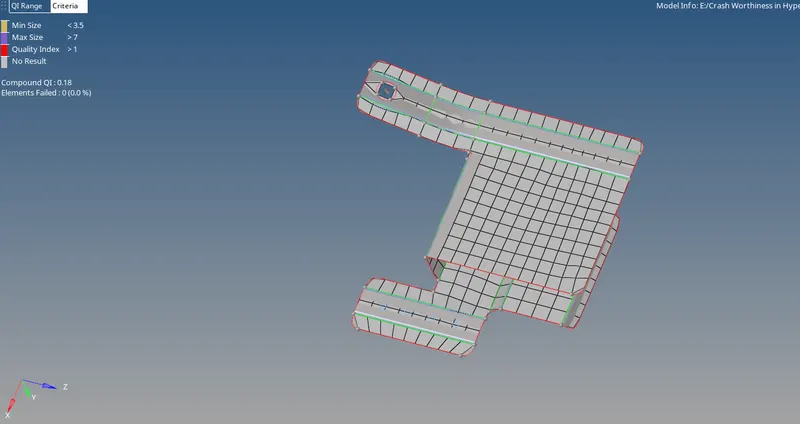
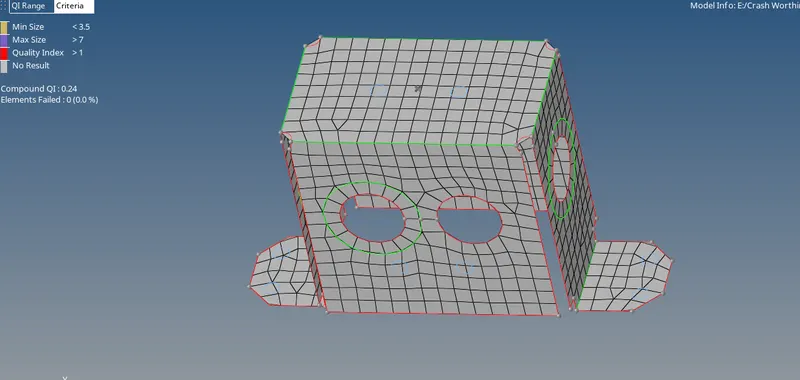
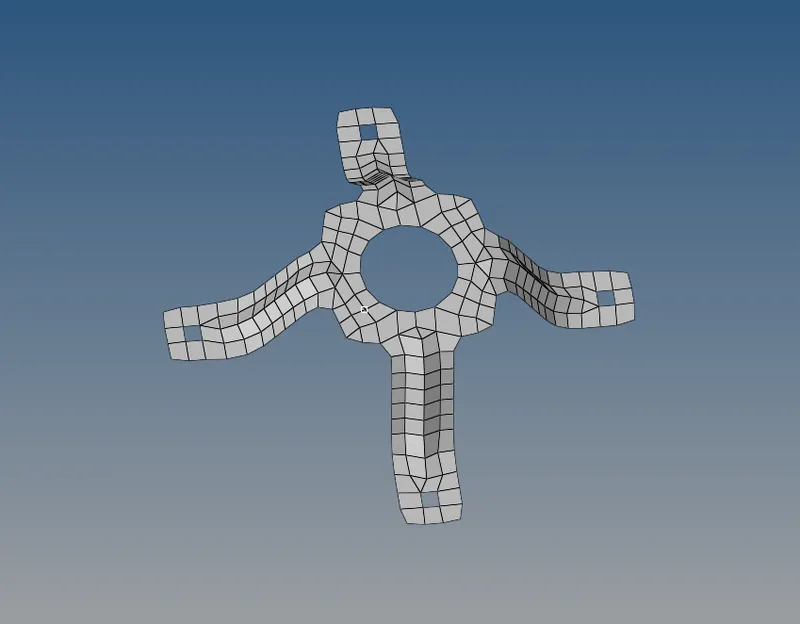
Thickness added to the Component: