Assembly of Yacht
1. Radar Mast
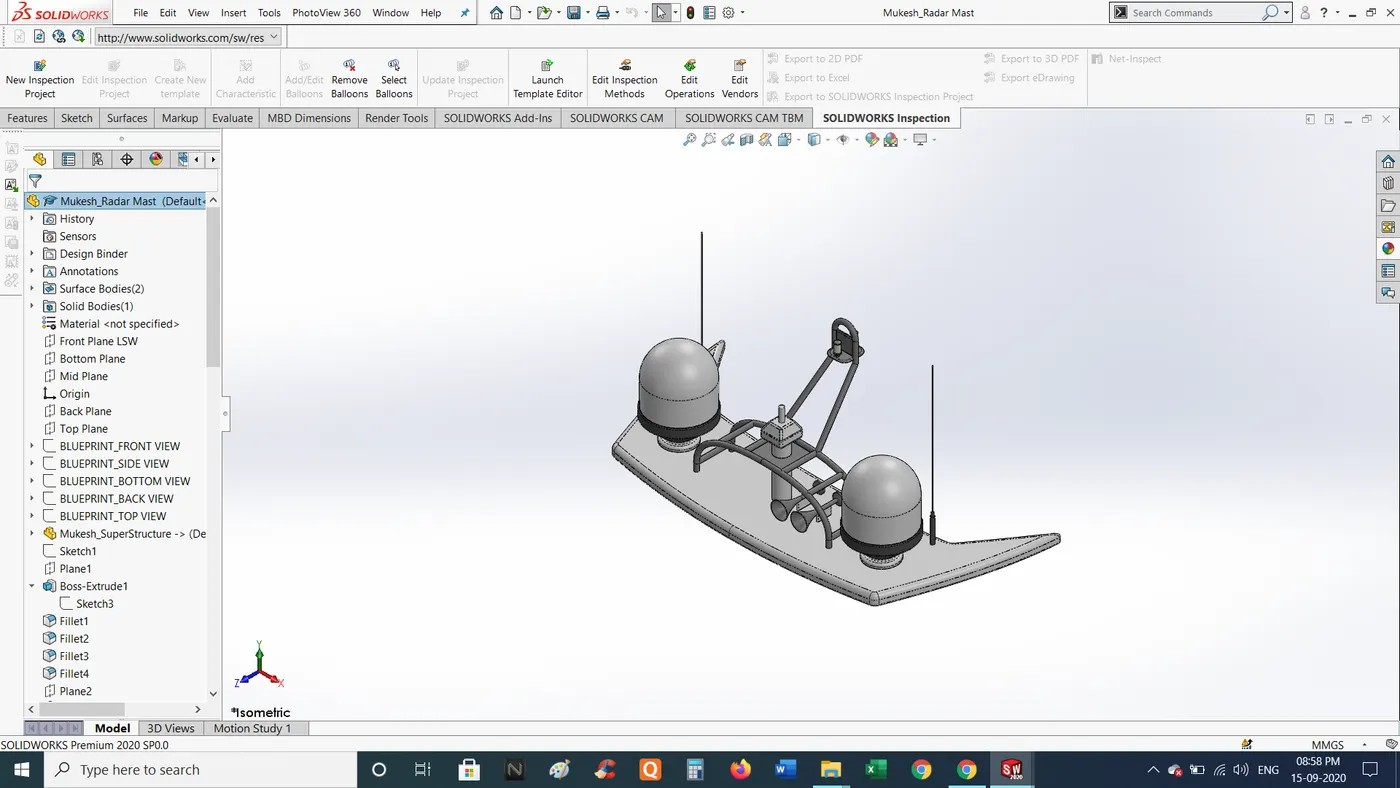
https://drive.google.com/drive/folders/1MCMBWJTbeav6bDcEMoc8IyDDuOyd2bPM?usp=sharing
2. Assembly Of Sunseeker Yacht
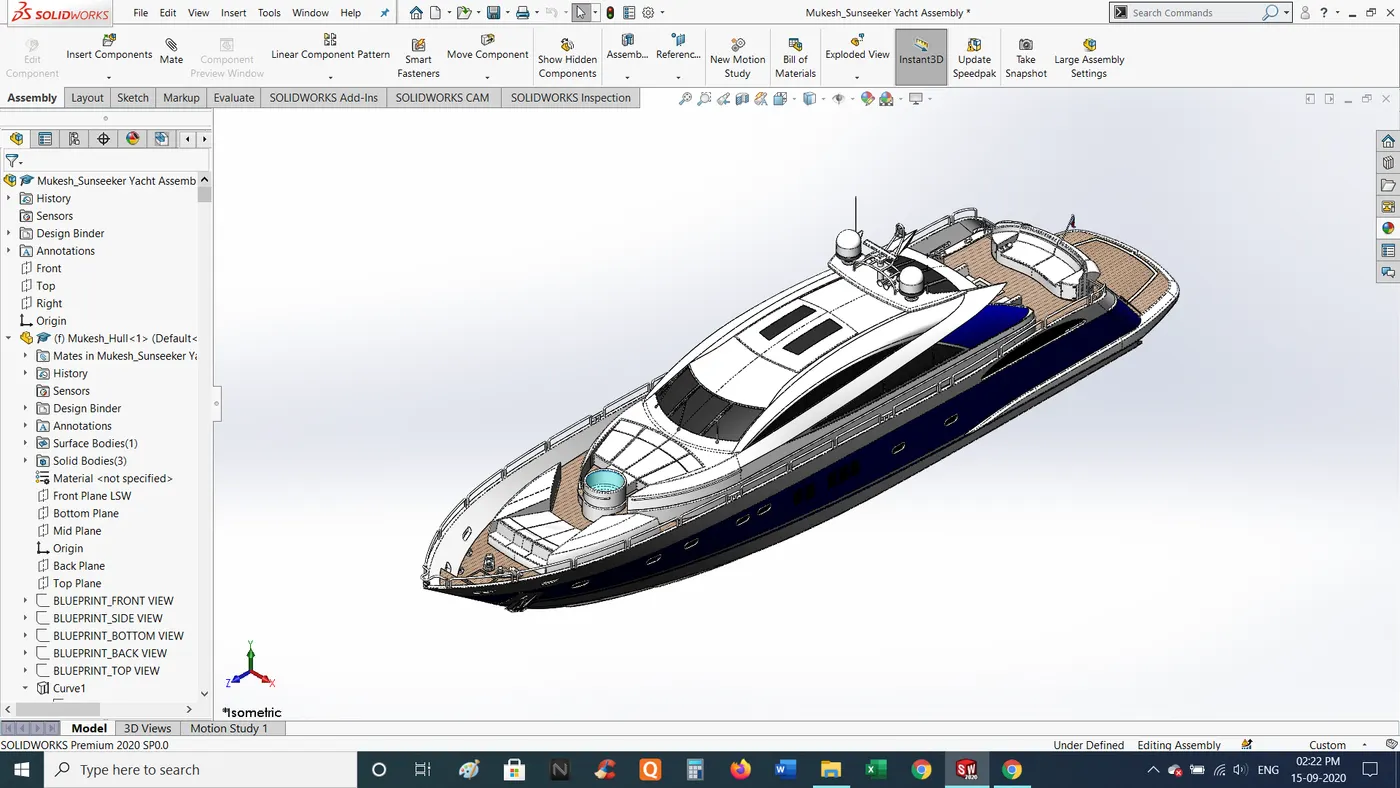
https://drive.google.com/drive/folders/1k1wT8l0C2-2o6_HvEmGOnzWUmcggTbrW?usp=sharing
- Project Report
Sunseeker Yacht Assembly
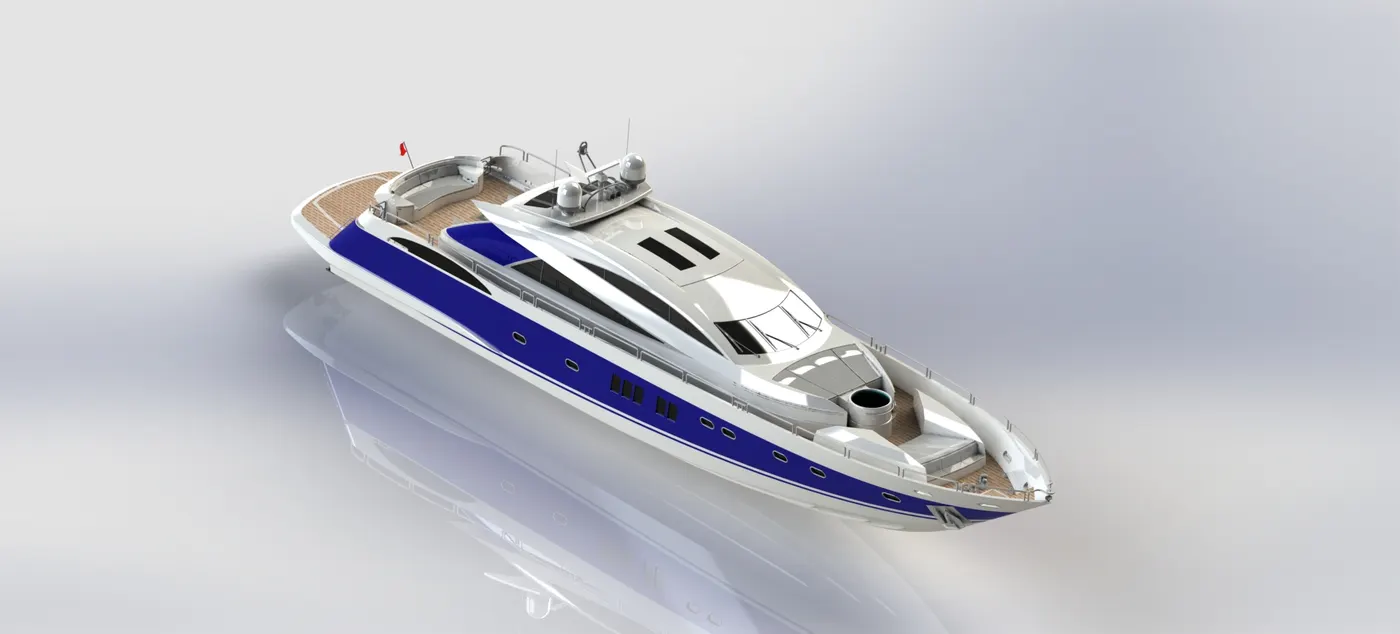
OBJECTIVE
The main objective of this project is to learn Surface and Part modelling using SolidWorks.
INTRODUCTION
In this project we are going to make a complete model of Sunseeker Yacht using Surface and Part modelling in SolidWorks.
Also, we will create Photo realistic rendered images by using SolidWorks Visualize.
DESIGN METHODOLOGY
Here we will take a look at various steps on how we created our model from start to end.
| Setting Up Templet |
Setting up parameters and create new templet according to metric system.

|
Modelling parts using proper Plane and Dimensions |
Each part is made using proper geometry and dimensions, after that proper appearance is applied to it.
|
Setting up Blueprints |
Blue prints are Sketched images with proper view such as Front View, Side View, Top View, etc.
These Blue prints are placed on the proper plane so that it will create a visual assistance while we design our model.
Further this setup will be used as a reference to make parts.
|
Part Modelling by Sketching and tracing Blue print |
Now by using Blue print setup as a visual guide, we will make parts of our model.
Also, we will make sure we give proper dimensions while sketching.
|
Appling appearance to parts |
Once we have completed our modelling, we can apply appropriate appearance to each and every part so that our Sunseeker Yacht will look more realistic and appealing.
|
Assembly of Sunseeker Yacht |
As some of our parts are made by using same reference Ie: Blue Print Setup, It becomes very easy to assemble parts together, as they automatically align to their respective positions.
Also assemble remaining parts to assembly using proper mates.
|
Rendering in PhotoView 360 |
After we are all set, we can start rendering our Yacht using PhotoView 360, viewing on preview window and taking few sample shorts.
This will give us clear idea how to set environment accordingly.
|
Adjust our model and Camera for perfect Shot in SoildWorks Visualize |
At SolidWorks Visualize we can adjust our camera as well as model for perfect view also we can add camera for other angles.
|
Final Rendering |
Before we start rendering we will have to setup few things such as File location, file format and Quality of image to be processed, all these parameters will decide Quality and how much time it will take to prodeuce final rendered image.
Now when everything is set; we can start our final rendering.
DISCRIPTION
For designing Sunseeker Yacht, we are going to use set of Tools and Features provided by SolidWorks, which are as follows:
- Sketch Tools
- Line, Centre Line and Midpoint Line
- Corner Rectangle, 3 Point Rectangle and 3 Point Corner Rectangle
- Slot
- Circle
- Centre Arc, 3 Point Arc and Tangent Arc
- Spline
- Trim Entities
- Extend Entities
- Convert Entities
- Offset Entities
- Mirror Entities
- 3D sketch
- Liner Sketch Pattern
- Circular Sketch Pattern
- Smart Dimensions
- Features
- Extrude Boss/Base
- Revolved Boss/Base
- Swept Boss/Base
- Loft Boss/Base
- Extrude Cut
- Fillet
- Chamfer
- Draft
- Shell
- Dome
- Split
- Reference Axis
- Reference Plane
- Project Curve
- Composite Curve
- Surfacing Tools
- Extend Surface
- Ruled Surface
- Revolve Surface
- Extend Suface
- Trim Surface
- Swept Surface
- Boundary Surface
- Delete face
- Knit Surface
- Render tools
- Edit Appearance
- Edit Scene
- Preview Window
- Render Region
- Options
- Final Render
- Schedule Render
Screen Shorts of Sunseeker Yacht Assembly
Isometric View of Sunseeker Yacht Assembly
Front View of Sunseeker Yacht Assembly
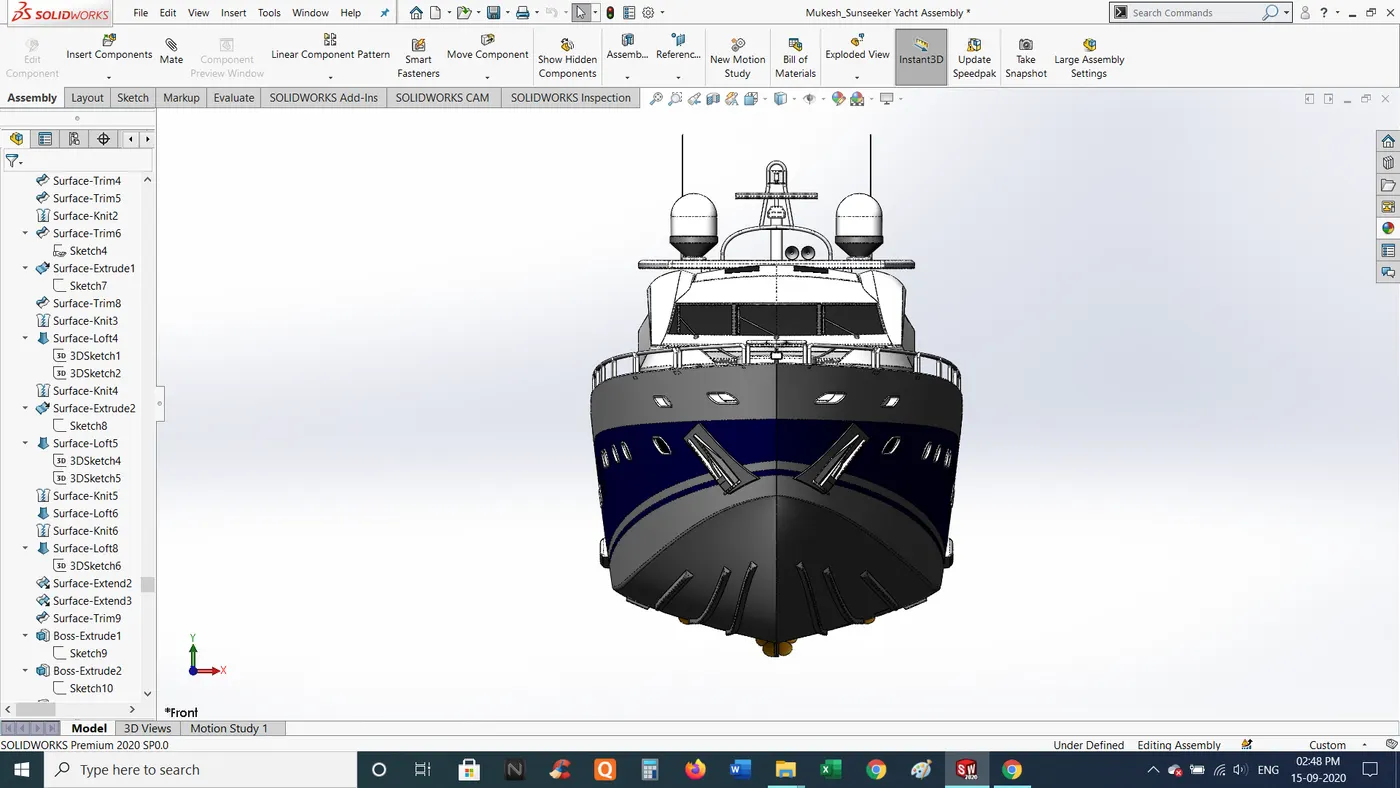
Back View of Sunseeker Yacht Assembly
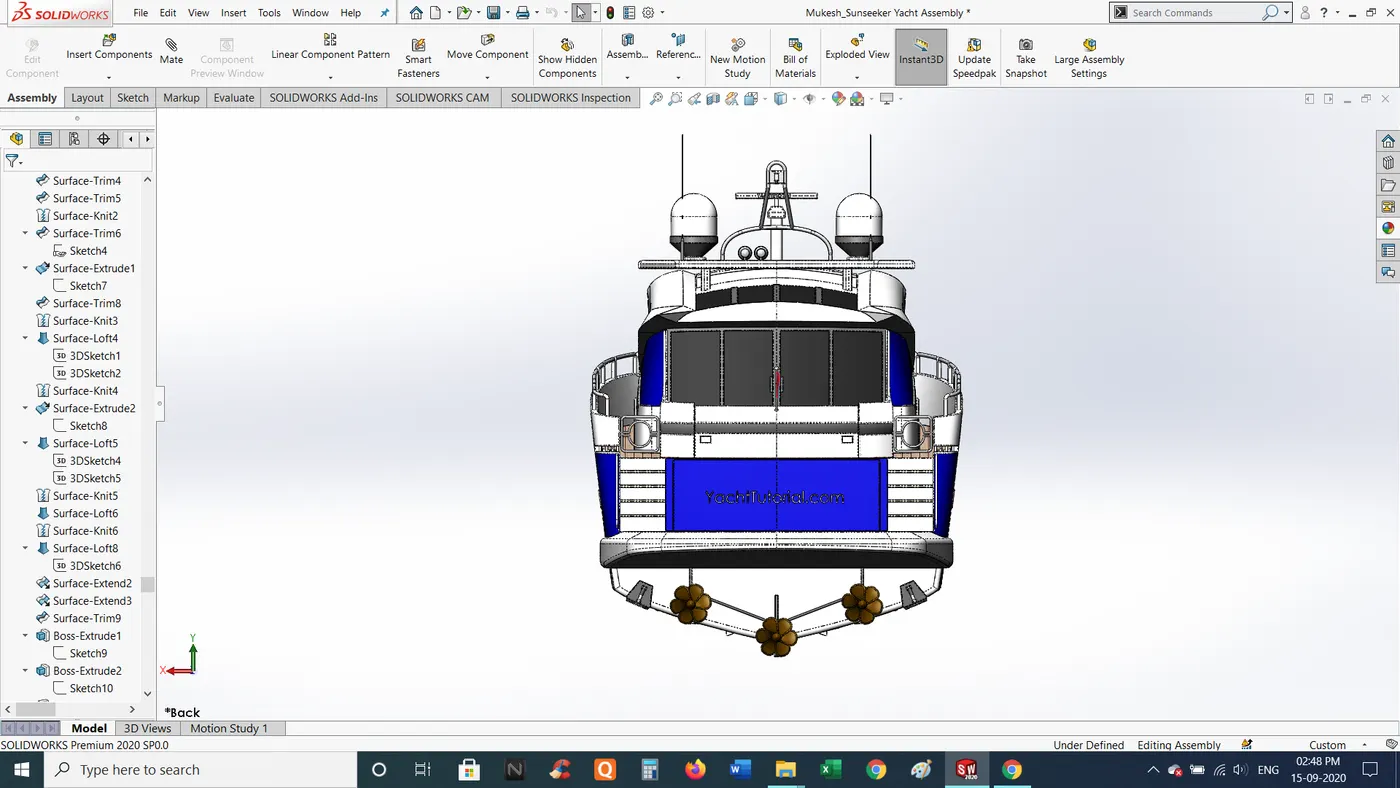
Side View of Sunseeker Yacht Assembly
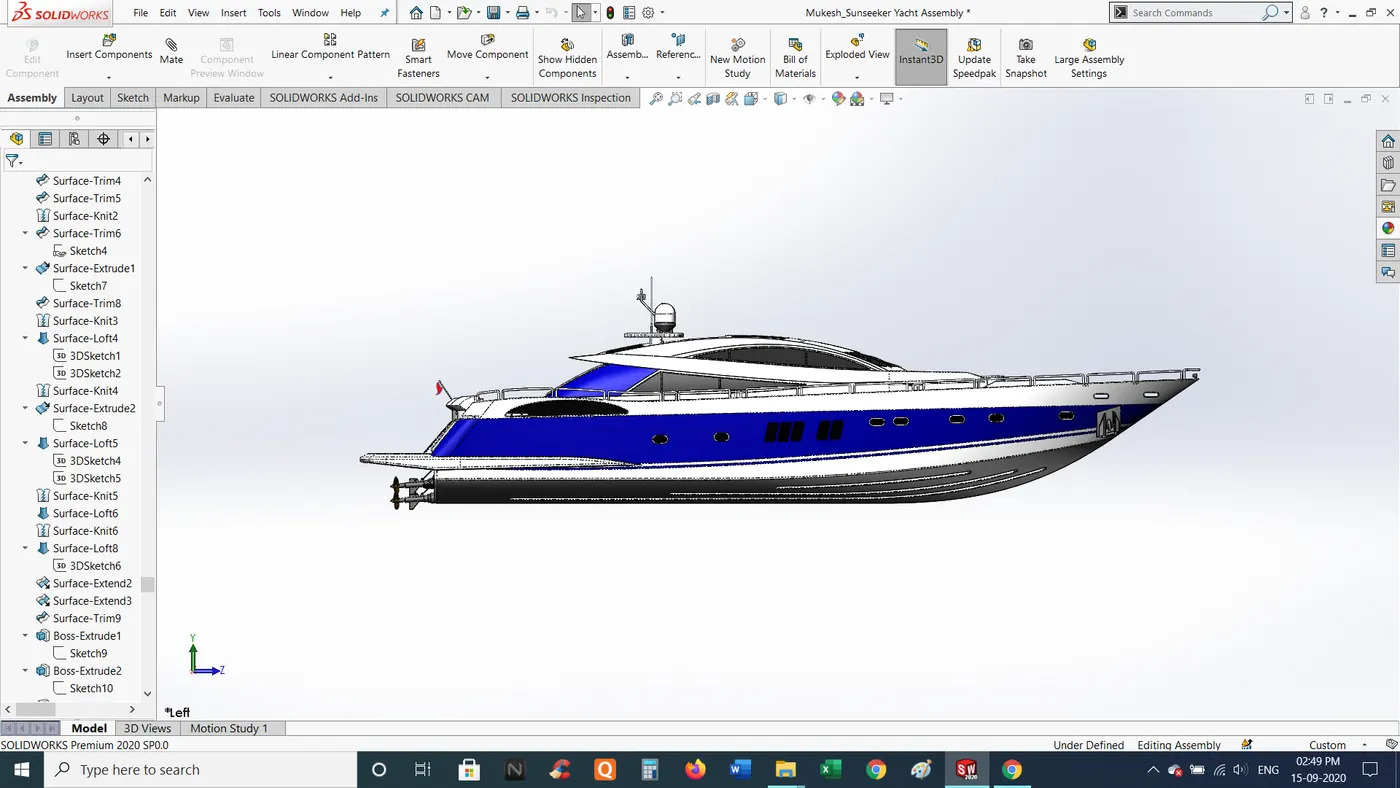
Top View of Sunseeker Yacht Assembly
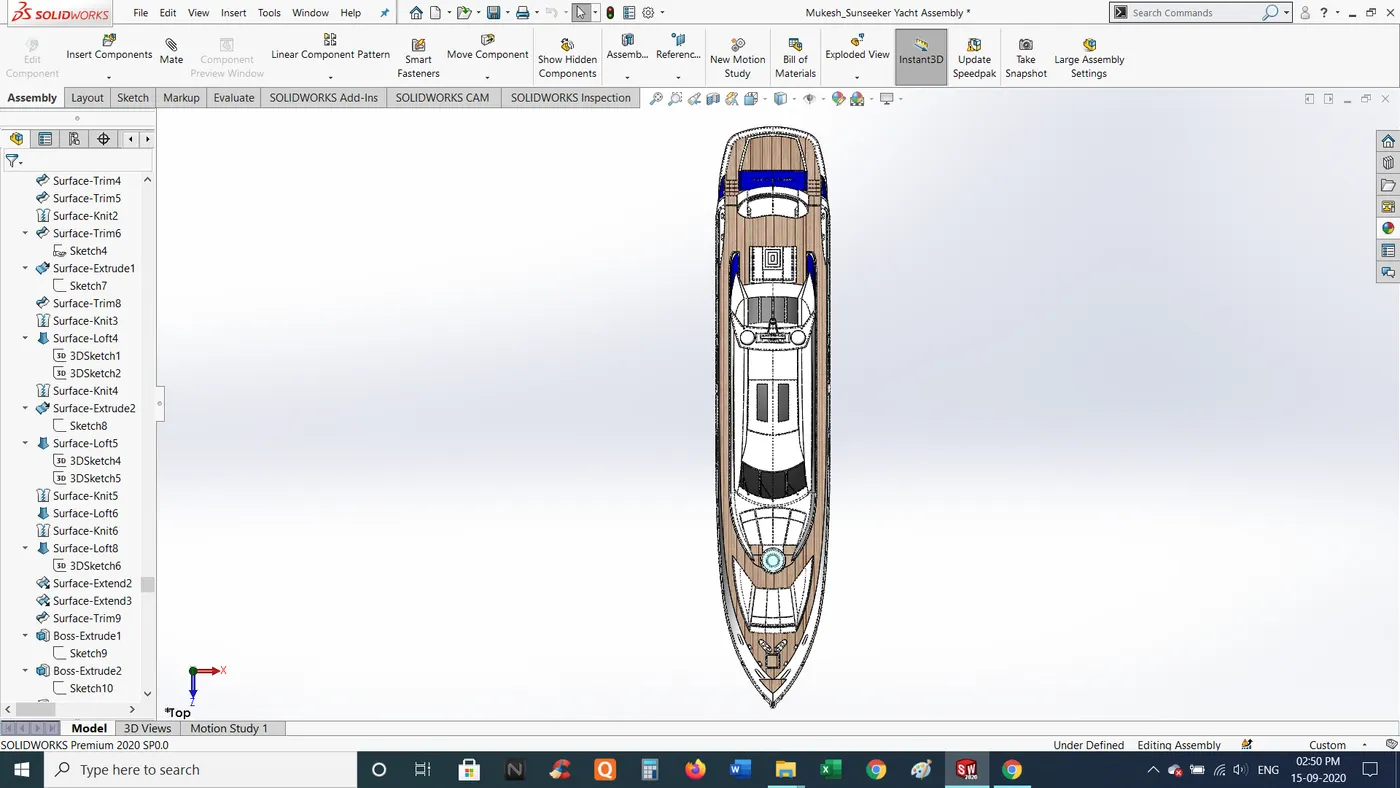
Rendered Images of Sunseeker Yacht
Sunseeker Yacht Assembly Render image 1
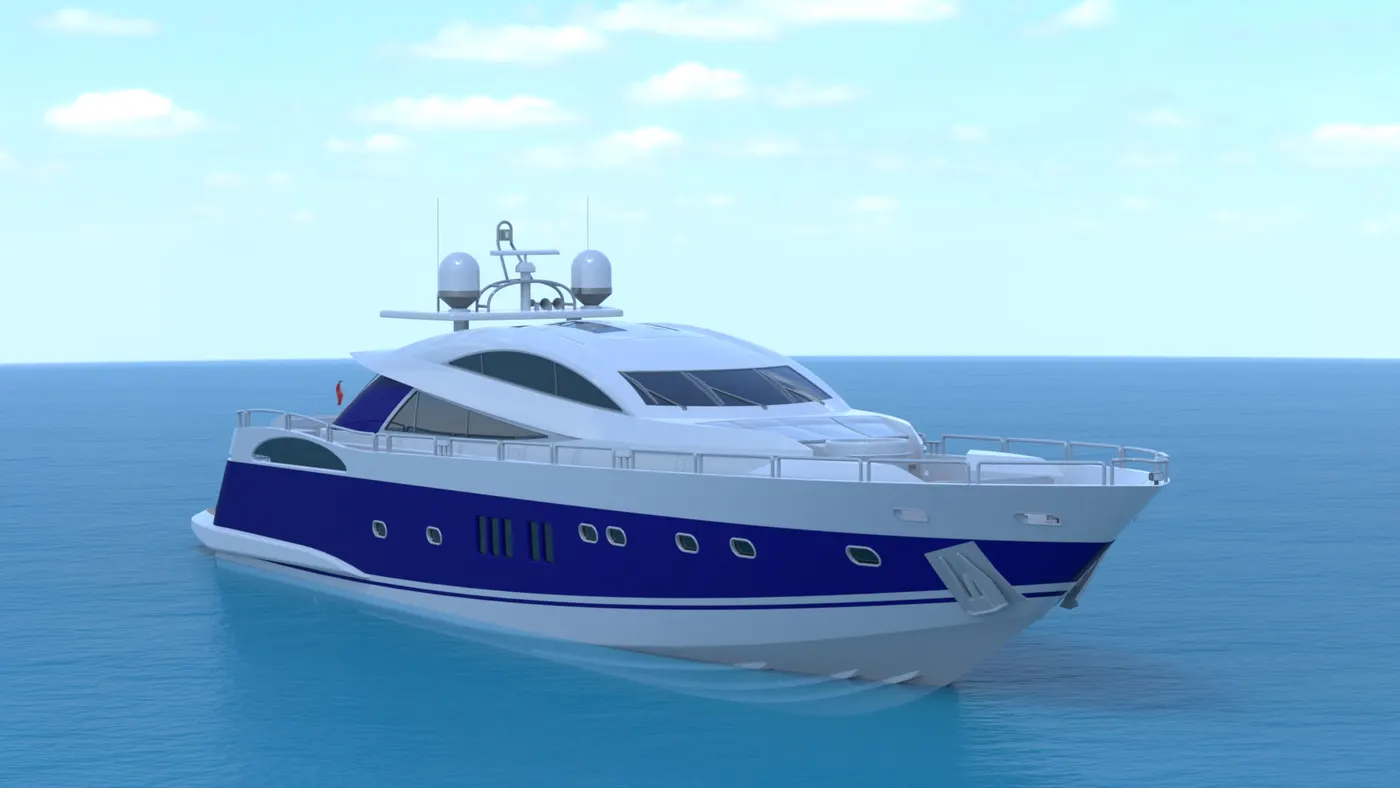
Sunseeker Yacht Assembly Render image 2
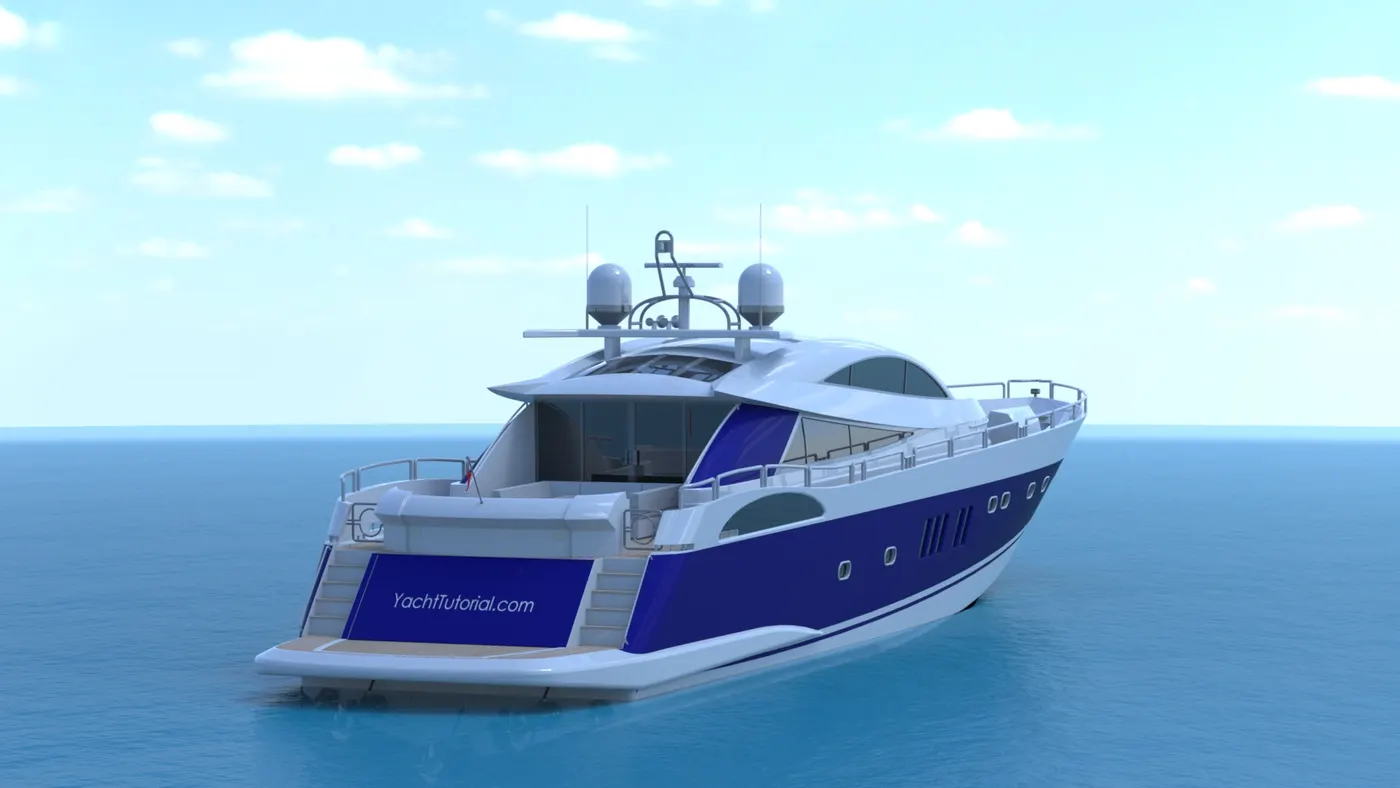
Sunseeker Yacht Assembly Render image 3
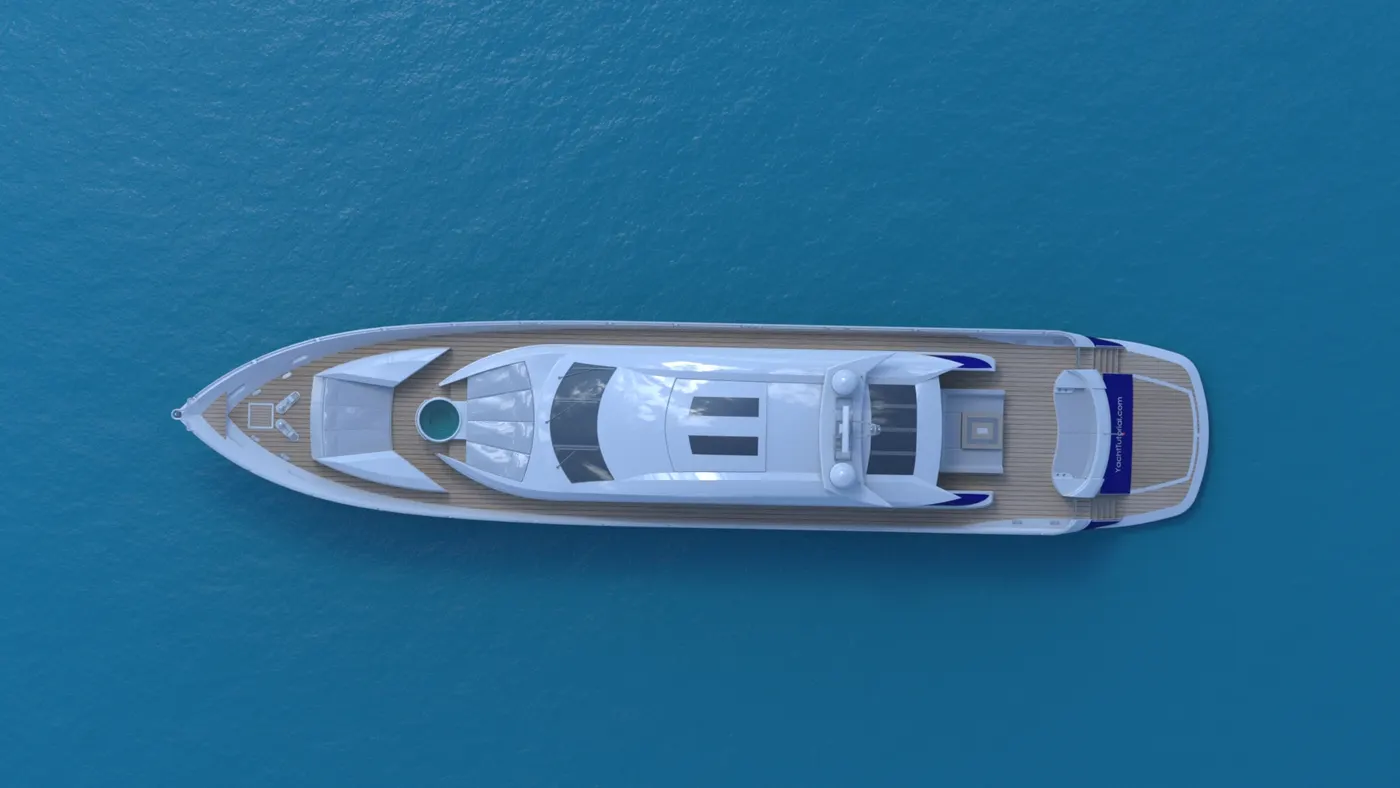
Sunseeker Yacht Assembly Render image 4
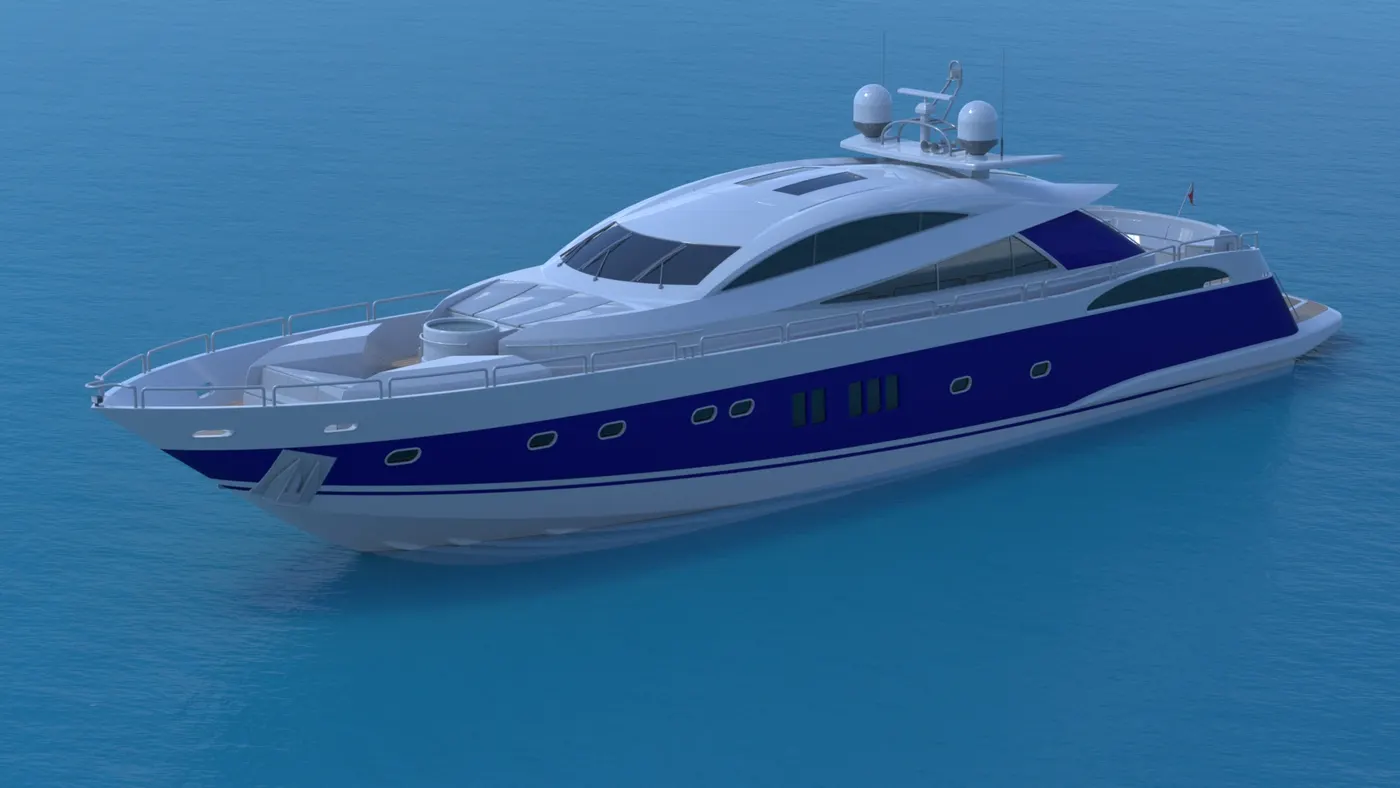
CONCLUSION
At the end of this Project we can conclude that,
- We have completed modelling of each and every part using proper tools, features and dimensions.
- Using Blue Prints as reference while sketching helps to create complicated parts more easily.
- Using Blue print setup as reference, Assembly of parts get more easily and perfectly aligned.
- We have also produced rendered images our Assembly of “Sunseeker Yacht” using PhotoView 360.
- At last we created photo realistic images of “Sunseeker Yacht” using SolidWorks Visualize.