3D Creation of Celing, Roof, Architectural plan, Structural plan, Sectional view, Elevation view and Camera specific view for a house plan using REVIT
Q.1) Based on the project saved from Week 3, proceed from the First Floor Level. Model a Ceiling from the architecture tab above the walls at the first-floor level.
ANS:
STEP 01: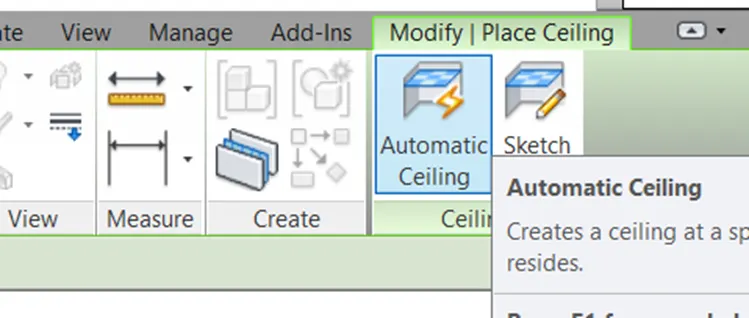
-CLICK ON ARCHITECTURE AND SELECT CEILING
STEP: 02
- U CAN SEE TWO OPTION FOR U.
STEP 03
-SELECT PIC LINE.
STEP 04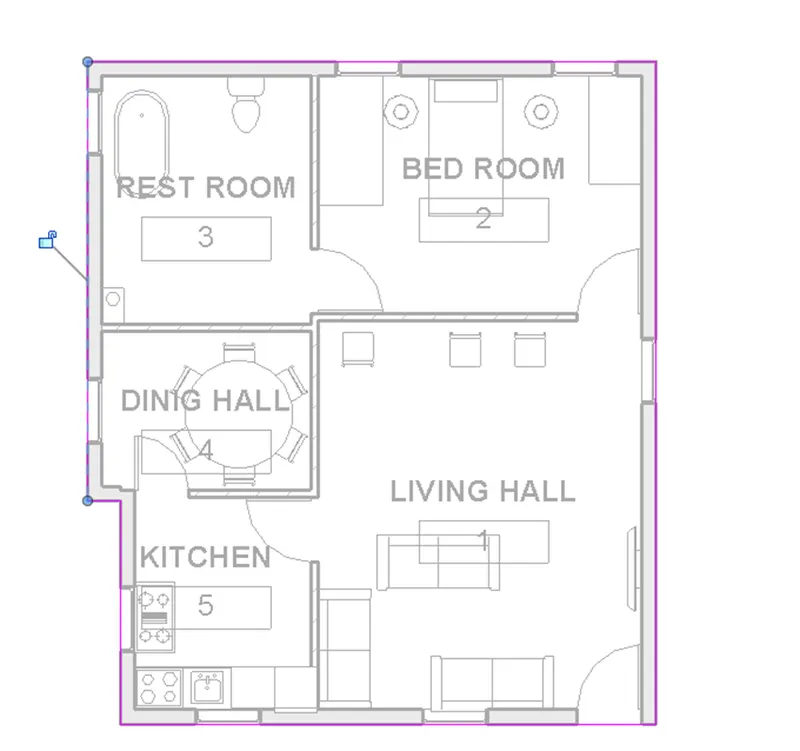
-SELECT ALL ARCHITECTUTE BOUNDARY WALL LINE.
STEP 05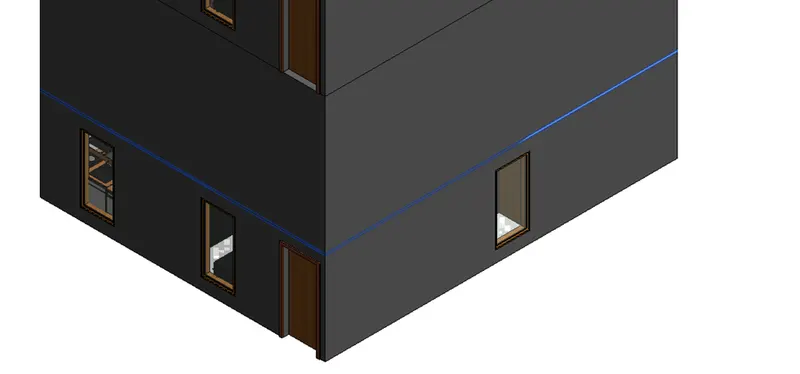
CEILING IN 3D VIEW.
- 2) Model a roof above the ceiling by selecting the footprints of the ceiling. Using the adjustment toolbars appearing on-screen adjust the roof slope to 10 degrees.
ANS:
STEP:01
-ARCHITECTURE AND SELECT ROOF BY FOOTPRINT.
STEP 02
-CLICK ON PICK LINE.
STEP:03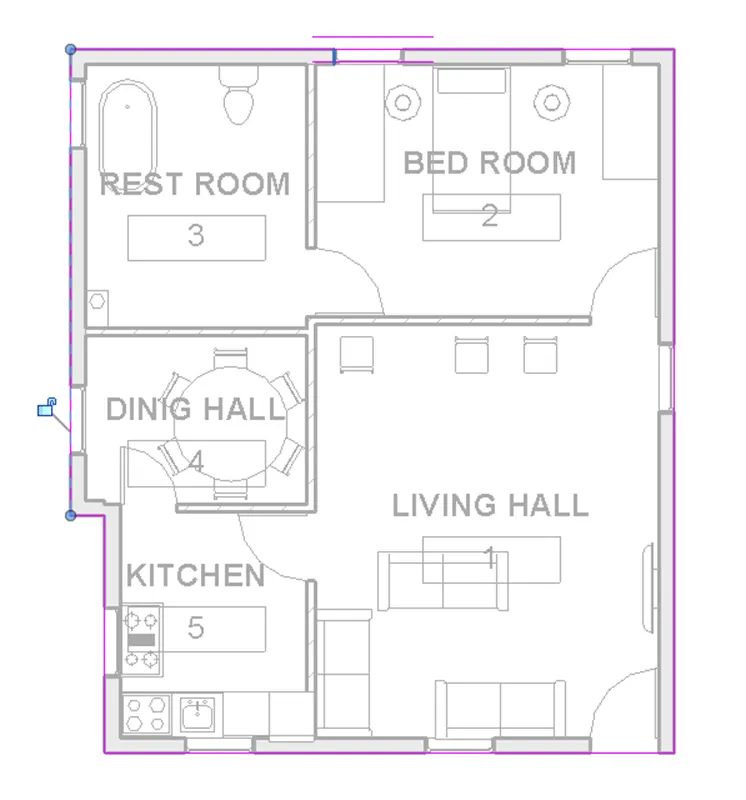
-SELECT ALL ARCHITECTURE EXTERIOR WALLS.
STEP:04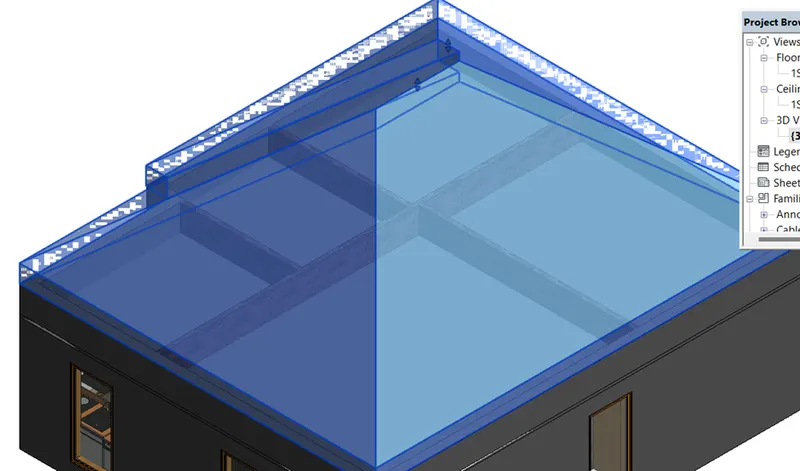
3D VIEW
STEP05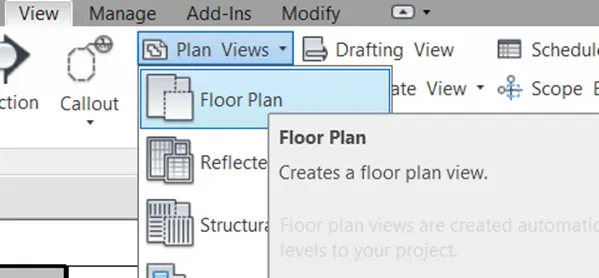
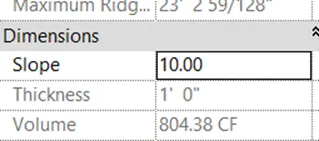
-10 DEGREE SLOPE
- 3) Using the file saved from weeks 2 to 4, create plan views for ground floor level and first-floor level including all the walls, floors, and components. Separate them to
architecture and structural plans.
ANS:
STEP01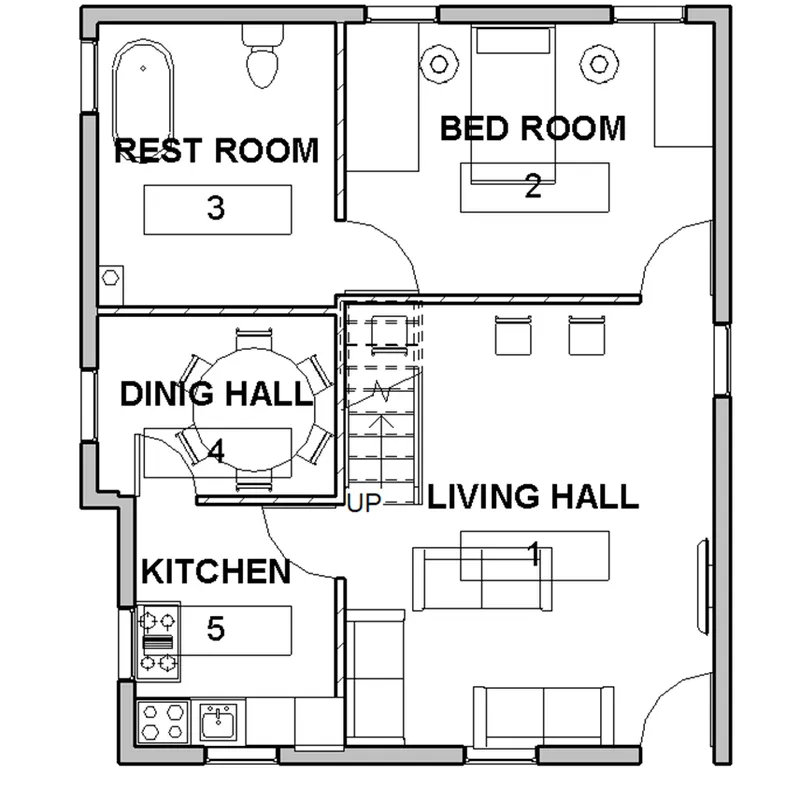
-CREATE ARCHITECTURE FLOOR PLAN
STEP03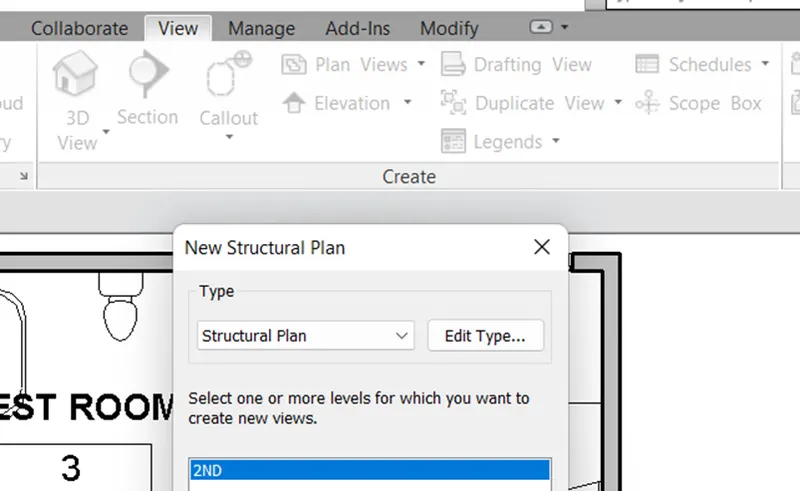
-CREATE STRUCTURE PLAN
STEP:04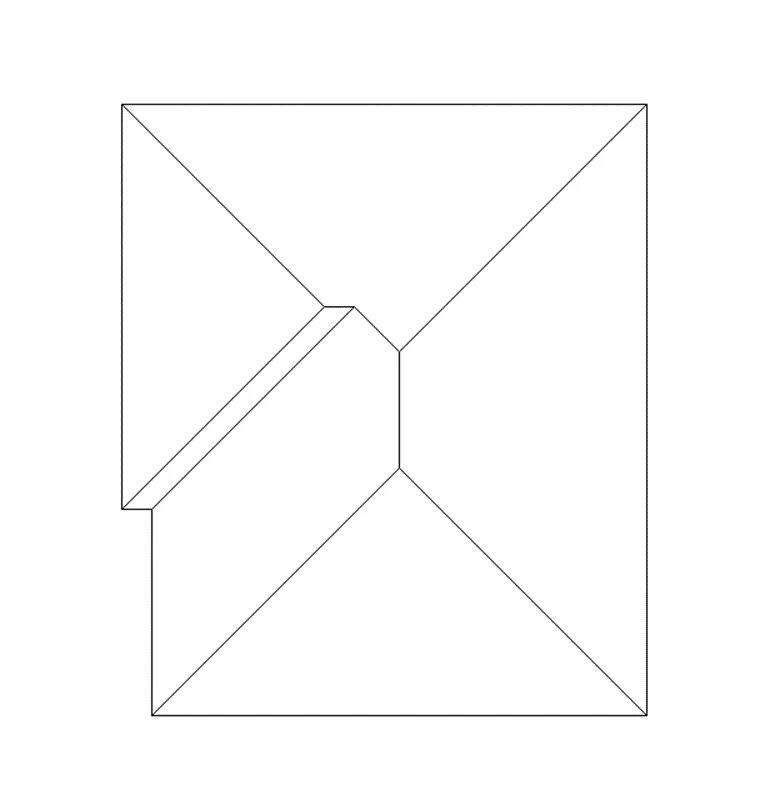
-ROOF PLAN
- 4) Using annotate toolbar add dimensions to all the walls and floors with reference to the longitudinal and transverse grids created in the project file.
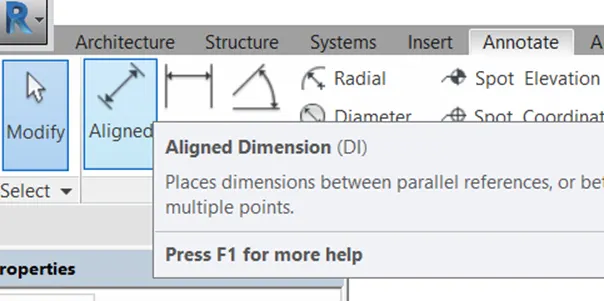
ANS: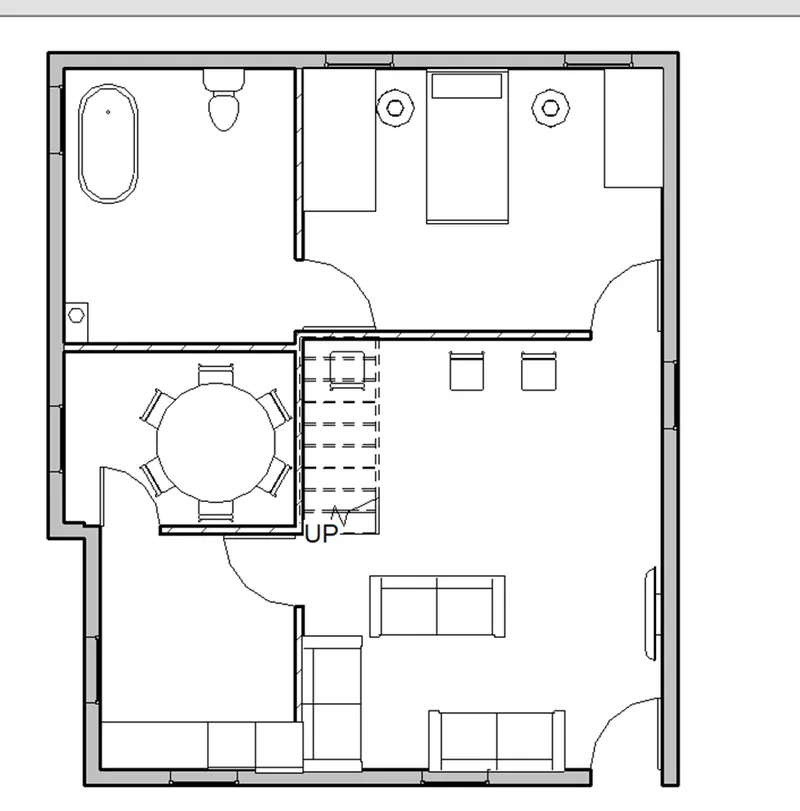
STEP01
-GO FOR ANNOTATE RIBBON
STEP03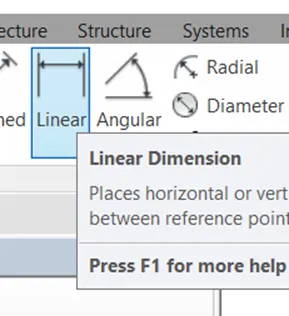
-CLICK ON LINEAR DIMNESION.
STEP04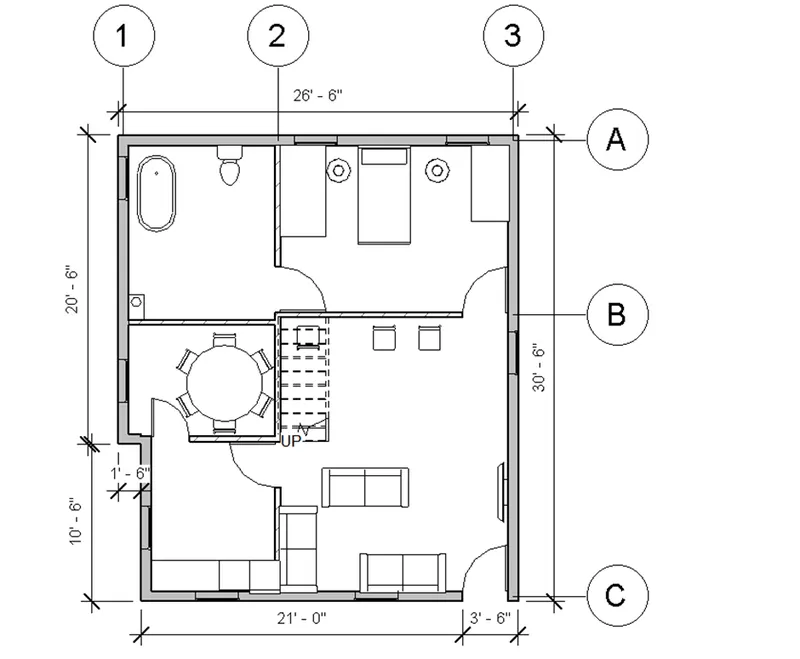
-ALL ARCHITECTURE WALL WORKING DRAWING.
Q.05) Create a sheet template from the view tab and adjust the parameters on the sheet to add appropriate views.
ANS:
STEP01
-GO TO RIBON & SELECT VIEW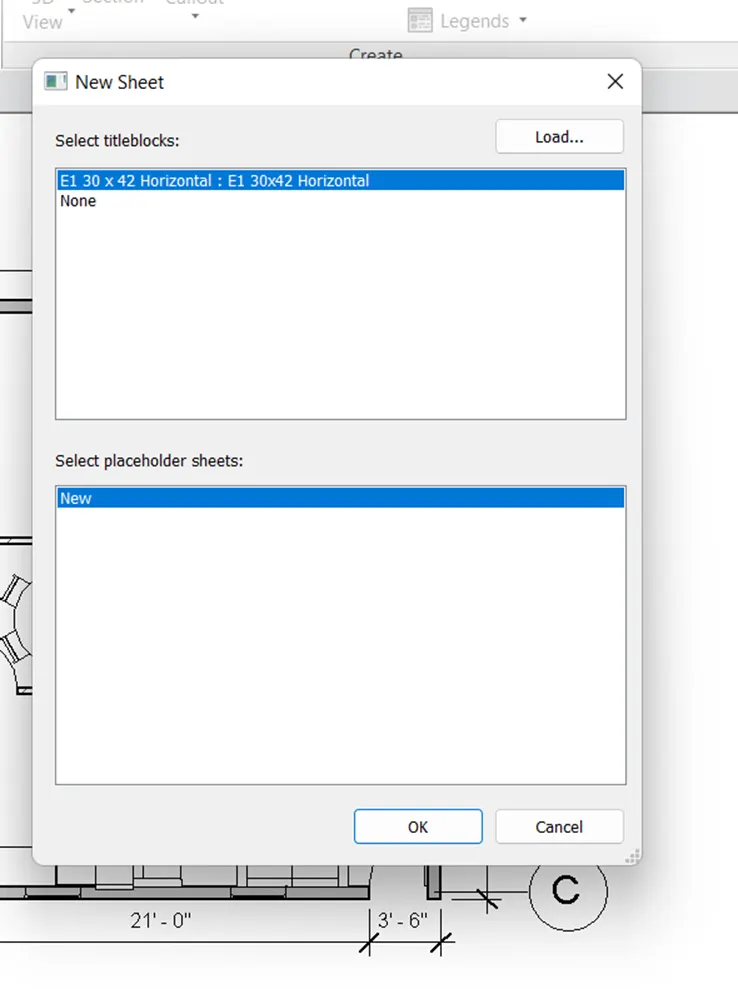
STEP 02
-LOAD IMPERIAL & METRIC TEMPLATE AS PER YOUR CHOICE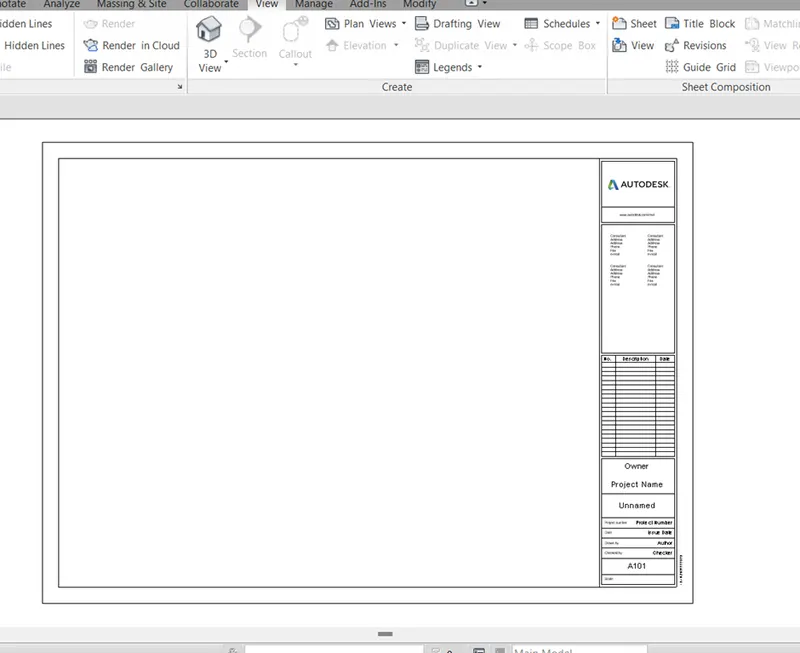
STEP03
-I AM SELECTING ONE TITLE BLOCK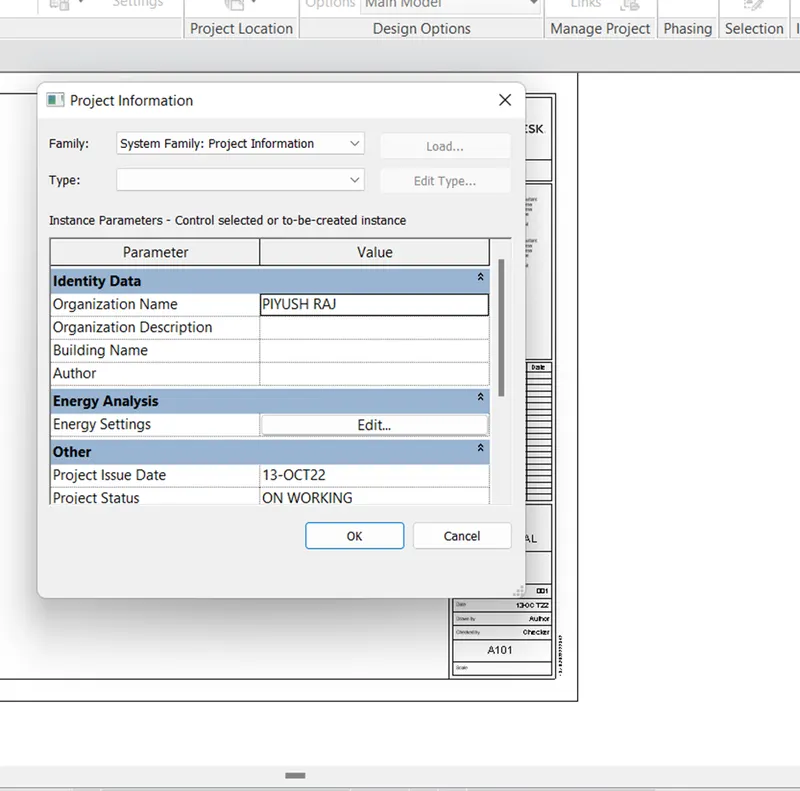
STEP04
-HOW TO FILL TITLE BLOCK U CAN SEE IT.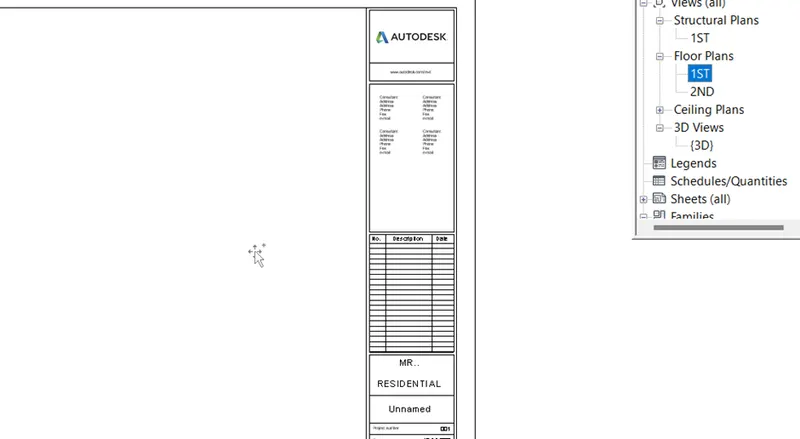
STEP05
-DRAG FILE IN TITLE BLOCK
- U CAN SHO IN 1ST PLAN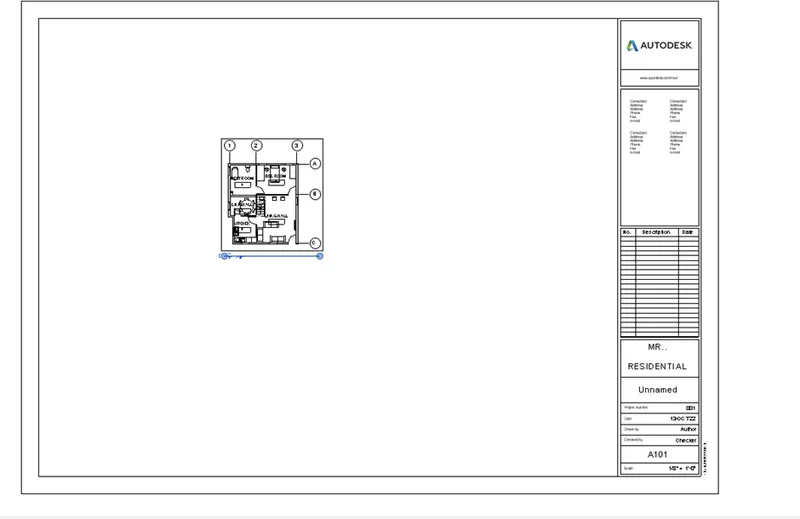
STEP06
- FILE SIZE IS NOT PERFACT
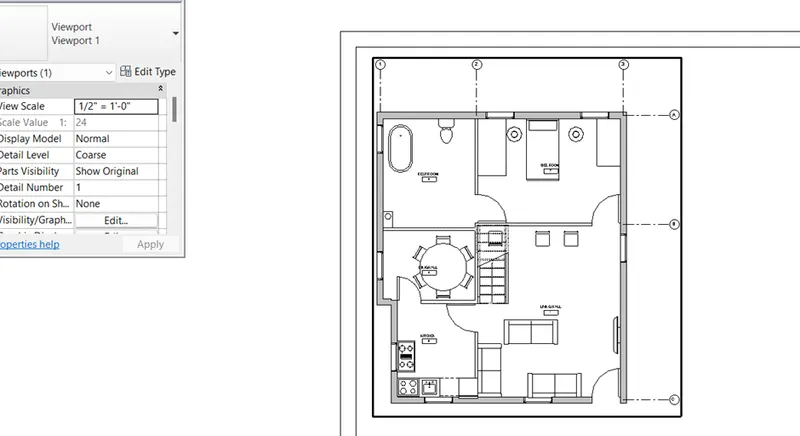
STEP07
- U NEED TO SCALE
- 6) Using the elevation tab create the elevation views, looking at your building from East, North, South, and West.
ANS: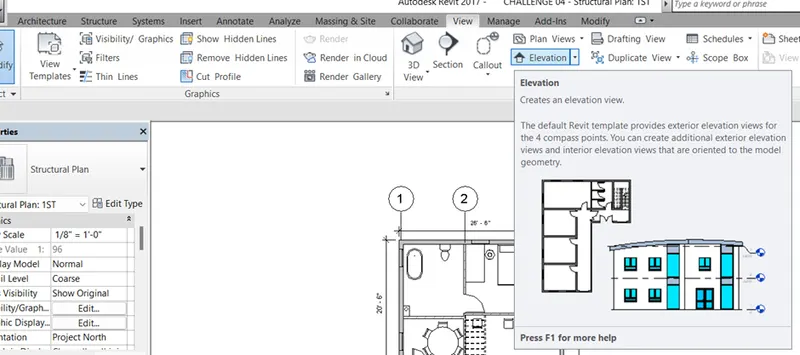
STEP01
-FIRST SELECT ELEVATION TOOL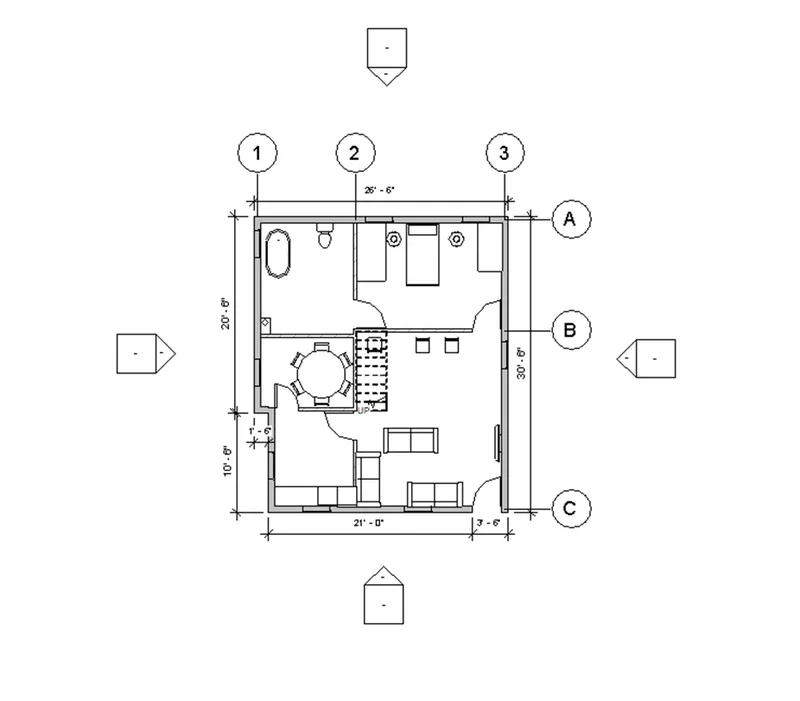
STEP02
-LOCATE ALL DIRECTION
-LIKE NORTH-SOUTH-EAST-WEST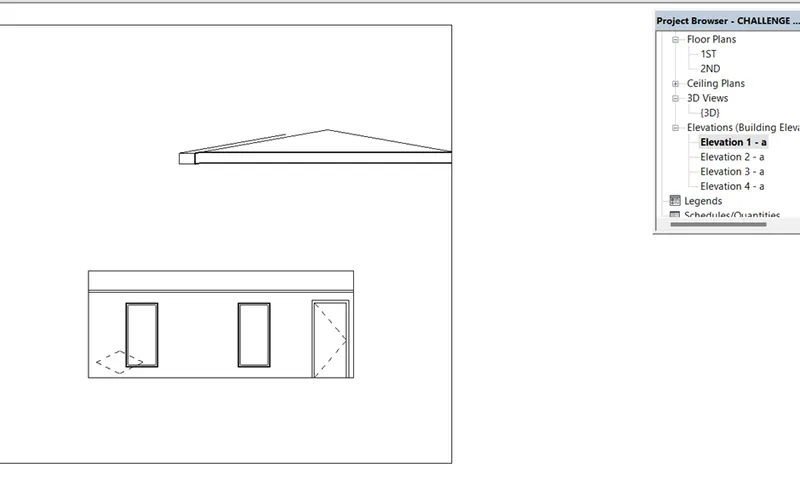
STEP03
-NOW U CAN SEE ALL SIDE VIWS ONE BY ONE.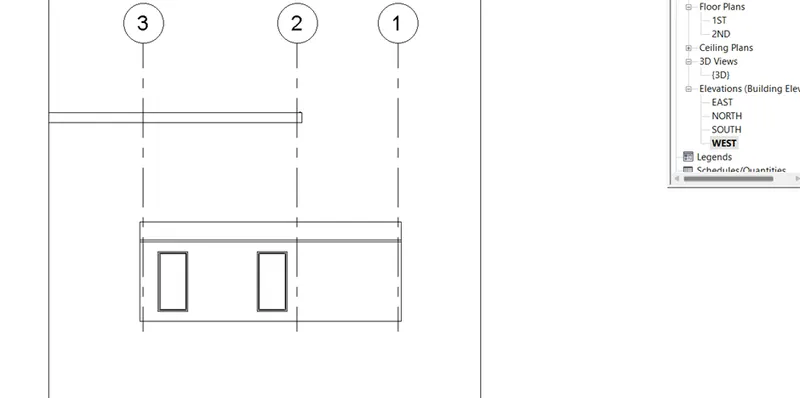
-WEST VIEW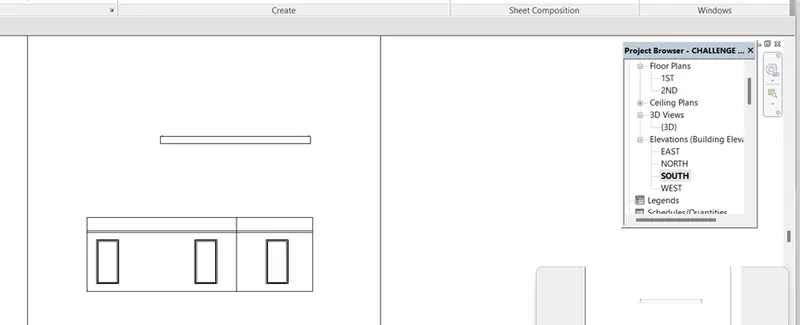
-SOUTH VIEW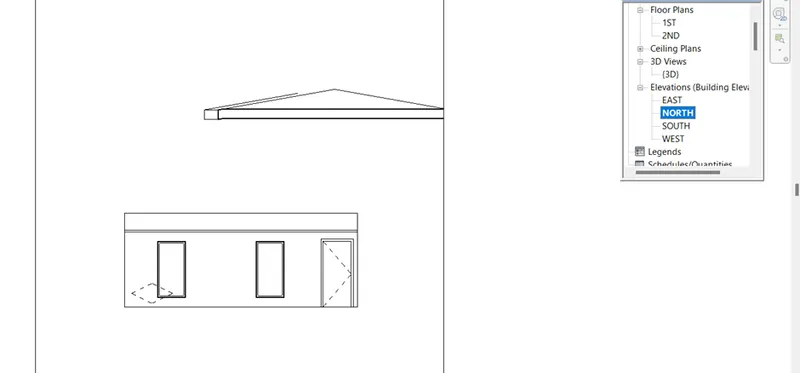
-NORTH VIEW.
- 7) Produce section cut through each room either cutting across longitudinally or in a transverse direction.
ANS: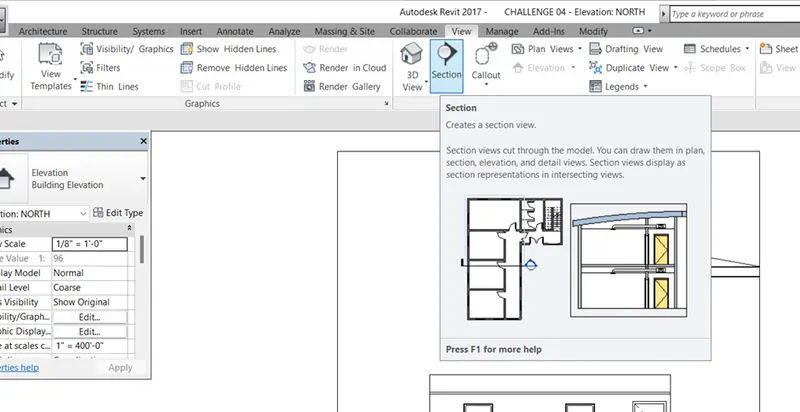
STEP01
-SELECT SECTION TOOL BAR SHOW IN SCREEN .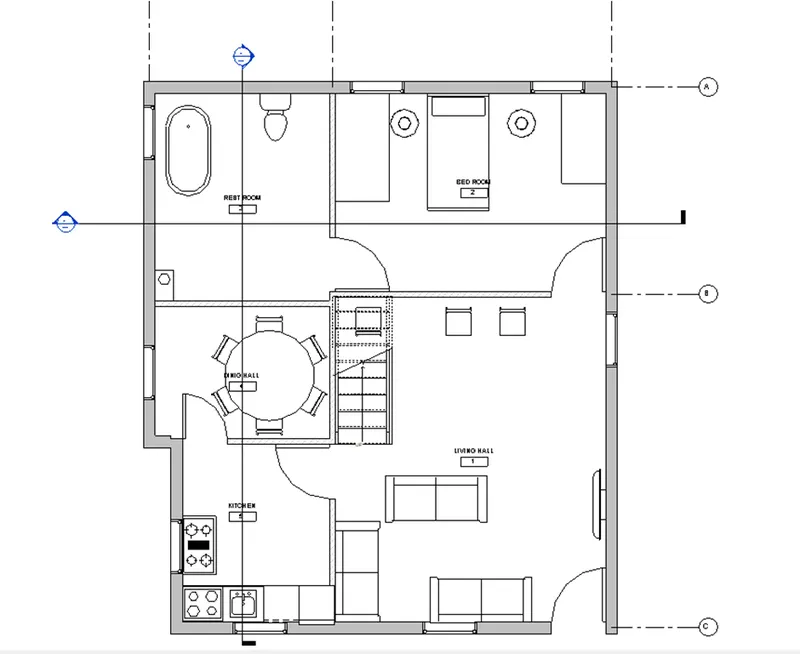
STEP02
-NOW U CAN SEE I AM ALREADY PUT SECTION IN DRAWING.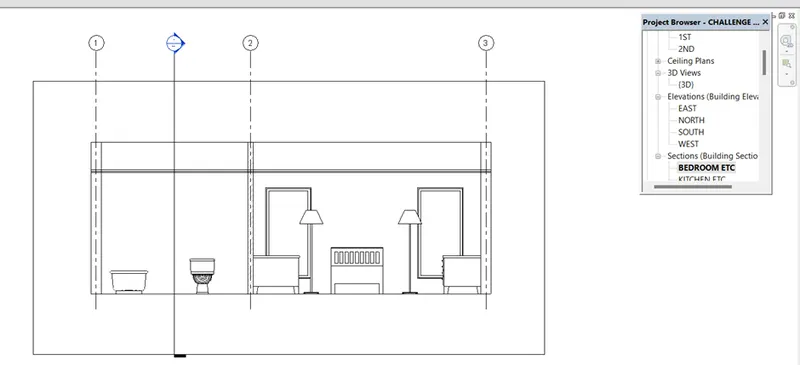
STEP03
-THIS IS MY BED ROOM SECTION.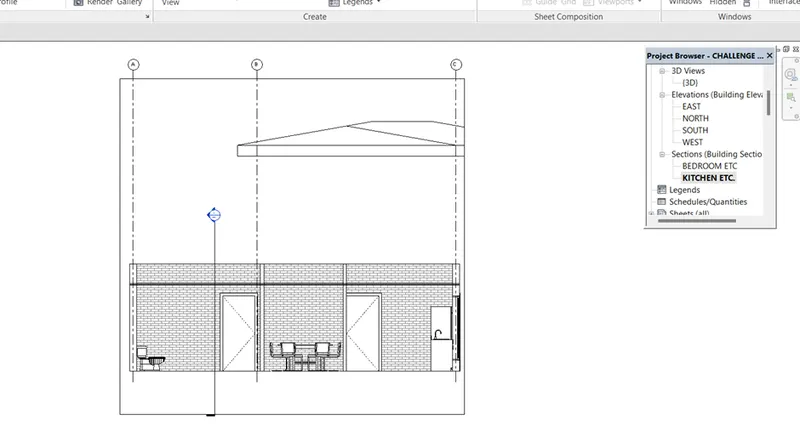
STEP04
-THIS IS MY KITCHEN ,WASH,DINING ETC.VIEWS.
Q.8) Classify the views, Plan Views, Section Views, and Elevation views to either Design or Documentation category using Properties browser.
ANS: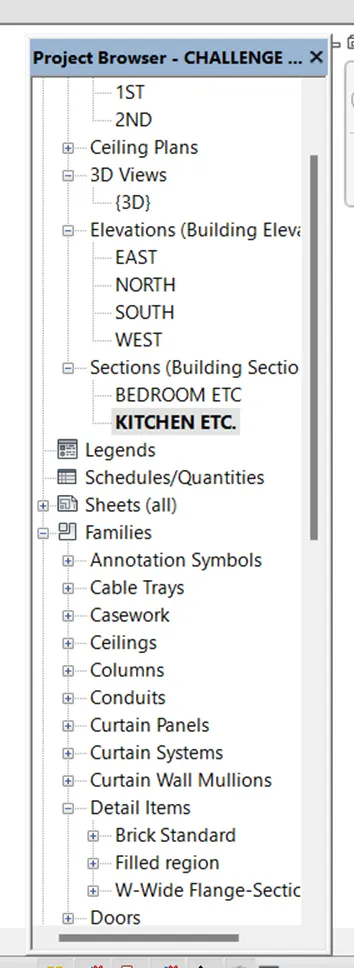
-
-THIS IS MY ALL DOCUMENTATION CATEGORY.
- 9) Using the sheet template produced create multiple sheets as follows
a. A 101- Ground Floor Architecture Plan
b. A 102- First Floor Architecture Plan
c. A 103- Roof Plan
d. S 101- Ground Floor Structural Plan
e. S 102- First Floor Structural Plan
f. S 103- Roof Framing Plan
g. A-201- North-South Elevations
h. A-202- East-West Elevations
Add additional sheets based on the sections created in your Revit file
ANS: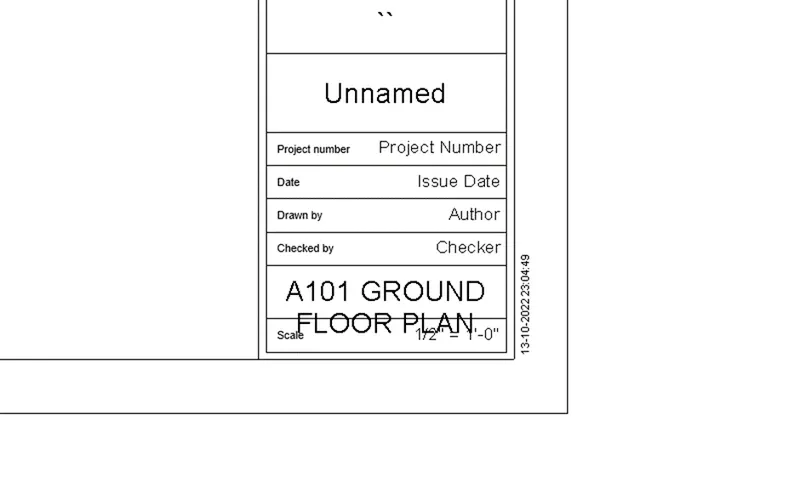
- ALL DRAWINGS ARE NOT MAKING IN FILE
- I KNOWN HOW TO WORK WITH SERIAL NUMBER
- BCZ I AM ASLO USED THIS TYPE SYASYEM
- SO I AM SHOW IN DRAWINGS WITH DETAILS
- 10) Create a camera-specific view or a 3D view in each room ( living, dining, bedroom). Based on the views create a new set of sheets starting ANS:
A-501 (you can add as many sheets after, 502, 503.. n)to place the 3D view images. Produce the sheets as a part of project drafting.
ANS: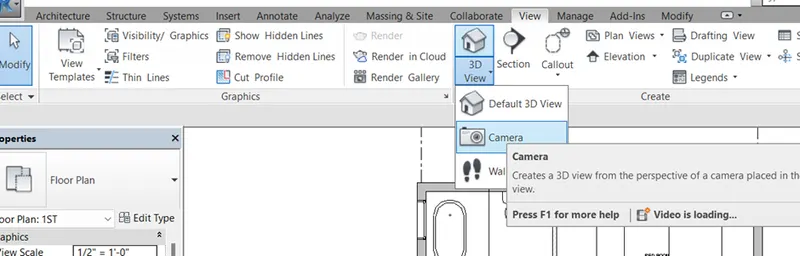
STEP01
-SELECT CAMERA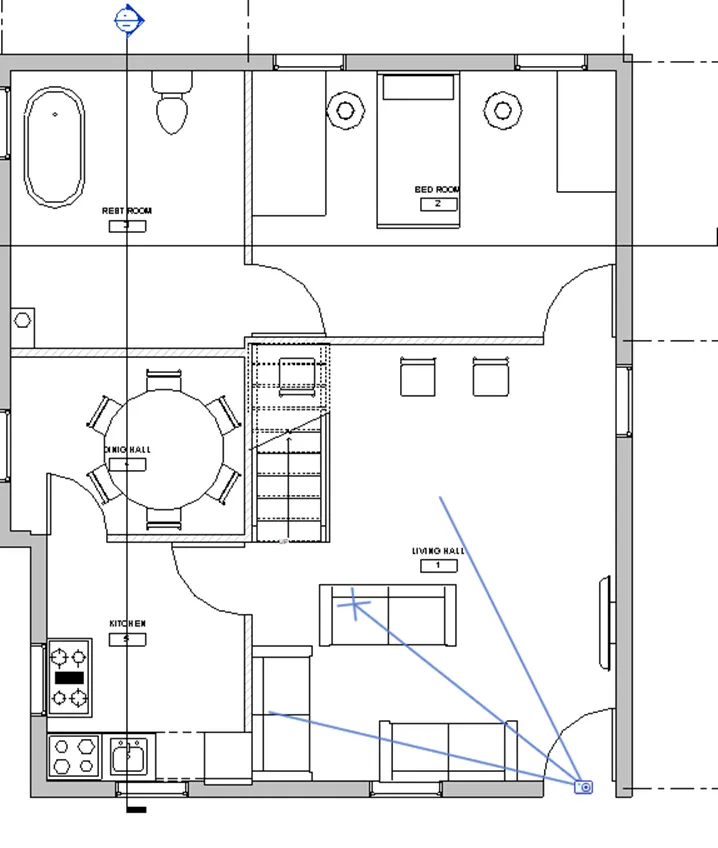
STEP02
-NOW U CAN SELCT CAMERA TOOL BAR AND PUT ANY ROOM LIKE THAT.
STEP03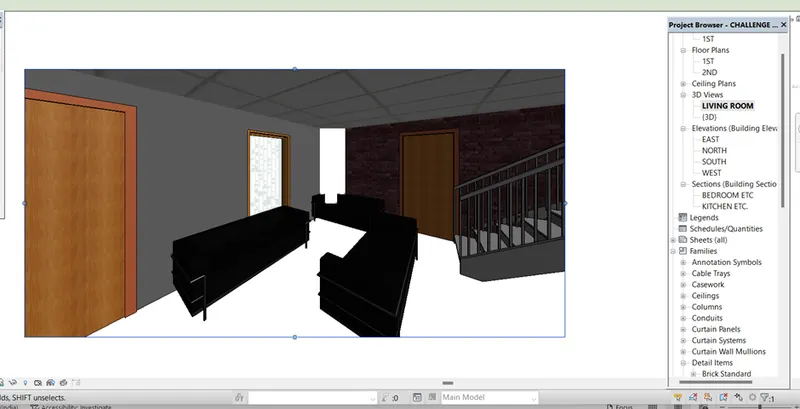
-NOW U CAN SEE IN 3D VIEW.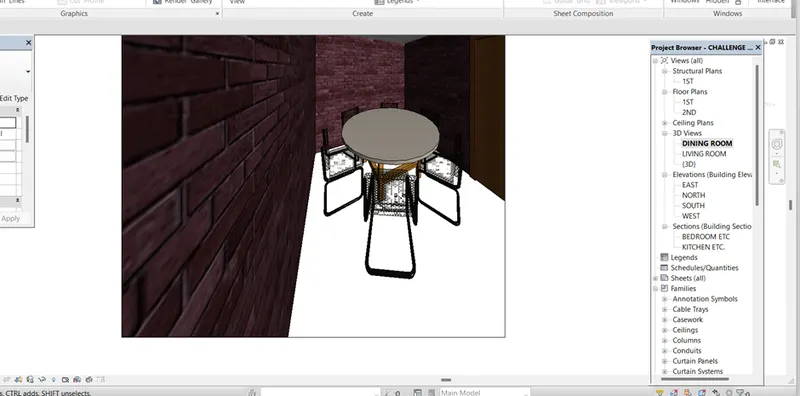
-DINING ROOM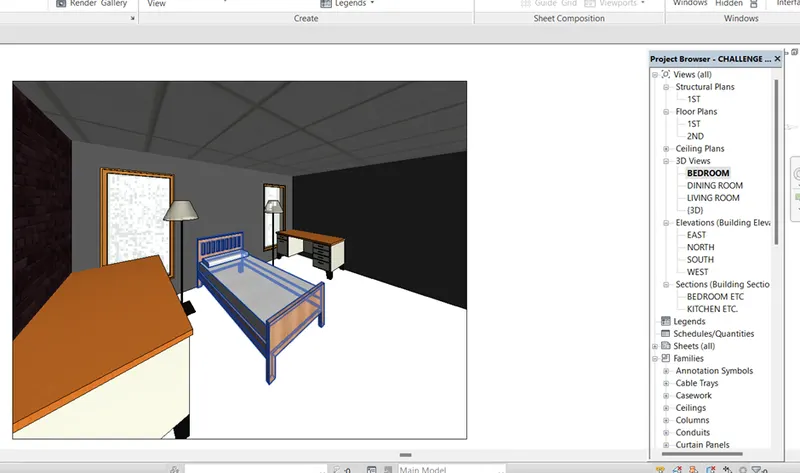
-BEDROOM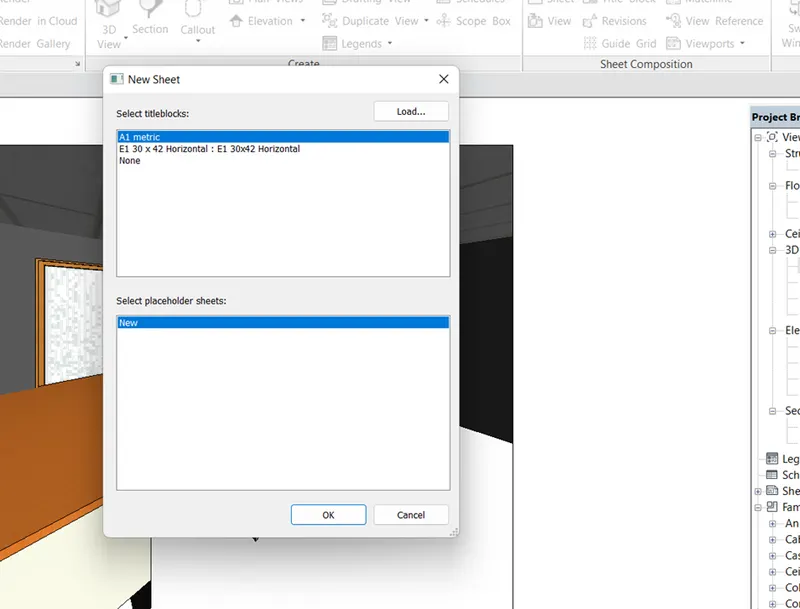
-AGAI SELECT NEW SHEET FOR TITLE BLOCK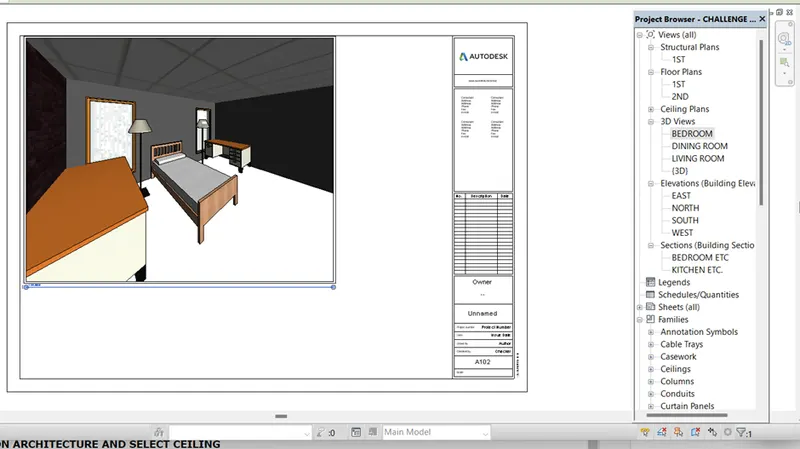
-DRAG BEDROOM IN TITLE BLOCK
- U DOUBLE CLICK IN VIEW SO U R IN VIEW
-THEN U SIGLE CLICK OUTSIDE BLOCK SO UR OUTSIDE OF BLOCK.