3D Creation of Celing, Roof, Architectural plan, Structural plan, Sectional view, Elevation view and Camera specific view for a house plan using REVIT
1.Aim:
To model a Ceiling above the walls at the first-floor level from the saved week 3 existing project.
Procedure:
- Open the first-floor plan save for the week 3 challenge 3.
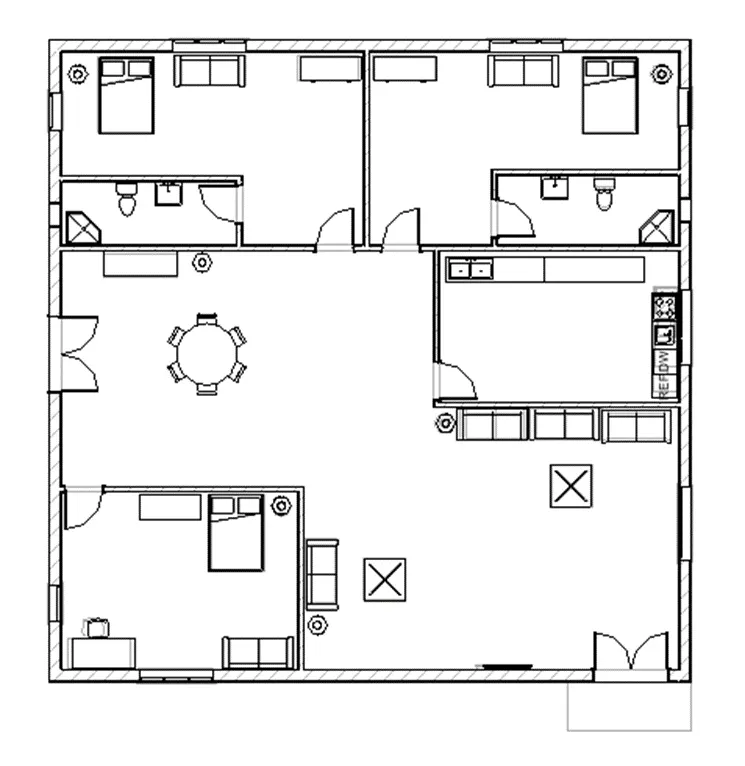
- Go to architecture tab and select ceiling

- Then click sketch ceiling.

- Select pick line and pick the exterior line of the wall
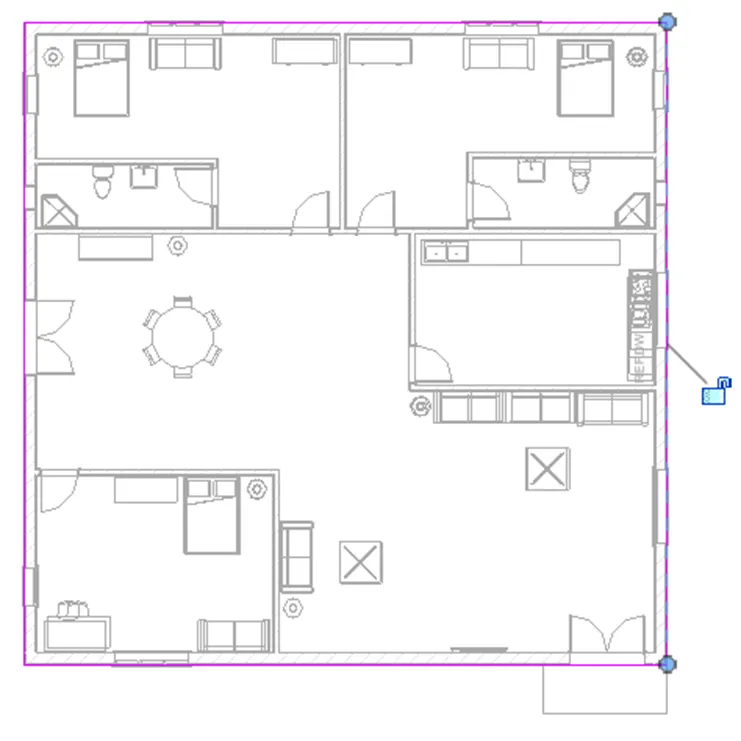
- Select the tick mark in the panel.
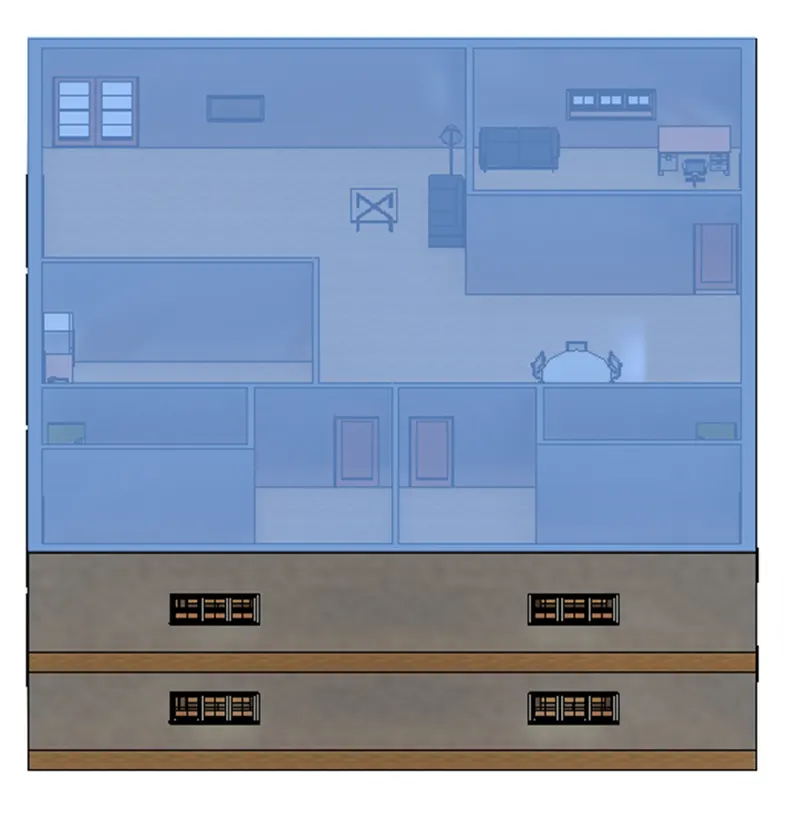
- Result:
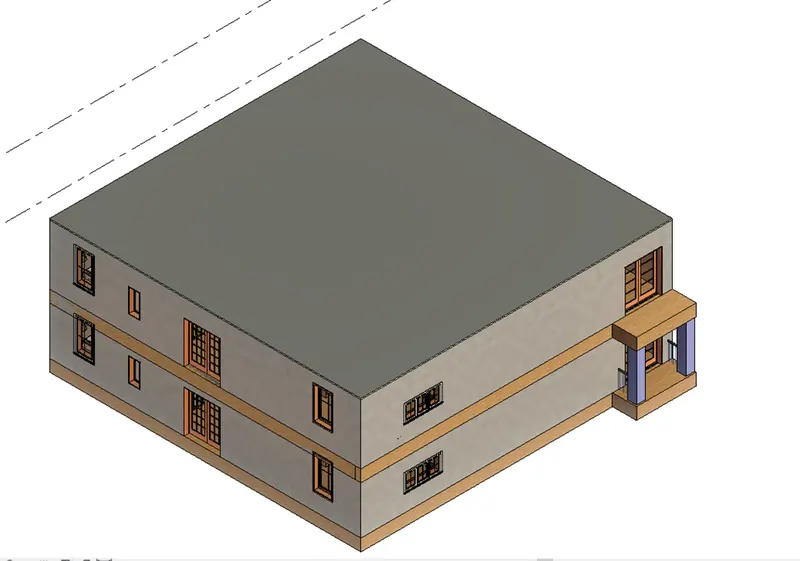
- The result is obtained by the above steps.
2.Aim:
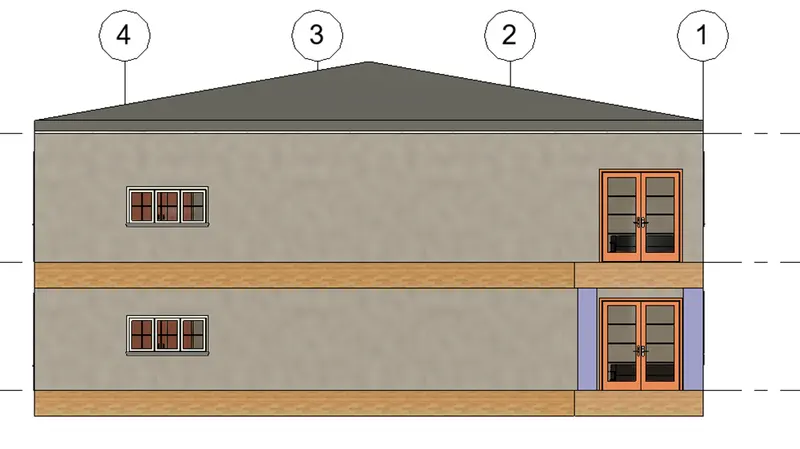
To model a roof above the ceiling with the roof slope degree of 10.
Procedure:
- With the above created plan.
- Enter un and give the following settings.
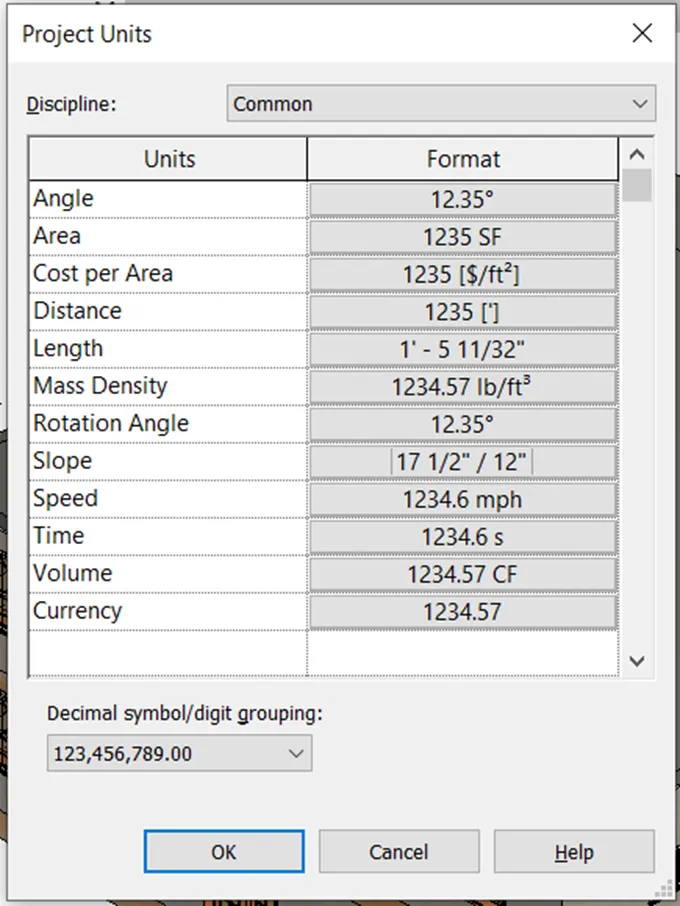
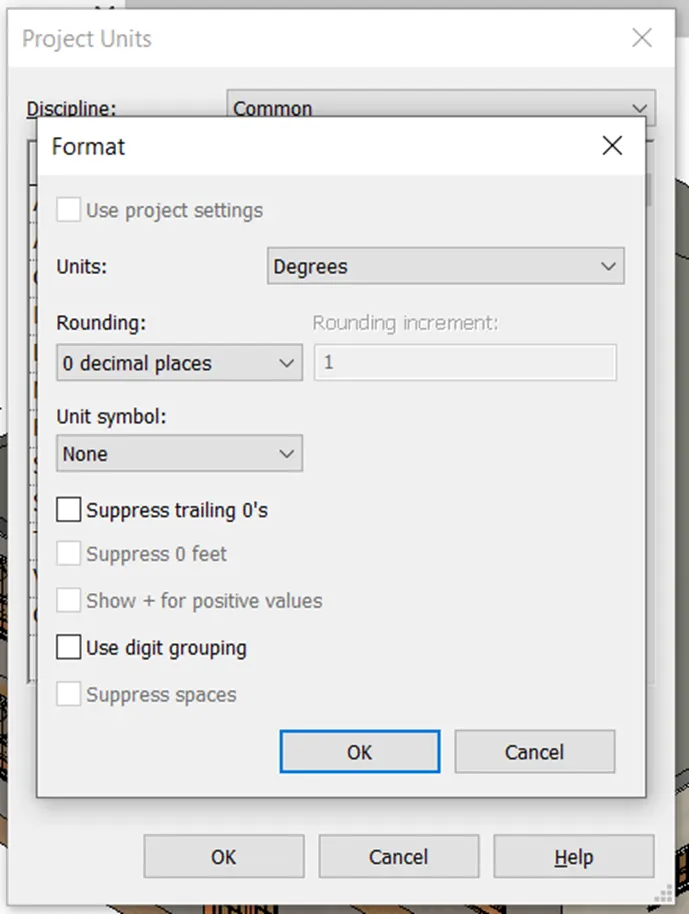
- Go to Architecture and select roof.
- Select the pick the lines and pick the outer lines of the wall.

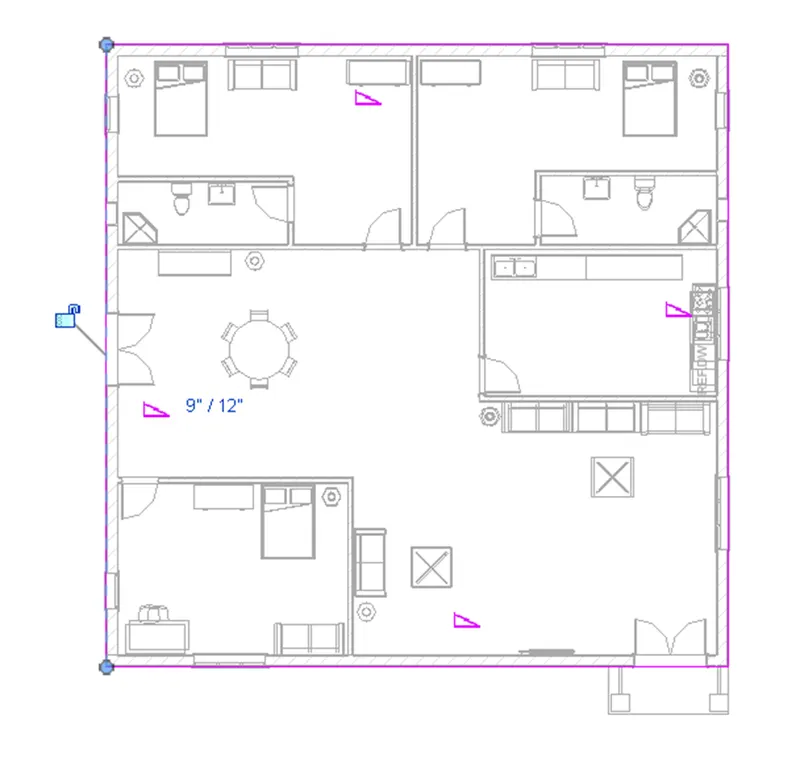
- After creating the roof, select the roof and give degree as 10
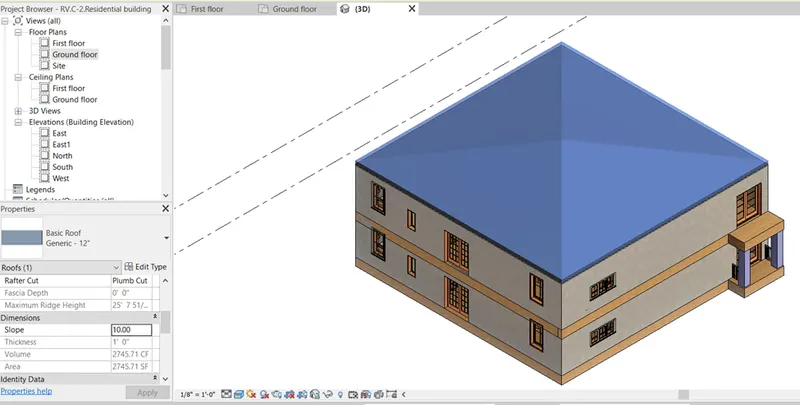
- Result:
- The result is obtained by the above steps.
3.Aim:
To create plan views for ground floor level and first-floor level including all the walls, floors, and components. And to Separate them into
architecture and structural plans.
Procedure:
- Open the plan which was created earlier.
- Go to view and select plan view

- Select the structural plans which will display a dialog box
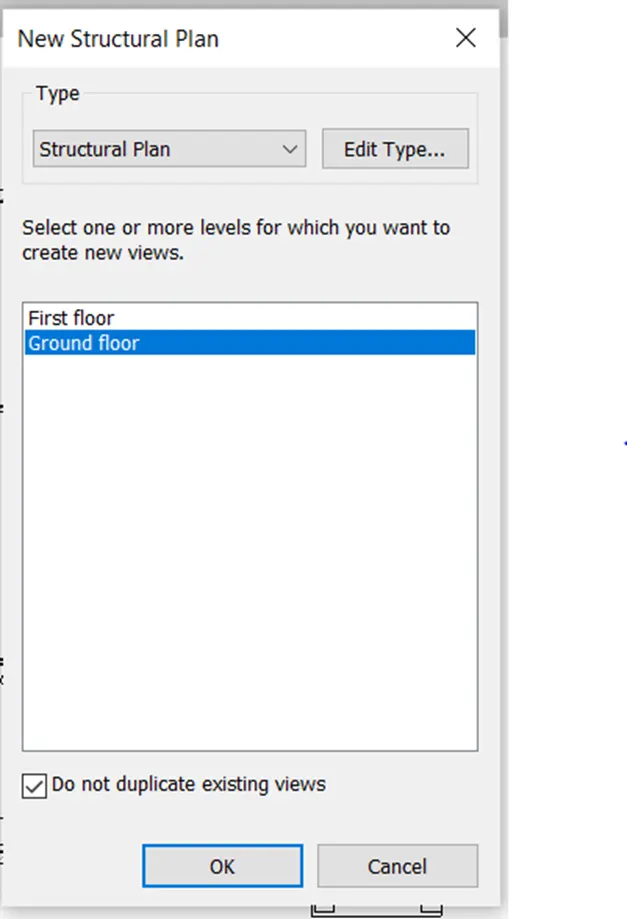
- Select ground floor and click edit type
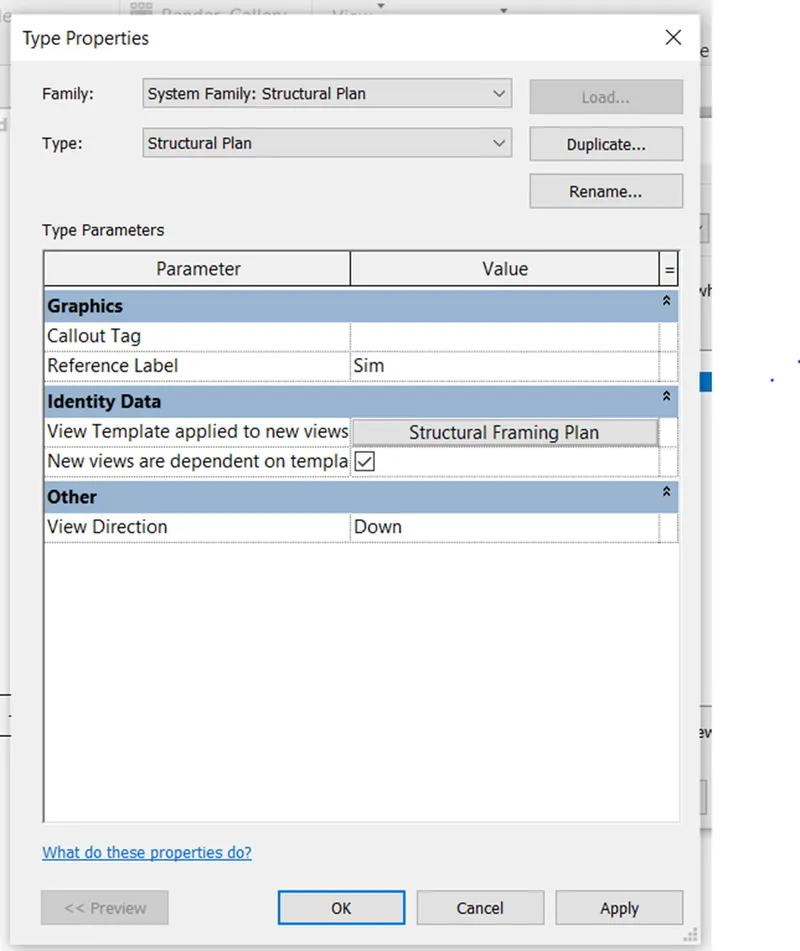
- Give the setting and give ok
- Same procedure for first floor plan to get structural plan.
- Select floor plan to get architectural plan for both the floors.
Result:
- The following results are obtained by the above steps.
Ground floor architecture plan
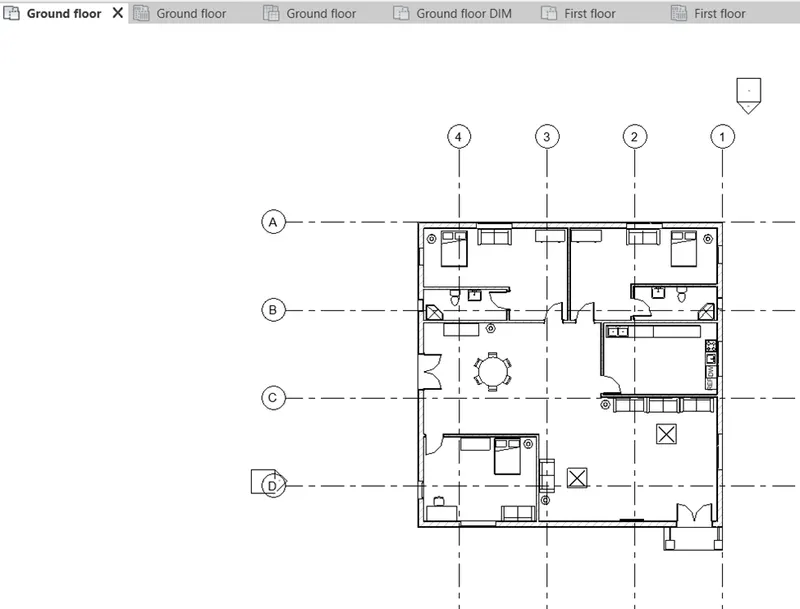
Ground floor structural plan
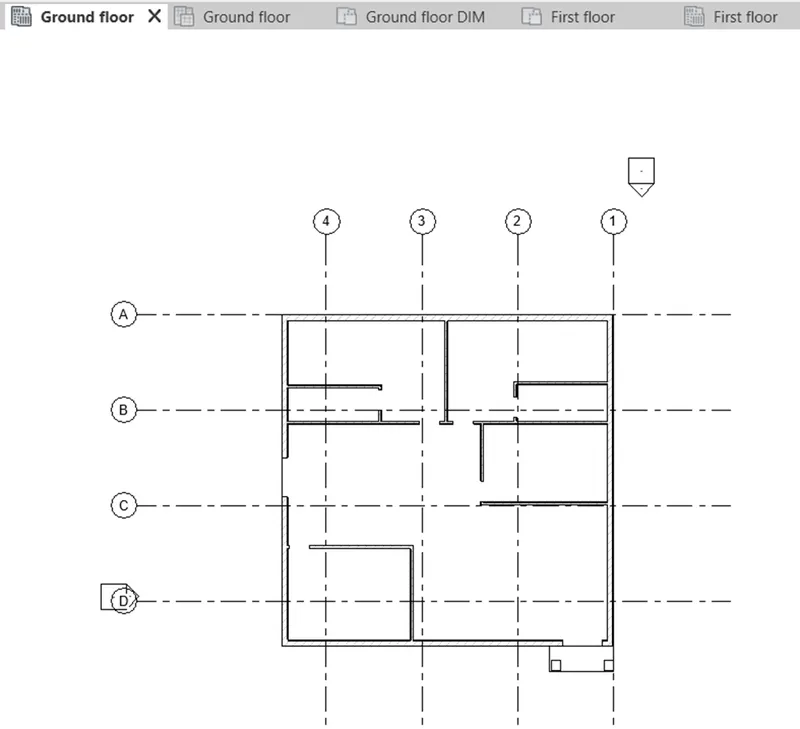
First floor architecture plan
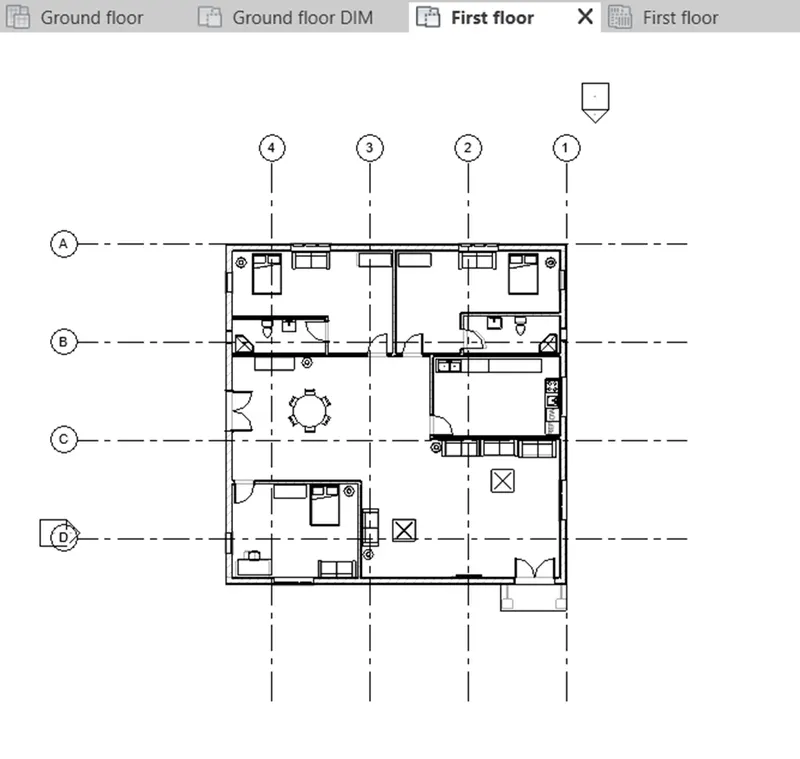
First floor structural plan
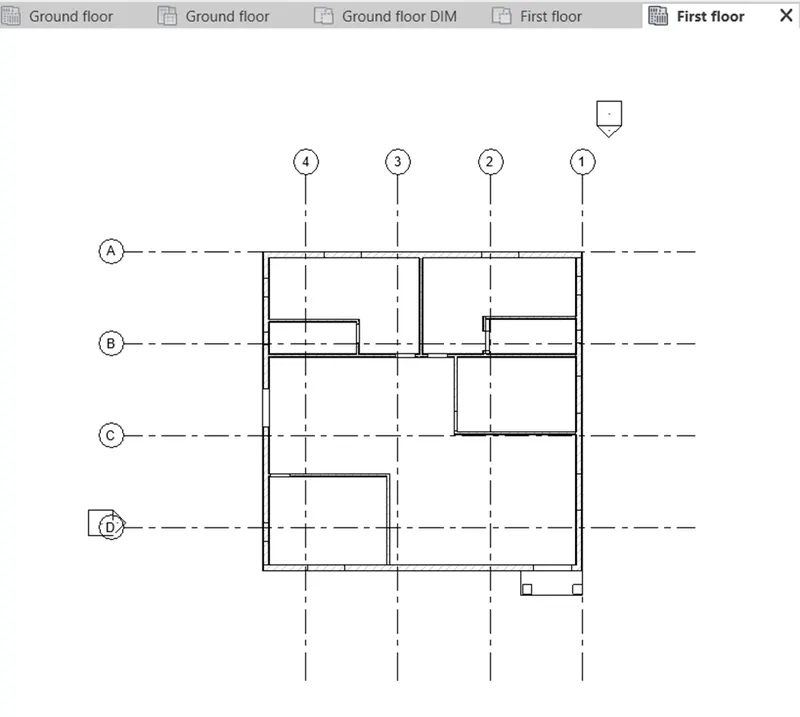
4.Aim:
To add dimensions to all the walls and floors with reference to the longitudinal and transverse grids created in the project file for both architecture plan and structure plan.
Procedure:
- Open the existing ground floor architecture plan.
- In the project browser right click on the ground floor and duplicate a tab and name it as Ground floor DIM
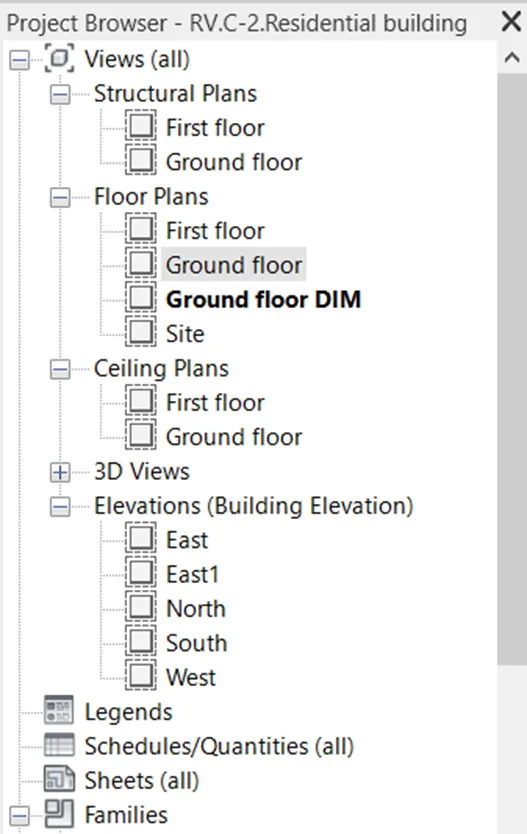
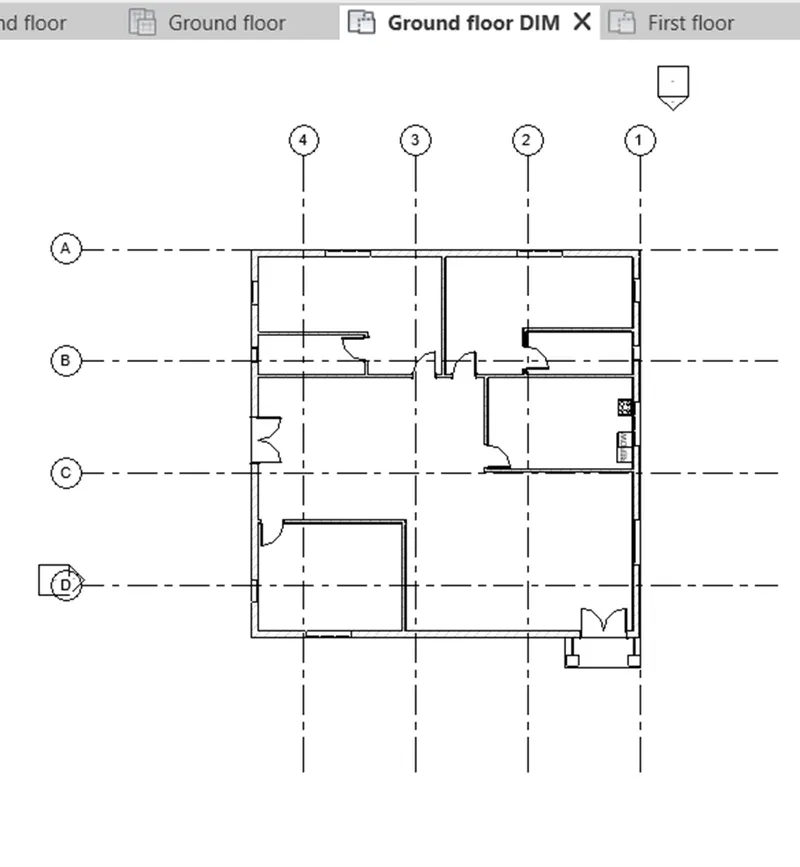
- Select the grid in the architecture tab and select pick line option

- Create grid as shown below of offset distance as 15’
- Go to annotate tab and select linear dimension
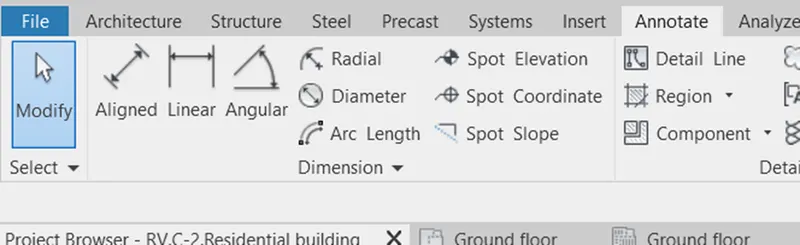
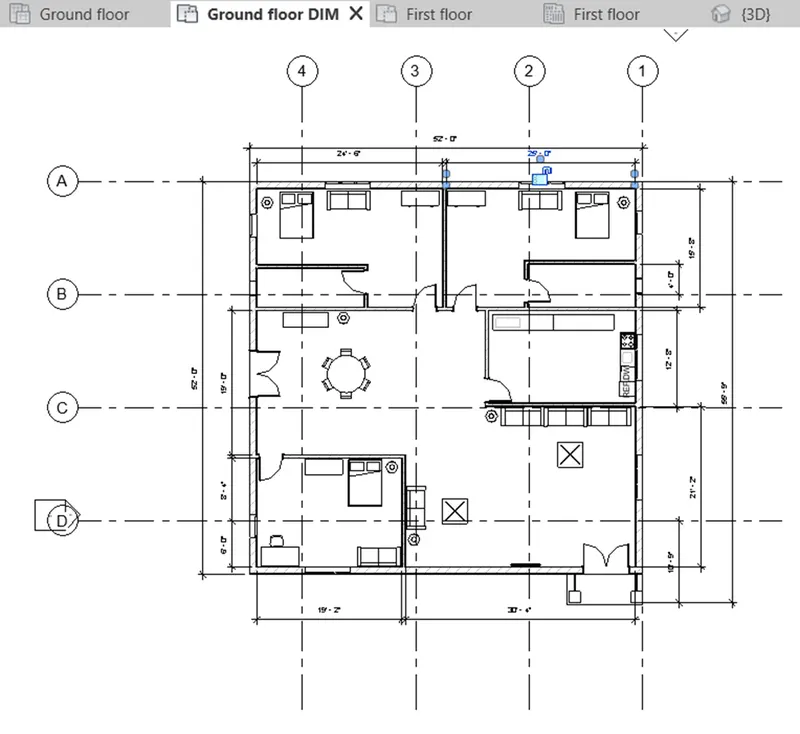
- Select the opposite sides of the lines to create dimensions
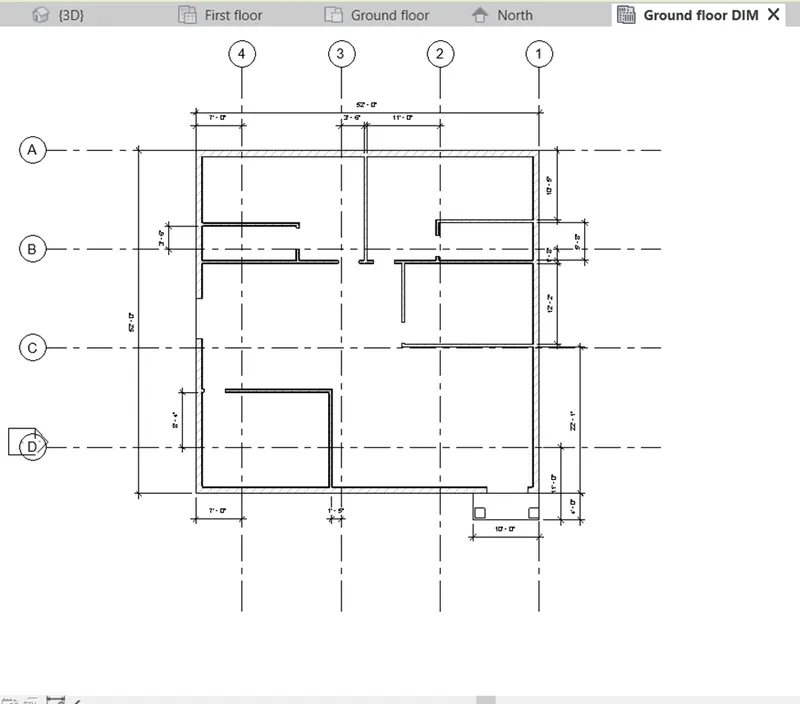
- Open the structure plan and follow the above procedure to create dimension.
Result:
- The following results are obtained by the above steps.
- Annotation on architecture and structure plan respectively.
5.Aim:
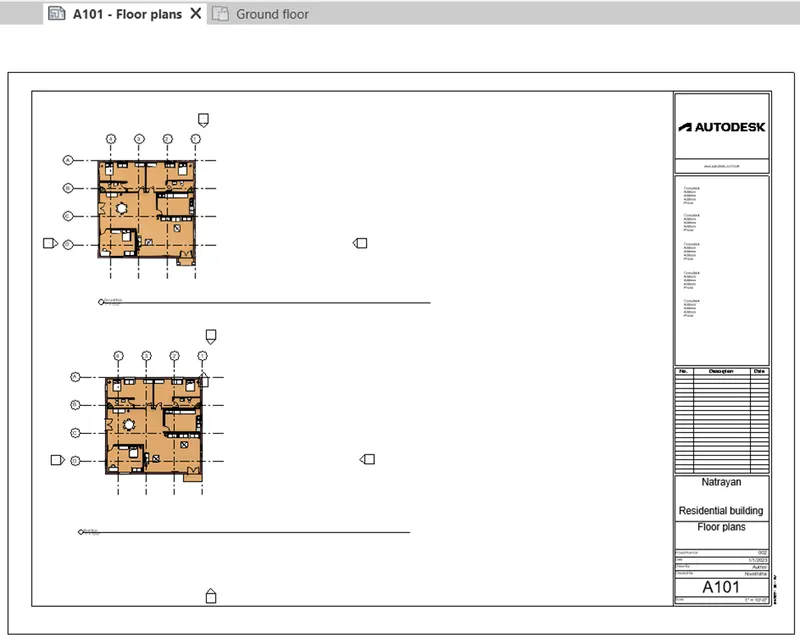
- To create a sheet template from the view tab and adjust the parameters on the sheet to add appropriate views
Procedure:
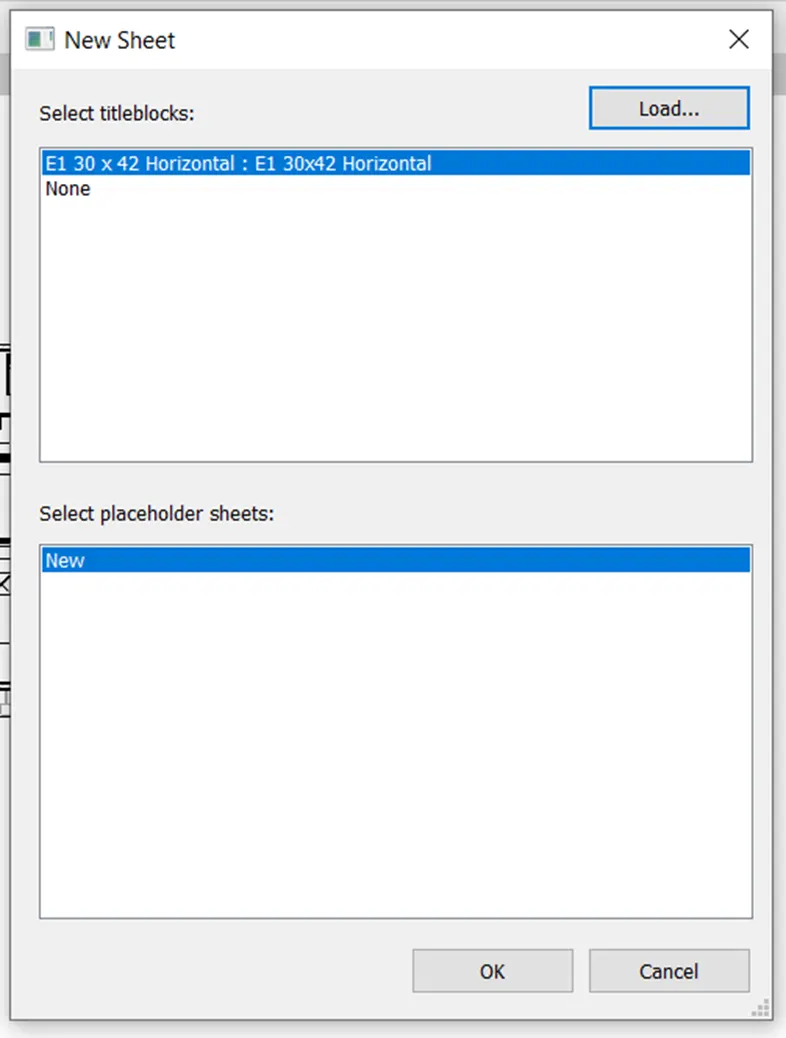
- Go to view tab and click sheet.

- The new sheet dialog box appears, click ok
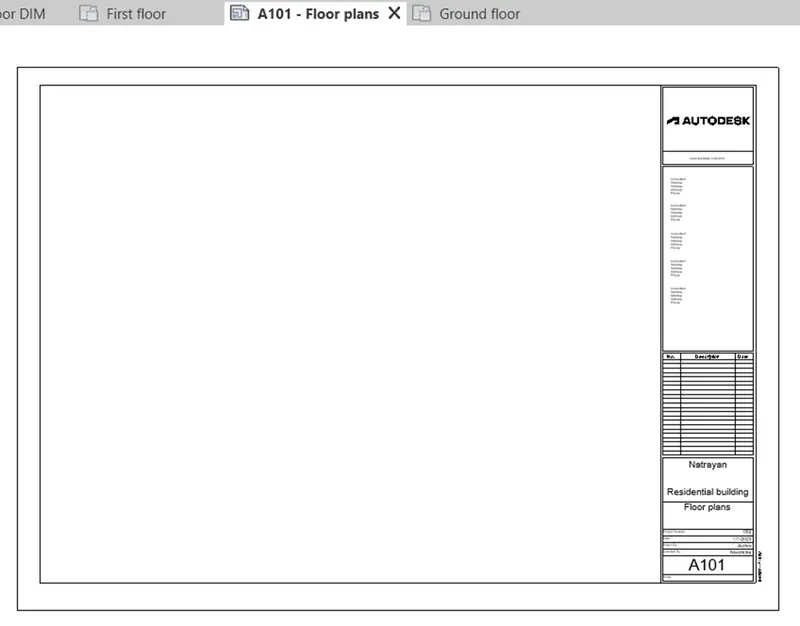
- The sheet will appear.
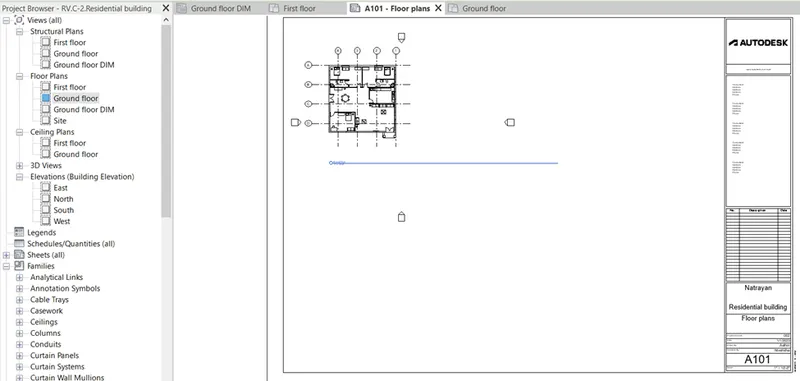
- Click and drag the ground floor plan into the sheet
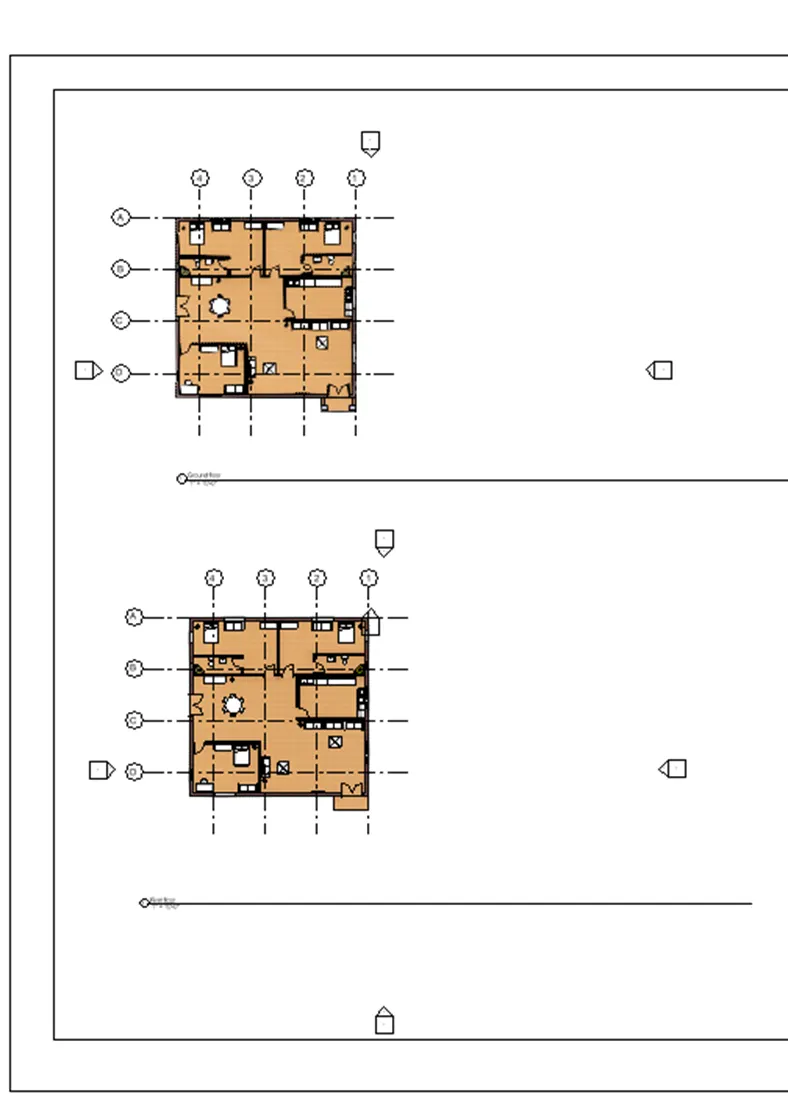
- Do the same for first floor plan
- Change it in to realistic view
Result:
- The following results are obtained by the above steps.
6.Aim:
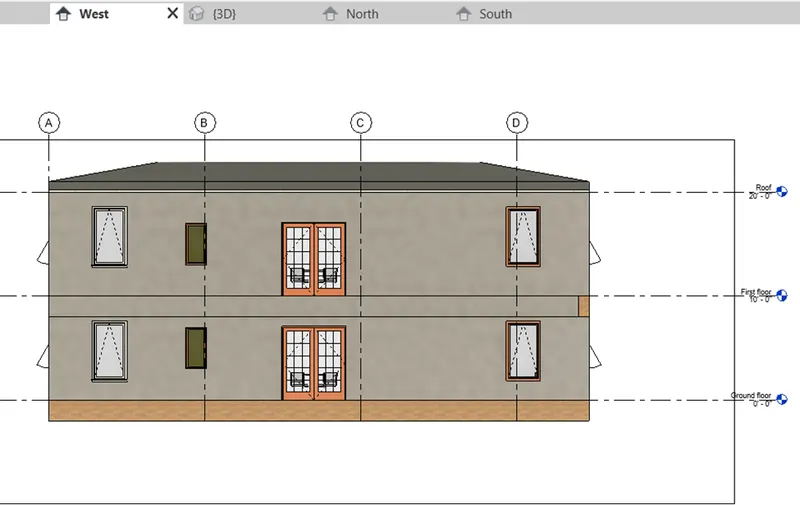
To create the elevation views, looking at the building from East, North, South, and West using elevation tab.
Procedure:
- Open the above crated plan.
- By default, there are elevations available in the project browser
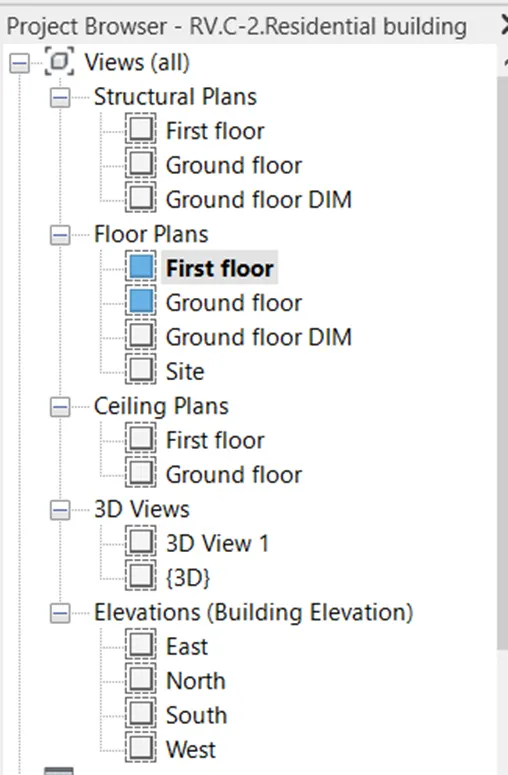
- Select and delete it.
- Go to view and select elevation.
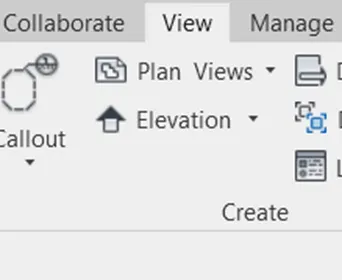
- And place the elevation view on 4 sides of the plan
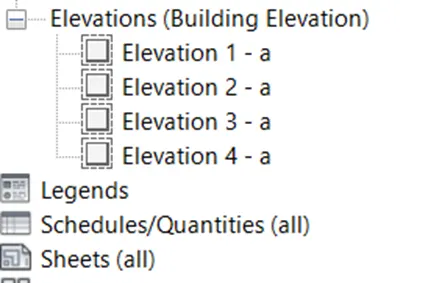
- Select and rename it
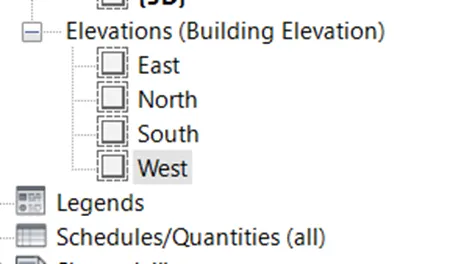
- Now click the elevation to have the view.
- Change the visual style to realistic view for realistic look.
Result:
- The following results are obtained by the above steps.
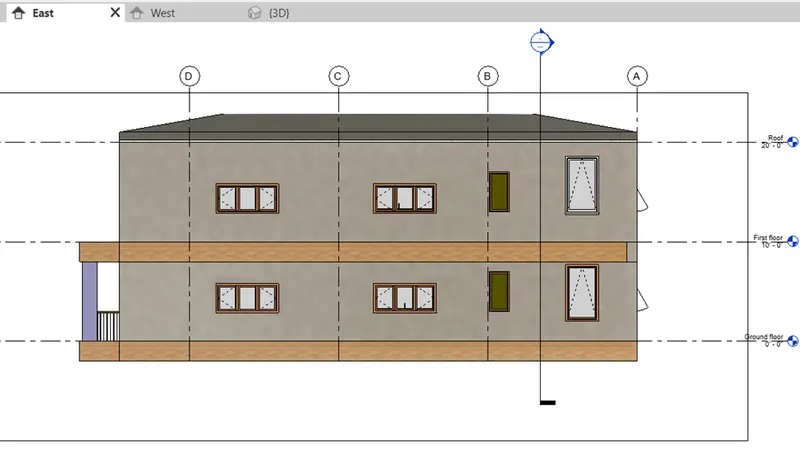
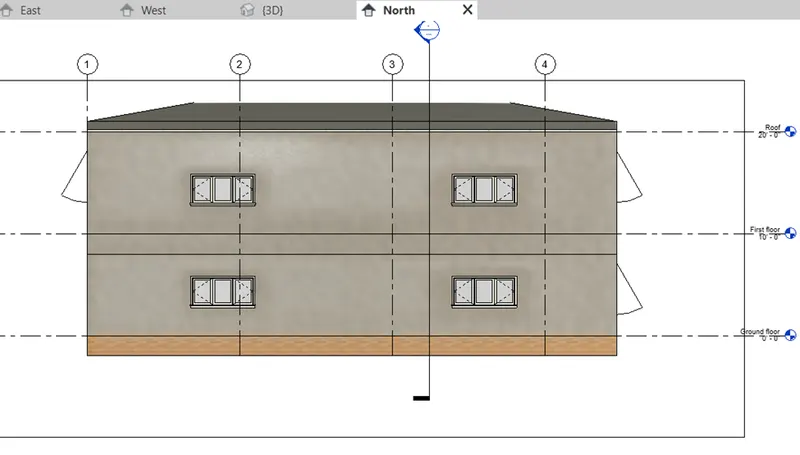
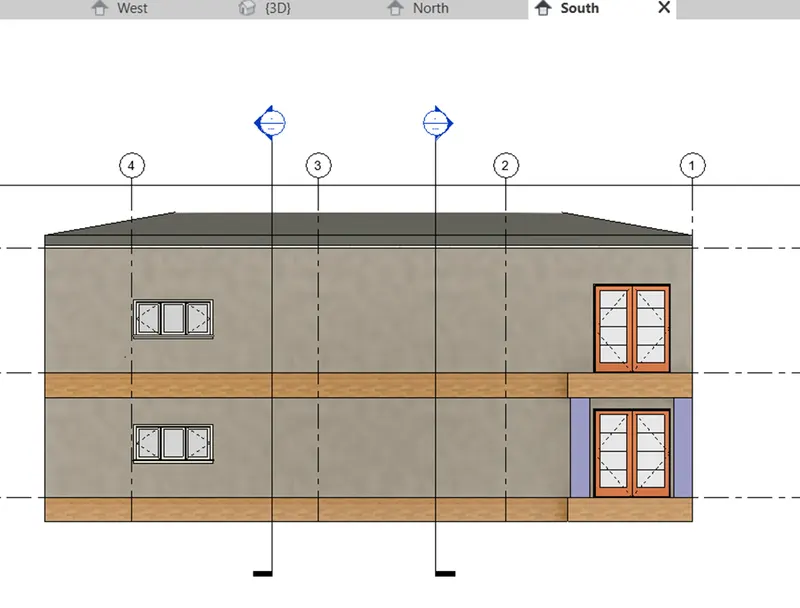
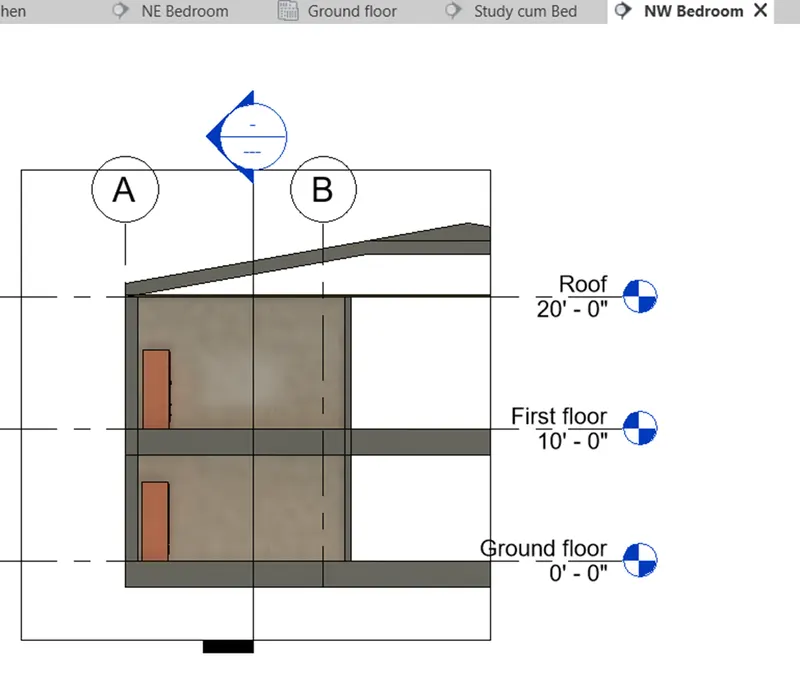
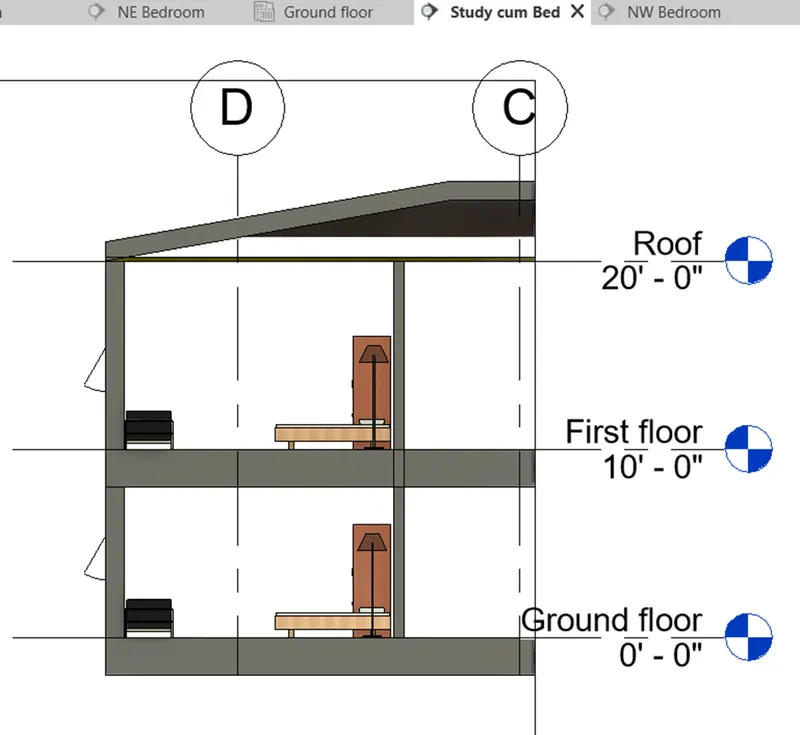
7.Aim:
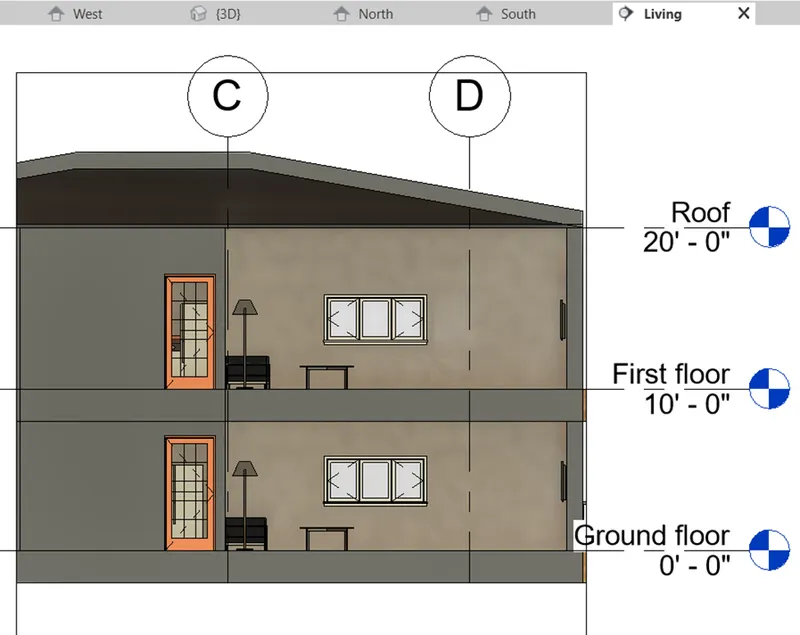
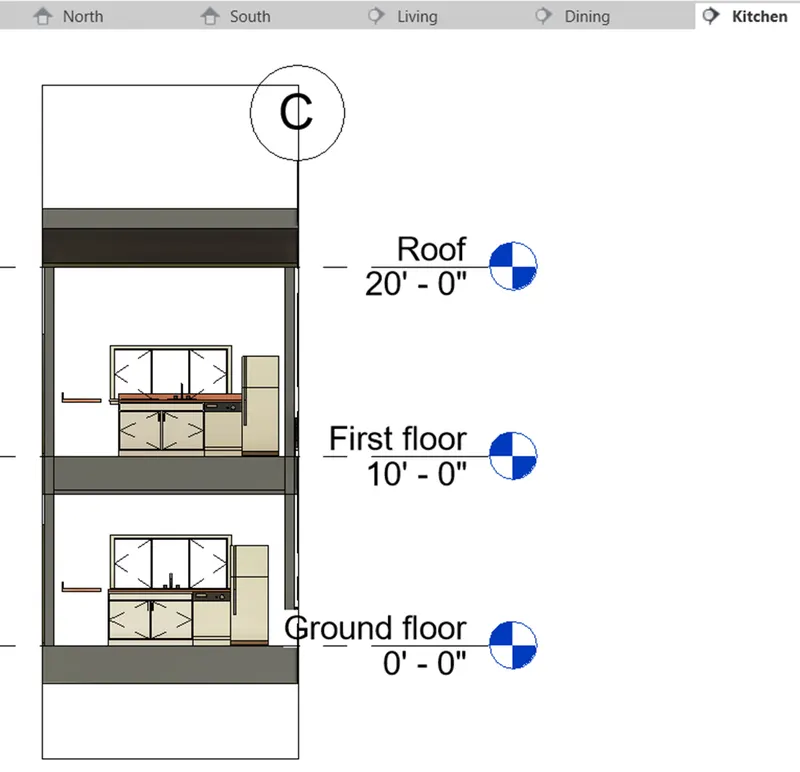
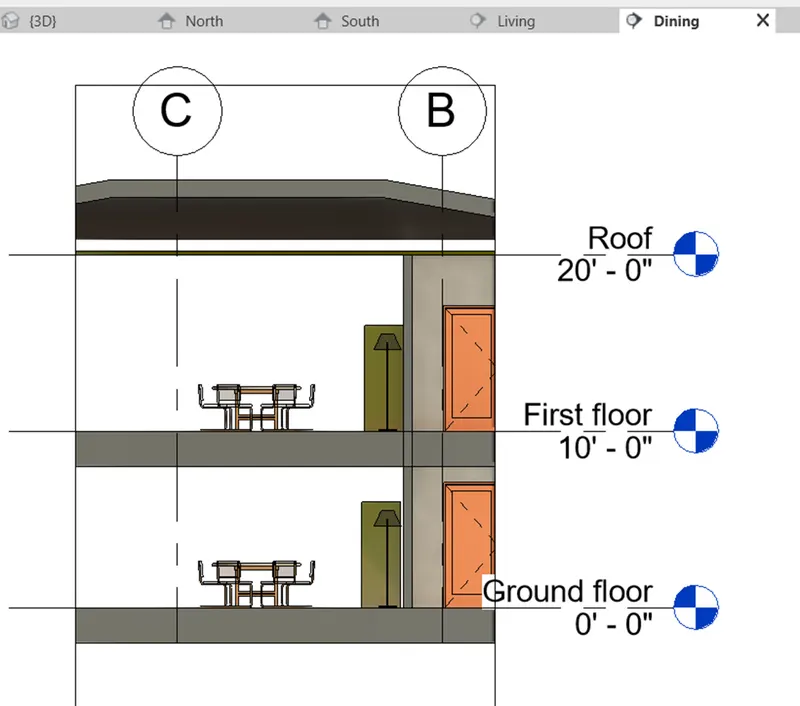
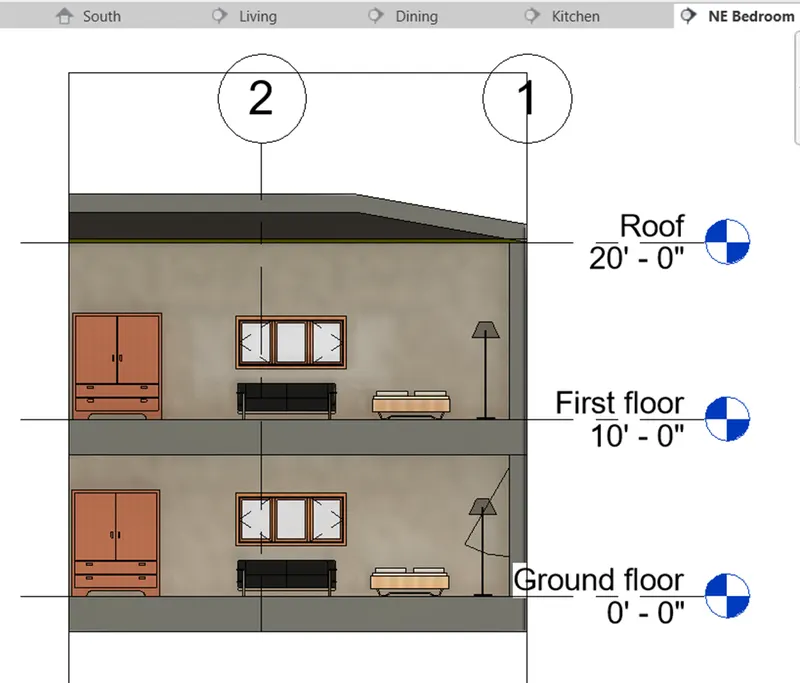
To Produce section cut through each room either cutting across longitudinally or in a transverse direction.
Procedure:
- Open the above created ground floor plan
- Go to view tab and select section
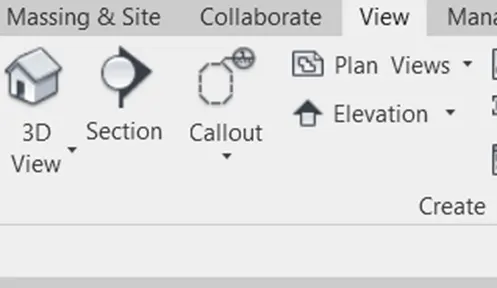
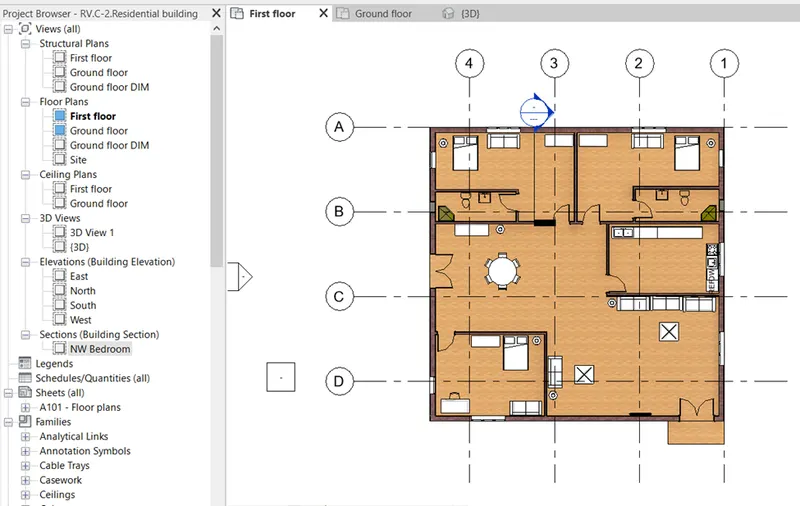
- Create the section by clicking the points and go to section in project browser and rename it
- Create sections for all other rooms with the same procedure.
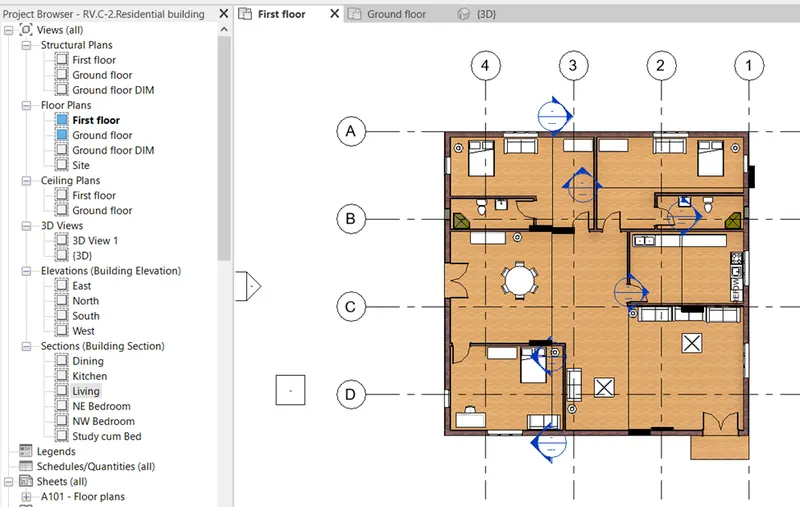
- Click the particular section to open the section.
Result:
- The following results are obtained by the above steps.
8.Aim:
To Classify the views, Plan Views, Section Views, and Elevation views using Properties browser.
Procedure:
- Open the above created floor plan.
- The project browser is available in the right side of the screen.
- There all the Floor plan, section view, structural plan, 3D view,, elevation view are available.
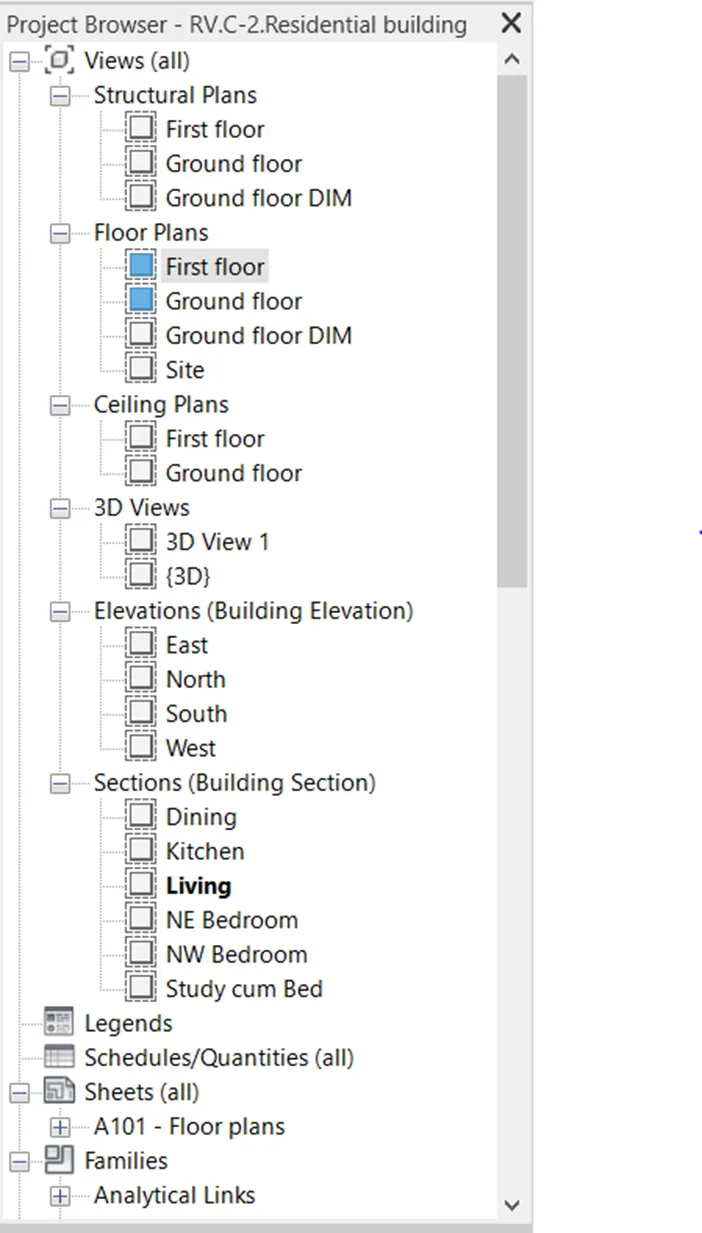
- Click each category to view the particular item.
- Floor plan: It is an architecture plan which shows the floor area and other components.
- Structural plan: It shows the structural elements like walls, beams, column, staircase of the building.
- Section: It shows the section view of the particular room or building.
- Elevation view: It shows the elevation point of view of the building from east, west, north and south direction
- 3D View: It shows the building in the 3D point of view.
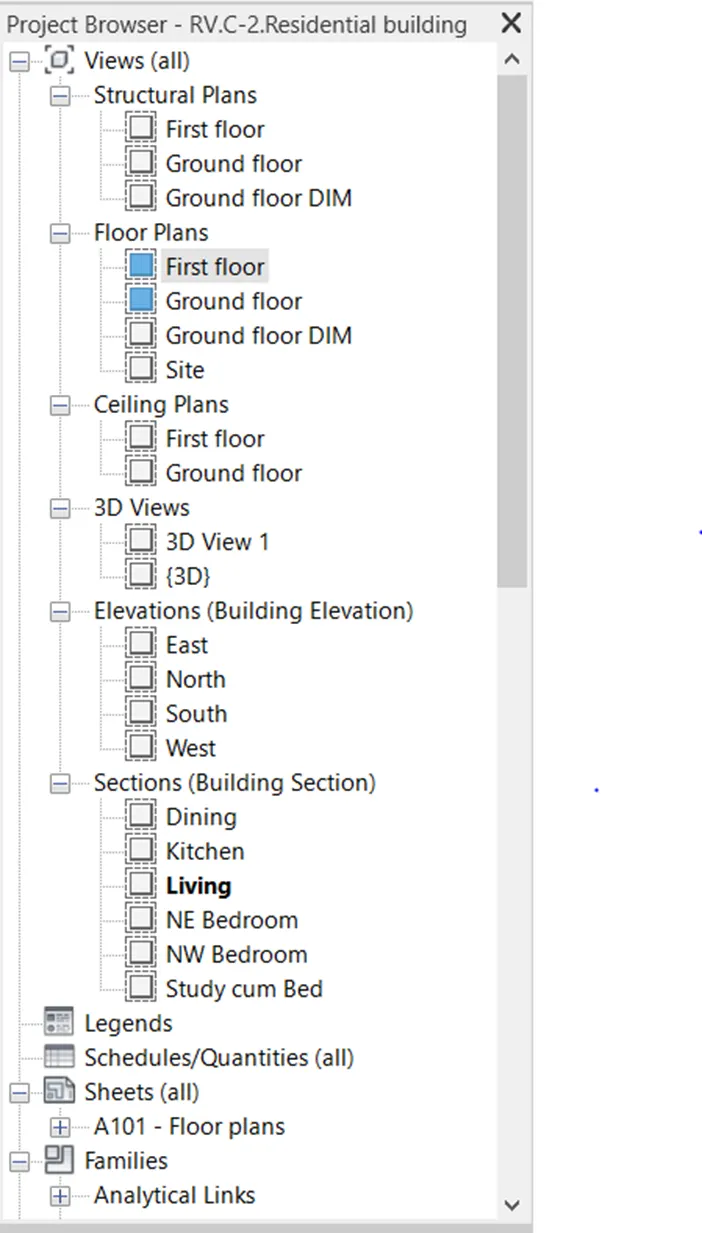
Result:
- The following results are obtained by the above steps.
9.Aim:
To create multiple sheets Using the sheet template.
Procedure:
- The project browser is available in the right side of the screen.
- There, all the Floor plans, section views, structural plans, 3D views, elevation views are available.
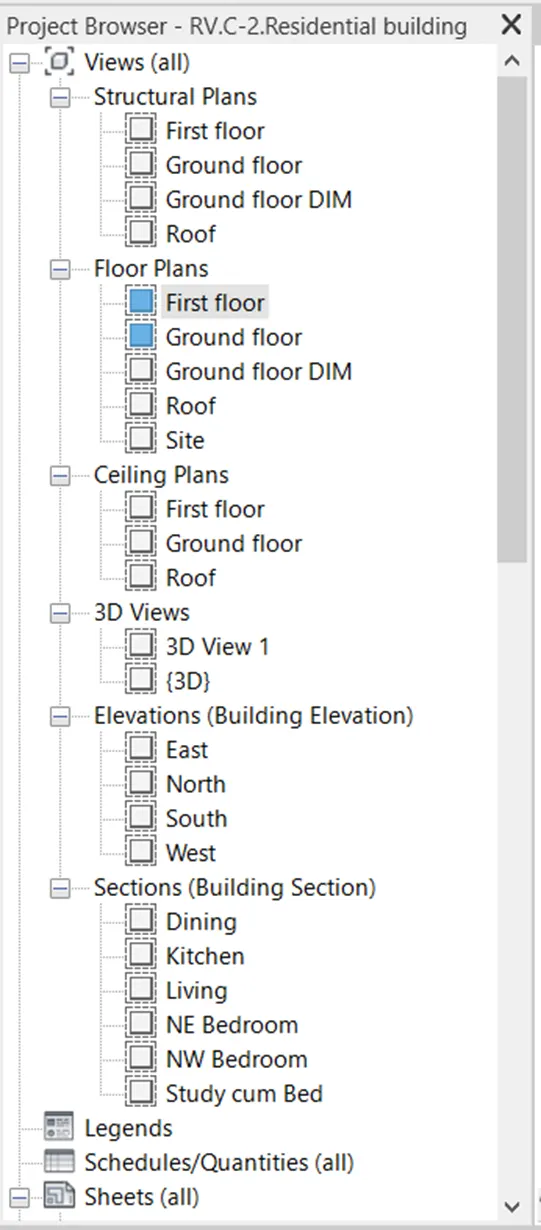
- Go to view tab and click sheet.
- The new sheet dialog box appears, click ok
- The sheet will appear.
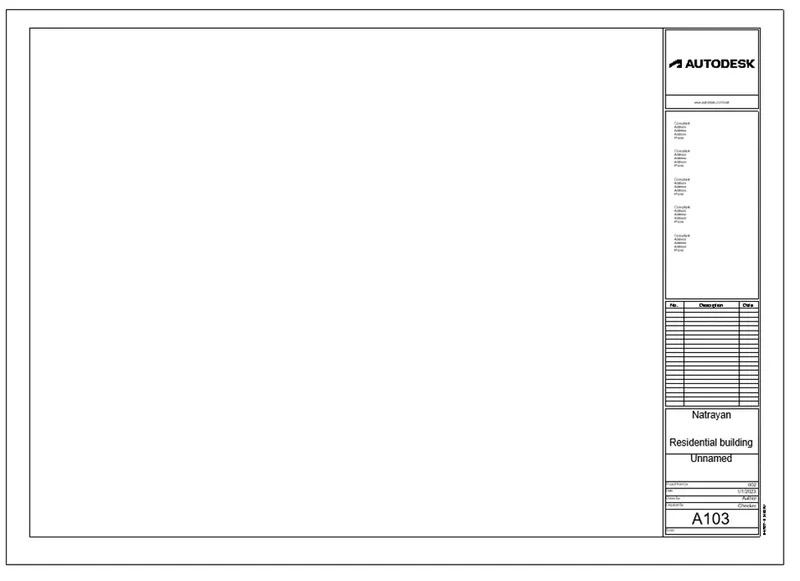
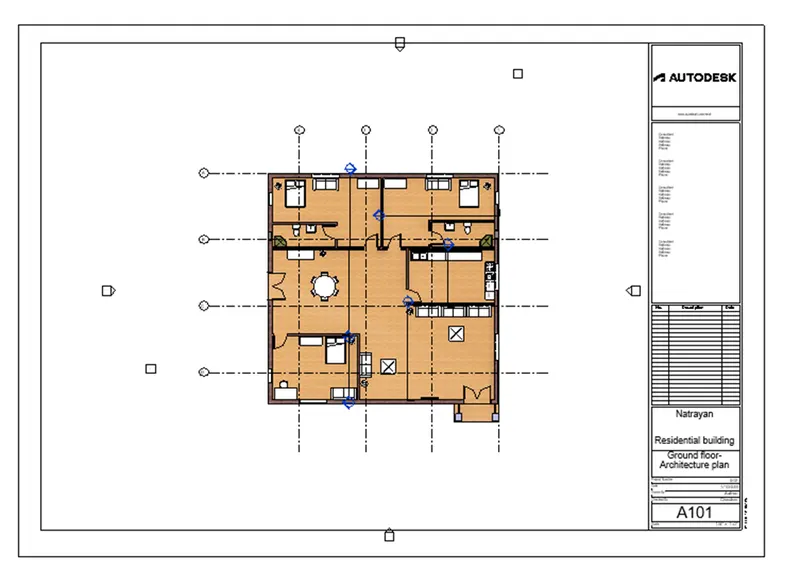
- Select Ground floor plan and drag it into the sheet.
- Rename the sheet as A101
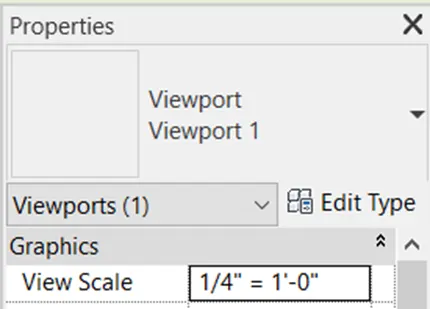
- Have the view scale as
- Follow the same procedure to create other sheet with their respective names as mentioned in the sheets.
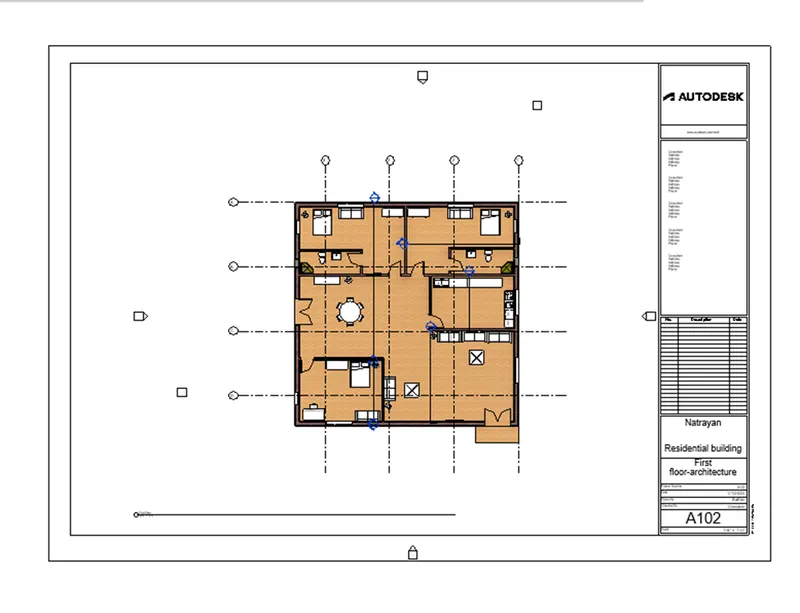
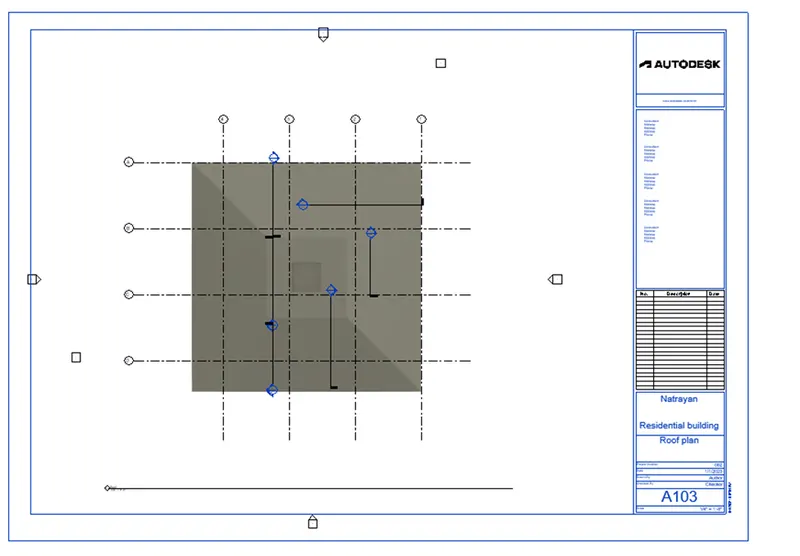
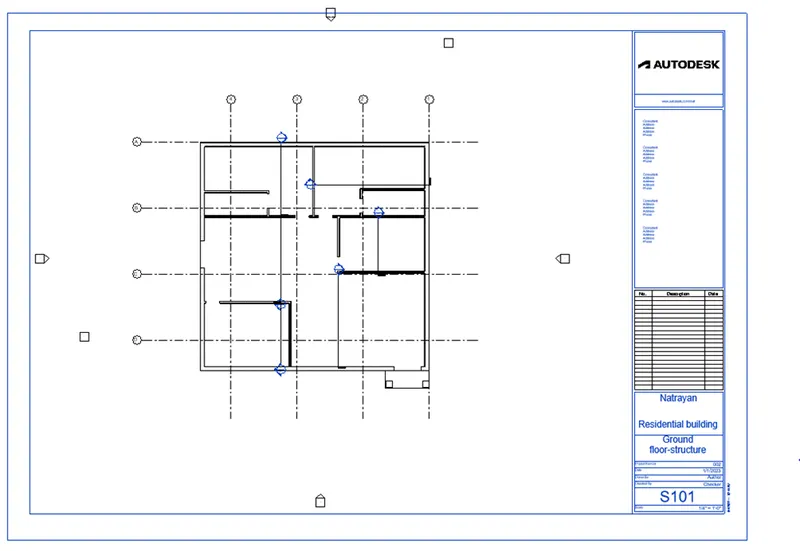
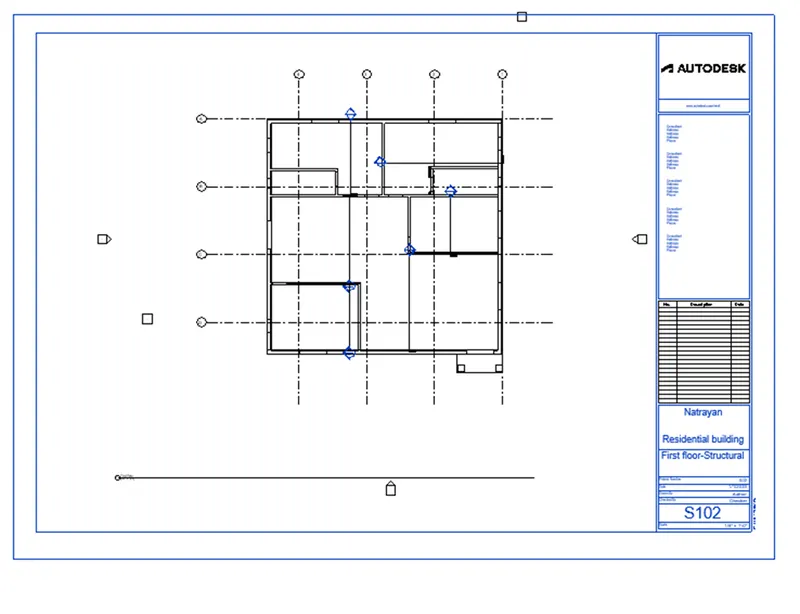
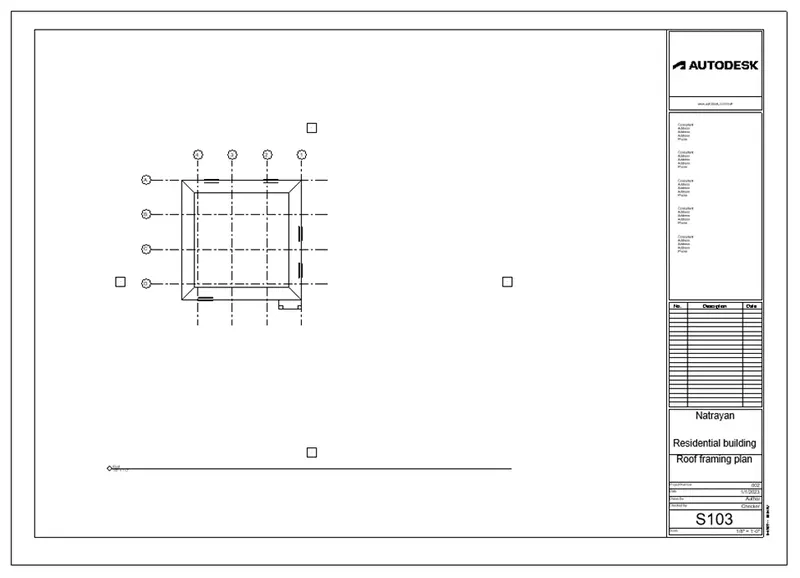
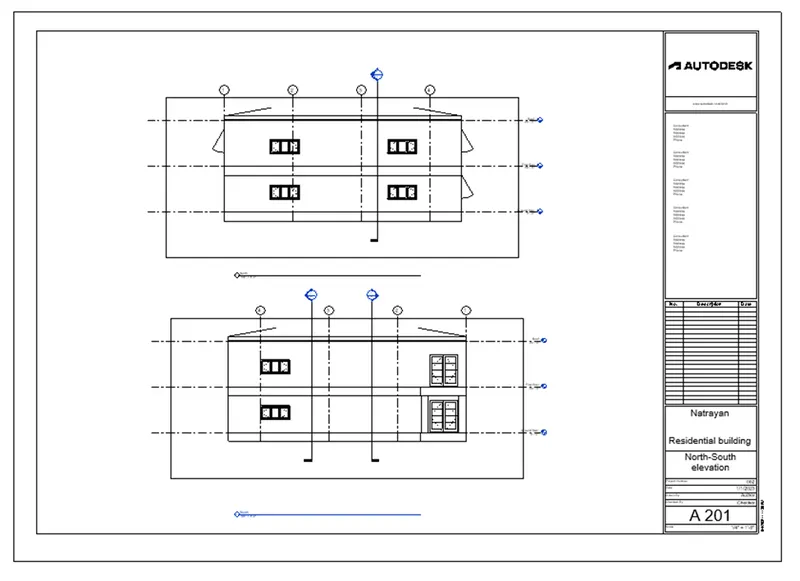
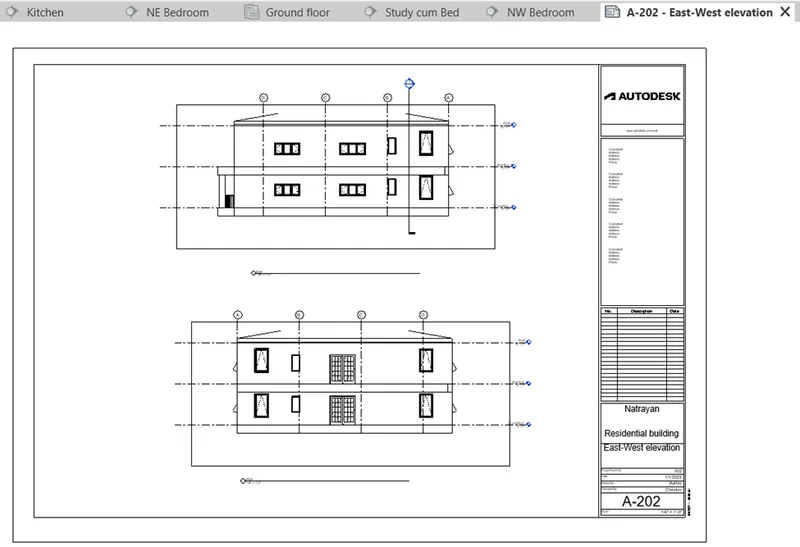
Result:
- Hence the results are obtained
10.Aim:
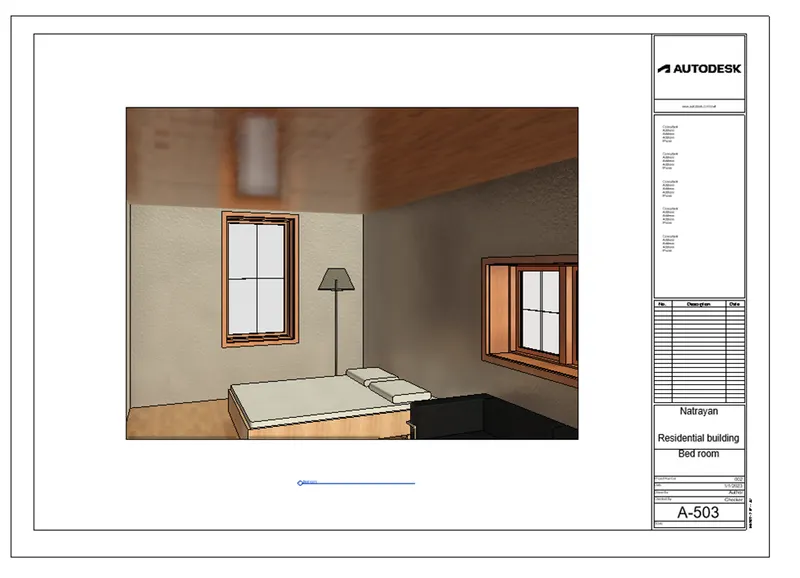
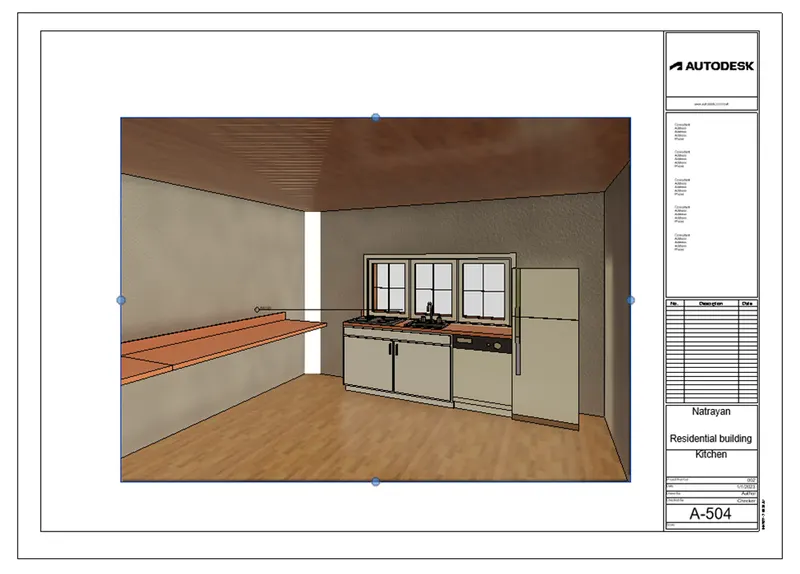
To create the sheets with camera-specific view or a 3D view in each room (living, dining, bedroom).
Procedure:
- Open the existing floor plan.
- Go to view tab, click 3D view and select camera
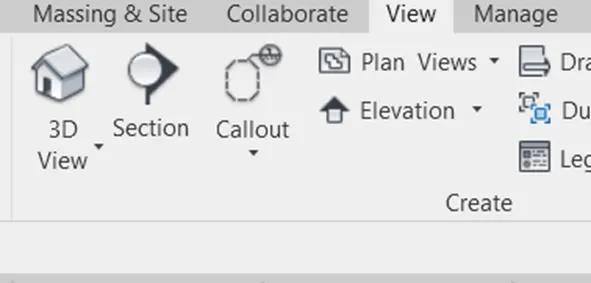
- In the floor plan place the camera and fix the view and the view will be added to the 3d view
- Click it and rename
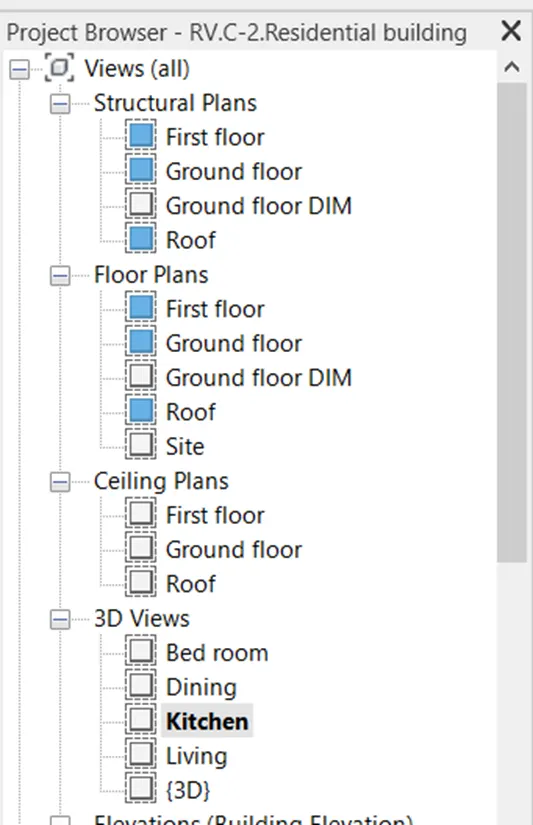
- Go to view tab and click sheet.
- The new sheet dialog box appears, click ok
- The sheet will appear.
- Select 3D View and drag it into the sheet.
- Rename the sheet as A-501
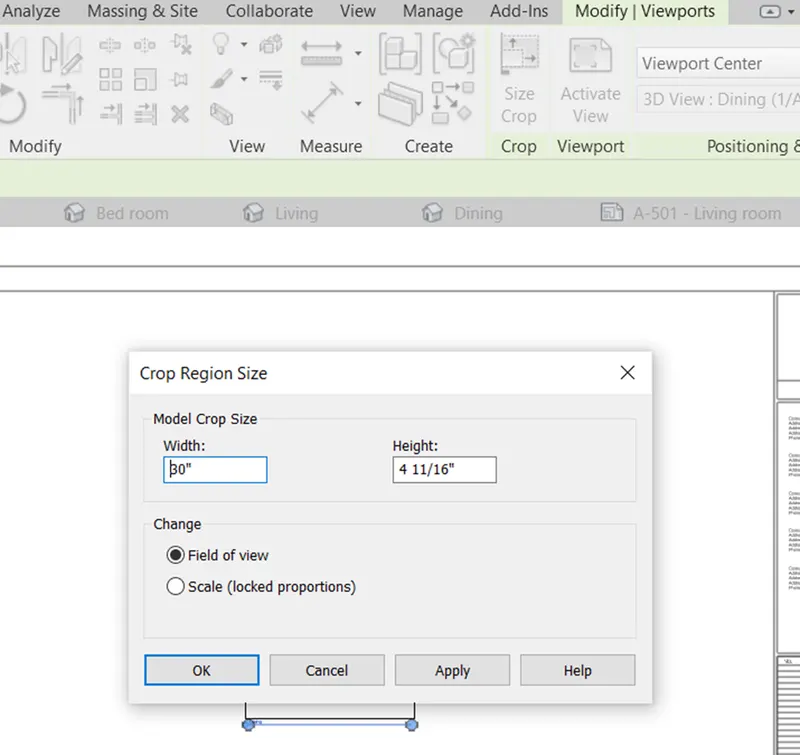
- Place the 3D view and give crop size as follow
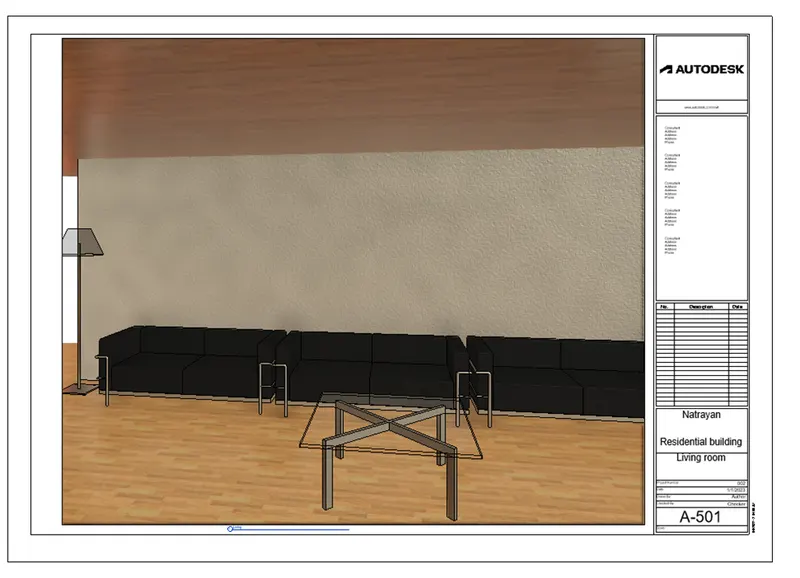
- Follow the same procedure for other sheets and rename it as mentioned below
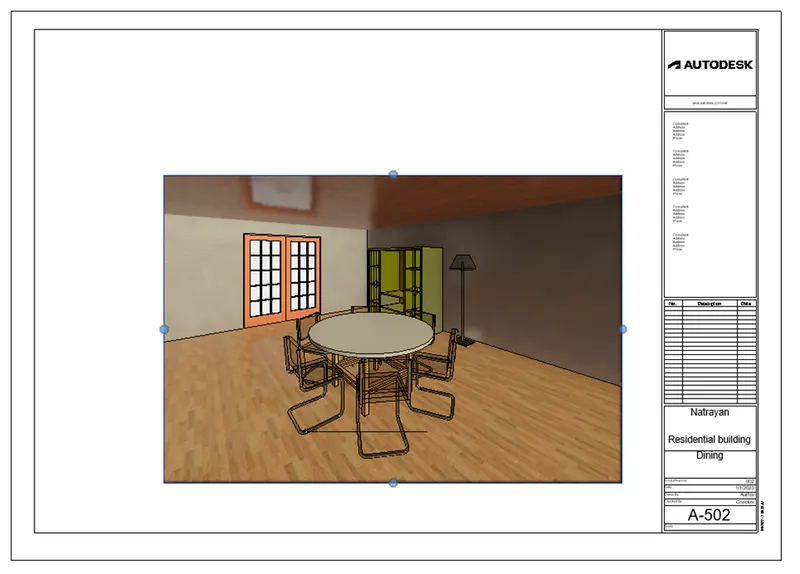
Result:
- Hence the results are obtained.