3D Creation of Celing, Roof, Architectural plan, Structural plan, Sectional view, Elevation view and Camera specific view for a house plan using REVIT
1) Aim: To create a 3D creatiion of ceiling, roof, architectural plan, structural plan, section view, elevation view and camera specific view for a house plan using REVIT
Go to startmenu and open a REVIT software
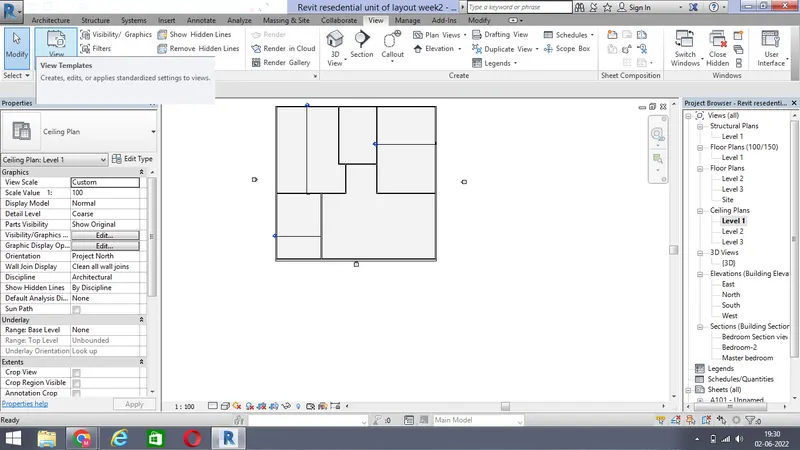
Open the project that we had saved in our previous challenege and go to architecture tab and select the cieling option
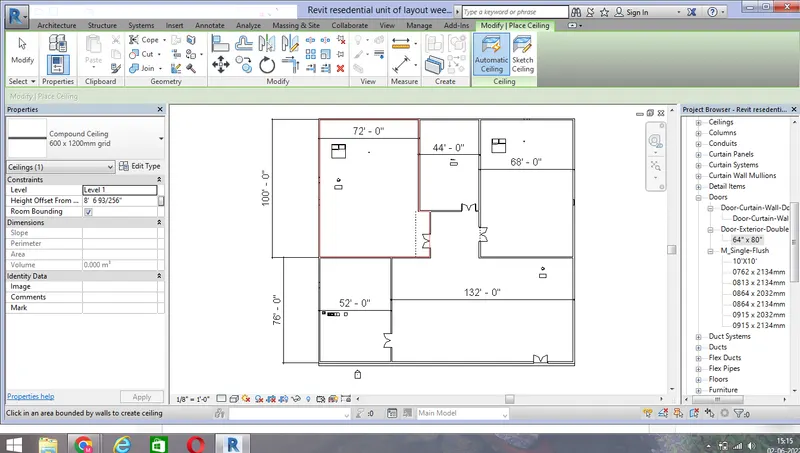
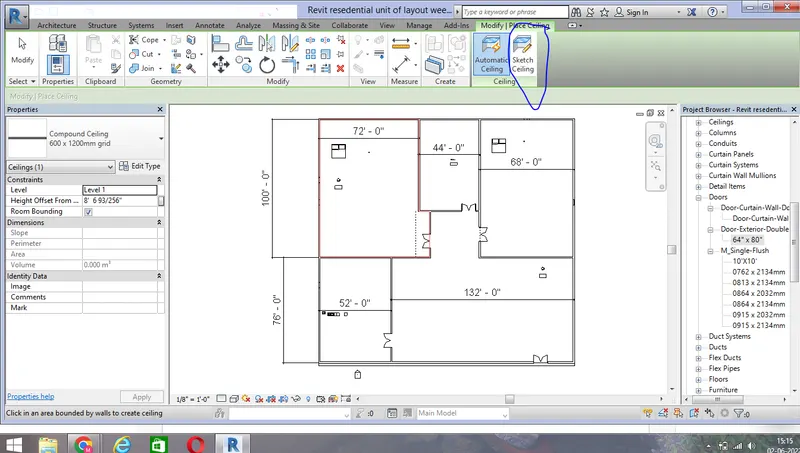
Select the sketch ceiling option
Then we will find some of the options like lines, rectangles, picklines etc ooptions
Select the pickline option and select the outer boundries of the floor plan
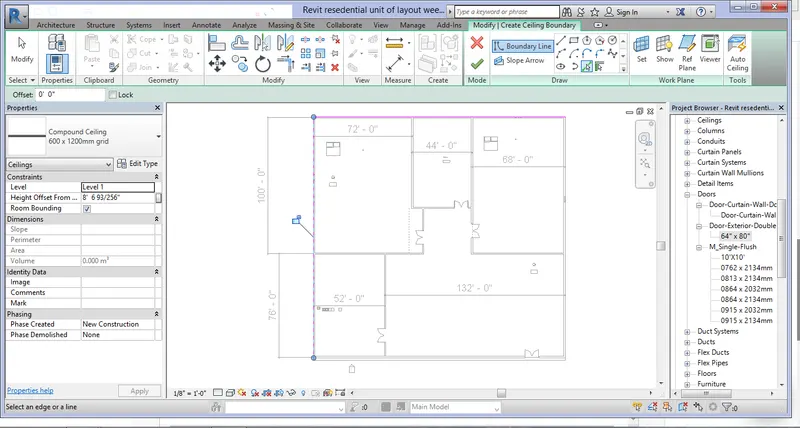
Then click tick mark
2) Open the revit software
Go to architectural tab and select the roof by footprint option
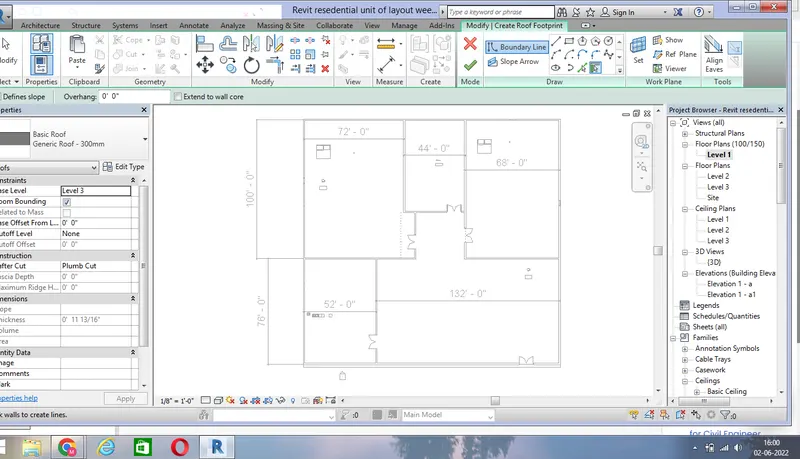
We have various options called line, rectangle and pick lines option
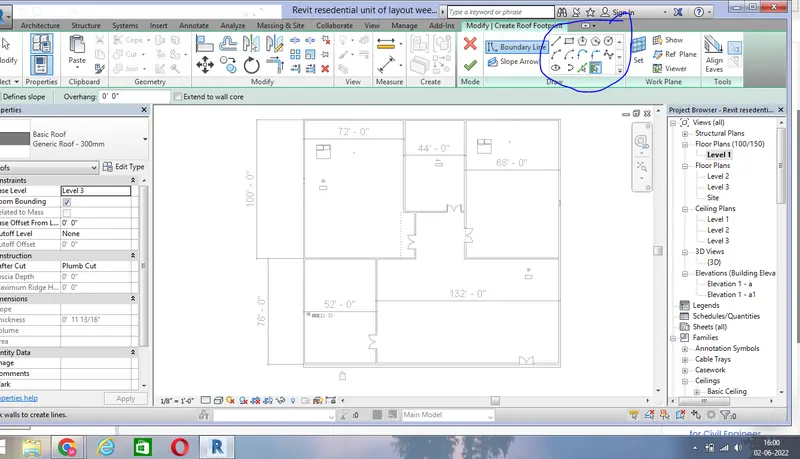
Select the pick line options and pick the lines outside the boundaries of the wall
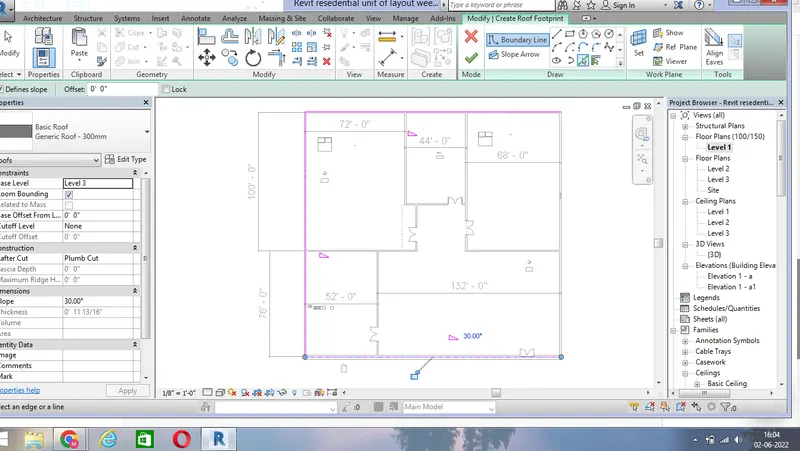
And tick ok mark
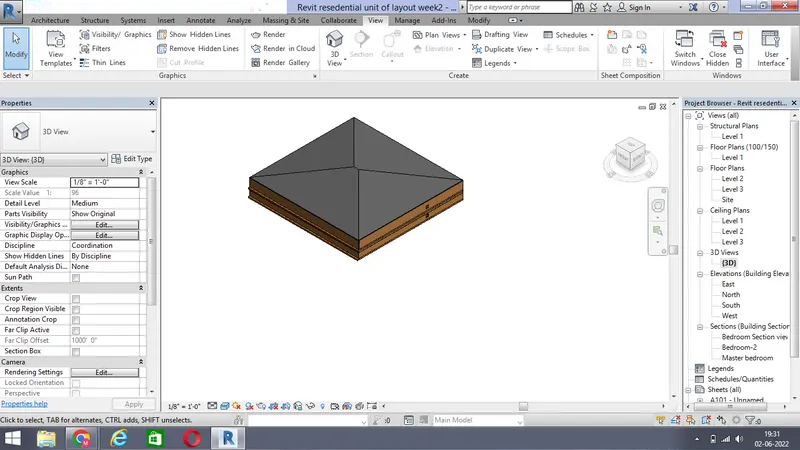
Then go to 3D view and there we can see the roof has been created
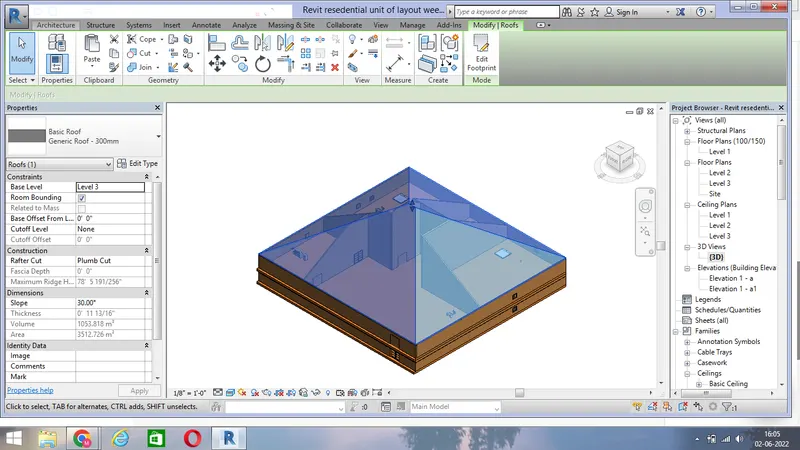
In order to provide slope as 10degrees
First click on the roof and go to properties browser and change the slope as 10degrees
Before this we need to change the units by typing un command and change the slope unit as degrees
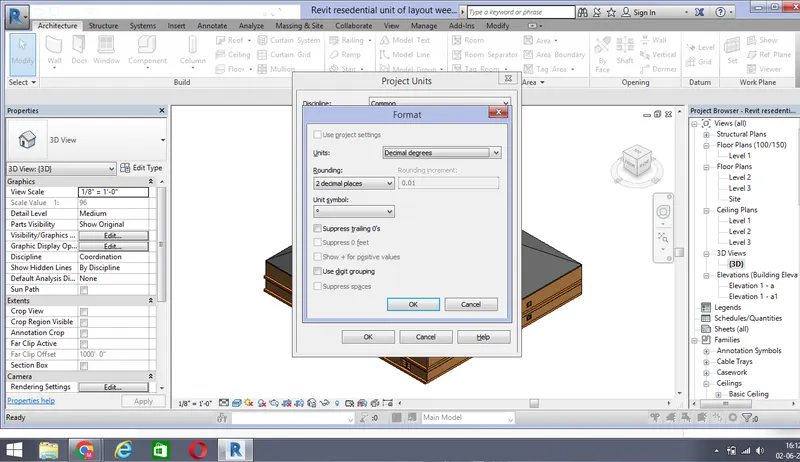
Then click ok and ok
Then again select the roof and go to properties browser and change the slope value as 10degrees
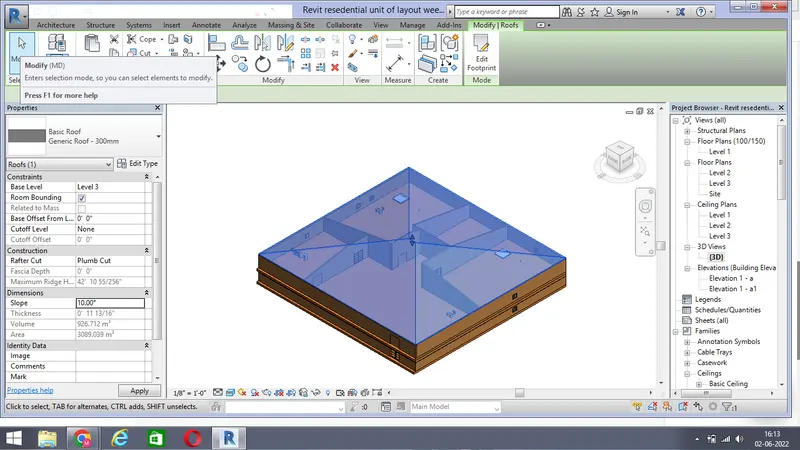
And then click apply on the bottom
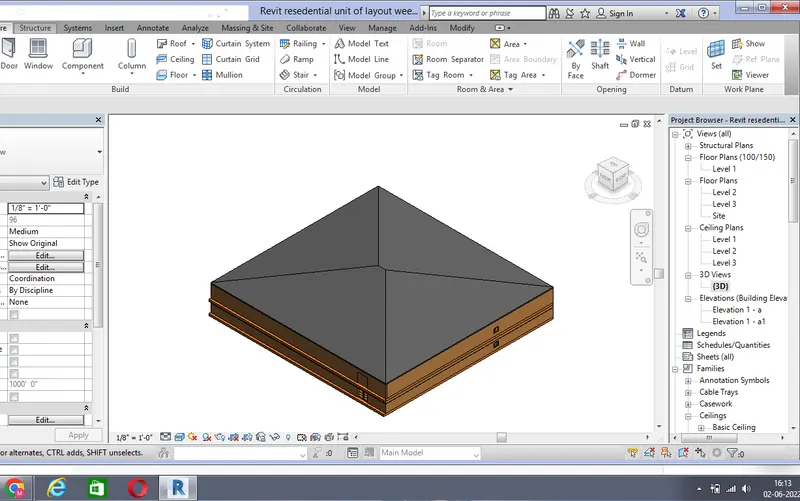
We can see the slope of the roof is changed to 10degrees
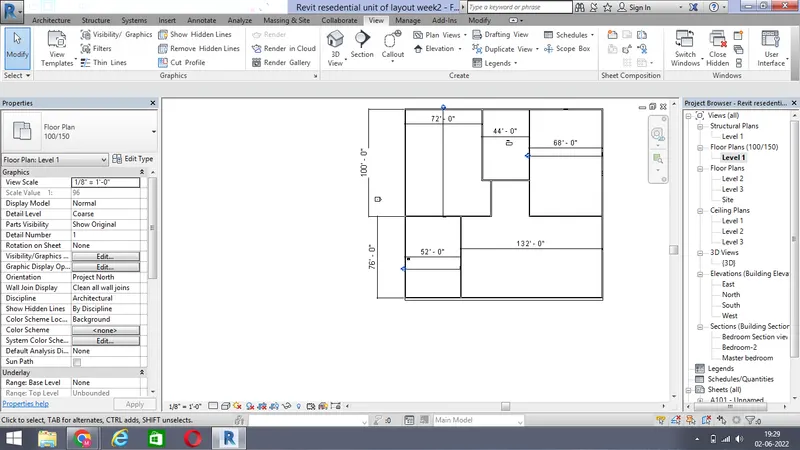
3) To open the floor plan or only architectural plan, go to ground floor and go to view tab
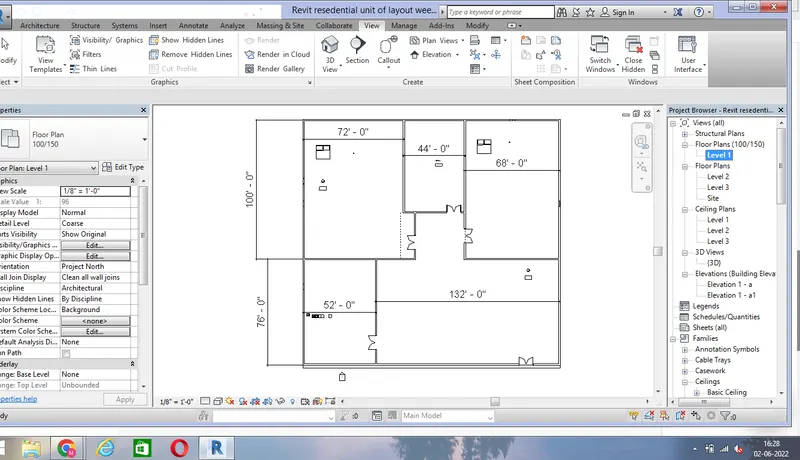
open the plan views and select the floor plan
New floor plan dialogue box opens
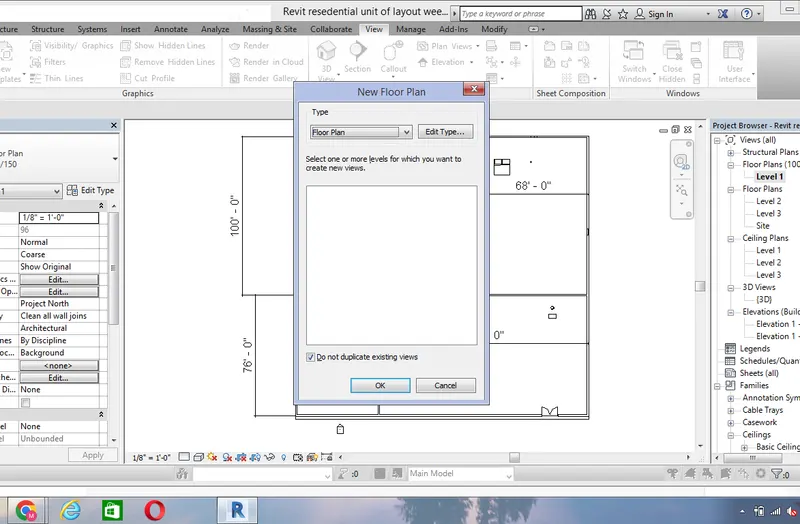
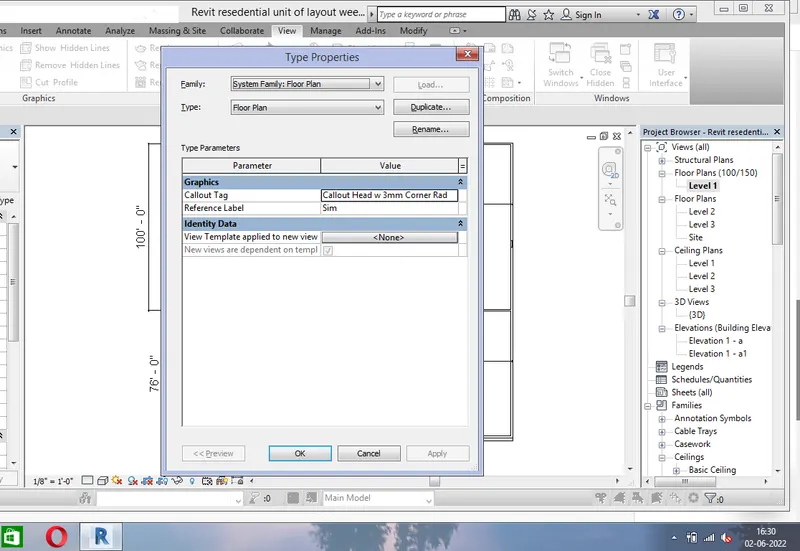
And click edit type and click ok and ok
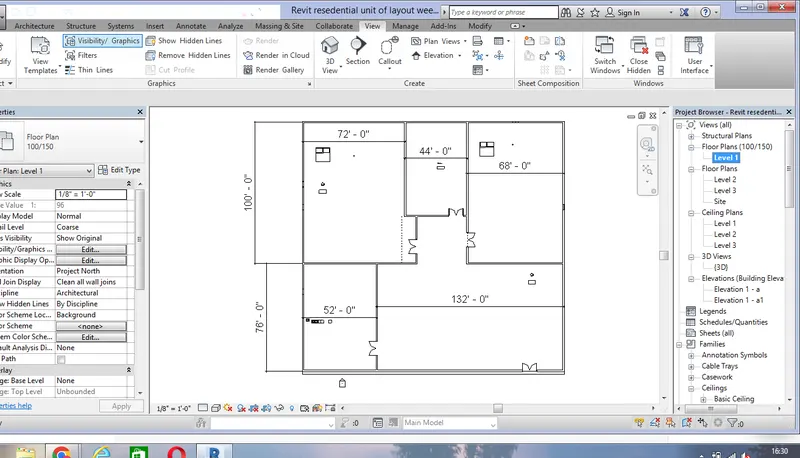
Then we wil get the architectural plan which includes all the architectural component such as furnitures walls, doors etc
In order create the strutural view, again go to view tab and select the plan views
and there select the structural plan option
New structural plan dialogue box opens
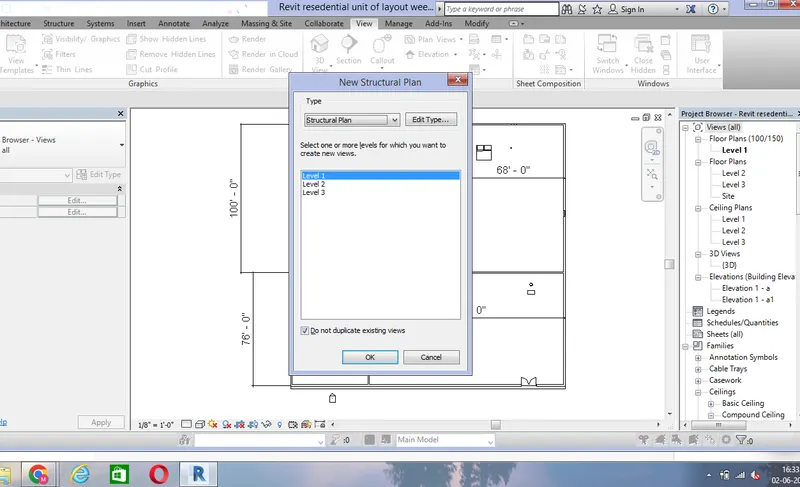
There select the levels which we want and click ok
The structural component such as only walls can be opened
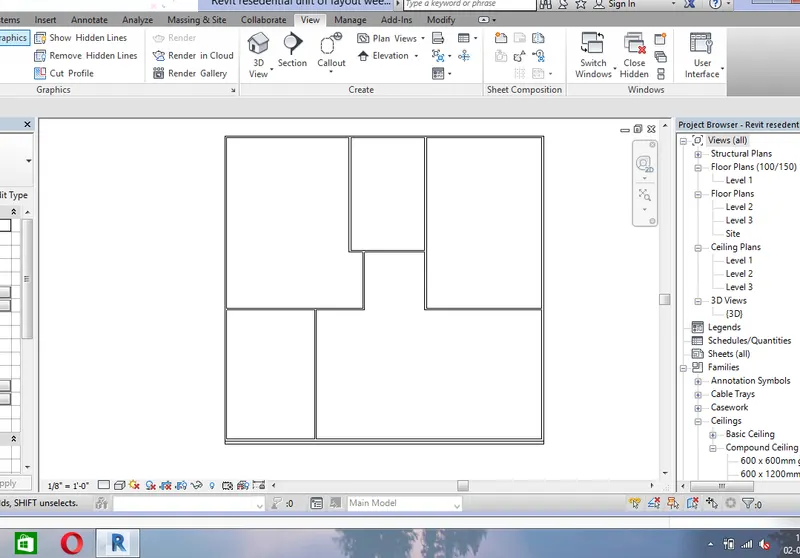
4)To give dimensions for the architectural floor plan
For this go to annotate tab and choose the linear or alligned option
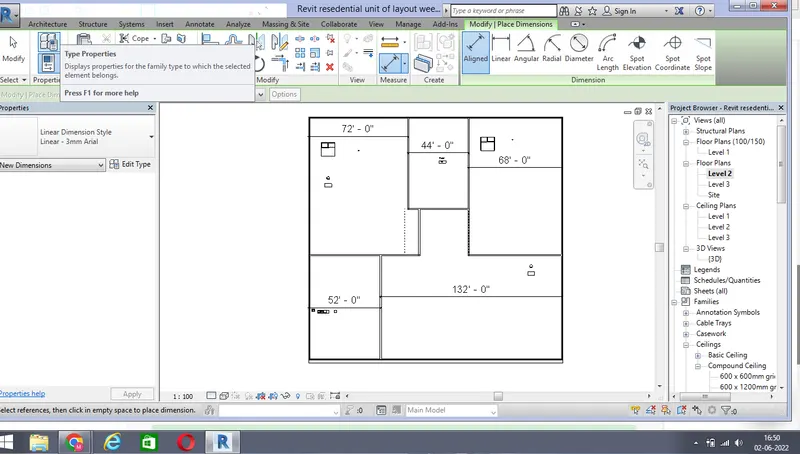
And then dimension the walls using alligned option
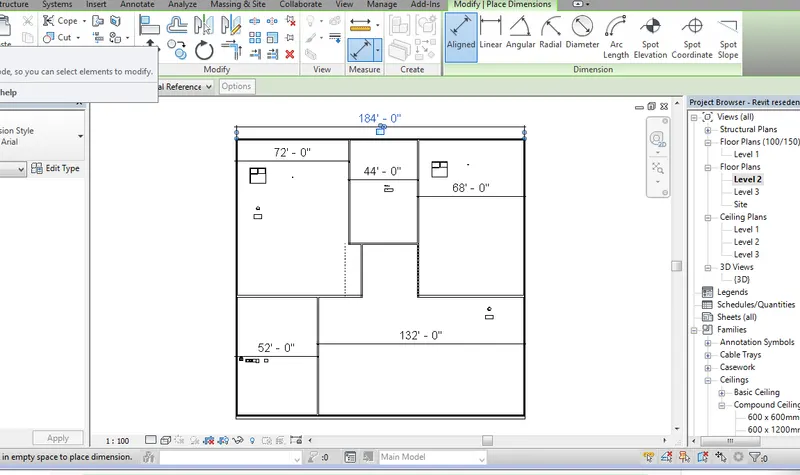
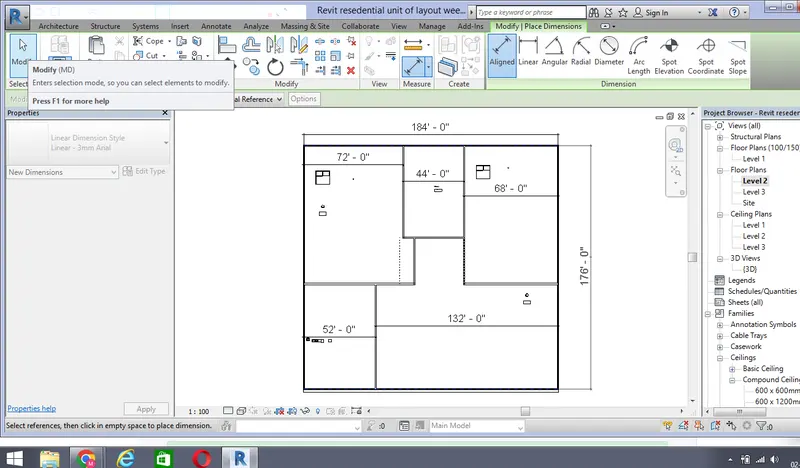
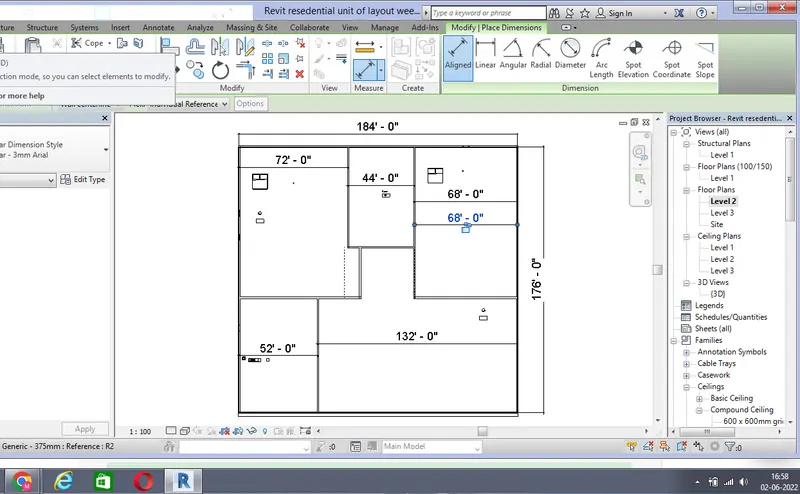
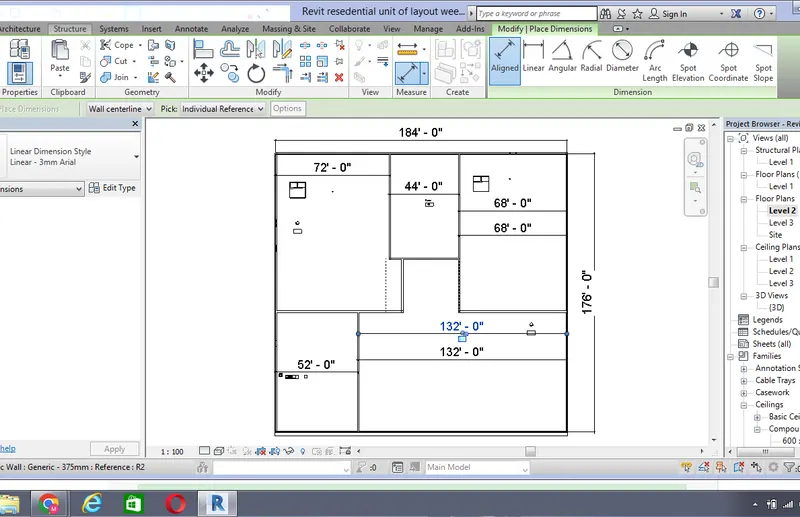
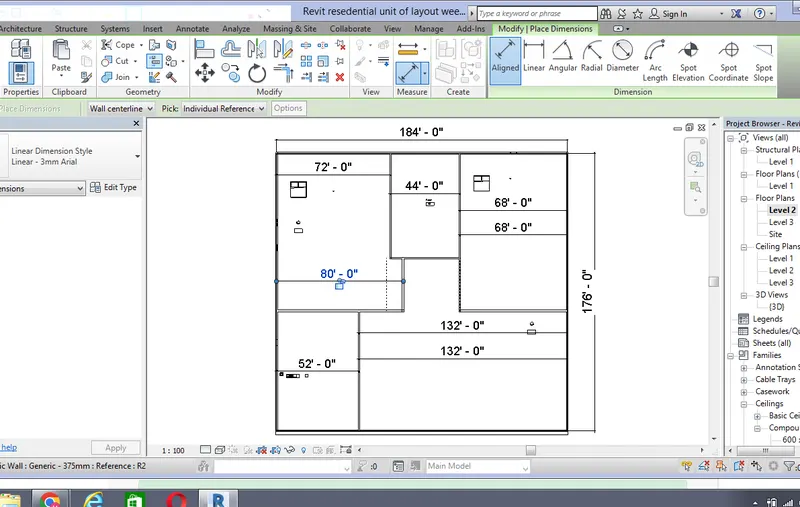
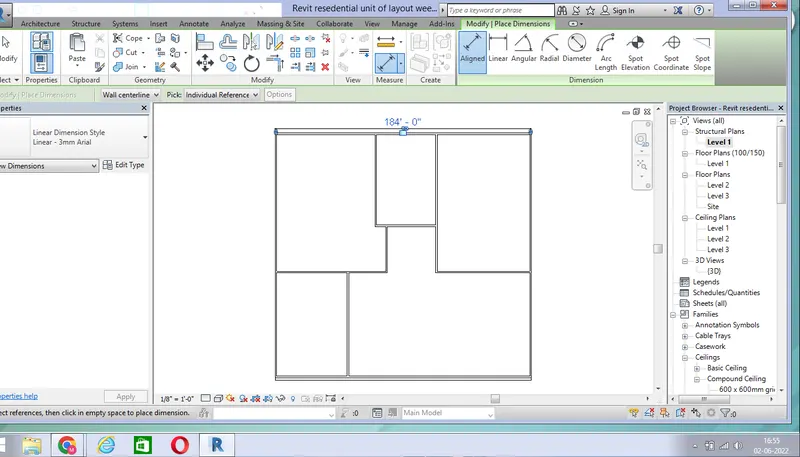
Similarly in order to annotate the structural floor plan, open the structural plan in the properties browser and
again go to annotate tab and take linear or alligned dimensions and dimension the walls
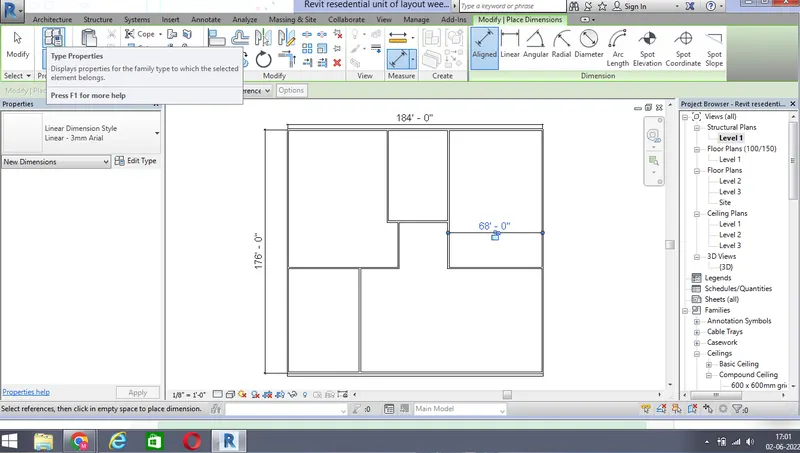
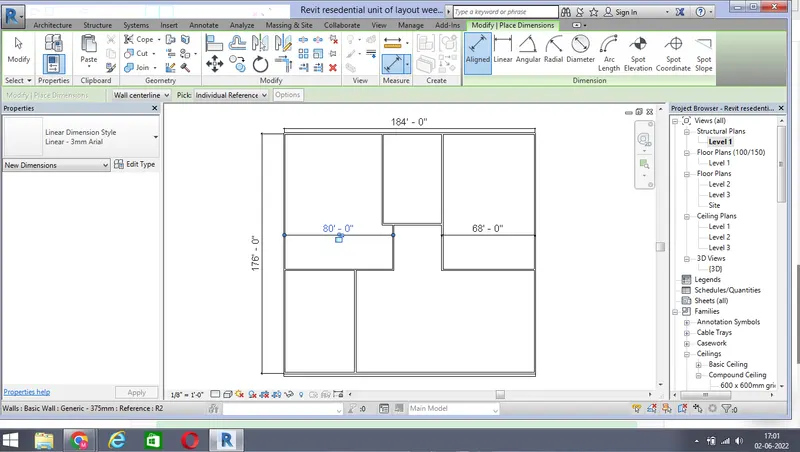
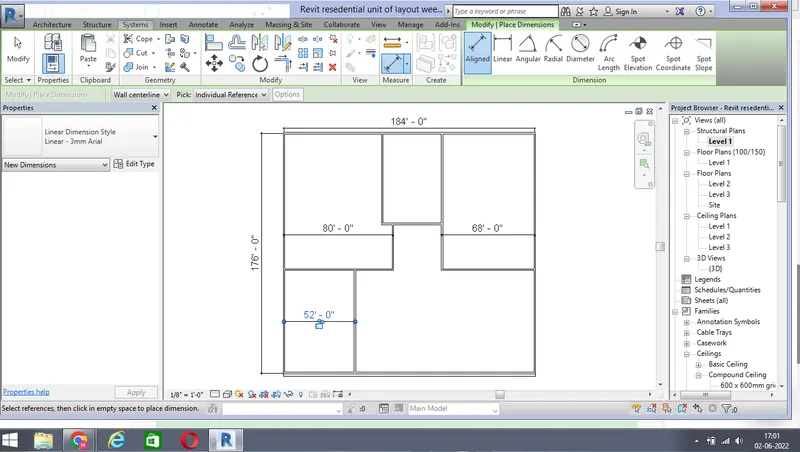
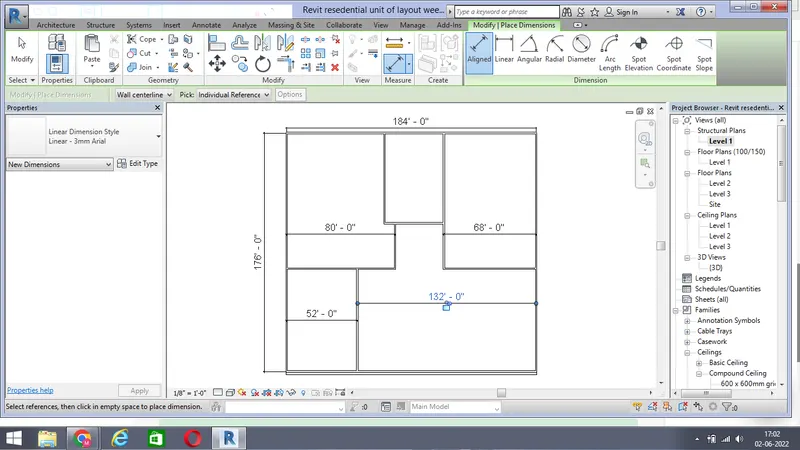
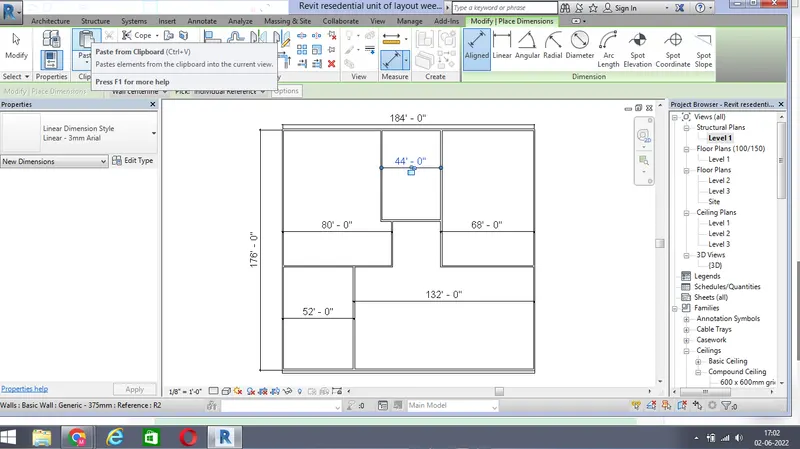
5) In order to create a sheet, go to view tab and select the sheet option
There after we click on the sheet, we can find the Sheet size and select one of the sheet size and press ok
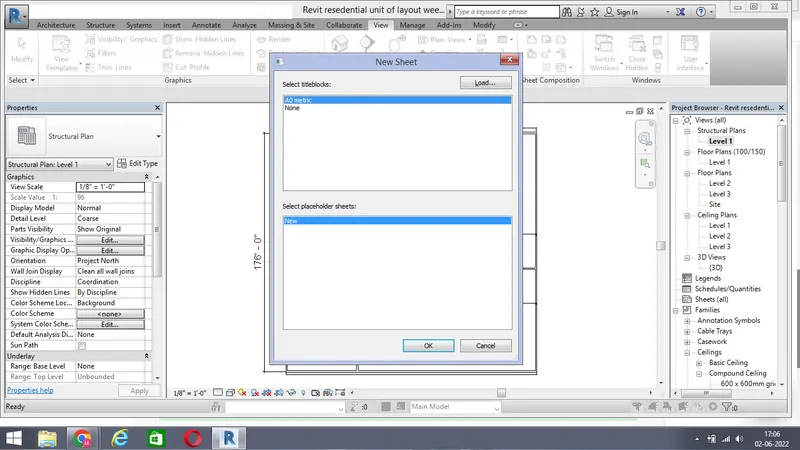
Wait until it load into the project
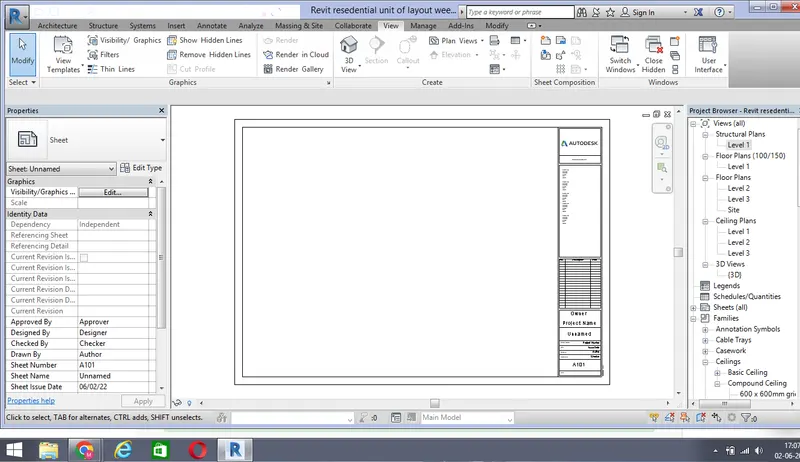
Here we can edit the prameters by double clicking on that manually
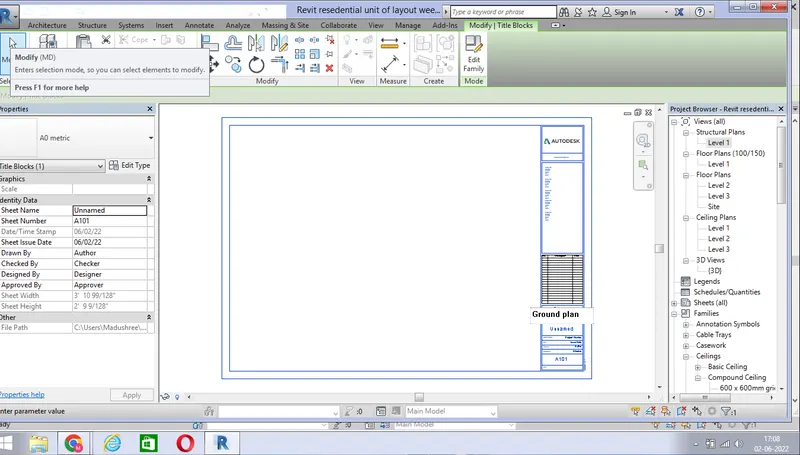
Or elese we can go to manage tab and select the project informaion option and give the informations over there
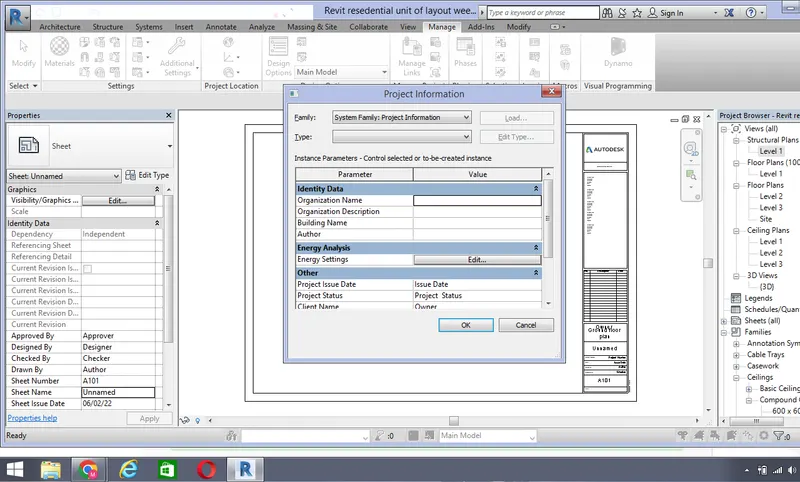
In order to insert the plans inside the sheet, go to properties browser and select one of the views and drag this into the sheet
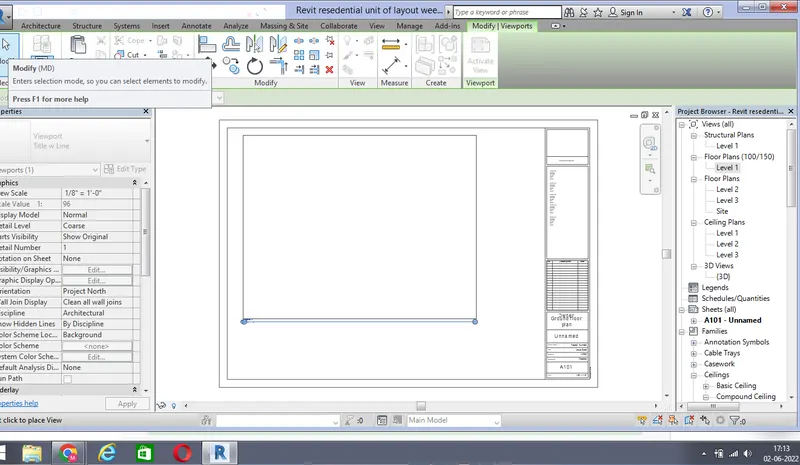
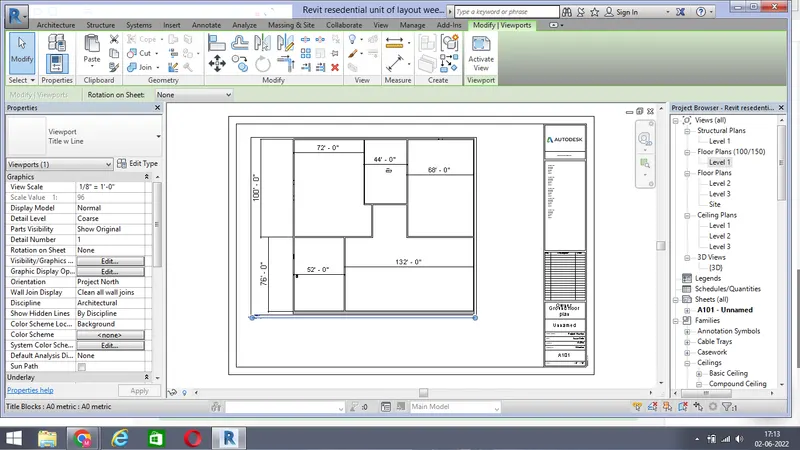
We can edit the sheet size and scale in the properties browser
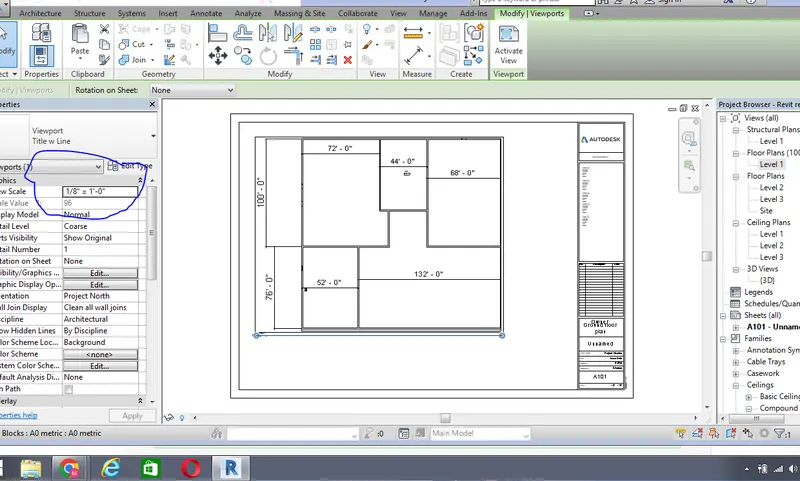
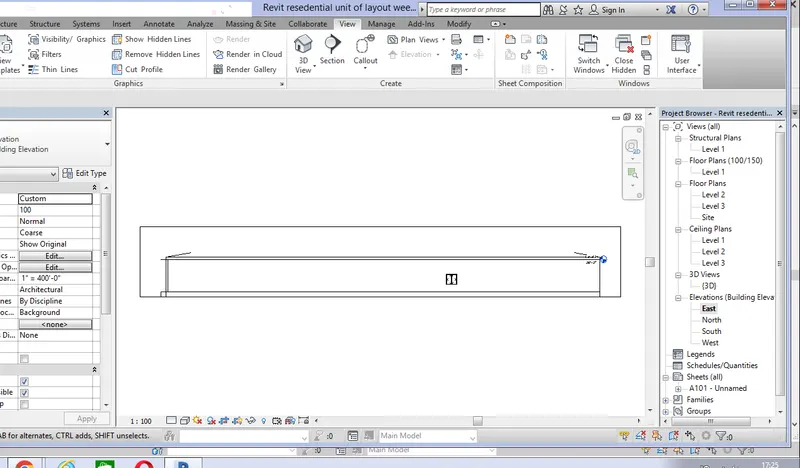
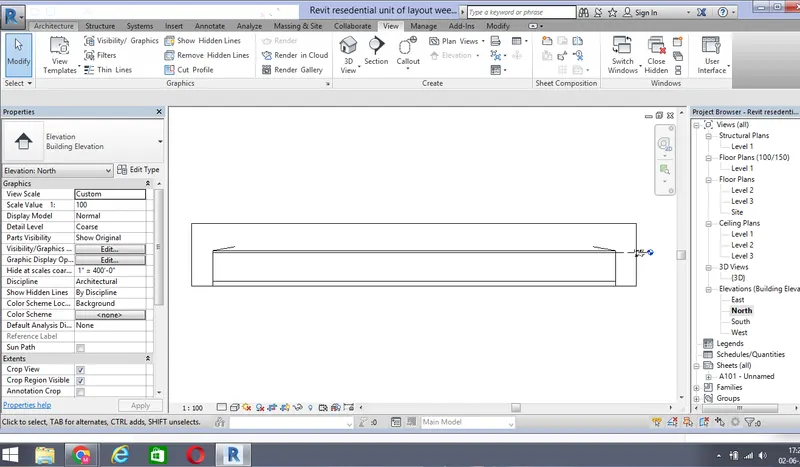
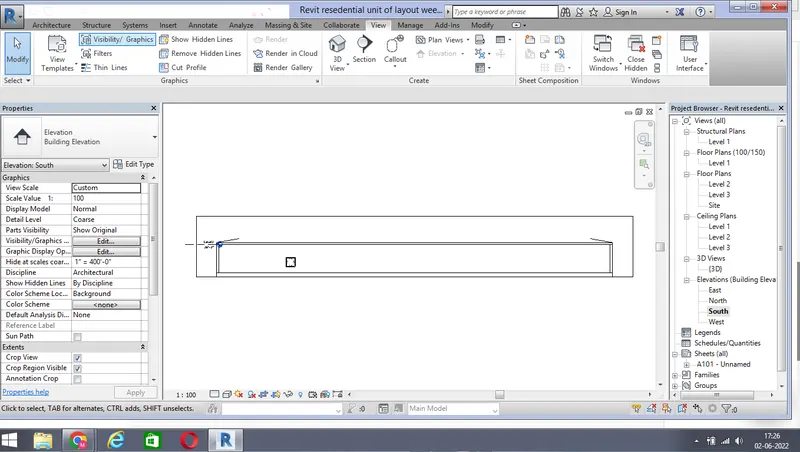
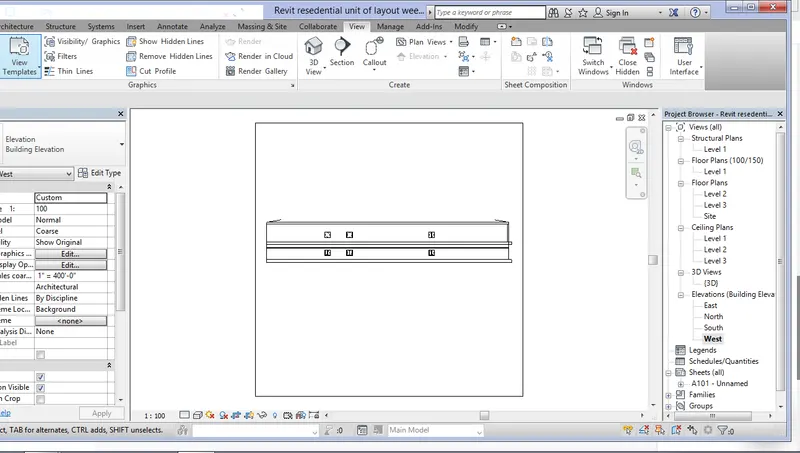
6) In order to create the elevation view, go to view tab and select the elevation option
Place the elevation in east view
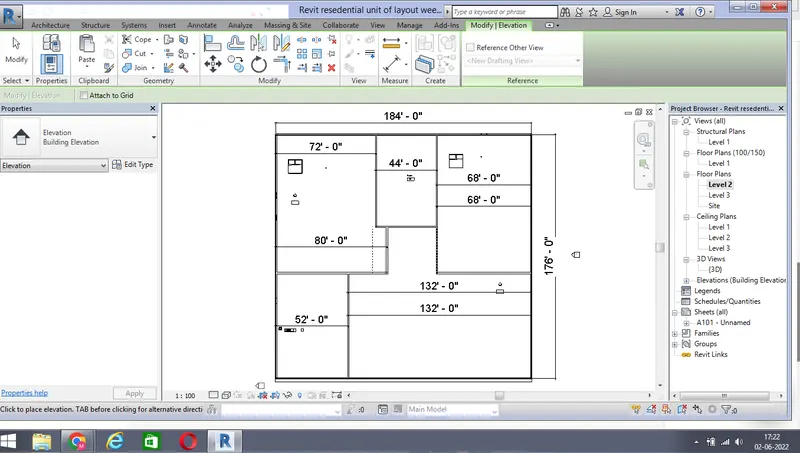
Again place the elevation in north view
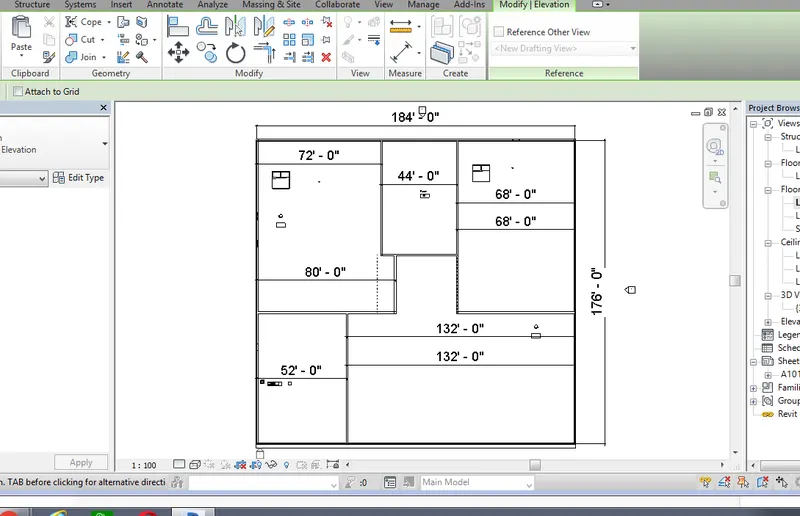
And again place the elevation in south view
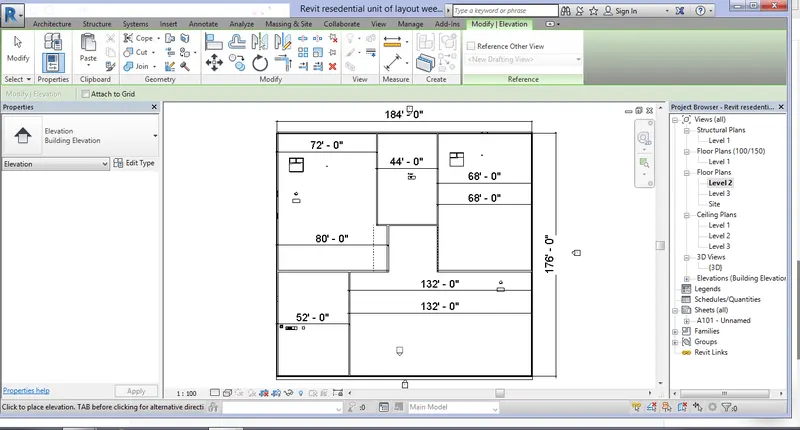
Again create the elevation in west view
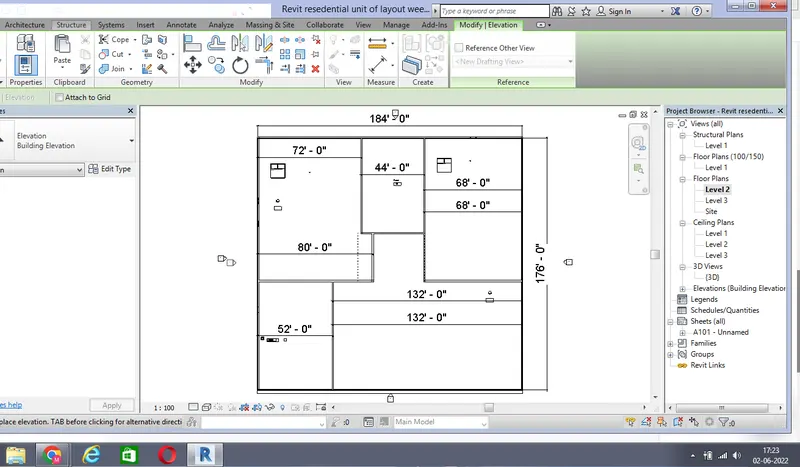
We can see this elevations in the properties browser
7) In order to create a section cut, go to view tab and select the section option
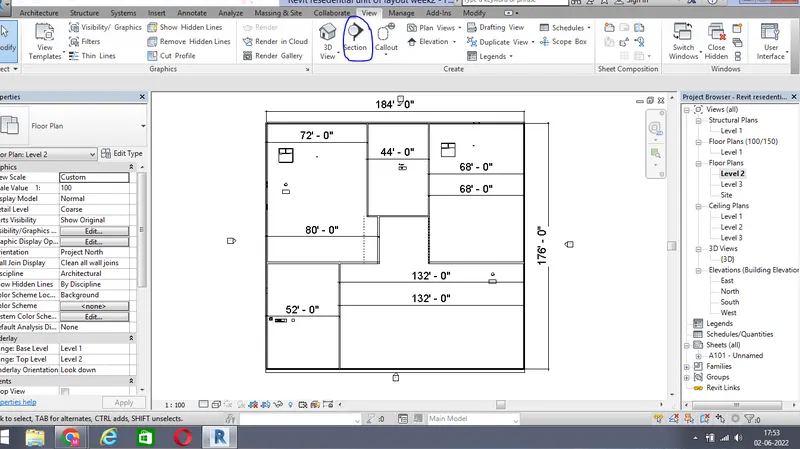
And select the section and cut the bedroom section transversly or horizontally
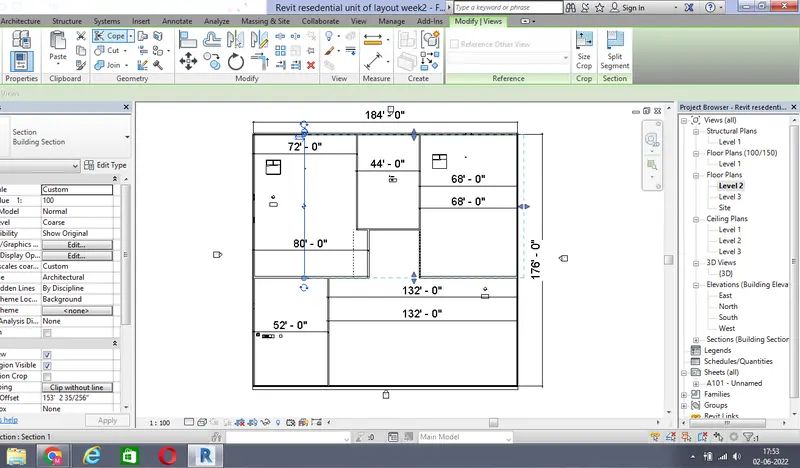
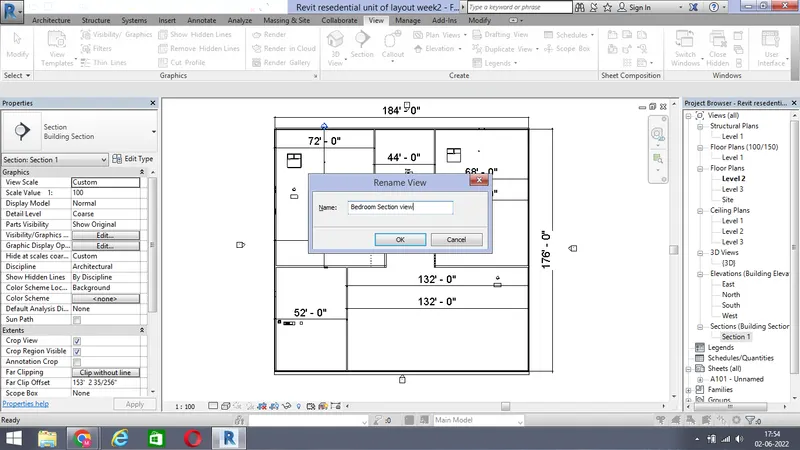
And immediately go to property browser and rename this section as bedroom section view
And again go to view tab and select the section view and cut the another bedroom in horizontal direction
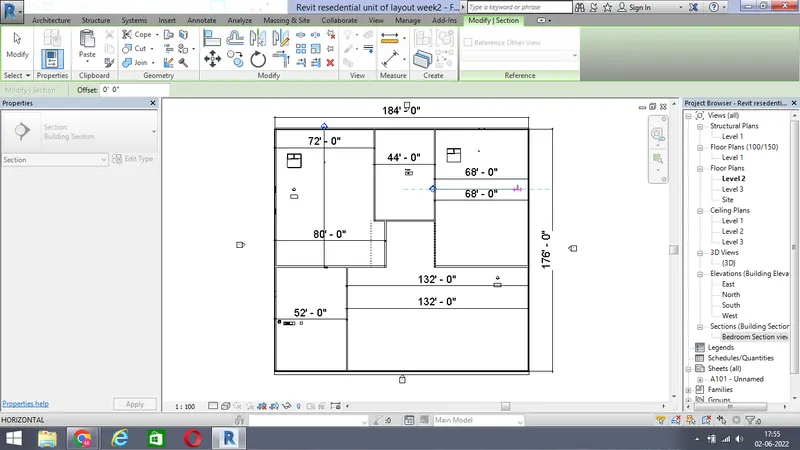
And rename it as master bedroom in properties browser
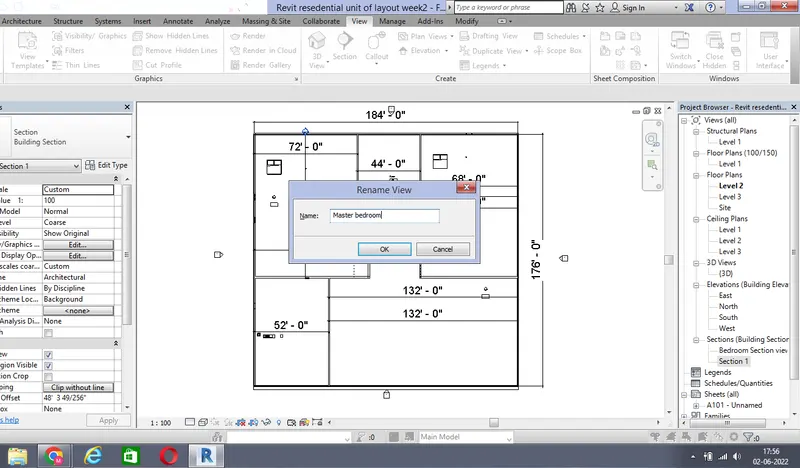
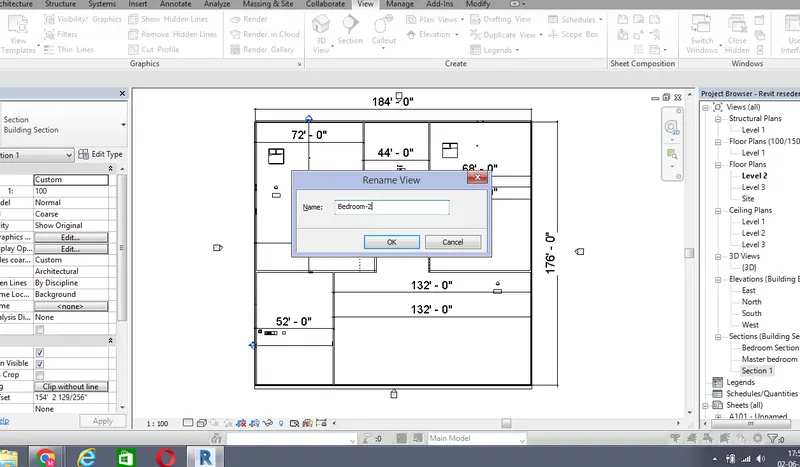
And also again go to section and cut the another room in tansverse direction
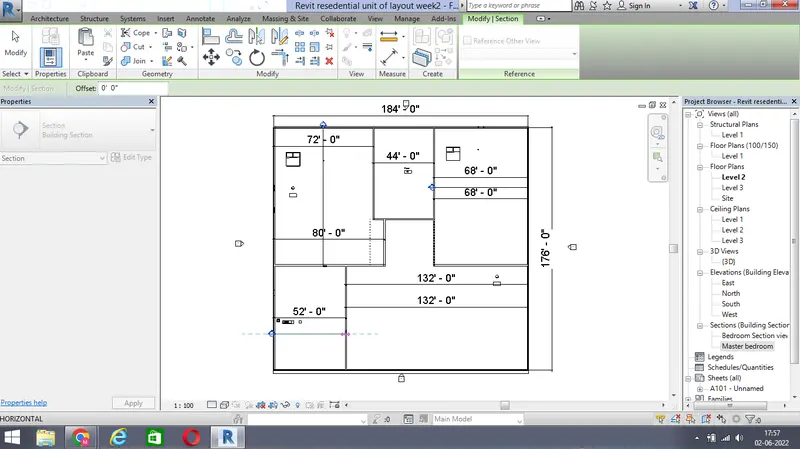
And again rename it as bedroom 2 in properties browser
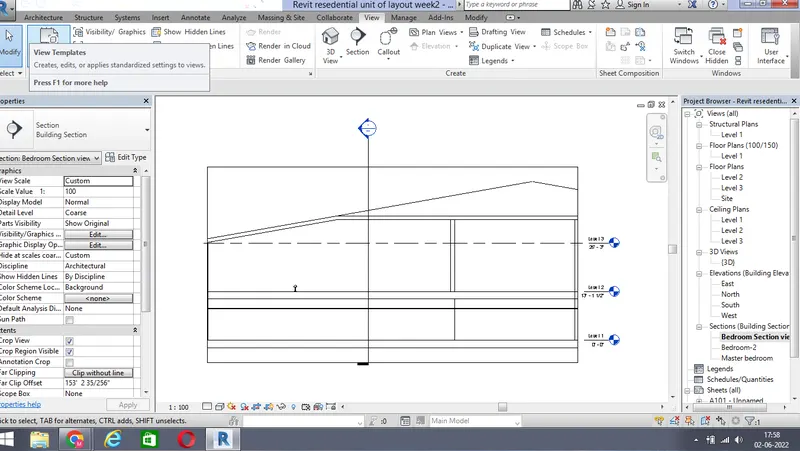
Then double click on the created sections and there we can see the sections
8) Structural plan
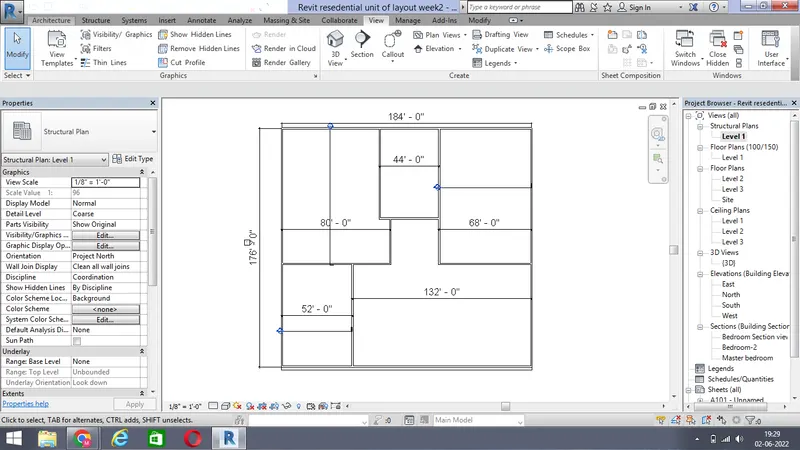
Floor plans
Ceiling plan
3D view
Elevation views
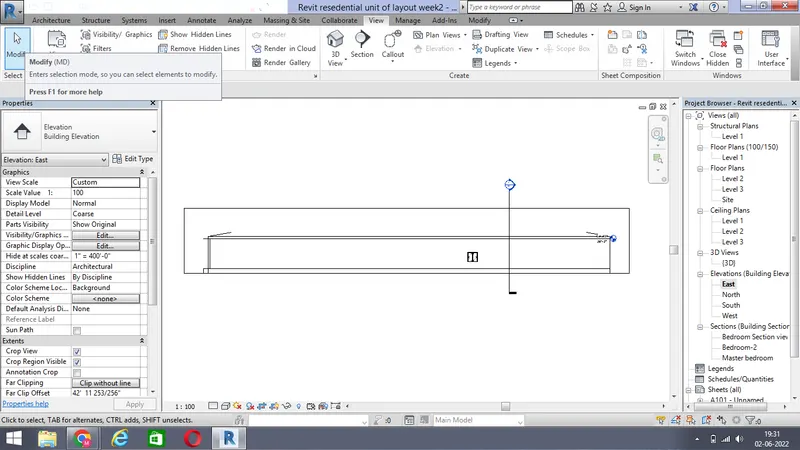
Section views
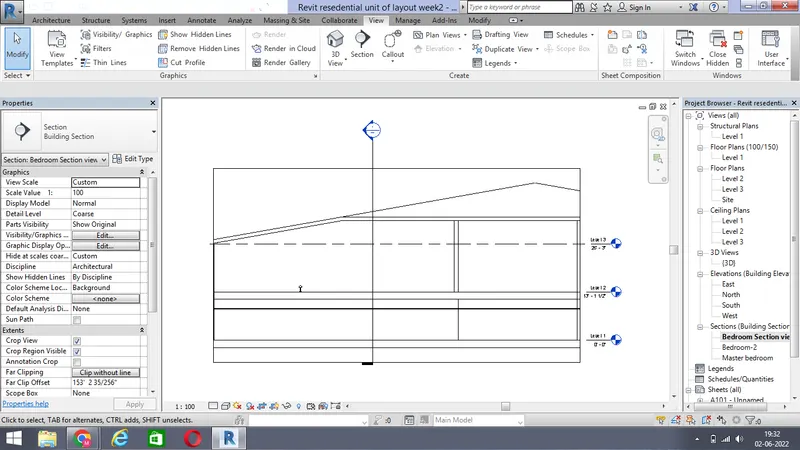
Sheet views
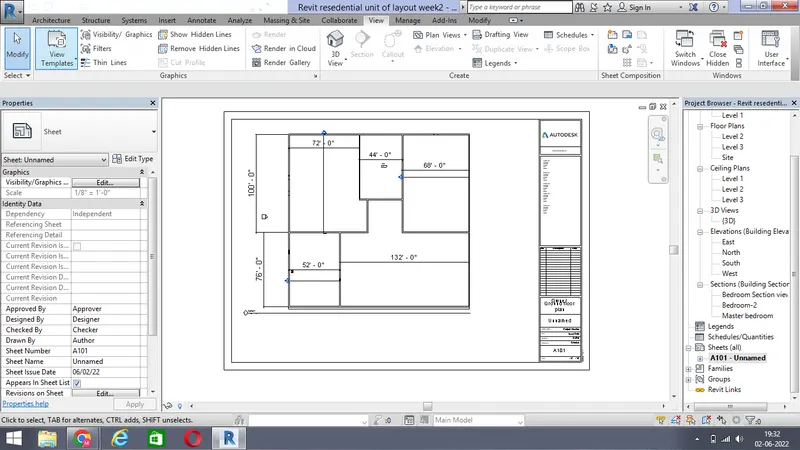
9)a) A 101-Ground floor architectural plan
First go to view tab and select the sheet option
Select one of the size of the sheet and click ok
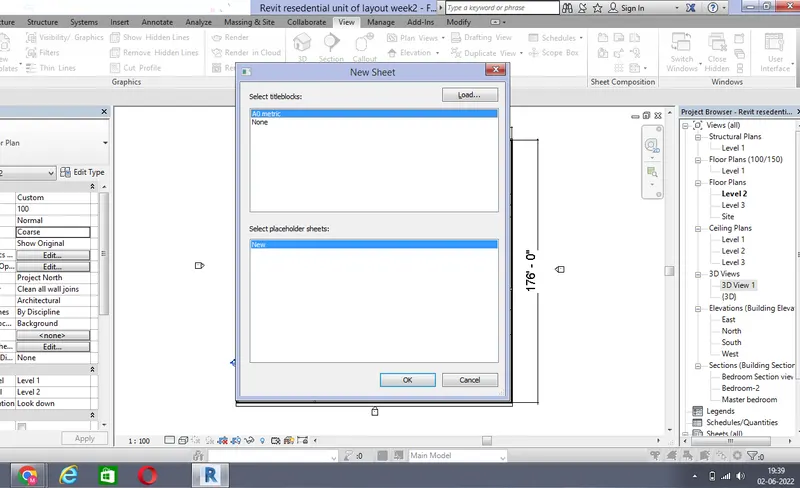
Now go to properties browser and drag the ground floor plan view inside the sheet
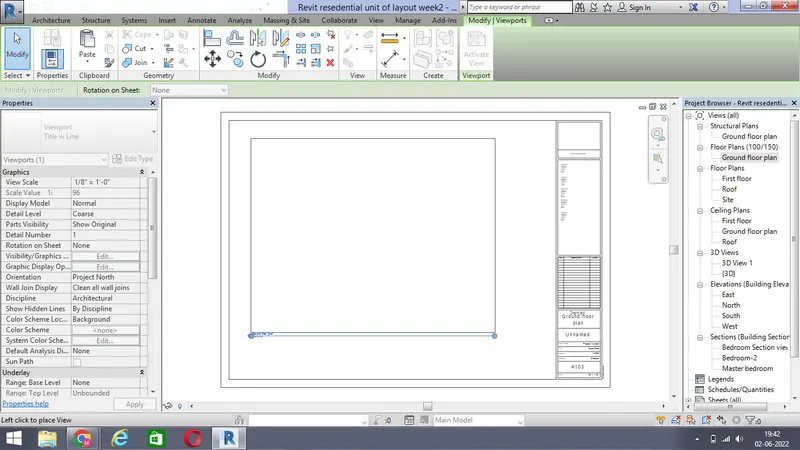
Rename this sheet as A101 Ground floor plan by editing the name on the sheet
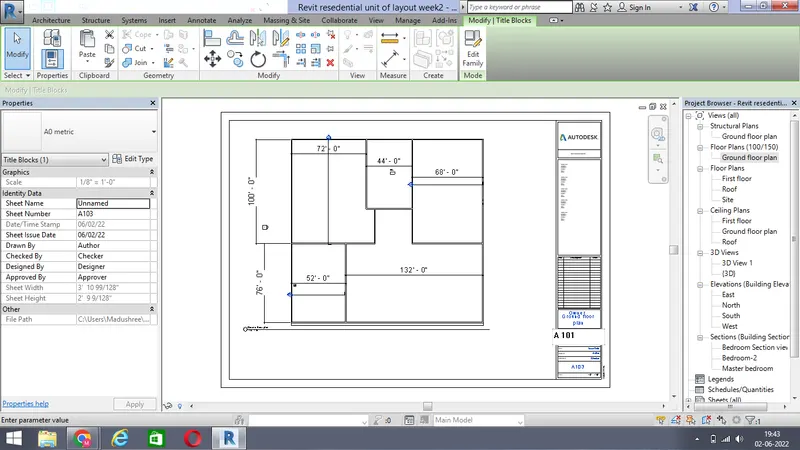
b) A- 102 first floor architectural plan
Again go to view tab and select the sheet option and select the size of the sheet and click ok
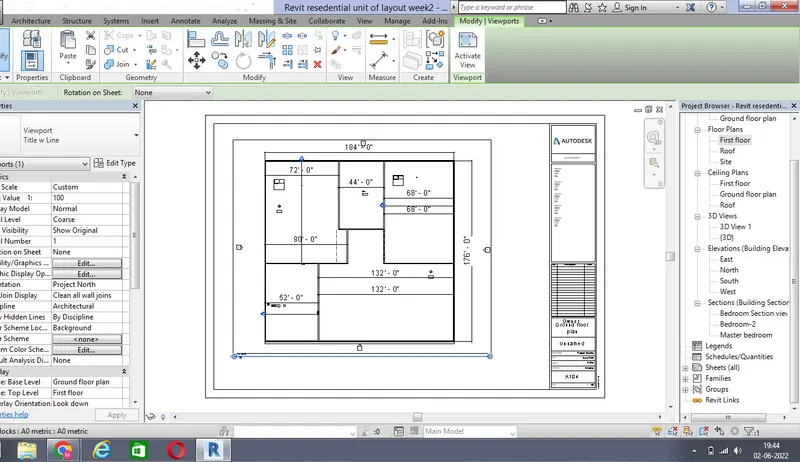
Rename the sheet as A-102 First floor architectural plan
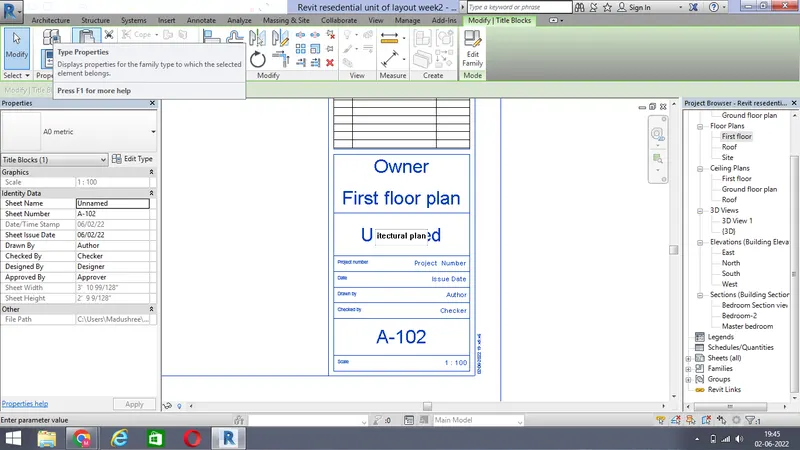
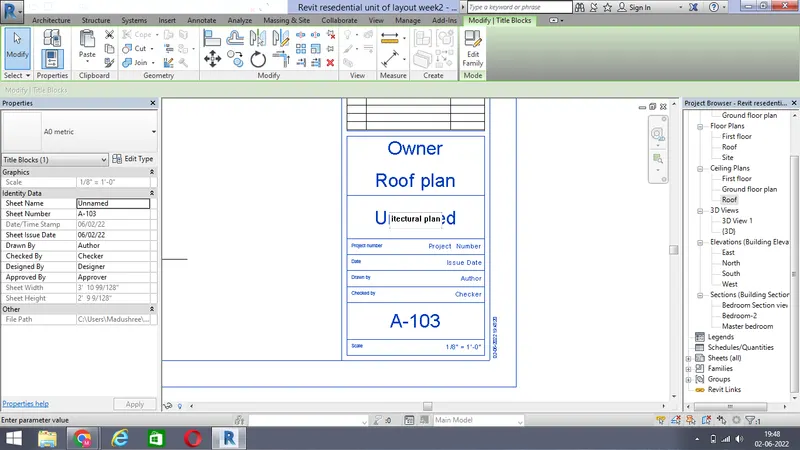
c) A-103- Roof plan
Again go to view tab and select the sheet option and select one of the size of the sheet and click ok
Drag the roof plan inside the sheet from the properties browser
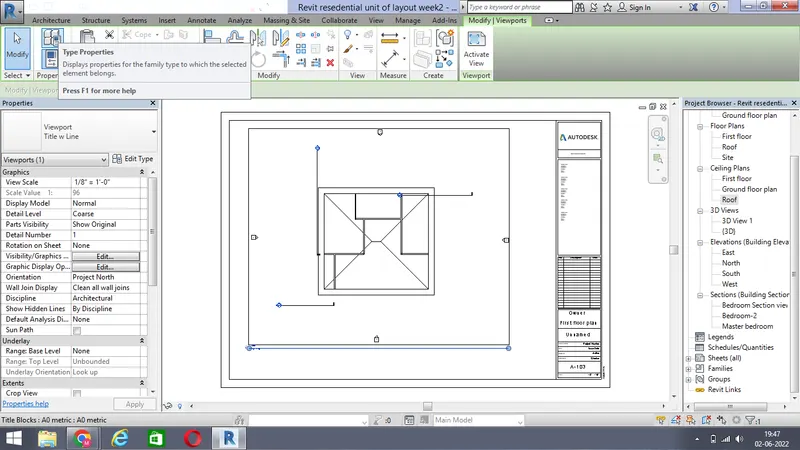
Rename the sheet as Roof plan and name it as A103
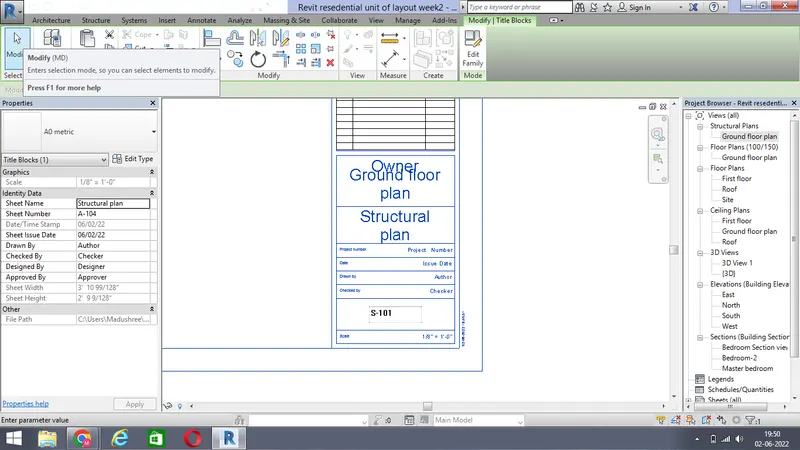
d) S-101- Ground floor structural plan
Go to view tab and select the sheet view option and select the size of the sheet and click ok
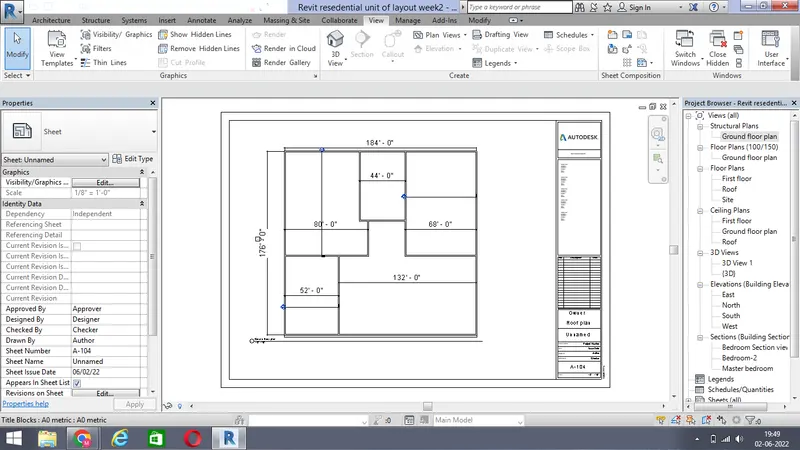
Rename this as S-101 - Structural plan by editing the sheet
e) S-102- First floor structural plan
Go to view tab and create a sheet
Then drag the structural first floor plan inside the sheet
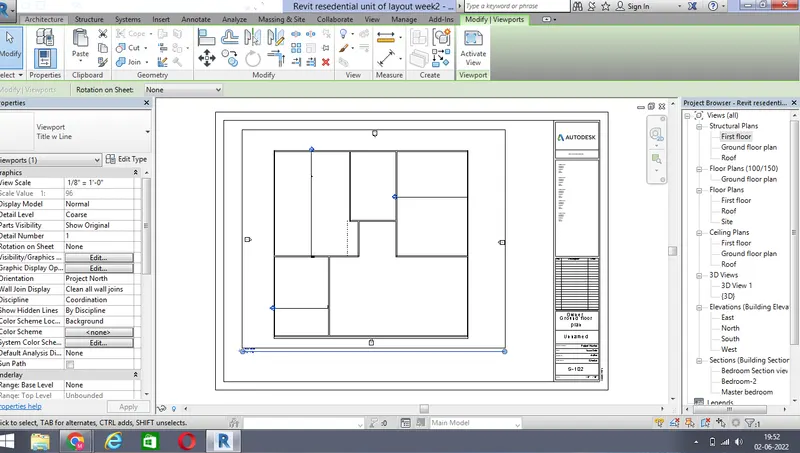
Rename by double clicking on that as S-102- Structural first floor plan
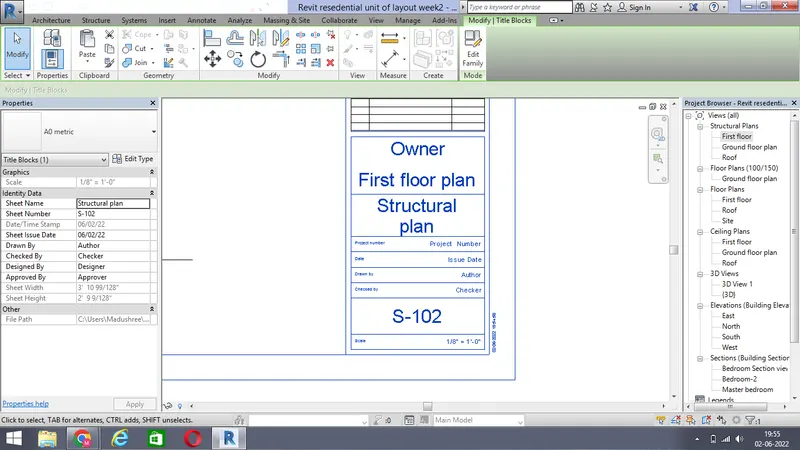
f) S-103- Roof framing plan
Go to view tab and create a sheet and drag the roof framing inside the sheet from the properties browser
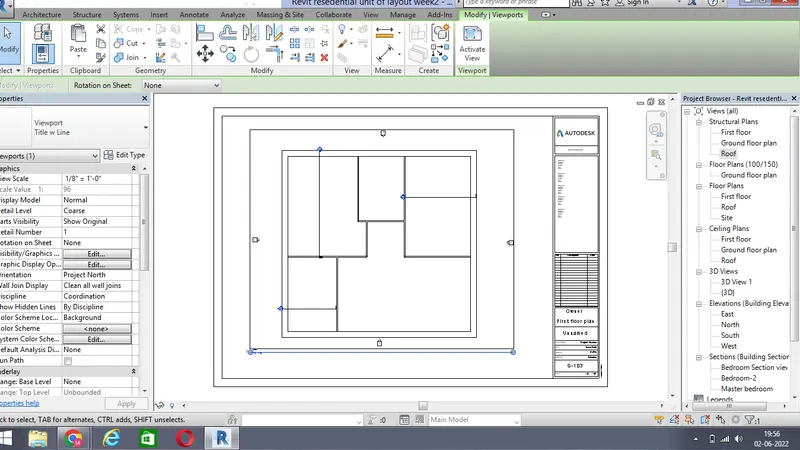
Rename by double clicking the sheet as S-103 Roof framing plan
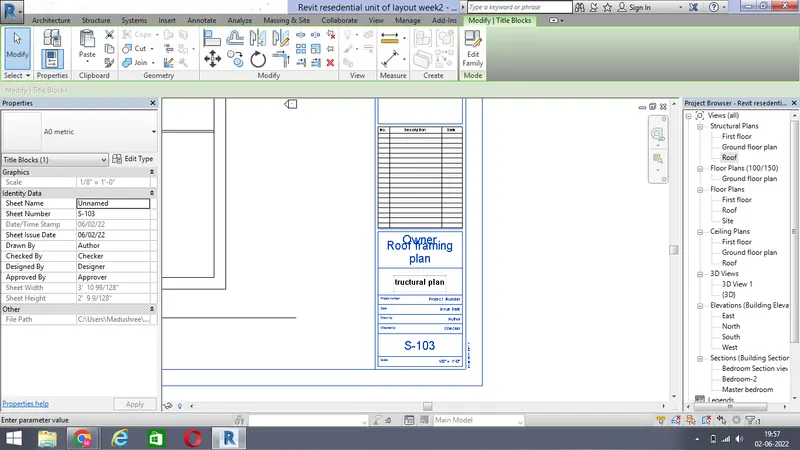
g) A-201- North-south elevations
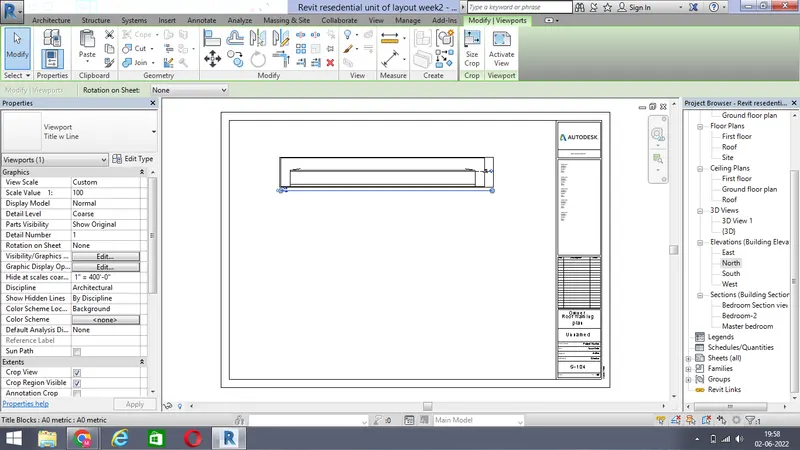
Go to view tab and create a sheet and drag the north elevation inside the sheet
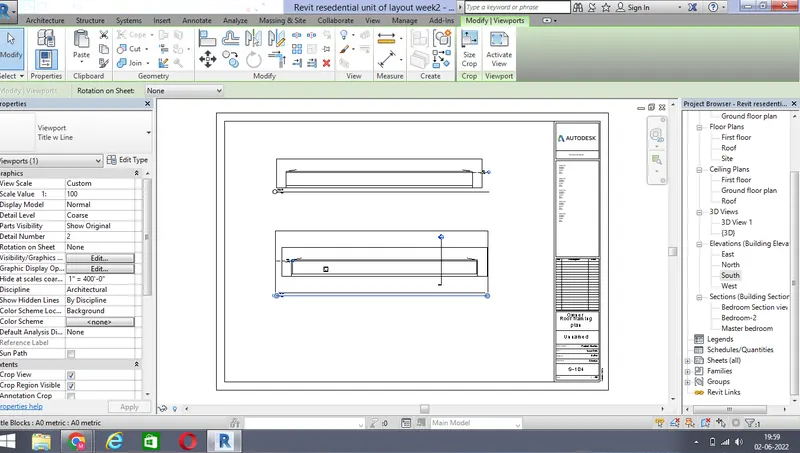
Again select the south elevation view and drag this elevation inside the sheet
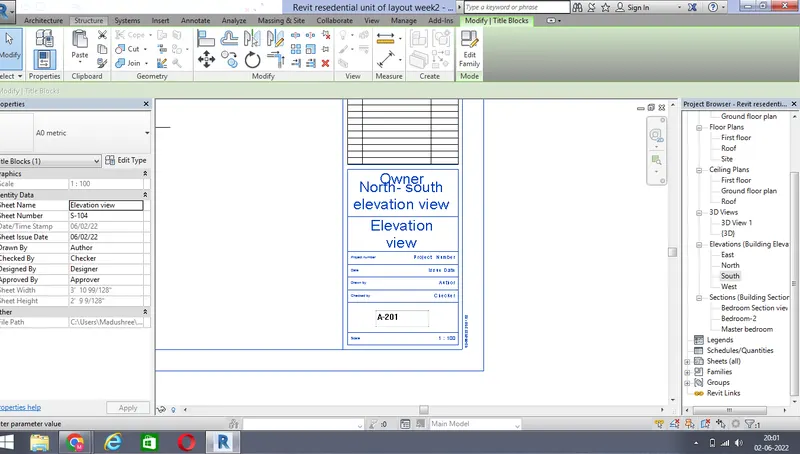
Then rename by double clicking and give name as A-201- North-south elevations
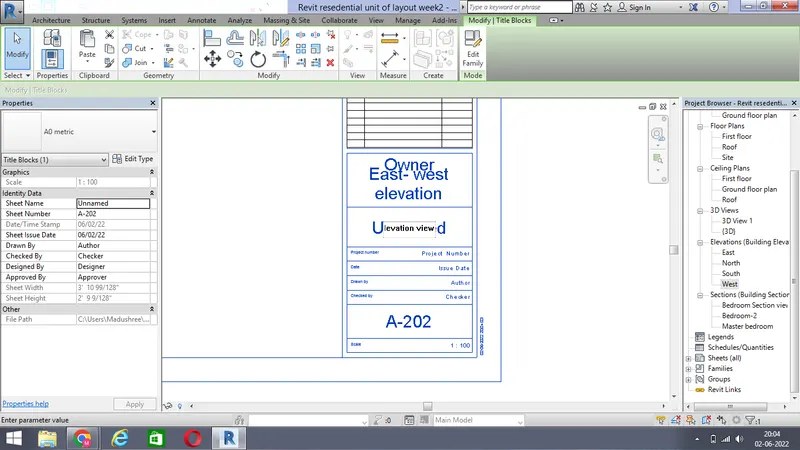
h) A-202- East-west elevation
Go to view tab and create a sheet and drag the east elavtion inside the sheet from properties browser
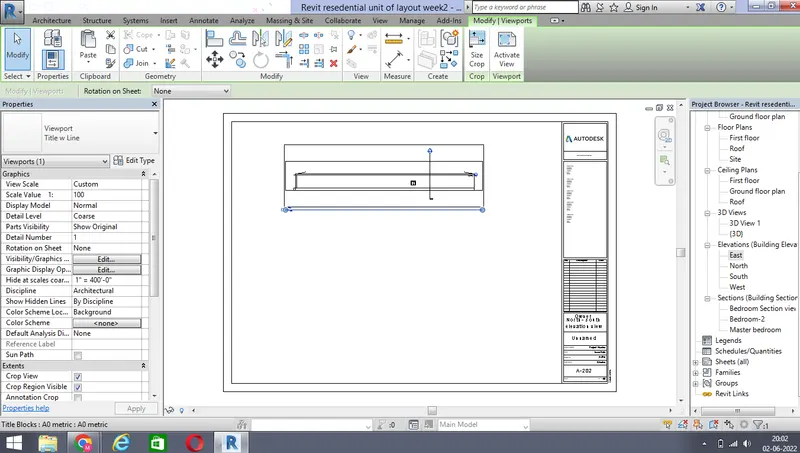
Again drag the west elevation view from the properties browser and place it inside the sheet
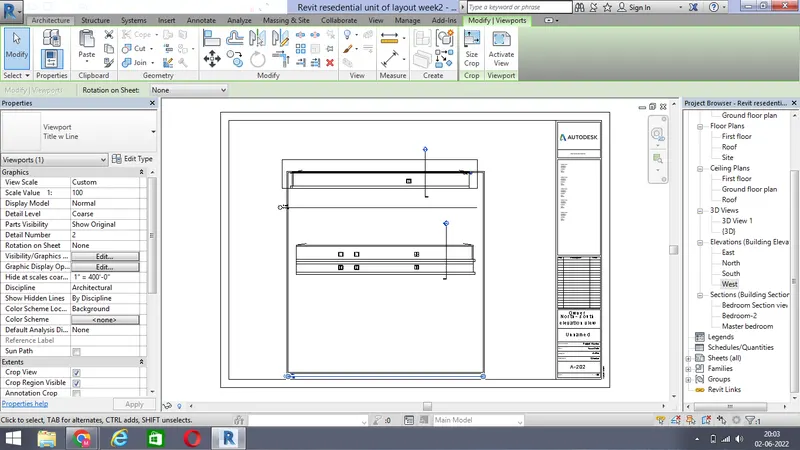
Rename it as a A202- East west elevation by double clicking on that
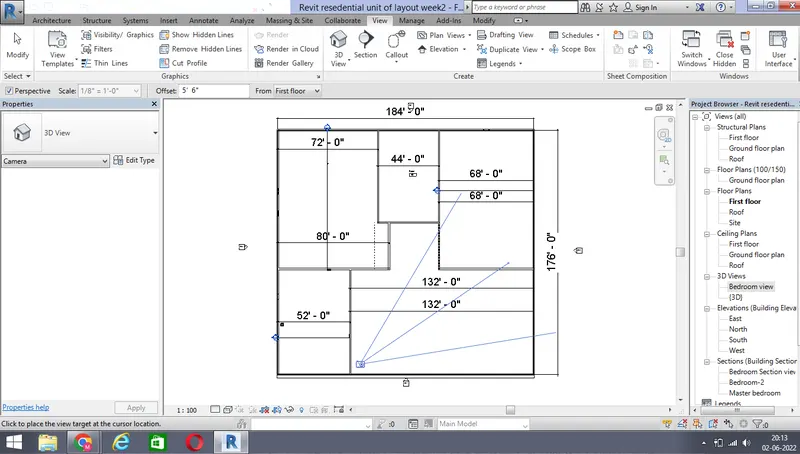
10) To create a camera view go to view tab and select the 3D view option and there select the camera view option
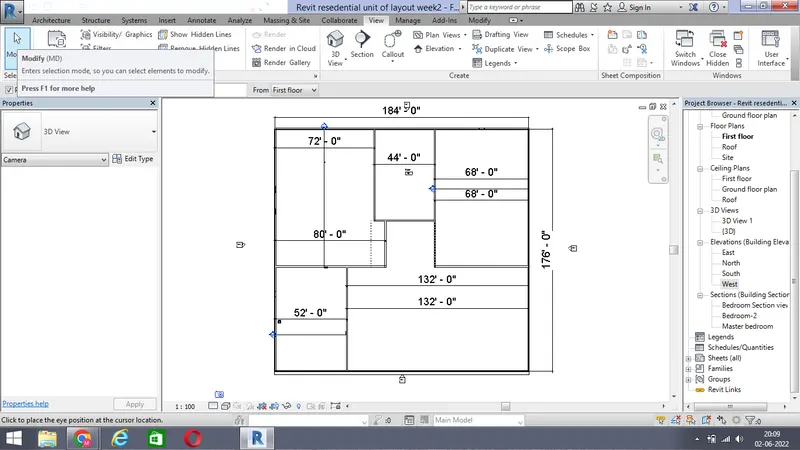
Place the camera in the bedroom and drag the camera
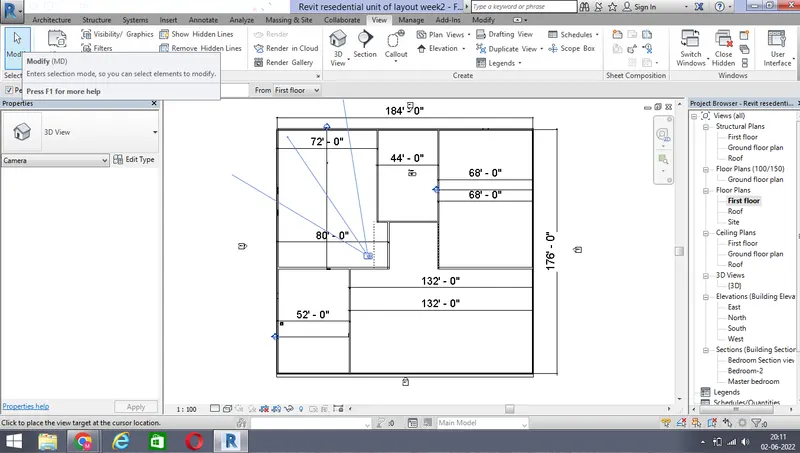
So the bedroom view is created rename it as a bedroom view in the properties browser
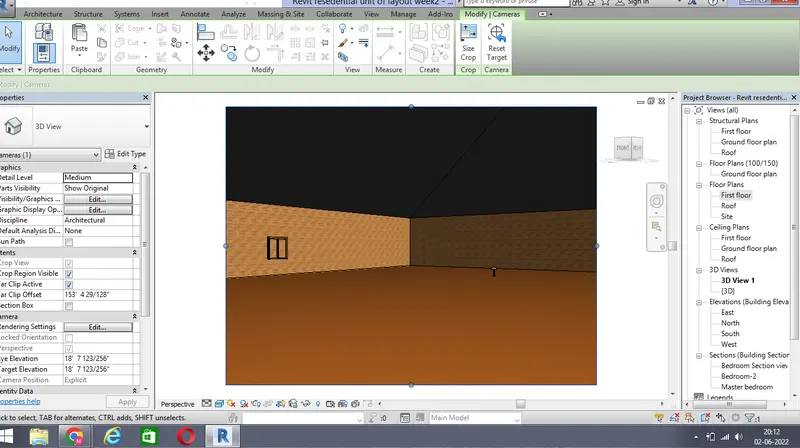
And we need view in living room so place the camera inside the living room and drag it
And we can see the camera view in living room and rename it as a living room view in properties broswer
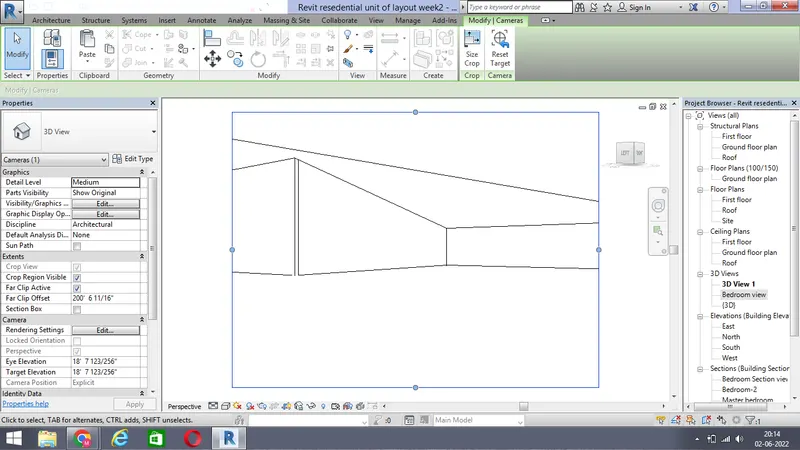
Again take a camera and place it in the another bedroom and drag the camera
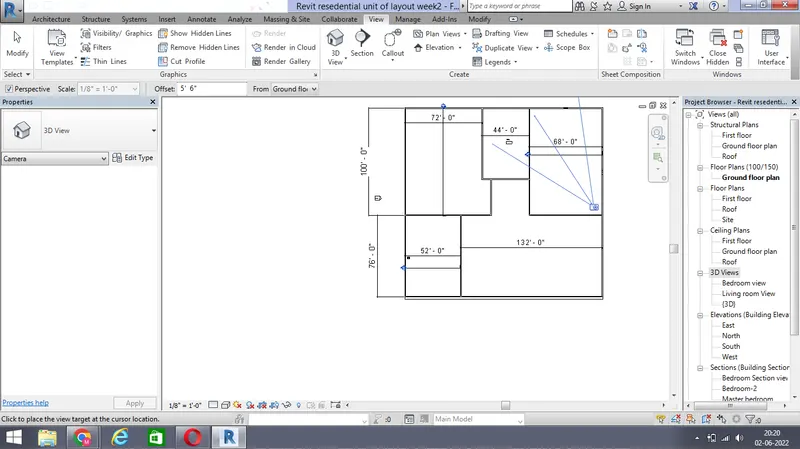
Rename it as a bedroom view 2 in the properties browser
Again place the camera in the dining room and drag the camera
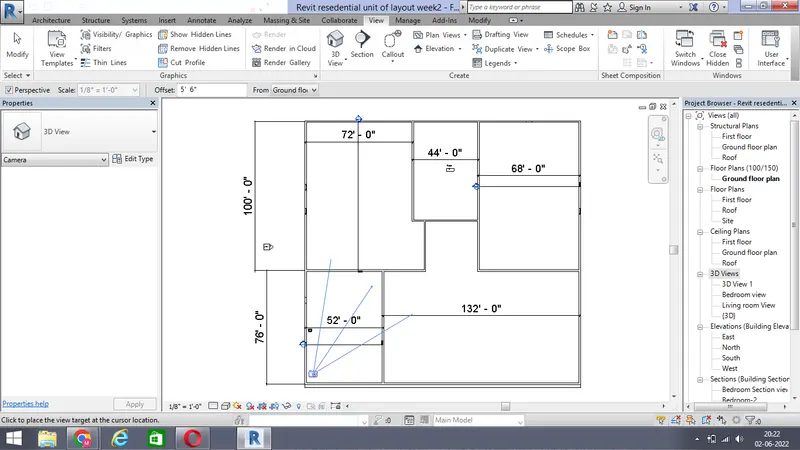
And rename it as a living room view in the properties browser
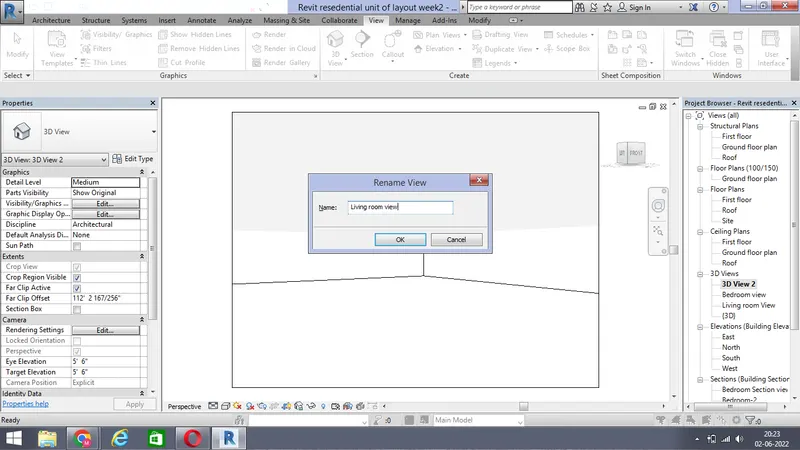
And in order to place the views inside the sheet
First go to view tab and select the sheet option and select the size of the sheet and press ok
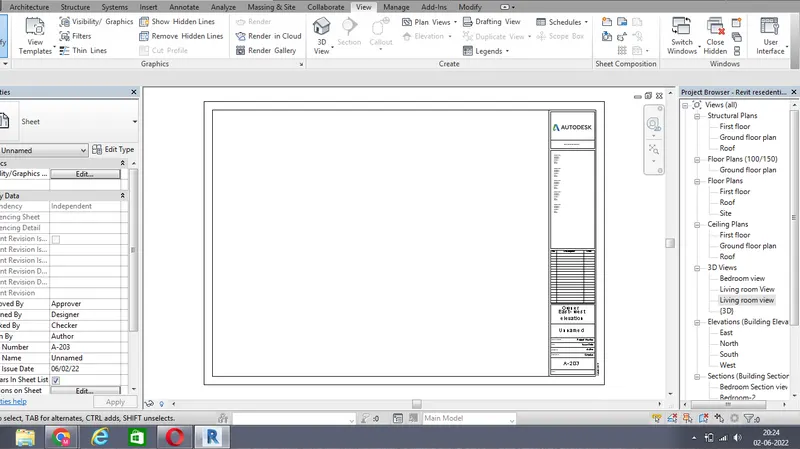
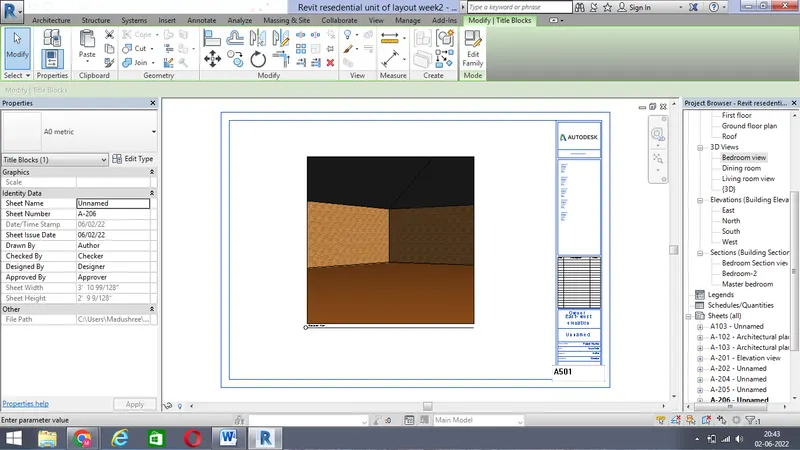
Drag the bedroom view inside the sheet
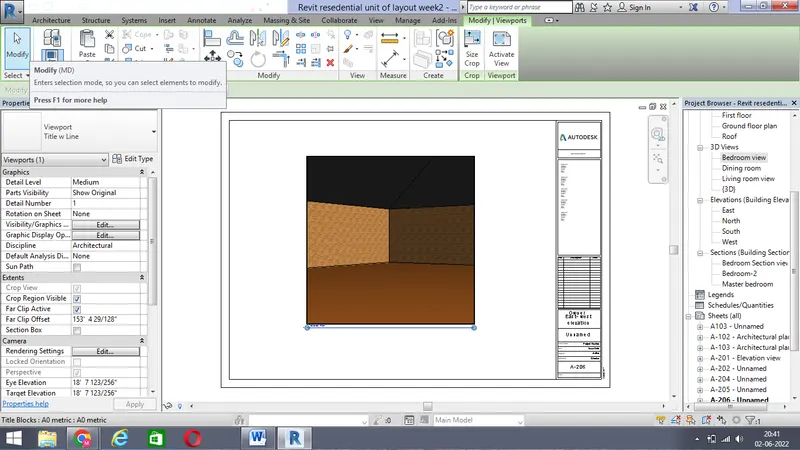
In order to increase the size of the view to fit inside the sheet go to size crop and increase the width of the sheet and select the scale option
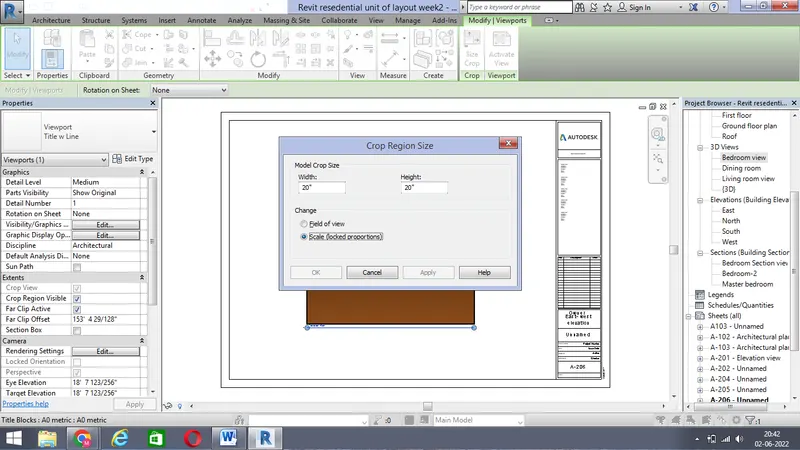
Rename the sheet as A501
Again create the sheet and drag the living room view inside the sheet
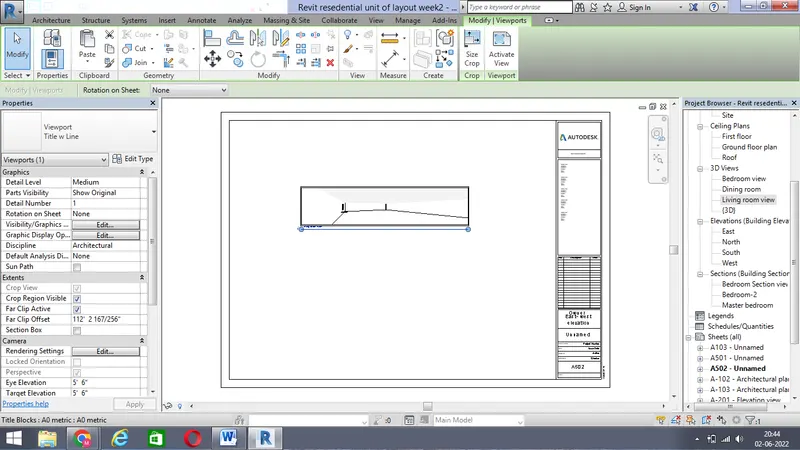
Rename this sheet as A502
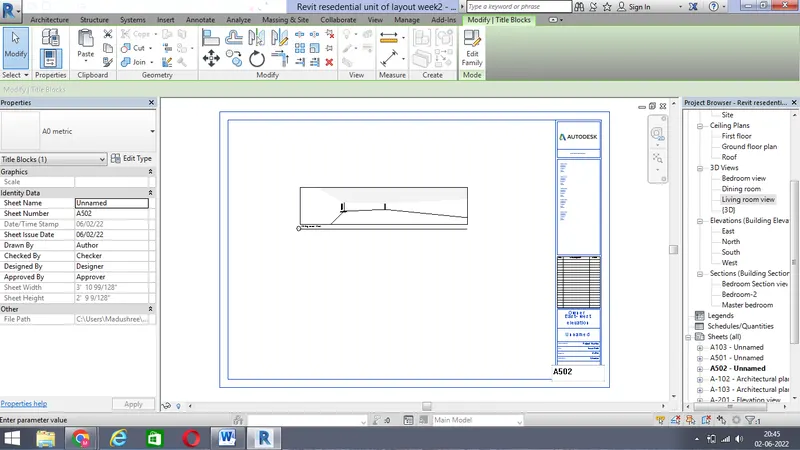
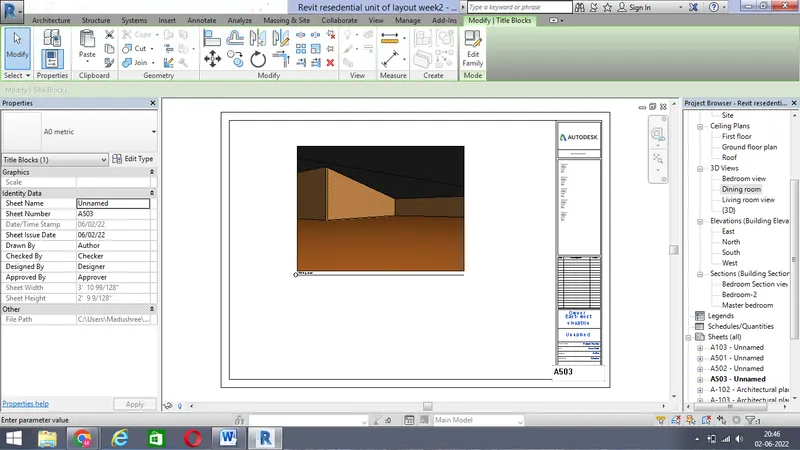
Again create the sheet by going to view tab and select the size of the sheet and press ok
Drag the dining room view inside the sheet from the properties browser
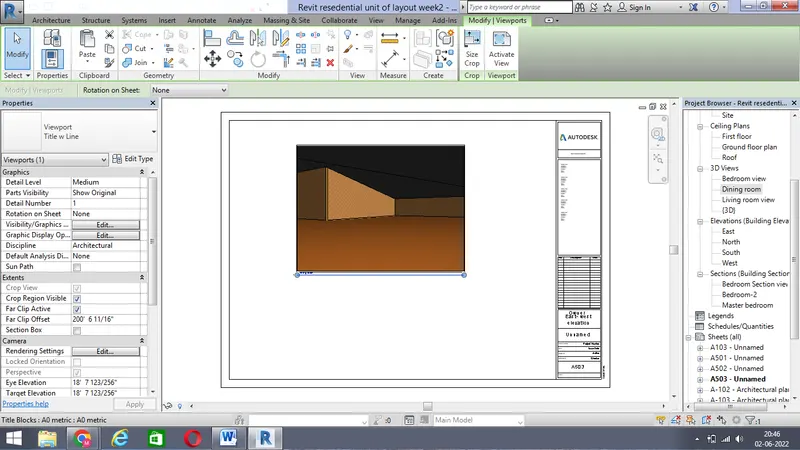
Rename this sheet as A503