3D Creation of Ceiling, Roof, Architectural plan, Structural plan, Sectional view, Elevation view and Camera specific view for a house plan using REVIT
ANS1. AIM- TO MODEL A CEILING OF THE ARCHITECTURAL PLAN.
PROCEDURE-1. I had created a residential building with ground floor.
Given below is the original 3d view.
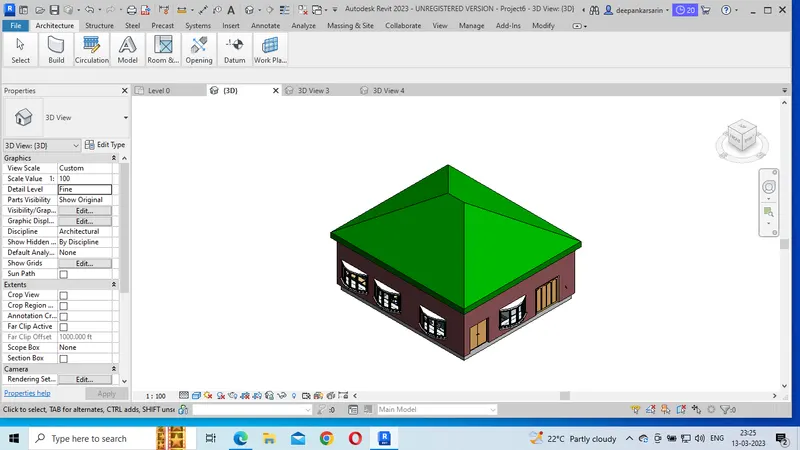
2. Now we have to place a ceiling on the first floor.
3. first we will remove the roof and prepare the first floor.
4. We can do it by selecting the first floor and copying it to clipboard and the pasting it.
5. Then we will select ceiling option from architecture tab and place it on level1.
6. This is how it looked wih ceiling.
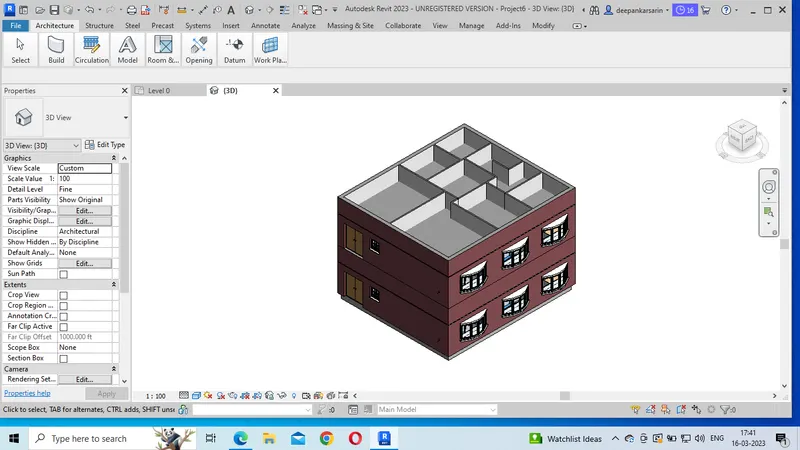
RESULT- The desired result is achieved.
ANS2. AIM- CREATE A ROOF OF THE ABOVE BUILDING.
PROCEDURE- Choose the roof option from the architecture menu.
Place the roof on the walls of level 1 by picking up lines.
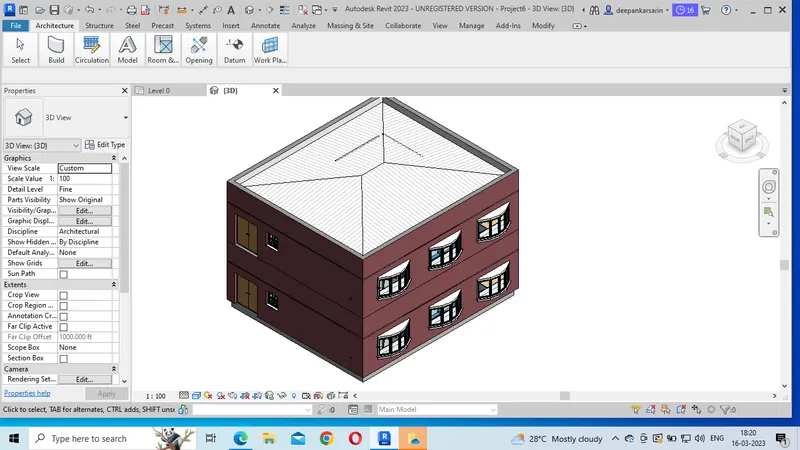
The slope is given at 10 degrees by changing the property.
RESULT- The desired result is achieved.
ANS3. AIM- TO CREATE THE ARCHITECTURAL AND STRUCTURAL PLANS.
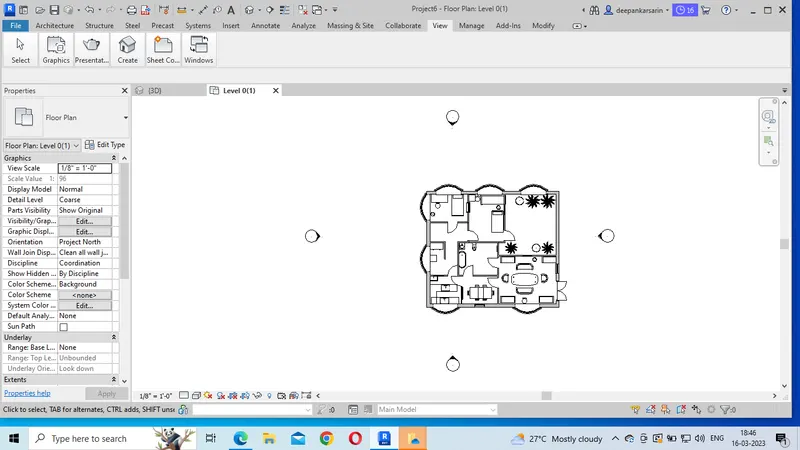
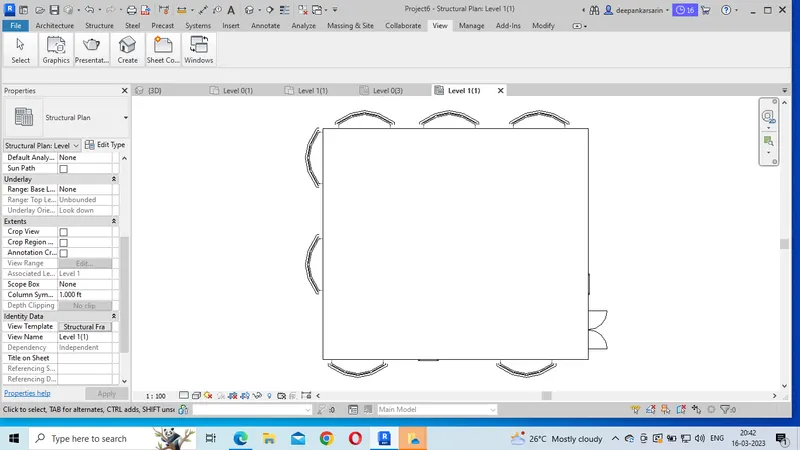
PROCEDURE- We will create structural plans and architectural plans for the above structure.
The architectural plan of level 0 and 1 are given below.
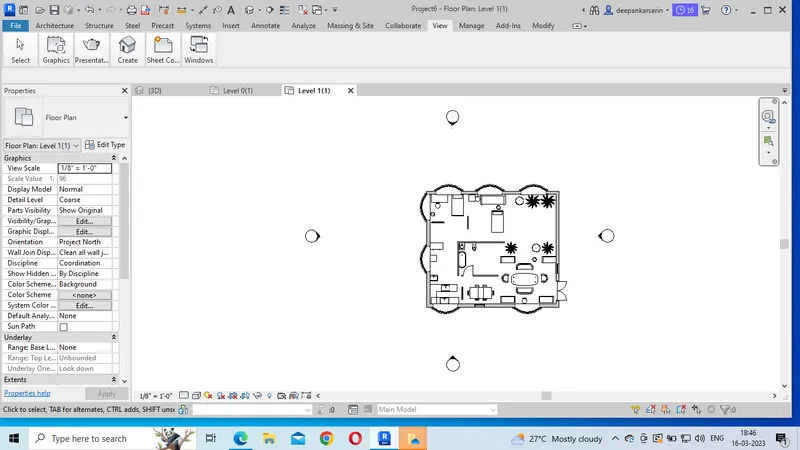
The structural plan of level 0 and 1 are given below.
Similarly I have prepared architectural plan for project created in week 2.
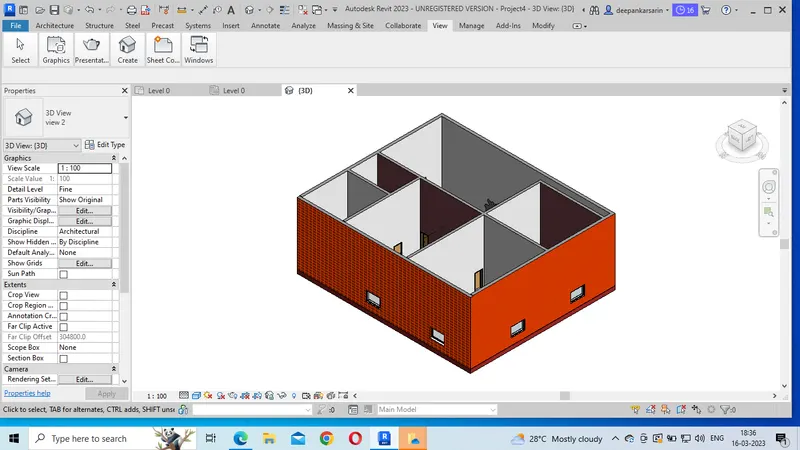
ARCHITECTURAL PLAN-
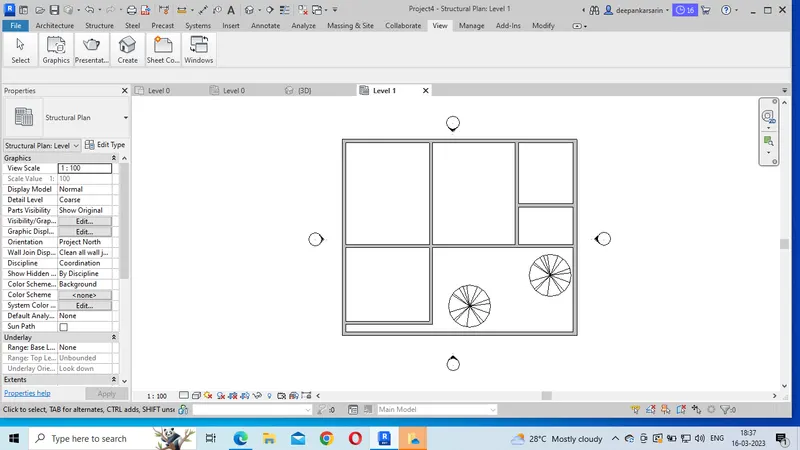
STRUCTURAL PLAN-
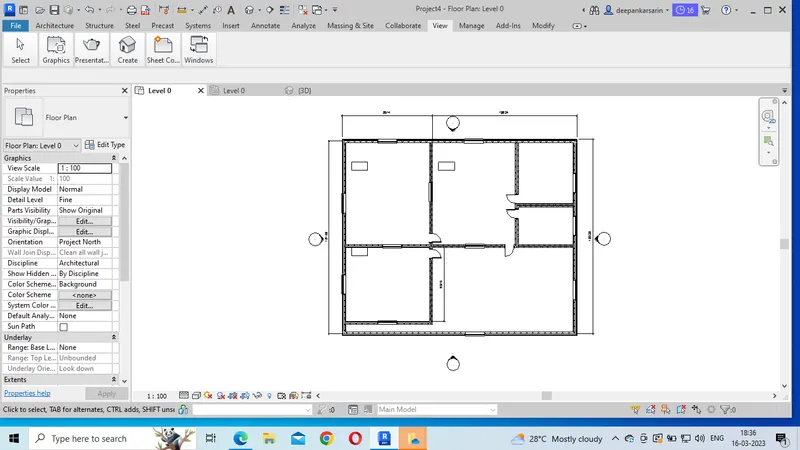
RESULT- THE DESIRED AIM IS ACHIEVED.
ANS4. AIM- TO PROVIDE DIMENSIONS USING THE ANNOTATE BAR.
PROCEDURE- We will open the architectural plan.
We will use annotate bar and provide alignments to different components of building.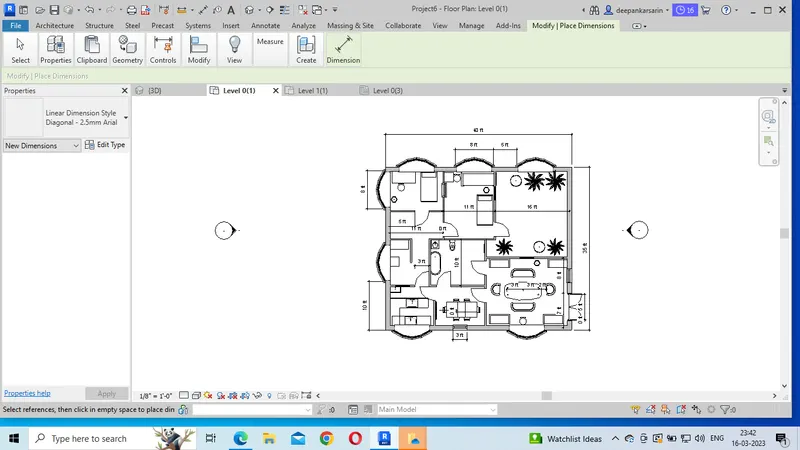
RESULT- After providing different dimensions. the result is achieved.
ANS 5. AIM- TO GET THE LAYOUT OF THE BUILDING ON A SHEET.
PROCEDURE- 1. We will go to the plan prepared in last project.
2. Then we will click on view menu, then go to the sheet option.
3. Choose the sheet type, in our case we have selected A1 sheet.
4. Now we can make amendments to the sheet no., design name, checker etc.
5. Now, we can click on view option in the view menubar.
6. Now as the view appears, we can adjust it according to our choice.
7. We can adjust the scale by clicking on the scale option in property bar.
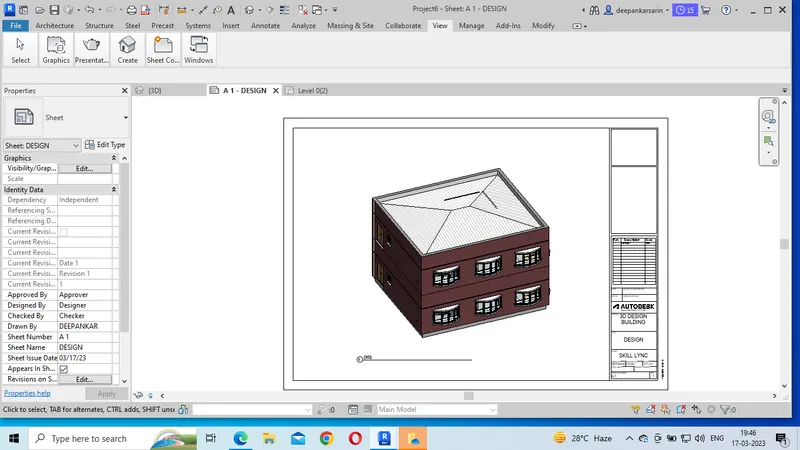
THE ABOVE IS A 3D VIEW PRESENTED ONTHE A1 SHEET.
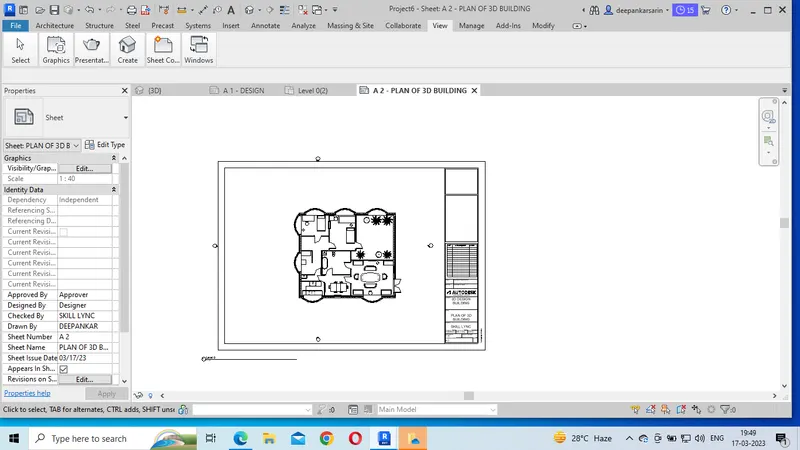
THE ABOVE IS THE RESIDENTIAL PLAN OF THE ABOVE FIGURE.
RESULT- THE DESIRED AIM IS ACHIEVED.
ANS 6. AIM- TO DRAW ELEVATIONS FROM NORTH, SOUTH, EAST AND WEST.
PROCEDURE- 1. We can create different elevations by clicking on view option and choosing elevations.
2. We can create 4 elevations on north, south, east and west.
GIVEN BELOW IS THE PLAN AND ELEVATIONS OF ALL FOUR DIRECTIONS.
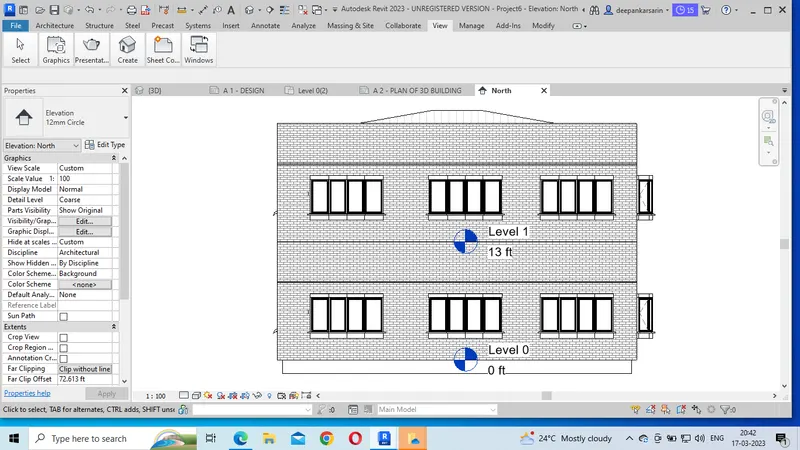
THE ABOVE IS THE NORTH SIDE ELEVATION.
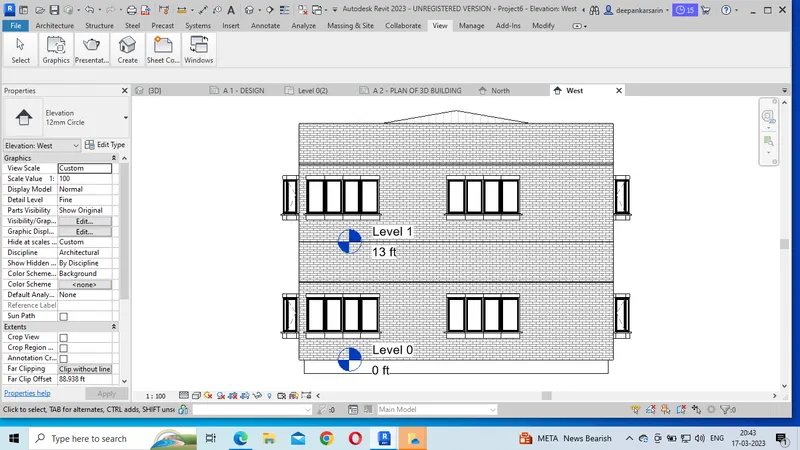
THE ABOVE IS ANOTHER ELEVATION.
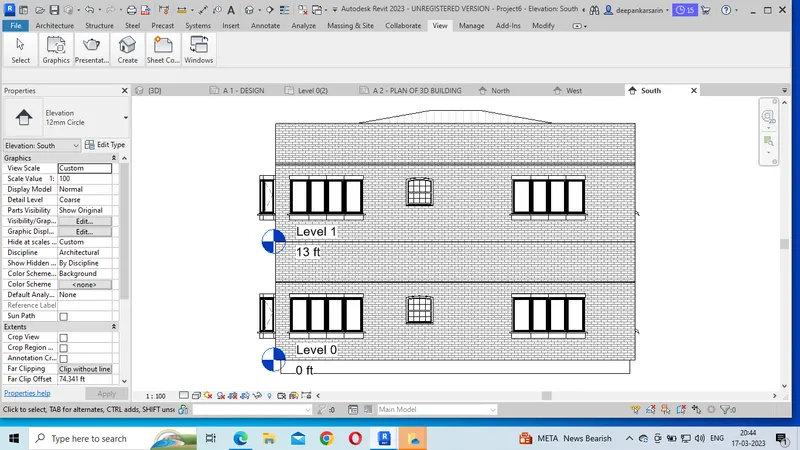
THE ABOVE IS SOUTH ELEVATION.
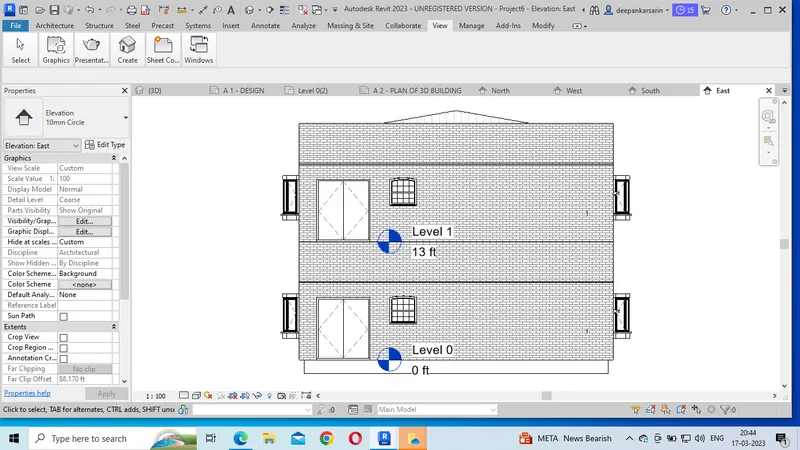
THE ABOVE IS EAST ELEVATION.
RESULT- THE DESIRED AIM IS ACHIEVED.
ANS 7. AIM- TO CREATE SECTION THROUGH EACH ROOM IN THE BUILDING.
PROCEDURE- 1. We create several sections in the plan.
2. It is done by clicking on section option in view menu.
3. We click on those section lines to see them clearly.
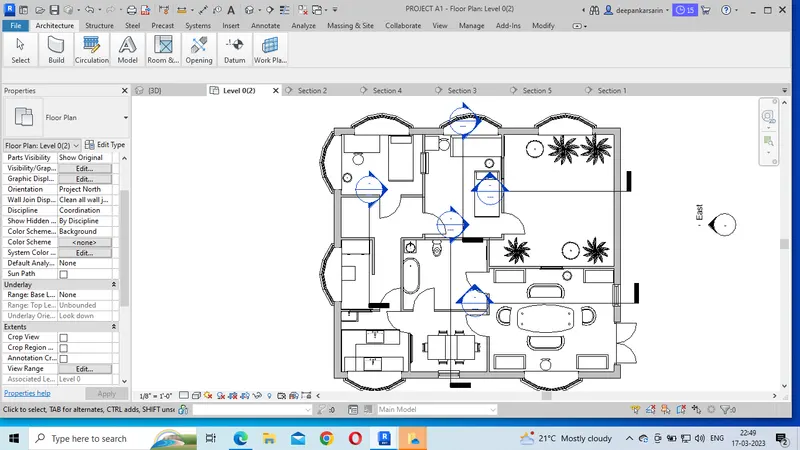
THE ABOVE SECTIONS ARE MENTIONED.
SECTION 1 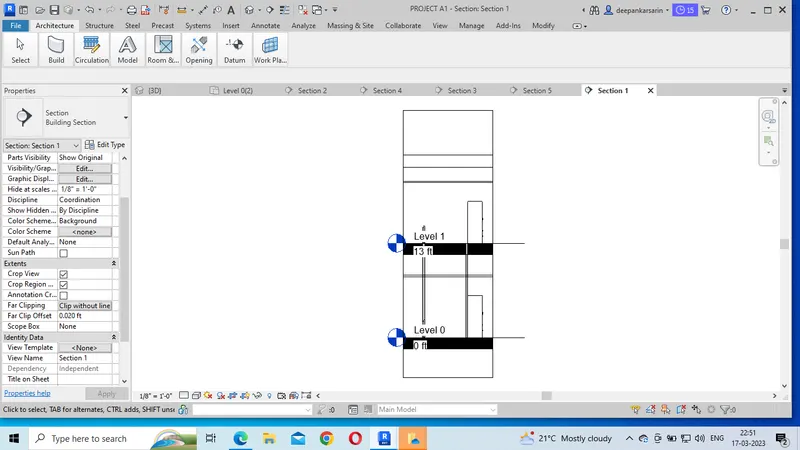
SECTION 2 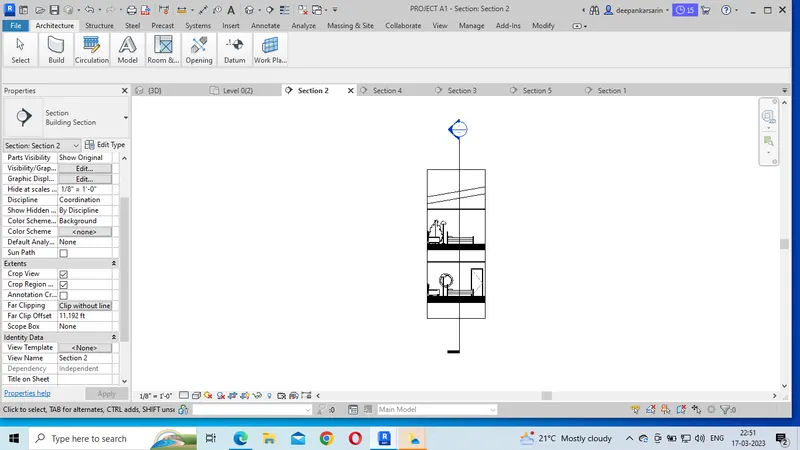
SECTION 3 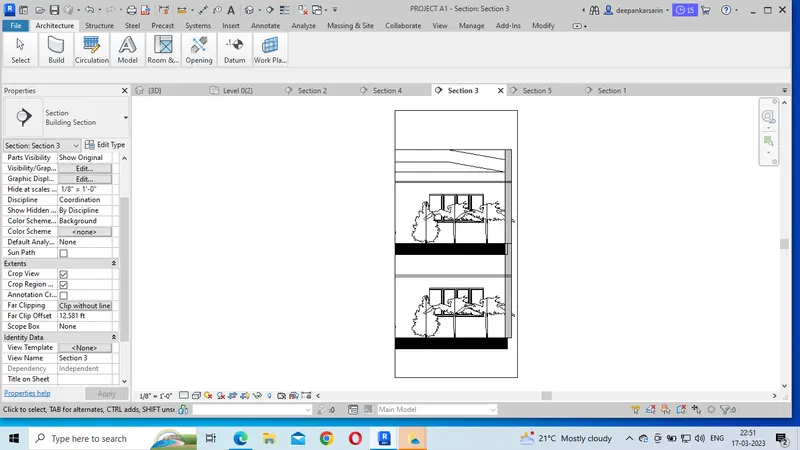
SECTION 4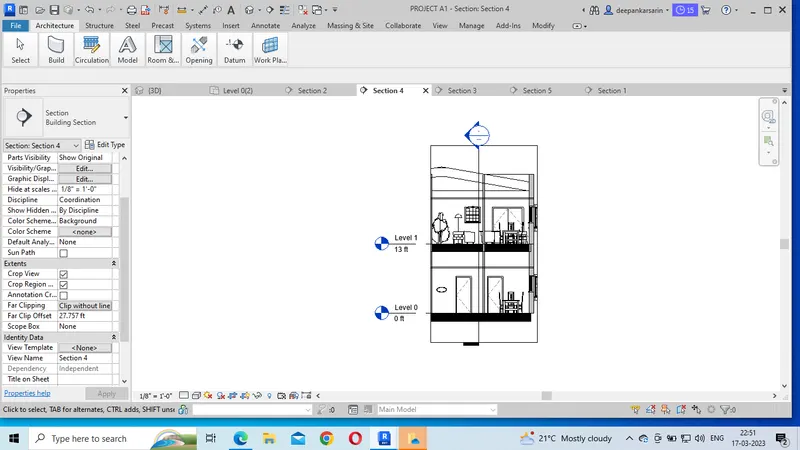
SECTION 5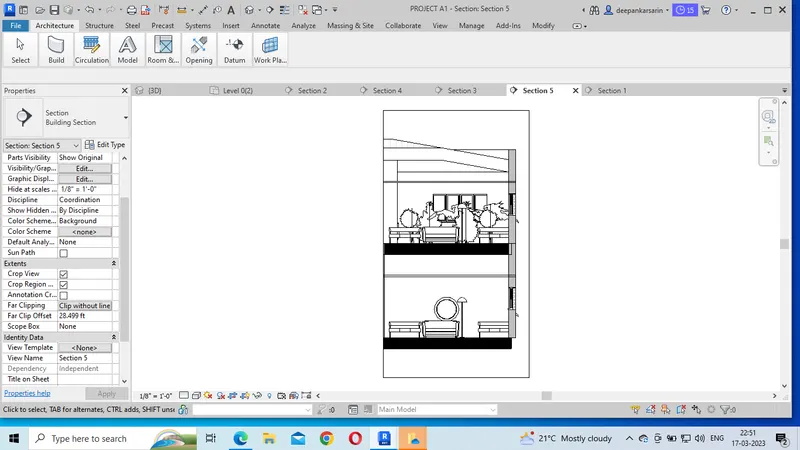
RESULT- THE DESIRED RESULT IS OBTAINED.
ANS 8. AIM - TO CLASSIFY DESIGNS AS PLAN VIEWS, ELEVATION VIEWS AND SECTION VIEWS.
PROCEDURE- 1. Go to the properties menu.
2. Select type property.
3. Here we make several changes to the properties of section views, plan views and elevation views.
RESULT- The desired result is achieved.
ANS 9. AIM- TO CREATE SHEETS FOR DIFFERENT PLANS, ELEVATIONS AND LABELLING THEM.
PROCEDURE- 1. Go to the view menu and click on sheet toolbar.
2. Select the type of sheet required and select its dimension.
3.Now as the sheet appears, we can provide titles and name the sheet accordingly.
4. We can provide sheet no. such as A101 S201 etc.
5. Given below is the screenshot of various sheets.
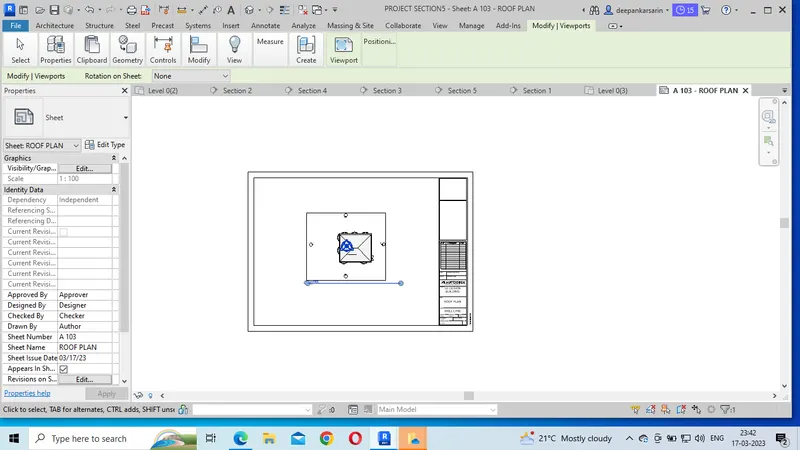
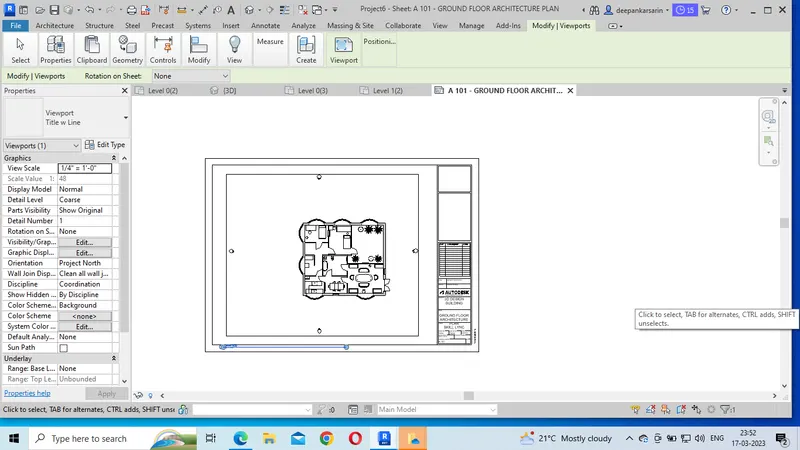
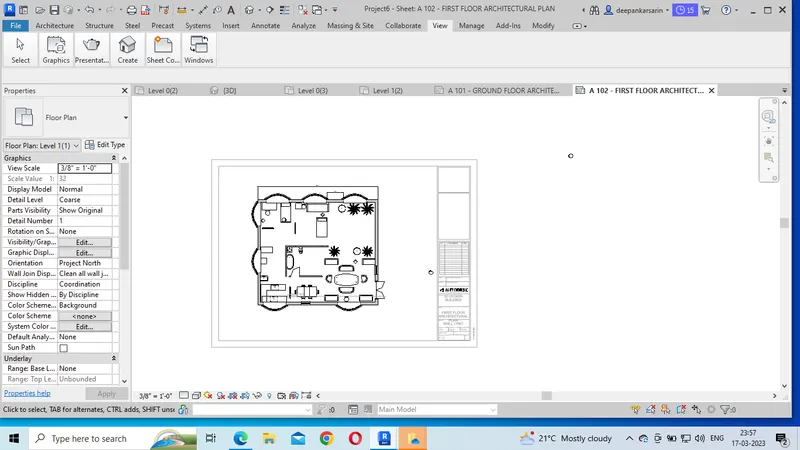
THE ABOVE PROVIDED SHEETS ARE FOR ARCHITECTURAL PLAN OF FIRST FLOOR, GROUND FLOOR AND CEILING PLAN.
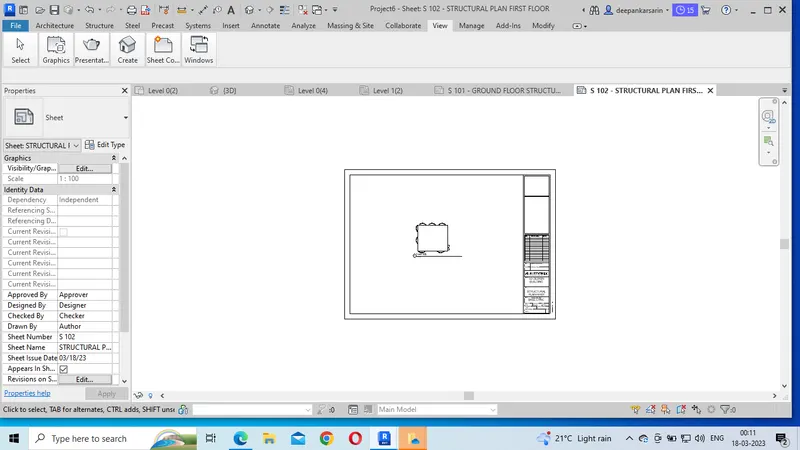
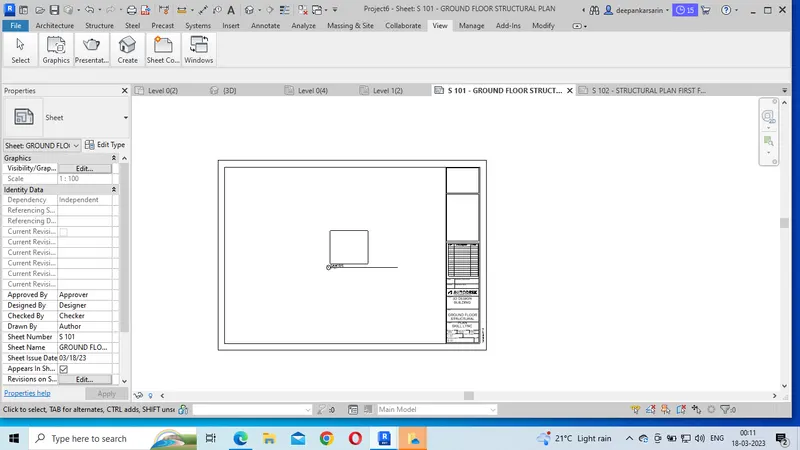
THE ABOVE PROVIDED IS THE STRUCTURAL PLANS OF GROUND AND FIRST FLOOR.
THIS IS THE 3D PRINT OF PLANS PROVIDED ABOVE.
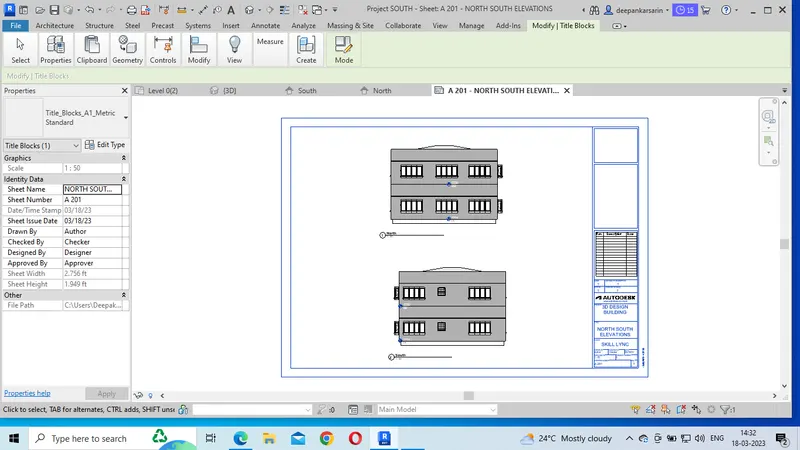
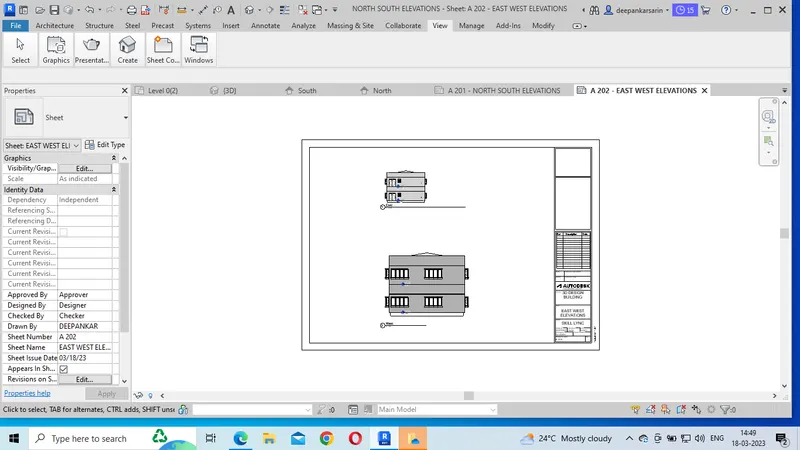
THE ABOVE PROVIDED IS THE NORTH SOUTH ELEVATION AND EAST WEST ELEVATION.
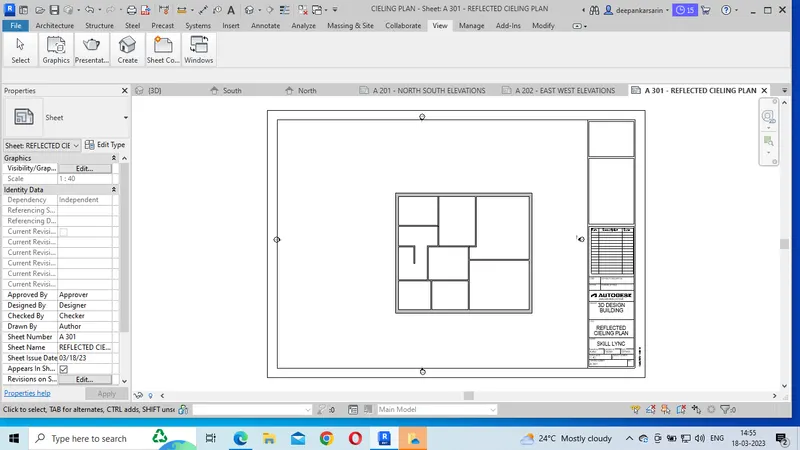
THIS IS THE REFLECTED CEILING PLAN OF THE ABOVE PLAN.
RESULT- THE DESIRED OBJECTIVE IS ACHIEVED.
ANS 10. AIM - TO PREPARE SHEETS OF CAMERA VIEW.
PROCEDURE- 1. Take different rooms at different times.
2. Go to camera section and place them at different points in the room.
3. Take the realistic view of these camera pictures and place them on sheets of paper.
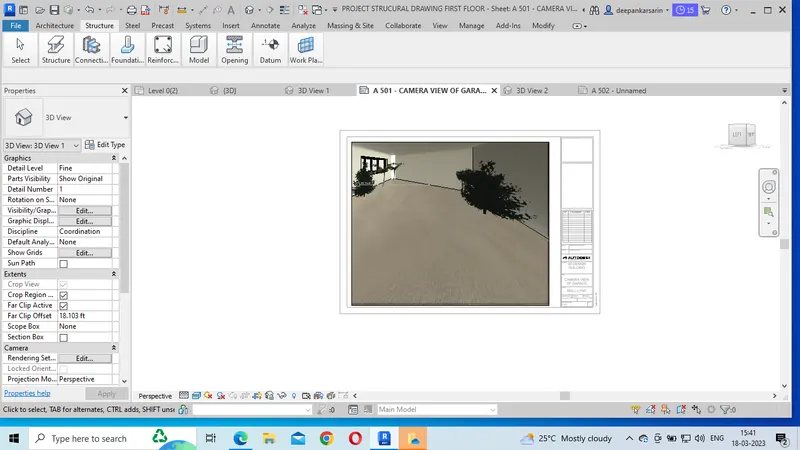
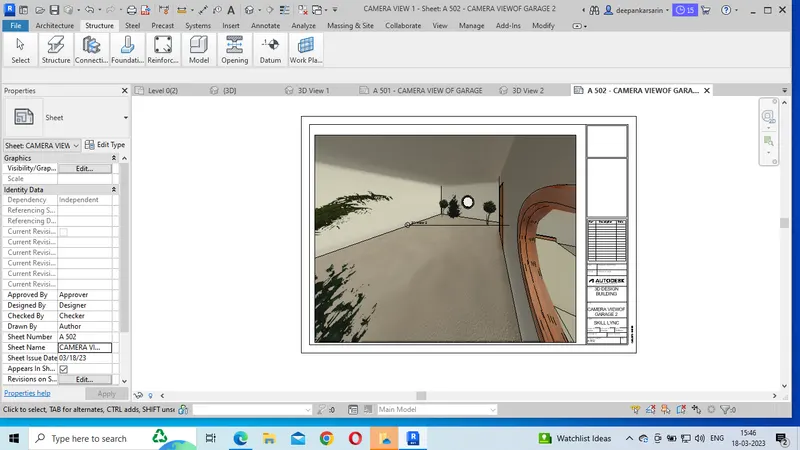
THIS IS THE GARAGE SECTION 1 AND 2. THE SHEETS ARE NUMBERED 501 AND 502.
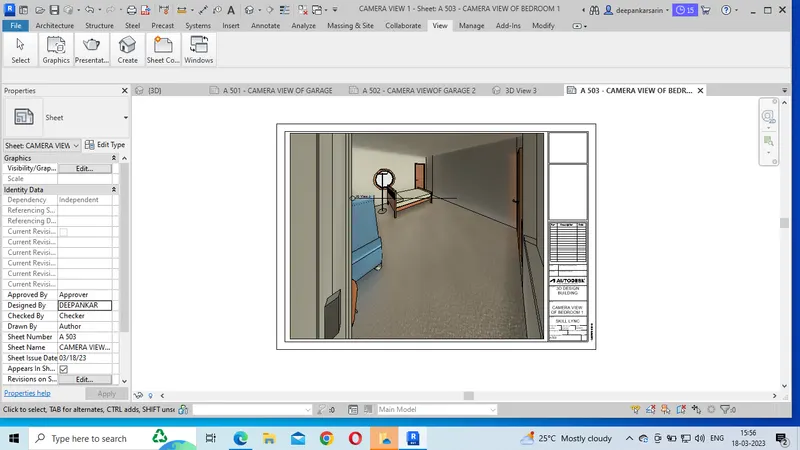
THIS IS SHEET NO. 503 WHICH SHOWS BEDROOM 1.
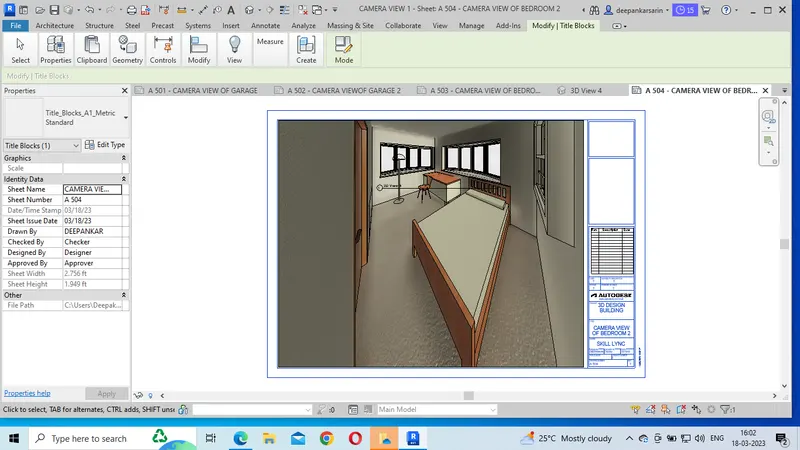
THIS IS THE SHEET NO. 504 WHICH SHOWS CAMERA VIEW OF BEDROOM 2.
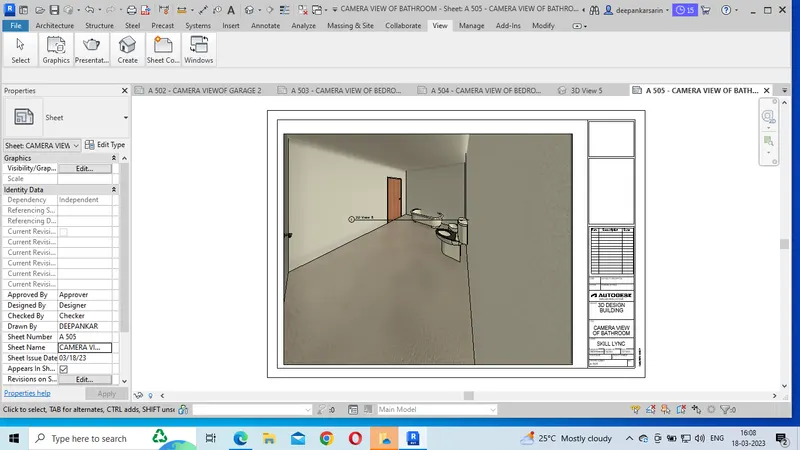
THIS IS THE SHEET NO. 505 WHICH SHOWS CAMERA VIEW OF BATHROOM.
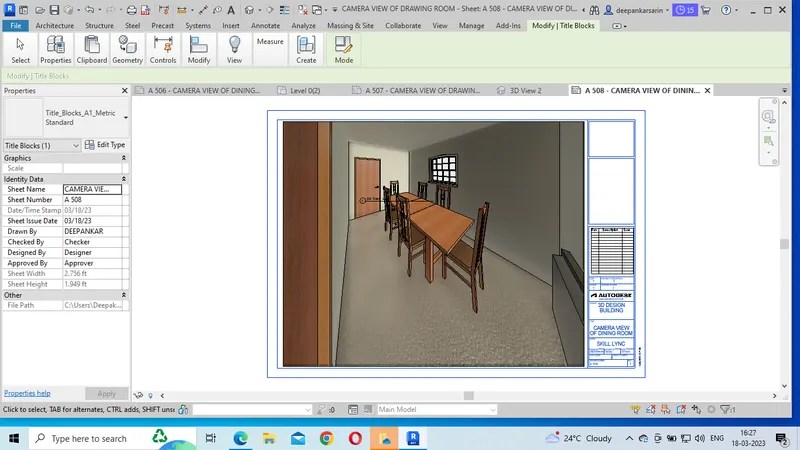
THIS IS THE SHEET NO. 508 WHICH SHOWS THE DINING SECTION.
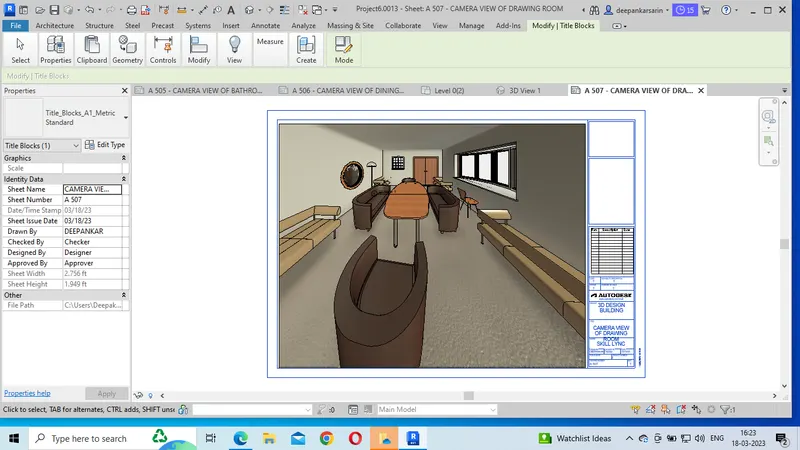
THIS IS THE DRAWING ROOM SHEET NO. 507.
RESULT- THE DESIRED OBJECTIVE IS ACHIIEVED.