3D Creation of Ceiling, Roof, Architectural plan, Structural plan, Sectional view, Elevation view and Camera specific view for a house plan using REVIT
ANSWER:
Aim:-
To the 3D creation of ceiling, roof, architectural plan, structural plan, sectional view, elevation view and camera specific view for a house plan using revit.
Introduction:-
Revit is one of the easiest and quickest software for show and drawn the mutiple drawings of ceiling, roof, architectural, structural, sectional, elevation and camera view for the any type of building and ware houses. it's shown the clear and detail view of the above mentioned things.
Procedure:-
1) Ceiling creation:
Step by step procedure:
- Open week 3 challenge file
- Then goto architectural tab and select ceiling option then click pic line tool then pick an outter boundary lines then click tick mark
- Then the celing was created then switch to 3D view it visible clearly.
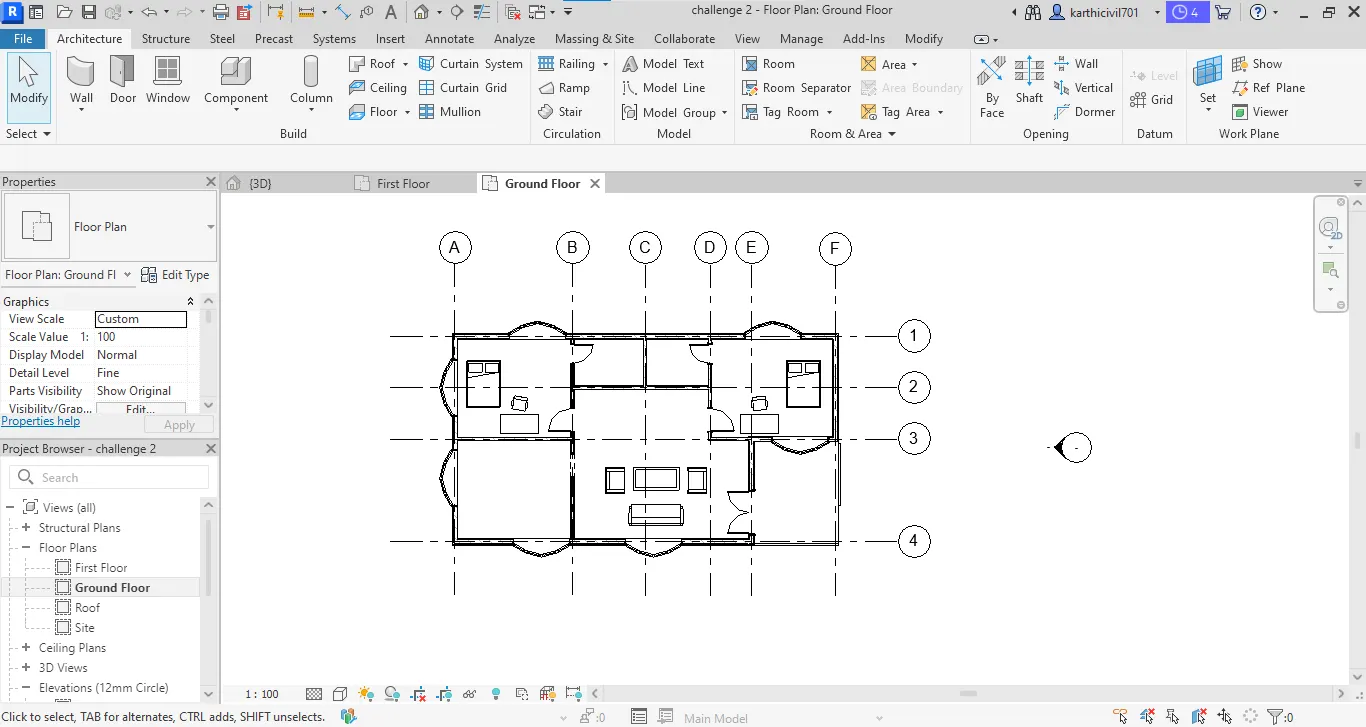
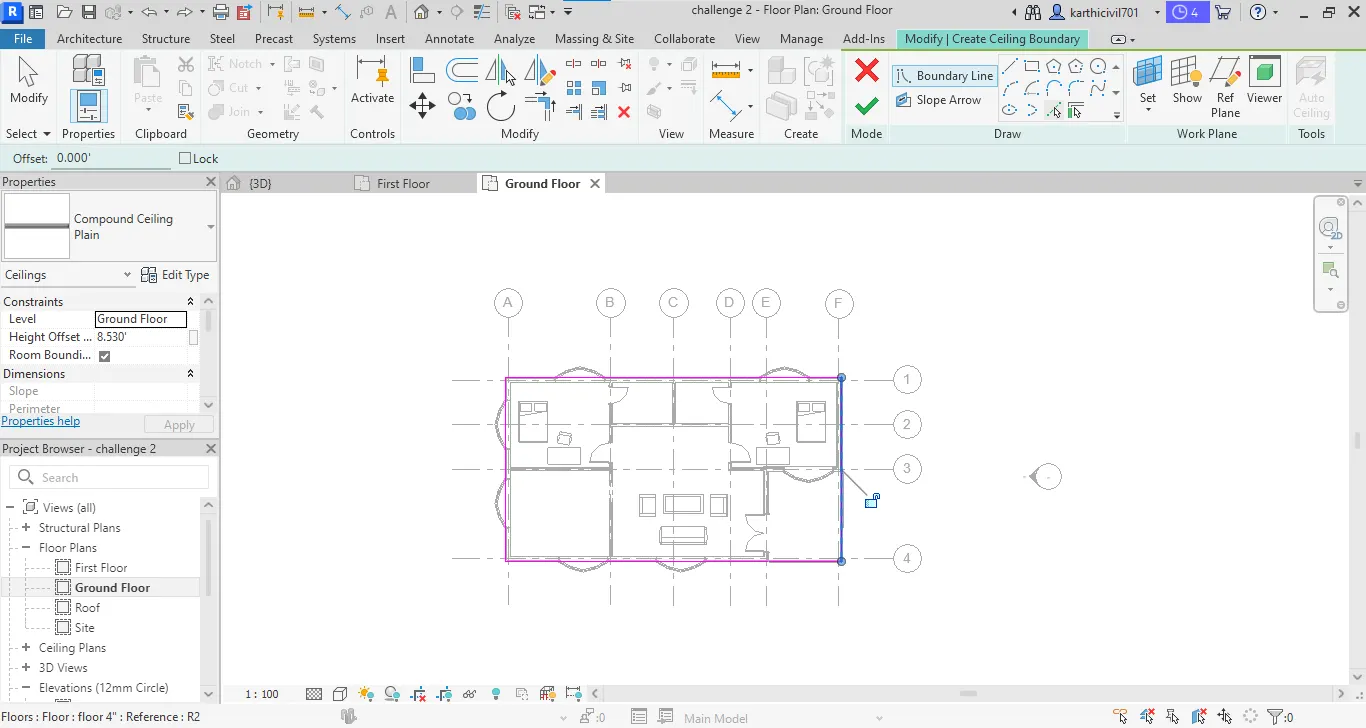
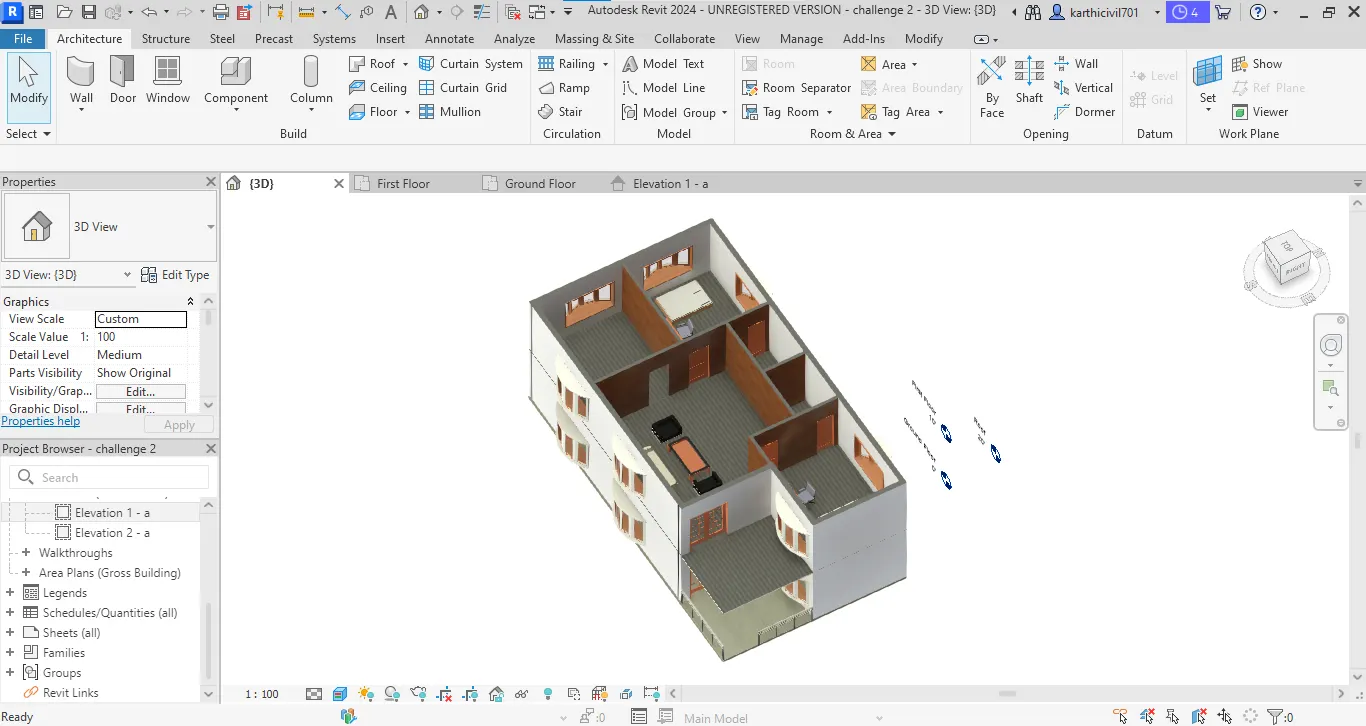
2) Roof creation:
Step by step Procedure:
- On the architecture tab menu select the roof tab on roof by footprit option,
- Then select the pick line tool to pick the outer line then click tick option,
- then roof was created,
- On the propertie tool change the slope as 10 degree.
- Then switch it to 3D view the roof will visible clearly.
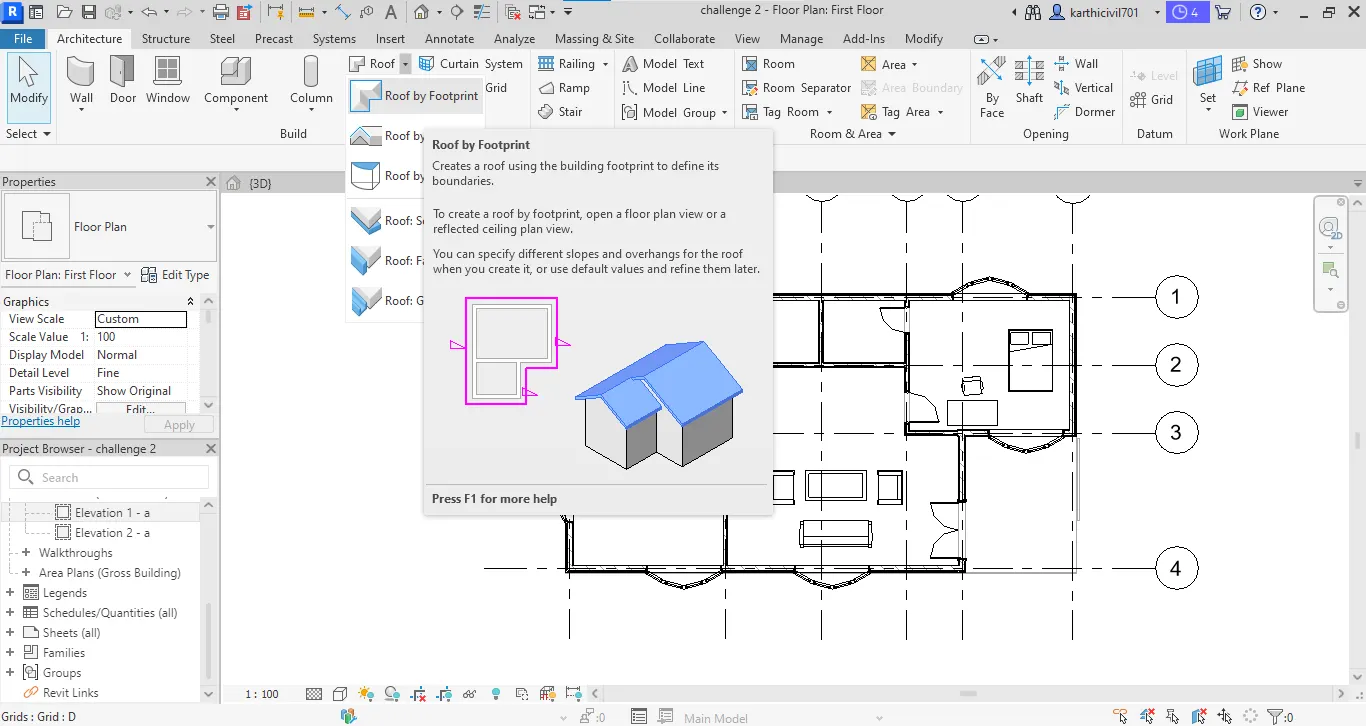
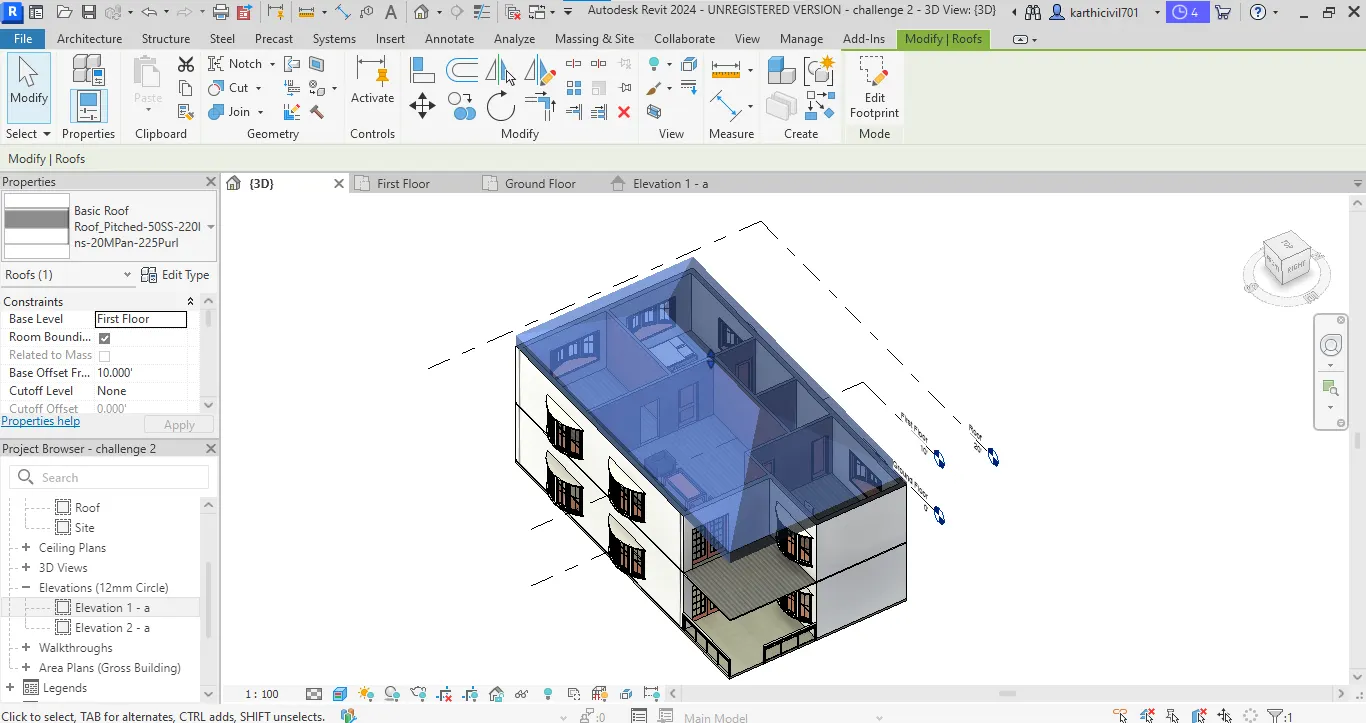
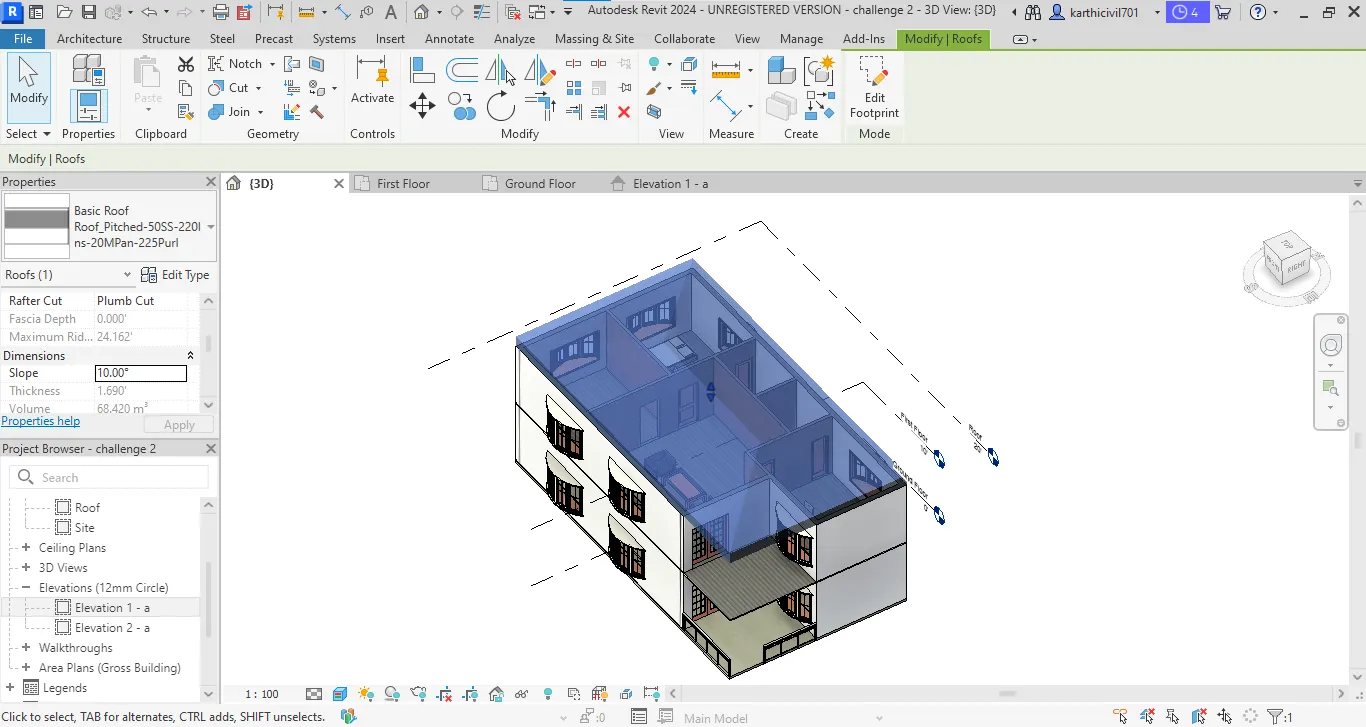
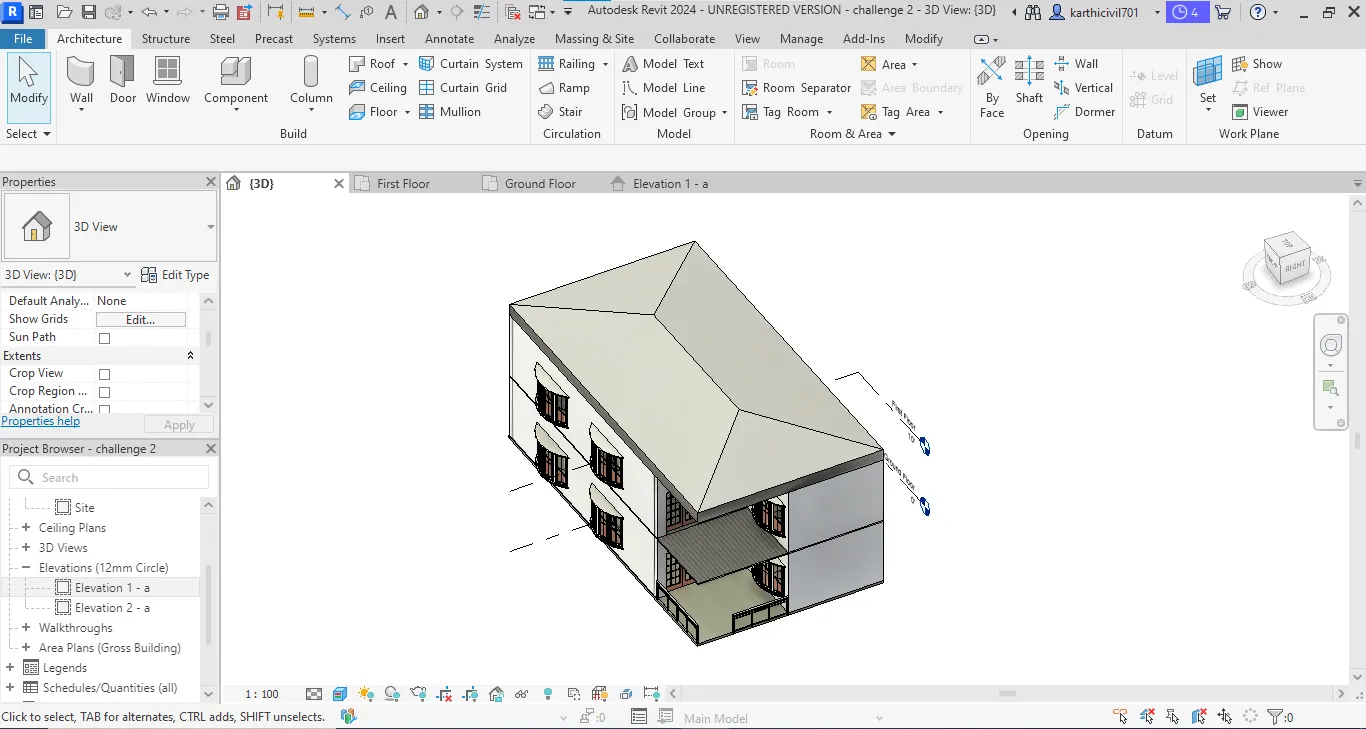
3). Plan views:
Step by step procedure:
a) Architectural Plan:
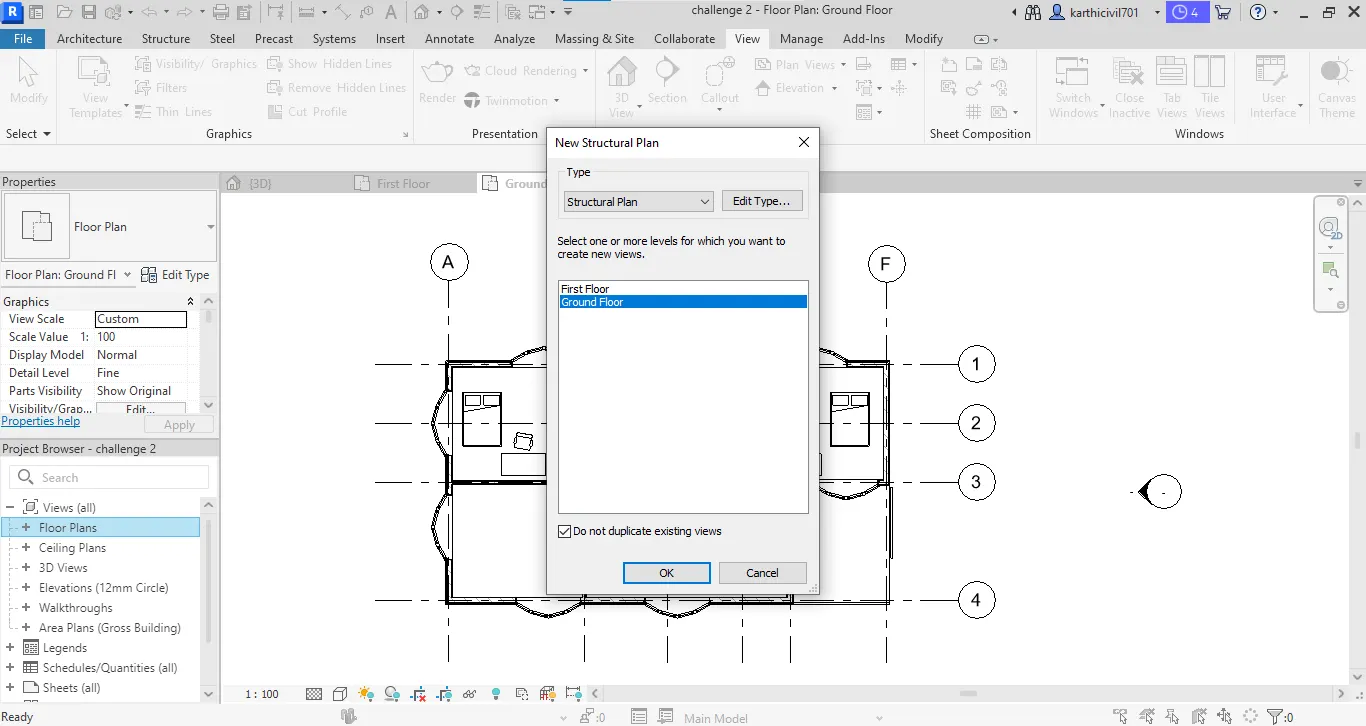
- Goto the view tab and select the plan views tool then choose the floor plan option,
- Then display a new floor plan tab then click ok to show the architectural plans of ground and first floors.
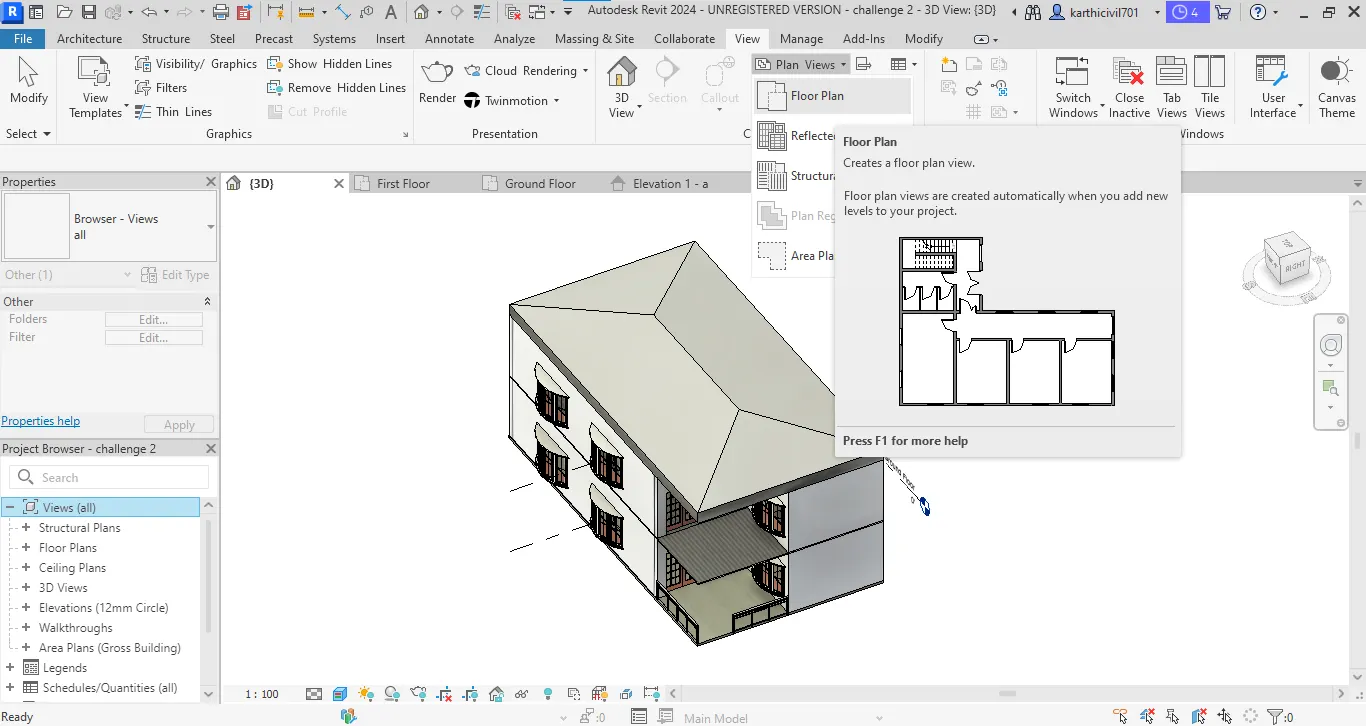
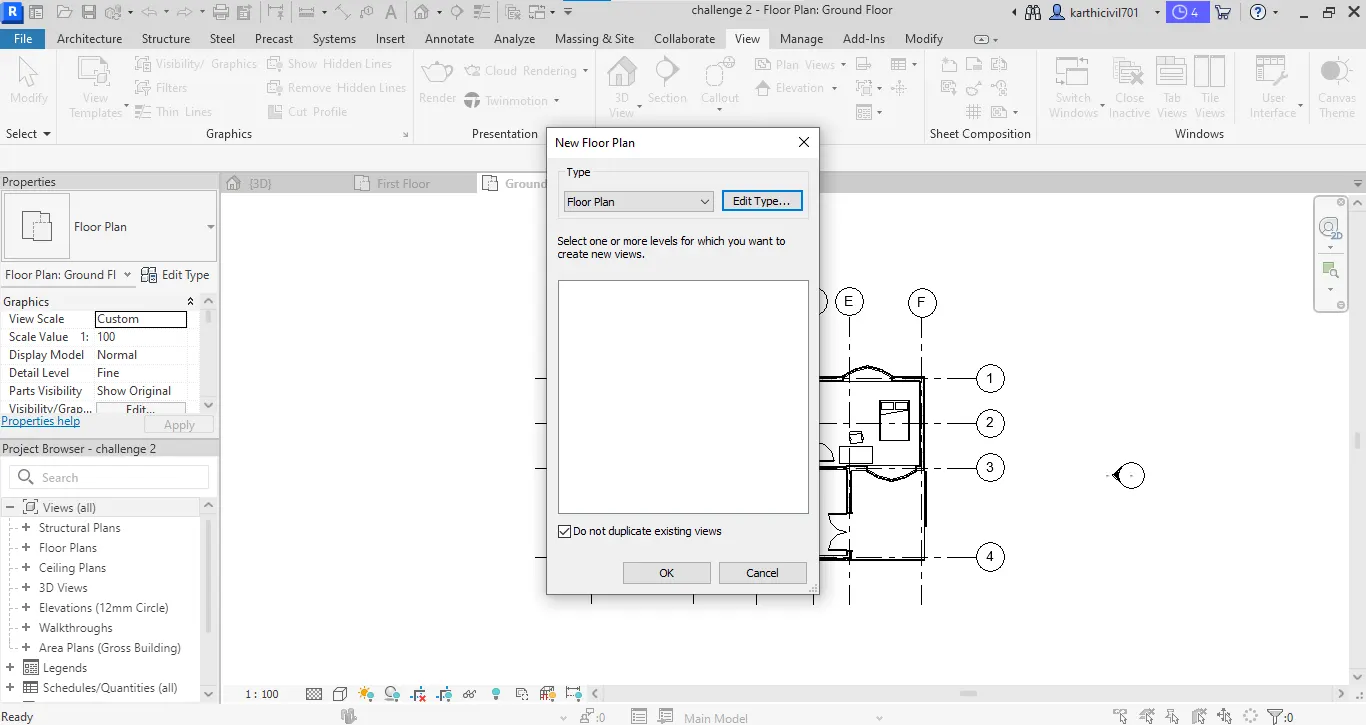
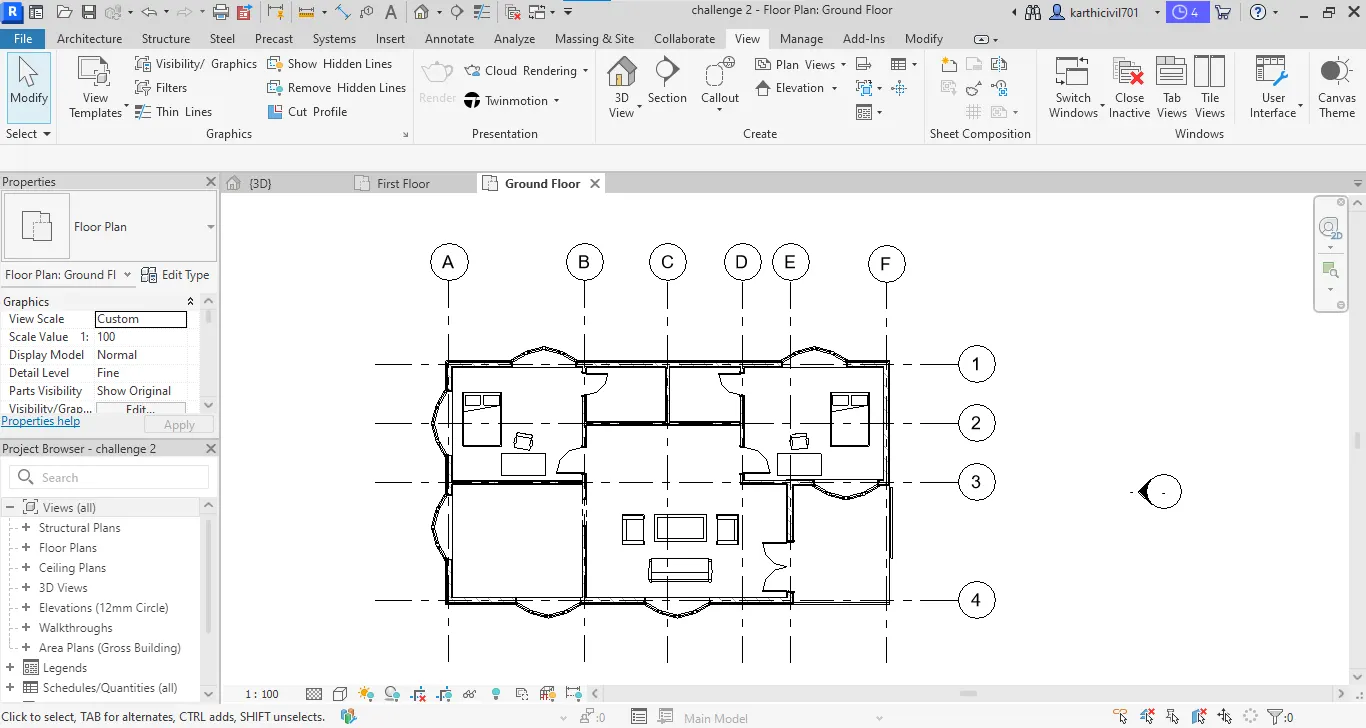
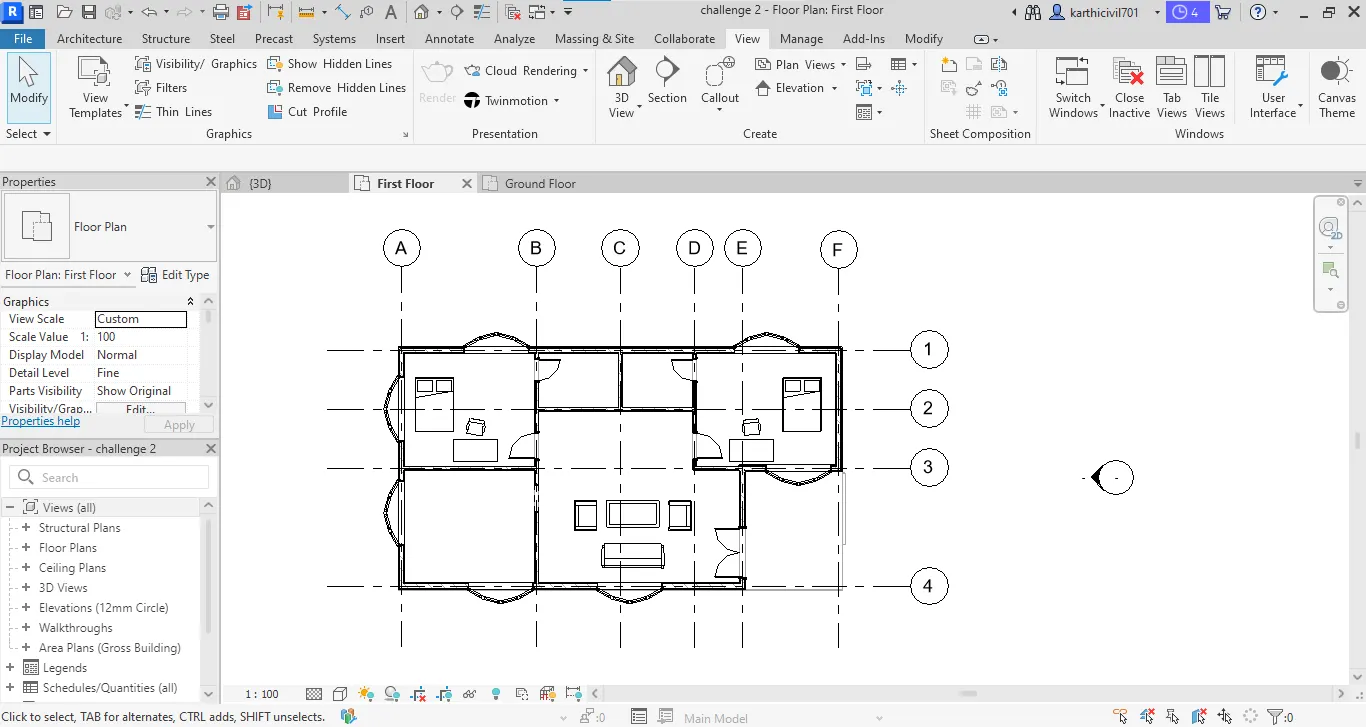
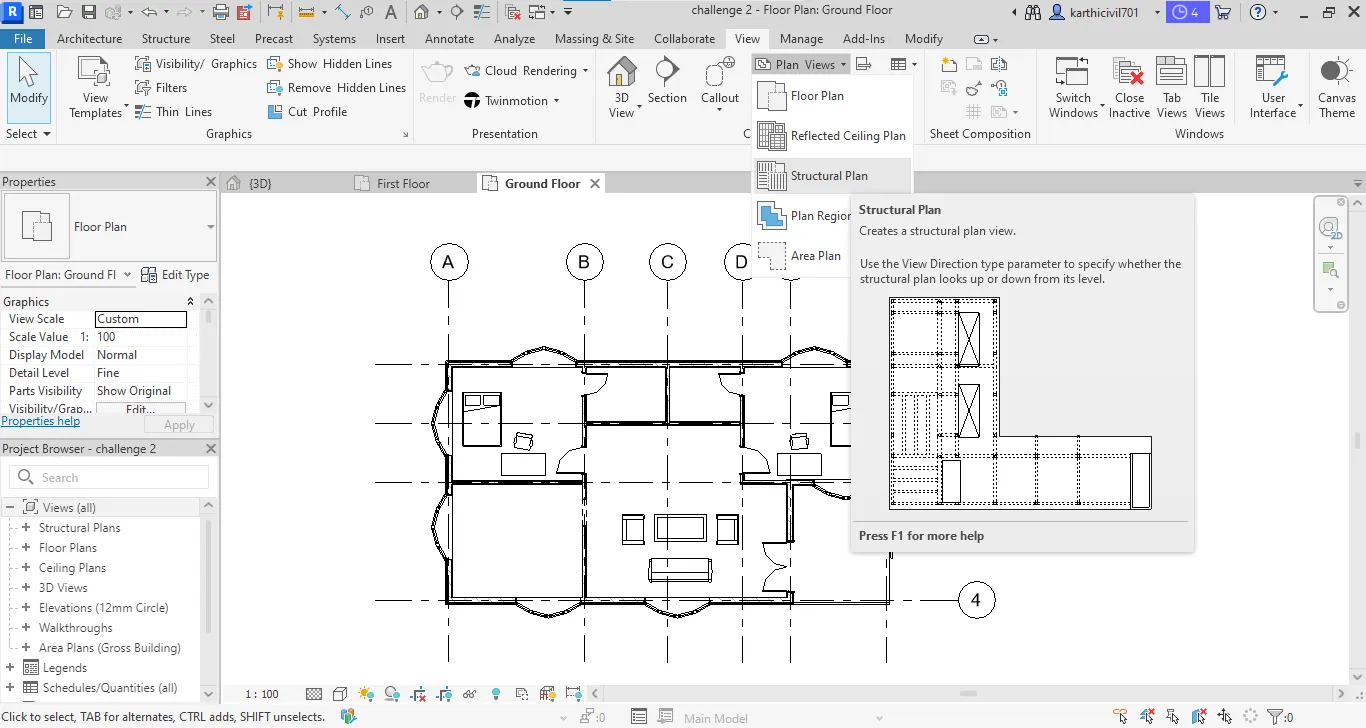
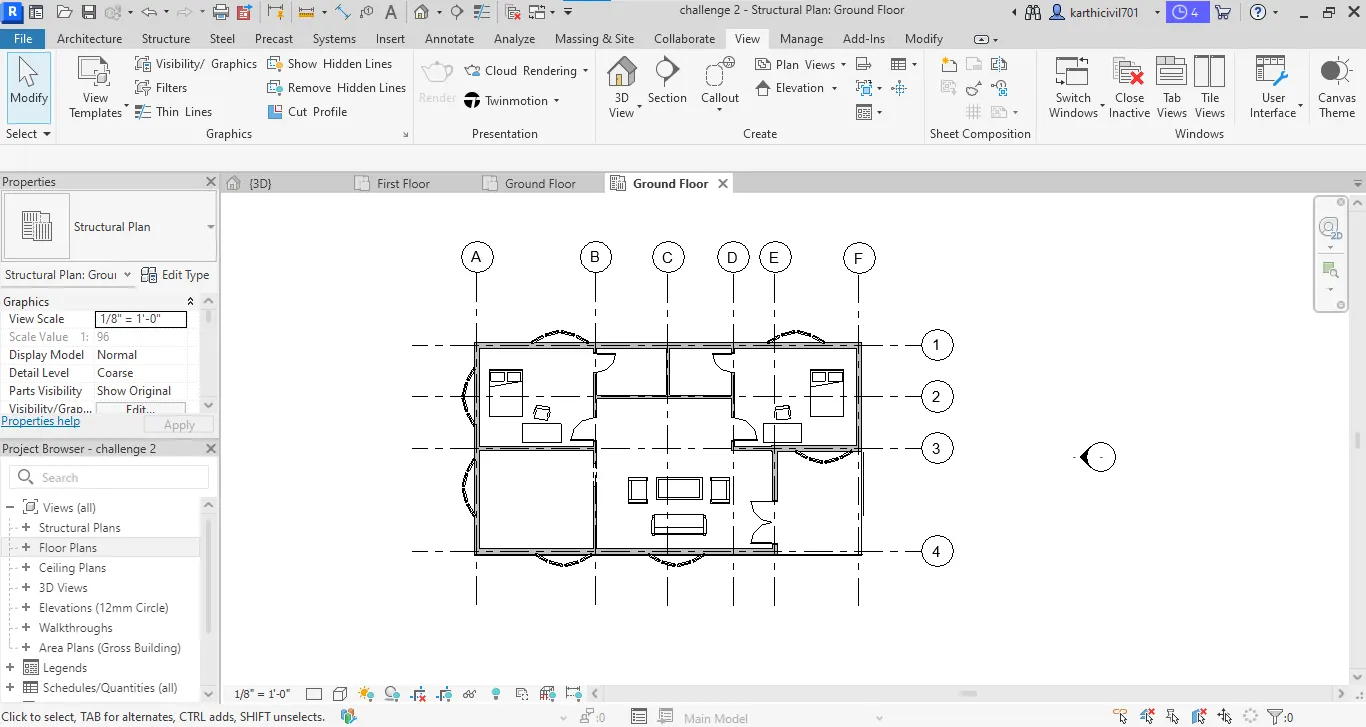
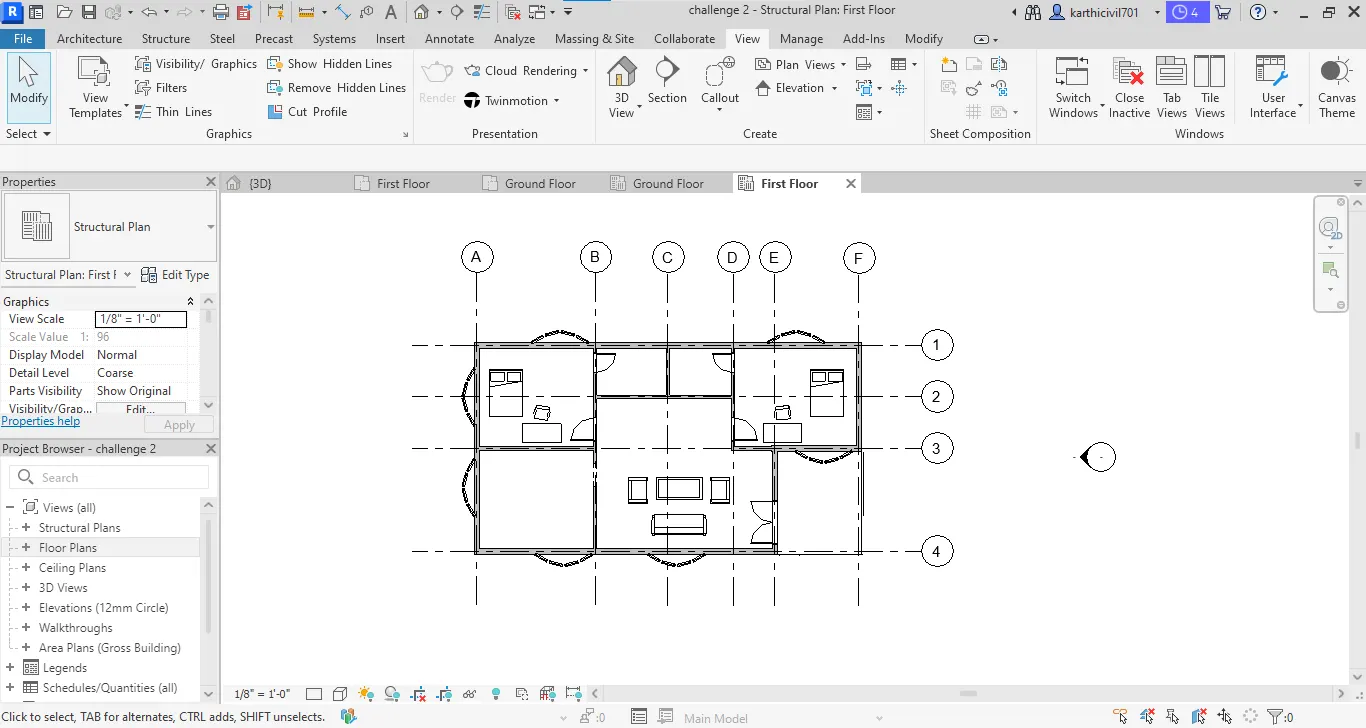
b) Structural plan:
- On the same tab we choose the structural plan and select ground and first floor then appear the structural plans.
4). Add Dimensions:
Step by step procedure:
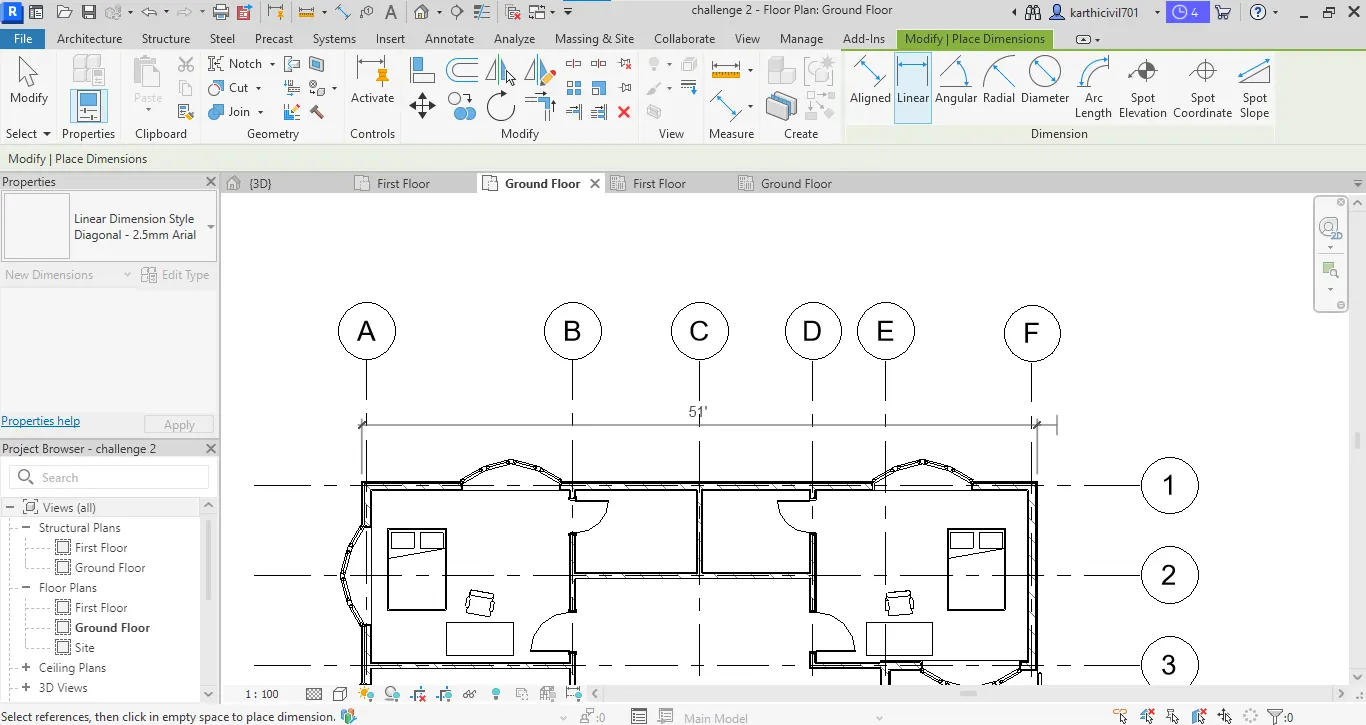
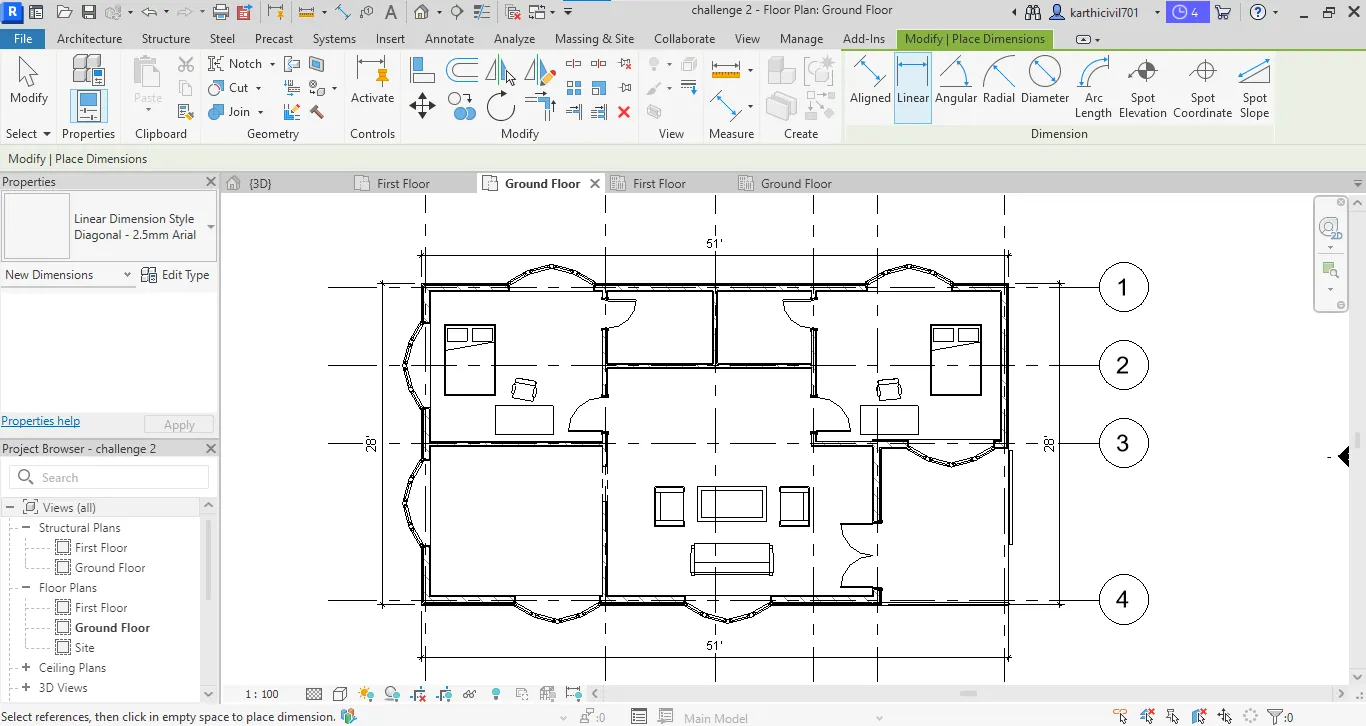
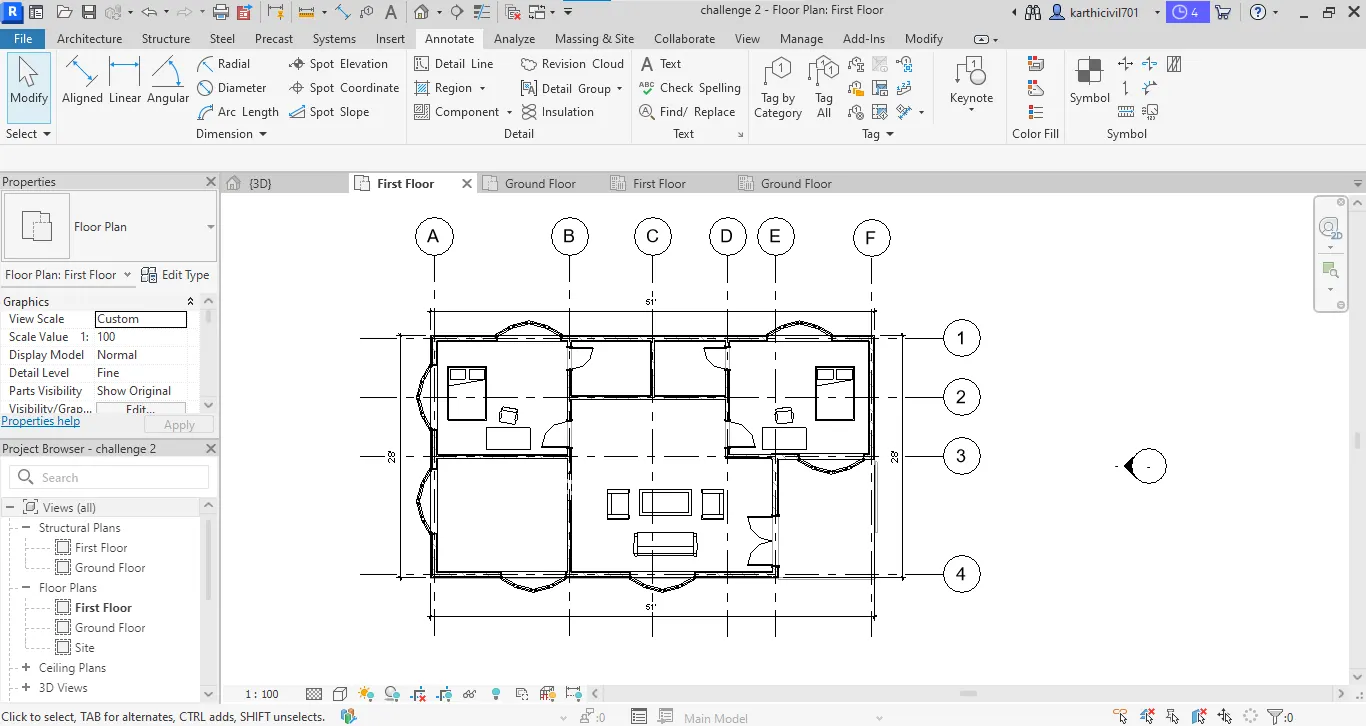
a). Architectural plan dimensions:
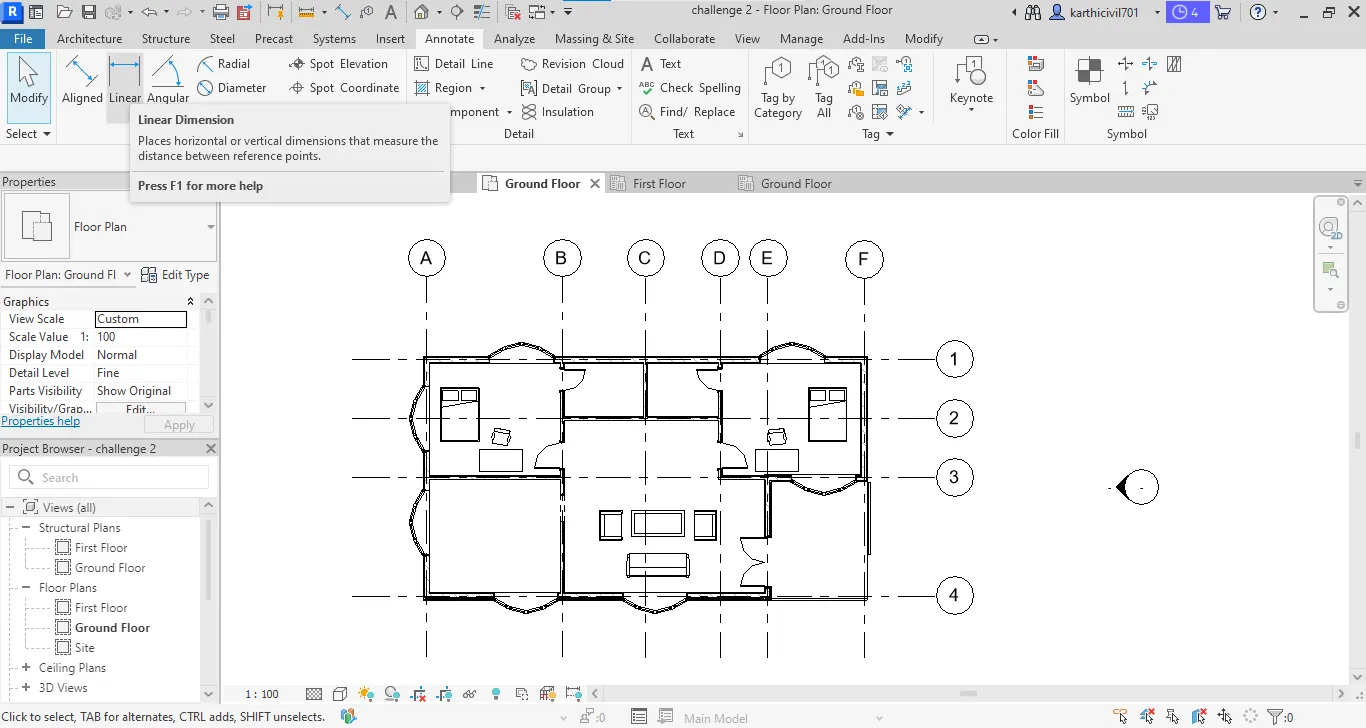
- Goto the annotate tool bar on the menu bar,
- select the linear or alligned tool the specify the first and last point the appear the dimension then place it.
- same procedure for the ground and first floor.
- The overall dimensions are enough for the architectural plan.
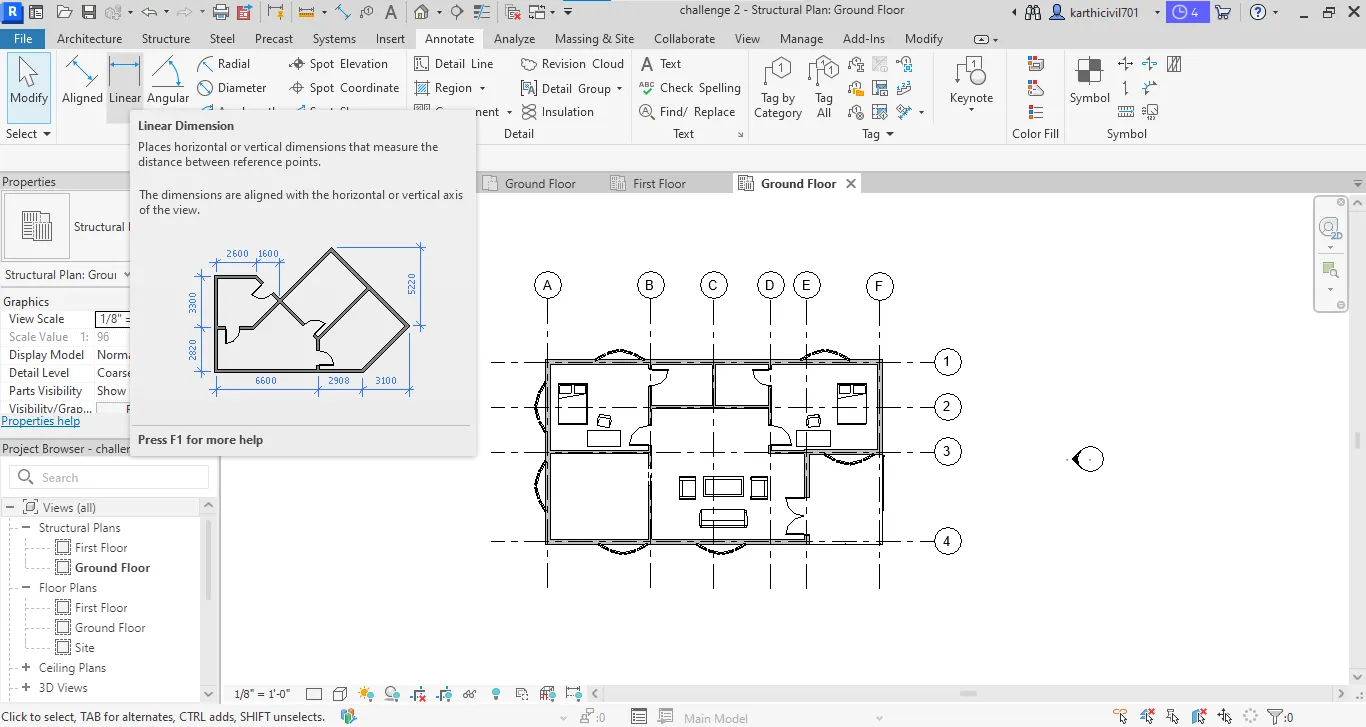
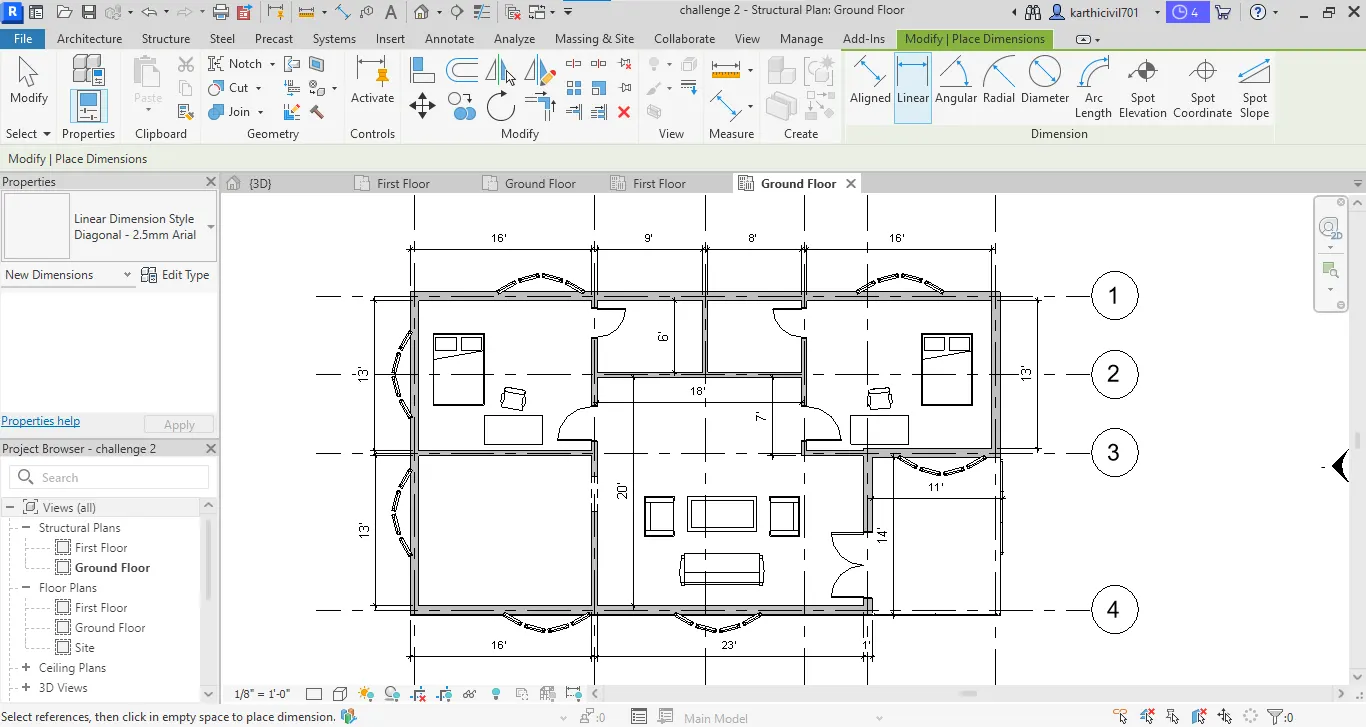
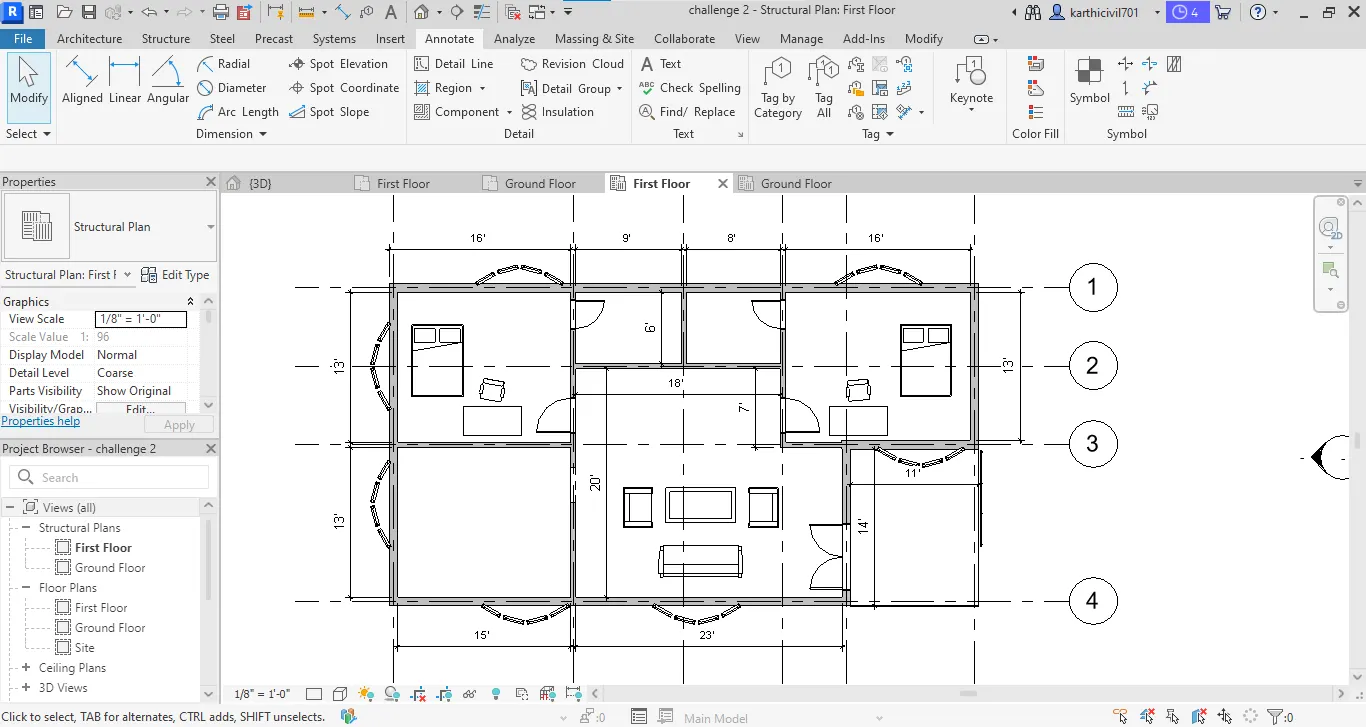
b) Steuctural Plan dimensions:
- The same procedure to be repeated on the structural floor plan.
- goto annotate tool bar and select a linear or alligned tool then specifythe points and place the dimensions,
- All walls and openings shuld be measured on the sturctral plan.
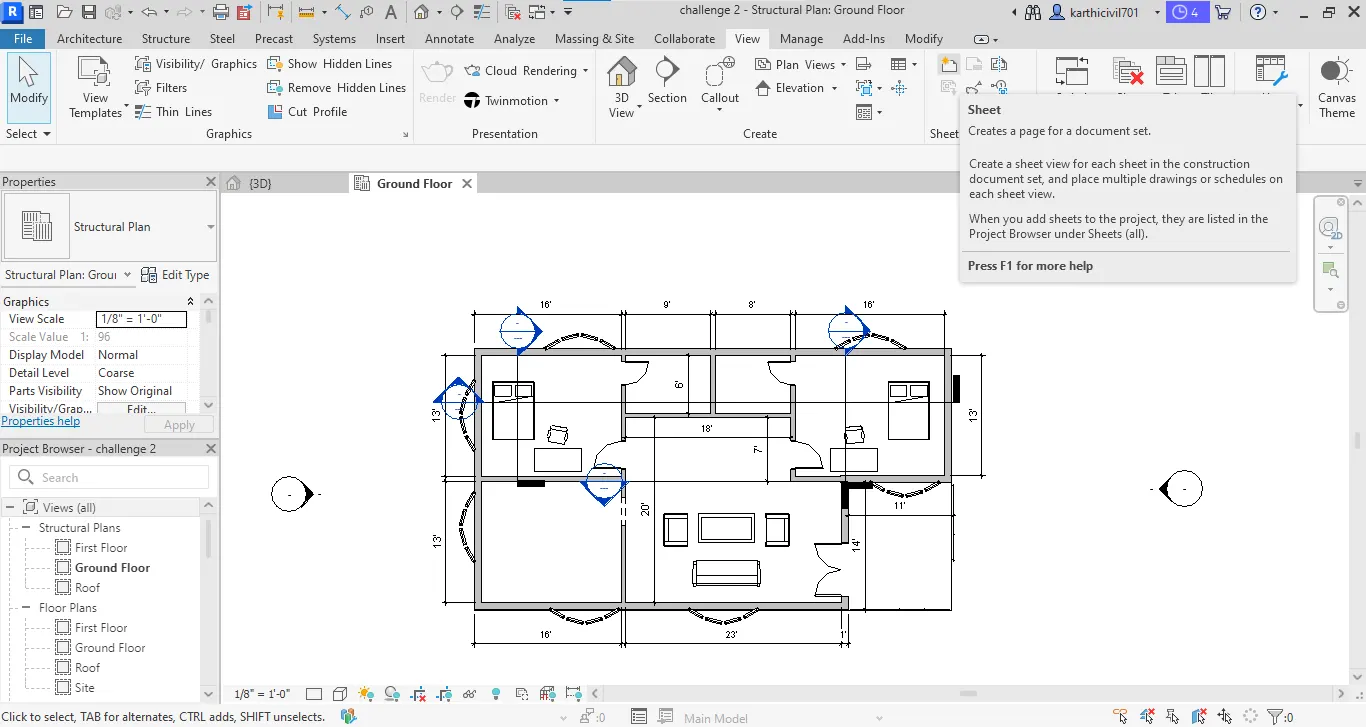
5). Sheet template:
Step by step procedure:
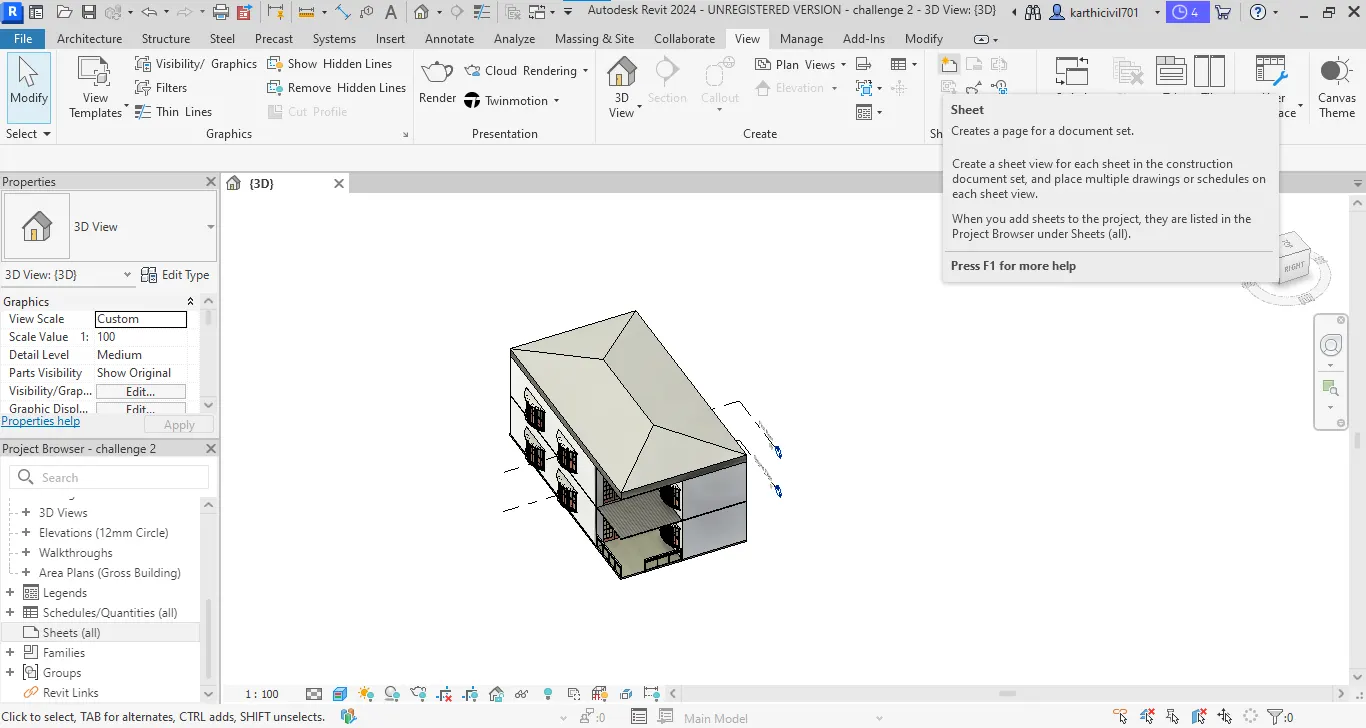
- Goto the view tab on the top menu bar,
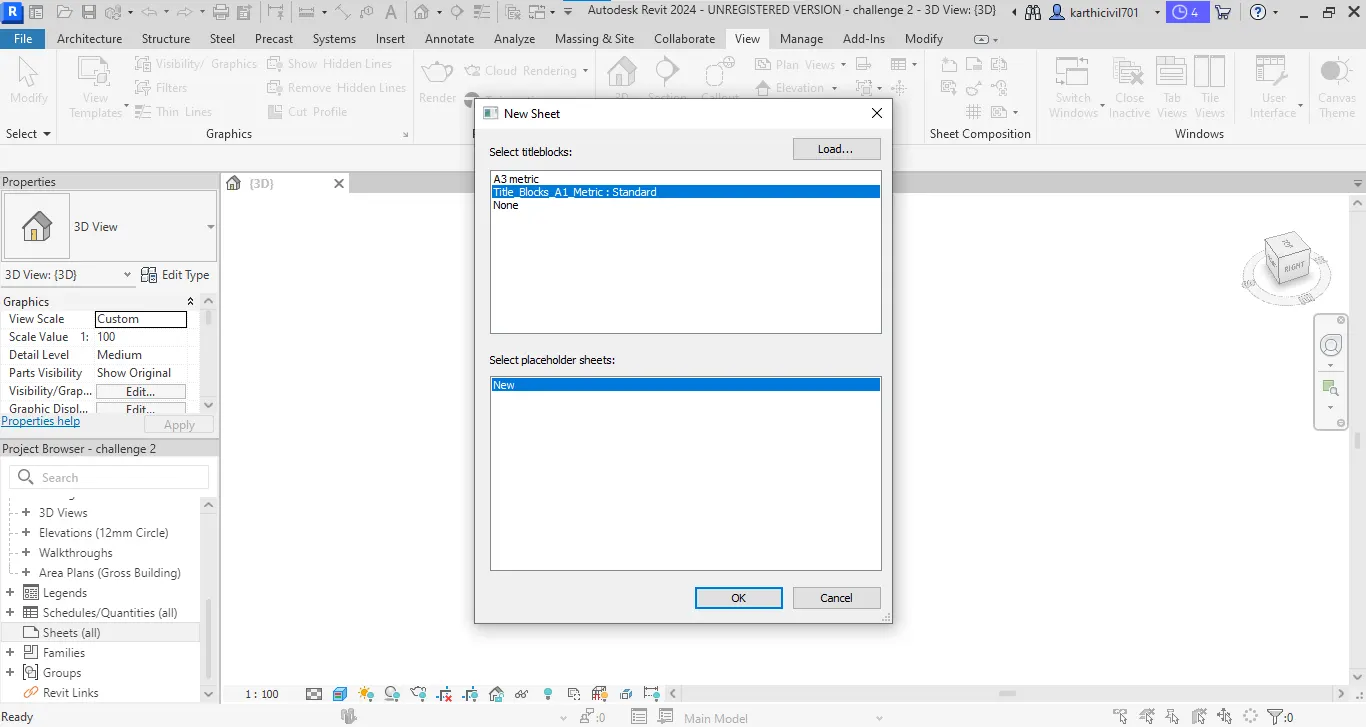
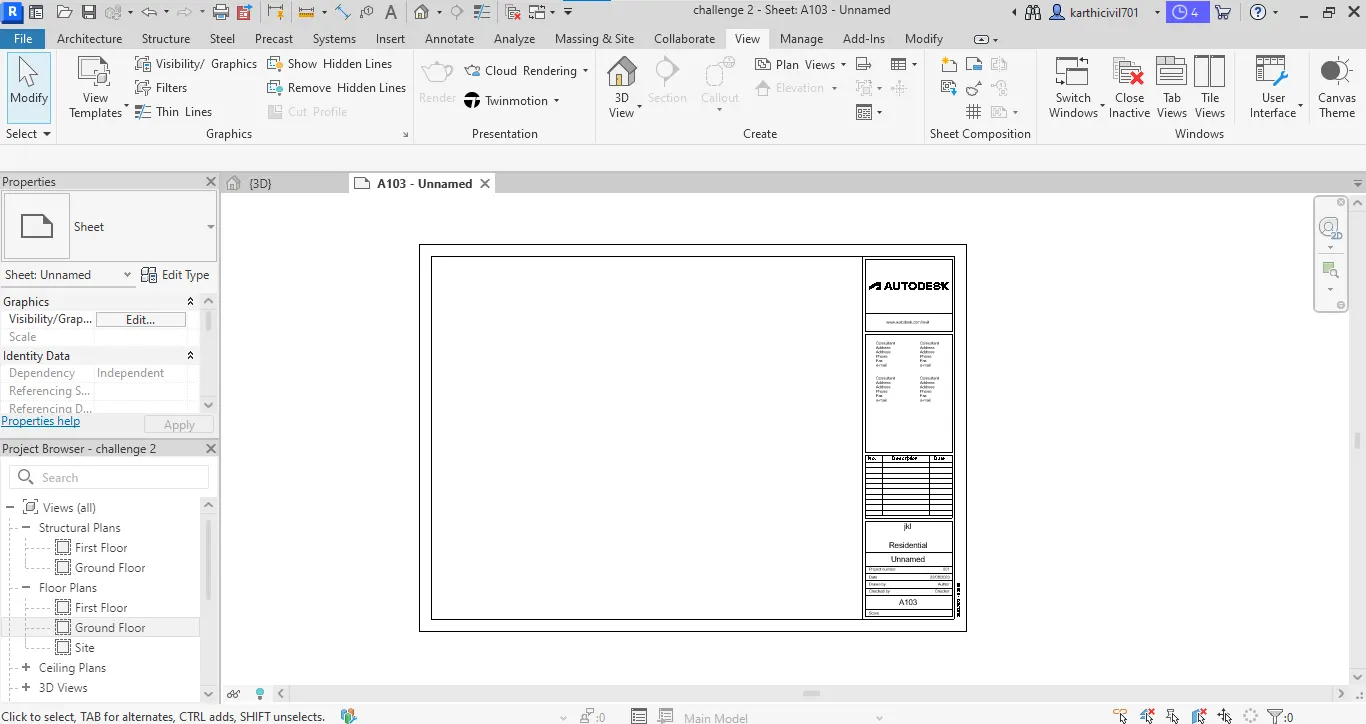
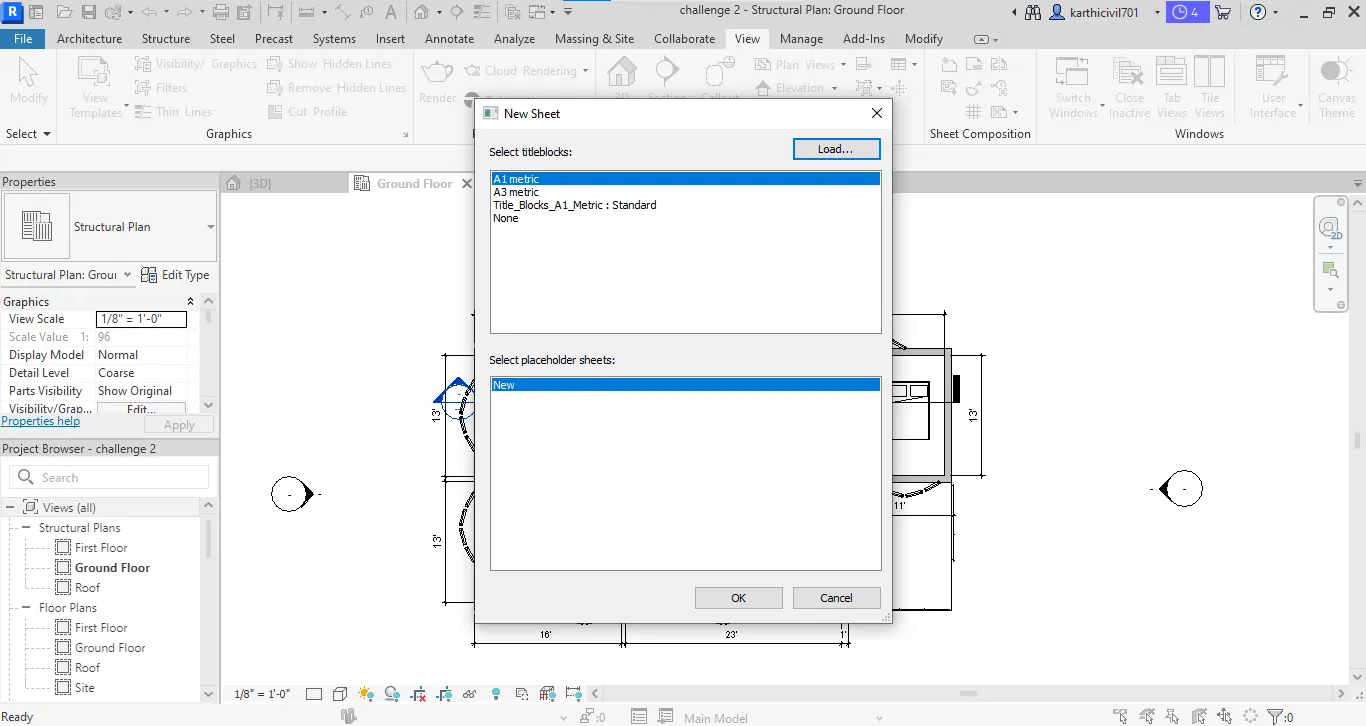
- Then select the sheet option then appears the new sheet toolbar,
- select the sheet type which one we want then click ok,
- It's appears the sheet template on the display,
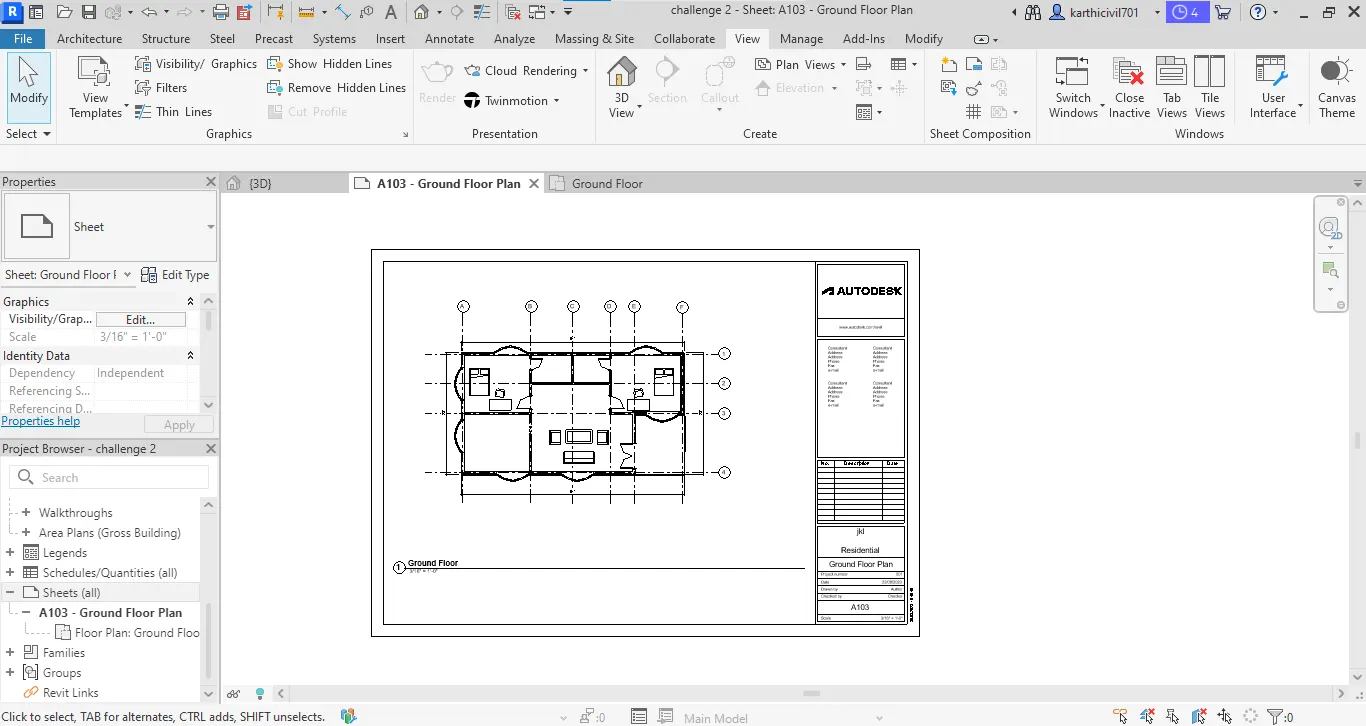
- Drag and drop the floor plans then adjust the scale how much you want.
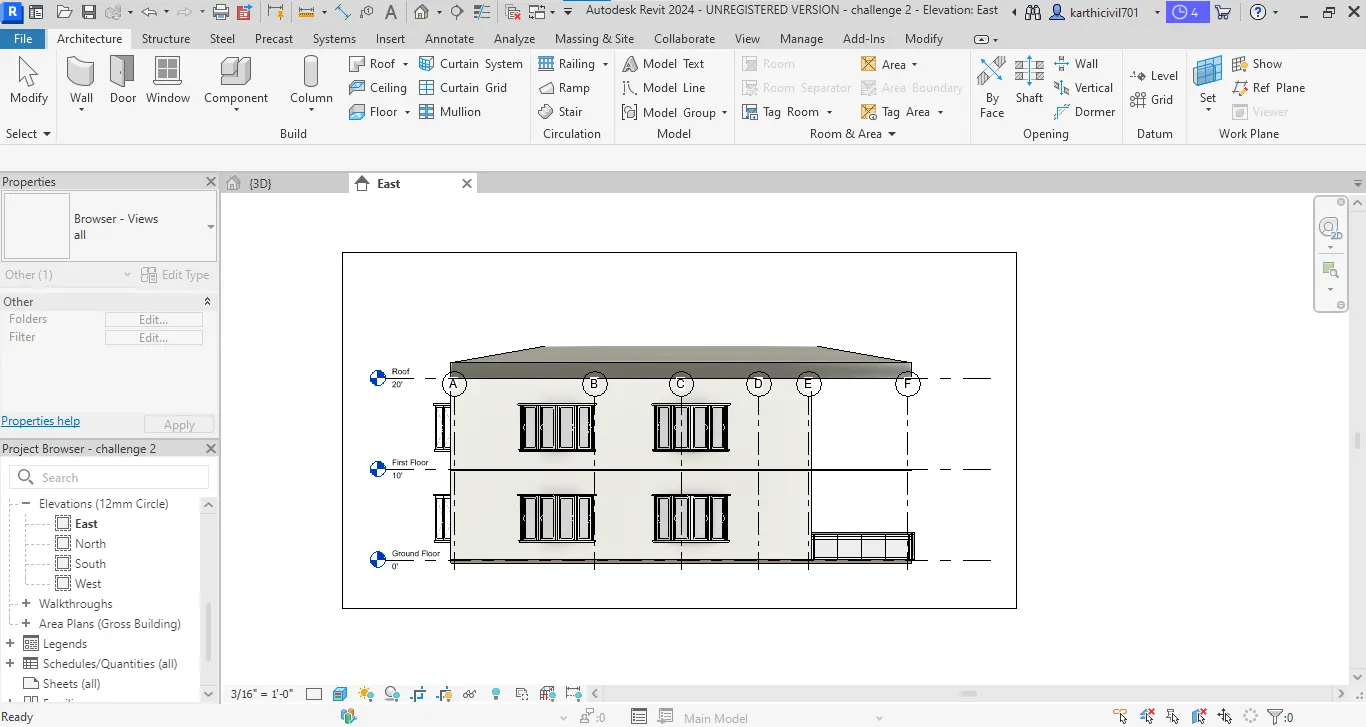
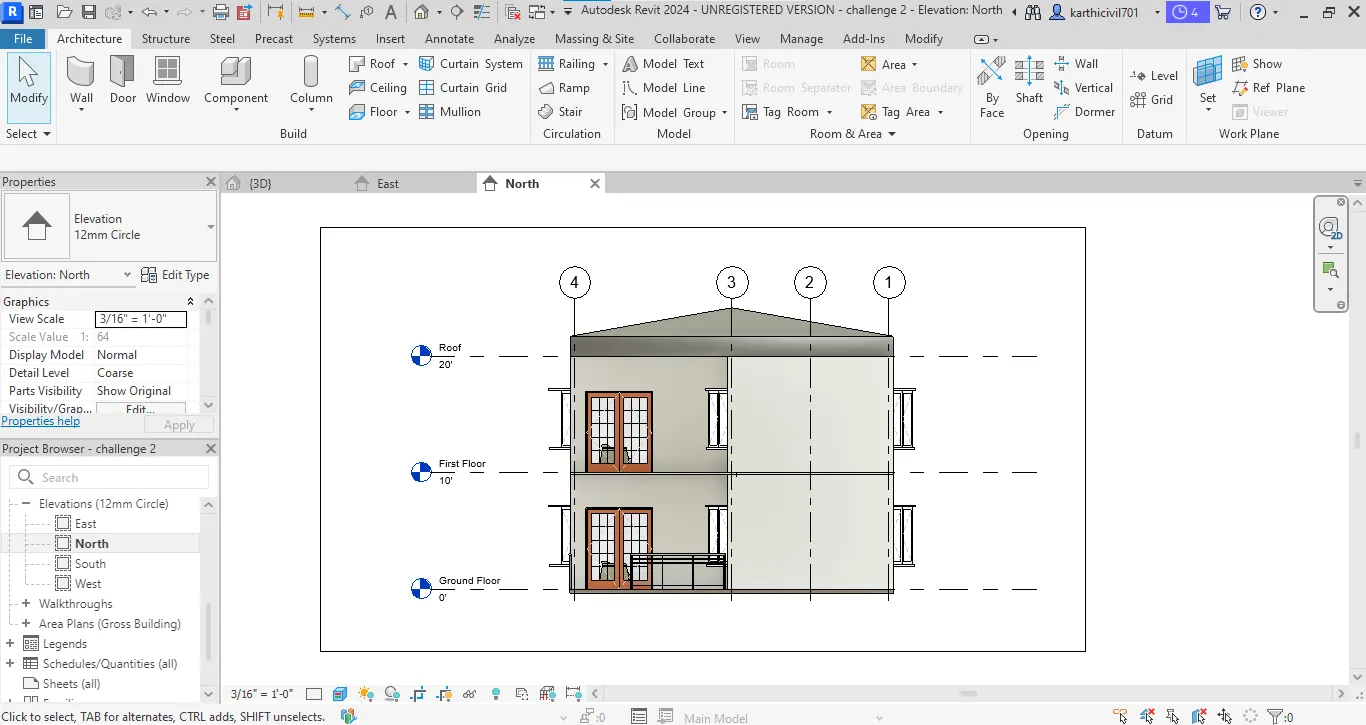
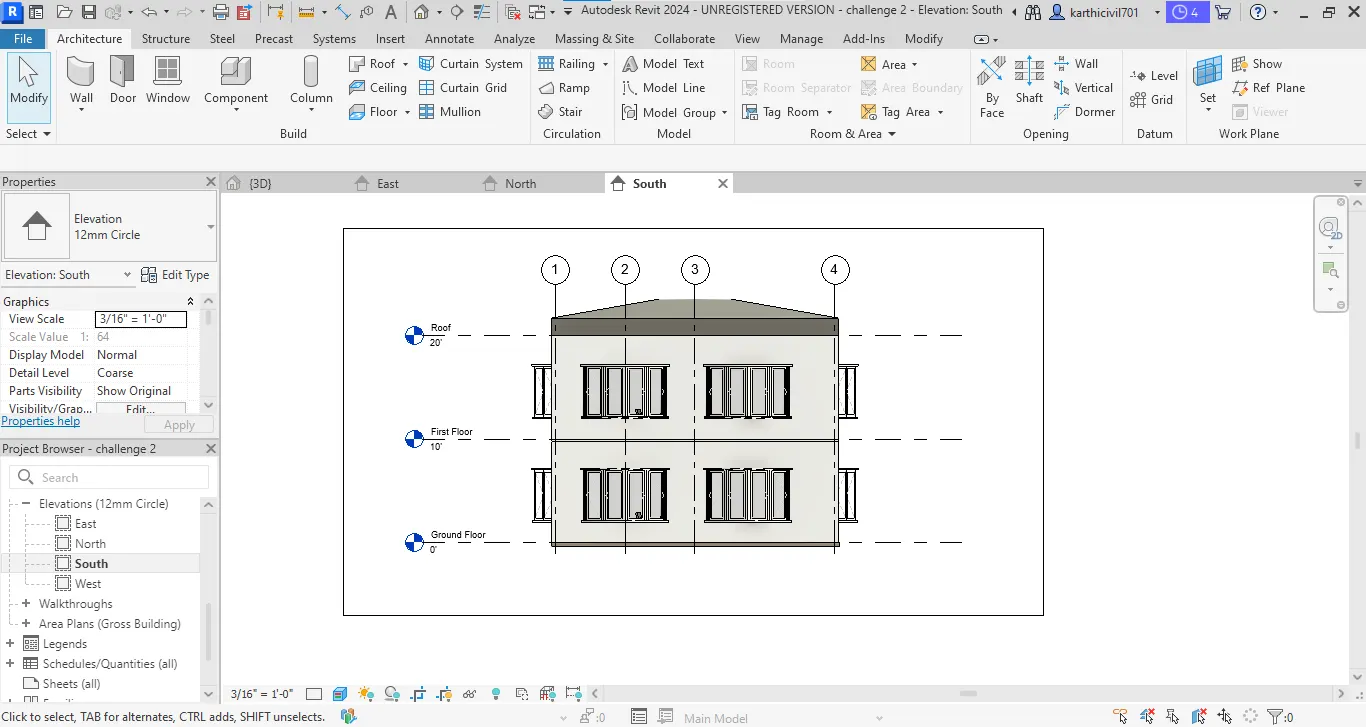
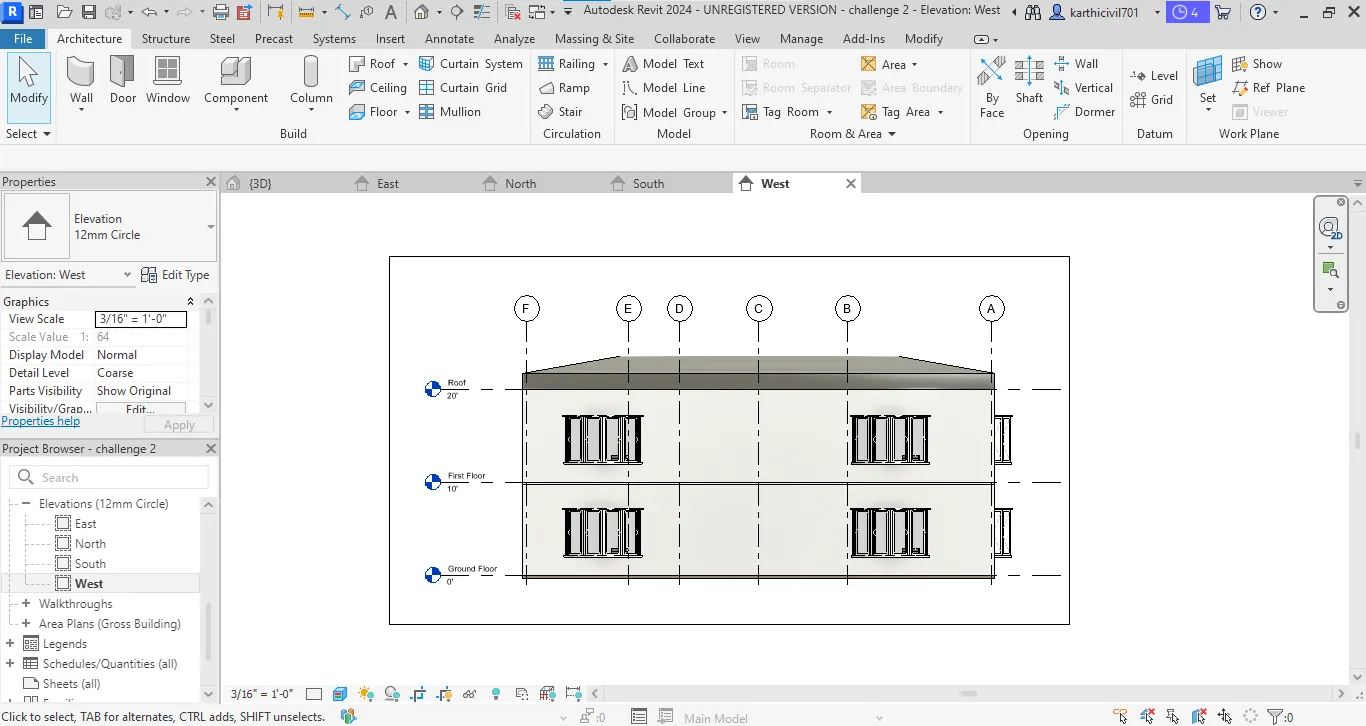
6). Elevation view:
Step by step procedure:
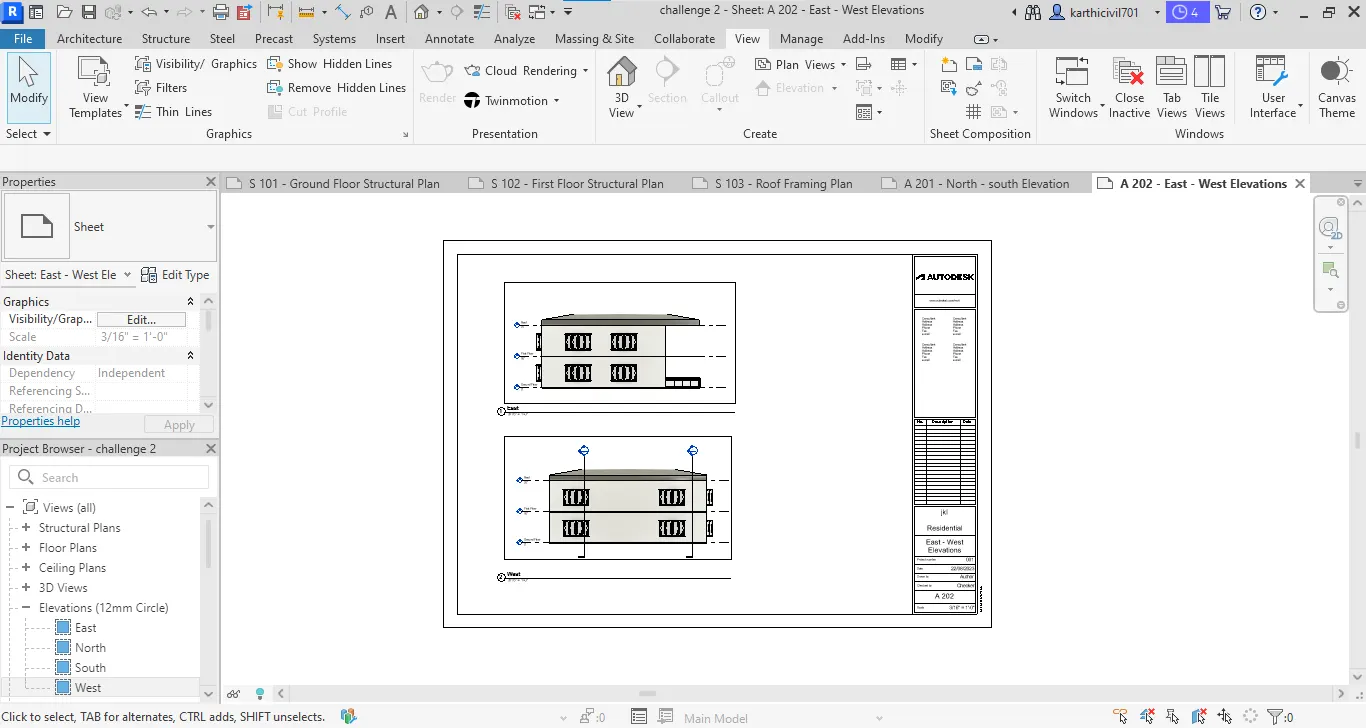
- On the revit software we have the default elevation on the north, east, west and south side,
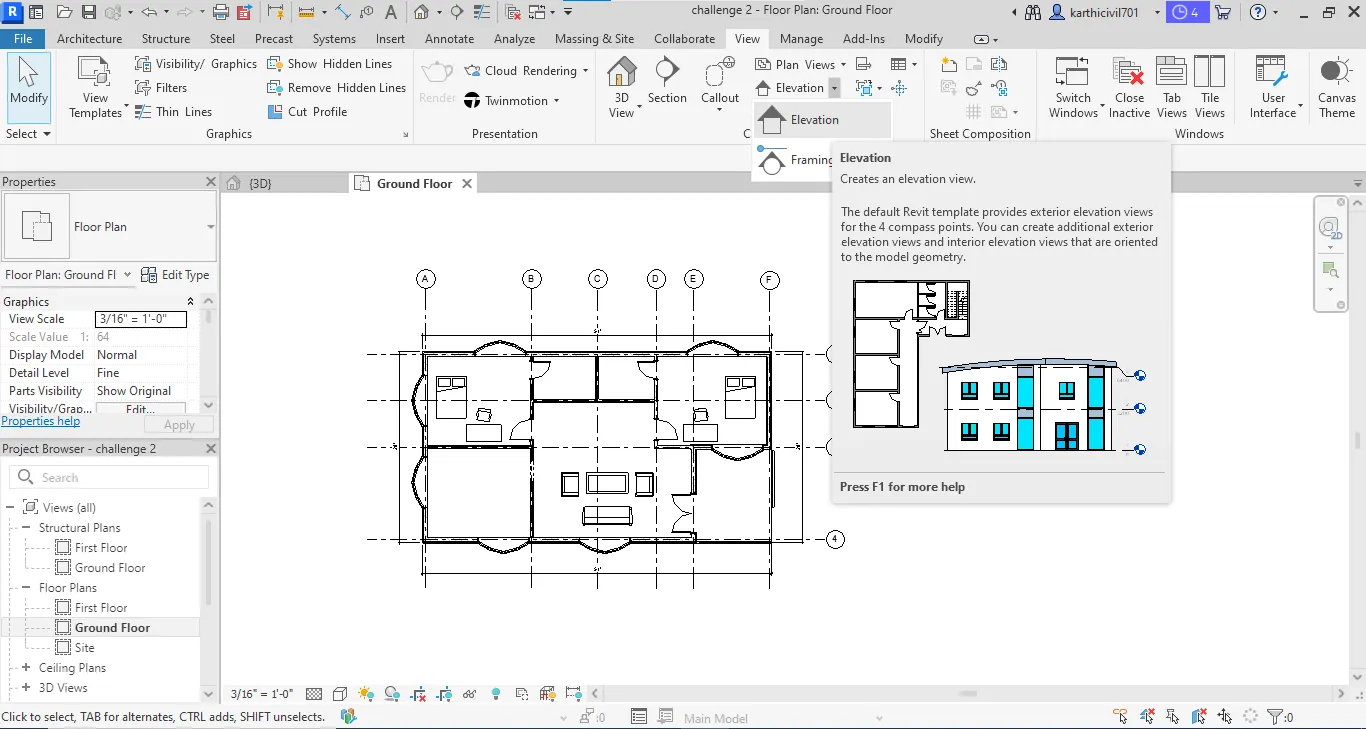
- If incase we don't have that goto view tab on the top menu bar,
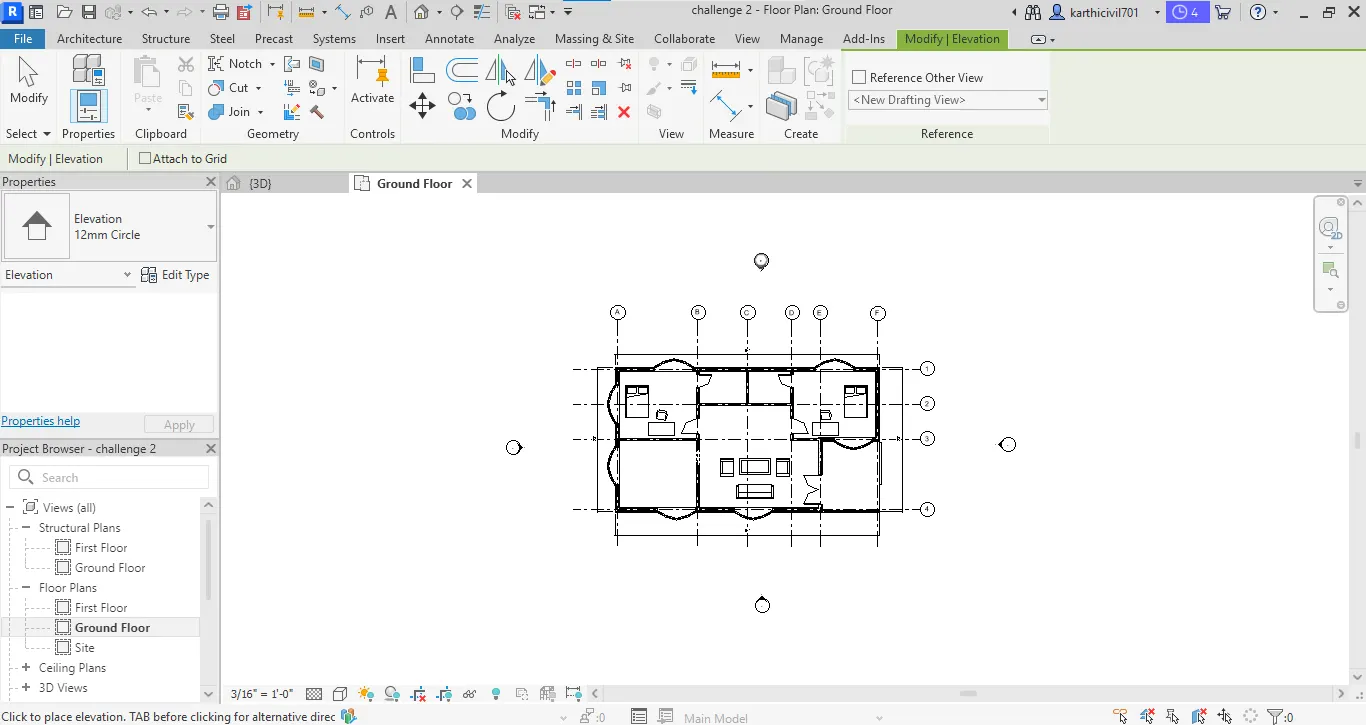
- Then select the elevation tool then place it for the appropriate directions,
- Then goto the elevation view on the property browser then selct the views to appear on it.
7). Section cut views:
Step by step procedure:
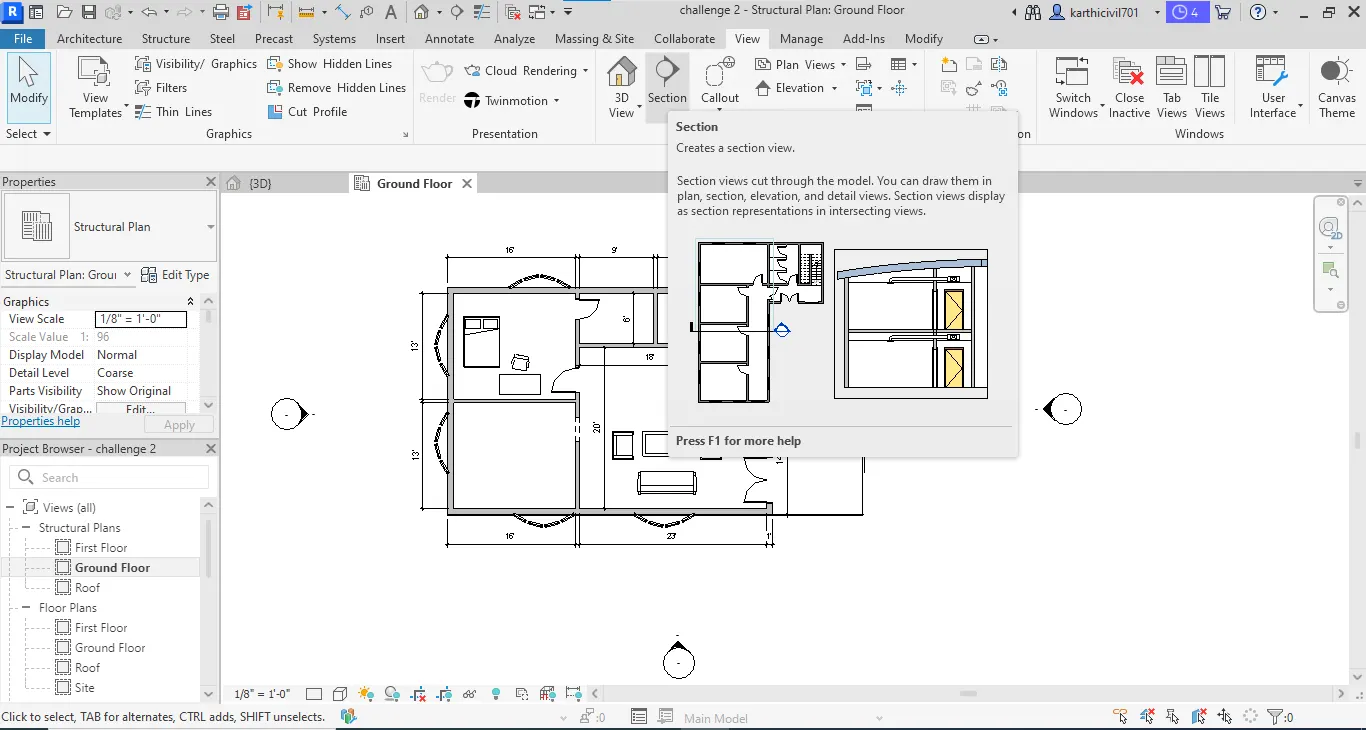
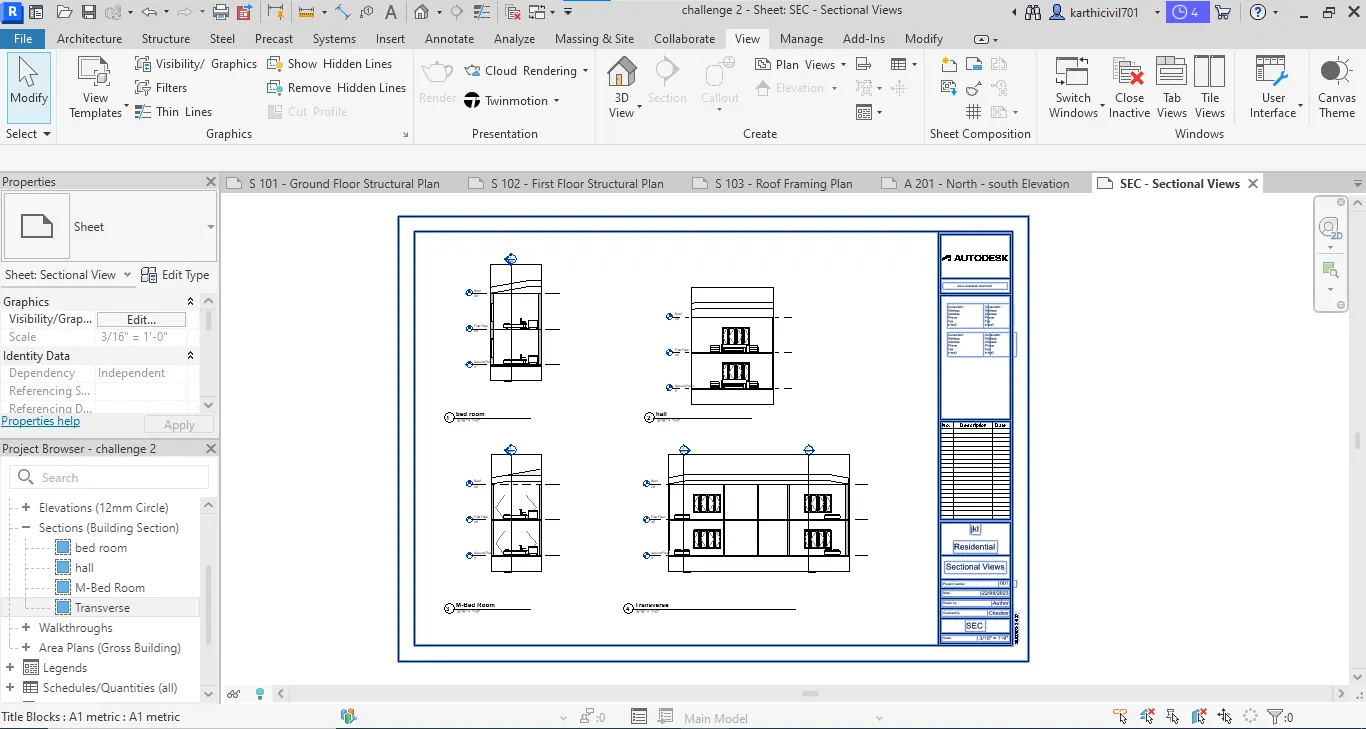
- On the view tab we have the option called section,
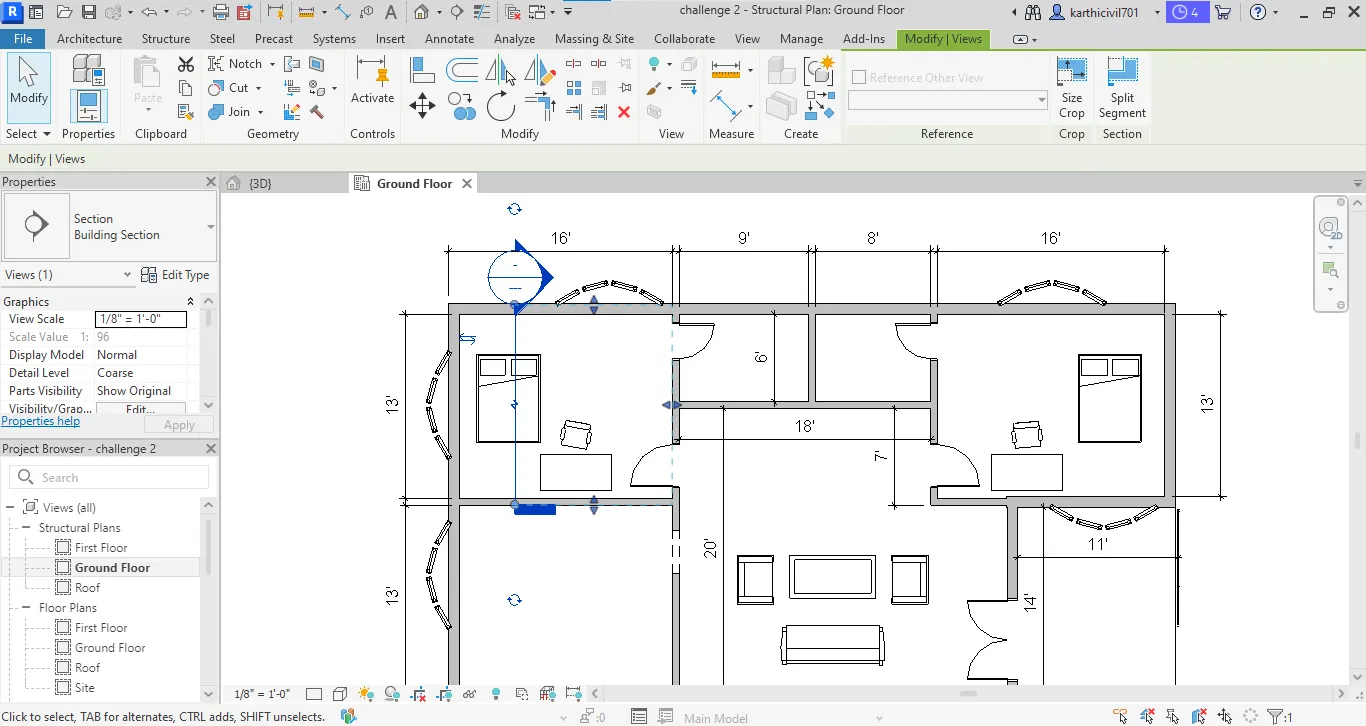
- choose the section tool and specify the first and last point on the appropriate rooms then tap enter,
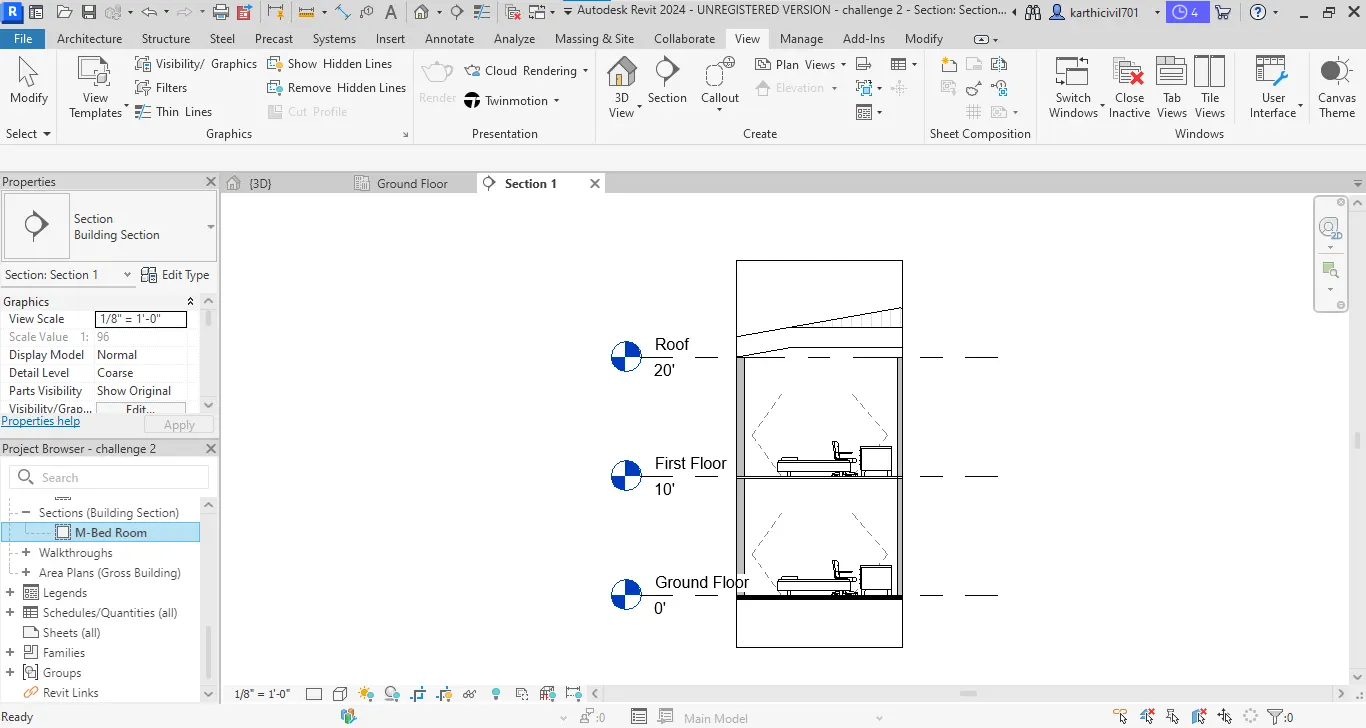
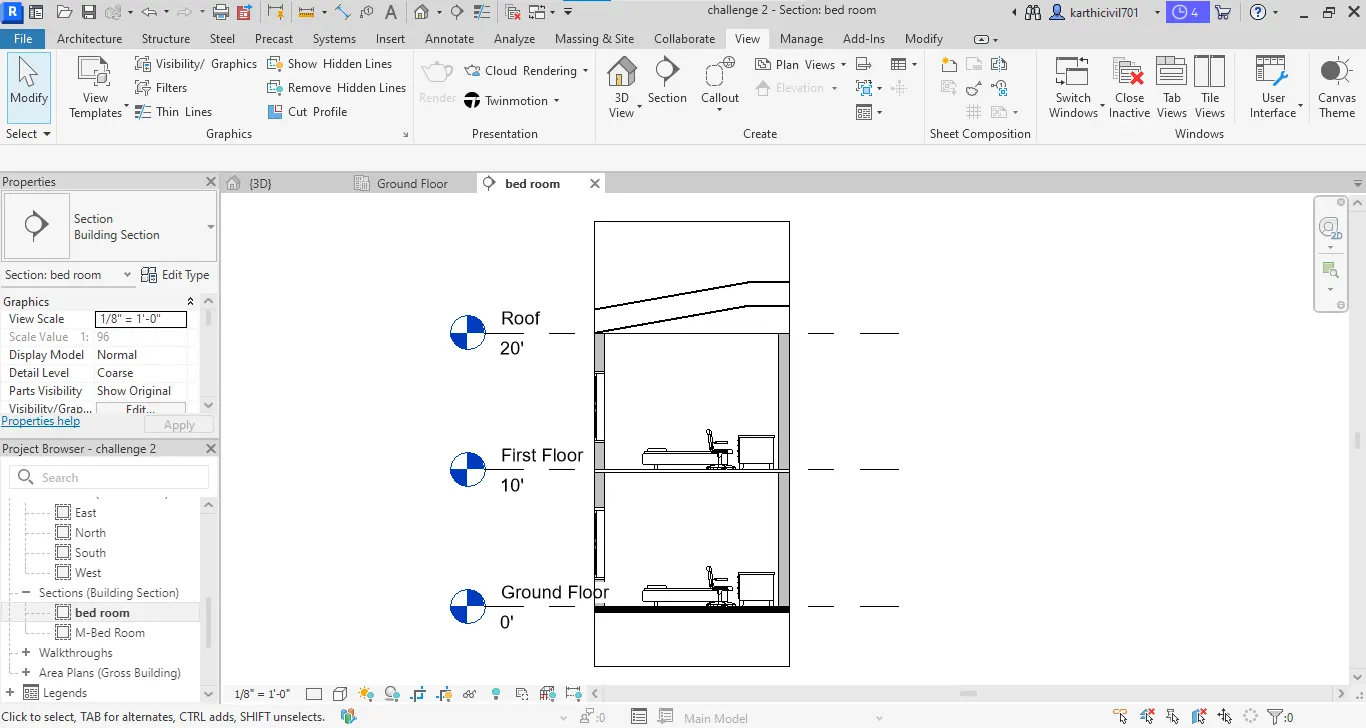
- On the property browser we have the sections on the corrosponding numbers,
- Rename it has the appropriate room names as master bed and bed room and hall and finally the transverse length of sectional.
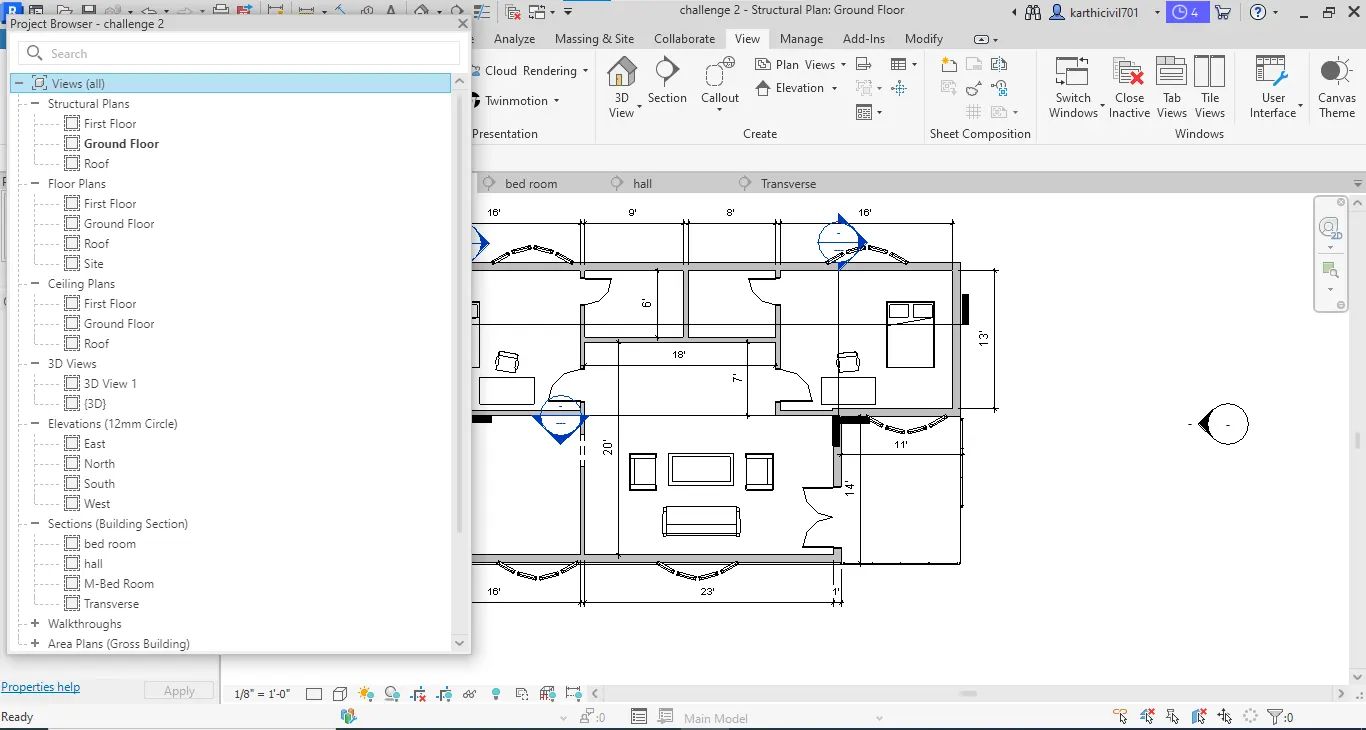
8). Classify the views:
- On the project browser we have all the classification of views, plan views, sectional views, elevation views
- The Projects browser view schedule are attached on below screenshot
9). Sheet Template:
Step by step procedure:
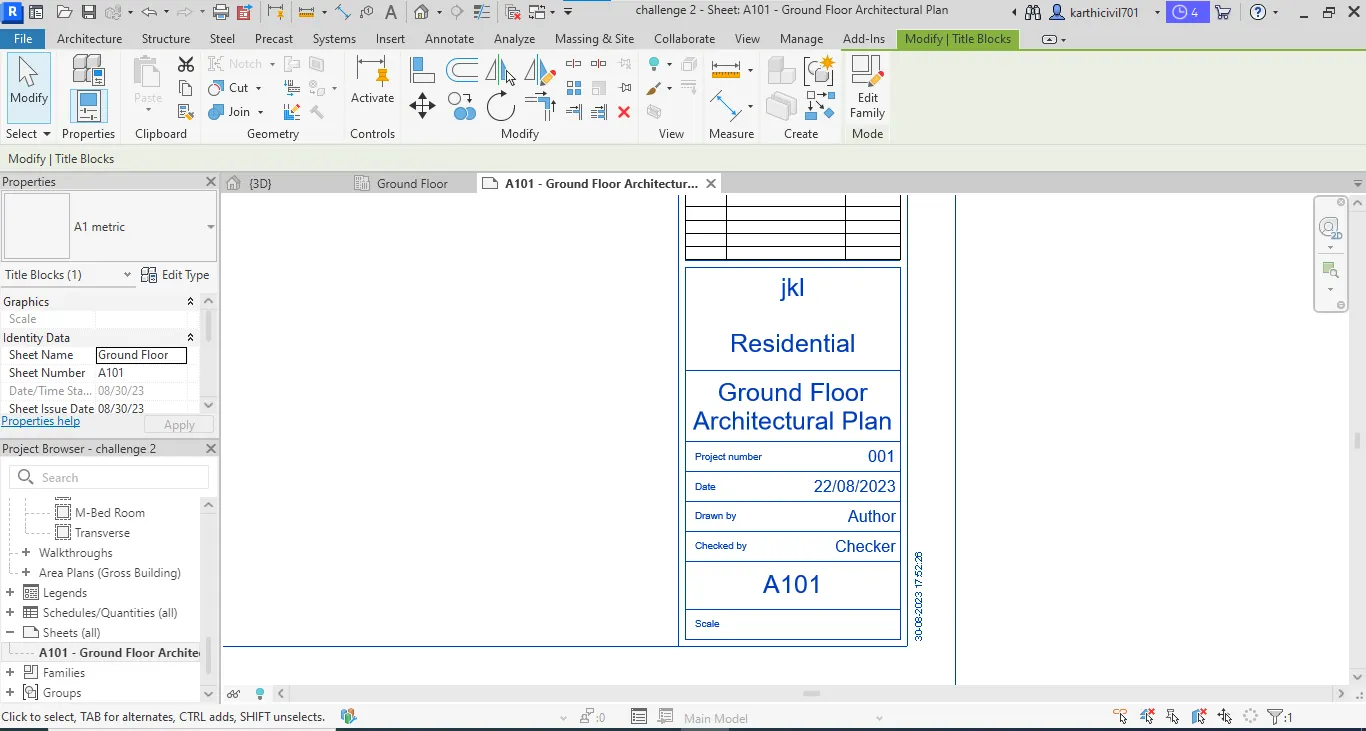
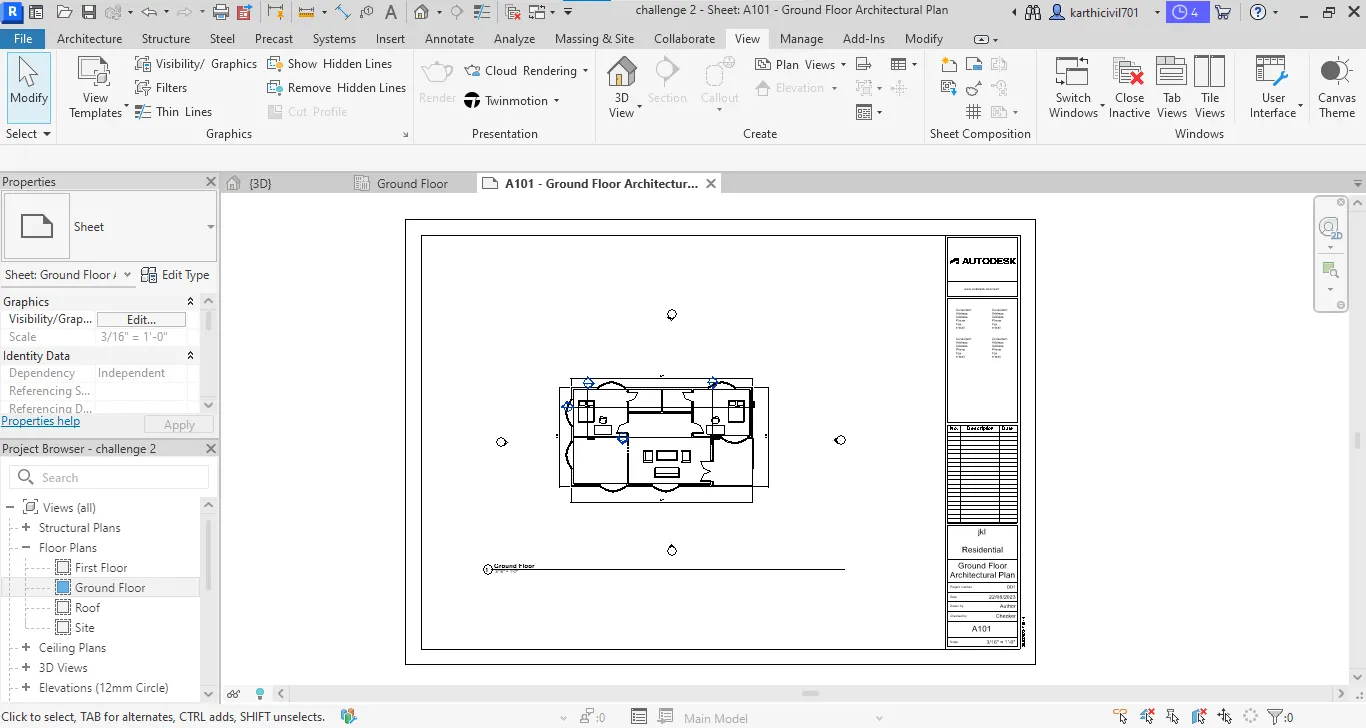
a. A 101 - Ground Floor Architectural Plan:
- On the view tab menu choose sheet option select the A1 metric template,
- On the sheet no was A101 and the name as Ground floor architectural plan,
- Goto the floor plan view on project browser drag and drap the ground floor plan and change the scale factor,
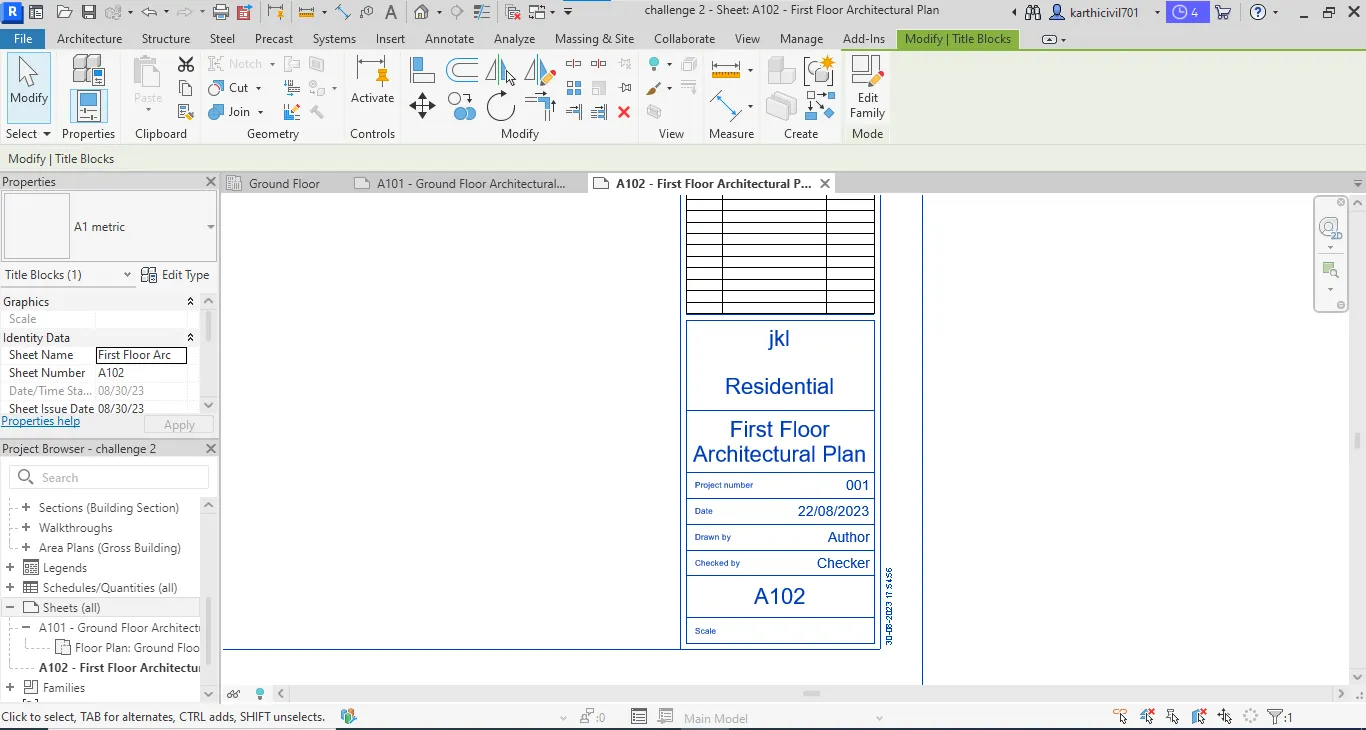
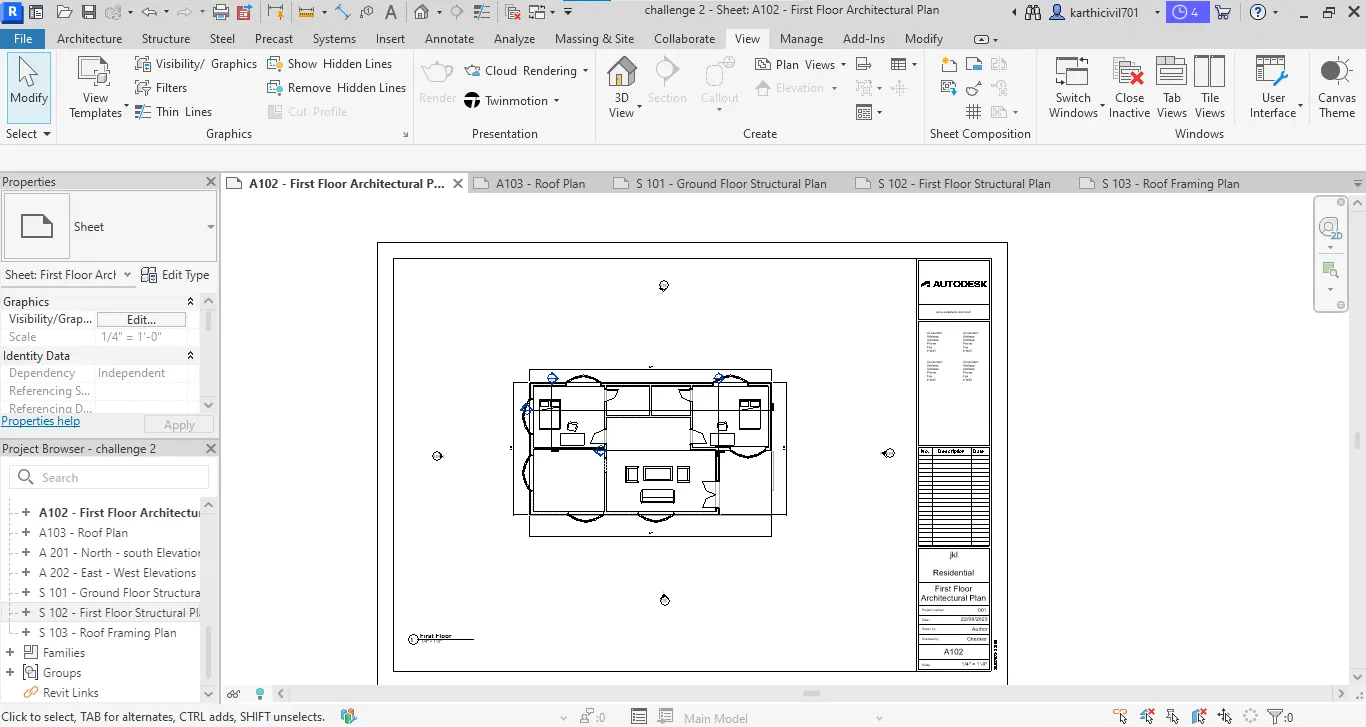
b. A102 - First Floor Architectural Plan:
- Do the same procedure on the groung floor,
- Drag and drap for the first floor on the replacement of ground floor and also rename it as first floor architectural plan,
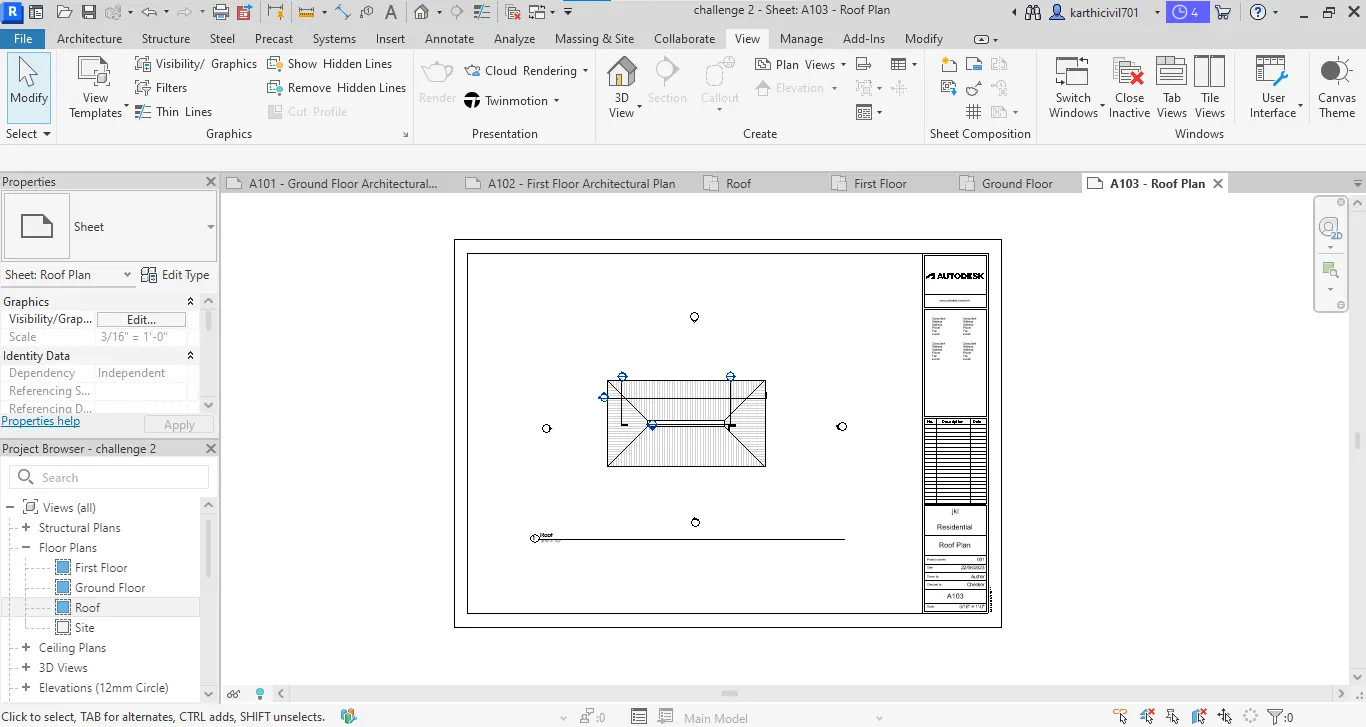
c. A 103 - Roof Plan:
- On the same procedure for the above plans and replace it on roof
d. S 101 - Ground Floor structural plan:
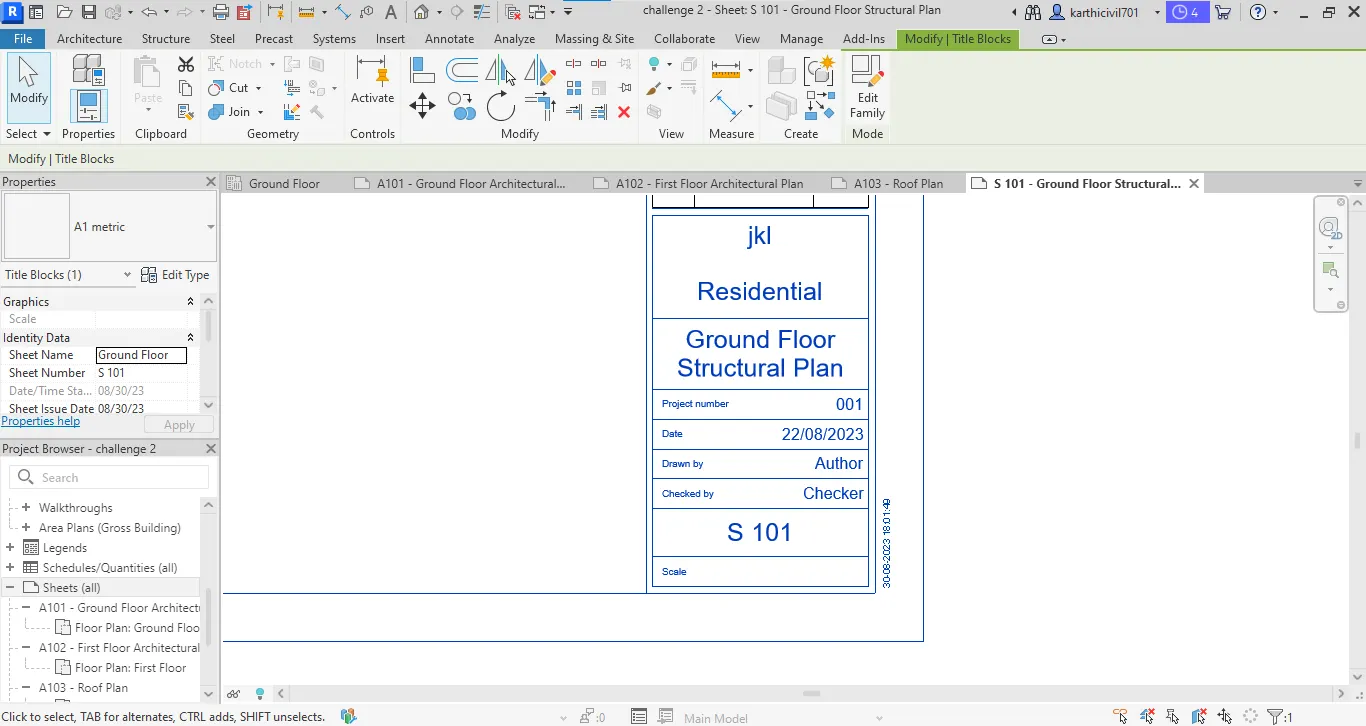
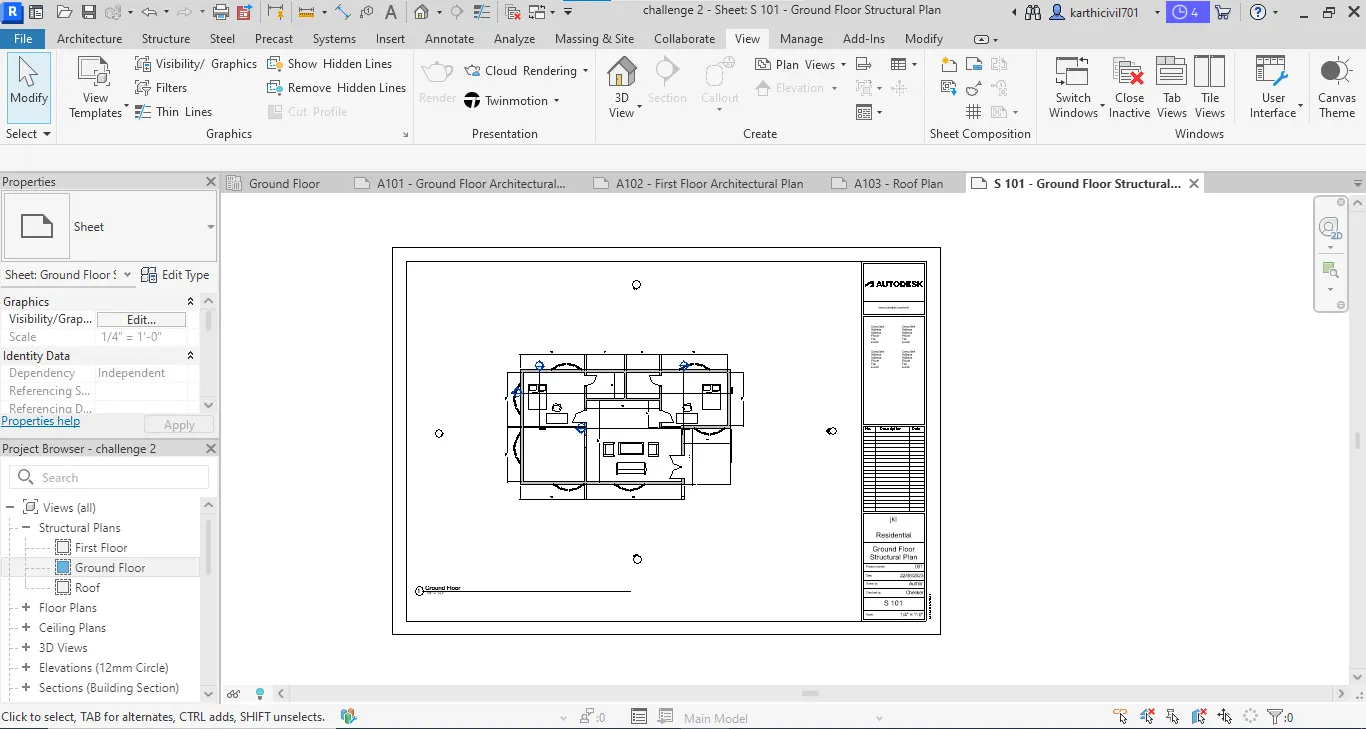
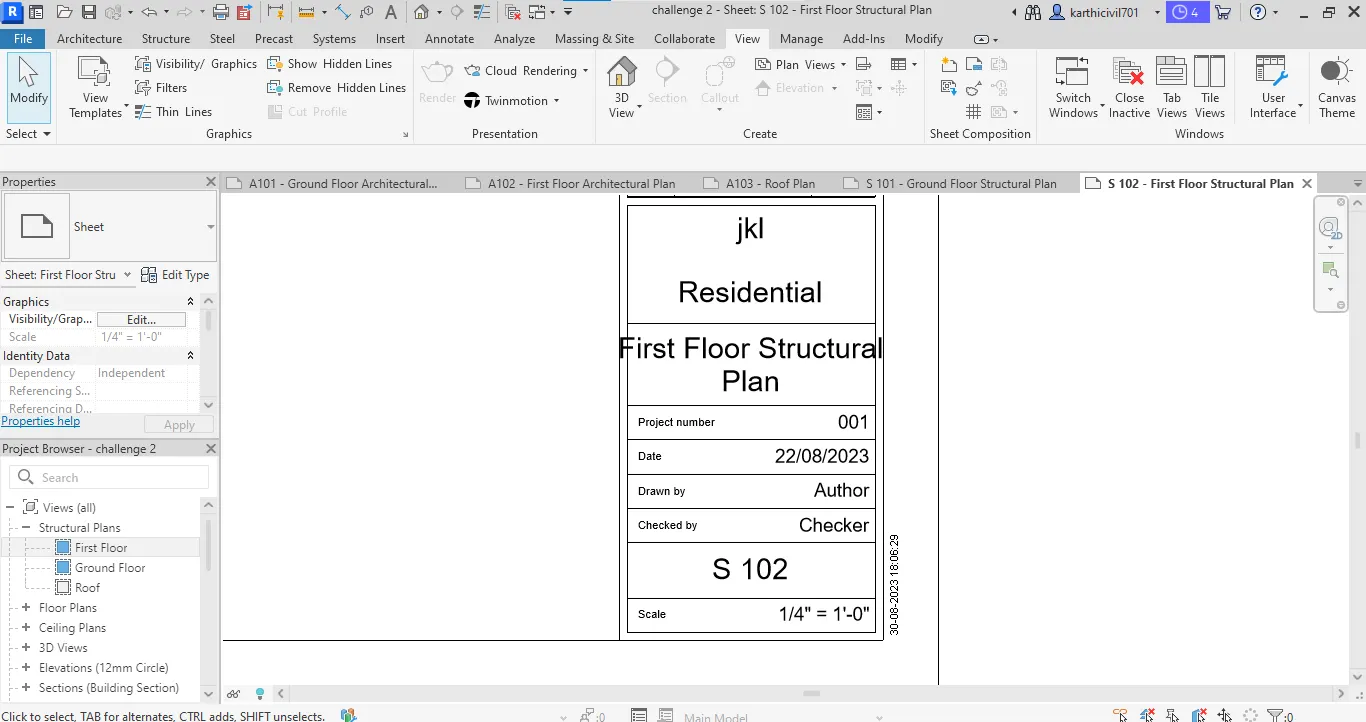
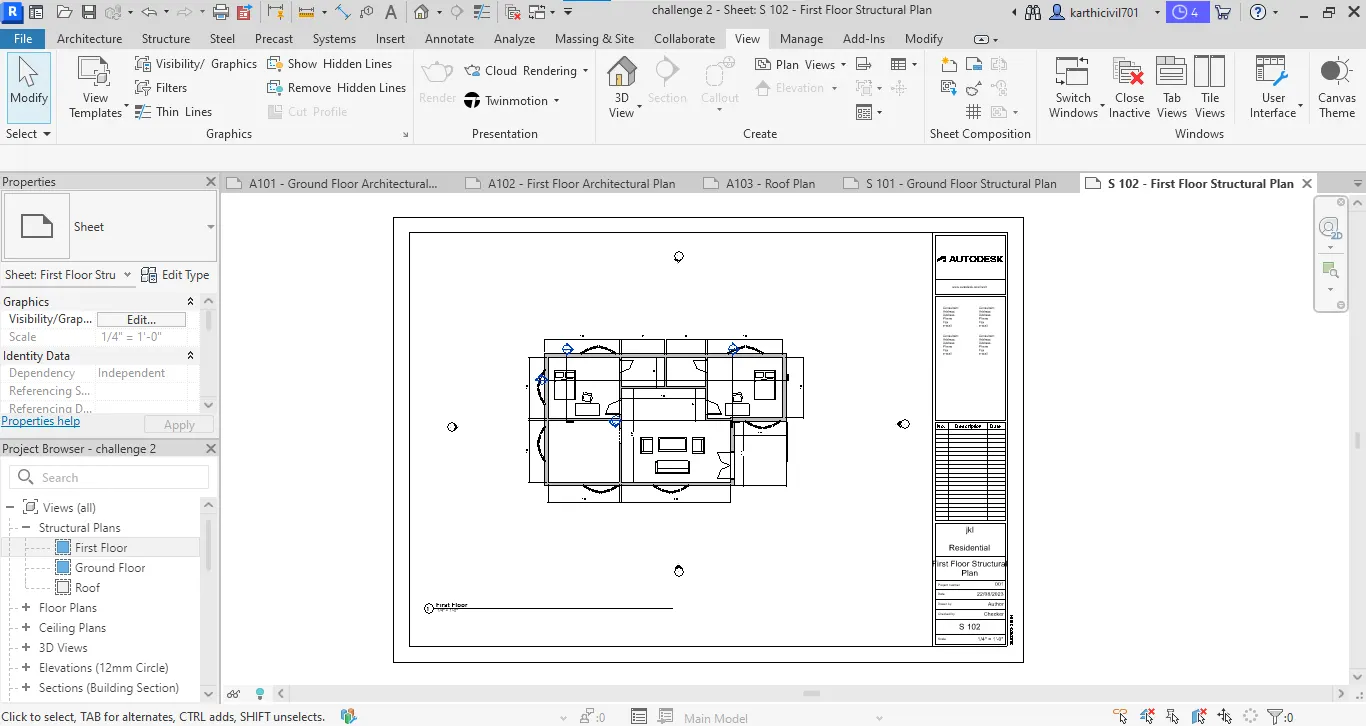
e. A 102 - First Floor Structural Plan:
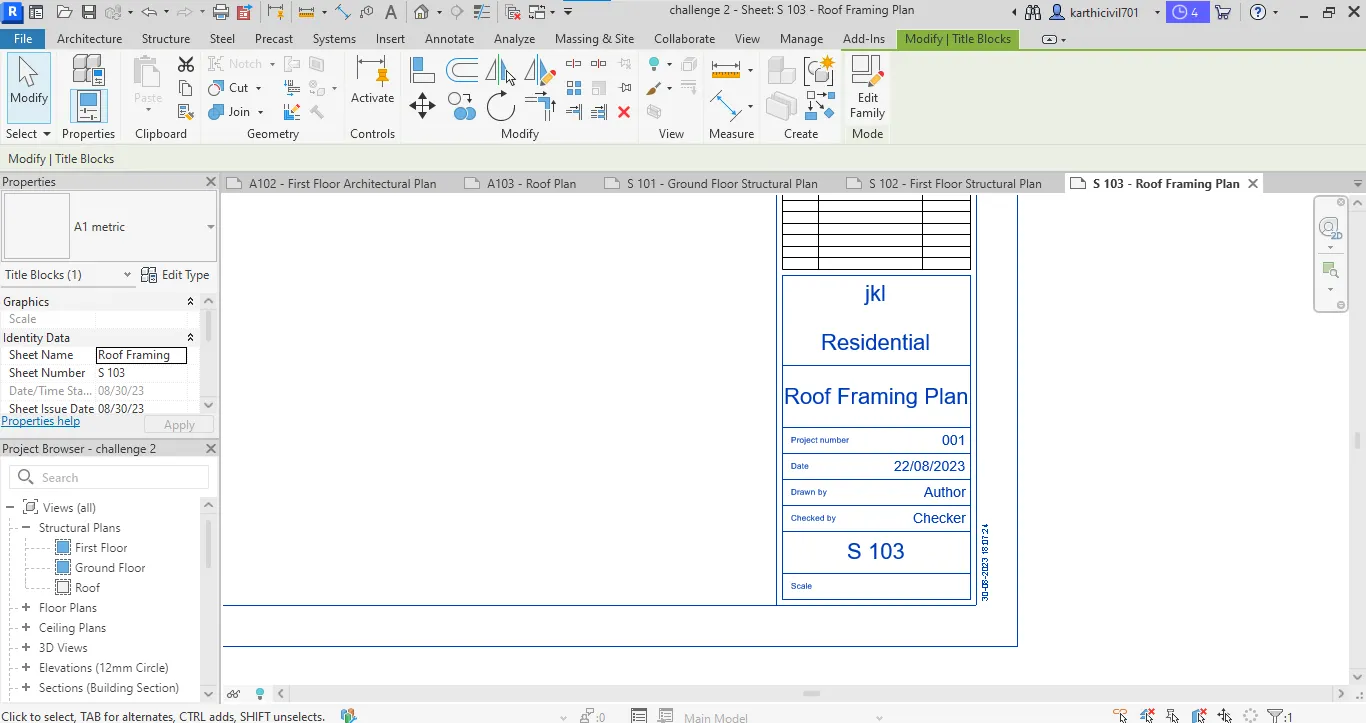
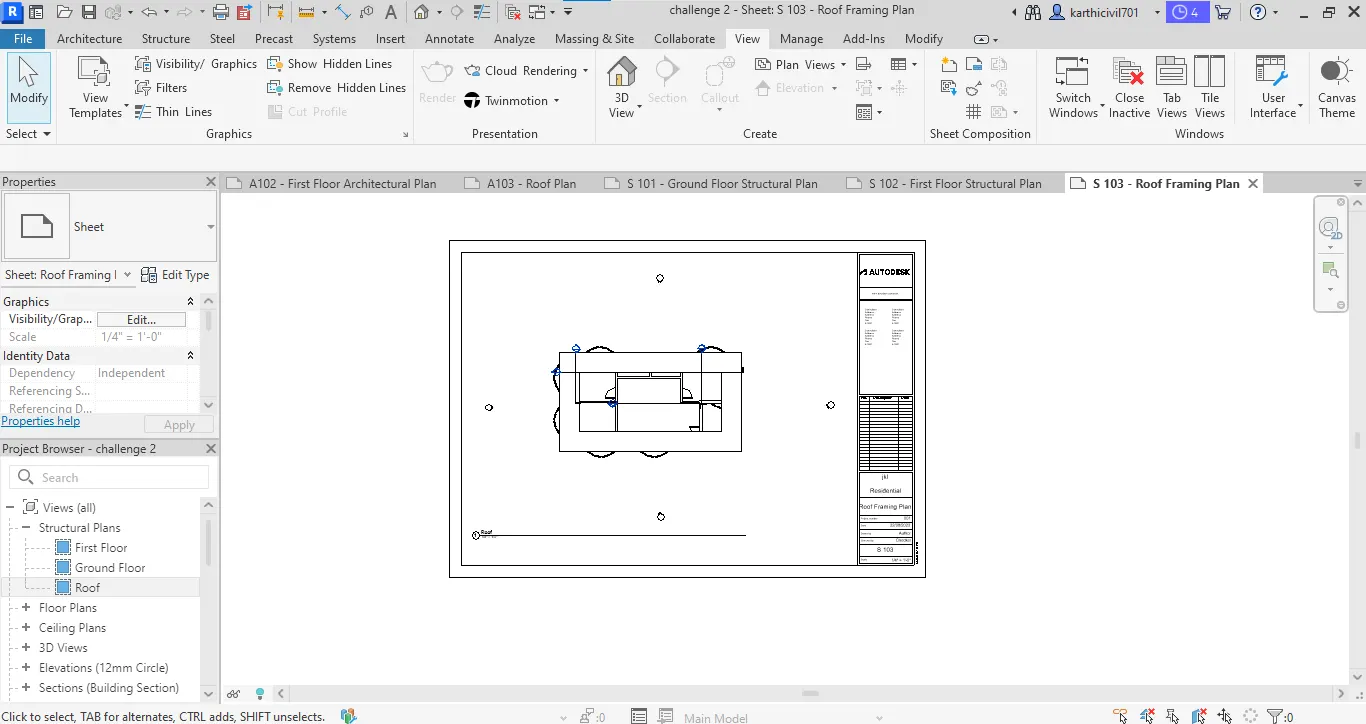
f. Roof Framing plan:
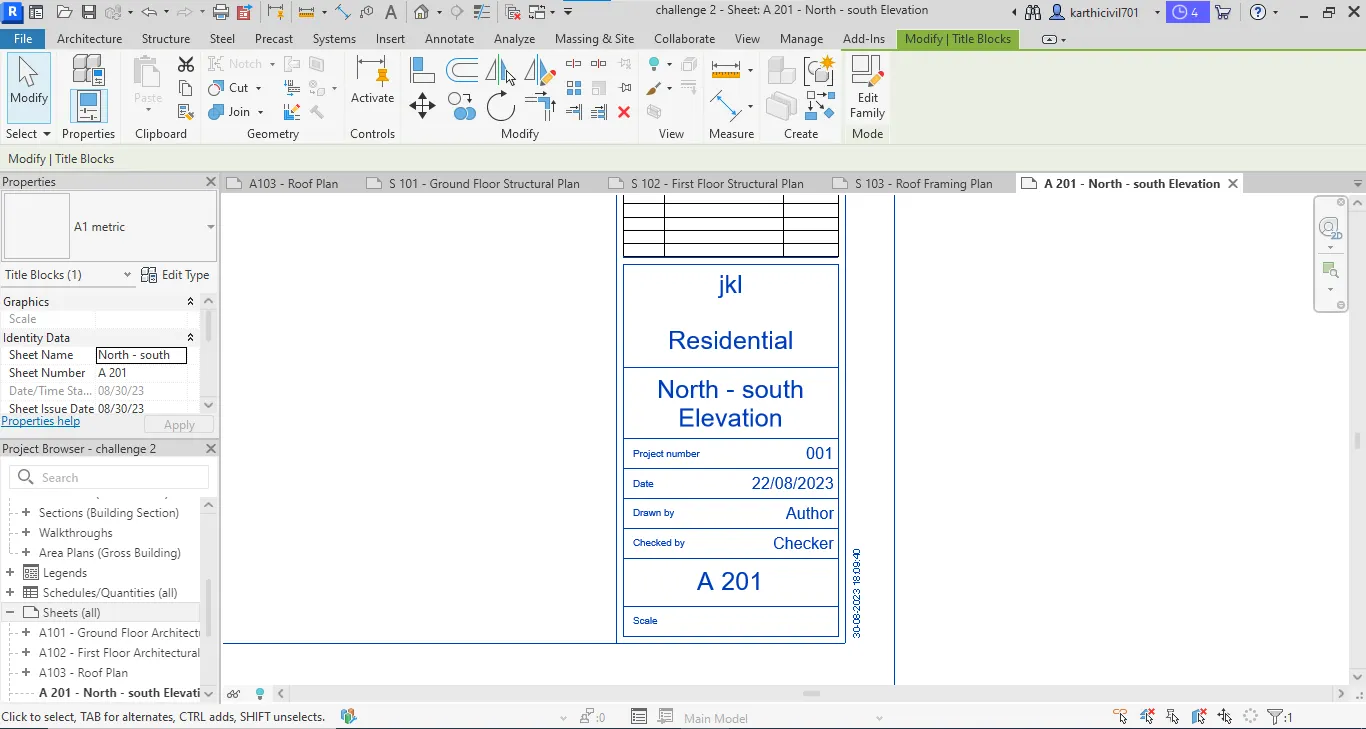
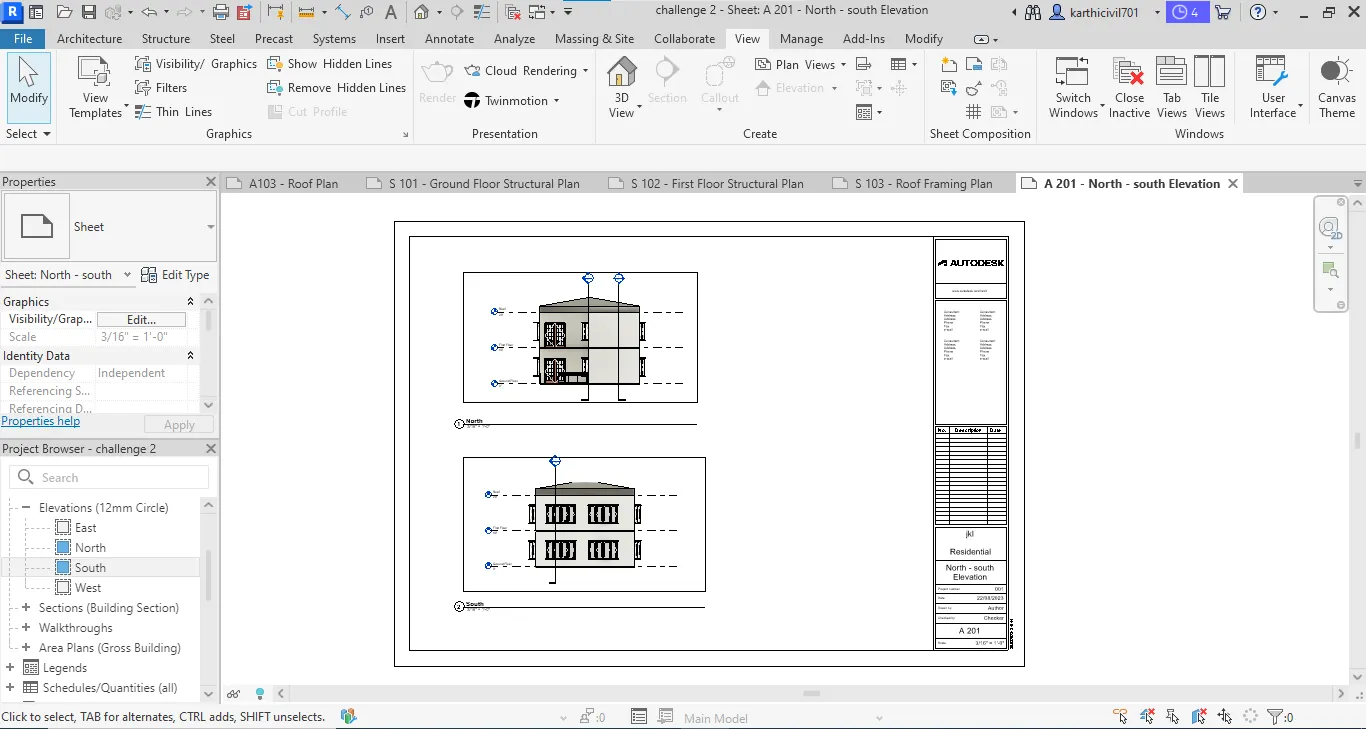
g. A 201 - North - south Elevation:
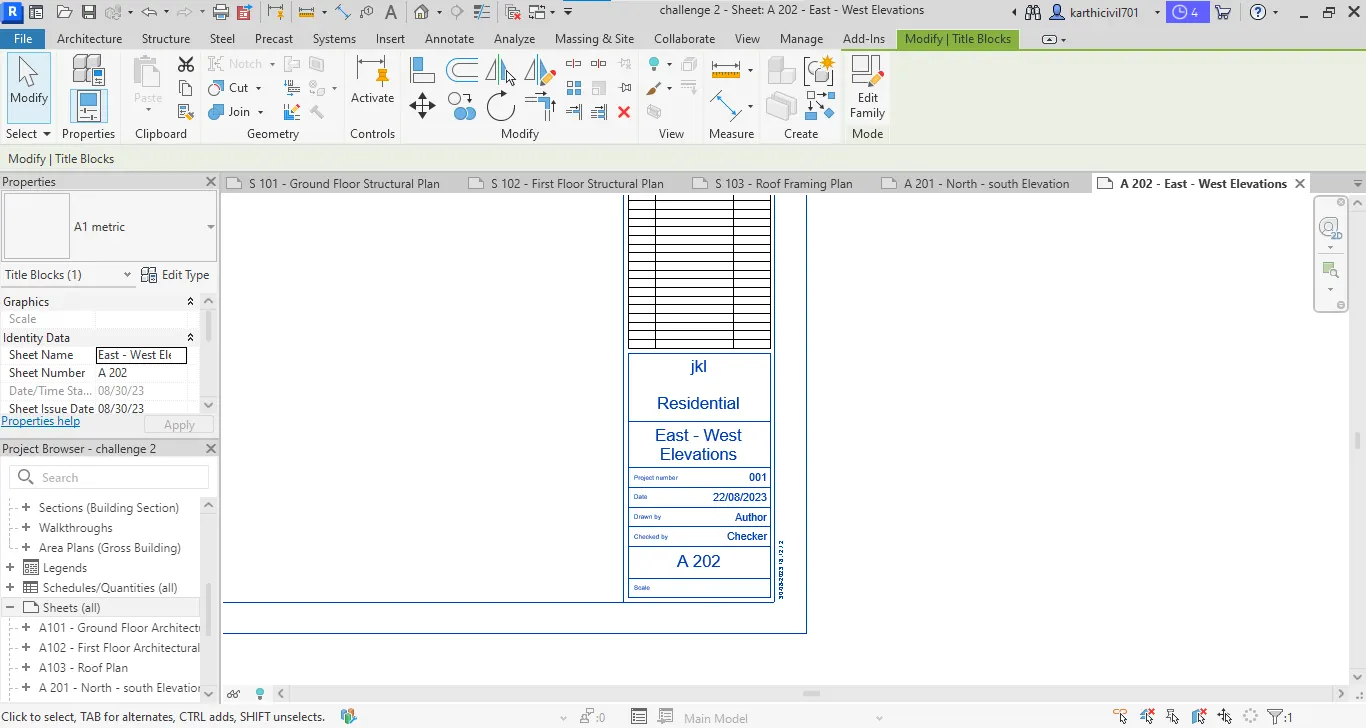
h. A 202 - East - west Elevation:
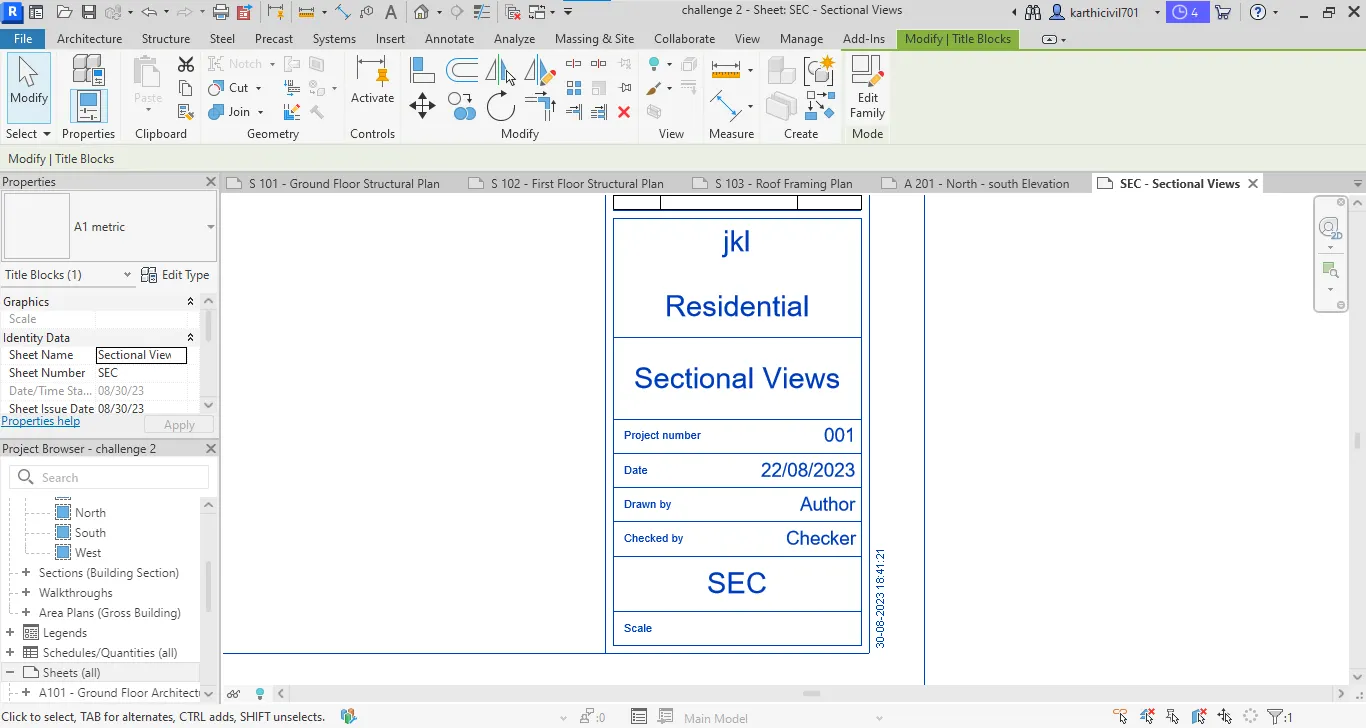
i. Sections:
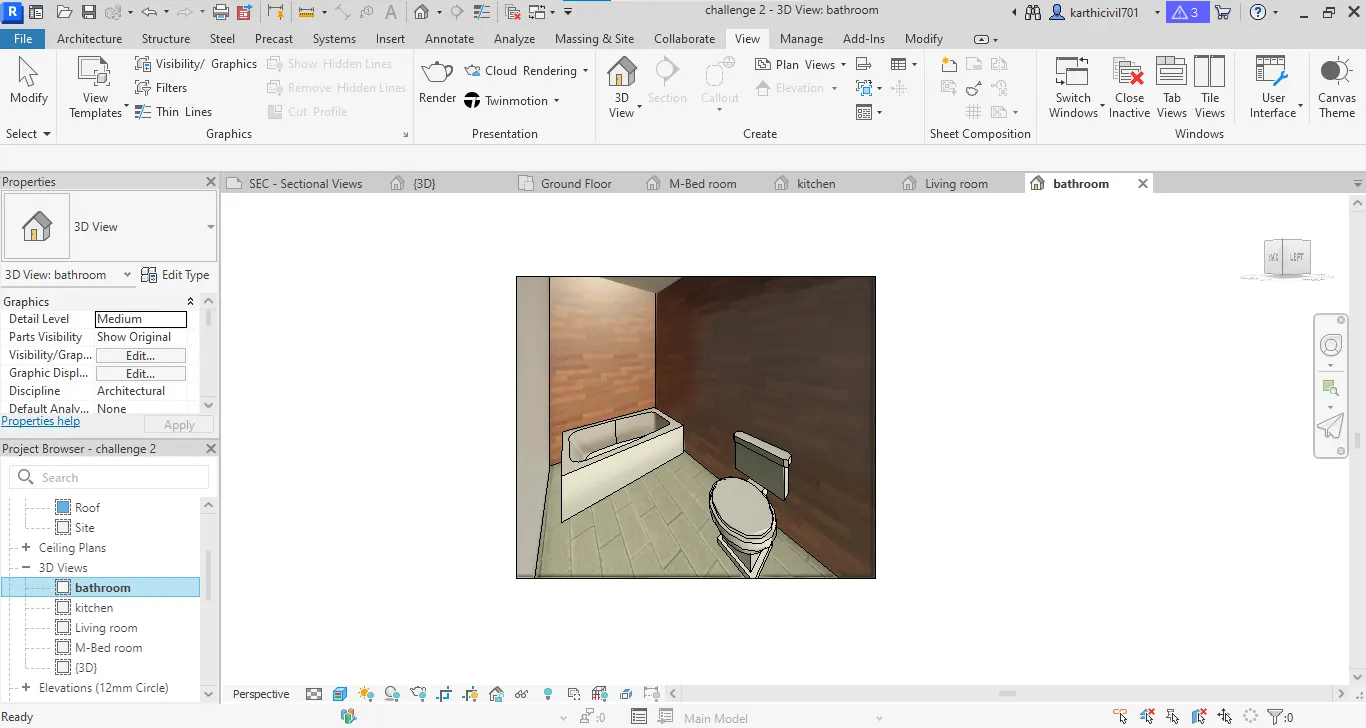
10). Camera-specific view or 3D view of each room:
Step by step procedure:
a. Master bedroom 3D view:
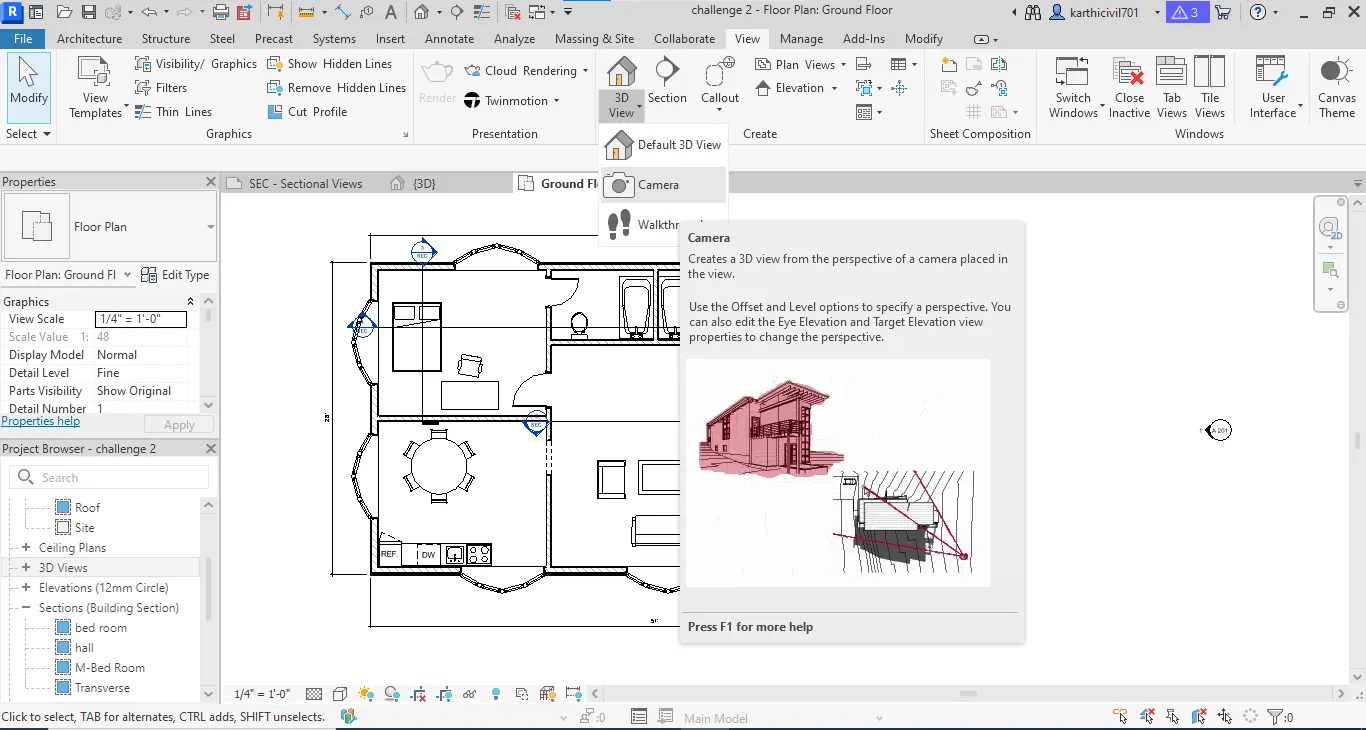
- On the ground floor plan goto the view tab on a top menu bar,
- Then choose 3D view and select camera tool,
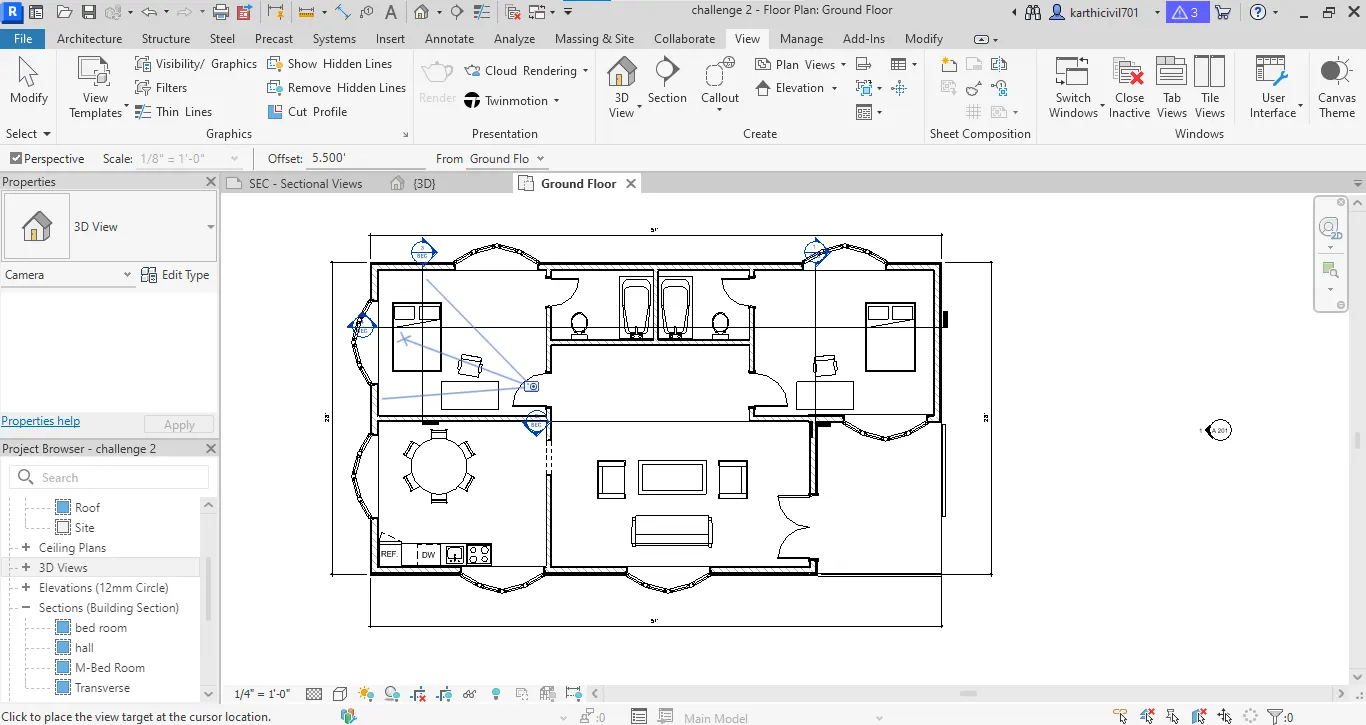
- Place a camera and drag it to the better visible wise then select it,
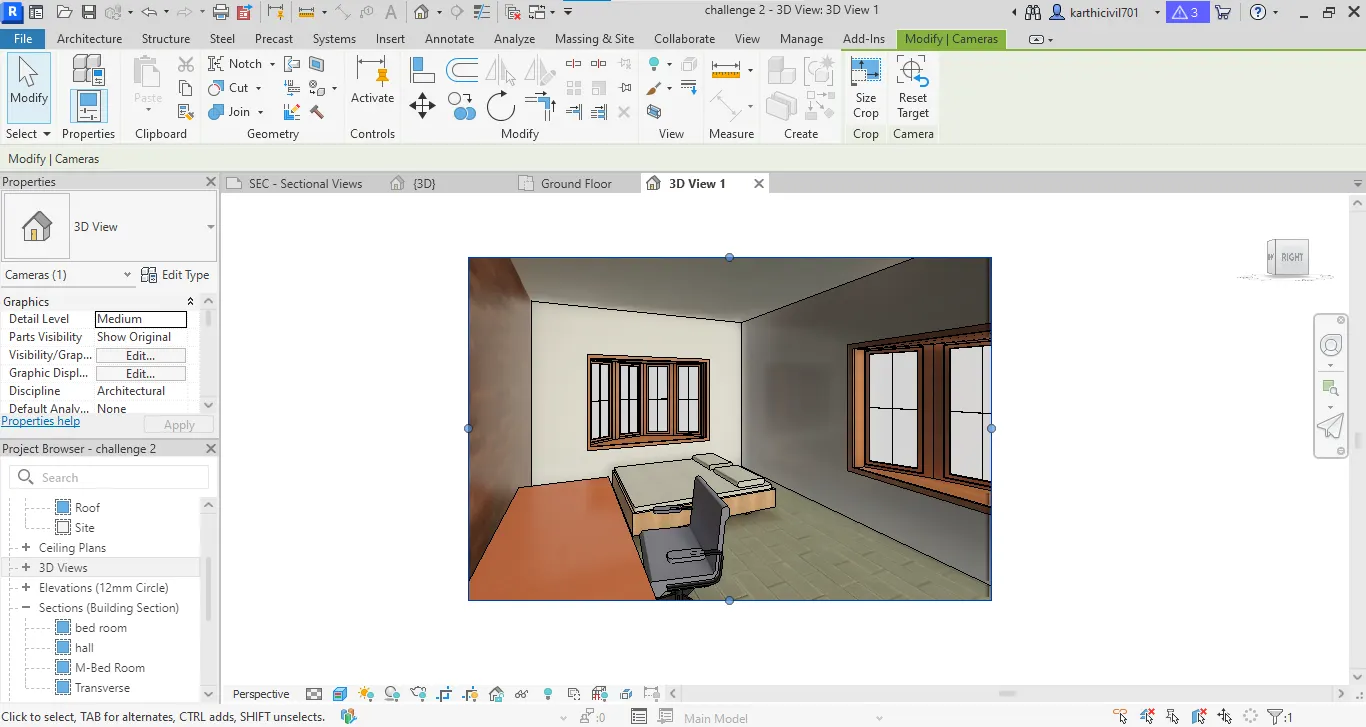
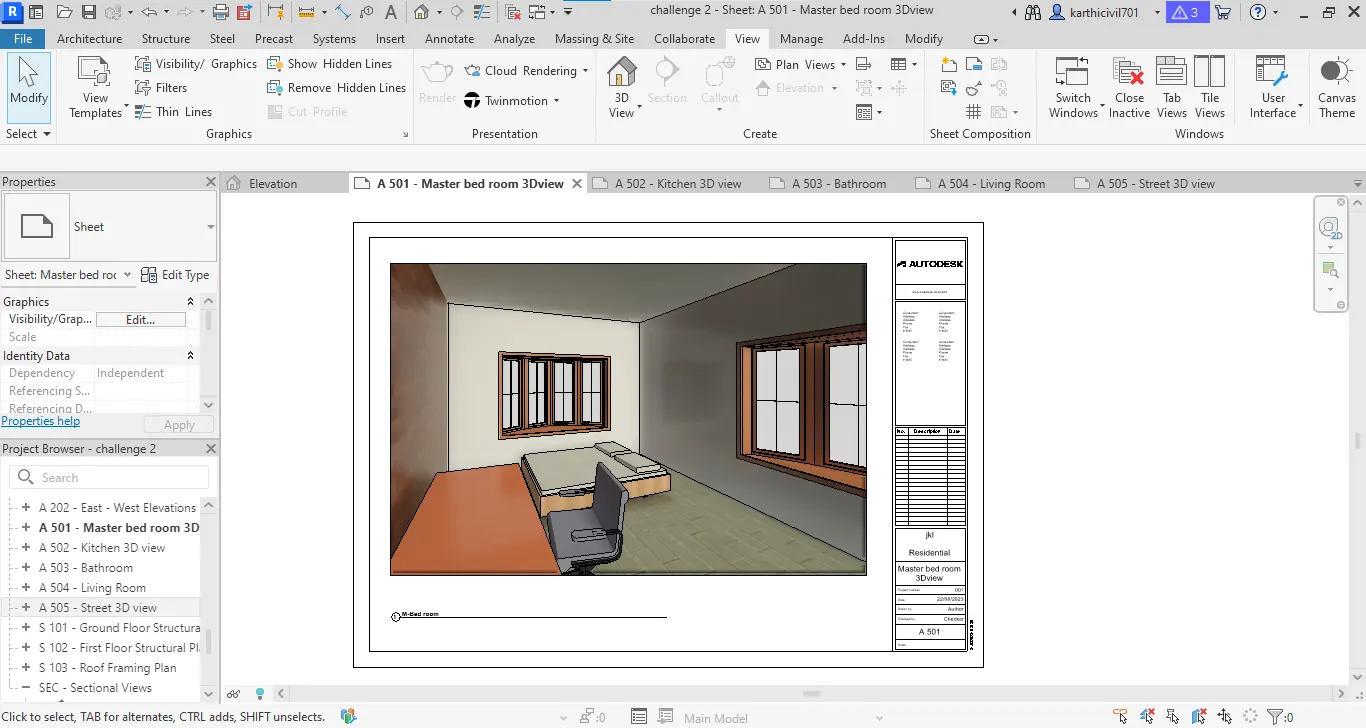
- The camera 3D view will appear on screen and rename it as M-Bedroom,
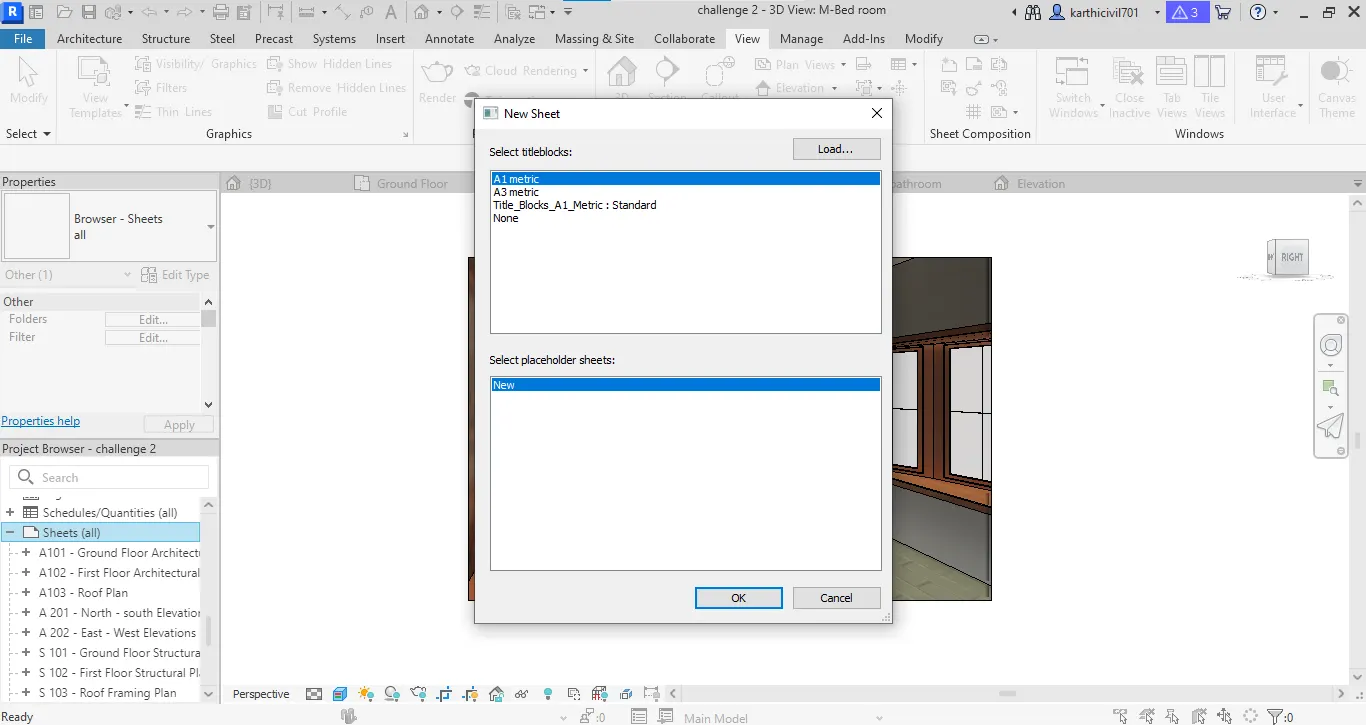
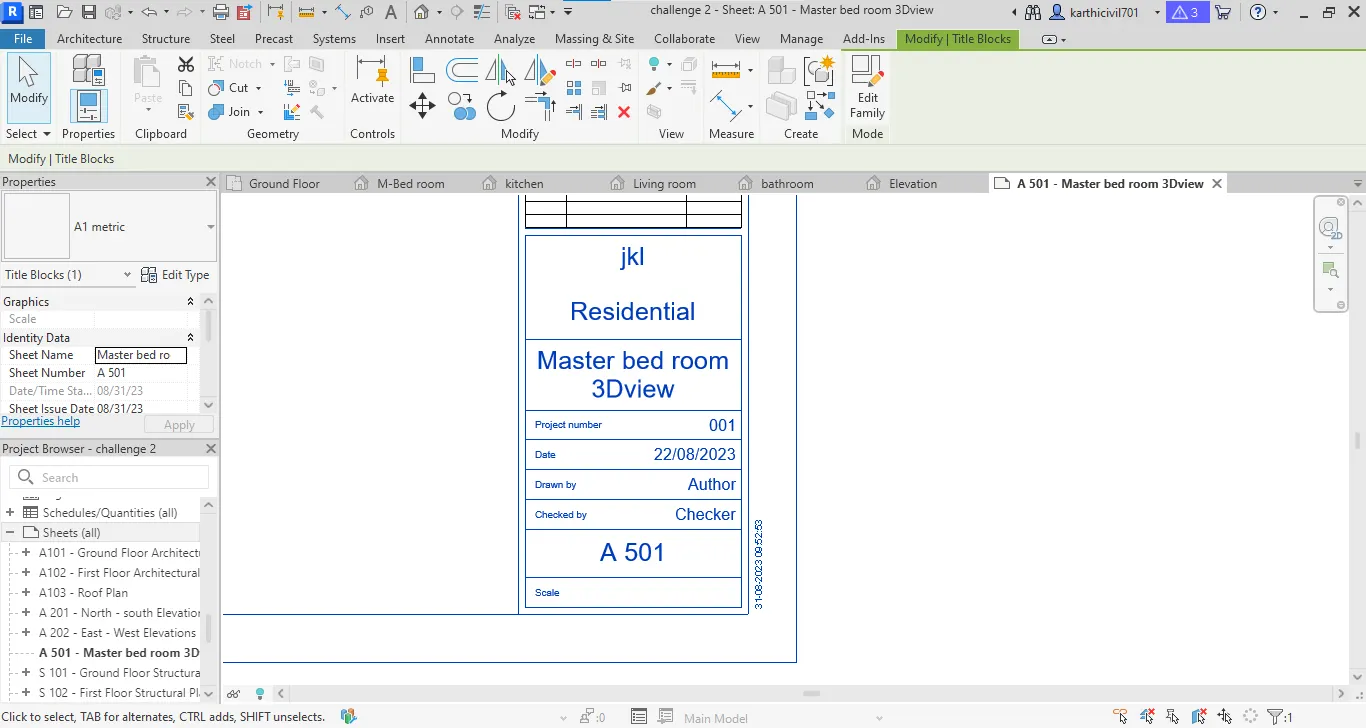
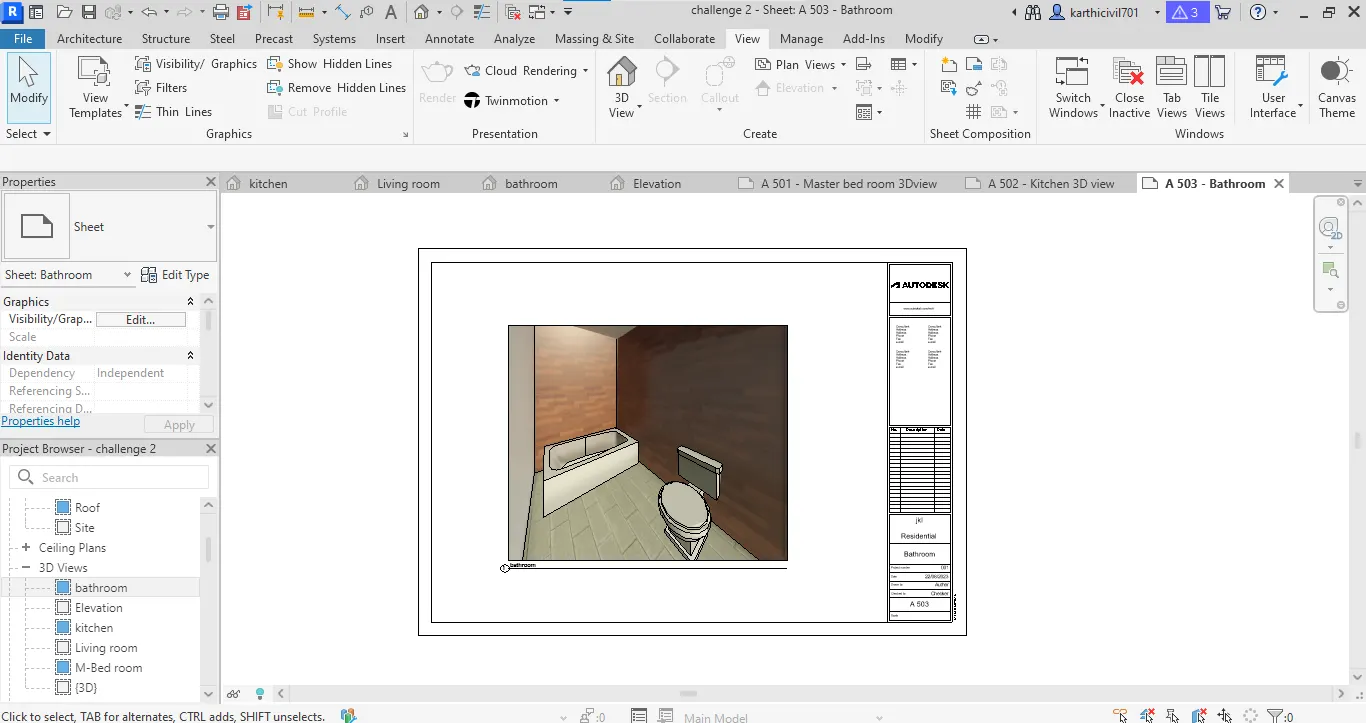
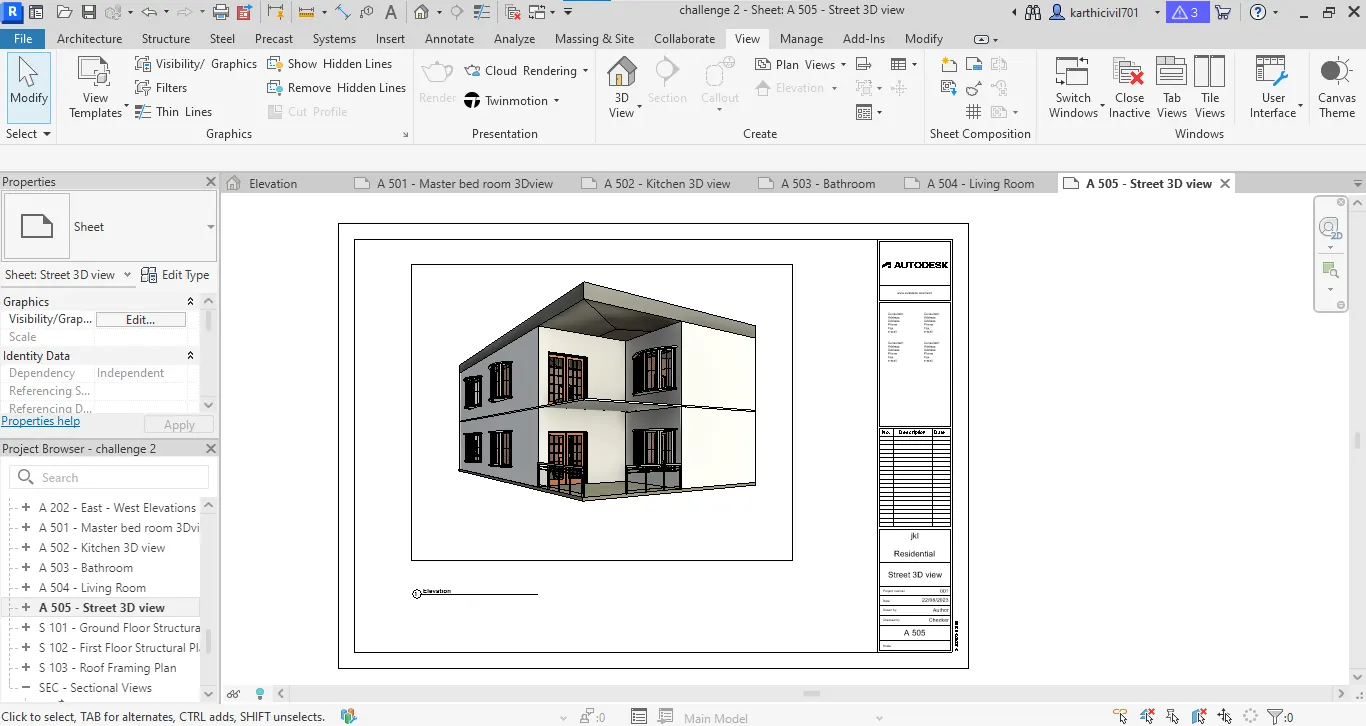
- Then goto sheeting on the number was A 501 and rename as master bedroom 3D view,
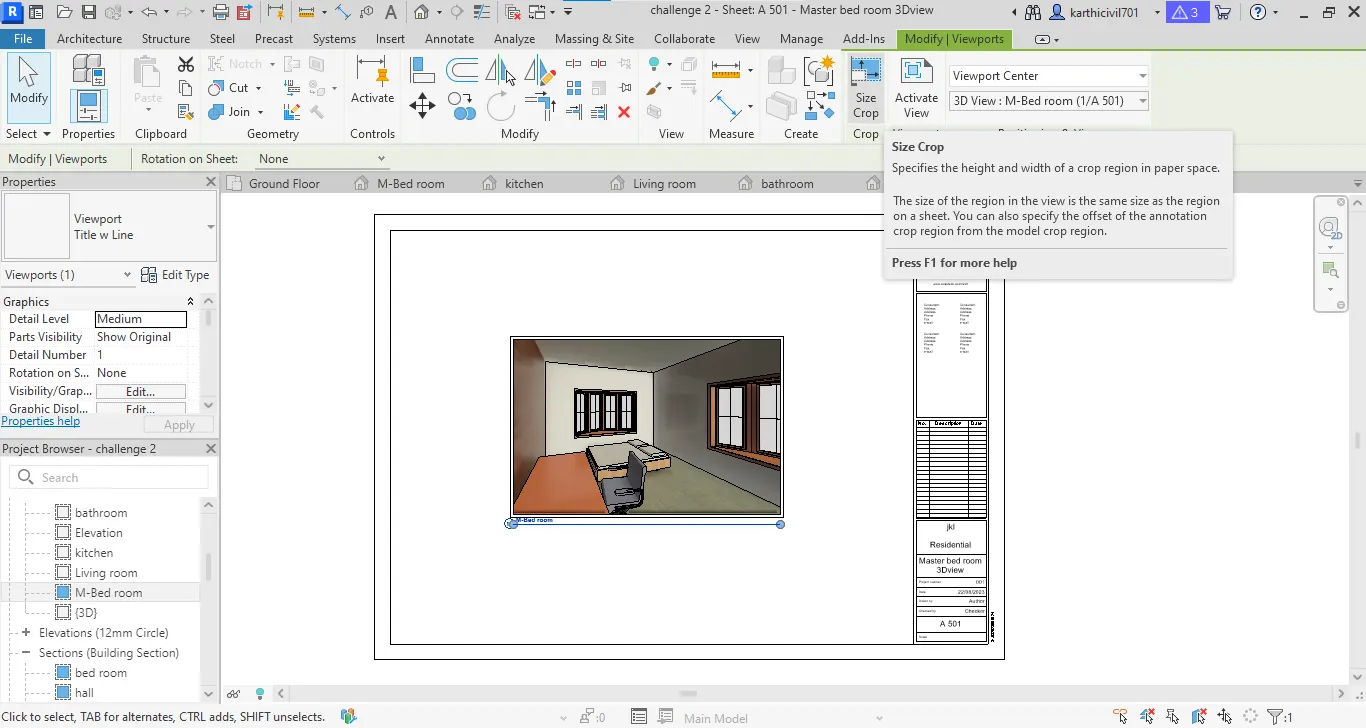
- And drag and drop the M-bed view,
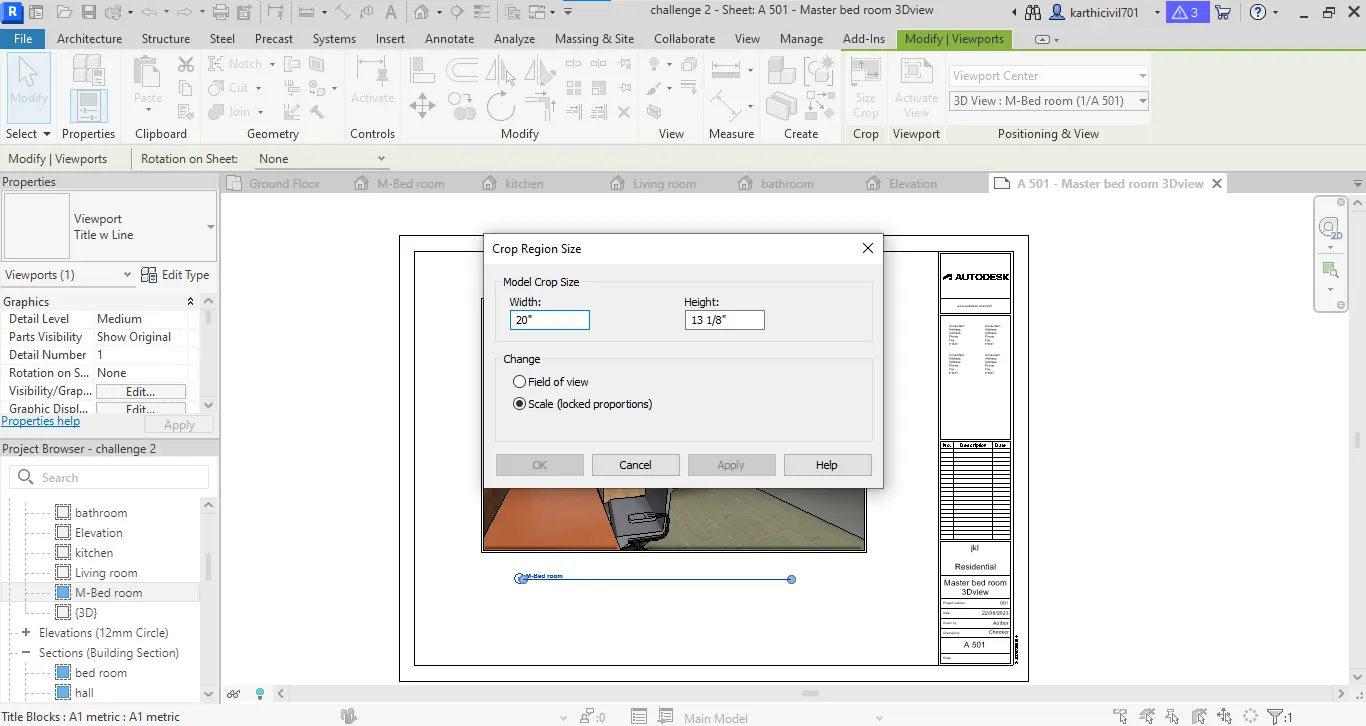
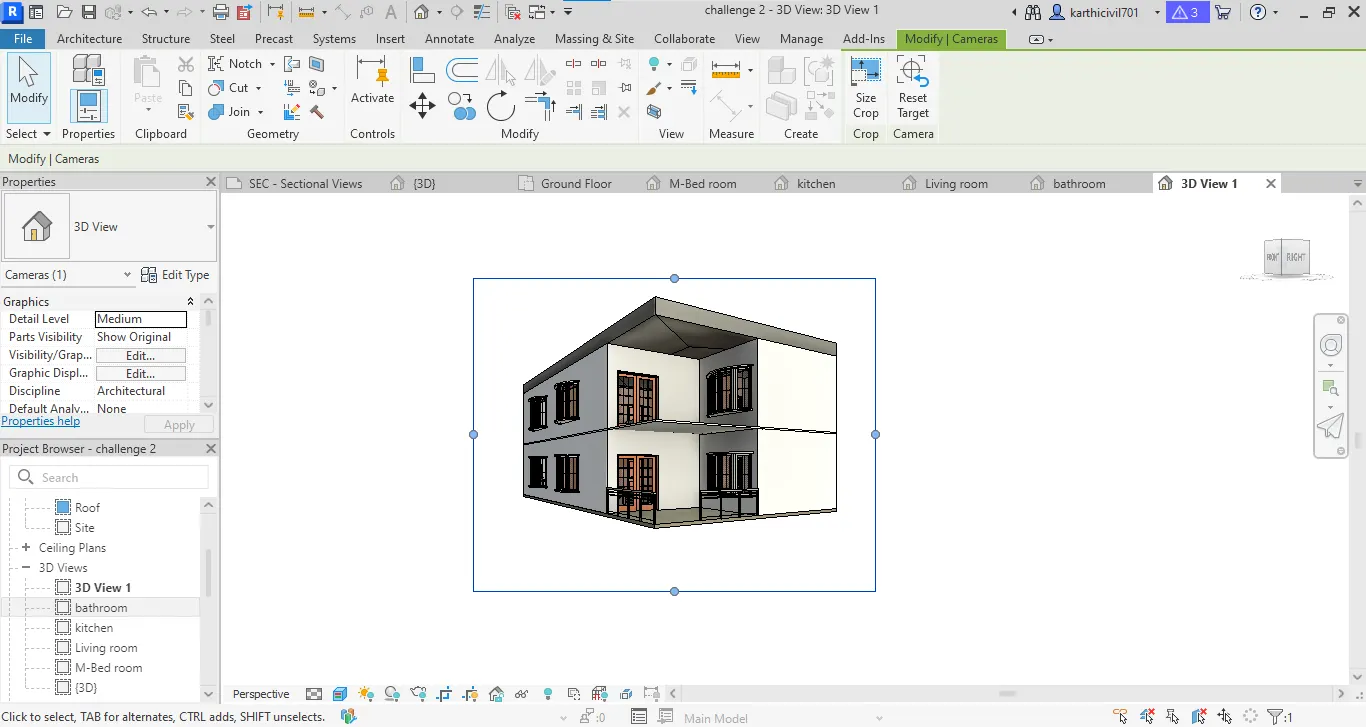
- Then if you want to change the size select size crop tool then change the scale to adjust it.
- same procedure to be followed on all 3D views.
b. A 502 - Kitchen 3D view:
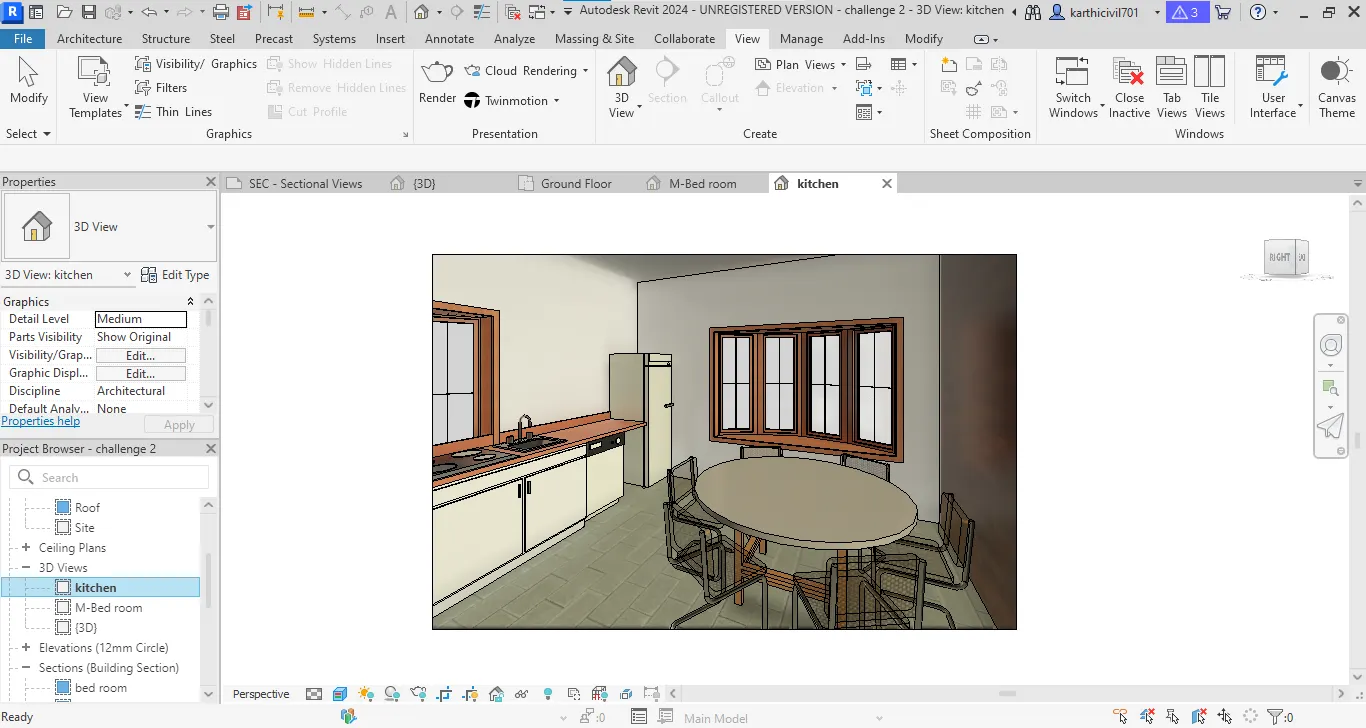
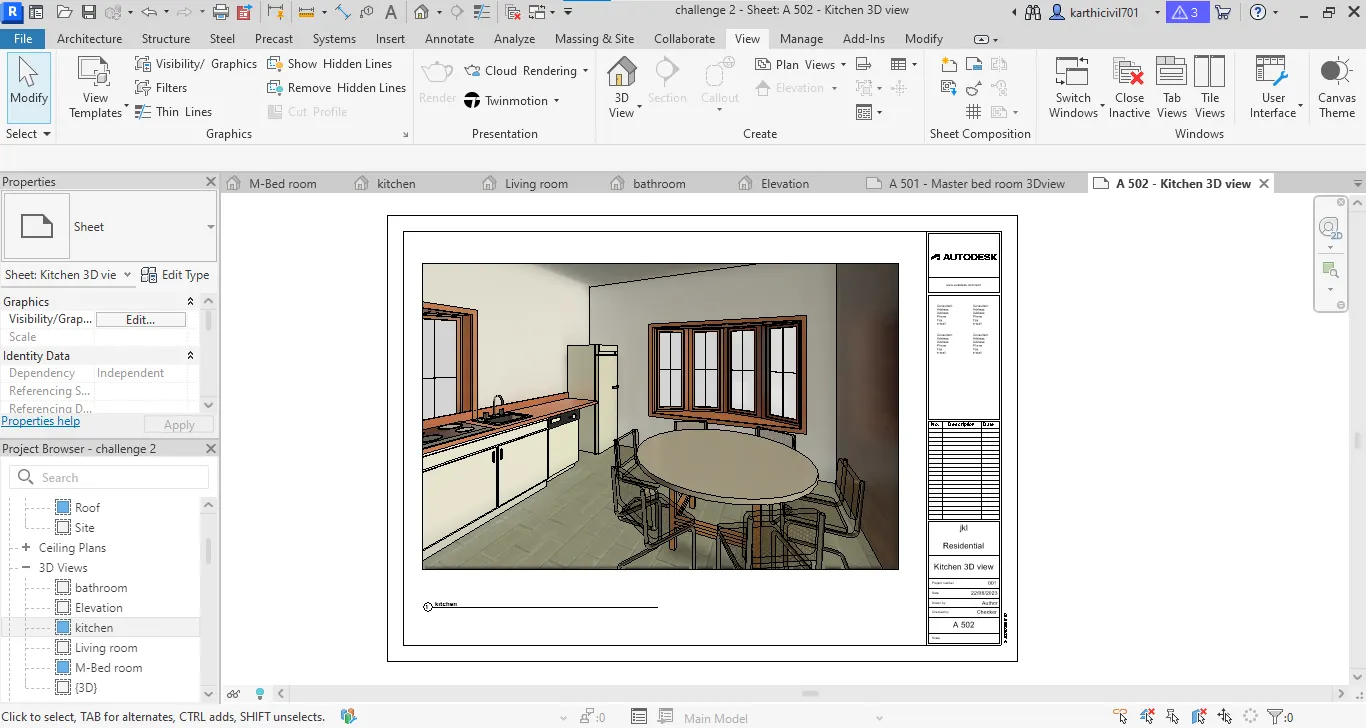
c. A 503 - Living room 3D view:
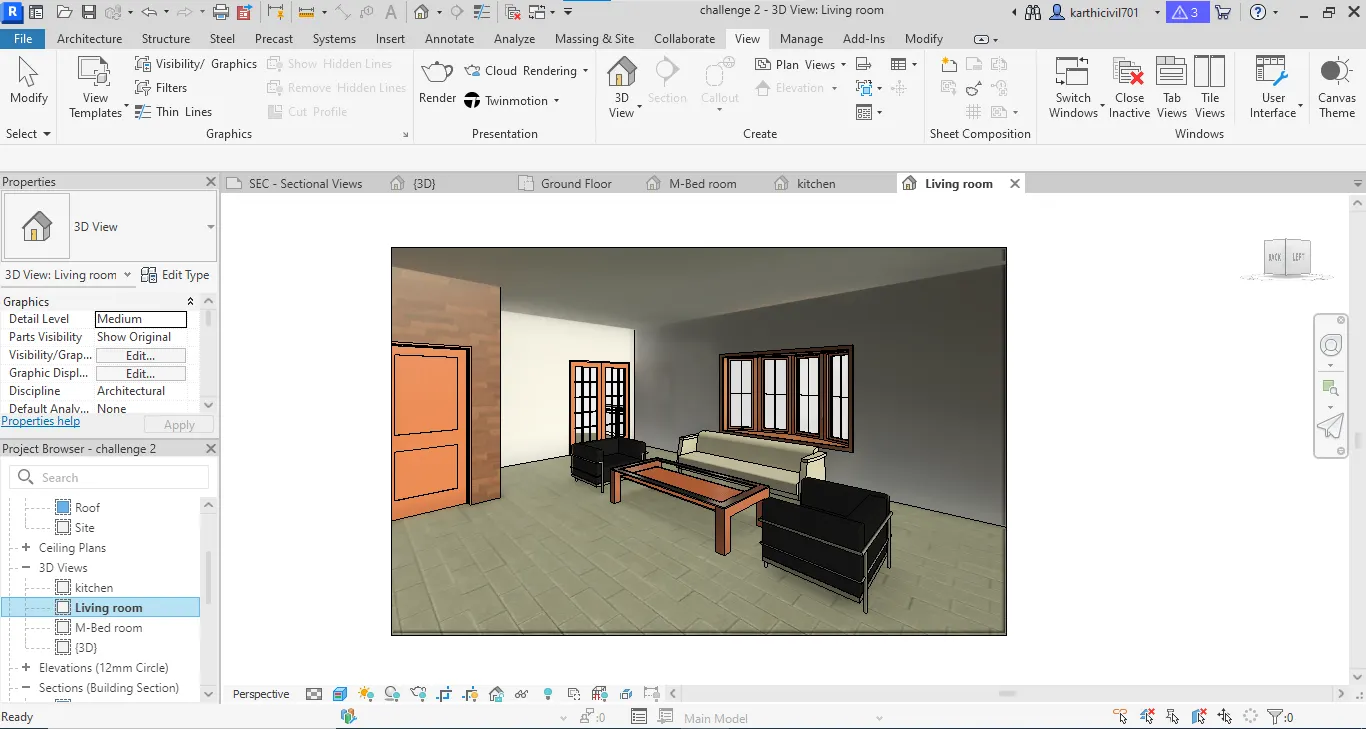
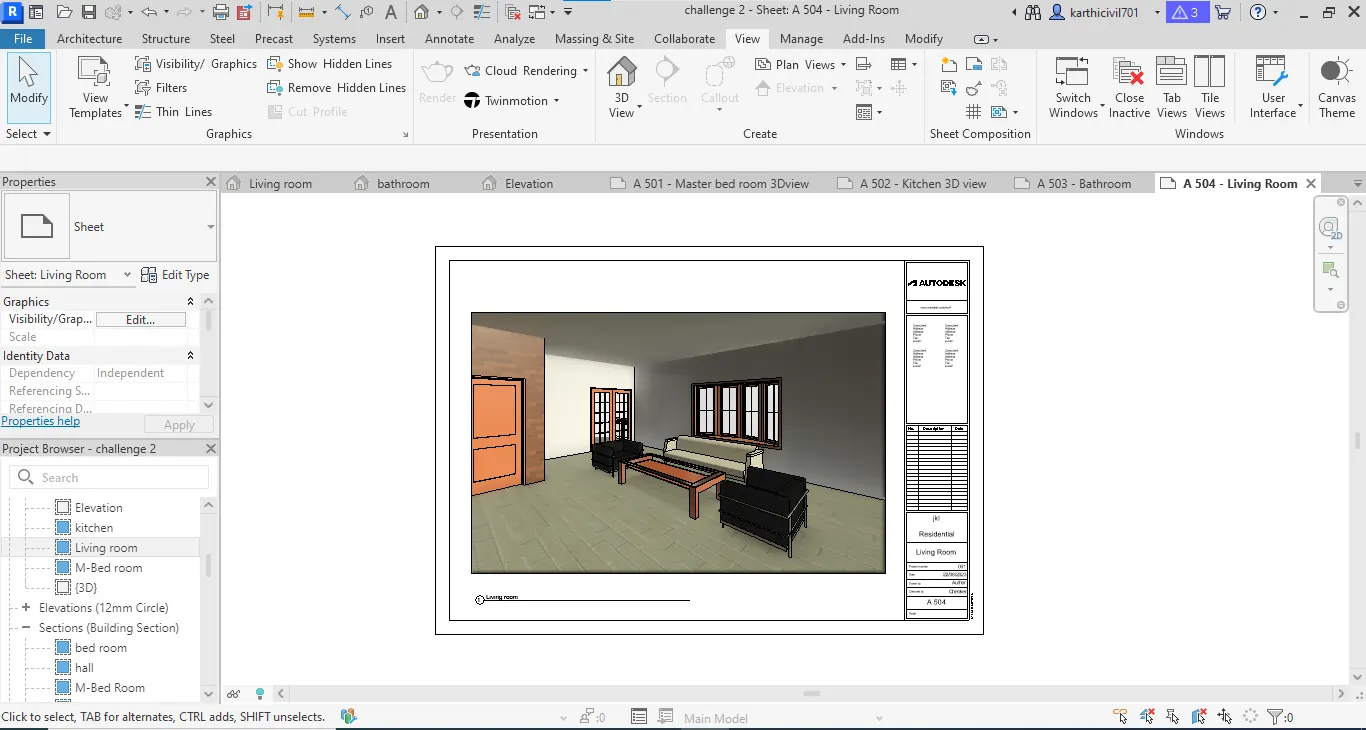
d. A 504 - Bathroom 3D view:
e. A 505 - Street 3D view:
Result:
The 3D creation of ceiling, roof, Architectural plan, structural plan, sectional view, elevation view and camera specific view for a house plan in revit was succesfully completed and result file was attached.
THE END