How to Create Emboss in NX CAD?
For creating emboss in NX CAD, we use a command called Emboss. With parameters for end cap placement and shape, the emboss command in Siemens NX modelling is used to generate an embossing by modifying a body with faces by projecting a segment along a vector.
 Navin Baskar·2 Jan 2023·1 min read
How to Create Emboss in NX CAD?
For creating emboss in NX CAD, we use a command called Emboss. With parameters for end cap placement and shape, the emboss command in Siemens NX modelling is used to generate an embossing by modifying a body with faces made by projecting a segment along a vector.
This article explores the steps involved in creating a simple emboss from a given surface and also, the method of creating an emboss with a flat surface with the help of a datum plane.
Steps Involved in Creating Emboss in NX CAD
1. Open the required model
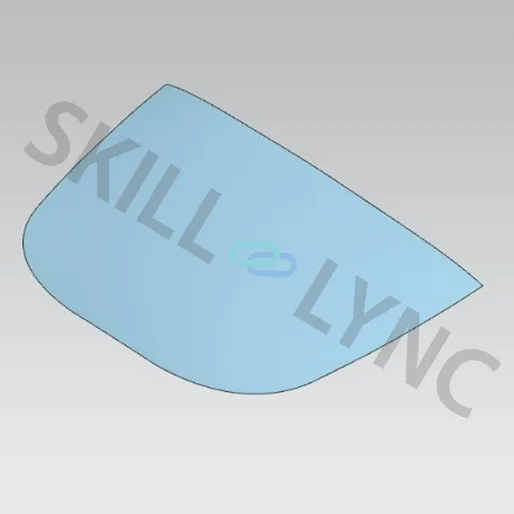
2. Create the sketch for the emboss
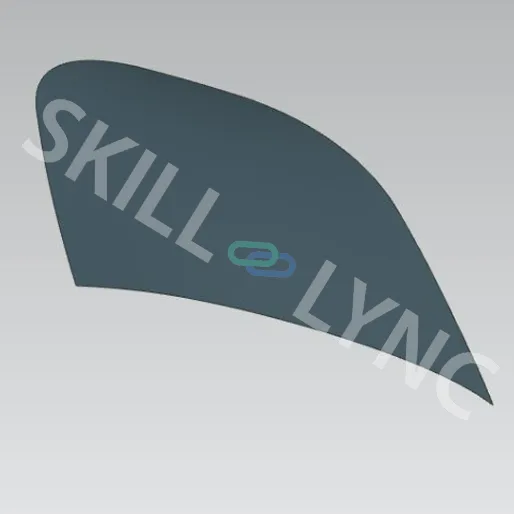
3. Project the sketch on to the surface of emboss creation
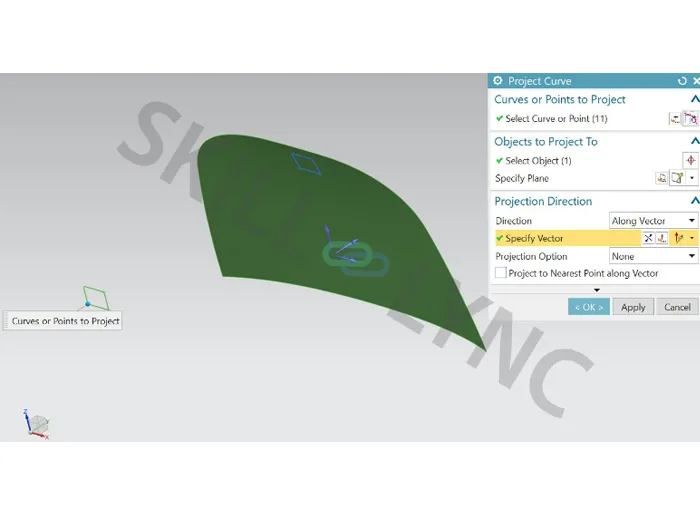
4. Use the emboss command for the creation of emboss
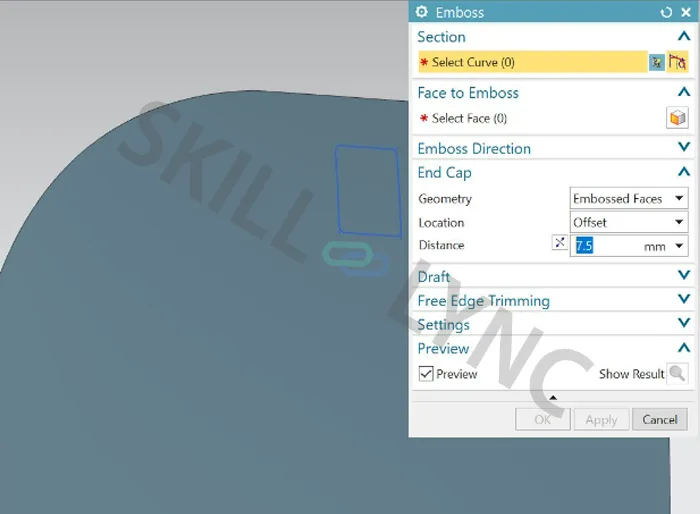
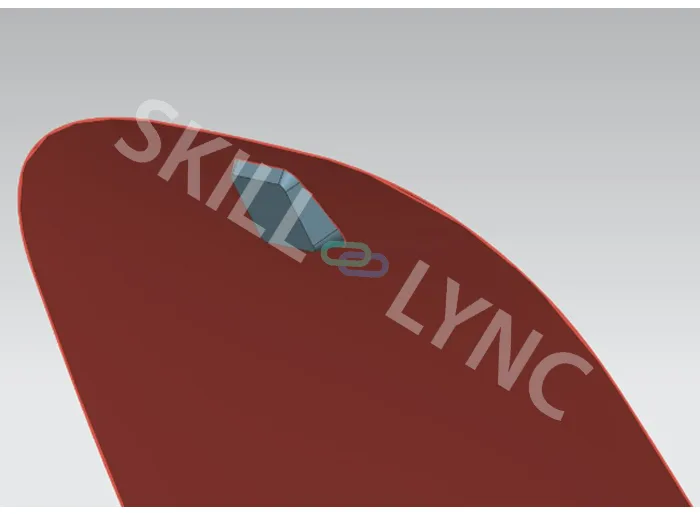
5. Now select the curve and face for the emboss creation. Here we go for the default option with the embossed face as end cap geometry
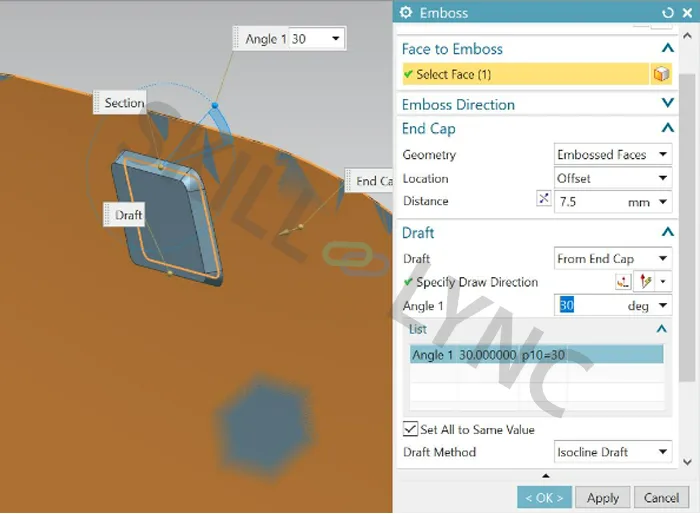
6. The emboss can be created this way but the embossed surface will not be flat
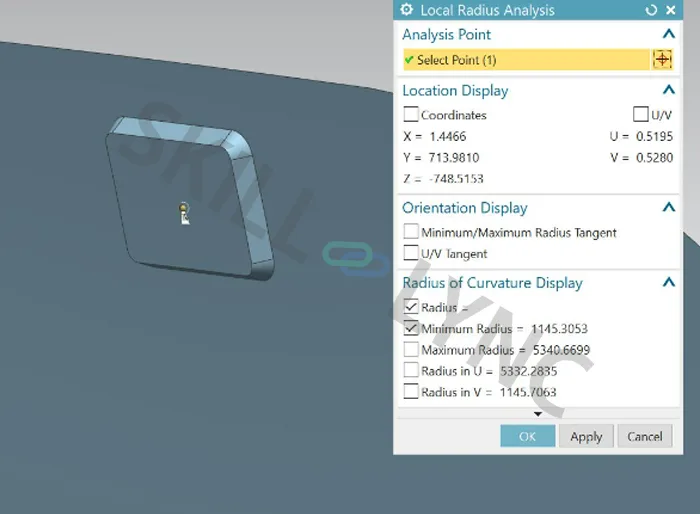
7. To create an emboss with a flat surface, we need to create a datum plane and use that datum plane as end cap geometry
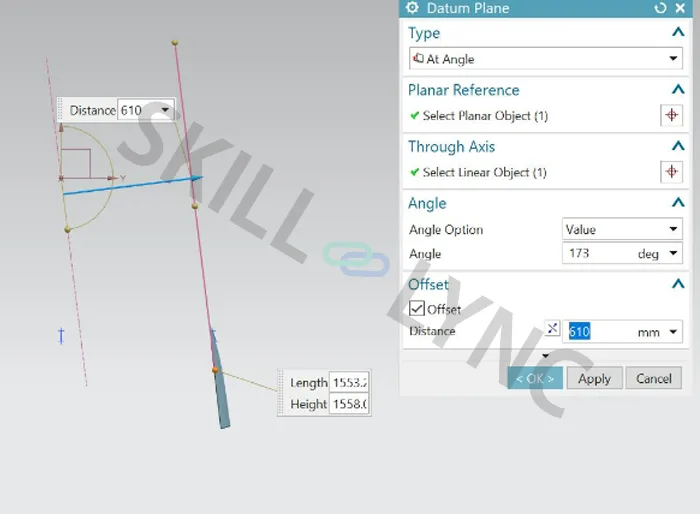
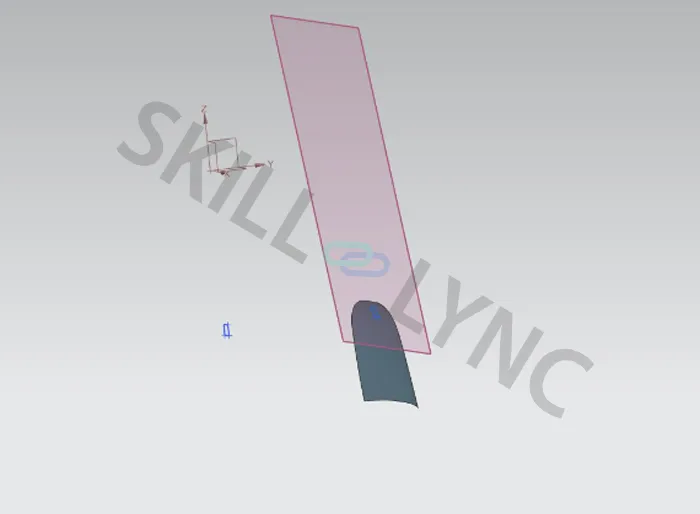
8. The emboss option is used, and the datum plane option is selected as end cap geometry.
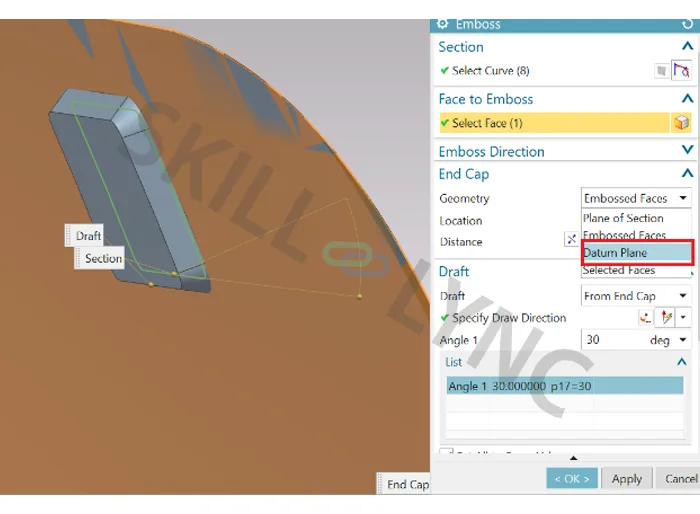
9. Now select the datum plane to create the emboss with a flat surface.
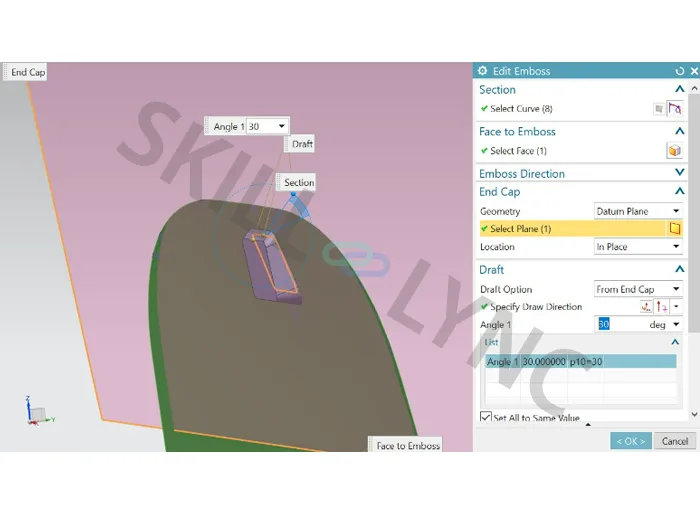
10. Now you have the embossing with a flat surface.