Wiring harness routing & packaging Rules Week 3 Challenge
1.
Report:
Download the P Clamp file and add to cad file and save the CAD file in the desired location.
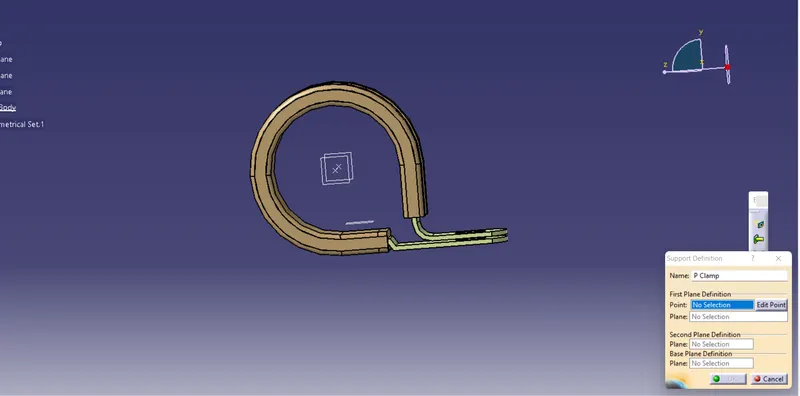
As Clamp has bi-direction entery and exit point so need to creat three plane and point. One point and plane for entry and other for exit and other for base plane.
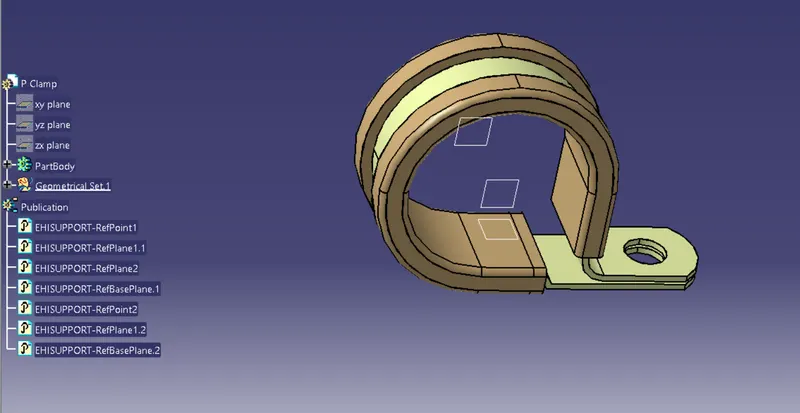
Now mention the axis as Y in the outward direction and X in locking side and Z in upward direction.
Define All the electrical Properties and save the file.
2.
Report:
Download following Back shell cad data & define it as Electrical back shell using Electrical Part design Workbench.all the necessary properties.
AMP
- TE Internal #: 1738312-1
- TE Internal Description: BACKSHELL KIT,STRAIGHT,GPRB1
- Protection & Strain Relief Accessory Type : Backshell Kit
- Sealable : No
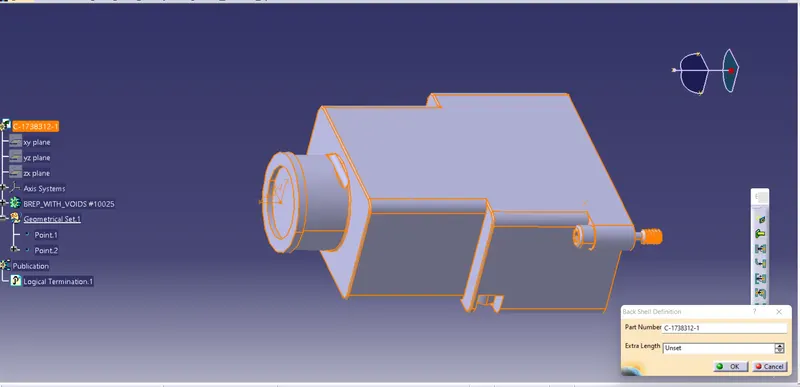
Define the point on the connector entery point and mention the axis system as mention above and switch to the Electrical Part design. Go tto Back Shell definition and slelect the length to unset the click Ok.
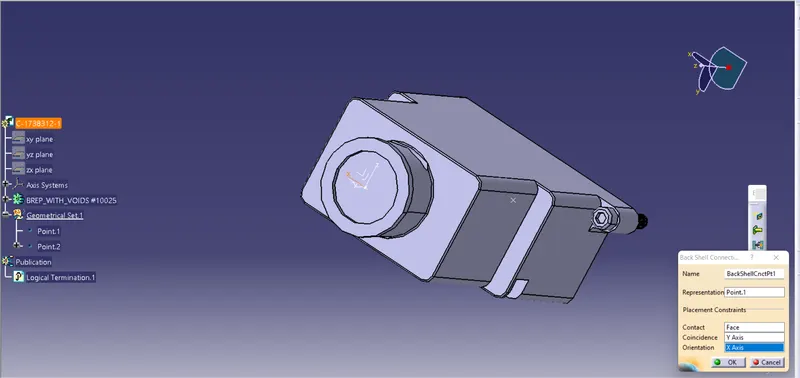
Creat a Backshell Conceentration Point with representation point as the origin point and contact as the face and concide with Y axis and orentation with X axis.
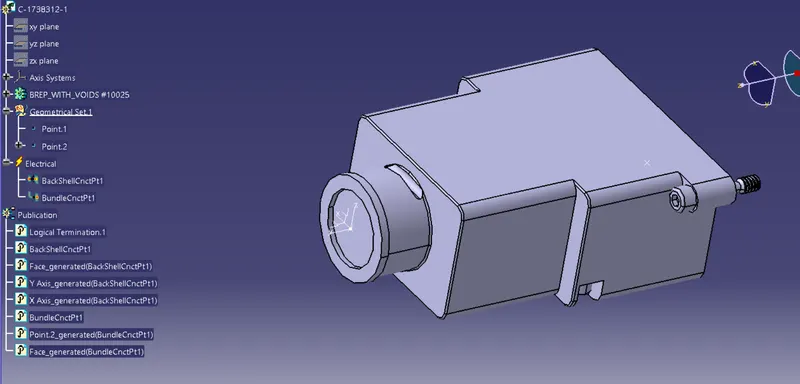
Now creat the Bundell Conc Pt similary as above and save the file.
3.
Report:
Creat a part name with desire size as 35mm_COT and creat the part.
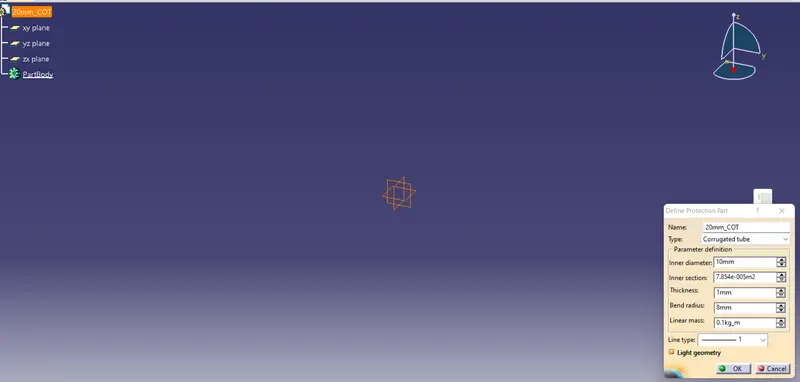
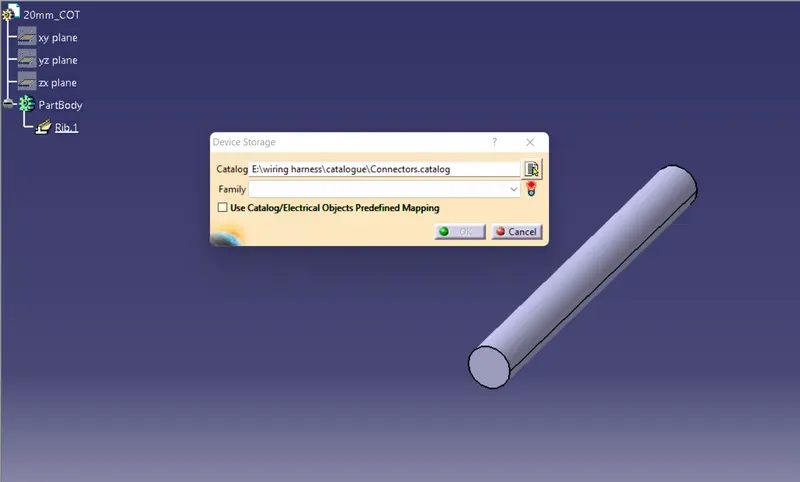
Select the Define protection and select the part body mention the Inner Dia and Outter Dia and thickness which is usually 1.5 times. and 1.5 times for the bending Radius.
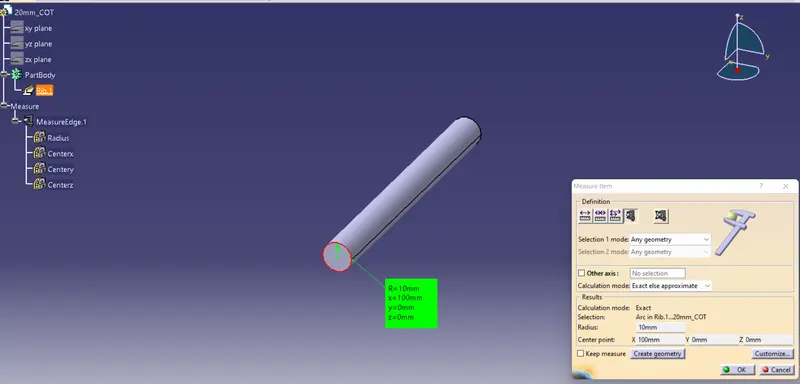
Creat a new Catalogue with the name Slit COT and save the file in the above catalogue.
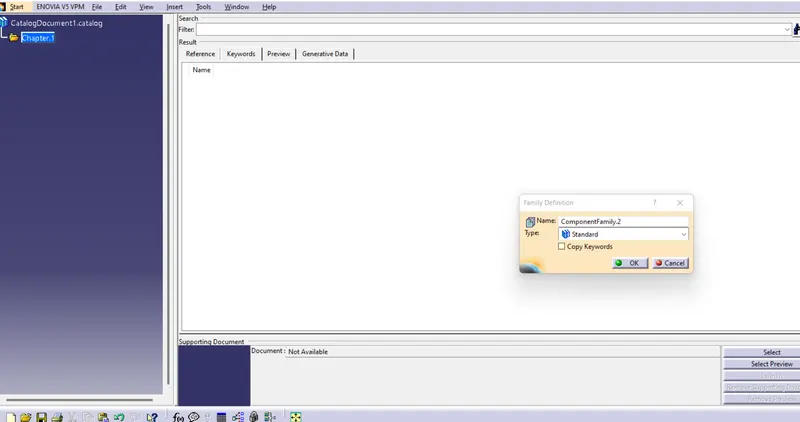
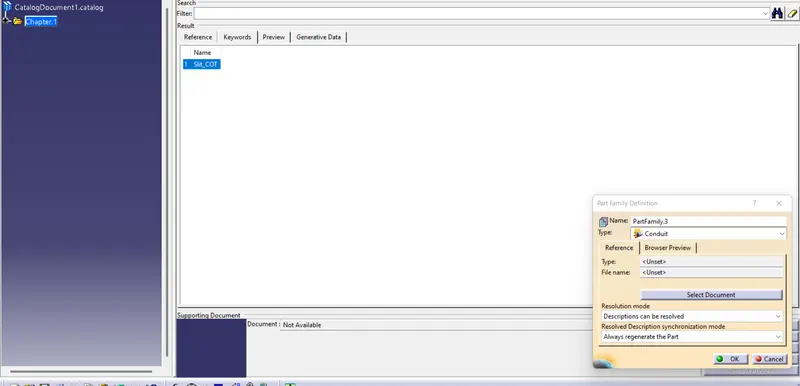
Save the file in the recently savent Slit COT catalogue