Wiring harness design in CATIA V5 - 3D modeling Week 7 Challenge
Solution
The harness is assembled and routed in accordance with the provided references.
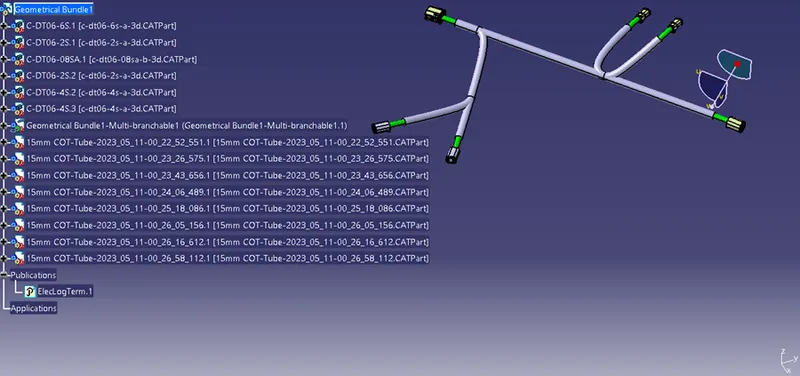
Flattening of Harness:
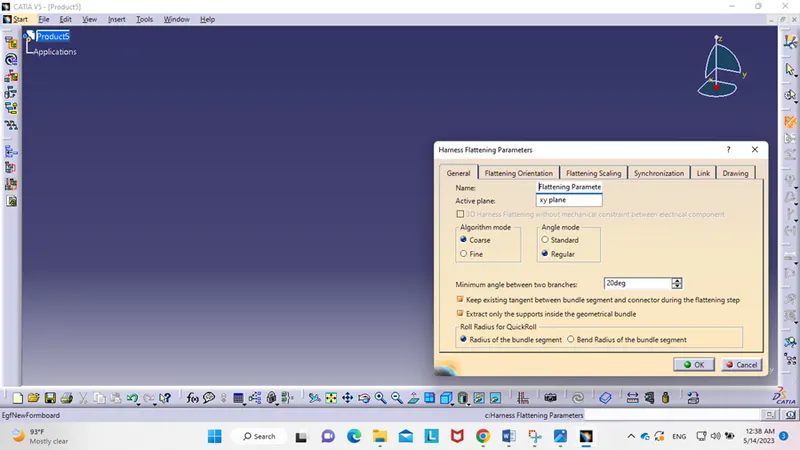
- We create a new product, then we specify the workbench to be “Electrical Harness Flattening”. Define the flattening parameters at the harness flattening workbench. After that, we can rename the product file name from the properties. In this challenge, we name it as “Flattening Challenge”.
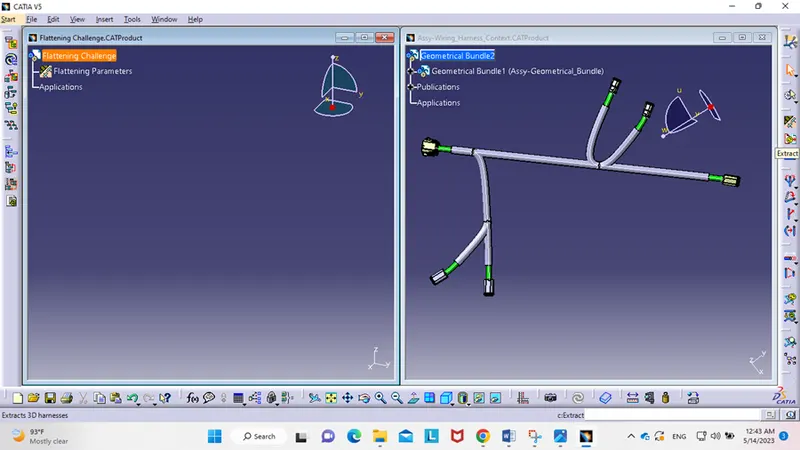
- Tile the two windows vertically. The harness assembly is imported to the flattening workbench using the extract command.
- Once the assembly is imported to the flattening workbench, click on the “Flatten” command. The harness assembly is flattened once we select an appropriate plane.
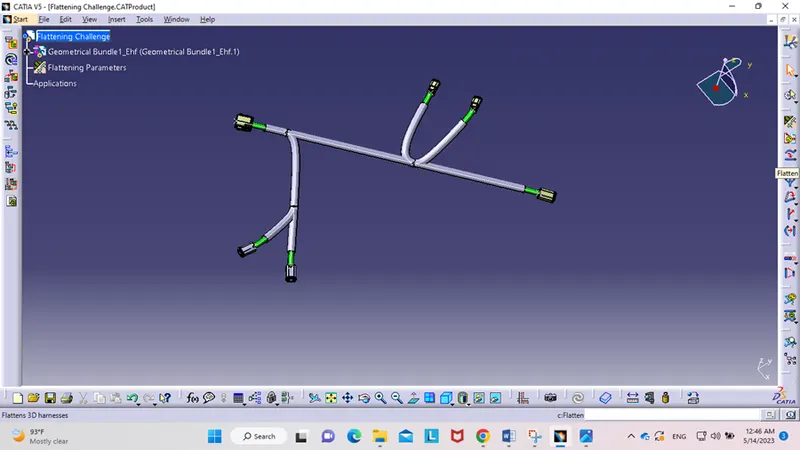
Then
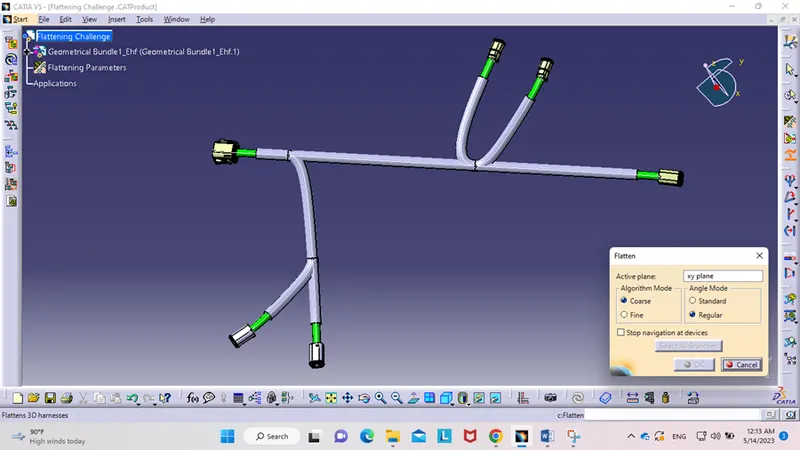
Flattened View
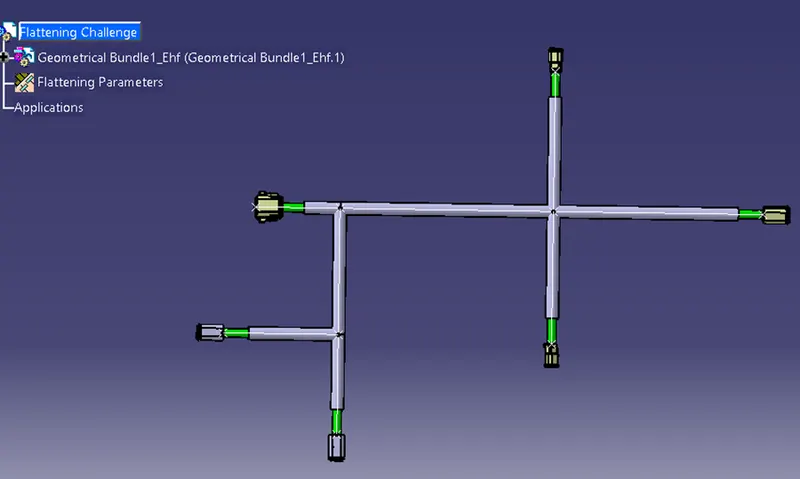
- The required angles are used to spin the bundle segments. After that, the harness assembly becomes drafted. For the purpose of creating the bundle and the corrugated, flattening parameters are defined.
Conversion of 2D Flattened Assembly to 2D Drawing
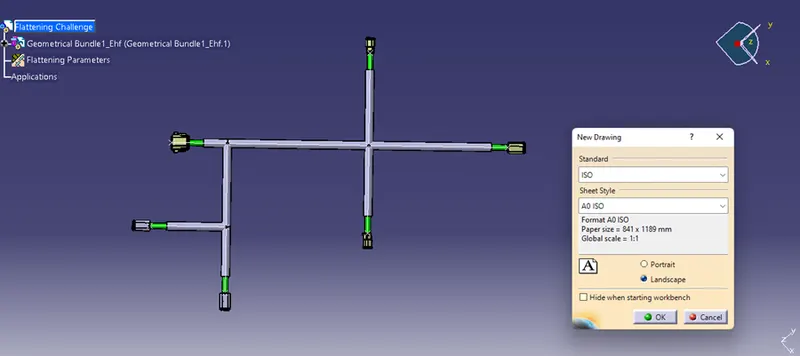
Create a new drawing file, by clicking on file, then new then Drawing. After that, specify the drawing sheet parameters, and save the file.
The newly created sheet is shown below
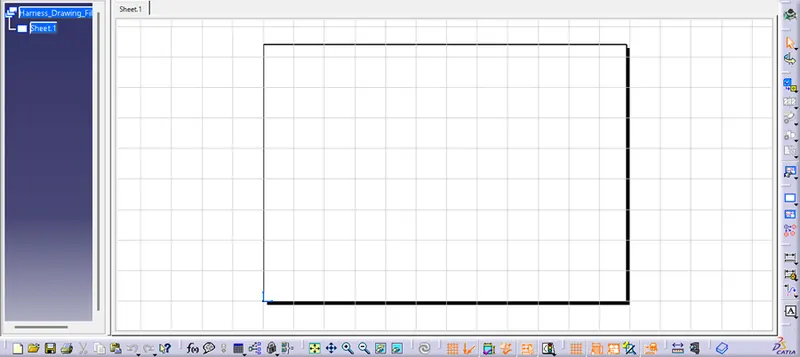
Click on “Front View” command. Tile the harness flattening window and the “Drawing” window vertically. Select a surface for flattening and then the drawing will immediately be shown on the Drawing workbench.
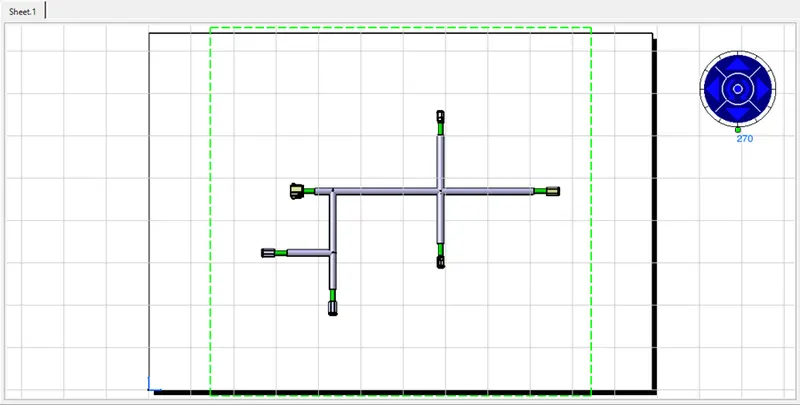
Once the drawing is placed at the desired location, click anywhere on the sheet outside the green border to see the final sketch.
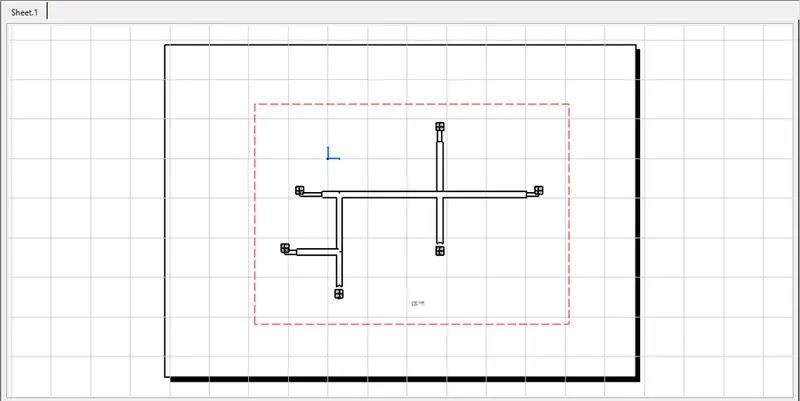
Save the drawing file after placing the harness on the sheet in the same directory.