Wiring harness design in CATIA V5 - 3D modeling Week 7 Challenge
Aim:
To flatten the harness assembly using electric harness flattening workbench and make 2D Drawing of routed wiring harness assembly after flattened.
As we have already completed the week 4 challenge, open both electric harness assembly and flatening work benches in a vertical window to extract the bundle assembly to flatten.
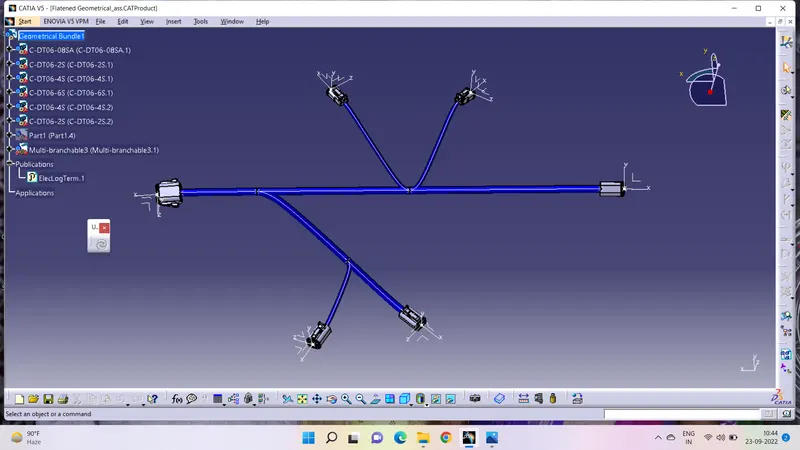
Arrange the connectors in apropriate manner using compass or manupulation tool
The flattening parameters must be selected after opening flattening work bench
Go to settings and set all the required elements in general and drawing. Keep rest as default in it.
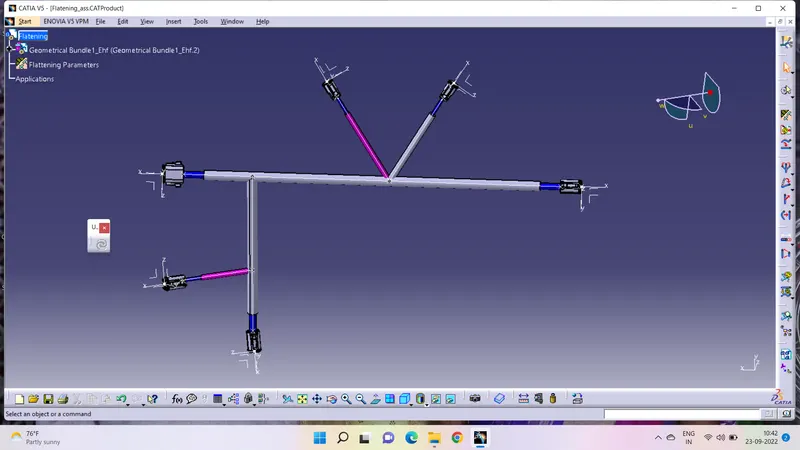
After adding all the protective coverings and tapes, flatten the bundle and arrange the bundles with the help of rotate tool.
Always ensure that the connectors are visible properly so that it wont effect our 2d drawing.
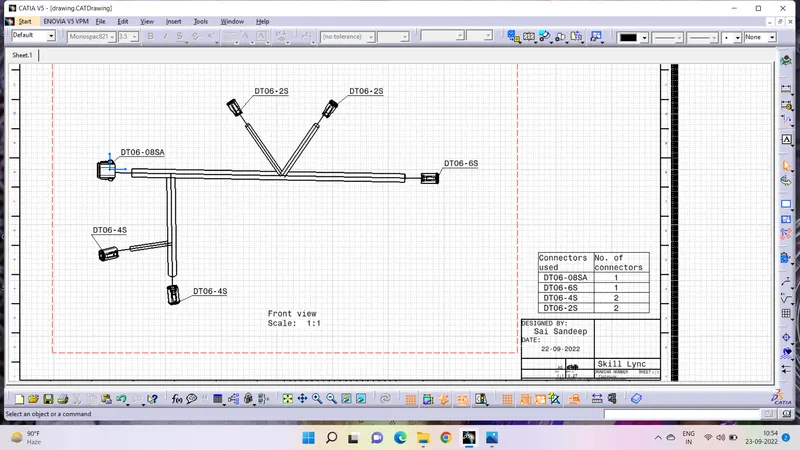
To select the drawing sheet:
- File - new - drawing - select the sheet size and views
To import image into the sheet:
- Select front view and click on the surface or side of the flattend bundle assembly and click on the sheet
To visualize the bundles:
- select the 3d wire frame and active always visible in it.
- Single line represents the bundle
- Double line represents the protective cover
Use Text option for naming the elements required.
For sheet background:
- Edit - sheet backgroud - title and frame work
- Give the naming and other required details in the sheet backgorund along with the boxes/tables.
Hence the 2D drawing is made from the flattened bundle assembly.
Kindly find the drawing file in the attached zip file.