Wiring harness design in CATIA V5 - 3D modeling Week 2 Challenge
WEEK-II CHALLENGE
WIRING HARNESS DESIGN IN CATIA V5
3D MODELING
AIM
Download following Connectors & Connector Clip CAD Data from given link & define it as Electrical Connector Using Electrical Part Design Workbench. Define all the necessary properties to Connectors & Clip.
- Deutsh DT06-08SA (https://www.te.com/usa-en/product-DT06-08SA.html)
- Tyco 174357-2 (https://www.te.com/usa-en/product-2-174357-2.html?source=header-match)
- Tyco 85229-1 (https://www.te.com/usa-en/product-85229-1.html?q=85229&source=header)
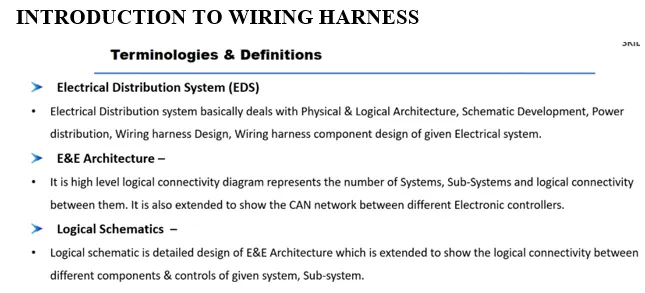
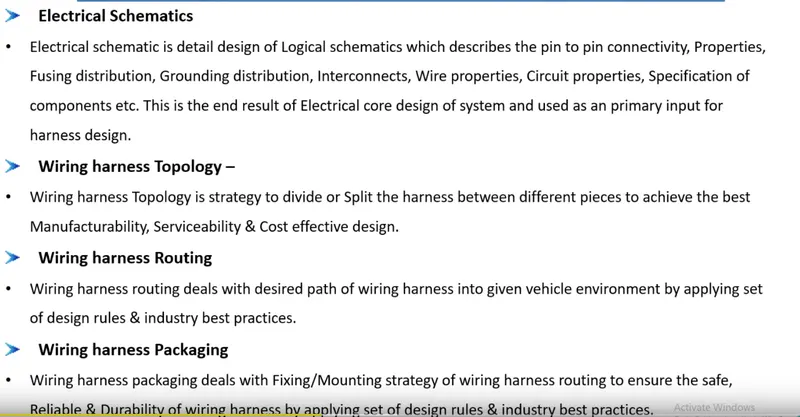
INTRODUCTION TO WIRING HARNESS
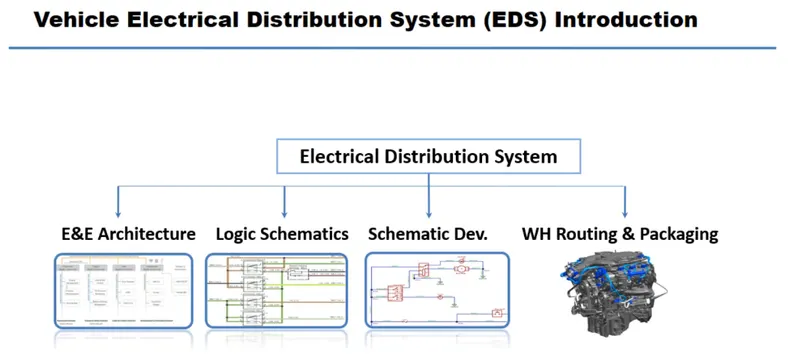
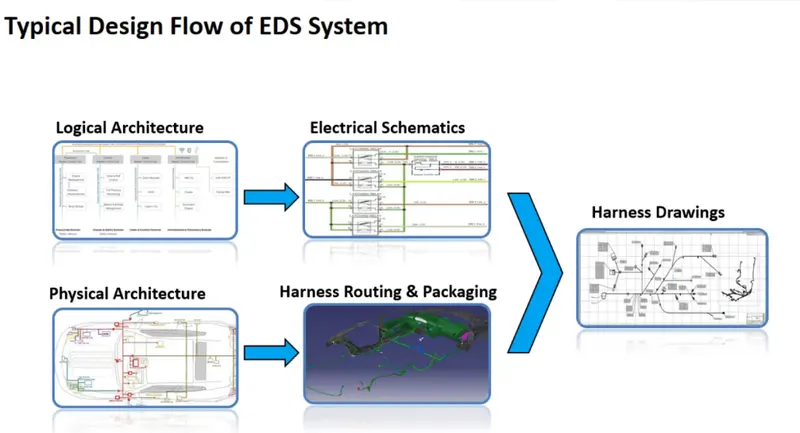
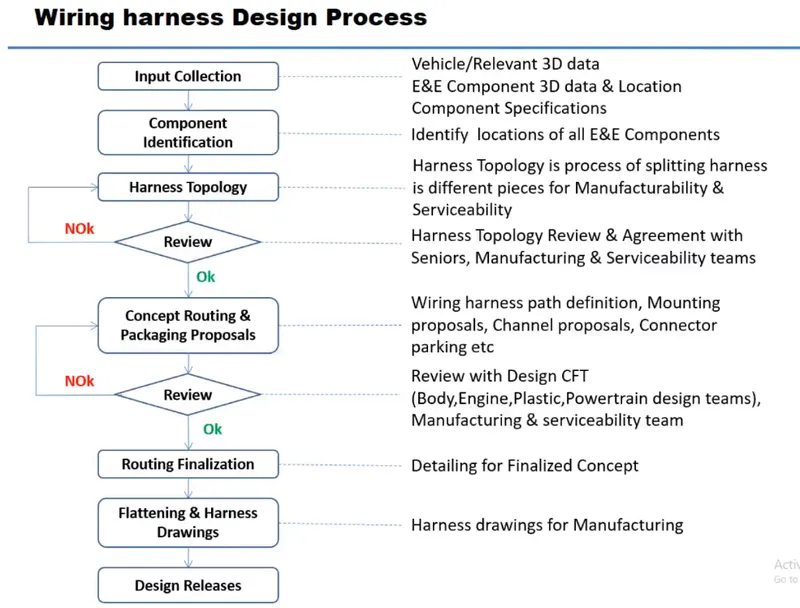
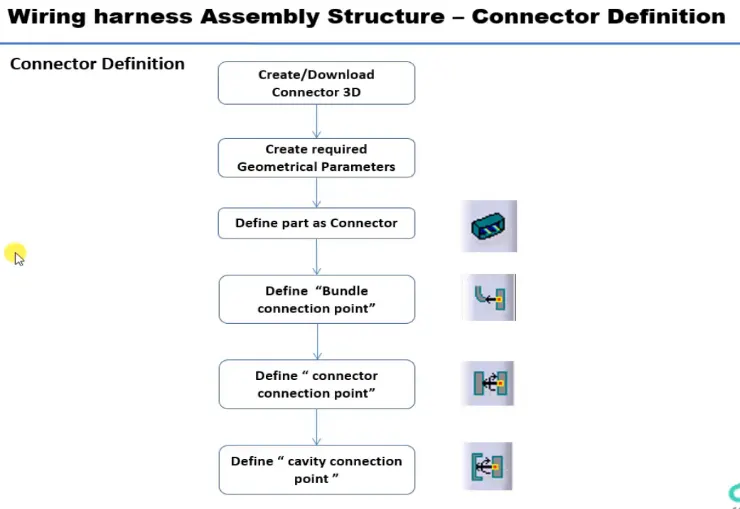
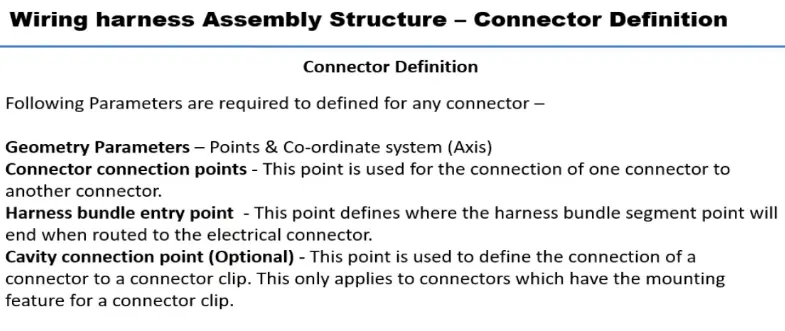 CONNECTOR DEFINATIONS IN CATIA V5
1. Deutsch DT06 - 08SA
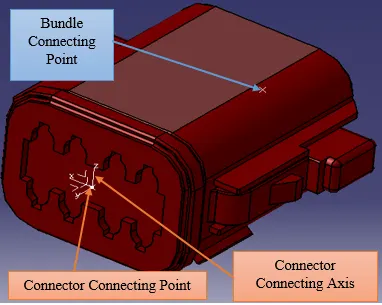
- Connector Connection Point
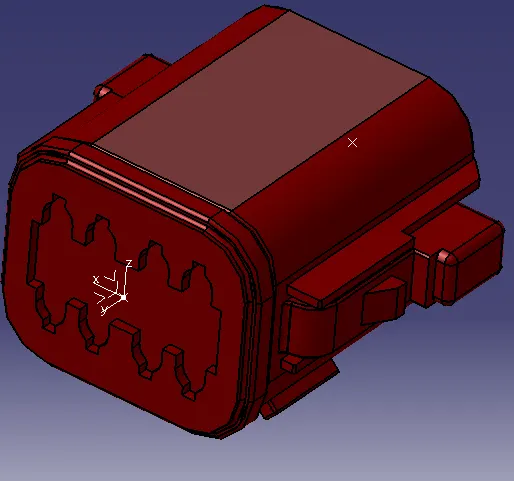
- Create Midpoint on the contact face which will be normal to wire bundle insertion.
- Create Axis System with respect to the point which we have created and defining the axis direction as shown above.
-
Bundle Connection Point
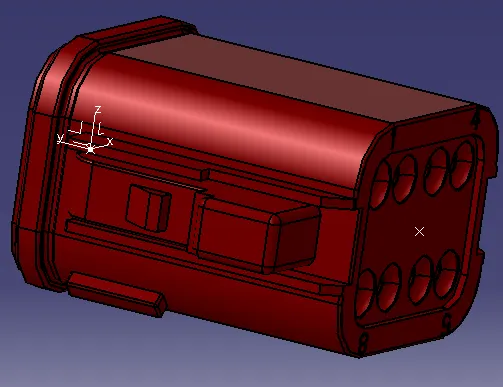
- Switch to 'Electric Part Design'.
- Define the Part as connector in CATIA V5, give no. of termination as 8 because we have 8 entry point for wire.
- Define Bundle Connection Point.
- Define Connector Connection Point.
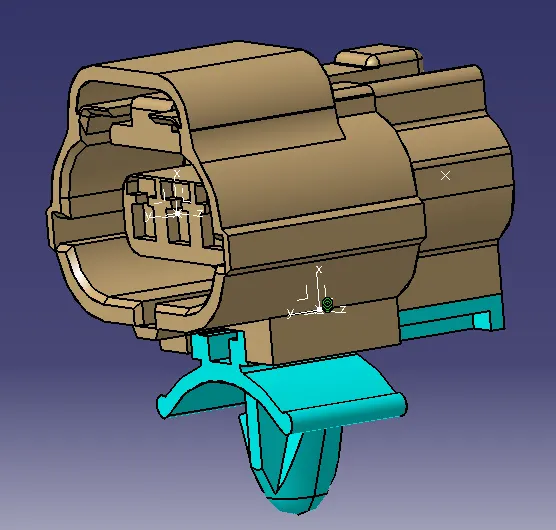
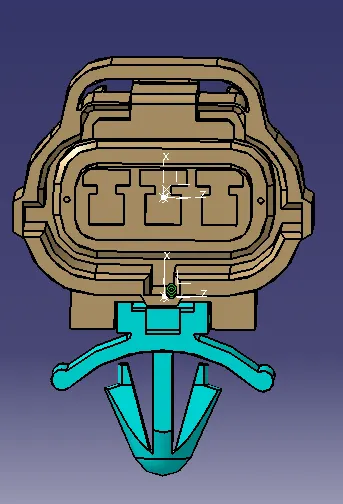
2. Tyco 174357-2
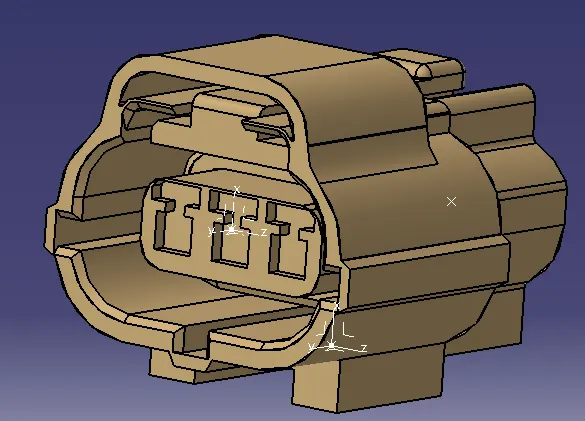
- Create Midpoint.
- Create Connector Connection Point.
- Create Connector Connection Axis System.
- Create Cavity Connection Point.
- Create Cavity Connection Axis System.
- Switch to Electric Part Design and define Part as Connector.
- Define Connector Connection Point and Cavity Connection Point.
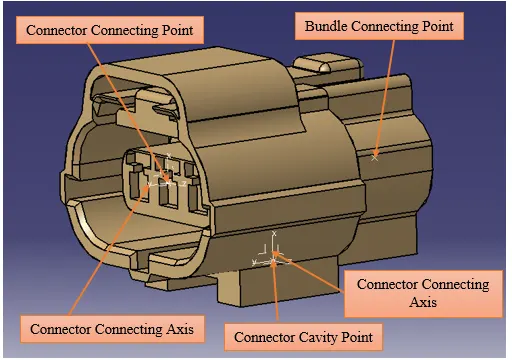
3. Tyco 85229-1
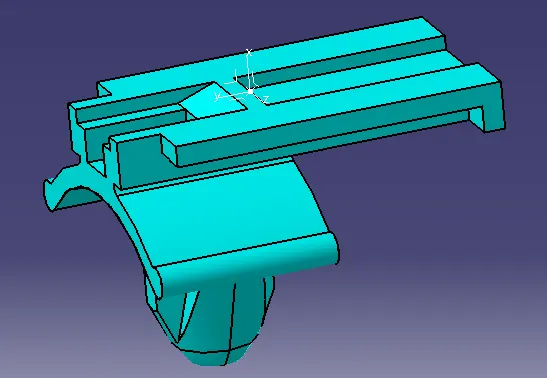
- Create Midpoint.
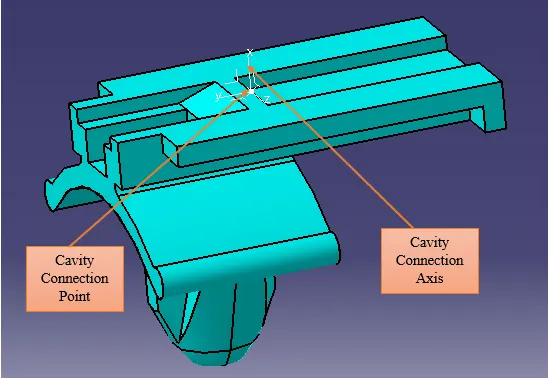
- Create Cavity Connection Point.
- Create Cavity Connectoin Axis System and Orientation should be same as in Connector.
- Switch to Electric Part Design and define Part as Mounting Equipment.
- Define Cavity Connection Point.
ELECTRIC ASSEMBLY DESIGN
- Import Connector and Cavity/mounting clip.
- Select defining Electric Connection.
- Select Cavity and then Connector.