Wiring harness design in CATIA V5 - 3D modeling Week 2 Challenge
REPORT ON 3D MODELING WIRING Harness:
introduction: In this challenge I had to download the connector(8-Pole, 3-Pole) and the mounting clip and open those in CATIA and I had to definned those as a electcrical part after that I had to assemble them.
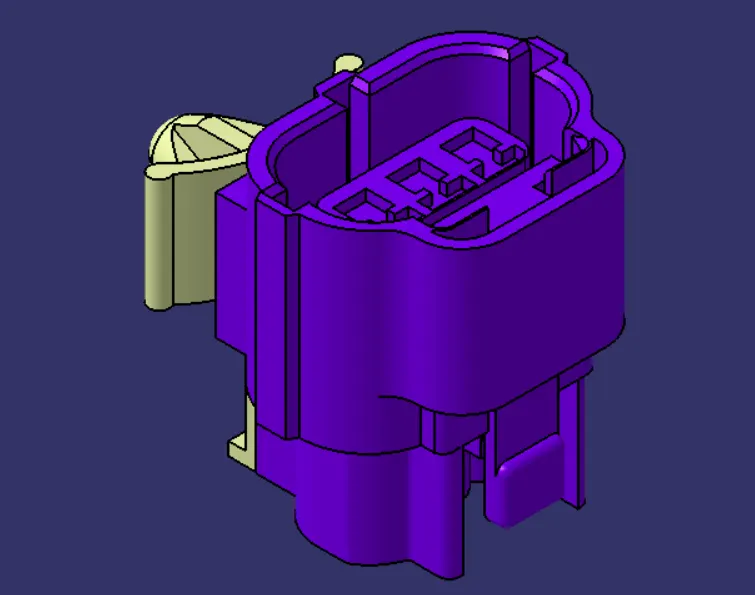
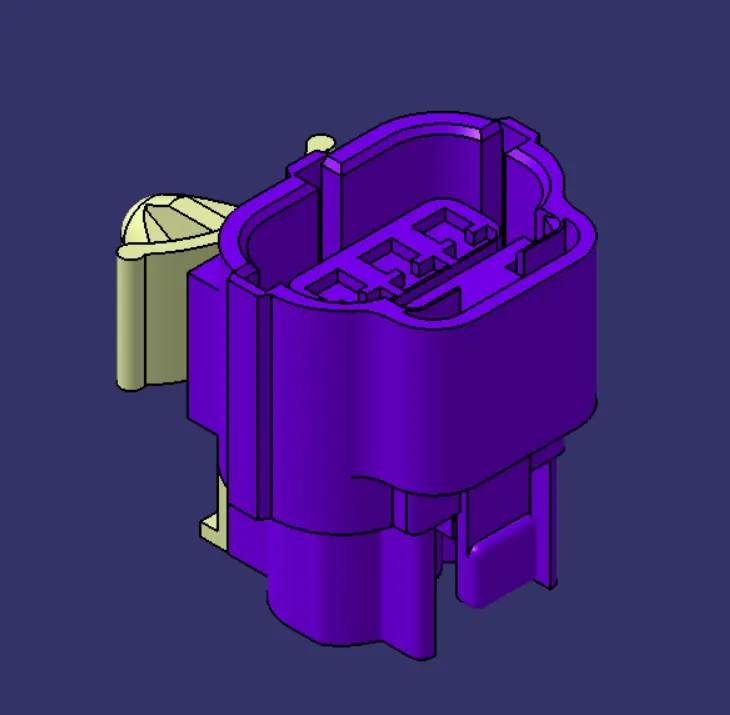
3-pole connector and Clip assembly.....
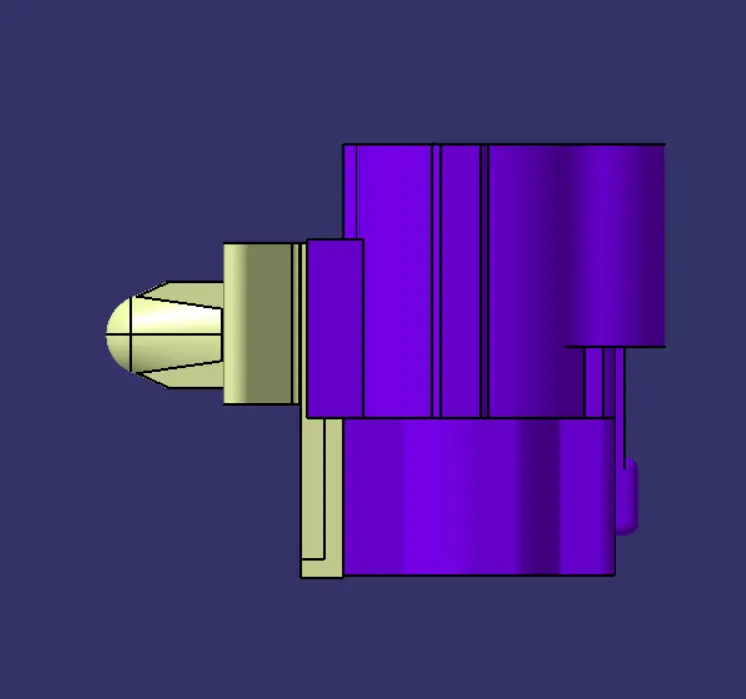
Process-
- I downloades the 8-Pole connector and open the igs. file into CATIA V5 part design workbench.After that I saved the part as CATIA part file. After saving the Part I created the points for the bundle connection points and the cavity.
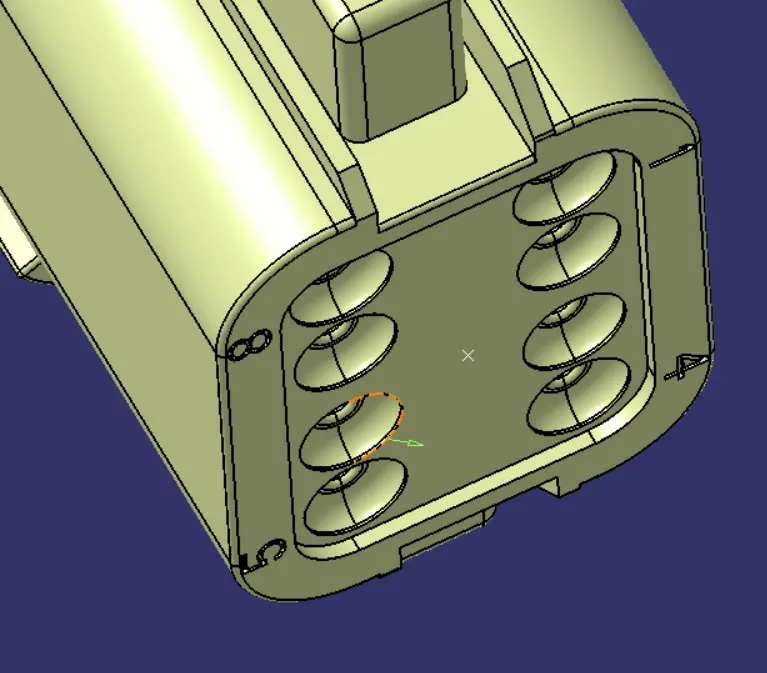
Budle connection point......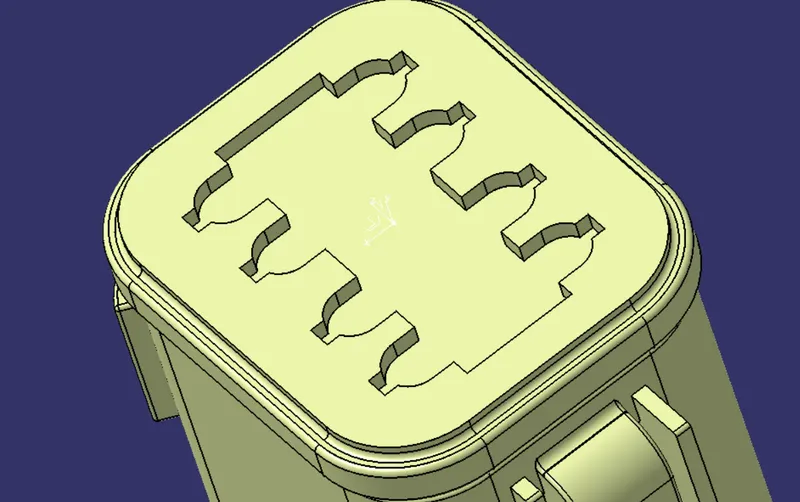
Here I created the Connection point and the axis....The axis should be like 'Y' should be in the direction of mounting, 'z' should be in the direction of clipping.
After all that I had to define the part as a electical part.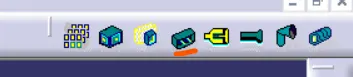
After defining as a electrical component the bundle connection point and the connector connection point must be defined for the connection.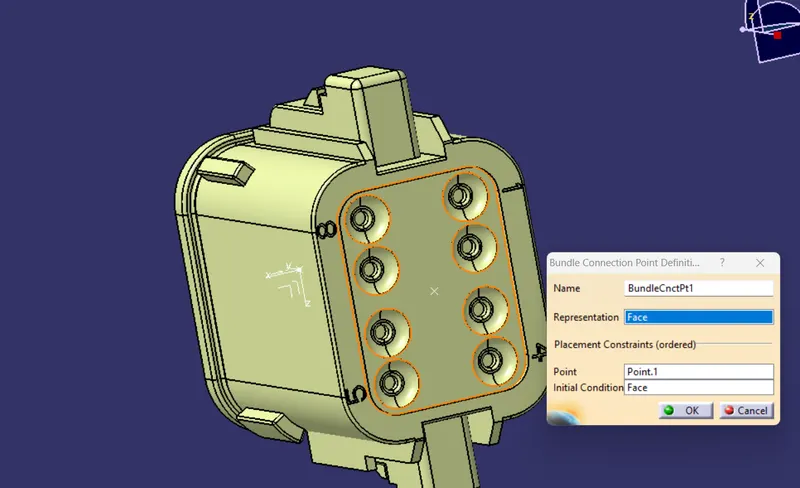
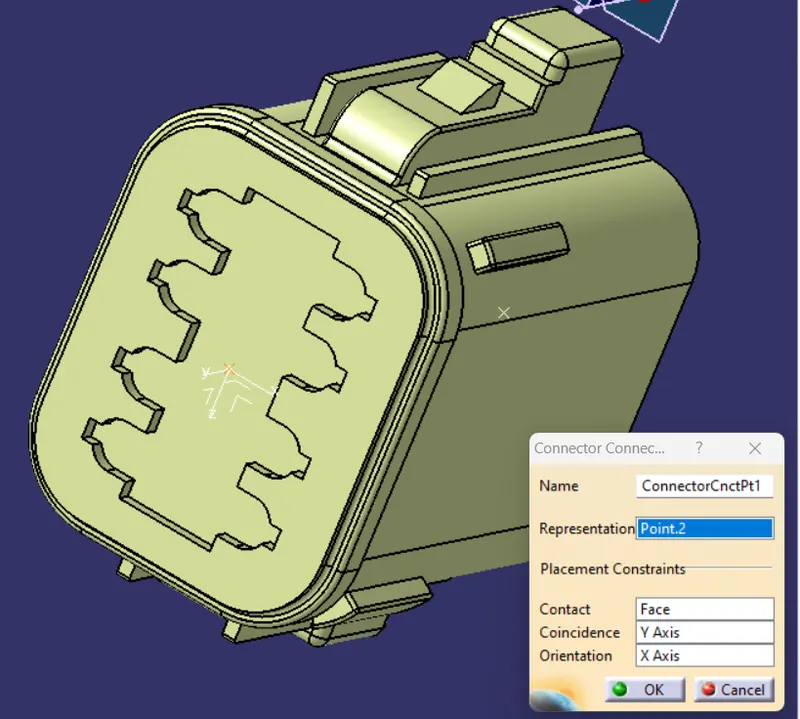
- 3-Pole connector: I downloded the 3-Pole connector first and save that as a CATPart. After that I defined it as a electrical part. After that I defined the 'BUNDLE CONNECTION POINT, CONNECTOR CONNECTION POINT AND CAVITY CONNECTION POINT.
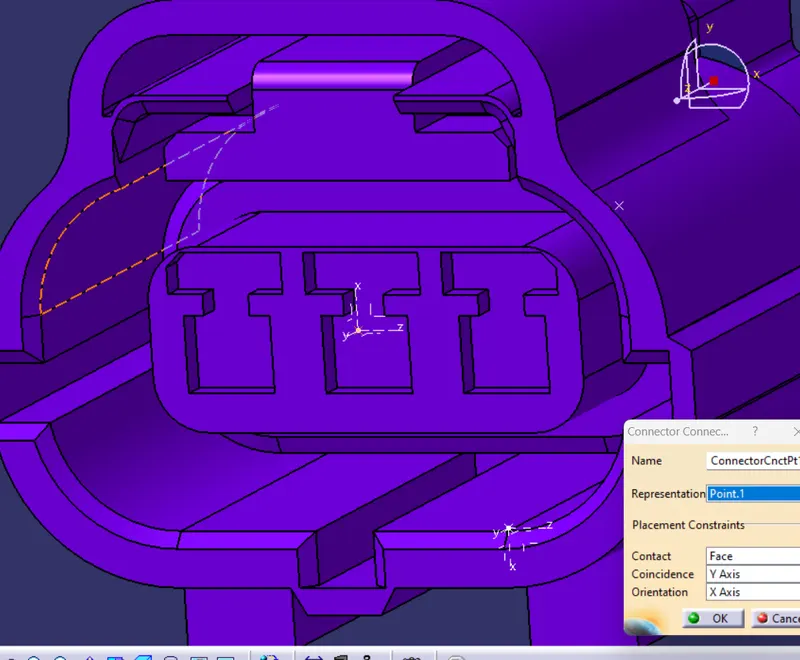
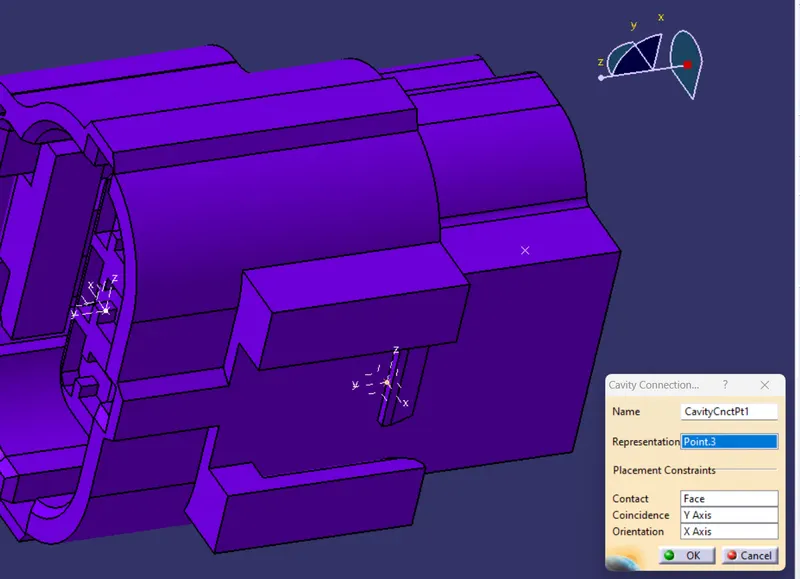
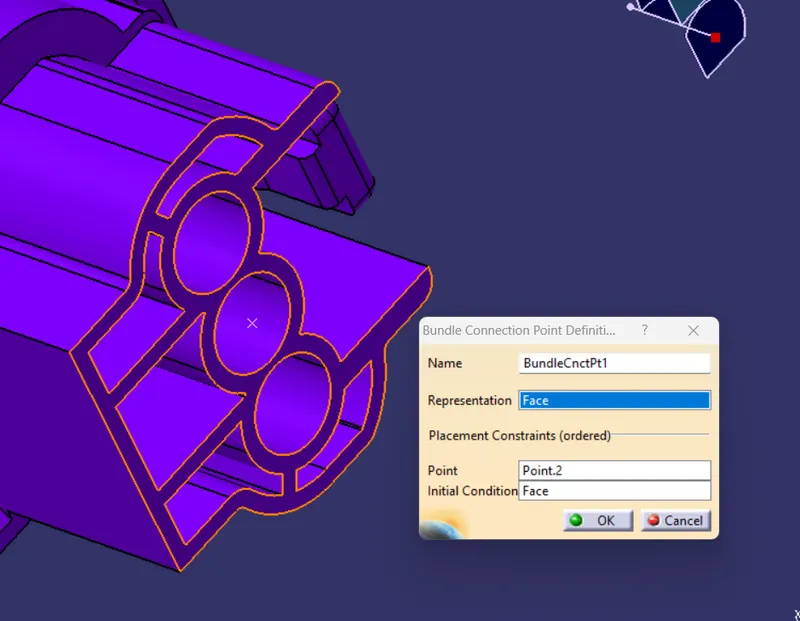
After defining all the points I download the mounting clip and worked on that... - Mounting Clip: At first I saved the mounting clip as a CATPart. After that I created point for defining the Cavity point. After creating that I defined the clip as a electrical component. And then I created the Cavity point..
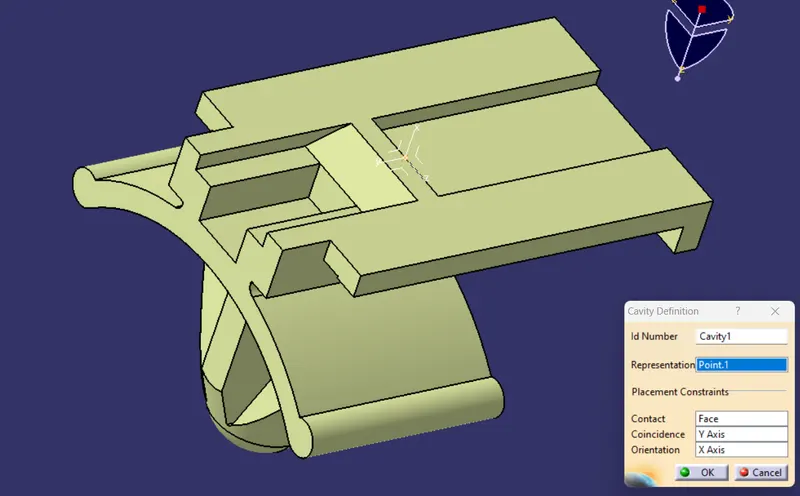
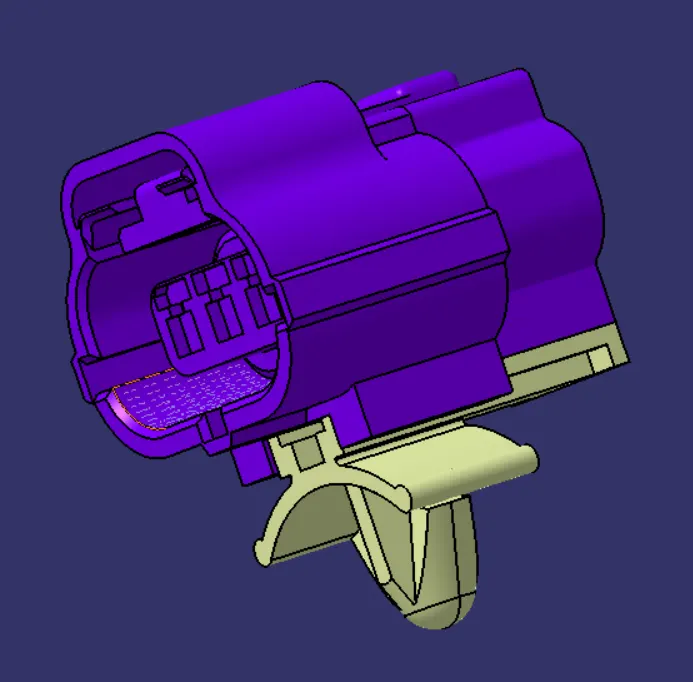
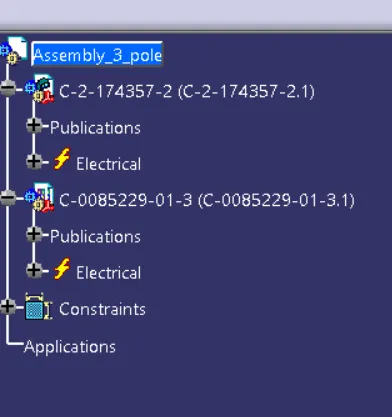
- Assembly: After doing all these I opened ELECTRICAL ASSEMBLY DESIGN workbench and then inser the electrical parts. After inserting those parts I assembled them together, but 3-pole connector is not gonna assembled with a 8-pole connector so that I just assembled only the 3-pole connector and the mounting clip.