Week 9 - Project - Master Section Development
Objective : The Objective of this challenge is to design the B pillar components considering the design rules and various other parameters that we learned during the course.
The several stages of this challenge can be listed as
1. Creating a 3D solid part from the given A surface.
2. Determining the Draft pulling direction and Lifter axis for the A Surface and various features attached on the B surface .
3. Developing Features like Dog House , Locators and Support ribs on the B side of the Part.
3. Creating B surface and C surface by considering the Parmeters in the Master sections.
4. Performing the Free form draft analysis for the features attached.
Inputs provided:
A surface has been provided along with two master sections for faciliating the creations of features on the B surface.
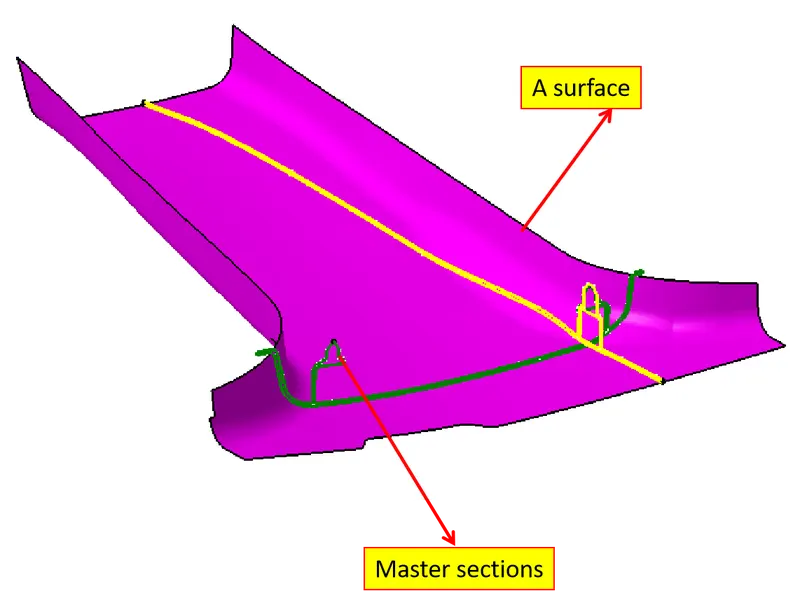
Steps perfromed to achieve the Output
1. Mould pulling direction
Using the Axis method, a Draft axis is created for the given A surface. By using analysis under the running point, the draft for X & Y direction are fixed as 0 & 0 degree, respectively .
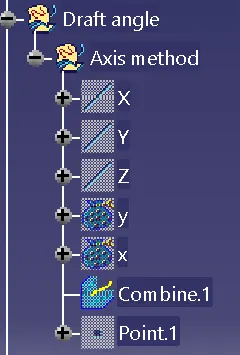
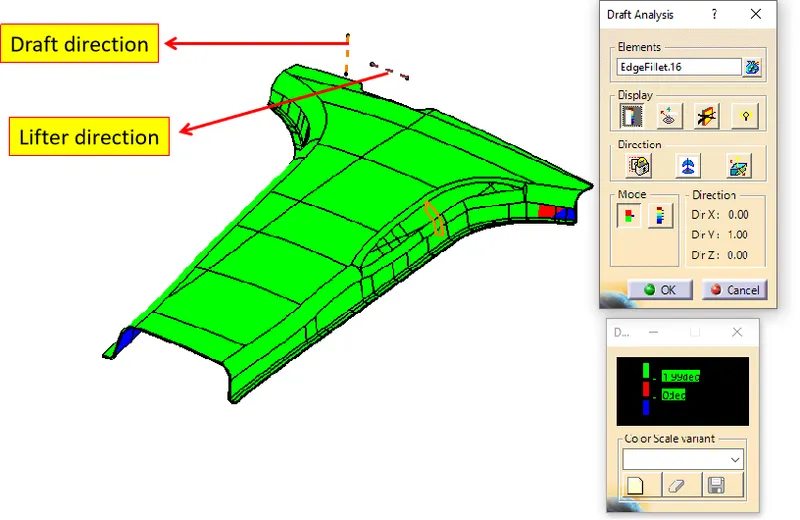
During the Tool axis creation it has been found that vertain area on the A surface need to be modified in order to make it mouldable in accordance with the draft direction created.
This must be conveyed to the Styling team to change out the Draft of A surface.
2. Creating B & C surfaces
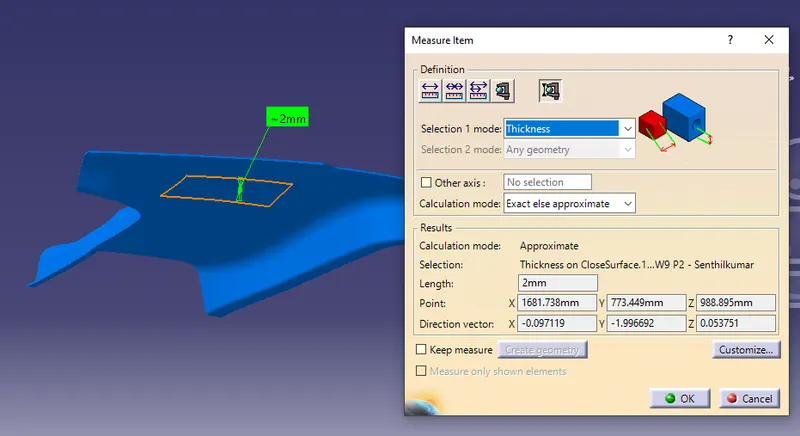
From the given Sections the thickness of the part was determined to be 2 mm and the B surface was created with offesetting the A surface . The flange length and directions was also determined by the Sections and Flanges are created with sweep command .
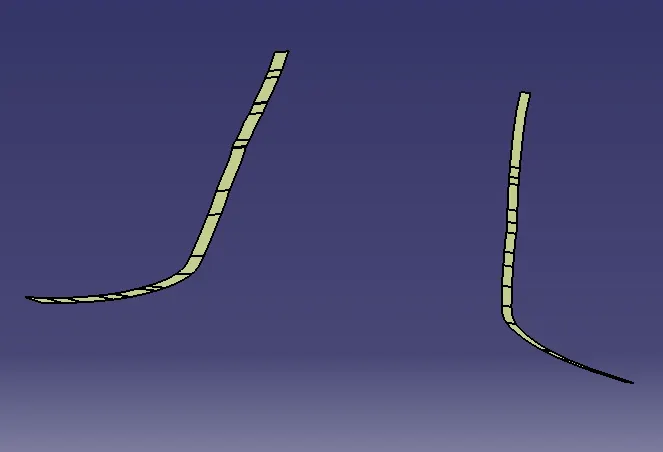
The created flanges are then attached to the A surface
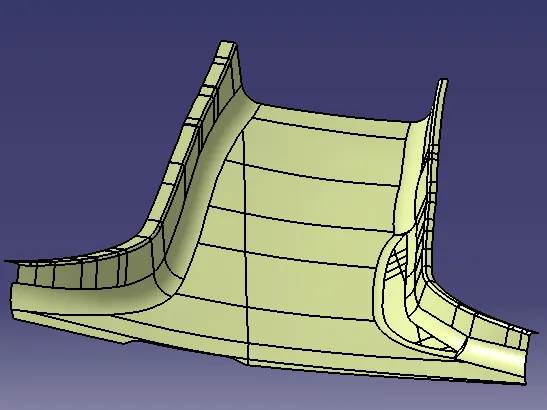
This A surface along with flanges are then offseted to 2mm to create the B surface of the Part.
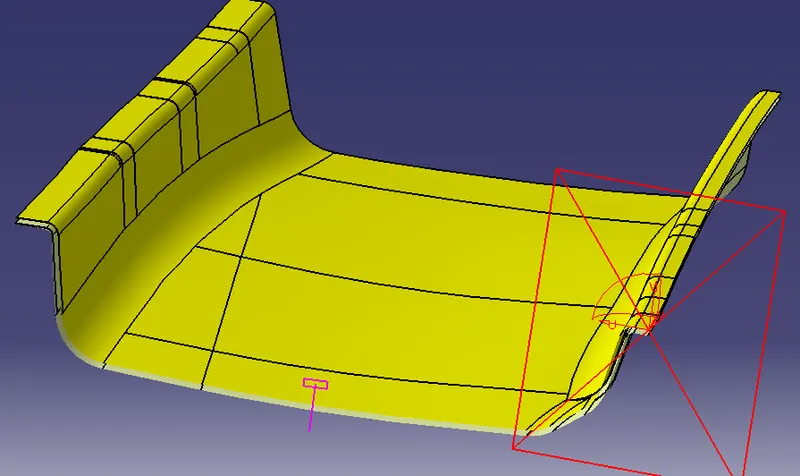
The C surface is then created by taking the boundary of the A surface and then the surface is created using the sweep command.
It is then extrapolated and then Splitted with A & B surface so that we can create the Closed Body.
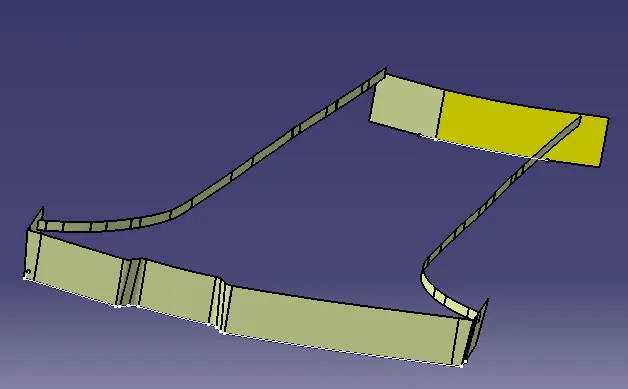
3. Closed surface
All the surfaces which were created are trimmed and then using the closed surface tool in part modelling the trimmed surface is made into an solid body.
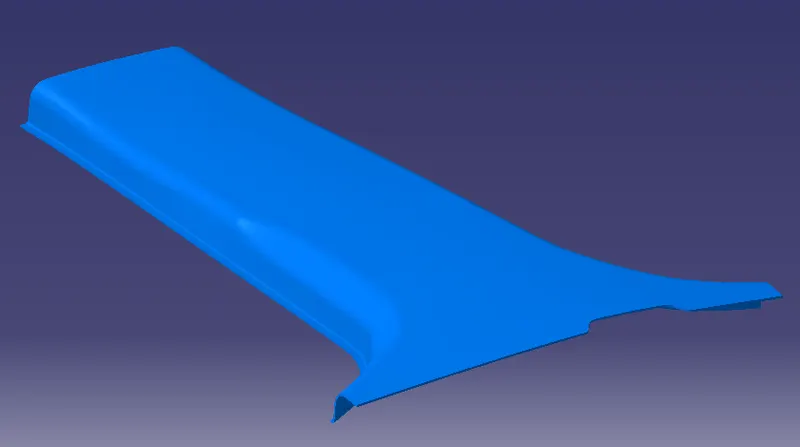
When checking the thickness using the measure tool it will display the thickess of the part
4. Feature attachments
As per the sections we need to create the features to the B side of the part . Basic skimming displays the features which need to be added are
1. Dog House
2. Locators
3. Strengthing ribs
The first approach for creating the Dog house would be to create the surface using the sections .
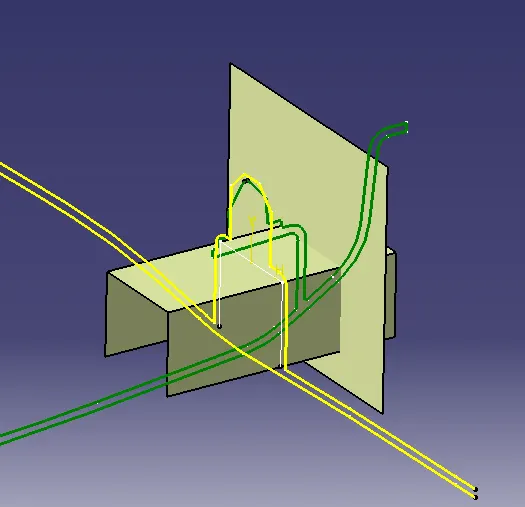
The boundary for the dog house has been created with the Help of the sections .
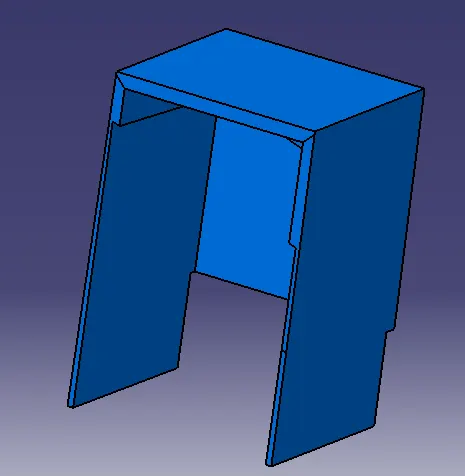
The surface is then thickned and the sink mark cut & draft are applied on the part as per the design guide.
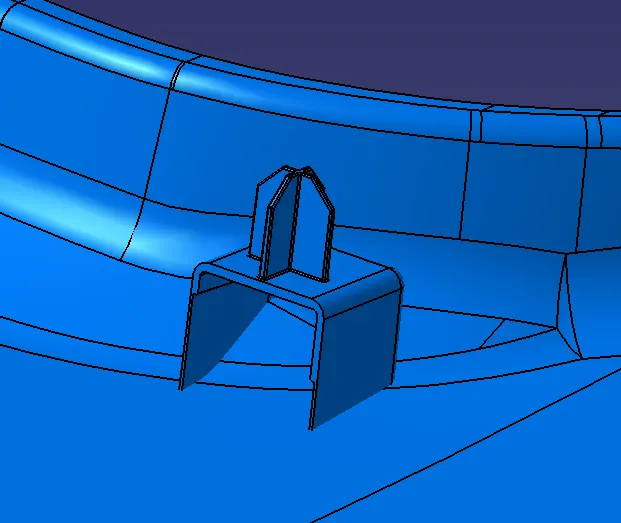
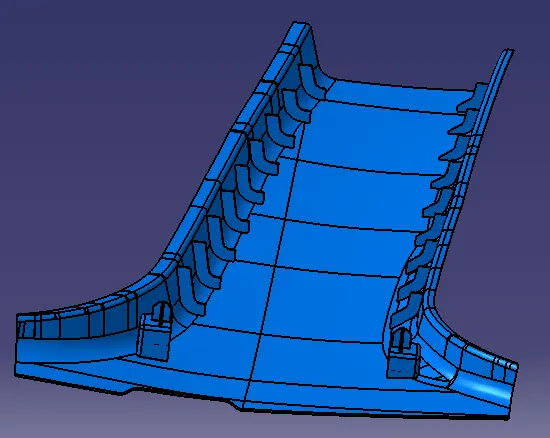
In the same was using the sections the four way locator part is also created and then attached to the Main B pillar and then fillet is applied .The ribs are also created and then patterned and then attached to the B surface
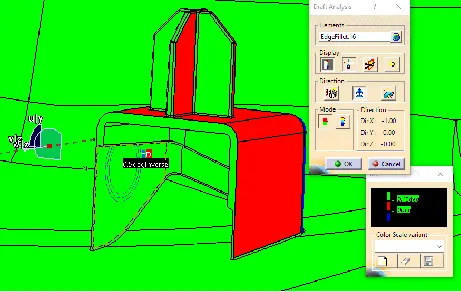
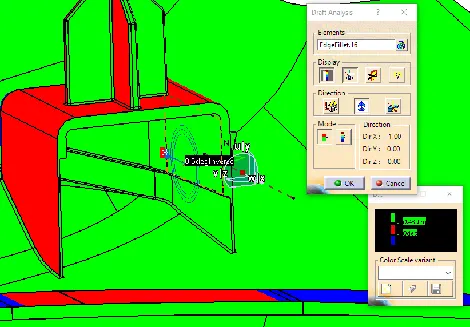
5. Draft analysis
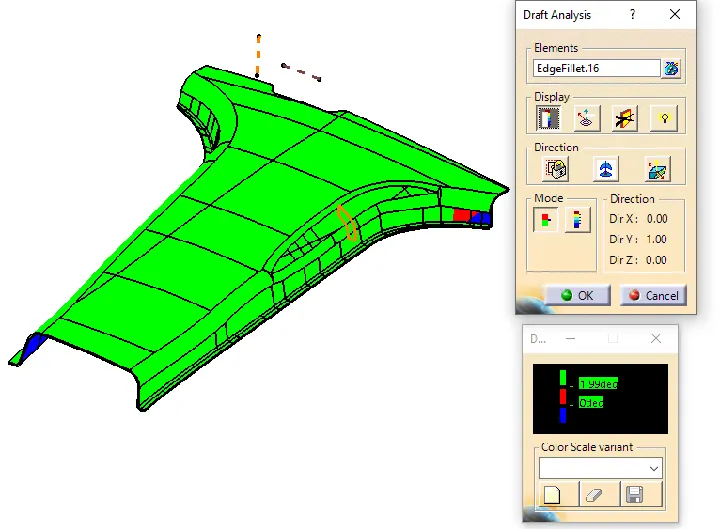
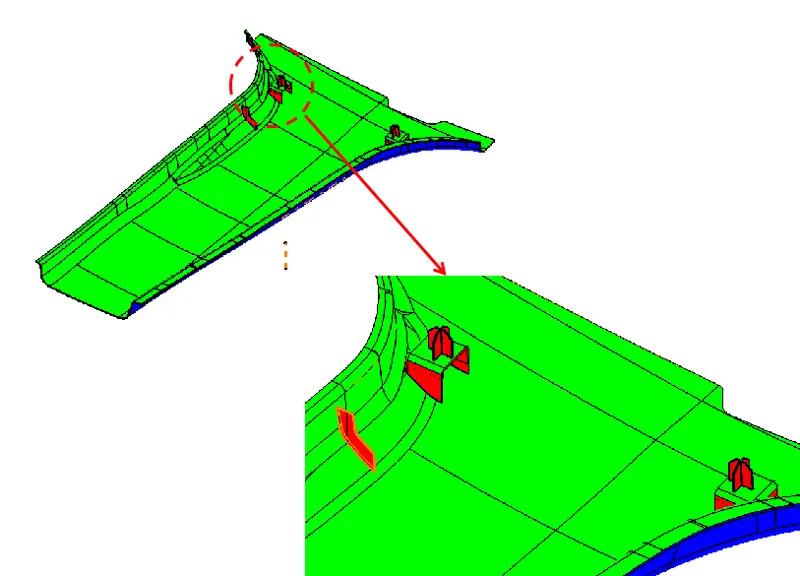
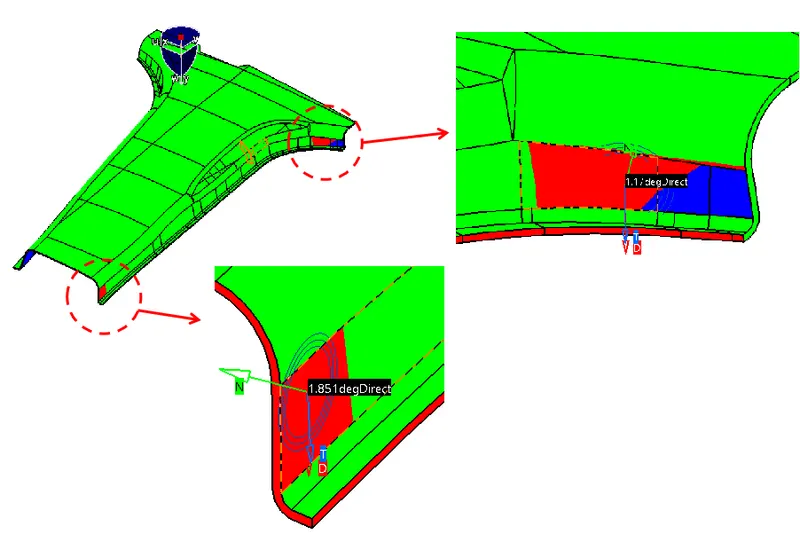
0.5 deg draft is provided for the other features attached to the B side to avoid sink mark issues.
Conclusion
The solid B pillar part is created and then features are added . Draft analysis is also done on the Model