Week 9 - Project - A pillar Design with Master Section
Week 9 - Project - A pillar Design with Master Section
OBJECTIVES:
- To create the class B and class C surfaces from the given class A surface
- To form a solid geometry by combining all the surfaces
- To create a dog house for the solid part whilst following the design rules
- To perform draft analysis on the class A surface and the solid part model
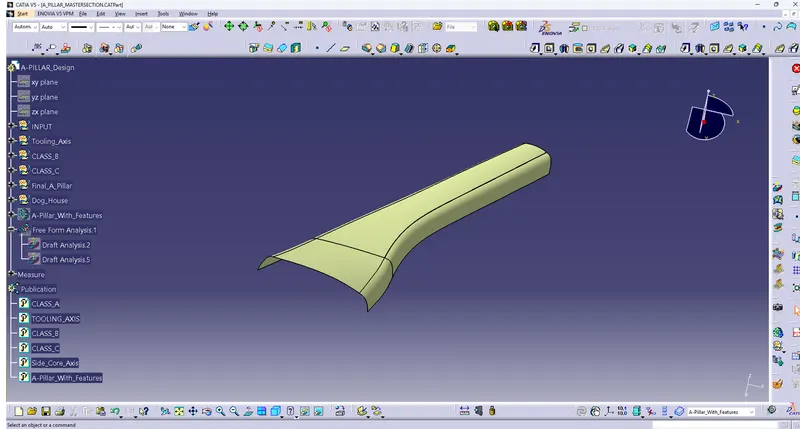
Picture of Class A surface of A-Pillar given by styling Team
MASTER SECTION:
Master sections are the guides for design requirements which decide the component packaging after the styling surface
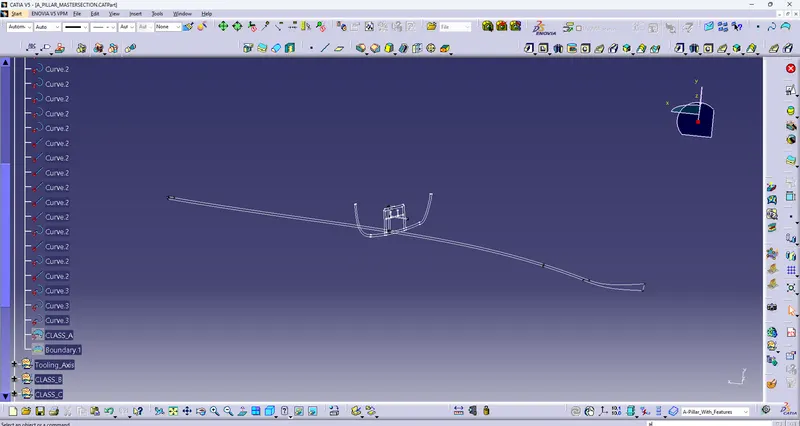
PRE-DEFINE OF CLASS-A SURFACE:
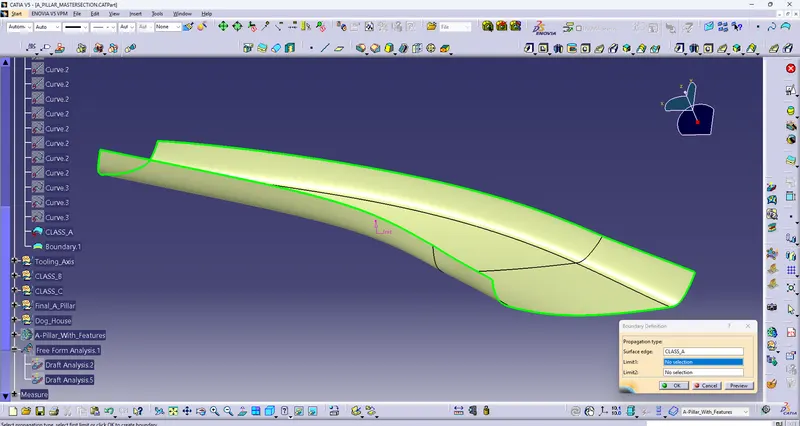
Before starting the creation of the class B surface we must ensure that the given class A surface is properly closed and the surface continuity is proper. This can be done either with the help of the join operation or by using the boundary feature.
TOOLING AXIS
- Extract the bottom surface, and add point on the surface.
- From the Mastersection, extracted dog house section and create bisecting Line along on the bottom surface point
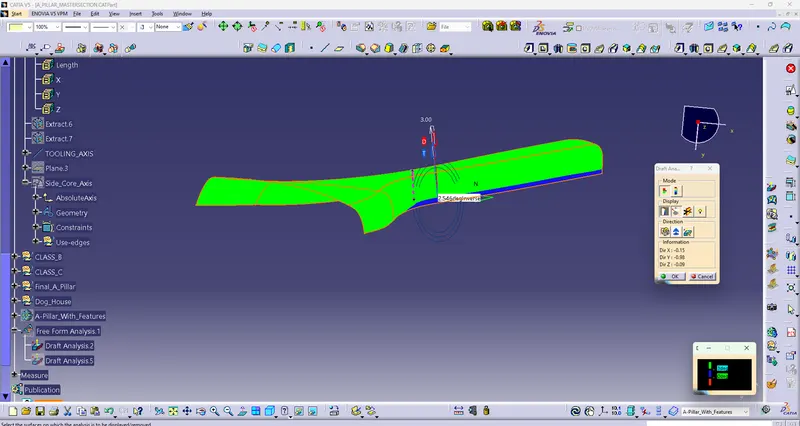
- that Bisecting line as a tooling axis of the class A, with determine Class A surface by Draft analysis along with the tooling axis
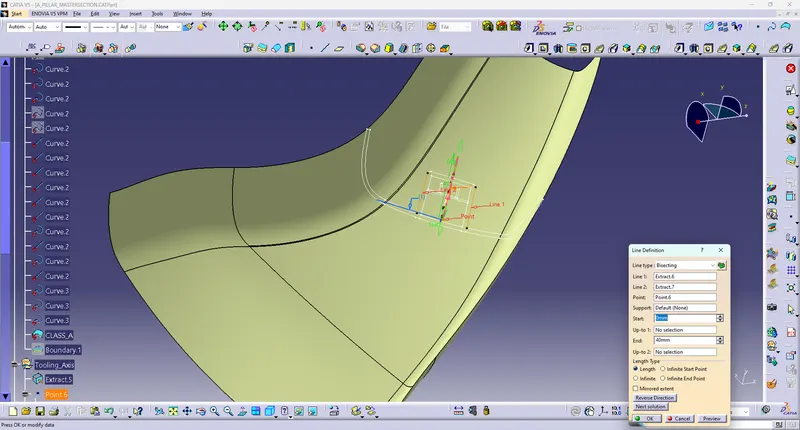
Picture of Tooling axis
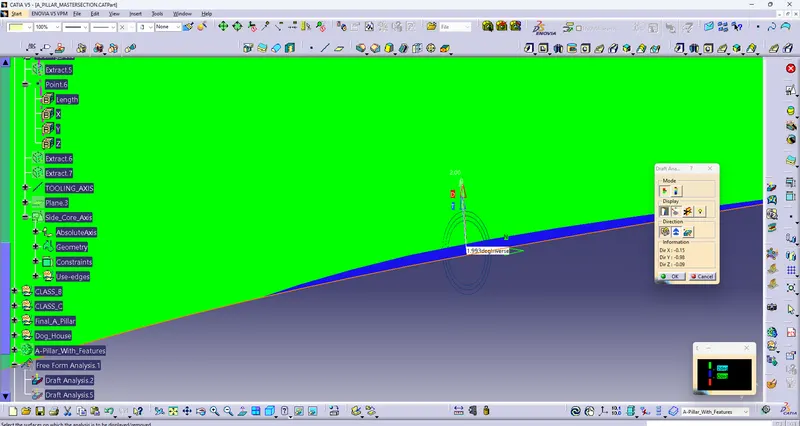
- While draft analyse the class A surface, some where the surface angle is 1.993 degree
- so, change limit from 3 degree to 1.9 degree
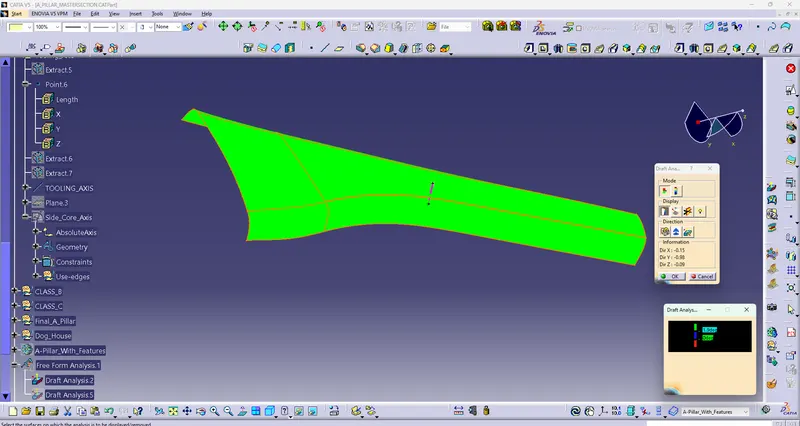
Class B Creation
- Offset the class A surface to 2.5mm thickness of the component.
- somewhere of the surface is broken to continue from class A
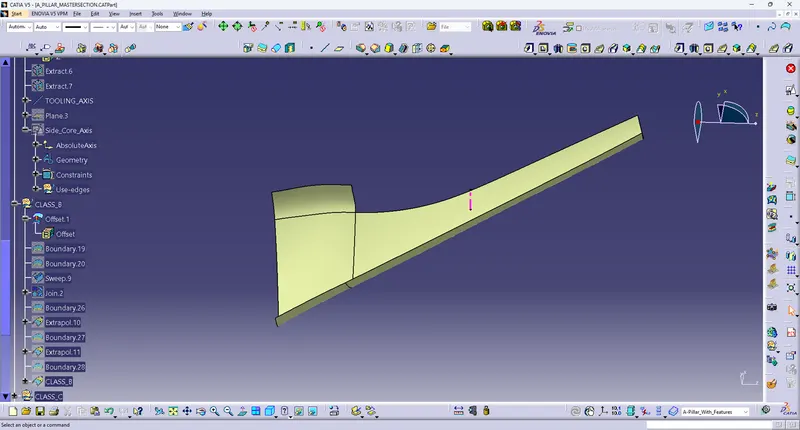
- by selecting the boundary of the offset surface with limits where surface is broken.
- then using sweep, with reference surface broken surface is reconstruct
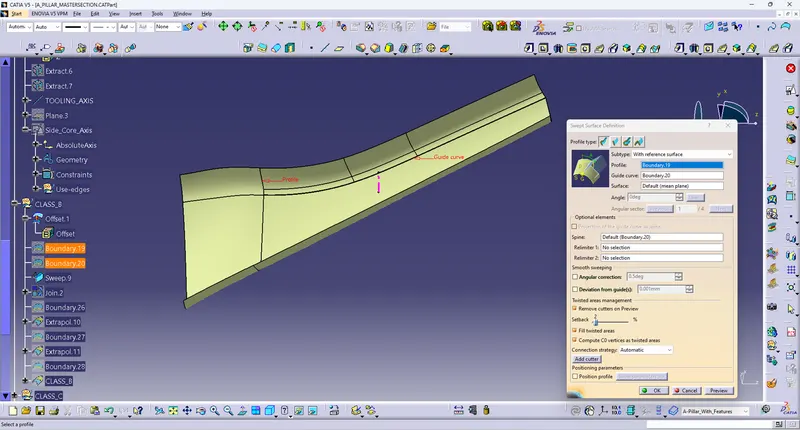
- then join, sweep surface to the offset surface and Class B is created
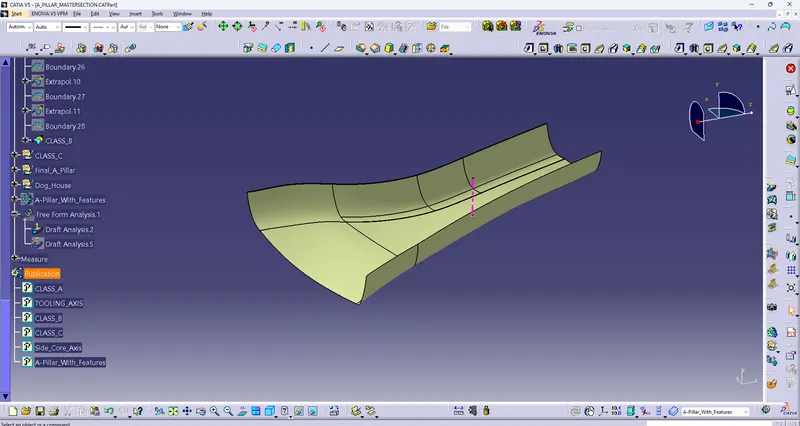
Picture of Class B surface
Class C Creation
- From the Class A surfaces using Boundary command to all edges of the surface
- then sweep those section by define by reference surface with guiding of boundaries
- sweep at the angle of 90 degree at distance of 7mm
- then one sweep to another edges are extrapolate 2mm and trim those edges.
- after that join all Sweep section of the surface and considered as Class C surfaces.
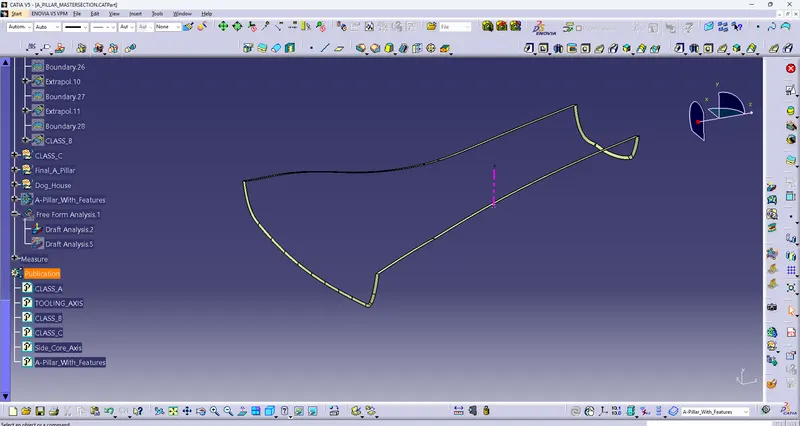
Screenshot of CLASS C surface
FINAL Door Trim Lower Creation
- Join Class A and Class C surfaces
- Then Trim Class B and Join of (Class A and C surfaces).
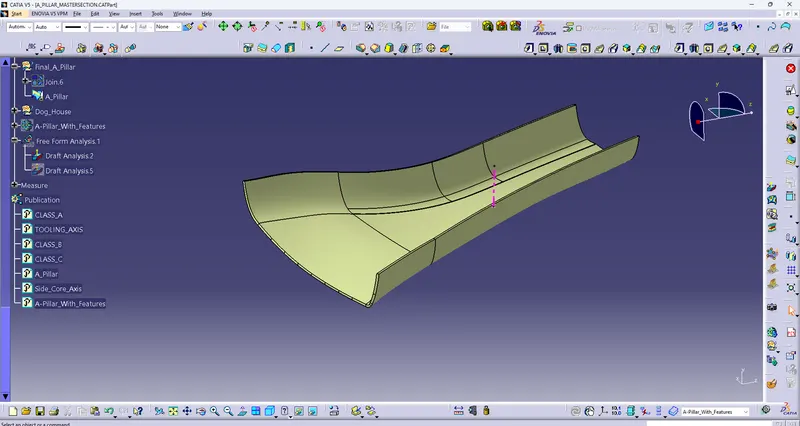
Dog House Creation from the master section
- From the bottom surface point, add axis system and positioned sketch
- projection the mastersection of dog house with isoconstraint
- Then extrude both side and mastersection of dog house edges is projection
- then extrude and extrapolate required length
- after that trim all surfaces and thicken inward of 2.5mm wheather measure from mastersection
Side Core Axis creation
- Add plane on the dog house top surface and positioned sketch
- projection of corner two edges and draw bisecting line is called Side core axis
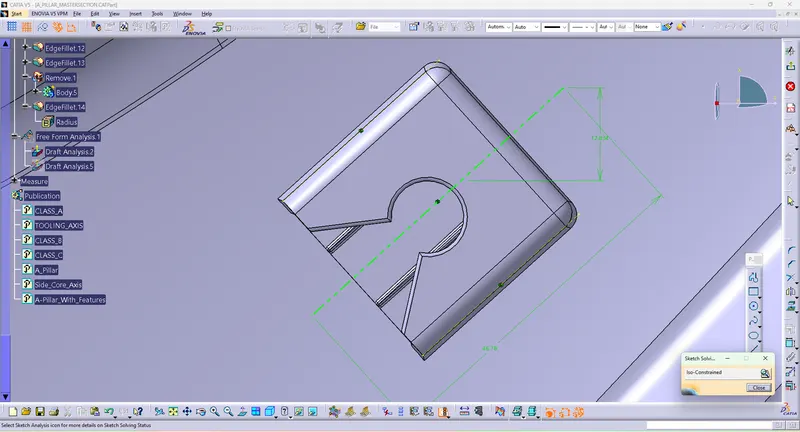
- Then create horizontal flange and ribs in the dog house, thicken 1mm is measure from mastersection
- afterthat draft angle of 0.5 degree along the side core axis
- Edges are fillets 0.5 inner portion of dog house and Ribs 0.25mm
- outer edges are fillets 2.5mm
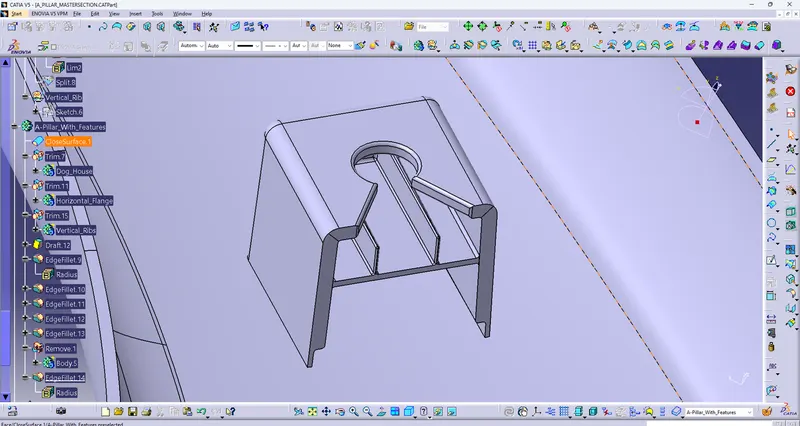
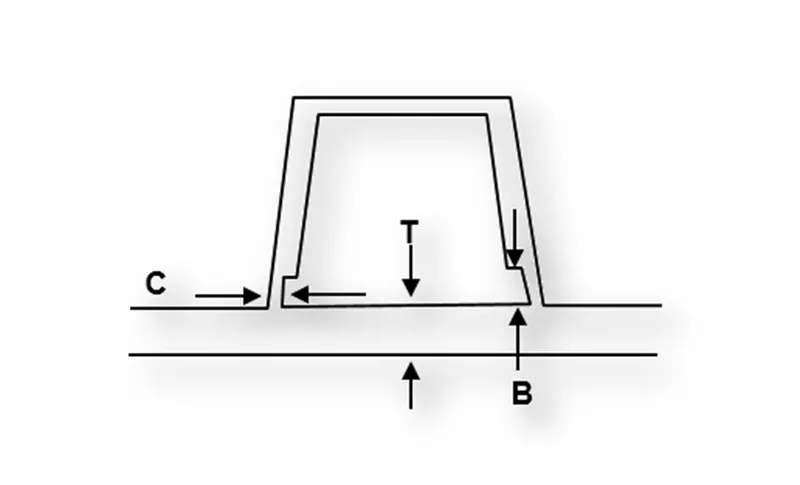
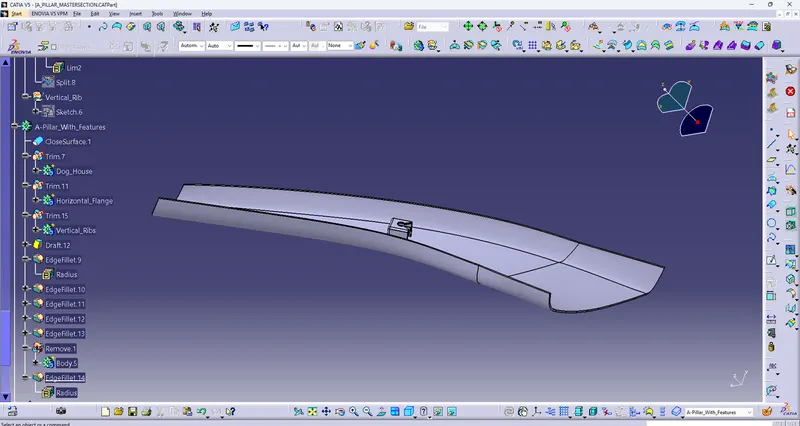
- Union trim to the main component and Key slots are create
- then remove to main component
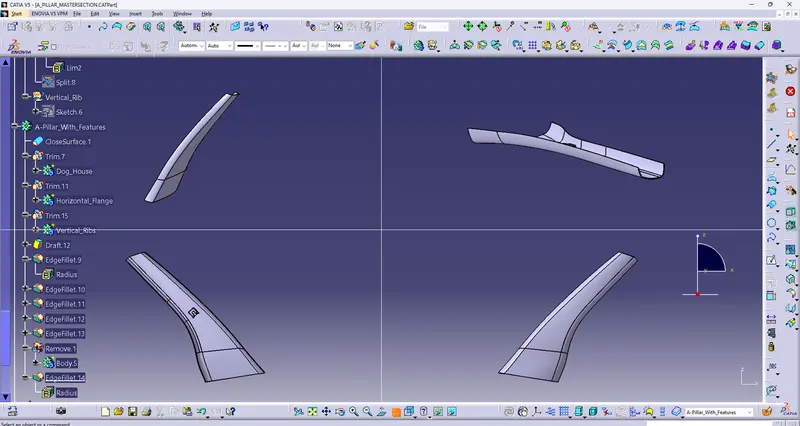
Draft Analysis
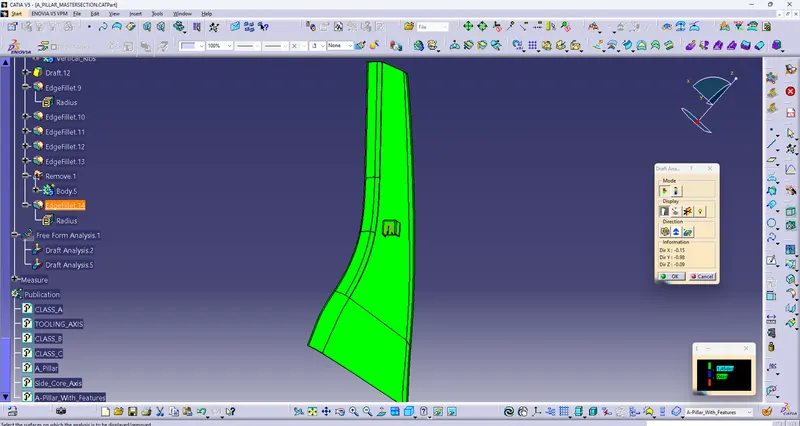
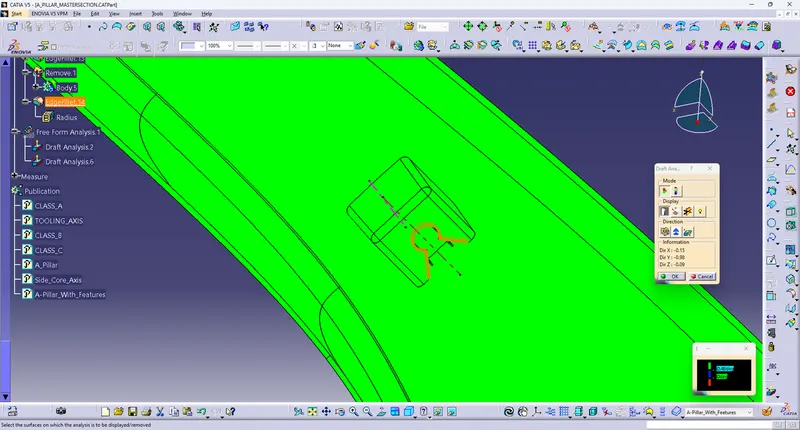
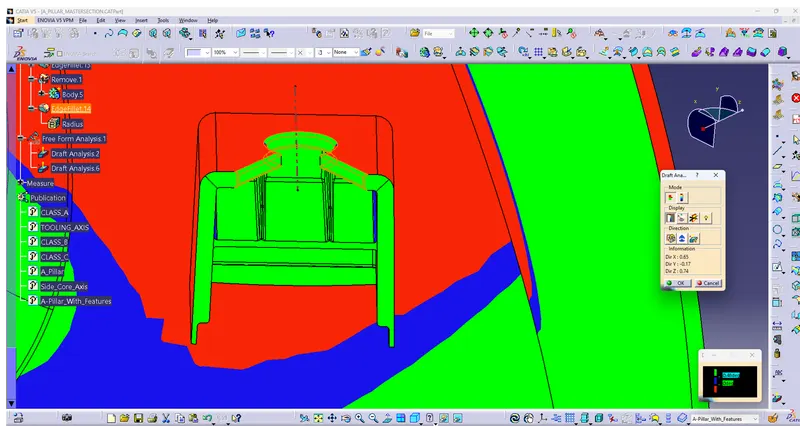
- Draft analysis of dog house along side core axis there drafting angle is 0.5 degree.so, limit as been changed to 0.48 degree