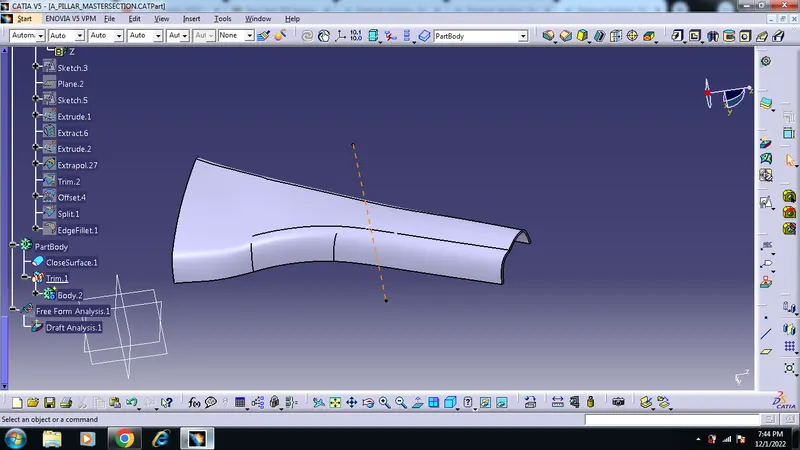
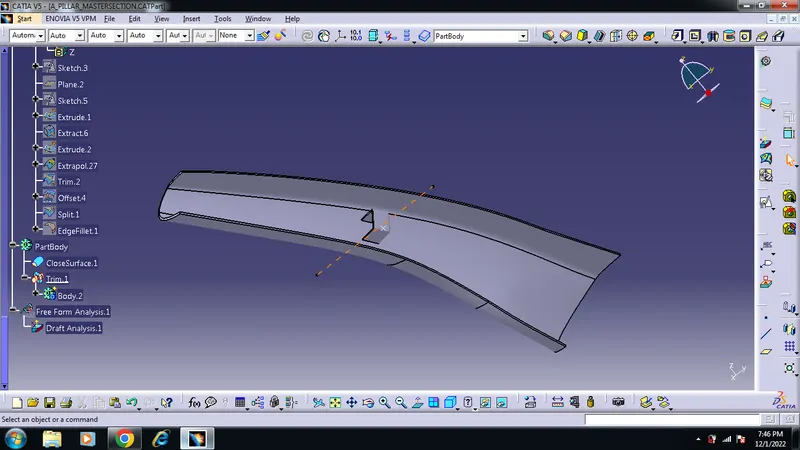
Week 9 - Project - A pillar Design with Master Section
Project - A pillar Design with Master Section
Tooling direction -Creation of proper tooling direction following themastrer section to create the part that meet the requirements.
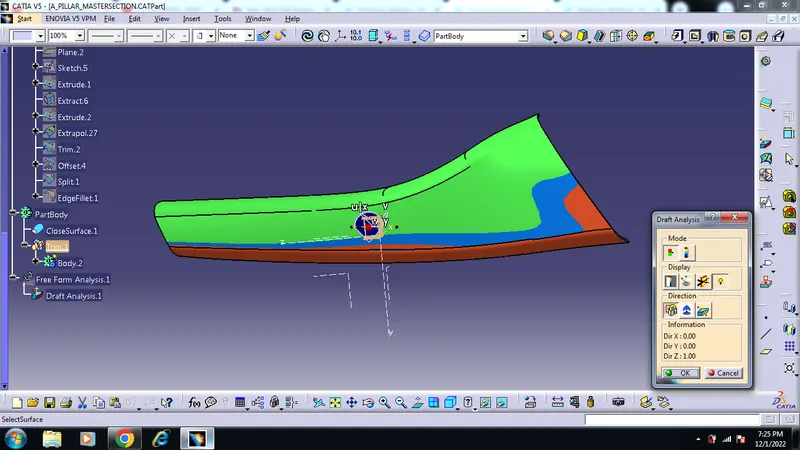
Draft analysis- Draft analysis check to make sure that the class A surface is meeting the draft required along the tooling direction.
Creation of Class B and class C surface -Creation of class B surface and class C surface by following a proper model model tree structure
creation of engineering features- Creation of Dog house, Locators and ribs with meets the draft analysis anomh the side core axis for dog house.
Report writing and file attachment-Create a proper report with images and attaching the proper file of the final model
DRAFT ANALYSIS OF CLOSED BODY
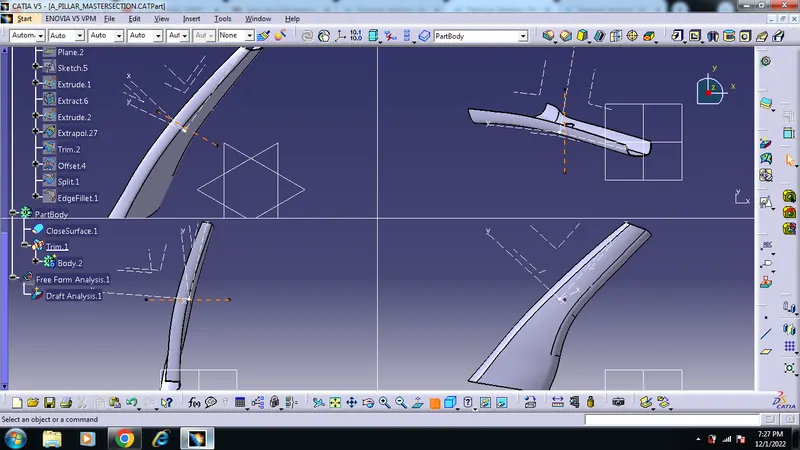
FINAL SURFACE OF CLOSED BODY
DETAILED REPORT
TITLE: Project - A pillar Design with Master Section
Objective: To create the Door trim plastic component through the given Class-A surface. As well as, creating the tooling axis for the given Class-A Surface which is meeting the requirements of the draft angle and at the end perform the Draft analysis on the model.
Specifications:
Thickness = 2.5mm
Definitions:
Class-A Surface: it is a surface created by the styling team which is then given as an input to the plastic designer to create the plastic component. It is the aesthetic surface and the outer most surface.Class 'A' surfaces are primarily used in the automotive environment and refer to those surfaces which are visible in a product.
Class-B Surface: it is the surface below a certain thickness from the Class-A surface The Class B finish is a quality finish with only minimal imperfections.
A Class B finish is the most common finish for exterior surfaces. It is normally specified on surfaces such as external covers, panels, and parts that are fairly prominent created by the plastic designer. This surface contains all the engineering aspects of a model.
Class-C Surface: it is the surface which joins the Class-A and Class-B surfaces together.
Draft: it is the amount of taper or slope given to cores or other parts of the die cavity to permit easy ejection of the casting from the die casting die.
Design Methodology:
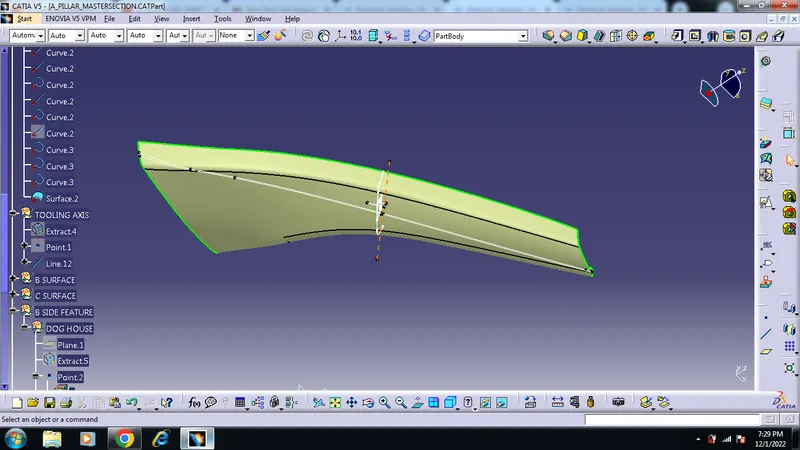
CLASS A SURFACE
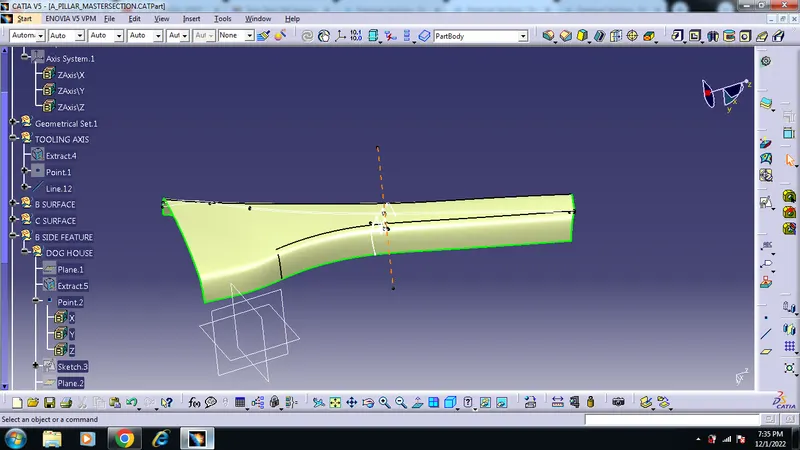 Tooling Axis:
- First, ensure that the Class-A surface is properly joined and has no discontinuity. Select the boundary command from the toolbars and then select the Class-A surface. A boundary should only appear on the outer edges of the component.
- Then, we decide the proper tooling axis direction with respect to the given component (in this case it is the Z-axis direction).
- After that, we create a point and an axis system on the Class-A surface and then create two sketches on the zy and zx planes respectively.
3. Class-B: we create the Class-B surface by extruding the Class-A surface by 2.5 mm
- First, we will use the Extract, Un-trim, Extrapolate, Trim and Offset commands on the base surface, the walls and the rest surface of the Class-A surface separately to create the desired Class-B surface.
- After that, we will use the Trim command to get our proper desired Class-B surface.
- We will give proper fillets to the edges of the Class-B surface.
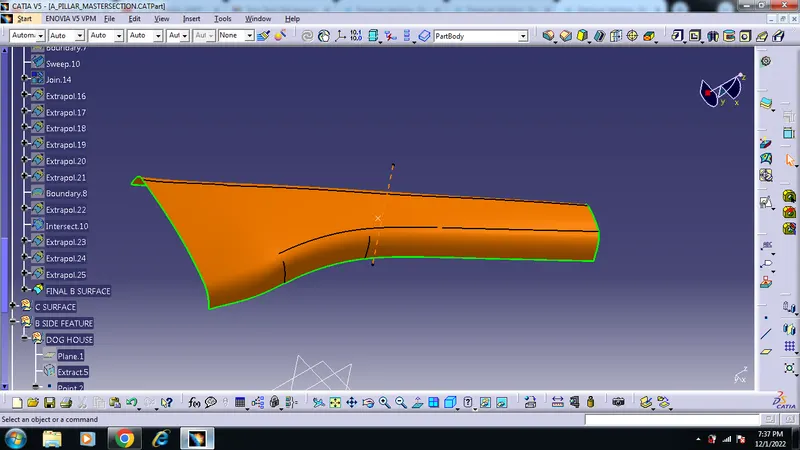 Class-B Surface
4. Class-C: we create the Class-C surface by extruding the edge boundaries of the Class-A surface by 3 mm.
- First, we extract the outer edge boundary and inner edge boundary of the Class-A surface separately.
- Then, we sweep each of these boundaries using the sweep command. We select the Line option on the sweep command menu, the extracted boundaries as Guide curve 1 and the refrence surface.
- After that, we join all the Class-C surfaces with the Class-A surface by using the Join command.
- Lastly, we use the trim command to join the Class A, B and C surfaces together and obtain the proper desired.
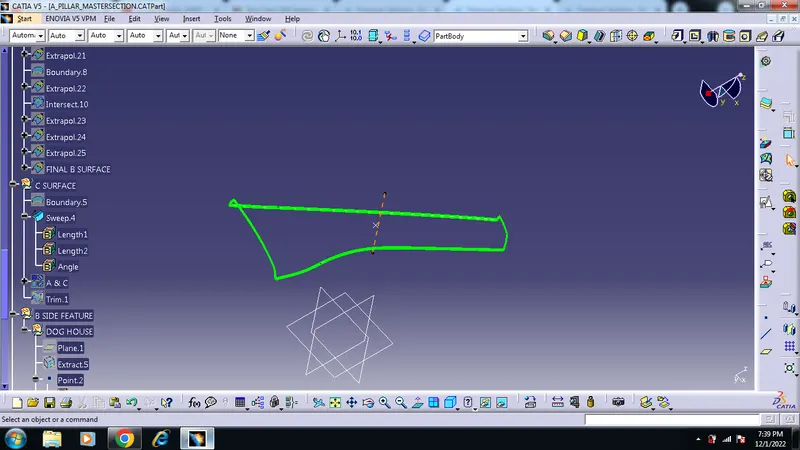
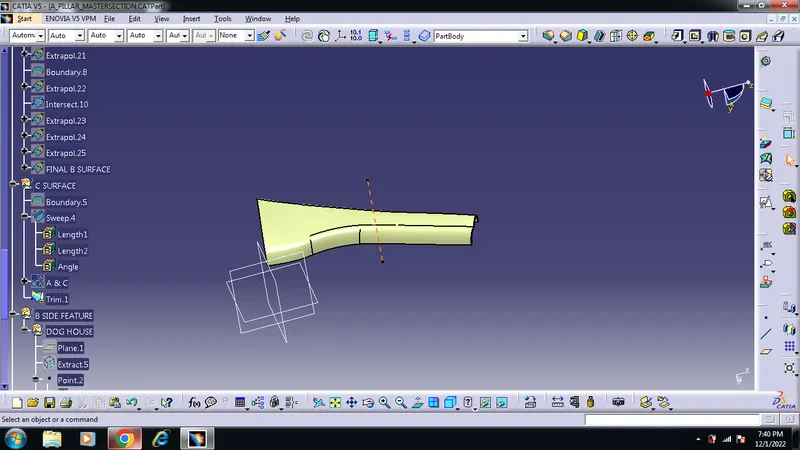 Class-C Surface
- Part Body: we create the final solid body using the Closed Surface command.
- Go to Boundary command and click on the new surface. An error dialog-box should pop-up.
- Go to the Part Design workbench.
- Select the Closed Boundary option and then click on the generated surface.
- A closed solid body is obtained.