Week 9-Creation of 1D Connectors Challenge
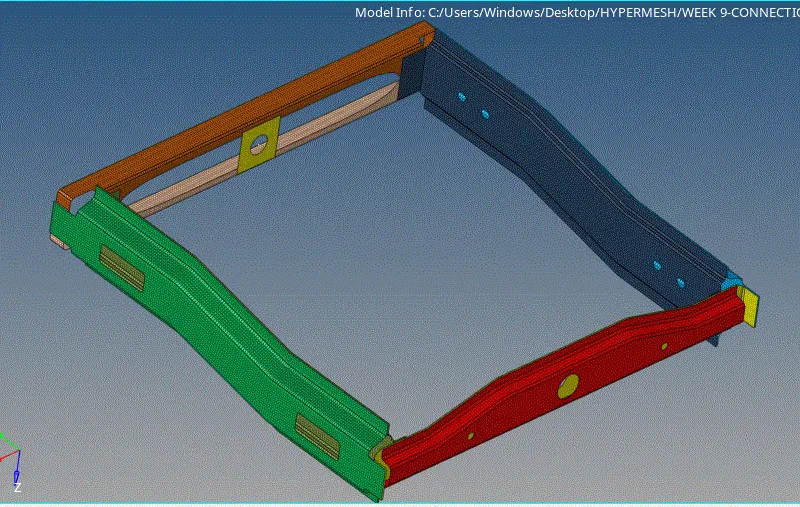
AIM: To create suitable connections between the meshed components using various tools in the 1D connectors
PROCEDURE:
- import the model
- it contains the extracted mid surfaces , set in the mesh parameters in criteria files
- clear all the errors and start making connctions
NOTE:
- Before making connections create the connecoter module beside model panel
- view>browser>hypermesh>connectors
- a new model tree for connections is visible, we can manage the connections relizations over hear
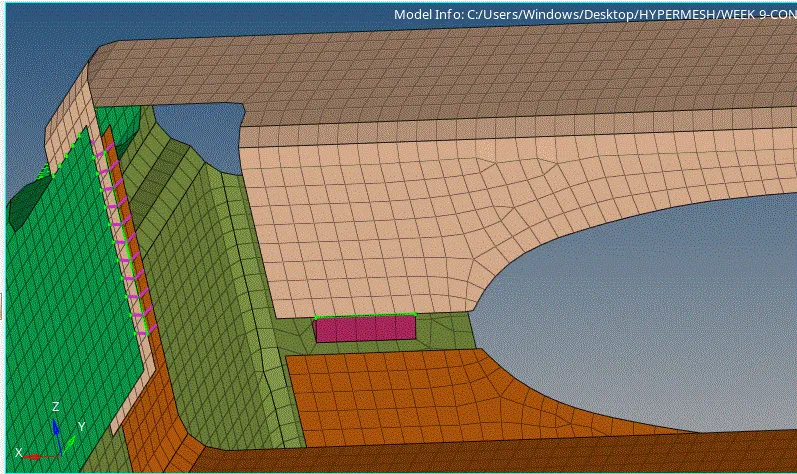
1. Right_Rail_2 & Front_truss_1:- Seam-Quad(angled+capped+L)
- go to 1D>connectors
- you will see a lot of 1d connection options , select the suitable
- go to SEAM option, select the nodes
- set in the components to be connected and spacify the the spacing and search tollerence value
- select the type as Seam-Quad(angled+capped+L) and create the connection
- a seperate component for the connector can be seen in the model tree
- inthe connection panel,green colour shows the realization
- if it is seen in red colour then, correct the options and realize them again
NOTE:give spacing as element size if, spacing value is less then element size it will damage the mesh flow
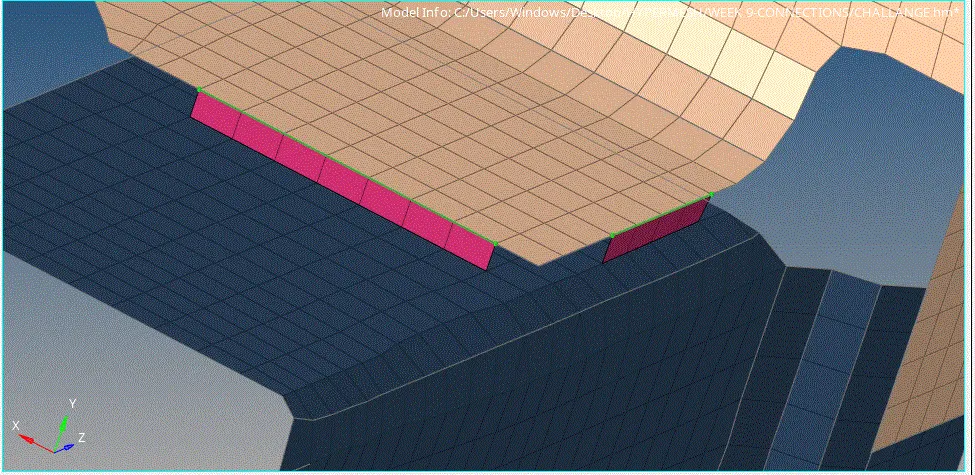
2. Left_Rail_2 & Front_truss_1:- Quad elements
- go to 1D>connectors
- you will see a lot of 1d connection options , select the suitable
- go to SEAM option, select the nodes
- set in the components to be connected and spacify the the spacing and search tollerence value
- select the type as Quad elements and create the connection
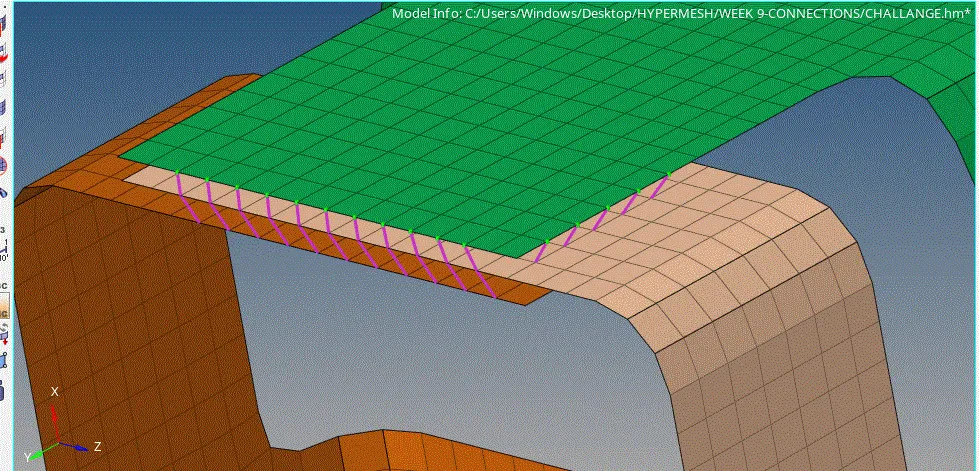
. Front_truss_2, Front_truss_1 & Right_Rail_1:- Spot weld with 2 Layers and 5 mm Diameter
- go to 1D>connectors
- you will see a lot of 1d connection options , select the suitable
- go to SEAM option, select the nodes
- set in the components to be connected and spacify the the spacing and search tollerence value
- select the type as Spot weld with 2 Layers and 5 mm Diameter and create the connection
. Front_truss_2, Front_truss_1 & Left_Rail_1:- Hexa (Adhesive)
- go to 1D>connectors
- you will see a lot of 1d connection options , select the suitable
- go to SEAM option, select the nodes
- this can also be done by using the area option where you select the elements instead of nodes
- set in the components to be connected and spacify the the spacing and search tollerence value
- select the type as adhesive and create the connection
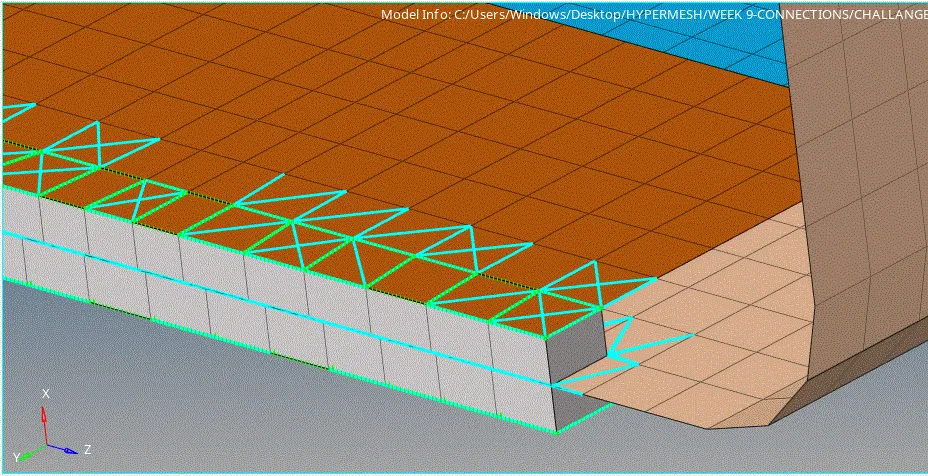
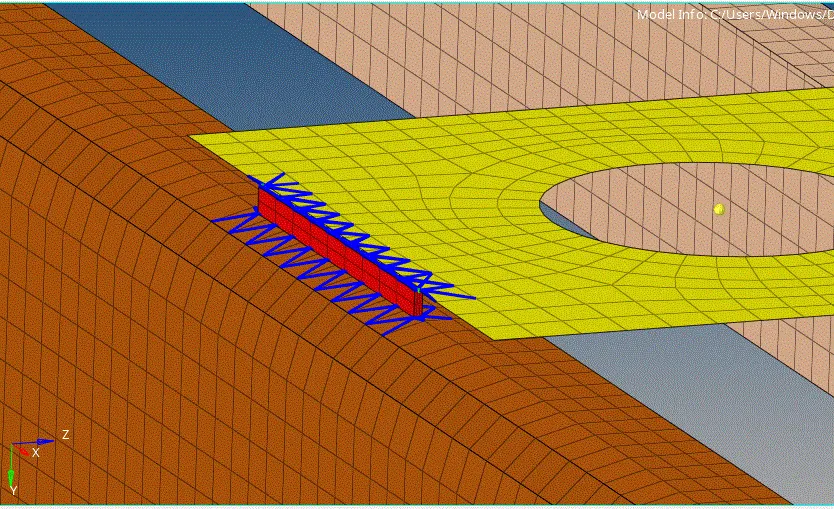
- both area and node methods are shown
Rear_truss_2 & Right_Rail_2:- Bolt Connector
- go to 1D>connectors
- you will see a lot of 1d connection options , select the suitable
- go to BOLT option, select the nodes
- set in the components to be connected and spacify the the spacing and search tollerence value
- select the type as BOLTS(GENERAL) and create the connection
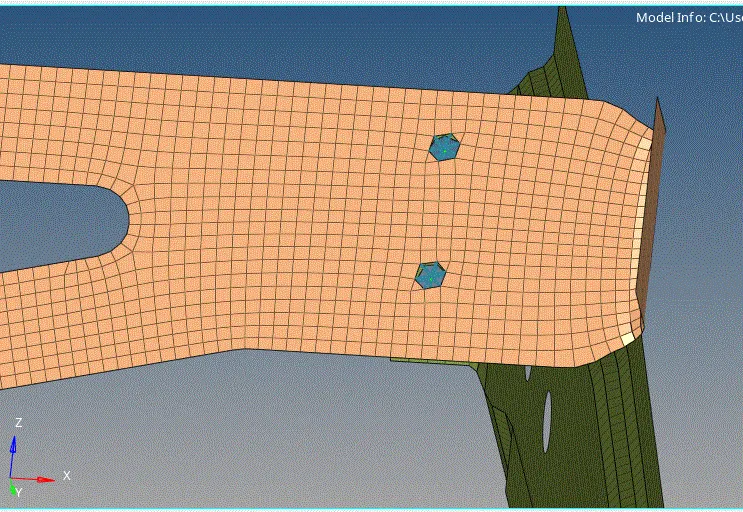
Rear_truss_2 & Left_Rail_2:- Bolt Connector
- Similar methods as above are followed
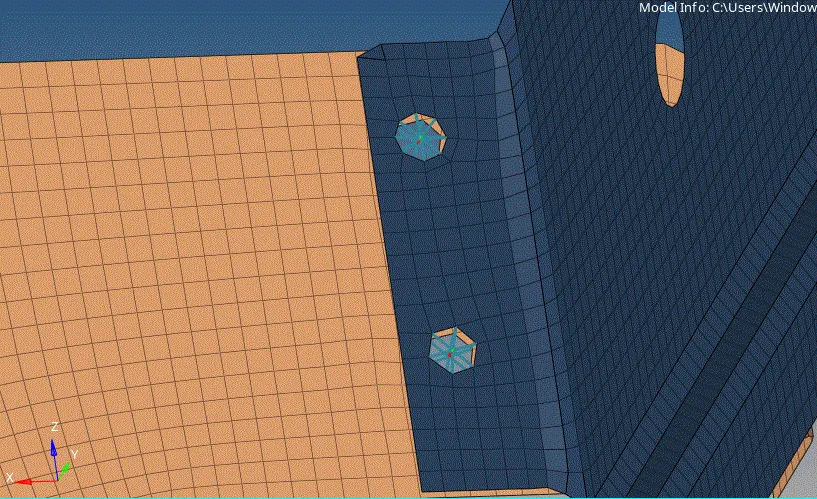
NOTE:while create bolts, if there are no holes,set the options as create hole
if new holes are created it will distroy the mesh flow, so go back to QI and clear the mesh
Right_Rail_1 & Right_Rail_2:- Spot-weld with Rigid Elements
- go to 1D>connectors
- you will see a lot of 1d connection options , select the suitable
- go to SPOT option, select the nodes
- this can also created by area method
- set in the components to be connected and spacify the the spacing and search tollerence value
- select the type as RIGIT and create the connection
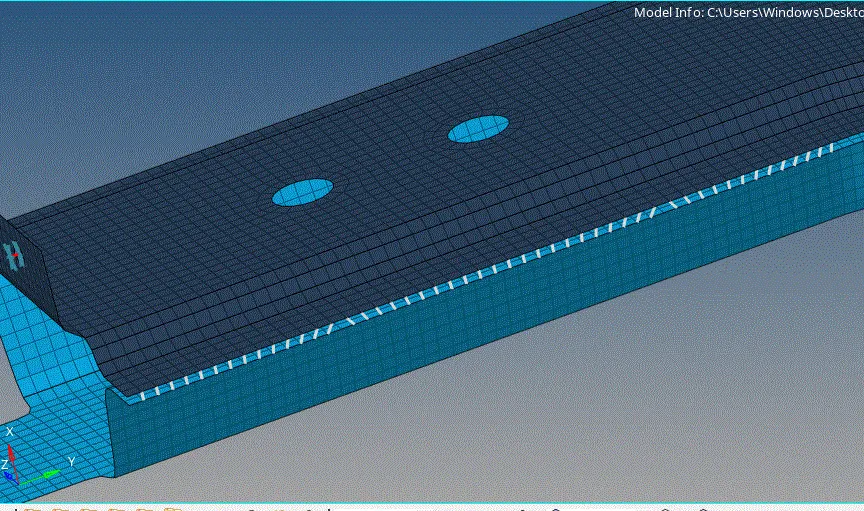
Left_Rail_1 & Left_Rail_2:- Spot-weld with Spring Elements
- same steps for, spring just the type as spring in SPOT
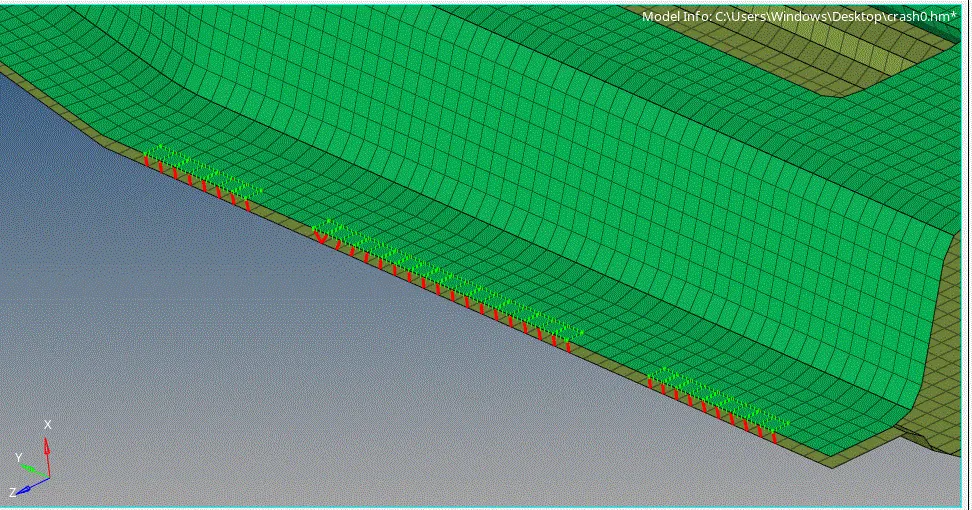
also, try all other SEAM ,AREA,SPOT connections, at the required regions. Set fifferent values of spacing,width,steps ,etc. and see all the changes that cause